
Stadium Lights / Floodlights
Print Profile(1)

Description
Boost Me (for free)
If you like the model, please boost me for free.
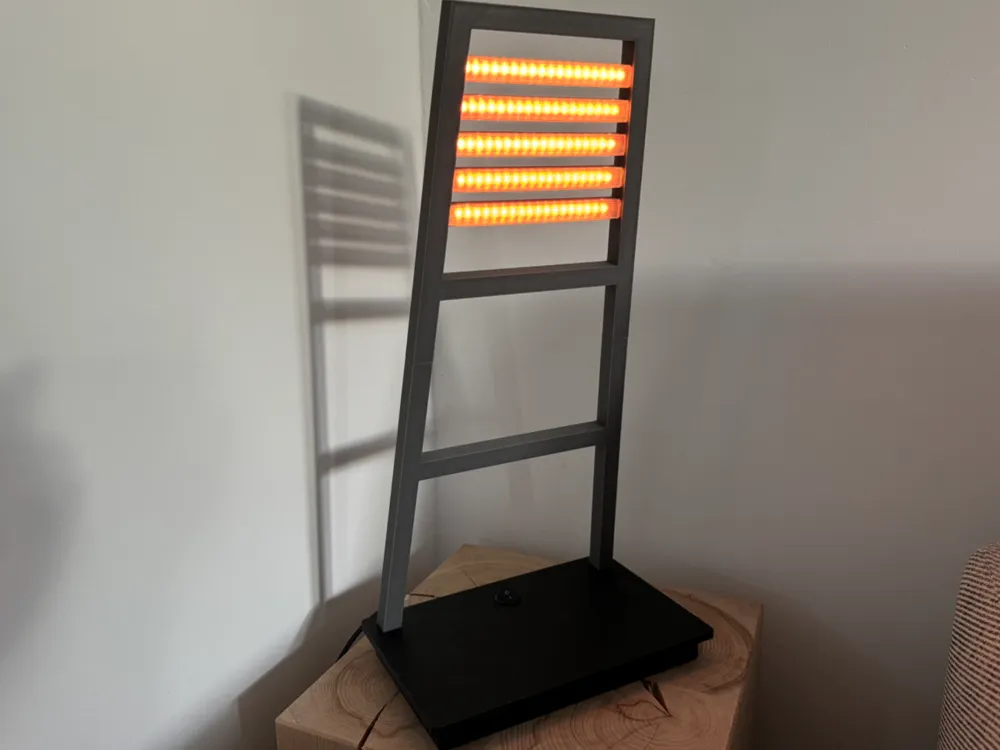
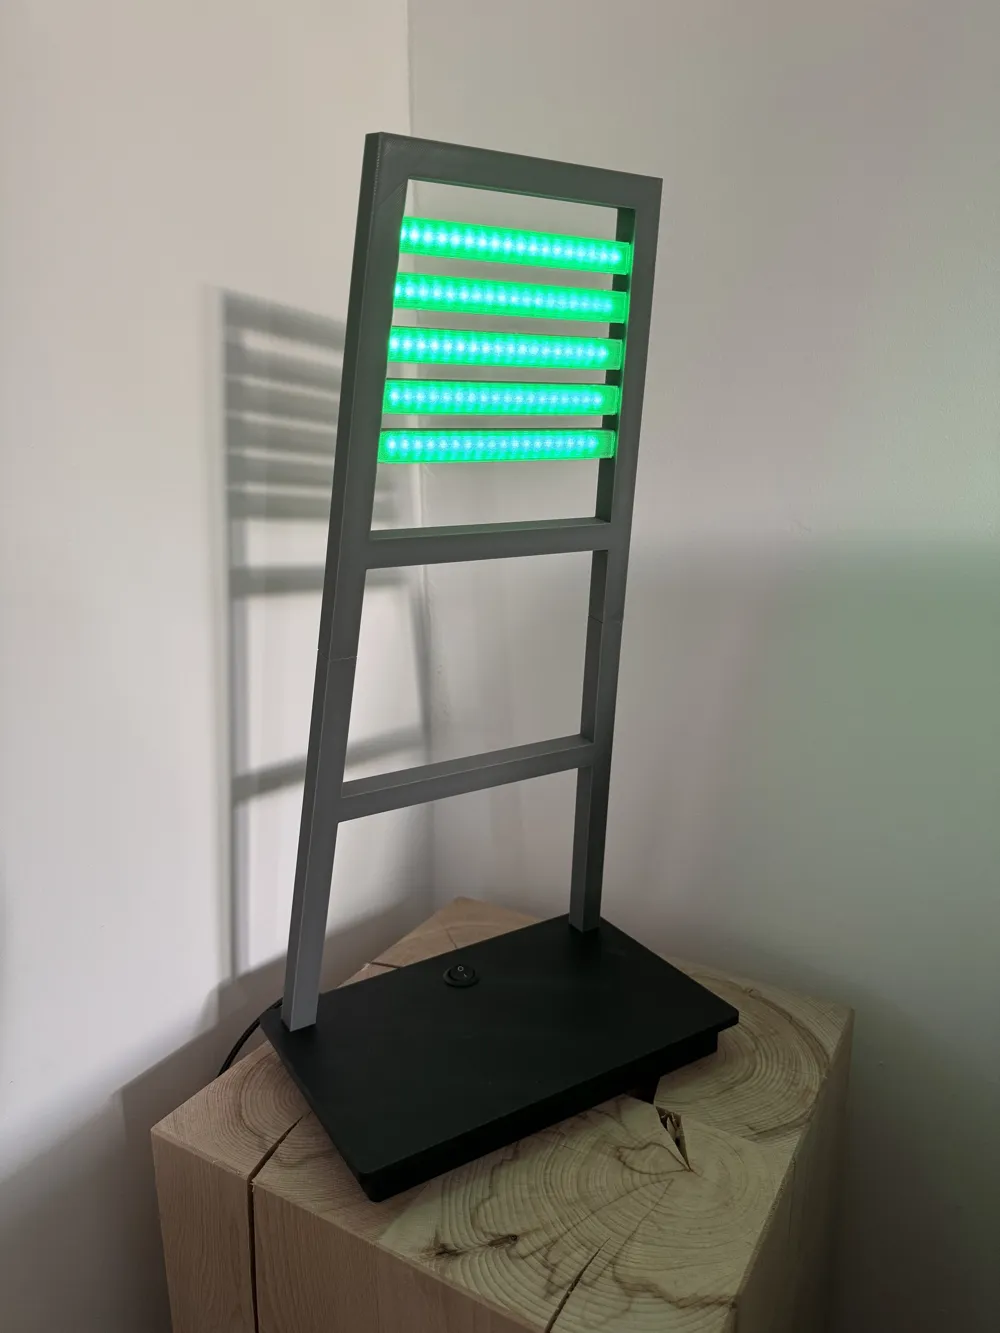
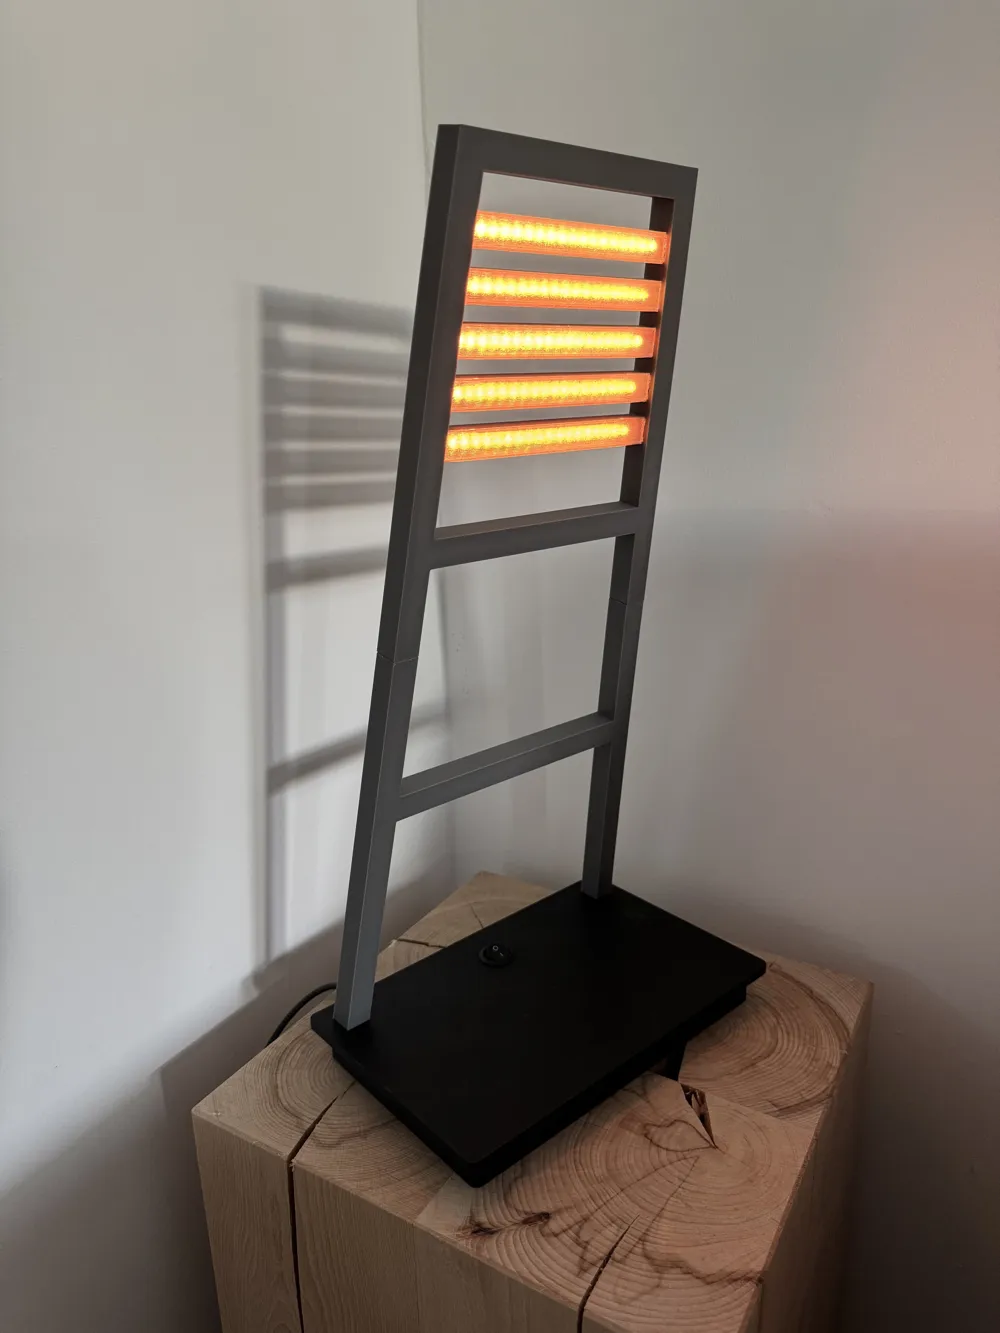

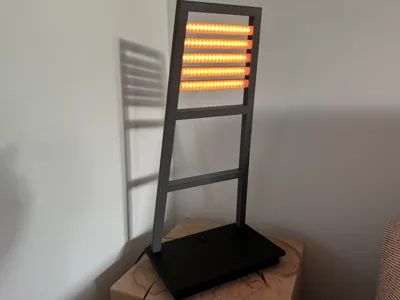
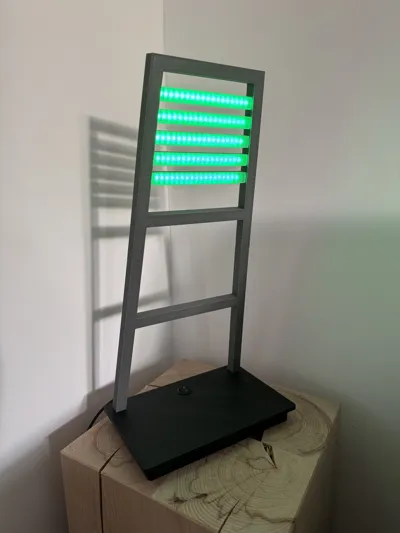
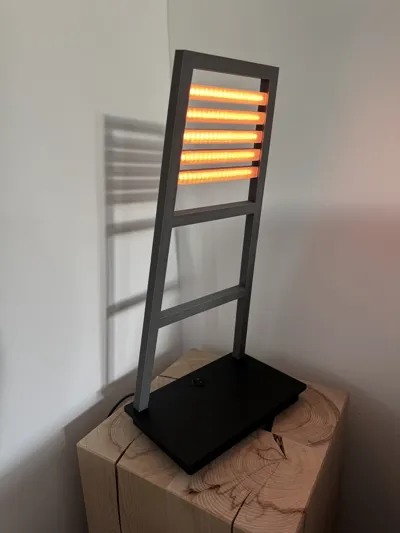
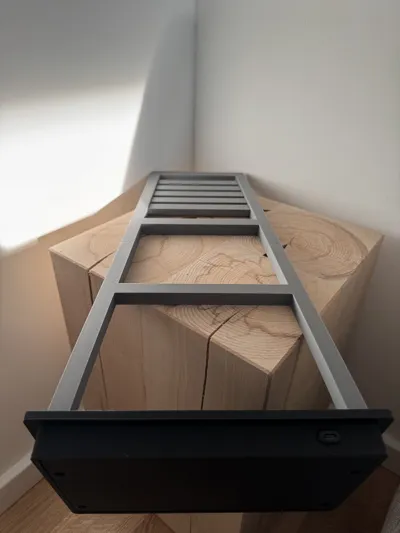
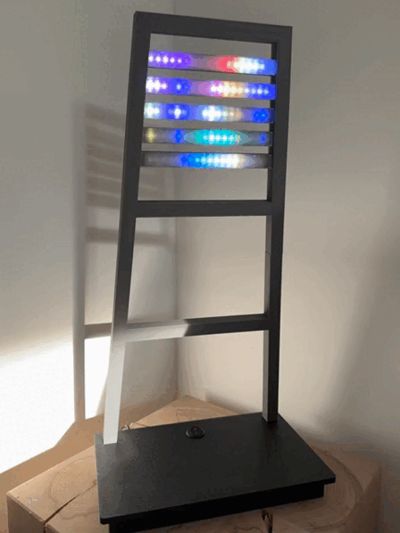
This light is inspired by the iconic stadium light of the Weserstadion (SV Werder Bremen) and the show “Zeiglers wunderbare Welt des Fussball”.
Dimensions (w x d x h): 24 cm x 15cm x 48cm
Instructions:
Parts
(don't be confused: I mainly used parts that I already had at home)
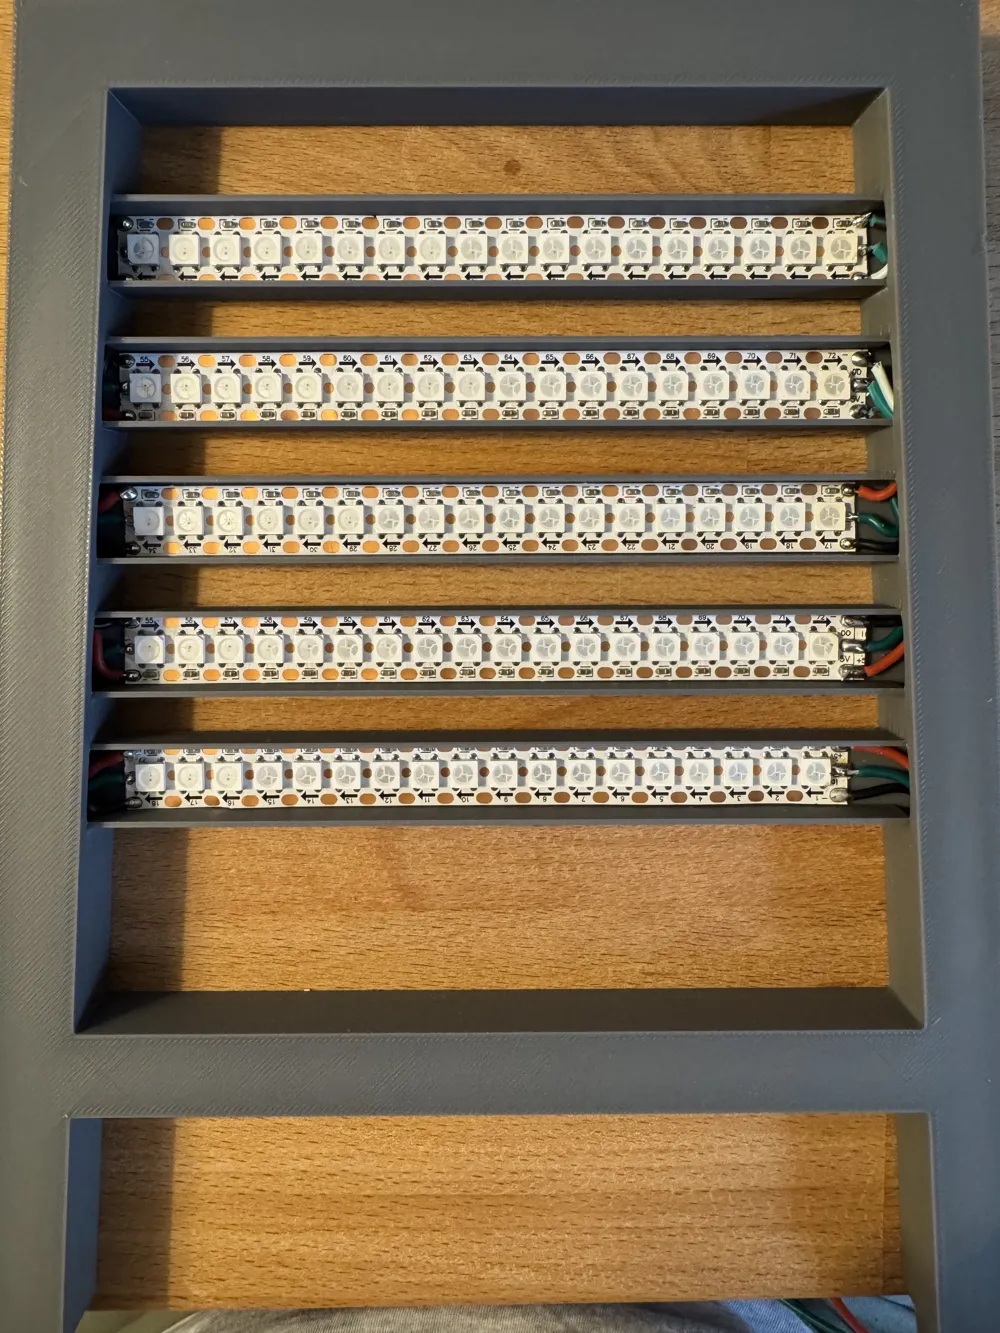
WS2812B 1m 144LEDs/m IP30 (h: 12mm)
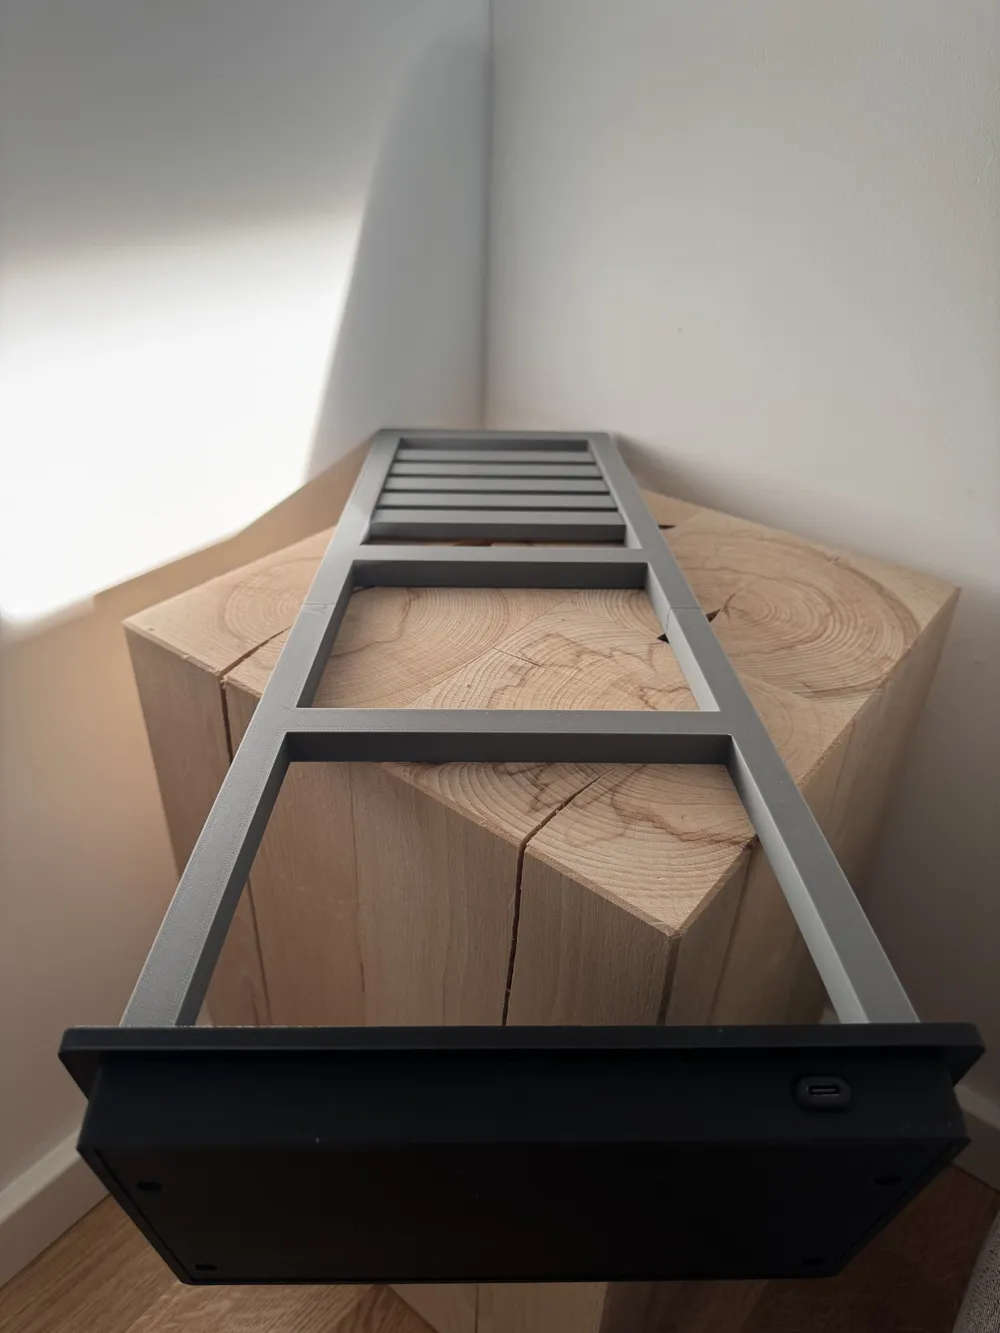
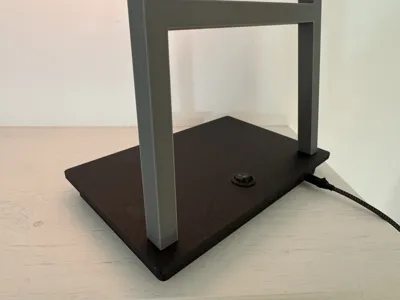
USB-C Port (USB2.0)
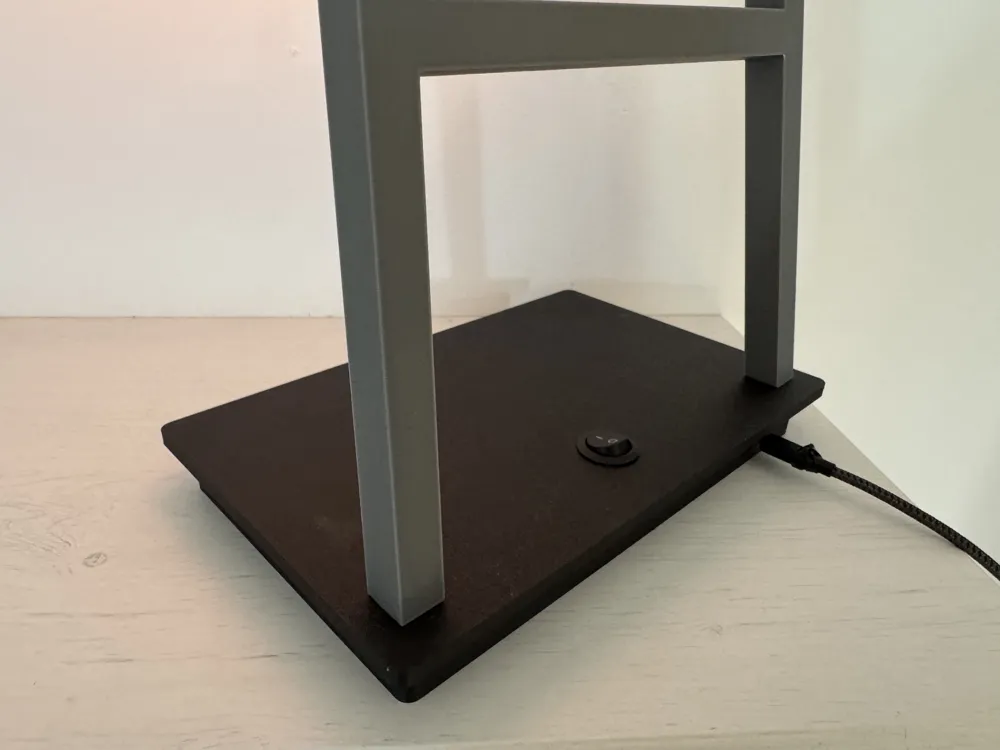
On-Off-Switch round
4 x Brass Heat Thread Insert Nut (M3*5*5) → Bottom Cover
4 M3x 8mm → Bottom Cover
USB-C to USB-A Cable
USB-A Power-Adapter min. 2A (USB-C Power-Adapter doesn't work)
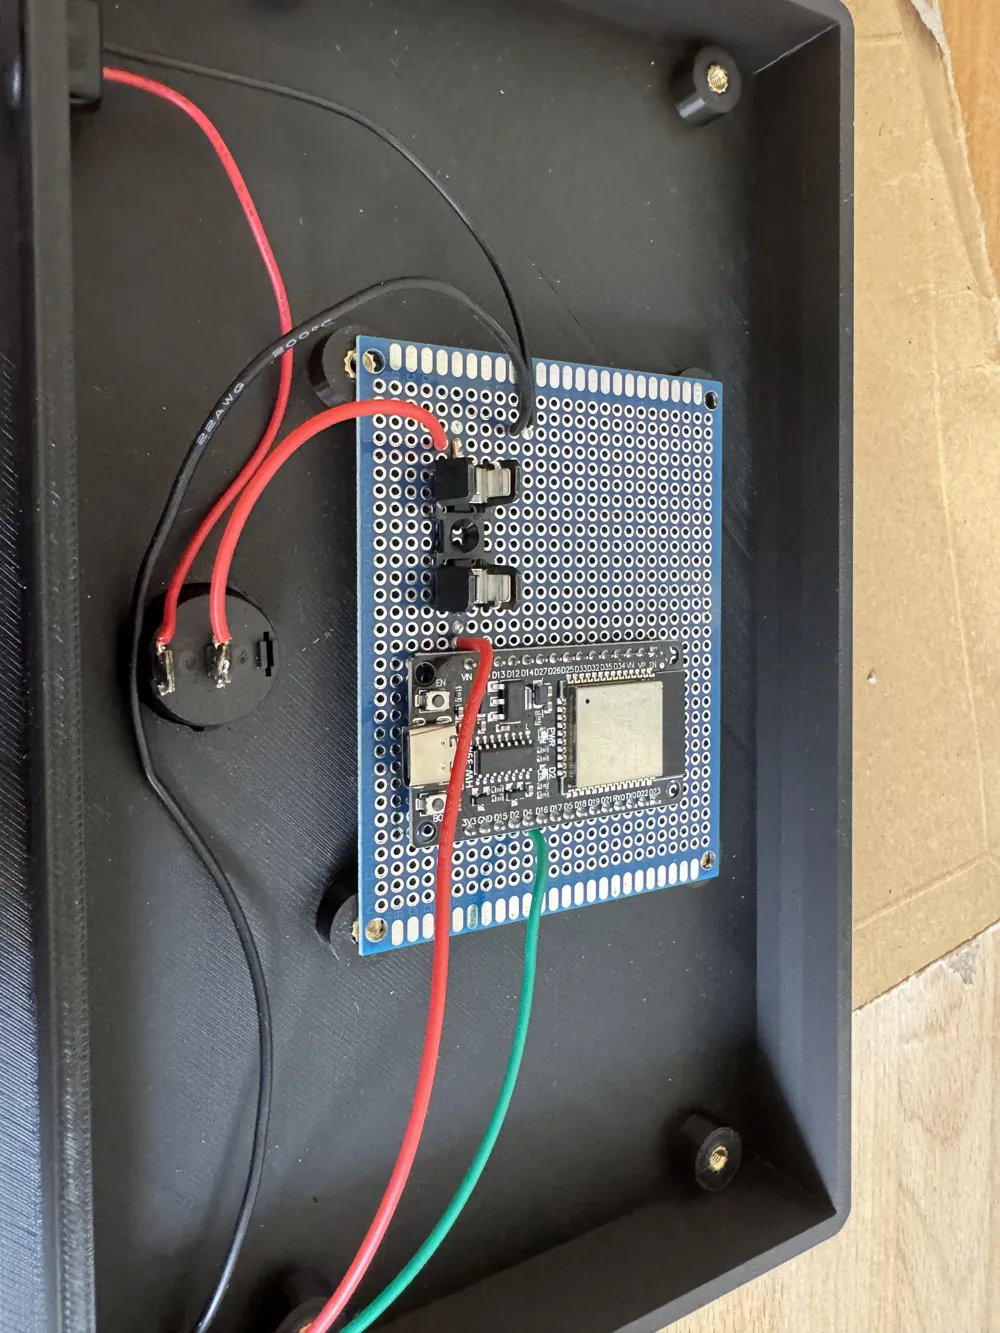
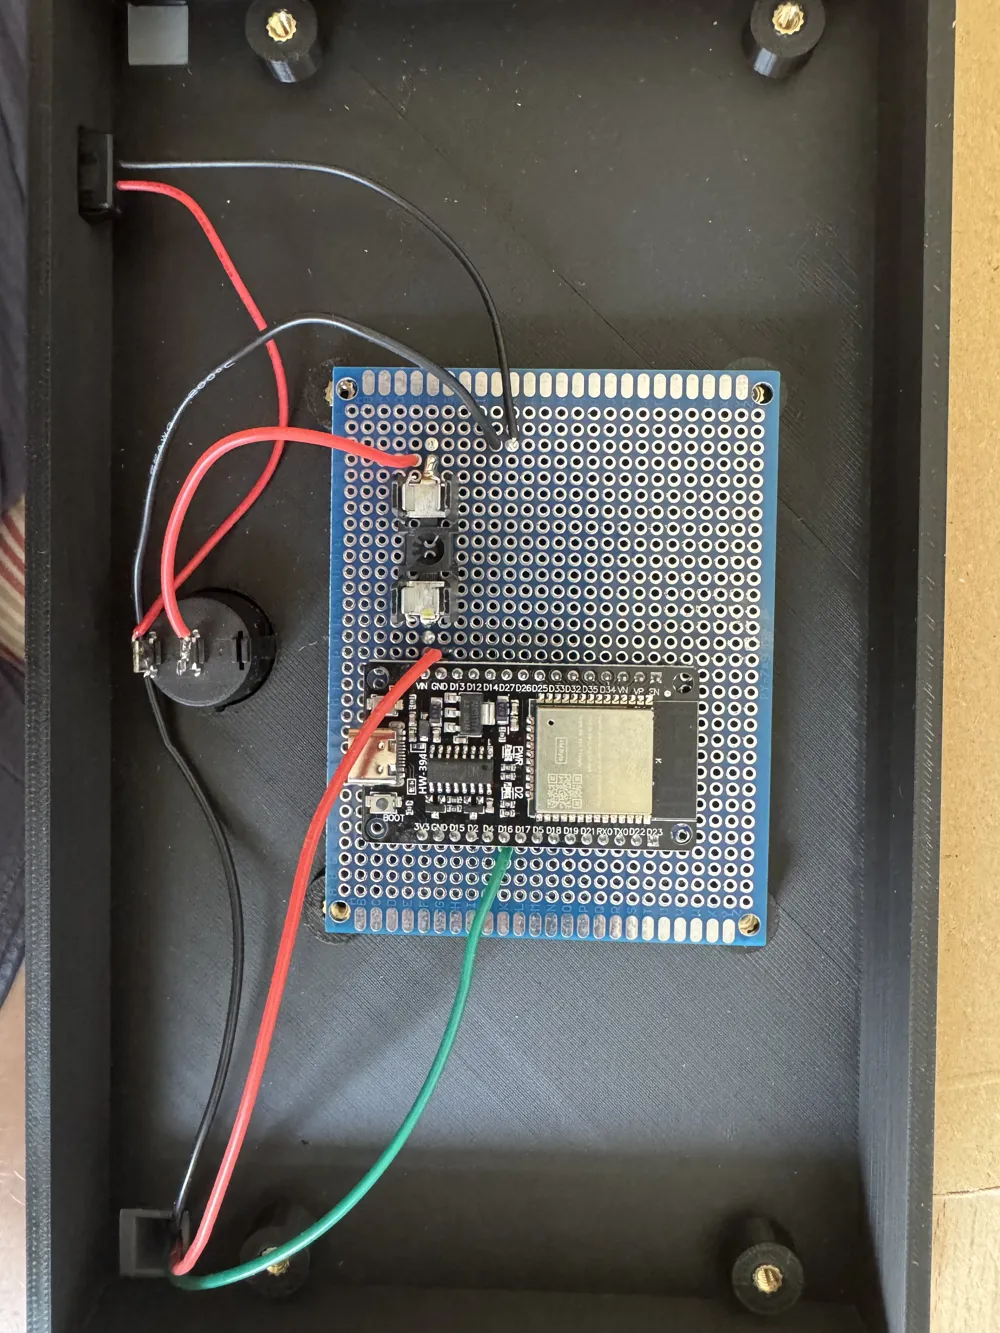
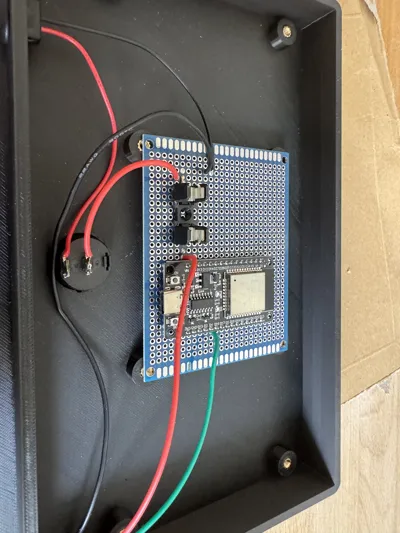
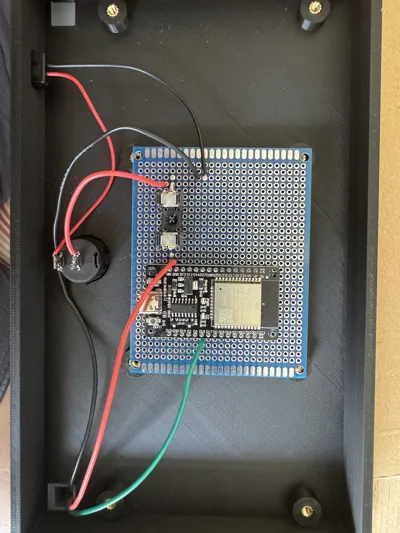
ESP32 Dev Board (optional)
4 x Brass Heat Thread Insert Nut (M3*5*5) → PCB (optional)
4x M3x6mm → PCB (optional)
PCB Board Prototyp Board 7x9cm (optional)
PCB Fuse Holder 5x20 (optional)
Glass Fuses 2A (optional)
Instead of the optional parts you should bei able to use a small LED-Strip-Controller (search for "ESP32 Mini WLED" or something else @AliExpress). There is enough space in the bottom of the lamp.
Printing
Highly recommend to use AMS, to get clean supported surfaces.
To get nice transparent LED-Covers, use transparent filament and set filamentsettings to Bambus recommendations : https://wiki.bambulab.com/en/knowledge-sharing/transparent-petg
Assembly
Glue Mast top, Mast Bottom and Foot together.
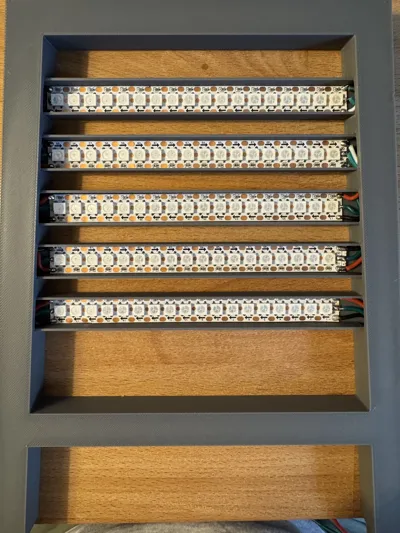
You need 18 Leds per Row. (my advise: after 18 Leds, remove one LED from the Strip, then cut the strip at the side of the solderpad (not in the middle). Then the pads are bigger and easy to solder.)
Mind the direction on the LED-Stip! Start in lowest row at the right. Connect the End of the first strip to the second (Vin→Vin, Data→Data, GND→GND. Continue up to the highest row.
WLED
WLED is a great project for using LED-Strips.
To install the WLED-project on your ESP32 please refer to https://kno.wled.ge.
Short:
If you use Chrome or Edge, you can easily install WLED on your ESP32 from your Browser using the USB-Connection.
The ESP32 will start an Wifi-AccessPoint. You can configure the ESP32 on the ladingpage, which pops up automatically.
LED-Preferences:
- set the DataPin of the LED-Strip (default: GPIO 16)
- Set length of the Strip to 90 (5*18 LEDs).
- Maximum Current: 1500 mA
2D-Configuration (If you want to use fancy 2D-effects):
- number of Panels: 1
- Dimensions (WxH): 18 x 5
- check Serpentine
Wifi-Setup:
- connect to your local Wifi (optional)
- set AP-behavior (optional)
- mDNS address (Browser-address) (optional)
User-Setup:
- Server description (the name of the Lamp, if you use a mobile-App)
License

You shall not share, sub-license, sell, rent, host, transfer, or distribute in any way the digital or 3D printed versions of this object, nor any other derivative work of this object in its digital or physical format (including - but not limited to - remixes of this object, and hosting on other digital platforms). The objects may not be used without permission in any way whatsoever in which you charge money, or collect fees.


Comment & Rating (14)