
Retracting Utility Knife - Magnets, No Springs
Print Profile(1)

Description
I've now made a newer knife with bigger magnets, it's stronger, more reliable and looks cooler, click here to see it: https://makerworld.com/en/models/1774448-magknife2-autoretracting-utility-knife-box-cutter
Boost Me (for free)
This design required lots of testing over many weeks, using up lots of filament and magnets and money. If you like it, I'd really appreciate a boost :)
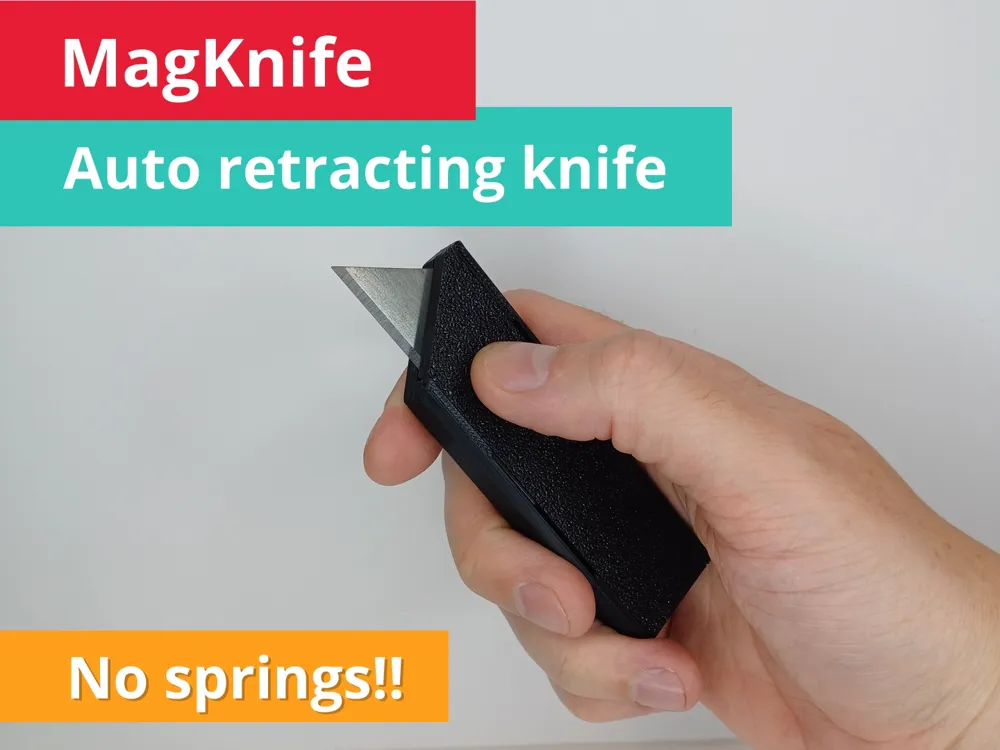

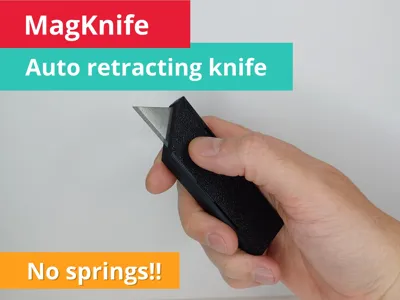
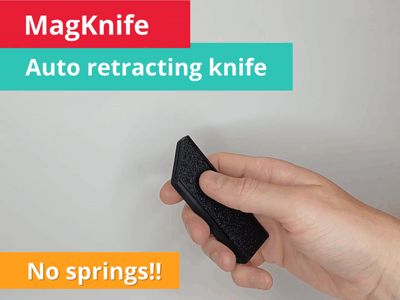
MagKnife, the spring-free retracting utility knife
The perfect combination of super satisfying and super useful, this knife took weeks of work to get just right.
No springs required, just seven 10x1mm neodymium magnets (I got mine from here: https://www.aliexpress.com/item/1005008882136145.html) and a standard utility knife blade (eg. https://www.aliexpress.com/item/1005009156578013.html) and a few drops of super glue/CA glue.
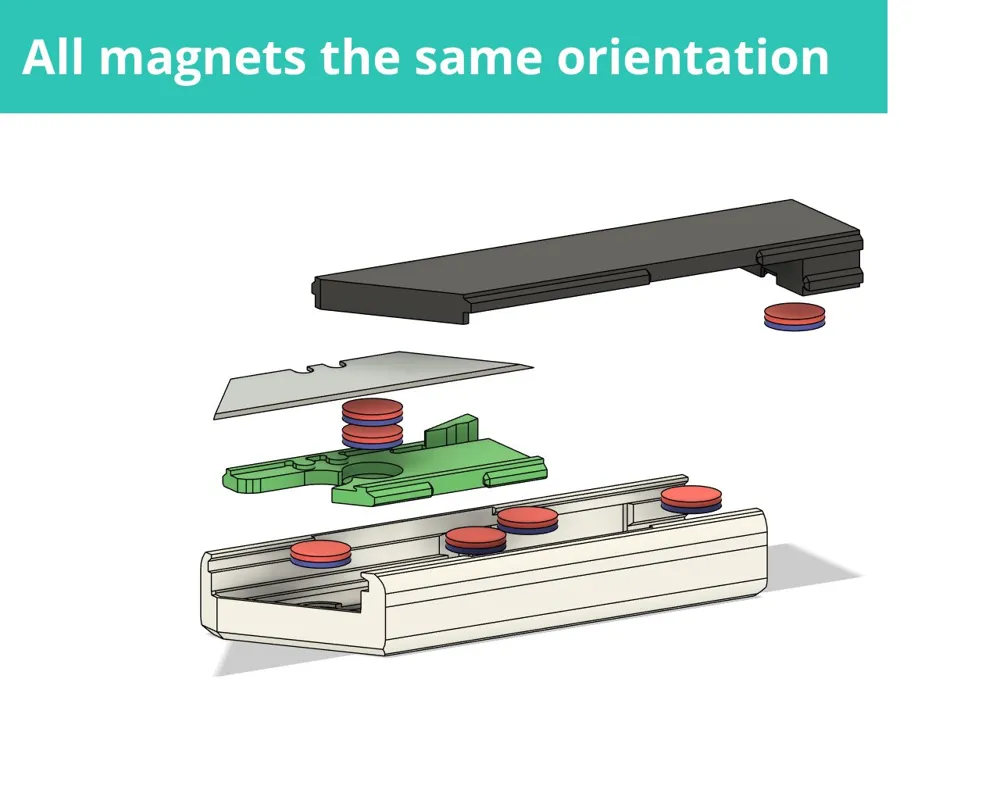
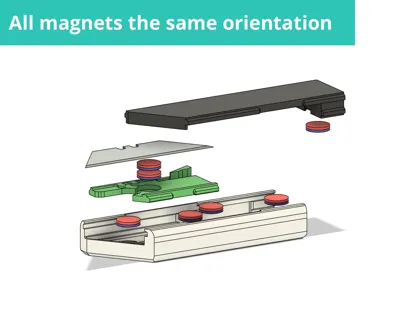
No additional hardware, screws etc. required, and all magnets are laying flat in the same orientation to make assembly easier.
This is designed for the most common blade size, roughly 62mm x 19mm
Instructions
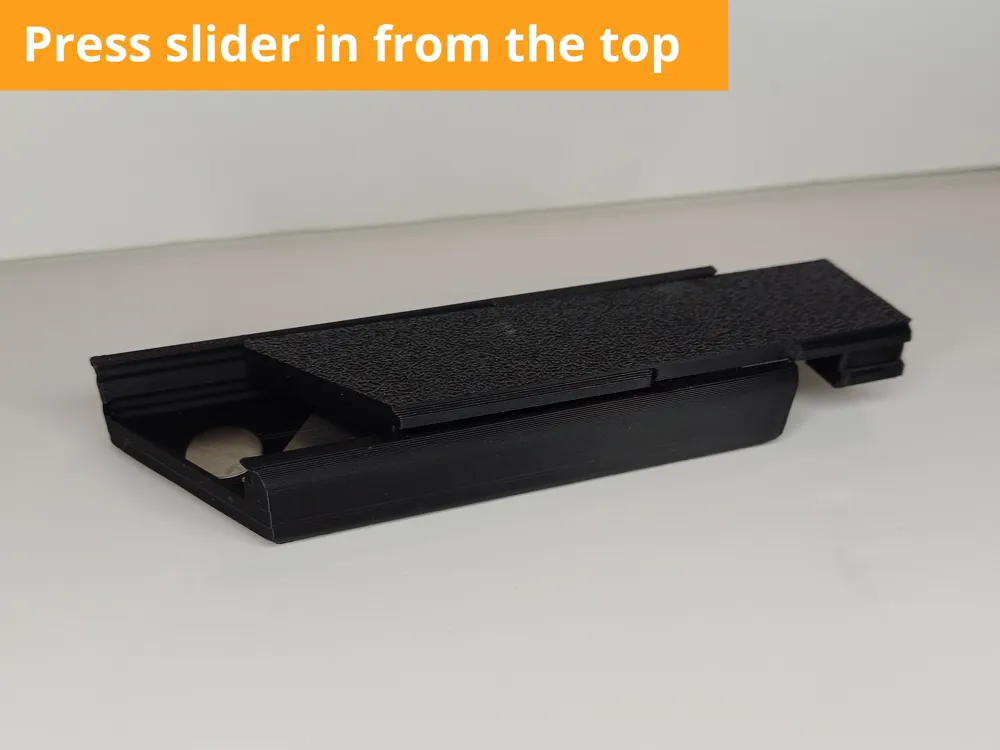
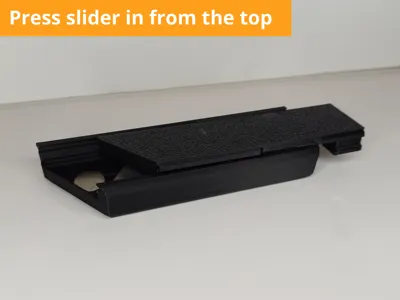
This design is intended to be tight at first. Press the sliding lid in from above and apply pressure while sliding it backwards and forwards several times along the full length of the base to grind it smooth
Blow out any dust and repeat until it slides freely, then remove the lid
Add a small drop of super glue to each magnet hole
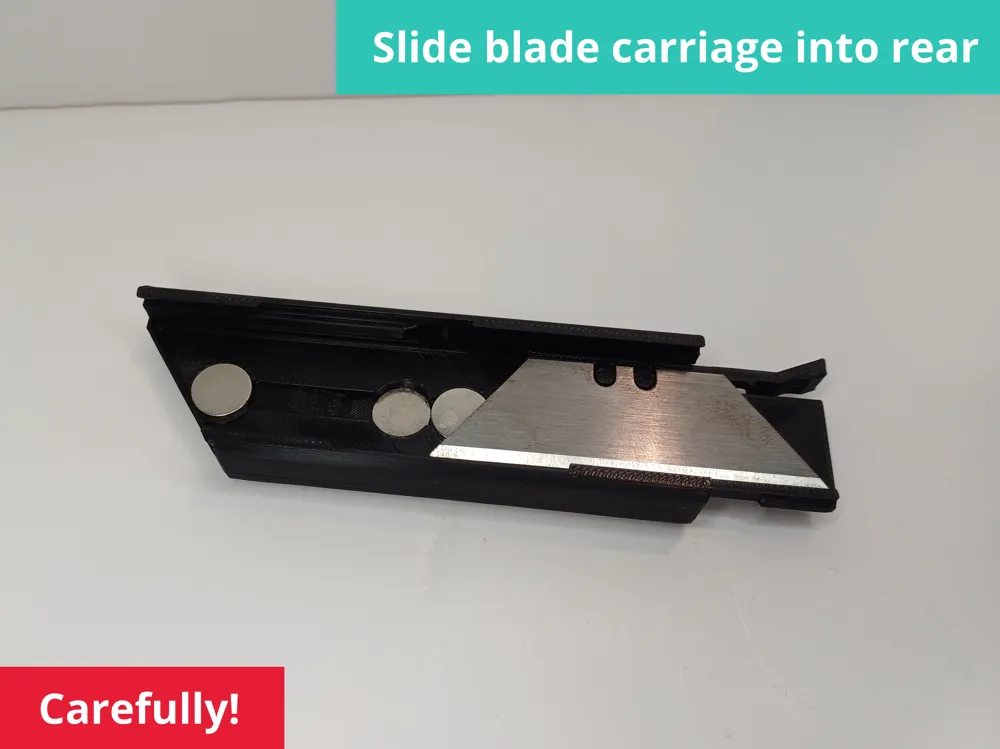
Being careful to align the magnets correctly, place one in each magnet hole in the base and lid, and two in the blade carriage
There are slots to get a small screwdiver in to pop magnets out if you insert them the wrong way
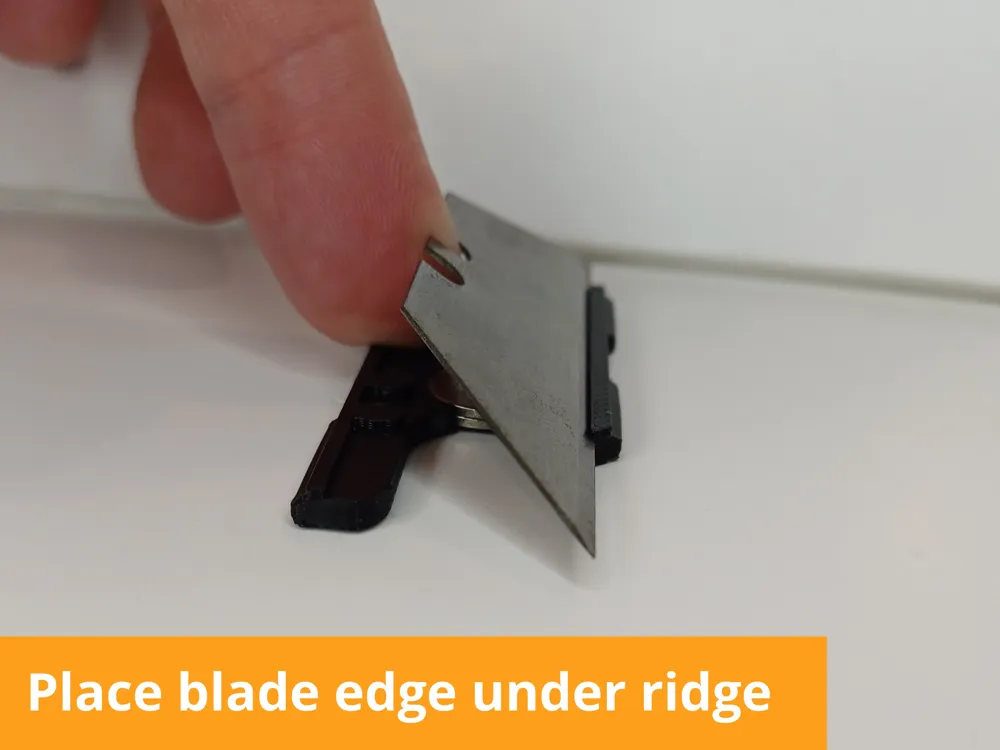
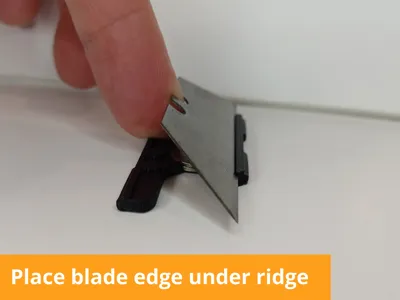
Slot the sharp edge of the blade under the ridge of the blade carriage and let the magnets pull it down into position
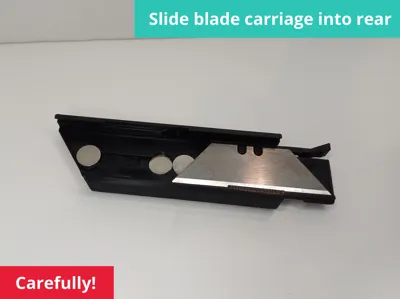
Insert the blade carriage to the rear of the base and push until it clicks into place
Test again to make sure the blade carriage slides freely, if not then remove the blade, apply pressure to the blade carriage and slide it backwards and forwards
Press the lid in from the top and it's complete, enjoy :)
Important warning: Always be careful when handling a sharp blade, and check your local laws to ensure this complies before printing
License

You shall not share, sub-license, sell, rent, host, transfer, or distribute in any way the digital or 3D printed versions of this object, nor any other derivative work of this object in its digital or physical format (including - but not limited to - remixes of this object, and hosting on other digital platforms). The objects may not be used without permission in any way whatsoever in which you charge money, or collect fees.


Comment & Rating (45)