Formula 1 Race Car Toy, Minimalistic


Print Profile(2)


Bill of Materials

Description
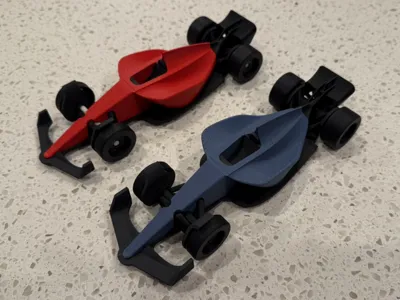
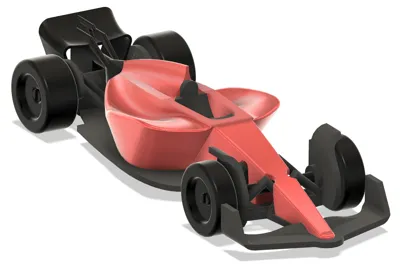
I designed this minimalistic formula 1 race car toy for my four-year-old who has been asking me to print him a race car since I bought the 3D printer. It certainly isn't the most accurate model you can find online, but I tried to make it reasonably robust to withstand little hands. My son, who loves all things race cars, especially red race cars, was overjoyed when I gave it to him. I hope this will bring joy to whoever you make it for!
Design notes
The axels snap-in-place, allowing the wheels to spin freely and independently. The body and rear wing require glue (I recommend super glue). To the keen eye, there are a few differences between the red (first attempt) and blue (final version) pictured. The print profiles posted match the car I printed in blue and include a longer front wing, larger axels with a snap-in-place design, and adjusted “struts” on the chassis.
Assembly
I recommend using super glue to secure the body and rear fin to the chassis. Note that the chassis comes much farther forward than the body (similar to an actual formula car), so be sure to apply the super glue behind the driver seat as pictured below.

The flat area behind the rear axel is the best place to apply super glue to secure the rear wing (I put way too much in this picture, you just need a drop). You can also apply glue to the back of the body, but there is a small gap here by design, so this alone will not hold the wing in place.

The trickiest part is getting the front axel through the second front wheel fairing. I found that using tweezers to compress the axel from the bottom while pushing with a finger on the top is the easiest way (see below). Not easy, but the result is a free-spinning set of wheels.

Once you get the front axel on, the rest is easy. Just snap on the wheels and you are off to the races!
Comment & Rating (26)