
Stanley Cup Quencher Leak Proof Travel Lid
Print Profile(3)


Bill of Materials

.jpg)

Description
Boost Me (for free)
If this model helped you, please support my work by giving me a boost. Thank you!
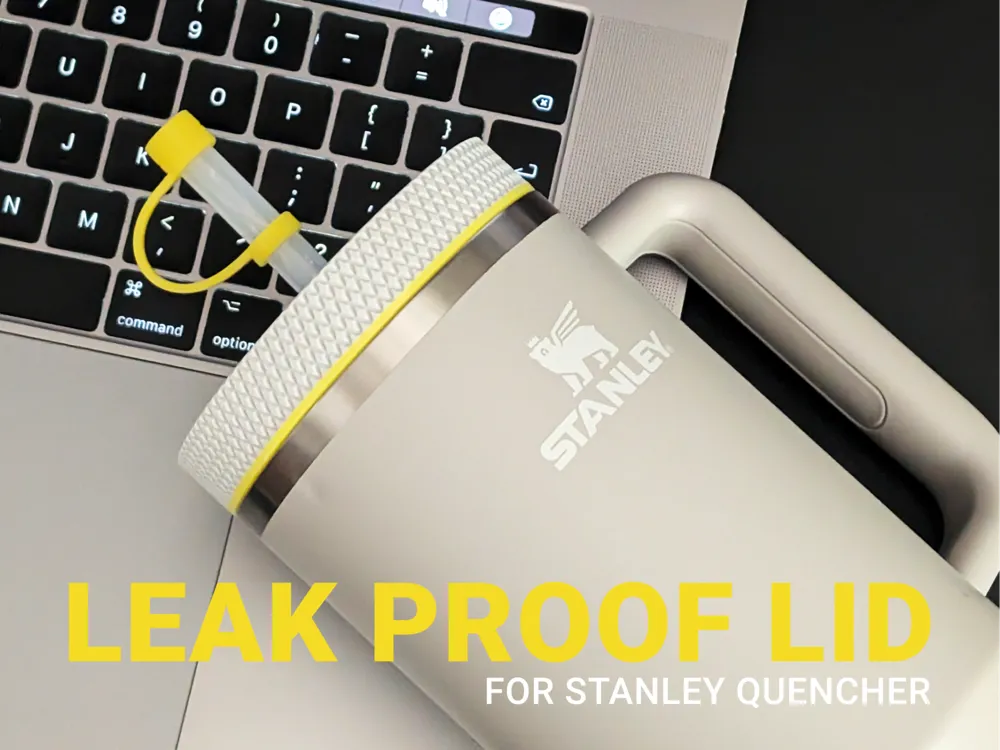
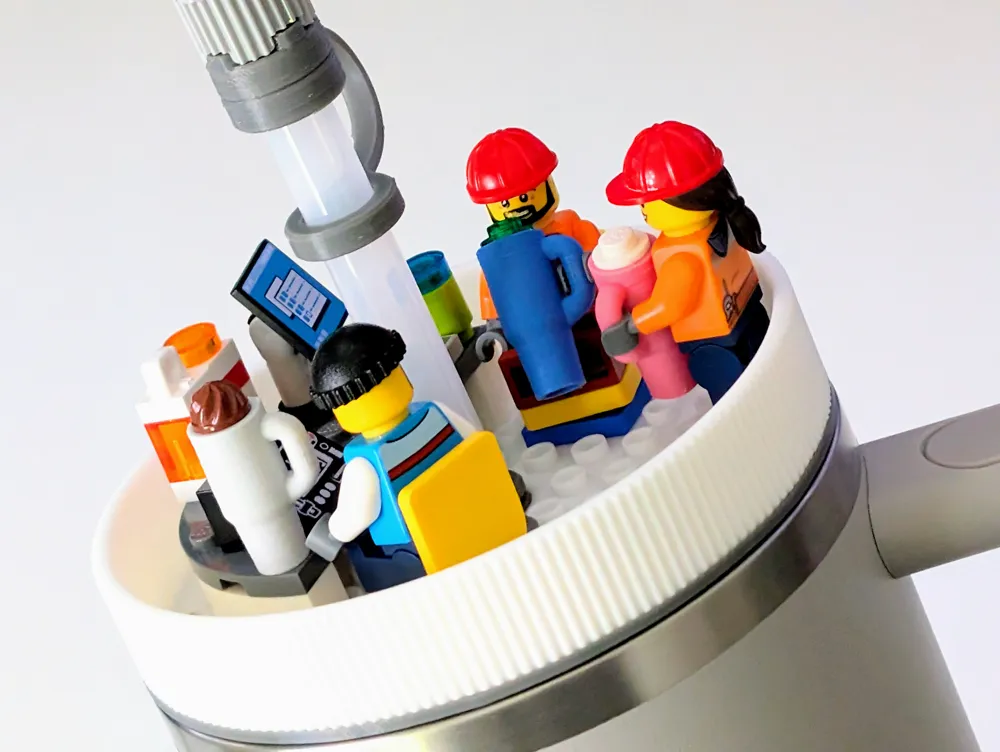
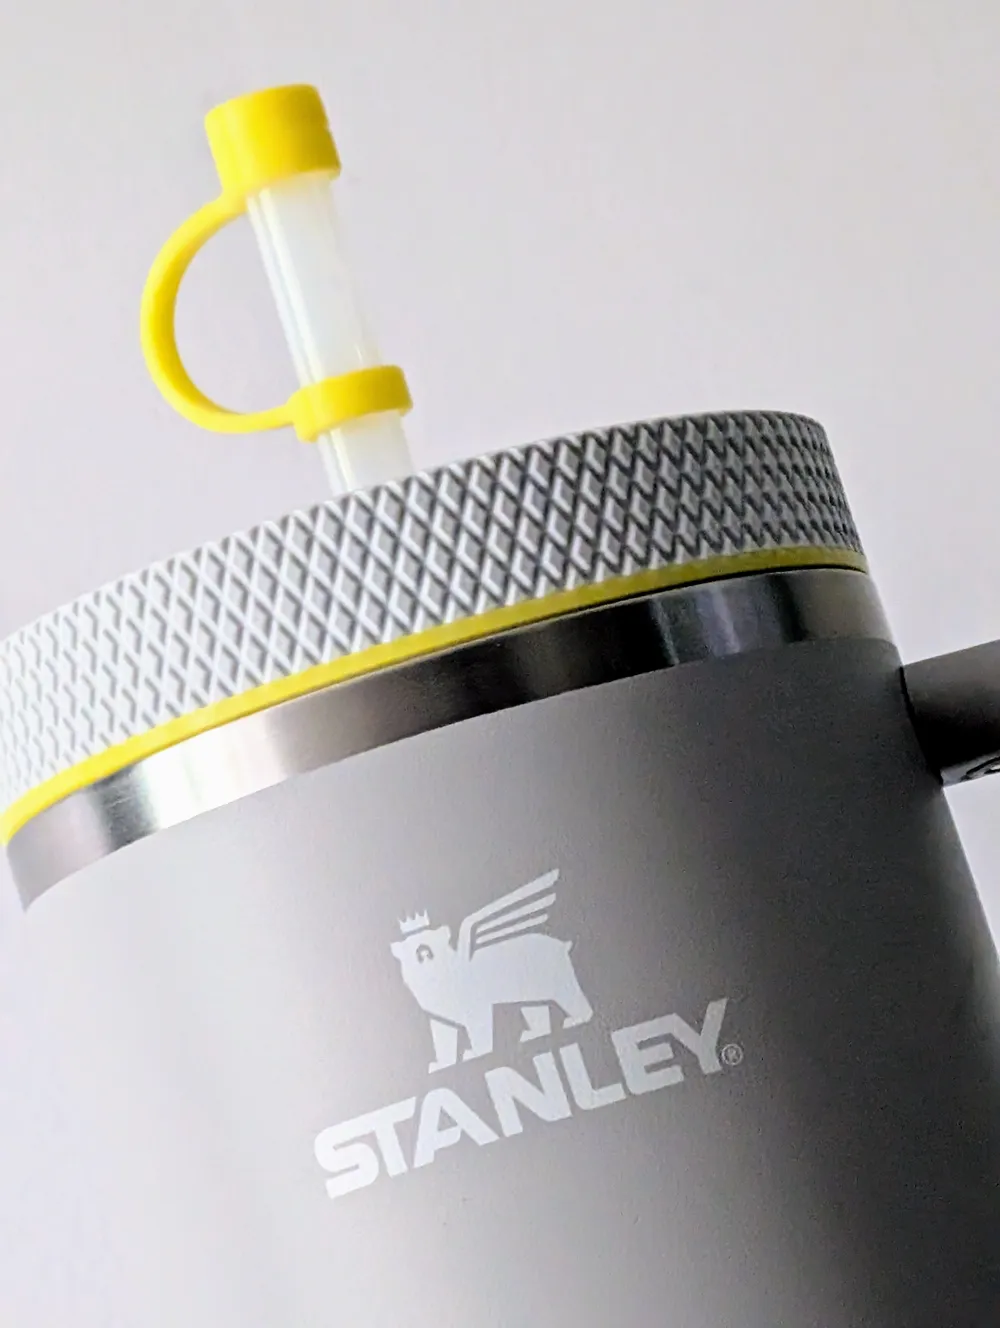
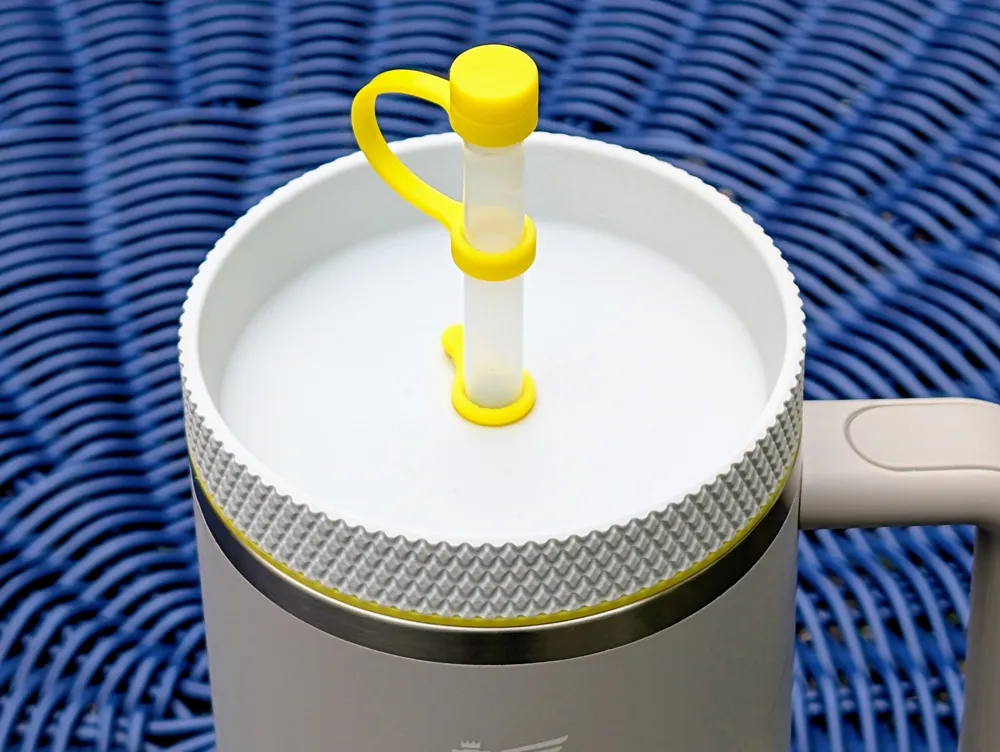
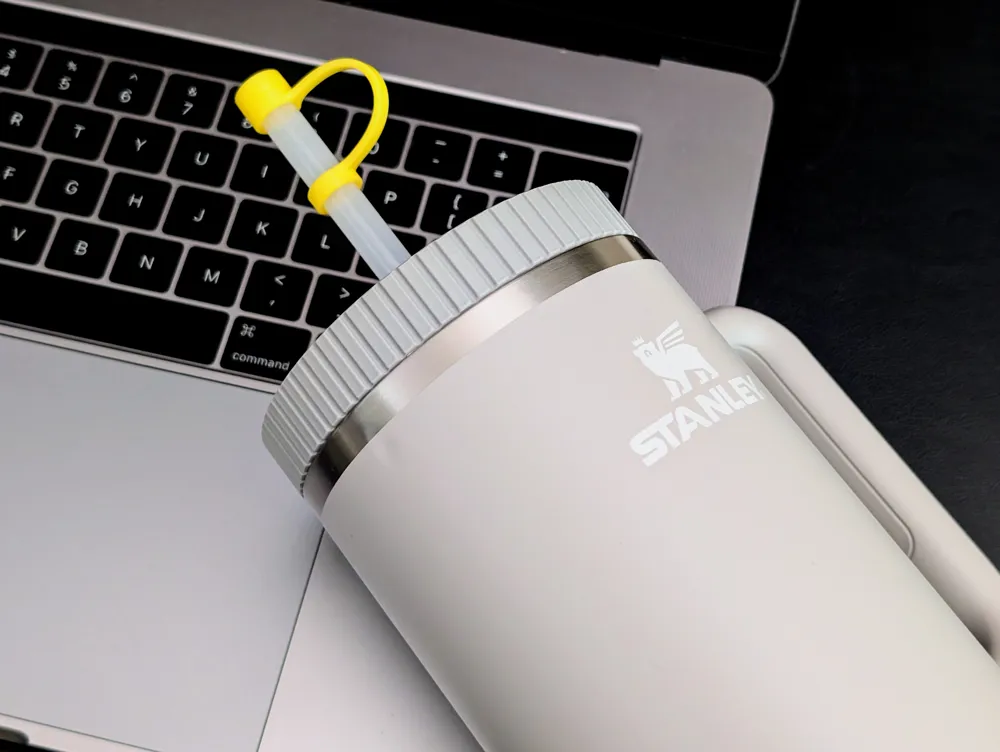
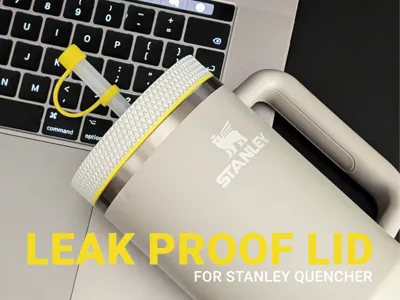
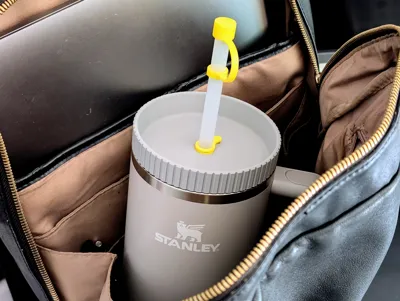
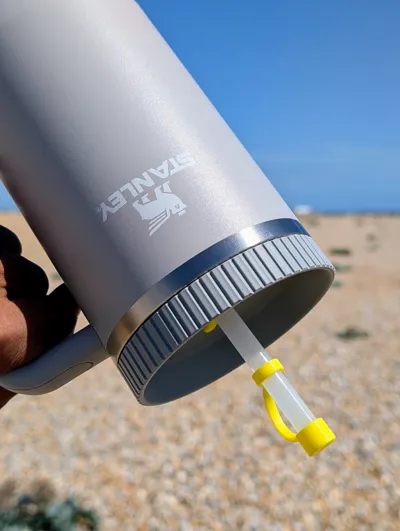
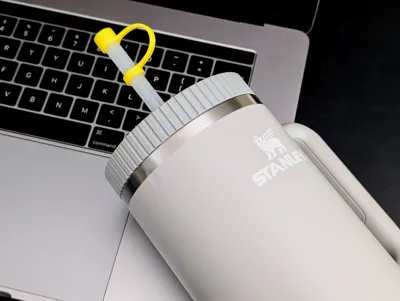
Leak-Proof & Easy-Grip Lid for the Stanley Quencher
Hello, Makers! I designed this lid to solve a couple of key problems I had with my Stanley Quencher, it leaked constantly, and the smooth lid was always difficult to open.
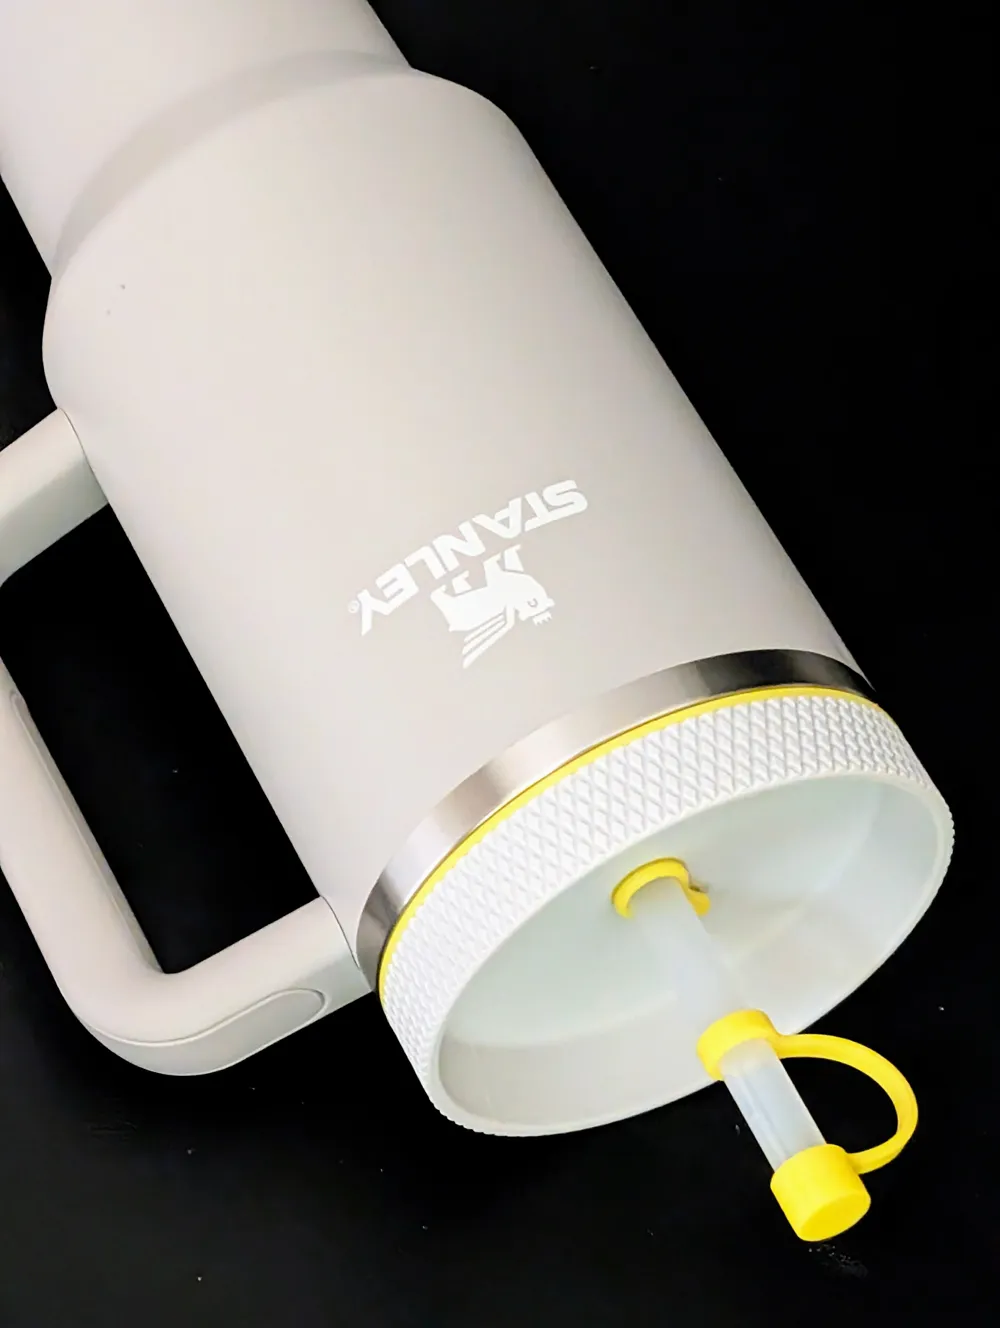
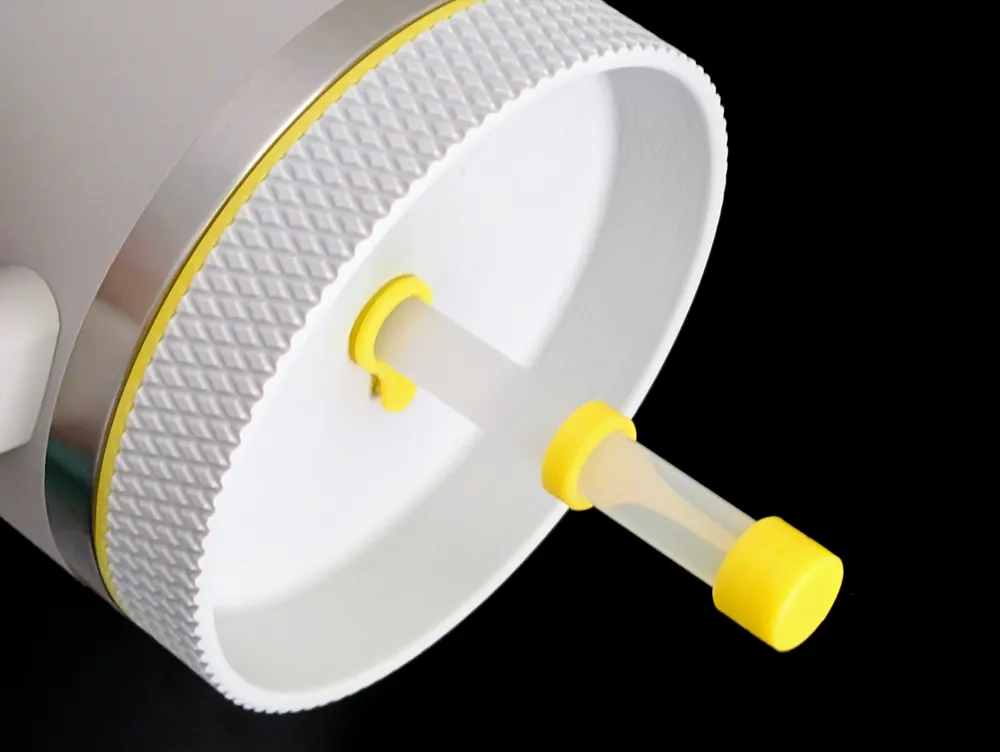
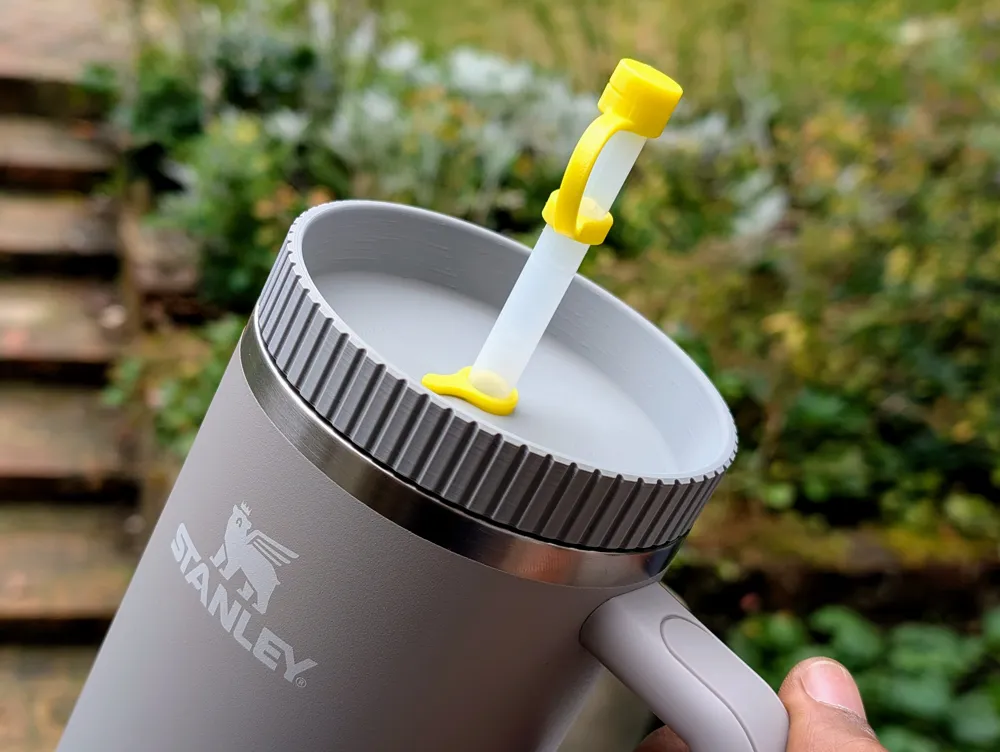
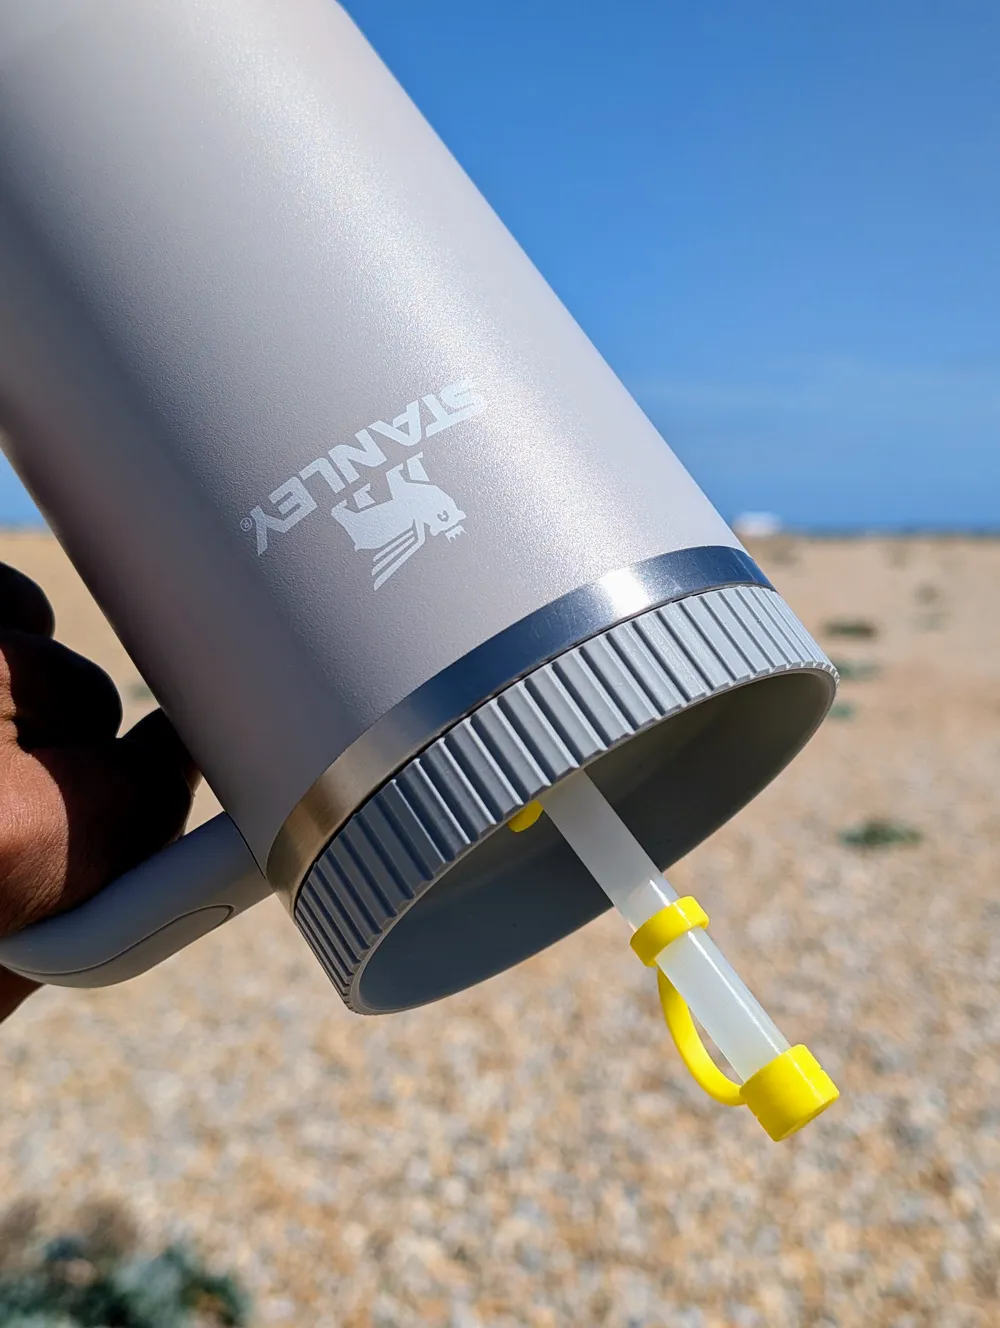
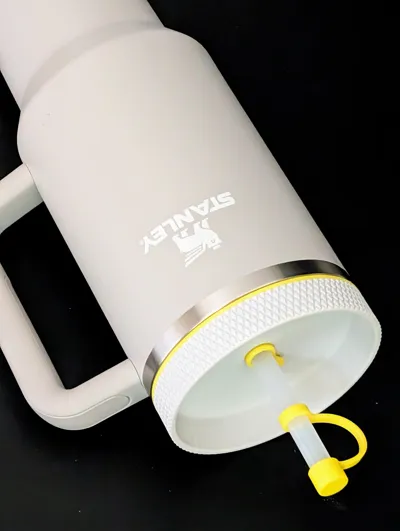
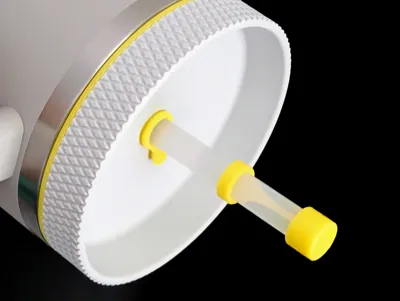
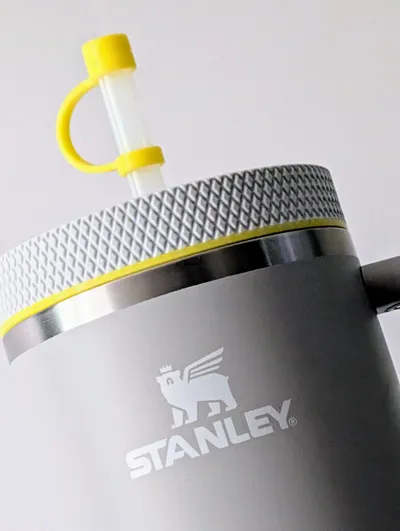
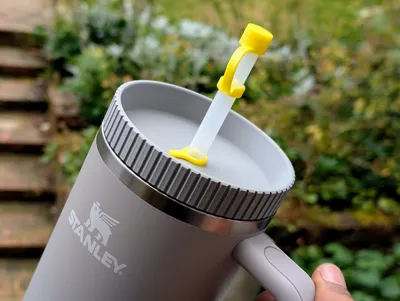
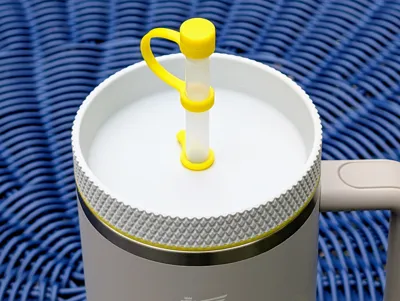
My solution was to simplify the design a little. By removing the extra moving parts and creating a single, cantered straw hole, I was able to make it leak proof. To solve the grip issue, I added deep, functional ridges around the entire edge.
This project was also the perfect opportunity to try out Bambu Lab's new PLA Tough+, which I chose specifically for its durability and impact strength.
Key Features
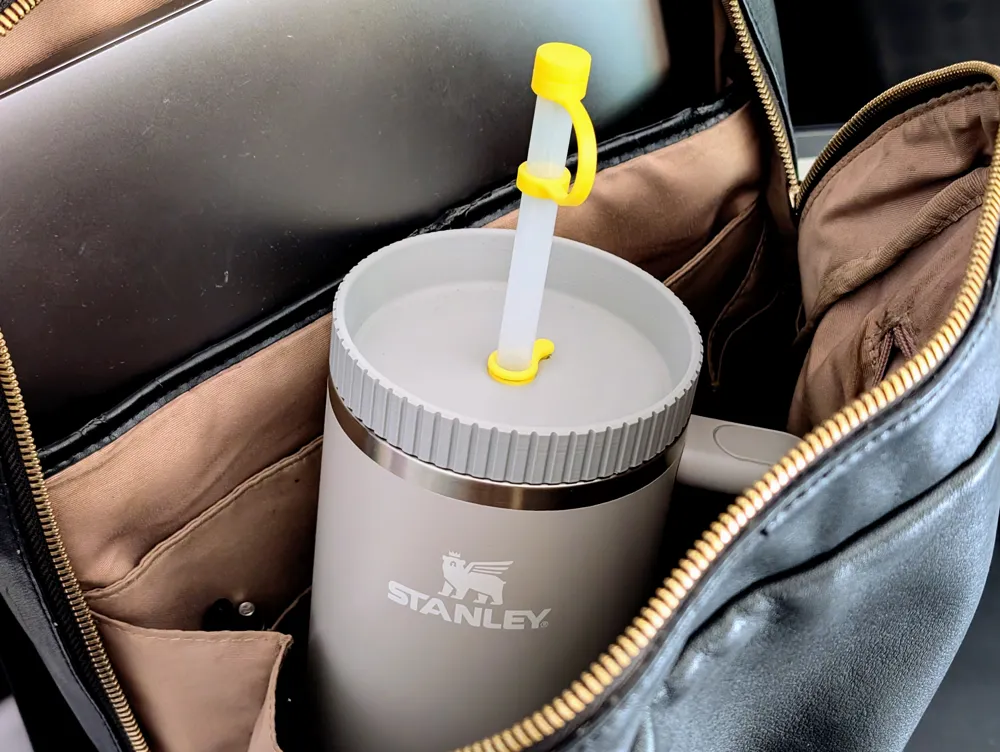
- 100% Leak-Proof: Our single-port design, combined with a custom-fit TPU washer and plug, ensures a watertight seal. Carry your cup in a bag with confidence!
- Extra Grip: Deep ridges around the edge of the lid provide excellent traction, making it easy to twist on and off.
- Ambidextrous Design: The straw is now located in the centre, allowing you to drink comfortably from any angle.
- Easy to Clean: The lid is designed for simple disassembly for thorough cleaning. The grommet can be easily pushed out and re-inserted.
Printing, Assembly & Care
For optimal results, I recommend the following:
- Main Lid: Print in PLA Tough+ or another impact-resistant filament. This ensures the lid is strong
- Seals & Flexible Parts: The washer, grommet, plug, and straw cover must be printed in TPU 95A or 90a to create the leak-proof seal.
- Important Safety Notice: Most filaments are not considered food-safe so I recommend sealing the print with a food-safe epoxy like this before use.
- Always wash it by hand using lukewarm water and mild soap. avoid boiling water unless you using a heat resistant filament.
Assembly is straightforward:
- From the underside of the lid, push the TPU grommet through the central hole. It will require a little effort to pop into place.
- Press the grommet down until it fits in its recessed section.
- Place the large TPU washer into the groove on the underside, ensuring the pointy side faces down, away from the lid.
Conclusion
Upgrade your Stanley Quencher experience with a lid that’s designed for real life. This print offers the durability, convenience, and peace of mind that the original just can't match. I hope it works as well for you as it has for me! Please leave a comment if you have any feedback.
Download the model today and Follow for Updates!
I'm continuously creating new models so follow @moss3d to be notified when I upload new models.
_______________________________________________
License

You shall not share, sub-license, sell, rent, host, transfer, or distribute in any way the digital or 3D printed versions of this object, nor any other derivative work of this object in its digital or physical format (including - but not limited to - remixes of this object, and hosting on other digital platforms). The objects may not be used without permission in any way whatsoever in which you charge money, or collect fees.


Comment & Rating (36)