
Indestructible crane for everyone, no AMS, no tool
Print Profile(1)

Description
Boost Me (for free)
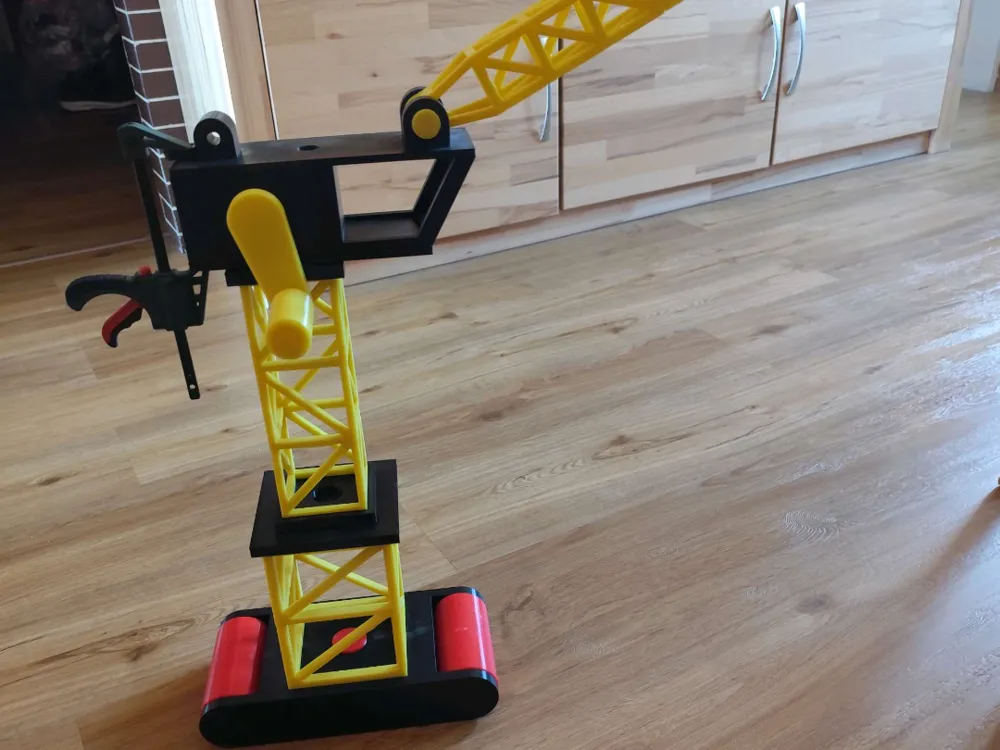
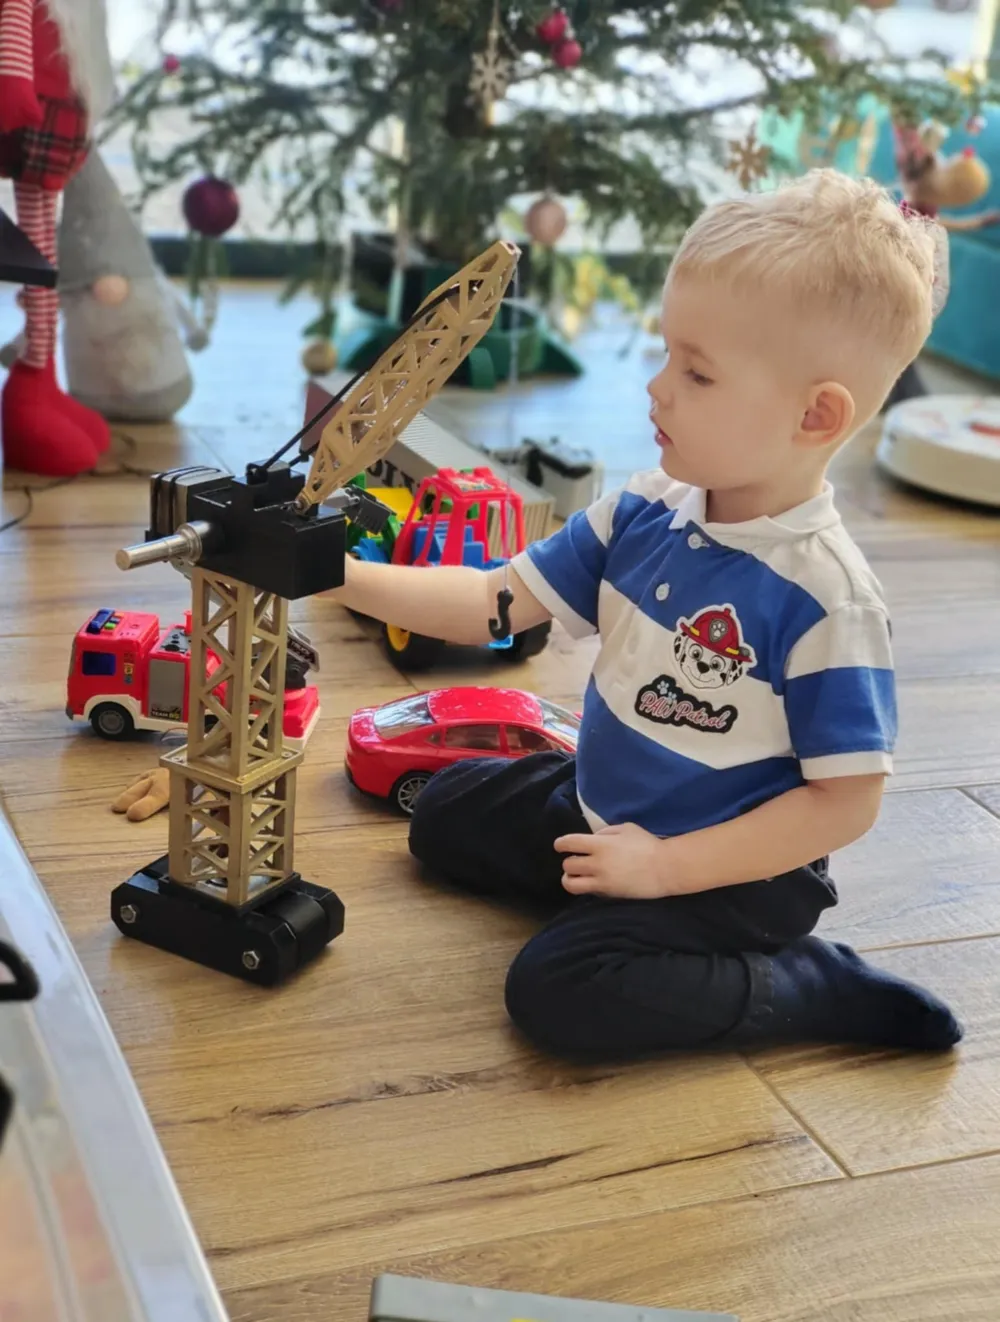
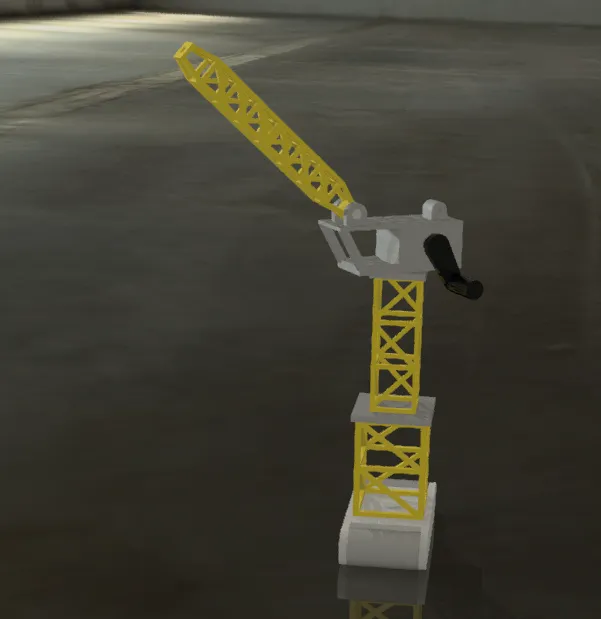
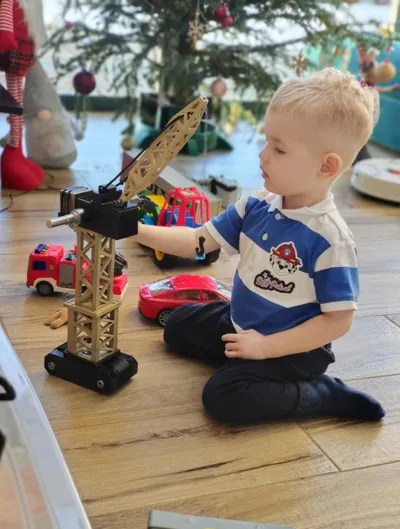
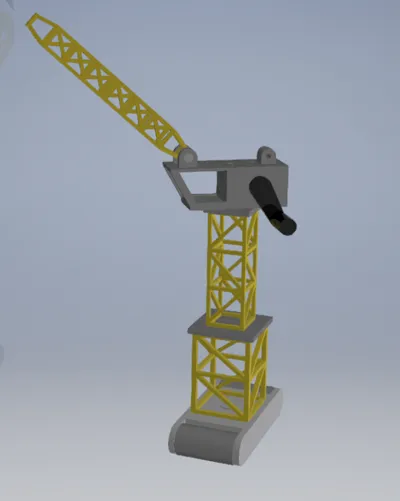
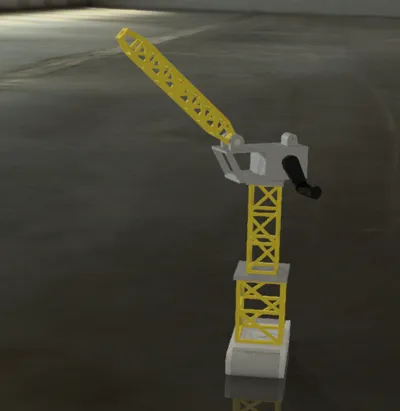
Hello everyone, here's my new project on MakerWorld. I was looking for a crane that would withstand my children's load tests. Unfortunately, none of them met my expectations, so I created my own. This is the second version, which is currently indestructible! Of course, it doesn't lift 20kg, but neither can my children ;-) But I think it can easily lift 5kg, and that's a weight my children accept as good equipment. I hope you like it!
Assembly instructions (EN):
1. **Print plate no. 1 and 2**, then attach the rollers to one part of the base. Apply glue to the **inside** of the base (excluding the wheel slots) and join the two parts together. Fill the resulting hollow space with **sand/sugar/salt etc.** After filling the base, insert the **plug from plate no. 2** and seal it with glue.
2. **Print plate no. 3** (it can be printed without supports, but this is not recommended if using low-quality PLA). Then glue the **widest part** to the base.
3. **Print plate no. 5**, take the **widest part** and glue it to the wide element from **plate no. 3**. Next, take the **tallest part** from plate no. 3 and glue it to the rest of the base components.
4. **Print plate no. 6**, take the **largest part from plate no. 6** and the **smallest from plate no. 5**, assemble them together, and then tighten with the **screw from plate no. 6** (make sure the part can rotate). Attach the assembled part to the rest of the base with glue.
5. **Print plate no. 7**, then glue the printed element to the rest of the base.
6. **Print plate no. 4** (**must be printed with PET-G! PLA may get damaged and is not recommended**). Insert the **hexagonal shaft** through the cabin, and at this point, **insert the string through the shaft and tie a knot at the end** – this is important as there will be no access to it later! Attach the **crank** and glue it in place.
7. Take the **last part from plate no. 4**, thread the **string through the hole**, and then glue it to the **top of the cabin**. Use a generous amount of glue!
8. Take the **last 2 parts from plate no. 3** and glue them together. Take the **pin from plate no. 4** and assemble it with the cabin.
9. Thread the **string through the boom**.
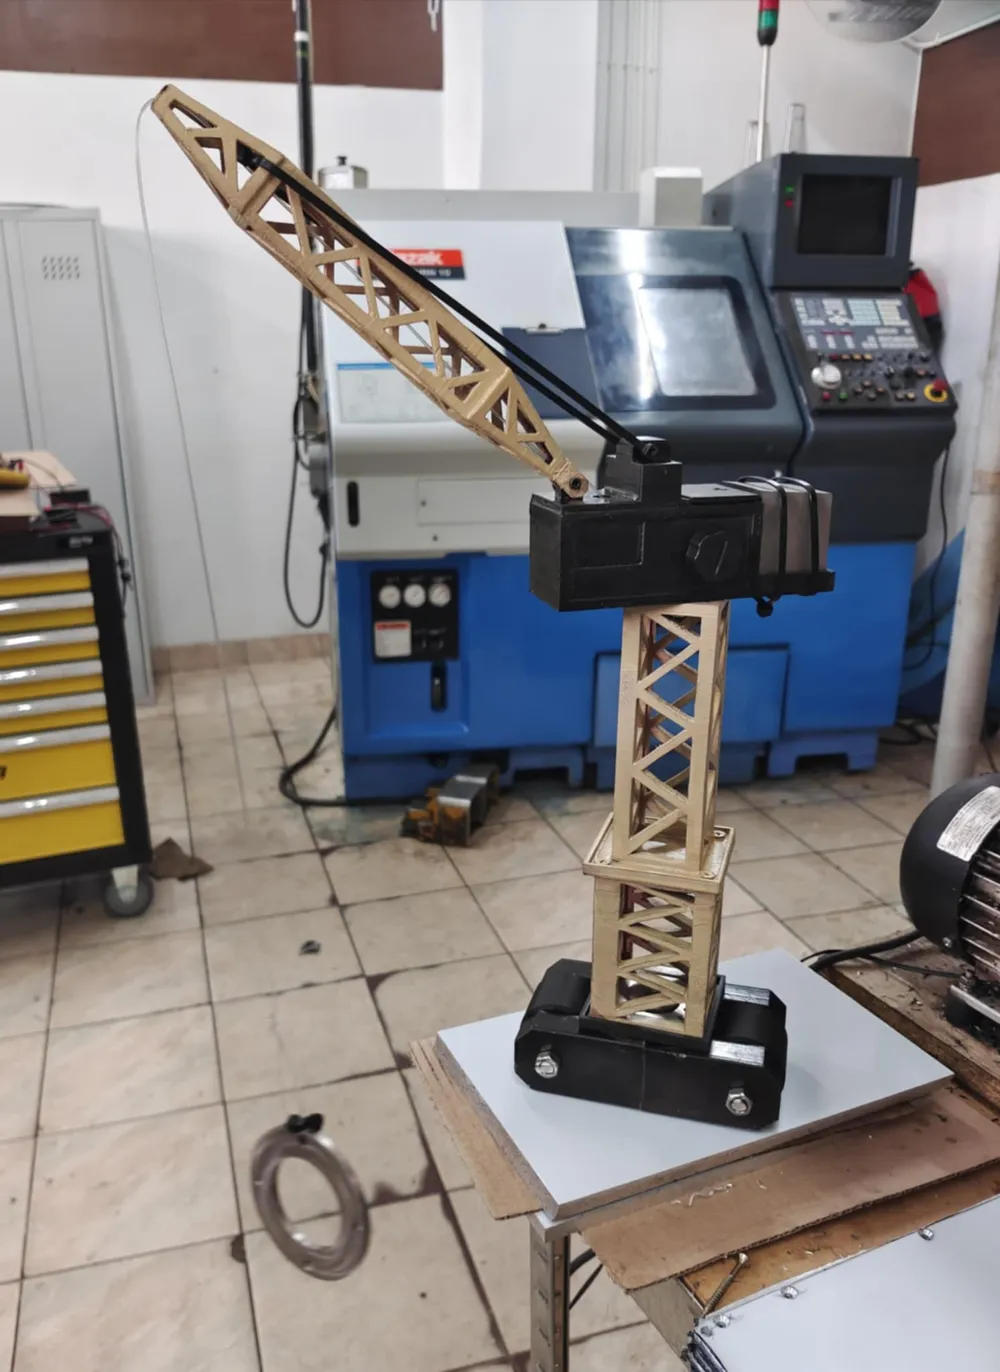
10. Thread the **second string** which will lift the boom. (**Refer to the photos of the finished crane**).
---
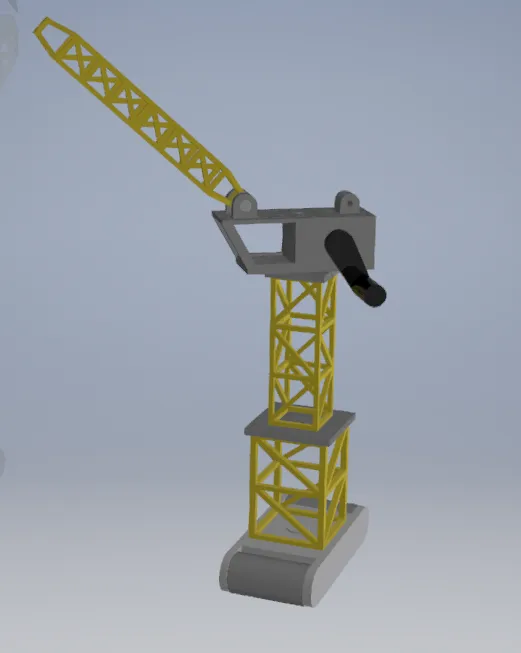
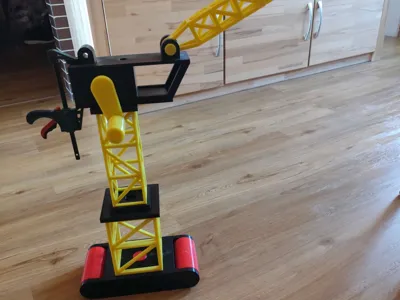
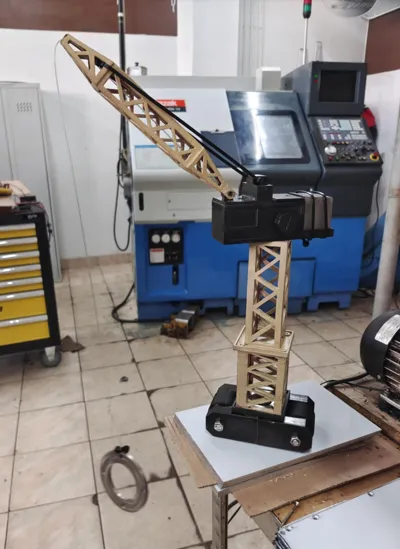
**Note:** The photos show the first version of the crane. In this model, all weak points have been improved. The crane is highly resistant to damage and can lift **very heavy objects** that other models cannot.
**Have fun! ;-)**
Instructions (PL):
1. Print plate no. 1 and 2, then attach the rollers to one part of the base. Apply glue to the inside of the base (excluding the wheel slots) and join the two parts. Fill the resulting hollow space with sand/sugar/salt etc. After filling the base, insert the plug from plate no. 2 and seal it with glue.
2. Print plate no. 3 (it can be printed without supports, however, this is not recommended if using low-quality PLA). Then glue the widest part to the base.
3. Print plate no. 5, take the widest part and glue it to the wide element from plate no. 3. Next, take the tallest part from plate no. 3 and glue it to the rest of the base components.
4. Print plate no. 6, take the largest part from plate no. 6 and the smallest from plate no. 5 and assemble them together, then tighten with the screw from plate no. 6. (Make sure the part can rotate). Attach the assembled part to the rest of the base.
5. Print plate no. 7, then glue the printed element to the rest of the base.
6. Print plate no. 4 (remember, it must be PET-G! PLA may get damaged and is not recommended). Insert the hexagonal shaft through the cabin, at this point insert the string into the shaft and tie a knot at the end; this is important as there will be no access to it later! Attach the crank and glue.
7. Take the last part from plate no. 4, thread the string through the hole, then glue it to the top of the cabin; remember to use a generous amount of glue!
8. Take the last 2 parts from plate no. 3 and glue them together. Take the pin from plate no. 4 and assemble it with the cabin.
9. Thread the string through the boom.
10. Thread the second string which will lift the boom. (Refer to photos of the finished crane).
Note: The photos show the first version of the crane. In this model, all weak points have been improved. The crane is highly resistant to damage and can lift very heavy objects that other models cannot. Have fun! ;-)
Boost Me (for free)
License

You shall not share, sub-license, sell, rent, host, transfer, or distribute in any way the digital or 3D printed versions of this object, nor any other derivative work of this object in its digital or physical format (including - but not limited to - remixes of this object, and hosting on other digital platforms). The objects may not be used without permission in any way whatsoever in which you charge money, or collect fees.


Comment & Rating (40)