
Grimdark Inspired Power Sword Mk.2: 1Meter Length
Print Profile(2)


Bill of Materials
- 3ft 1/4-20 Threaded steel rod or metric equivalent x 1: Found at most hardware stores.
- 1/4-20 Threaded coupling nuts or metric equivalent x 2: make sure the threads match your rod!
Description
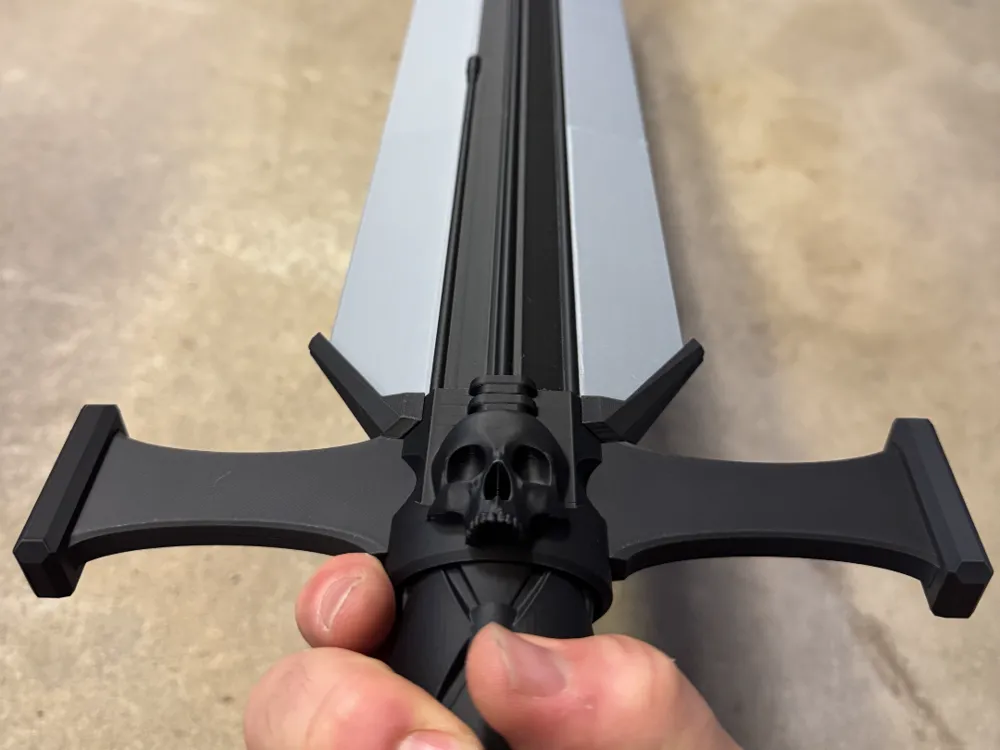
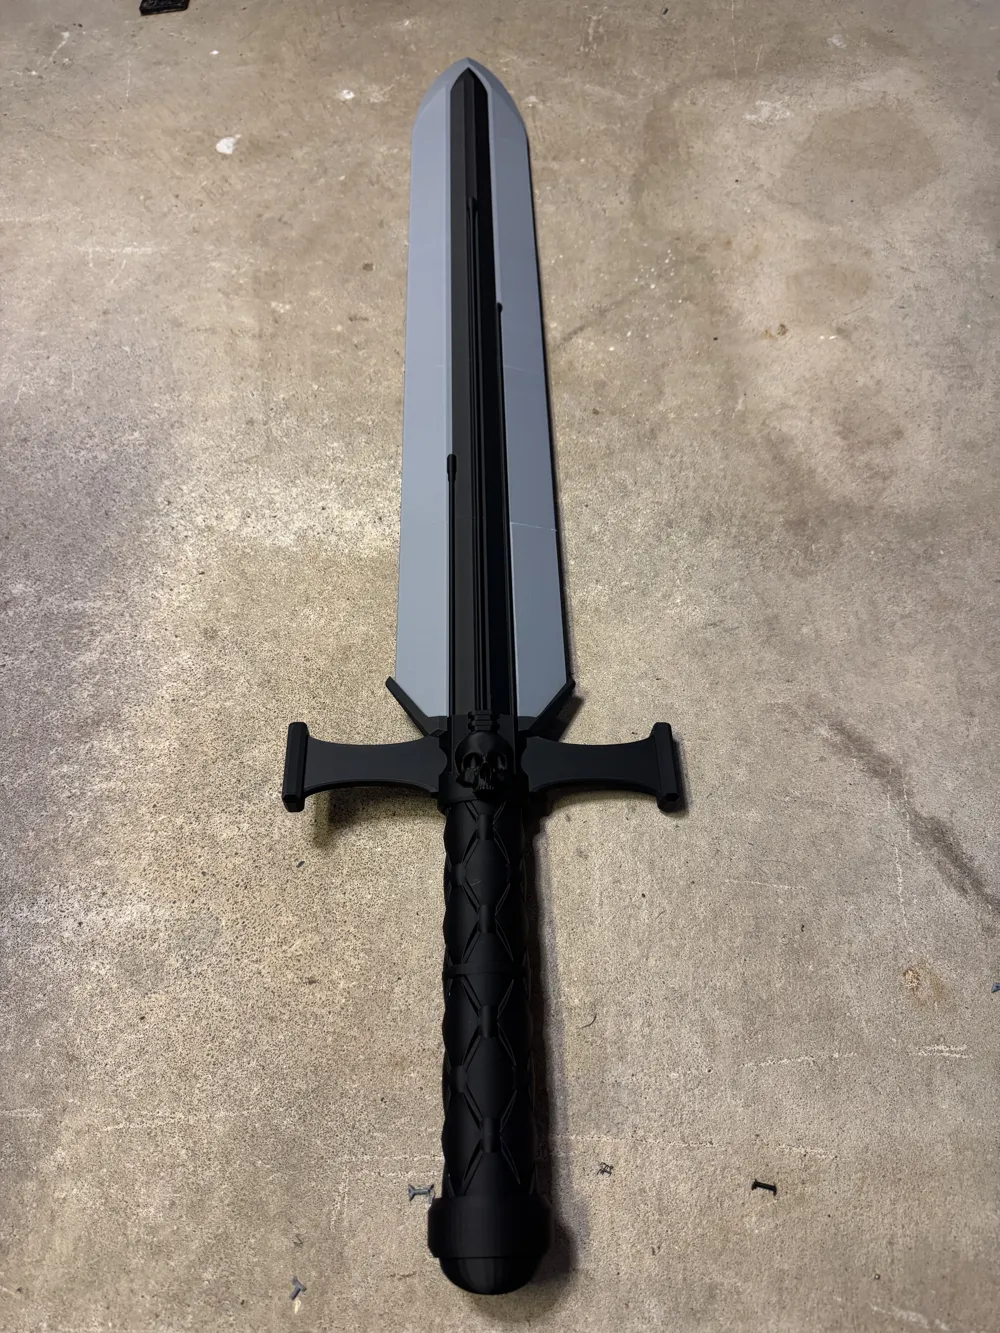
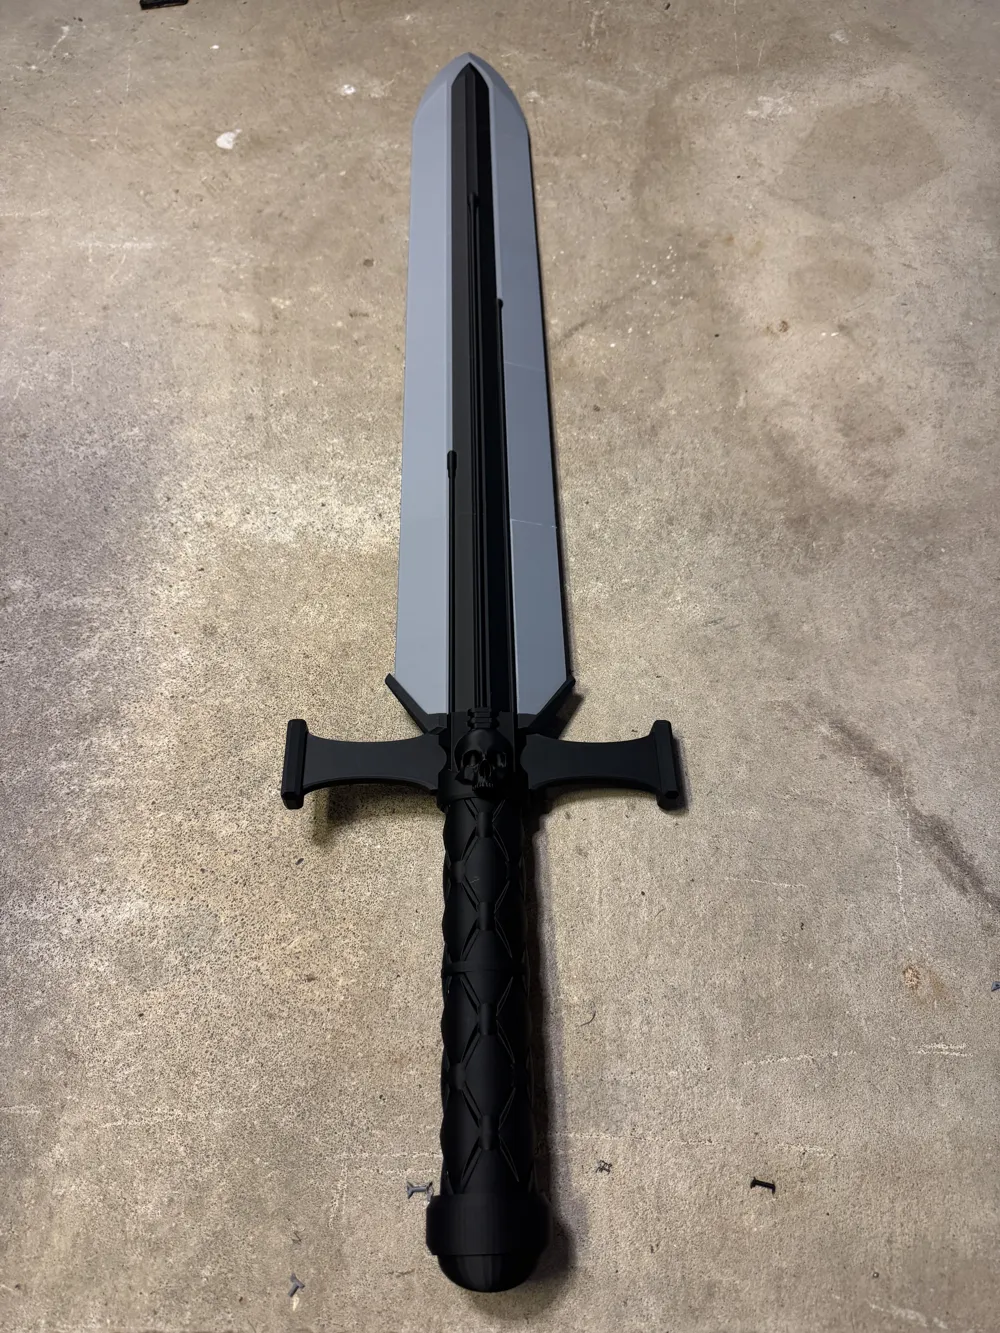
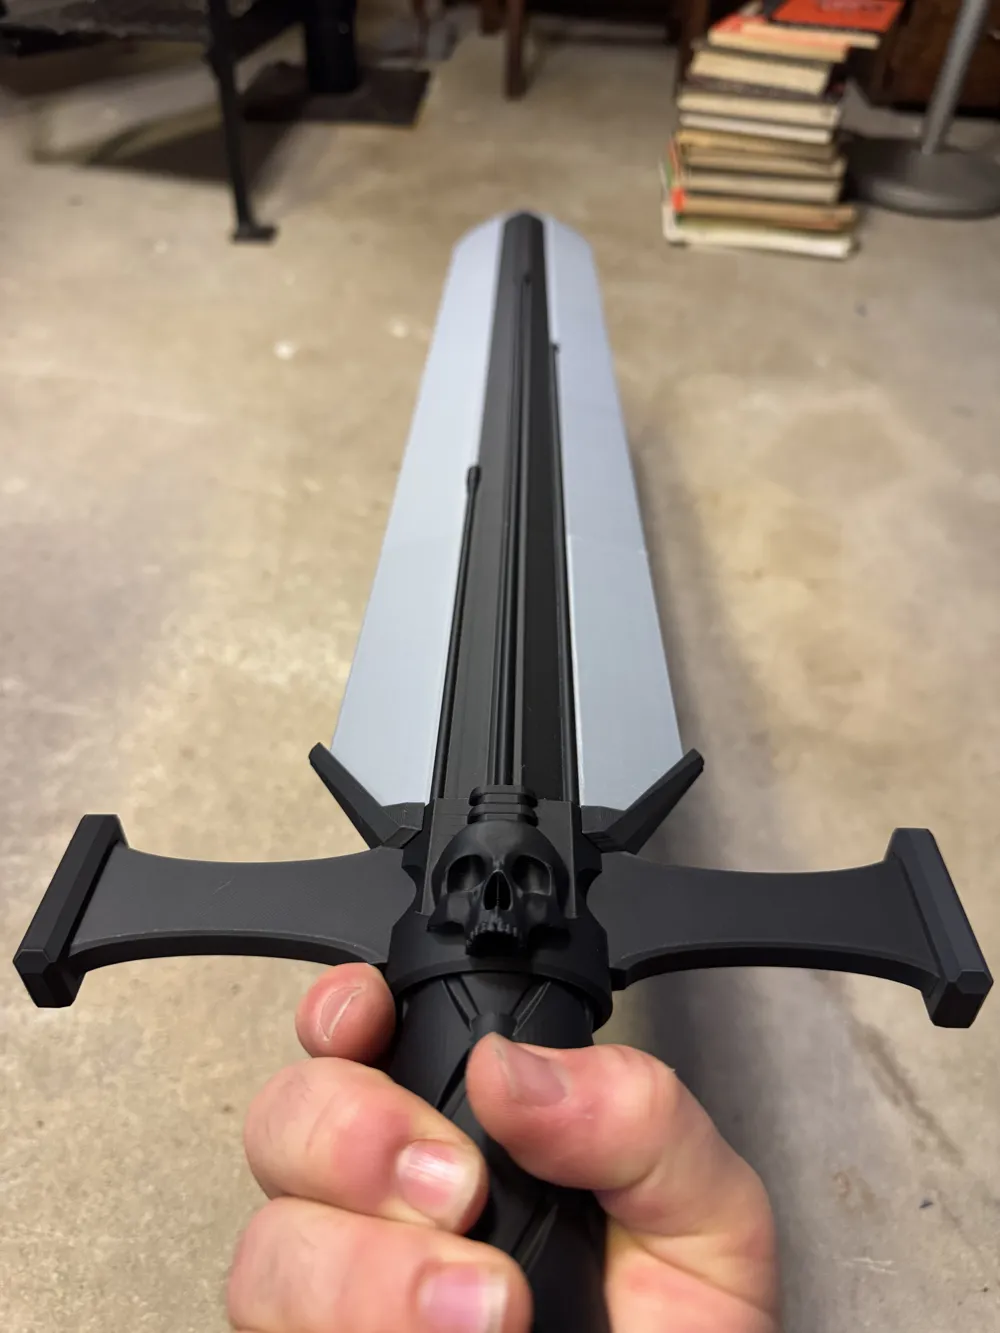
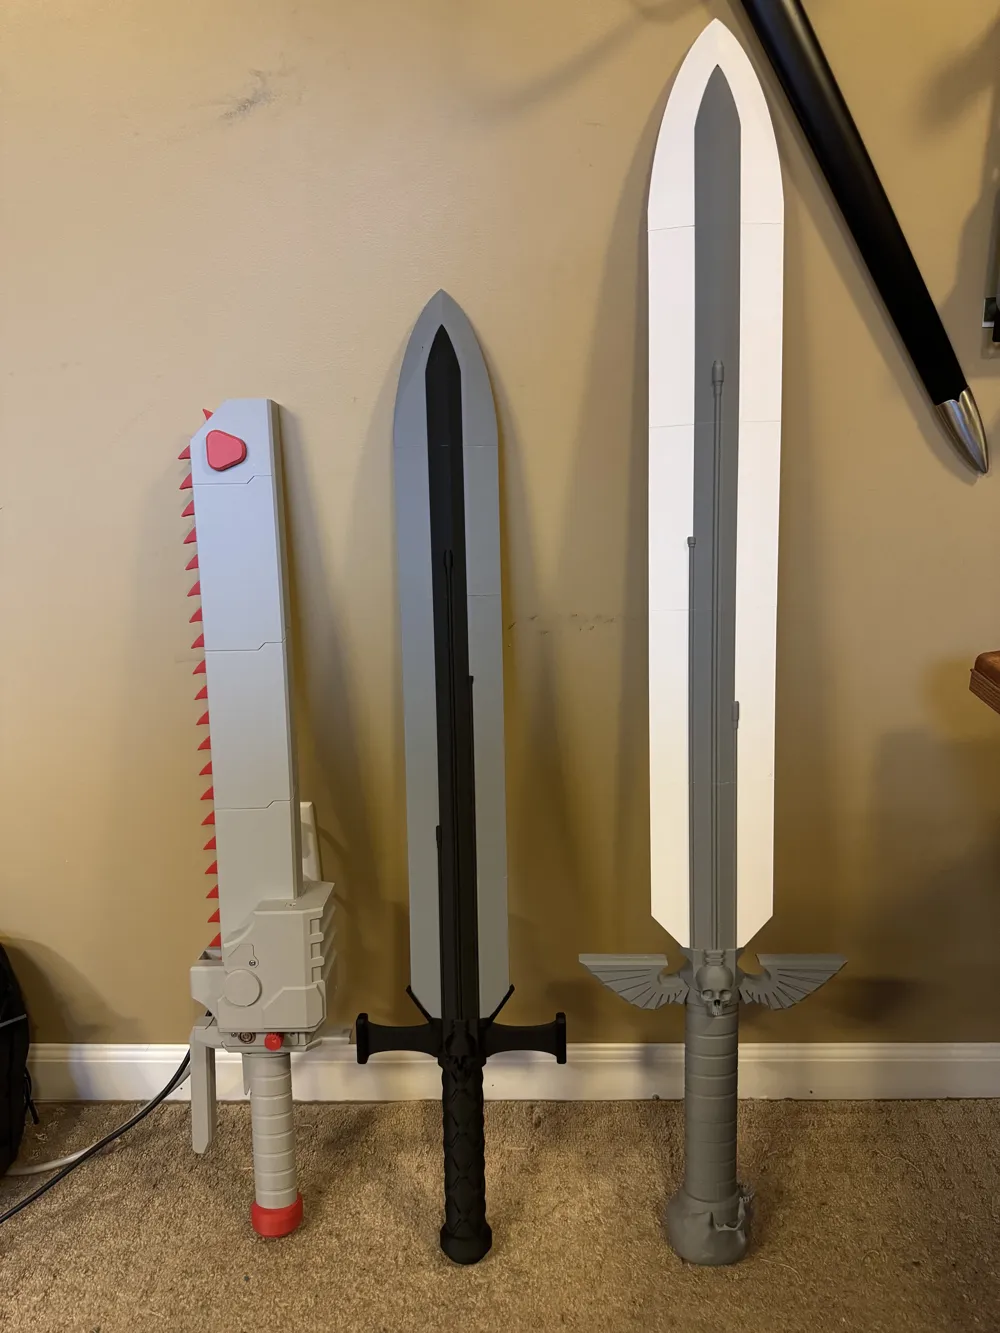
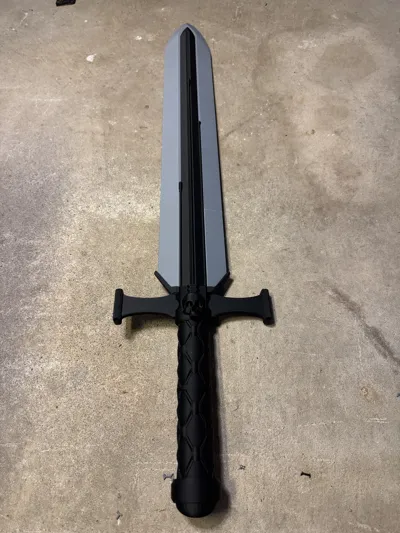
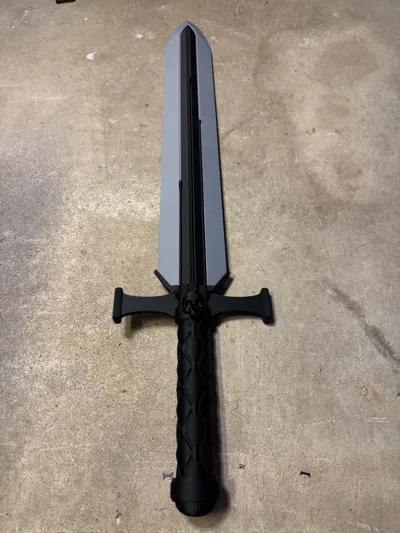
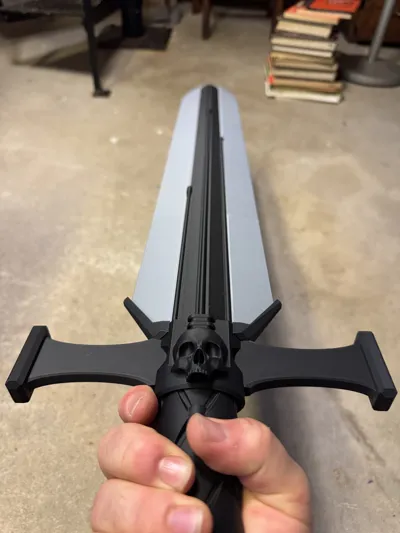
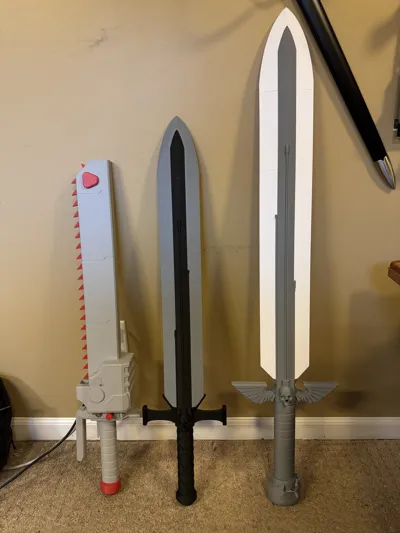
This Model kit comes in 25 pieces that are assembled using trapezoidal tabs. It is suggested that you use a 3 foot long 14/20 threaded rod and two ¼-20 coupling nuts on each end to run the steel rod through the model to create a rigid and strong prop. This model is a slight aesthetic departure from its parent; the Grimdark Power Sword Mk.1 by @ratjob. IT is not designed to contain the Sound and Light motion prop kit from Bambu, it is presented at 85% scale from its parent.
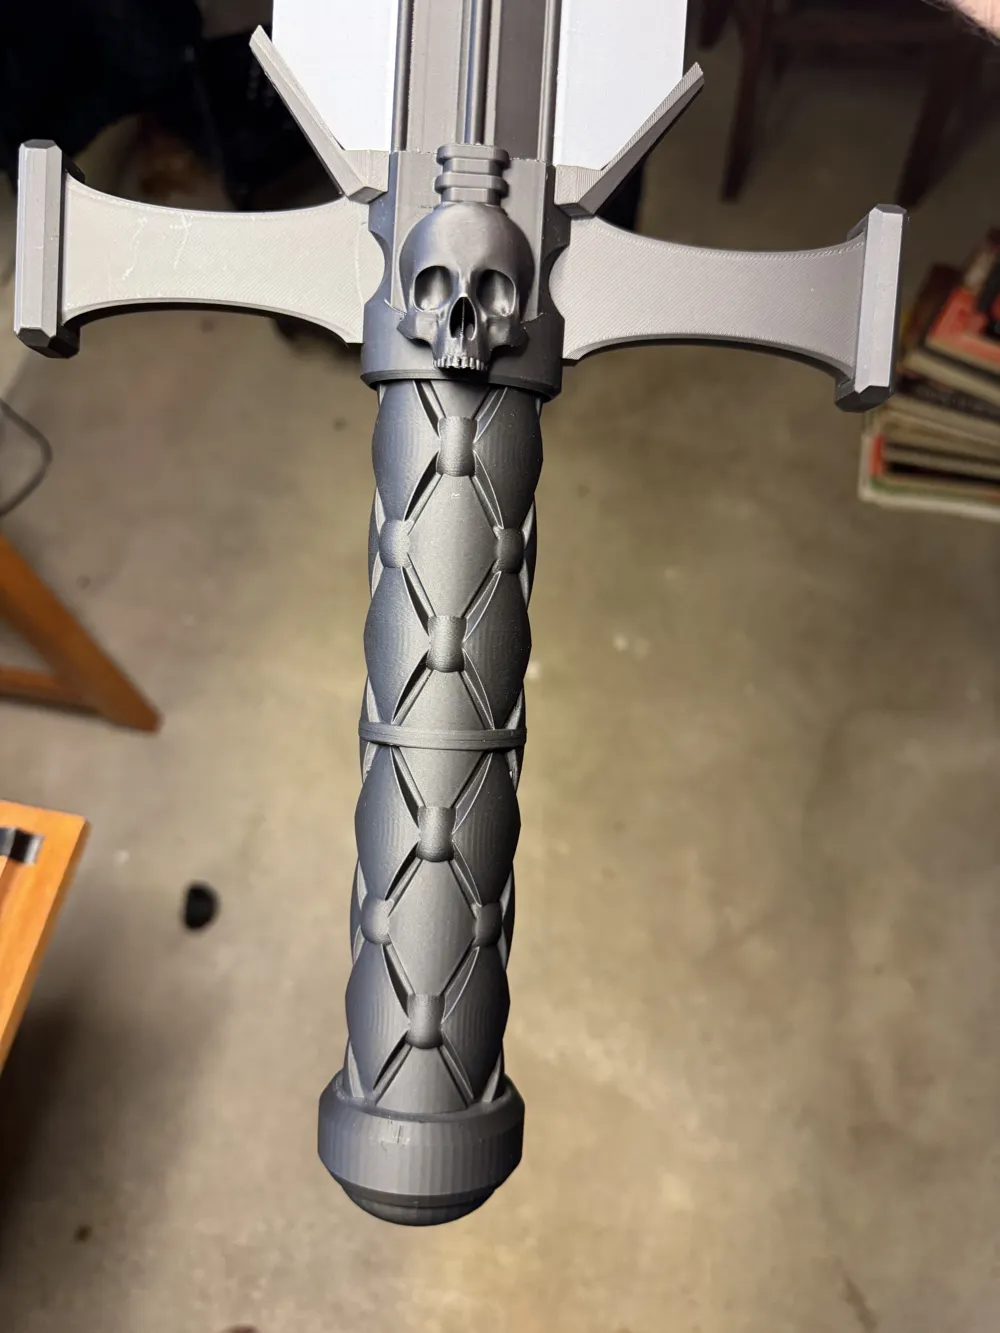
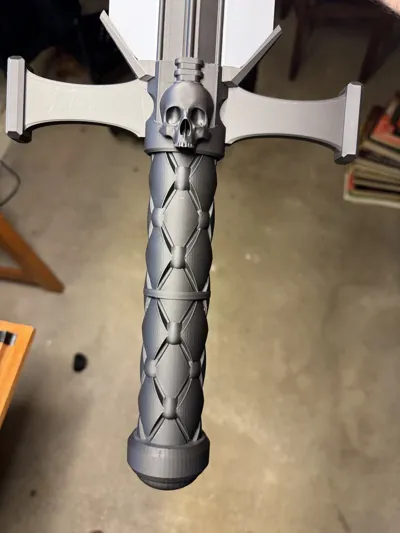
This model profile contains parts to duplicate the Mk.1 aesthetic if you do not like the cruciform cross guards, bare pommel, and different grip texture. There is an additional grip provided for individuals with larger hands as well.
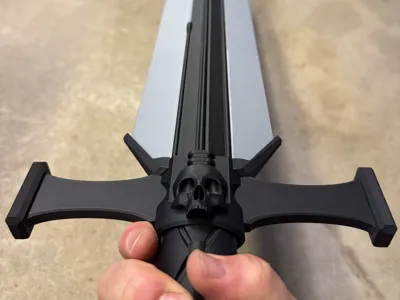
Plate 1 - Cruciform Cross Guards
Plate 2 - Center Blade Sections
Plate 3 - Blade Edges and Tip
Plate 4 - Mk.2 Style Grip, Pommel and Hilt
Plate 5 - Connecting Tabs
Plate 6 - Mk.2 Style Grip - larger diameter for larger hands.
Plate 7 - Mk.1 Style Grip and Cross Guards
There is plenty of room in the grip and pommel to add washers and other counterweights to balance your blade. This Techpriest suggests ¼-20 threaded nuts and suitable sized washers attached to the threaded rod. Be sure to only use glue when you are sure of your weapon's balance and performance.
The tabs and blade sections are deliberately tight fitting, you may find that you need to sand or post-process your parts depending on humidity and filament type to get them to go together. This is deliberate as I intend to give this prop to my son to play with and I wanted a sturdy construction. Some light hammering with a rubber mallet was used to get these parts together.
It is suggested that you assemble each blade segment with its blade edges before “stacking” them with the connecting tabs. Run the threaded rod and the coupling bolts through the blade and hilt, create your counterbalance within the hilt and pommel (¼-20 bolts, washers, metal bbs, etc) before closing the grip and tightening the coupling bolts. The blade tip should be installed last and without glue so that the top coupling bolt can be reached in the future if you need to disassemble the model to replace parts (I anticipate my son beating the heck out of it and some edges needing replacement in the future.
While I have added this model to the “exclusive program” I really do encourage people to take these parts and modify them. If you would like to do so, please let me know and I can submit a non-exclusive model of the parts so you can download, modify and repost them…just so long as you mention me, the original creator @ratjob in the attributions.
Thank you to Haereticus on Thingiverse for the skull model that I used in this build.
License

You shall not share, sub-license, sell, rent, host, transfer, or distribute in any way the digital or 3D printed versions of this object, nor any other derivative work of this object in its digital or physical format (including - but not limited to - remixes of this object, and hosting on other digital platforms). The objects may not be used without permission in any way whatsoever in which you charge money, or collect fees.


Comment & Rating (17)