DnD TTRPG Modular Spiritual Weapon Miniature


Print Profile(2)


Bill of Materials

Description
Boost Me (for free)
Roll for initiative... and then boost my D&D miniatures! 😉 I'm super excited about my latest D&D sculpts, and I'd love for them to reach more tables and players. A quick boost helps my designs stand out and is a fantastic way to show support. Plus, it fuels my creative fire to make even more monsters and heroes! 🔥 Cheers!
A Like, Rating or Comment is a huge help and I really appreciate all of it. 🙏
Looking for More DnD Minis?
Check out the whole collection with new ones added all the time.
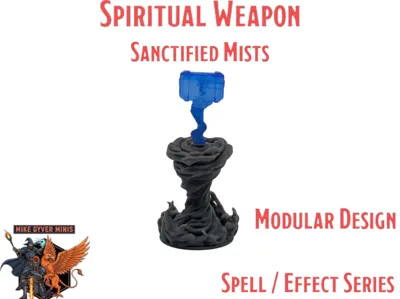
DnD TTRPG Modular Spiritual Weapon Miniature - Titled “Sanctified Mists” - Part of my Spell/Effects Series
Size: Magical Vortex: 25mm.
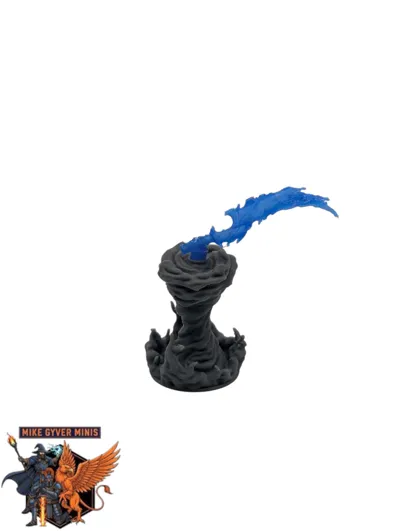
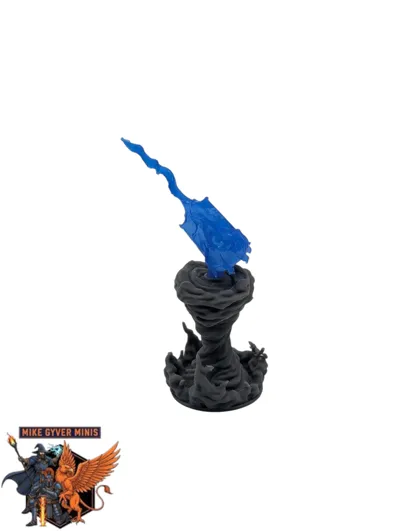
Weapon Accessories: 5 different miniatures (Cloud Axe, Mistwood Club, Vapor Scimitar, Haze War Hammer, Fog Longsword)
Each weapon has a 4mm push-fit peg to fit into the top of the Vortex. I have tested the push-fit connection between each weapon and vortex multiple times over multiple prints.
Nozzle: 0.4
Layer Height: 0.08mm
Post Processing:
Magical Vortex: Use thin tweezers to Pull supports down and out after cutting from the brim/base first. Be careful around the top of the vortex where the supports wrap around it. If you cut vertically along the wrapping supports, you will be able to remove those supports in one chunk. Make sure you're always holding the point of the mini and carefully removing supports.
Weapon Accessories: Use thin tweezers to pull the side supports off away from the miniature. Then carefully use thin tweezers to separate the miniature from the supports underneath it,
Make sure you're always holding the point of the mini and carefully removing supports.
These just need extra care and patience. Work from Bottom to Top. Some smoothing (sanding etc) after the supports are removed, may be required.
Housekeeping: Make sure your printer is Calibrated, Build Plate washed and Filament Dried so the supports have the best adhesion possible. Let the miniature fully cool down before removing supports.
Membership
🔥Looking for high-quality DnD 3D models that will attract your customers and expand your business?🔥 💥Our exclusive Commercial License gives you access to an ever increasing collection of high quality, ready-to-print DnD 3D models.💥 🔗Subscribe & start selling these top tier models today!🔗
License
You shall not share, sub-license, sell, rent, host, transfer, or distribute in any way the digital or 3D printed versions of this object, nor any other derivative work of this object in its digital or physical format (including - but not limited to - remixes of this object, and hosting on other digital platforms). The objects may not be used without permission in any way whatsoever in which you charge money, or collect fees.
Comment & Rating (17)