
Vinyl Coaster Turntable
Print Profile(1)

Bill of Materials





- M4 x 30mm Stainless Steel Dowel Pin x 4: https://amzn.to/4mAPE7g
- Adhesive Rubber Feet x 4: https://amzn.to/4ouQ1SD
- 6-Piece Vinyl Coaster Set x 1: https://amzn.to/41d0f0h
Description
Boost Me (for free)
If you appreciate my work and would like to see more of these projects in the future, feel free to support me with a free boost. Thank you so much!
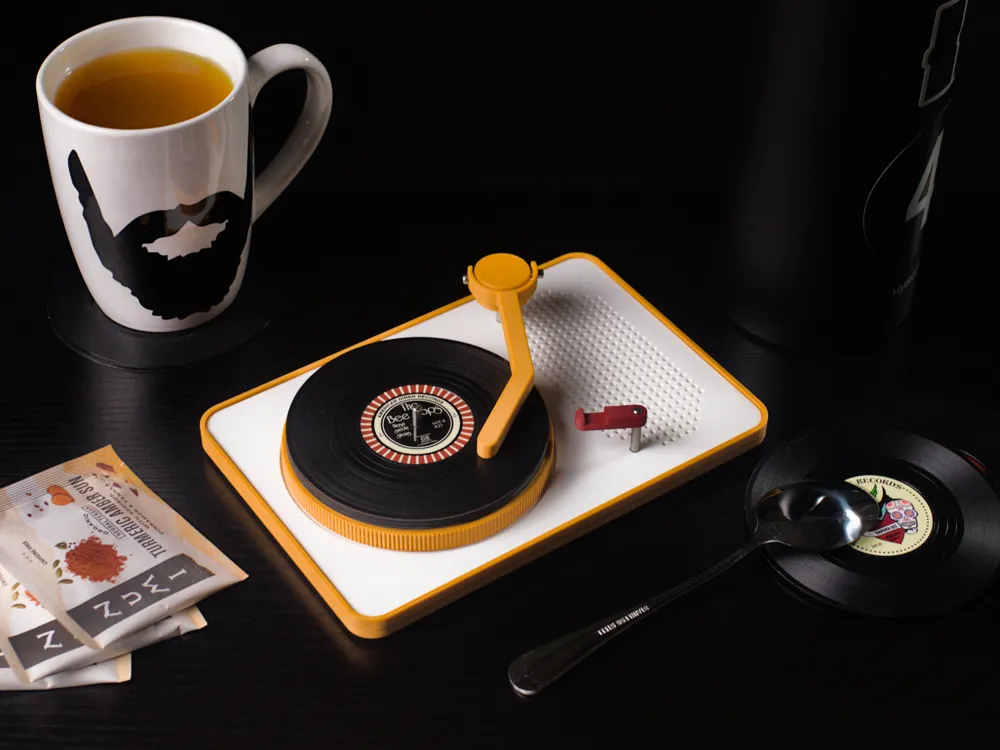
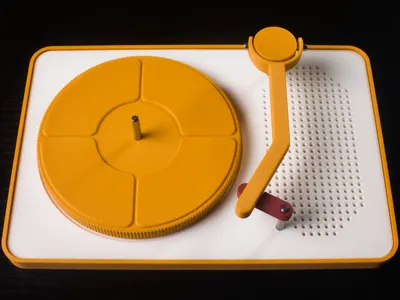
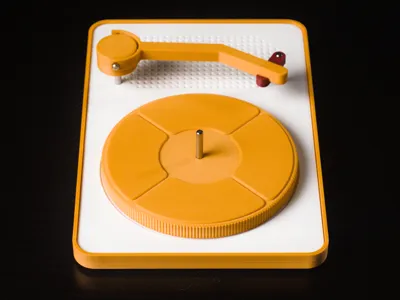
I got these vinyl coasters years ago, and even though I absolutely love them, I could never find a good way to store them. So, I decided to tackle the challenge myself and build them a home. That’s how I ended up creating this vinyl coaster turntable.
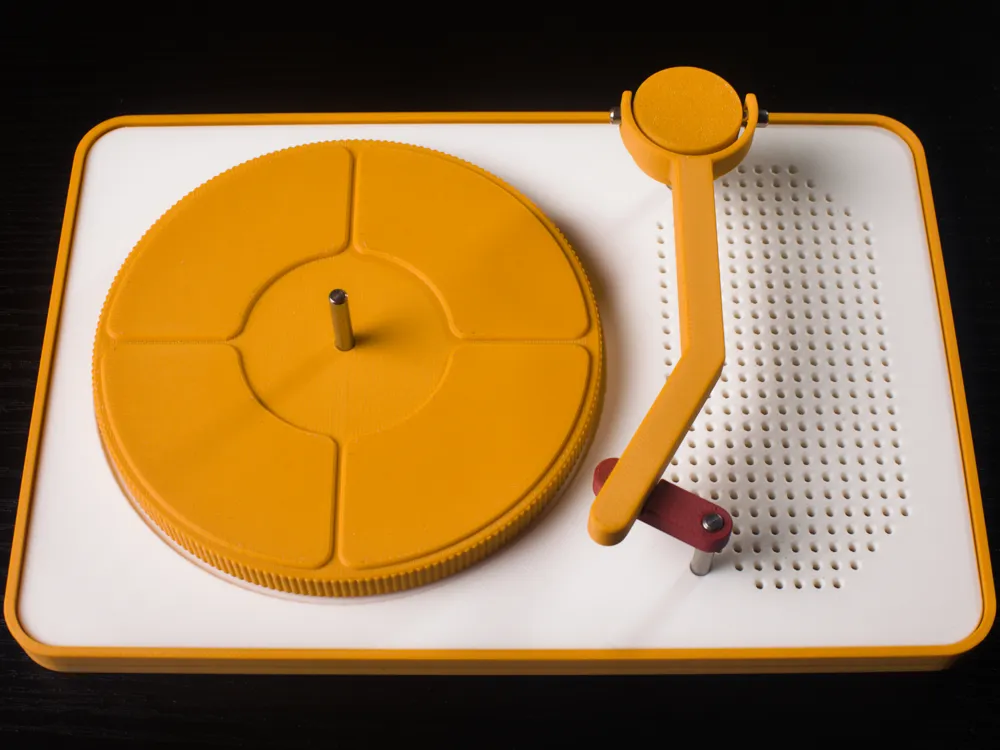
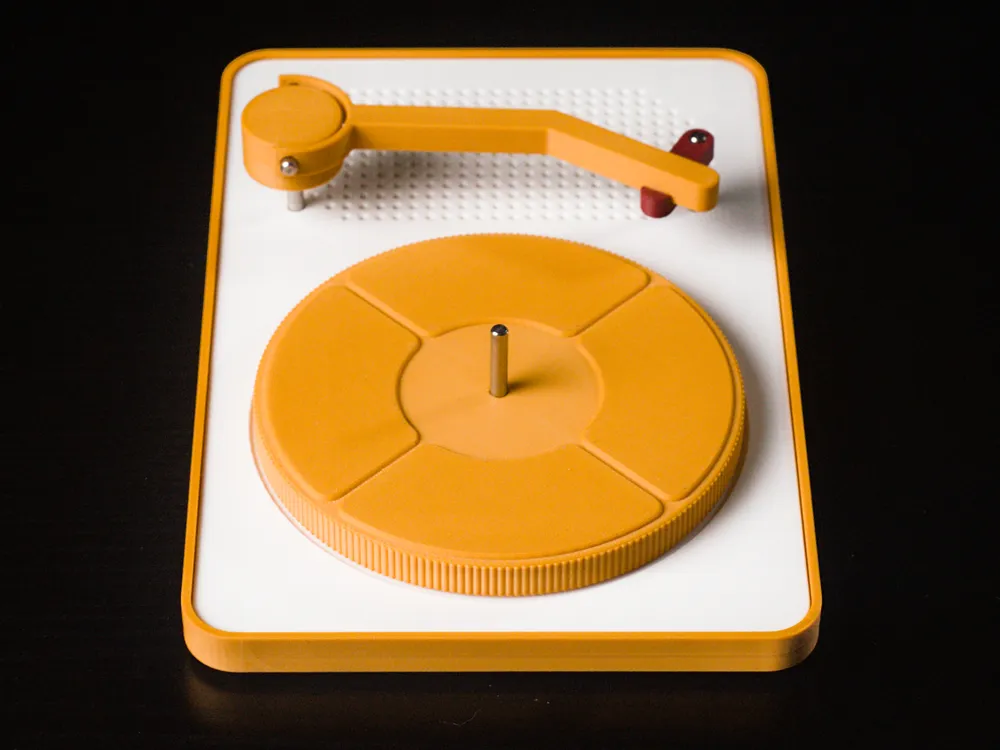
I really wanted to keep all the classic turntable features – you know, the spinning platter, the movable tonearm, and even a metallic spindle. To make that happen, I built 608 ball bearings and dowel pins right into the design.
For the overall look, I was aiming for something that felt nostalgic and paid tribute to vintage styles. I’m a big fan of how media systems used to be more like furniture than just electronics, and I tried to capture that exact feeling in my final product.
Required Hardware
For this build, you will need the following components:
- (4x) M4 x 30mm Stainless Steel Dowel Pins
- (2x) 608 Ball Bearings (standard skateboard size)
- (Optional) Adhesive rubber or felt feet (for the base)
- (Optional) 6-Piece Vinyl Coaster Set (for the nice stickers and rubber bottom)
Assembly Instructions
- Build the Base: Start by inserting the three M4 steel dowel pins into the holes on the main turntable base.
- Attach the Front Plate: Carefully align the front plate with the exposed dowels and gently slide it down until it sits flush against the base.
- Install the Platter: Press one 608 ball bearing into the recess on the underside of the platter. Once seated, place the platter onto the central dowel pin on the base.
- Assemble the Tonearm: Push the second 608 ball bearing into the larger “Outer Ball Bearing Adapter.” Then, press the “Inner Ball Bearing Adapter” into the center of the bearing.
- Mount the Tonearm: Slide a steel dowel through the Outer Ball Bearing Adapter and the tonearm piece to connect them.
- Final Touches: Attach the completed tonearm assembly to the base using the designated dowel pin. Add the small tonearm rest to the final remaining dowel.
- Bonus Points: For extra stability and surface protection, apply small adhesive feet to the bottom of the turntable base.
Boost Me (for free)
If you appreciate my work and would like to see more of these projects in the future, feel free to support me with a free boost. Thank you so much!
License

You shall not share, sub-license, sell, rent, host, transfer, or distribute in any way the digital or 3D printed versions of this object, nor any other derivative work of this object in its digital or physical format (including - but not limited to - remixes of this object, and hosting on other digital platforms). The objects may not be used without permission in any way whatsoever in which you charge money, or collect fees.


Comment & Rating (31)