Hiroshima Atomic Bomb Dome Lamp [Mushroom Cloud Shaped Lamp]


Print Profile(1)

Description
The Nagasaki ground zero version is also ready, https://makerworld.com.cn/zh/models/1489502-chang-qi-he-bao-tai-deng-yu-yin-kong-zhi-ke-bian-s#profileId-1625192
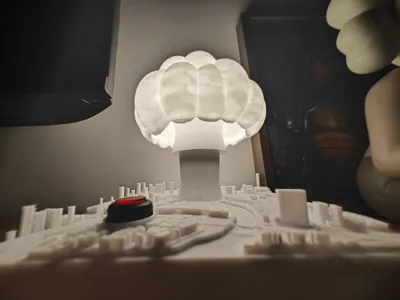
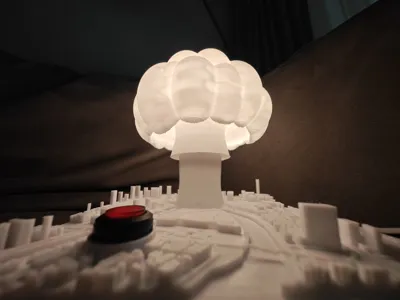
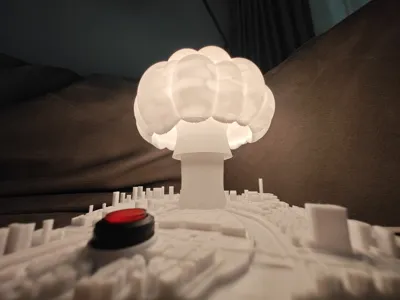
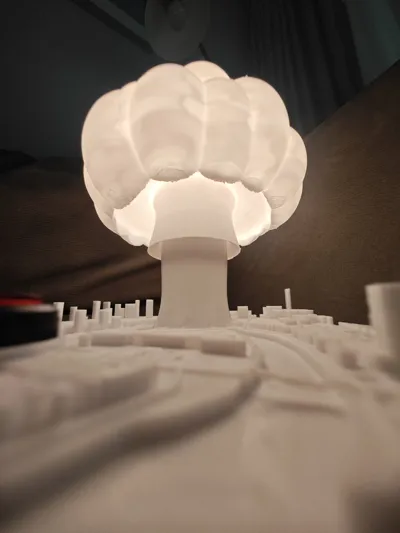
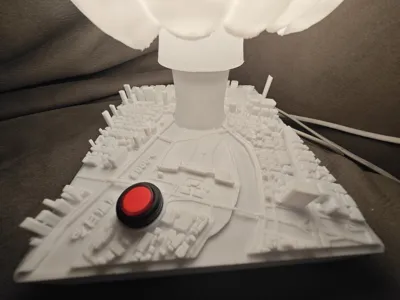
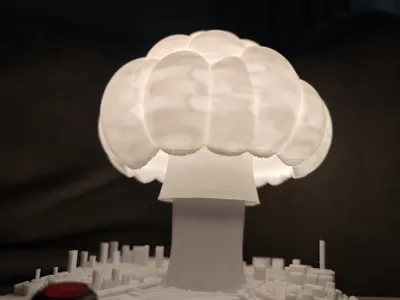
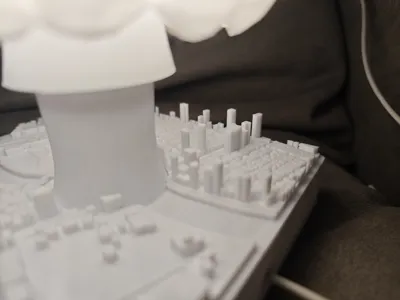
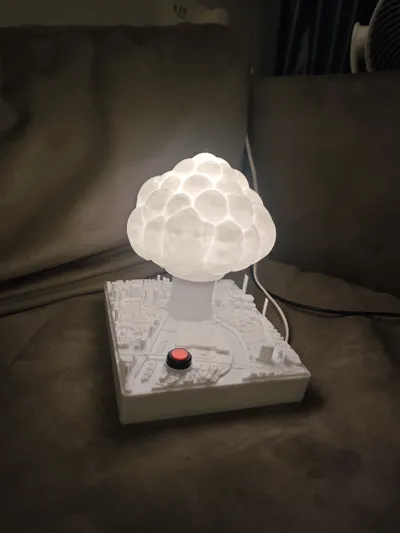
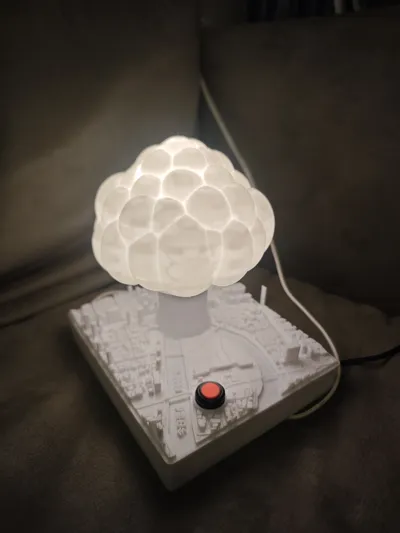
This is a mushroom-shaped table lamp, with the city prototype beneath it being Hiroshima's ground zero
I simply thought this city paired with a mushroom lamp was really cool, which is why I created this lamp


If you also want to make such a lamp, you need to prepare the following materials: For printing, PETG or a more heat-resistant material is recommended
E14 ceramic lamp holder, size 50mmx30mm

E14 bulb, size 90mmx30mm, the one I chose has Xiao Ai control, you can choose according to your needs, do not choose one that is too long as the lampshade has limitations

Push button switch, height 30, outer thread diameter is approximately 18.5, my opening is just large enough to fit it in

Finally, prepare 4 M3x5 hex standoffs and 4 M3x5 Phillips flat head screws, these are used to secure the base cover plate
Installation is very simple, the lamp holder is placed inside the long cylindrical column and will snap into place without falling The short cylindrical column is glued to the bottom of the lampshade, there is a locating hole, just insert it and glue it firmly
The large round hole in the base is for routing the lamp column, the long lamp column is inserted from beneath the map base, glue it firmly in place, then just screw on the lamp and lampshade
The small hole is for the switch, the outer part of the switch is a threaded ring, which can be removed and inserted into the hole first, glue it firmly, then screw in the main body of the switch This way, if the switch breaks later, it can be removed and replaced
For wiring, simply follow standard electrical switch wiring, there is an opening at the back of the base for routing the power cord outside Finally, slightly heat the hex standoffs and press them into the reserved hex holes, place the cover plate on and screw in the screws
Why is the large opening in that position Because that is the ground zero
The lamp was tested for two hours and produced very little heat, but it is still recommended to print with PETG
The printed bridges are very thin and might break, so handle them carefully It is not recommended to change the support pattern inside the lampshade, otherwise it might be difficult to remove


License
You shall not share, sub-license, sell, rent, host, transfer, or distribute in any way the digital or 3D printed versions of this object, nor any other derivative work of this object in its digital or physical format (including - but not limited to - remixes of this object, and hosting on other digital platforms). The objects may not be used without permission in any way whatsoever in which you charge money, or collect fees.
Comment & Rating (1)