
Print Profile(1)

Bill of Materials


- Sekundenkleber x 1: 4 Tropfen sind genug
Description
📦 Description
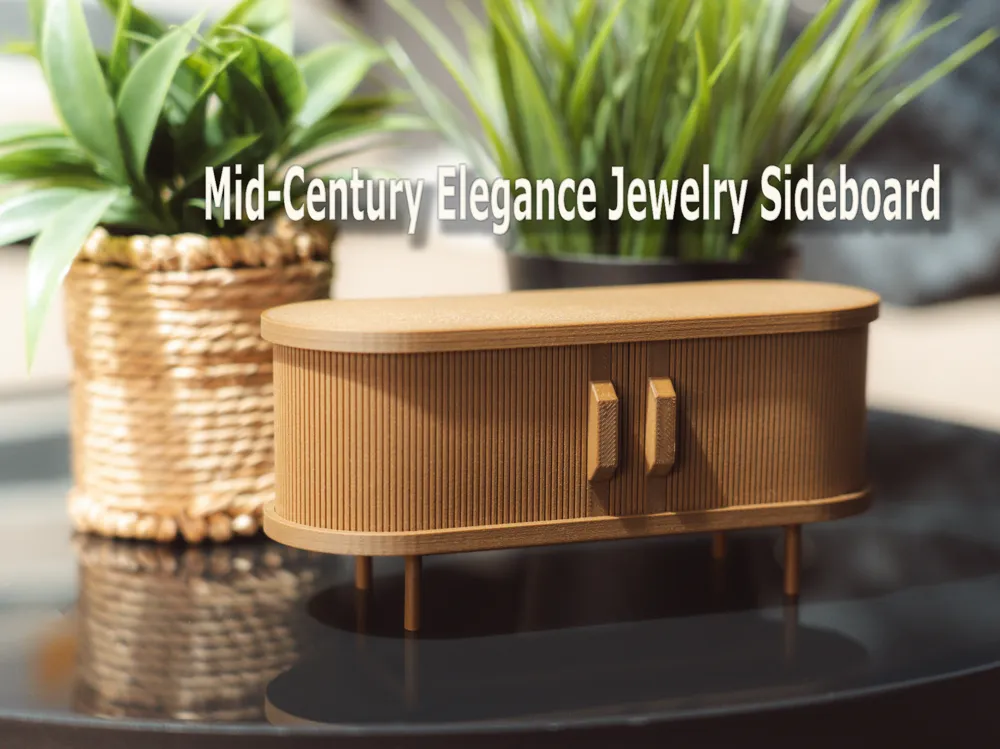
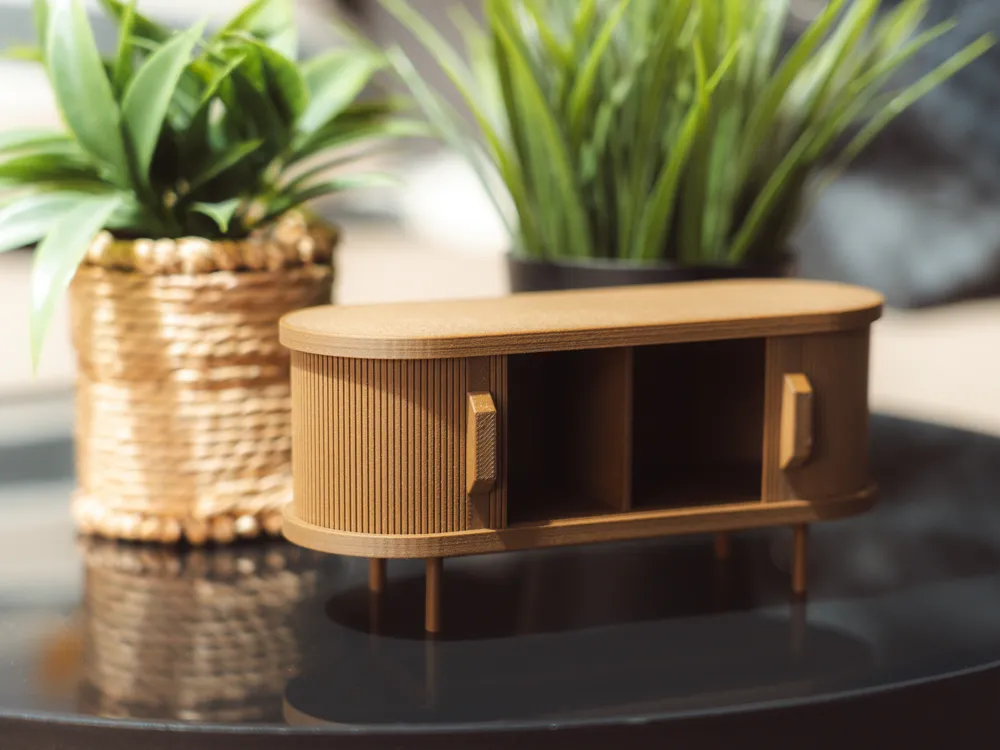
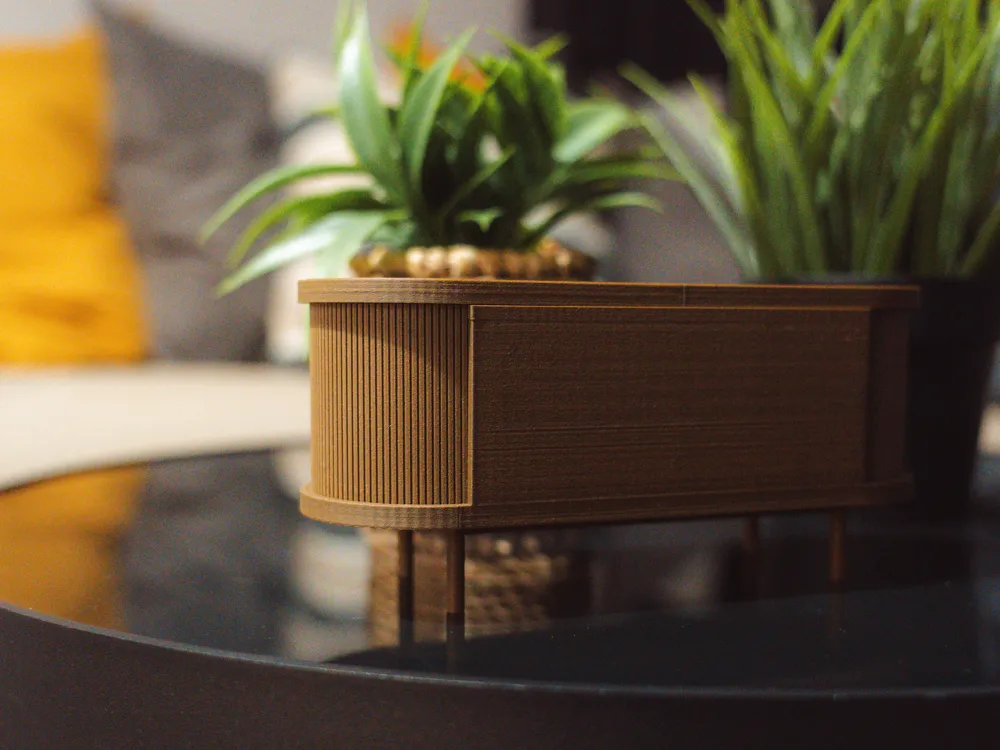
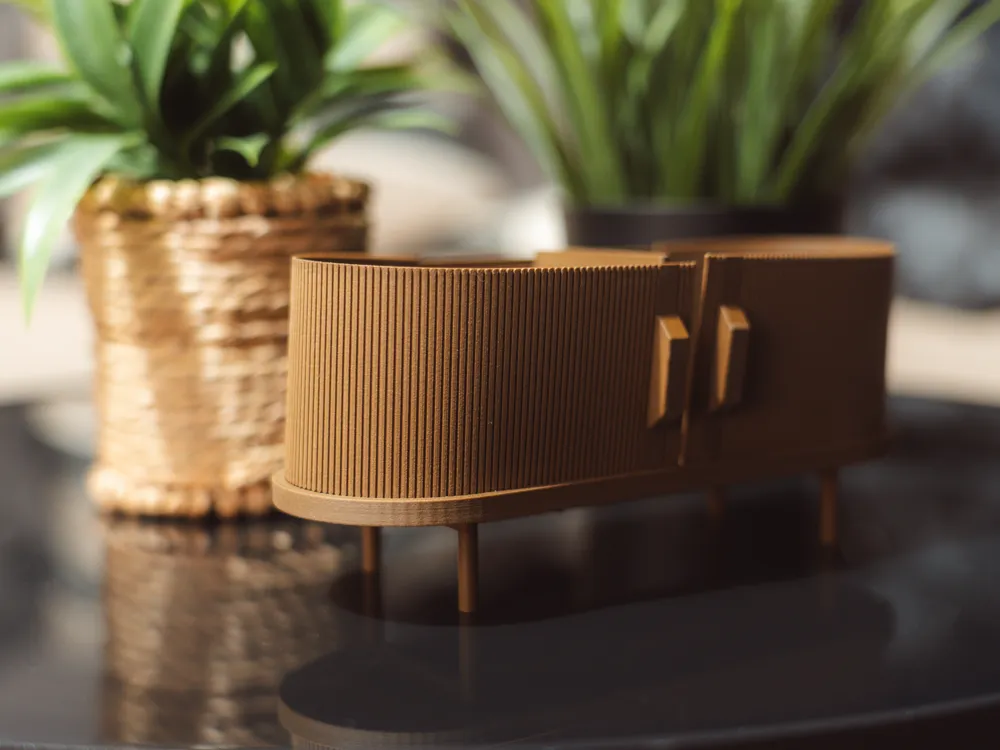
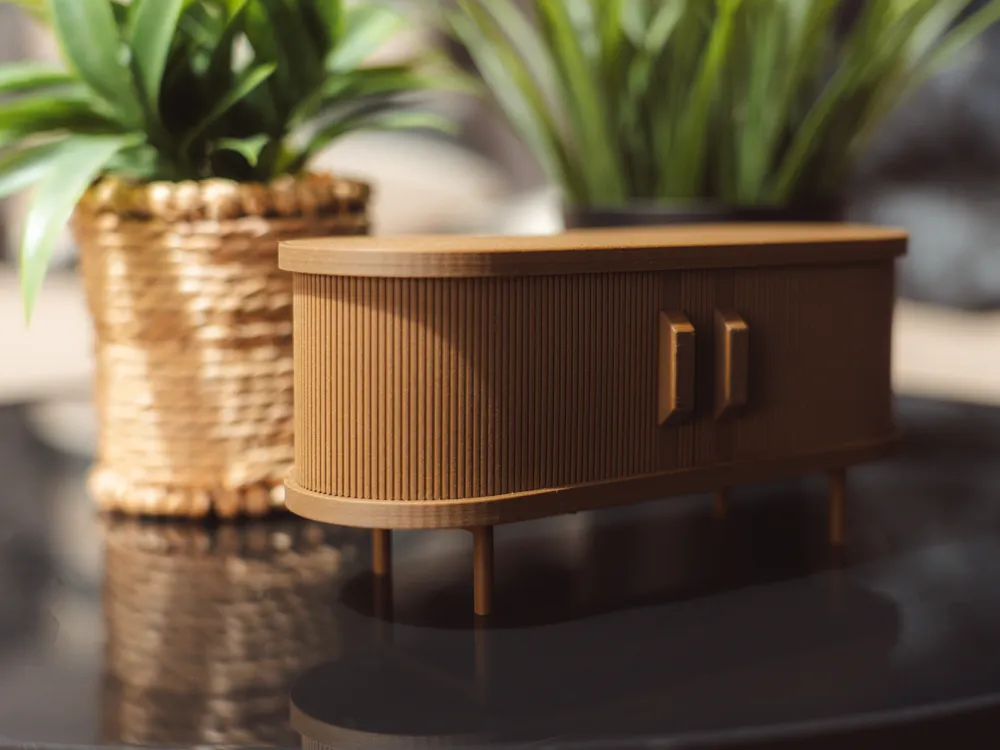
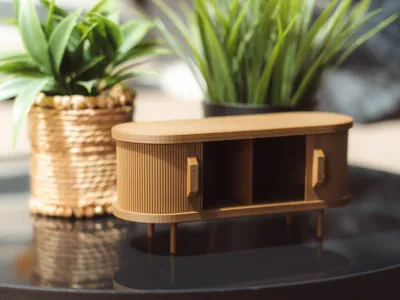
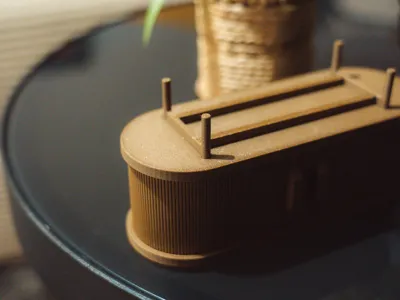
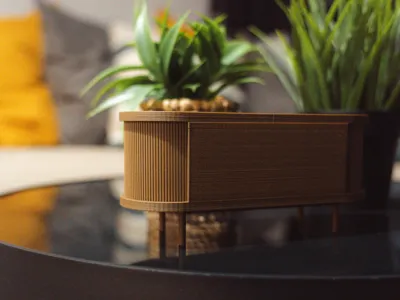
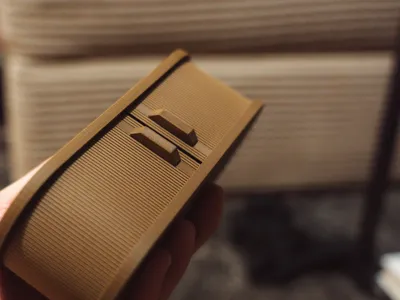
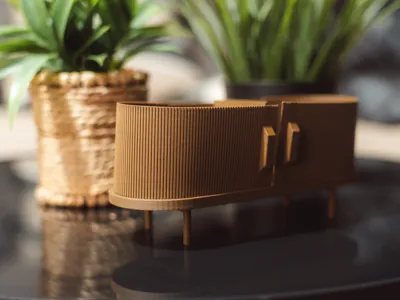
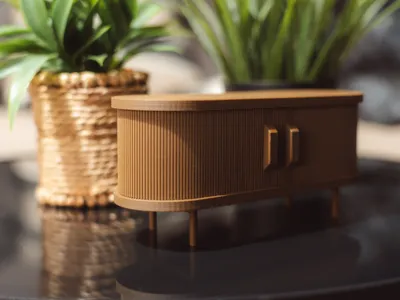
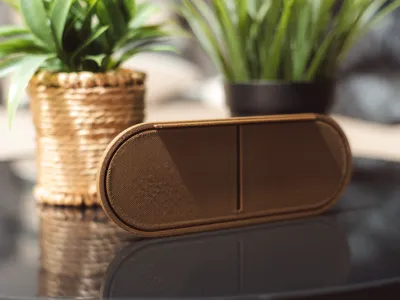
Mid-Century Elegance Jewelry Sideboard is an exceptional jewelry box that uniquely combines design and function. Inspired by iconic Mid-Century furniture, this model combines round shapes, textured surfaces, and striking handles to create a stylish object for any dresser or display case.
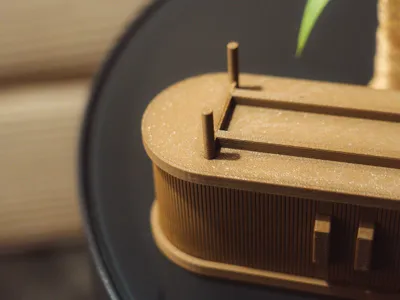
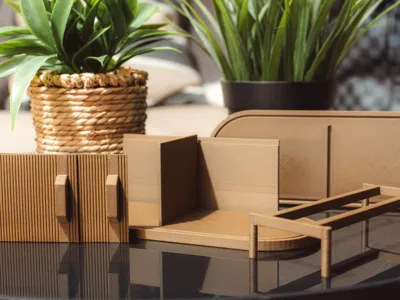
The box is fully 3D printable, requires minimal support structures, and consists of modular individual parts that can be easily assembled. Ideal for PLA wood filaments, PLA, or resin prints with a refined finish.
Whether as a gift, a decorative piece, or for personal jewelry storage – this sideboard adds class to your table!
✨ Features
- High-quality design in 50s/60s style
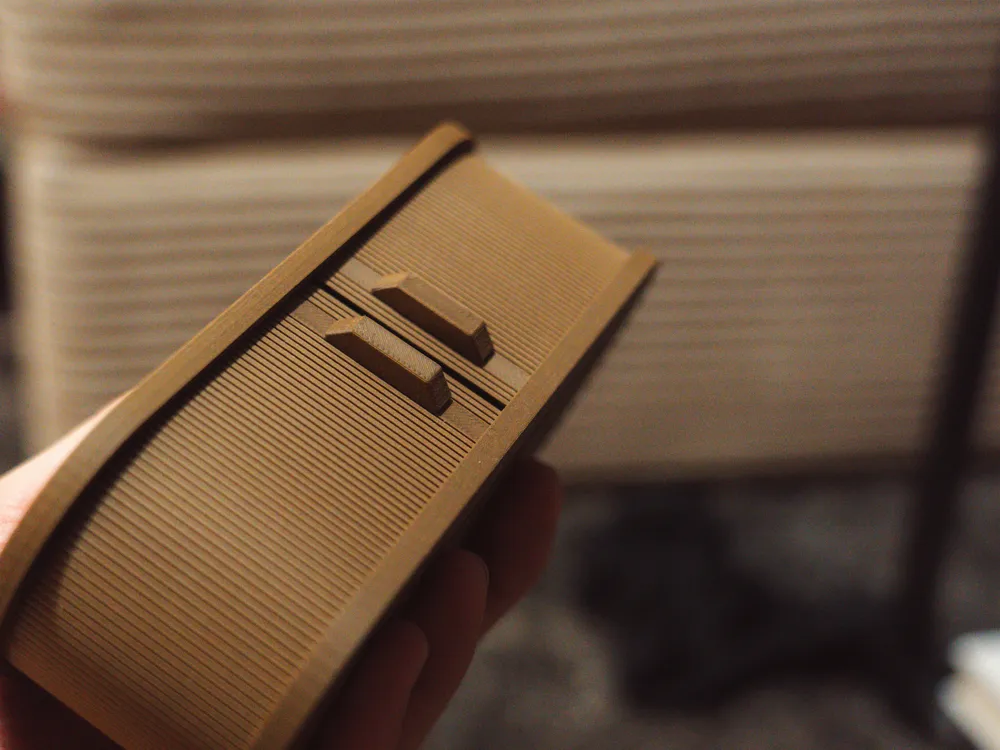
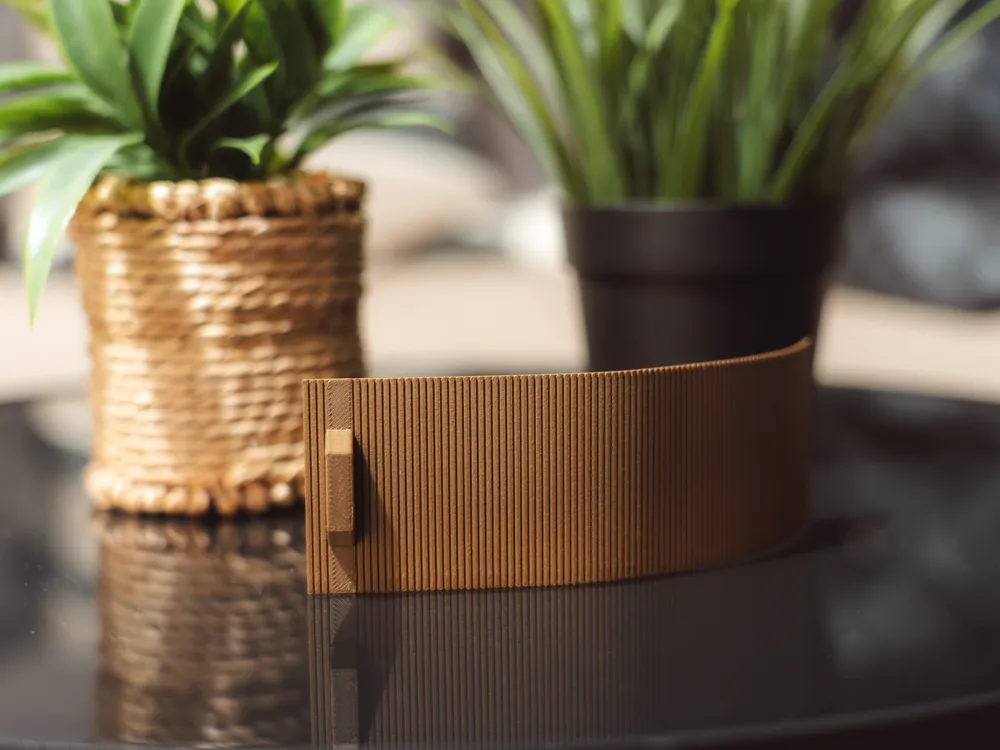
- Two functional doors with separate handles
- Ideal for jewelry, small accessories, or keepsakes
- Modular system (easy assembly)
- Perfect with wood PLA, PLA, or resin for a realistic look
📐 Printing Recommendations
- Filament: PLA, wood PLA, or resin
- Nozzle diameter: 0.4 mm
- Layer height: 0.16 mm or finer
- Minimal support needed
- Optional: Wood PLA for realistic finish
📄 Documentation
📘 Project name: Mid-Century Elegance Jewelry Sideboard
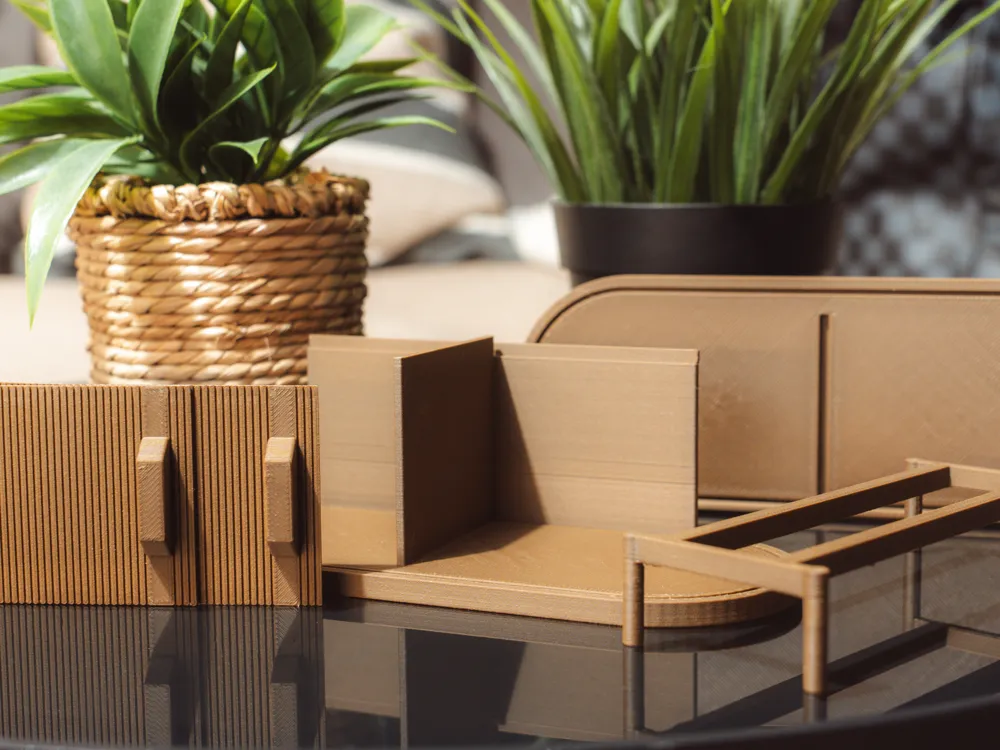
🧩 Parts list (BOM – Bill of Materials)
| Part | Quantity | Material | Note |
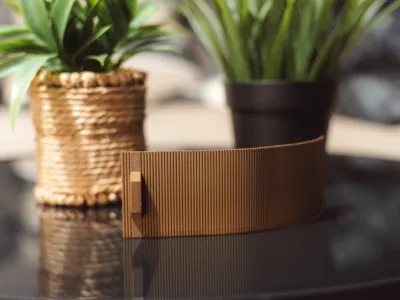
| Doors | 2 | PLA (Wood) | Flexible |
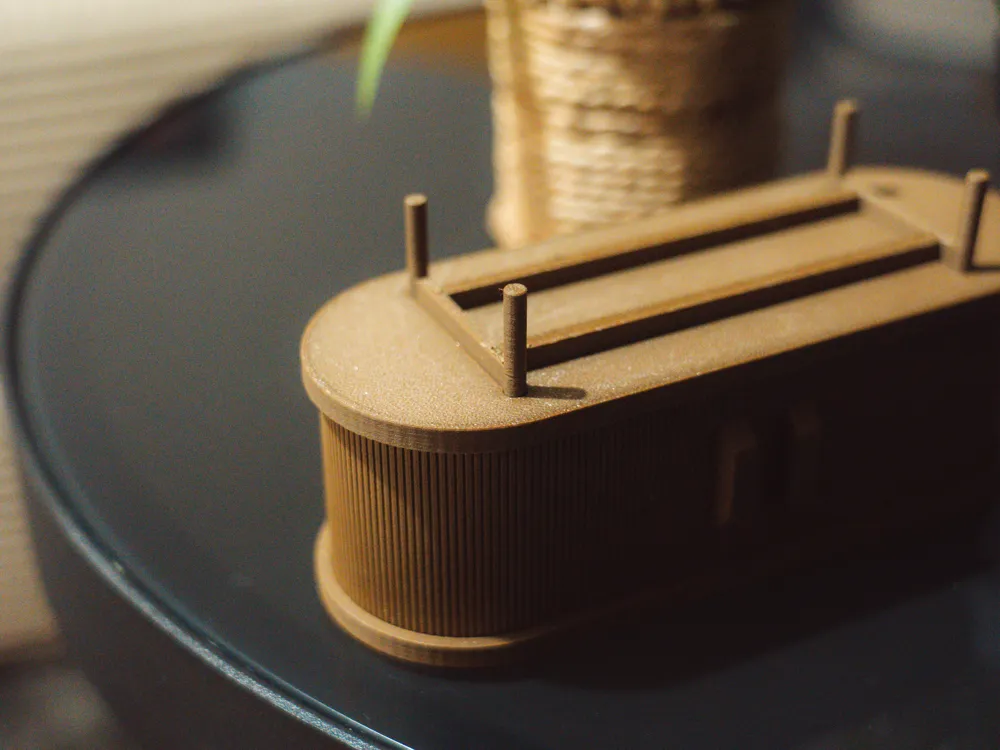
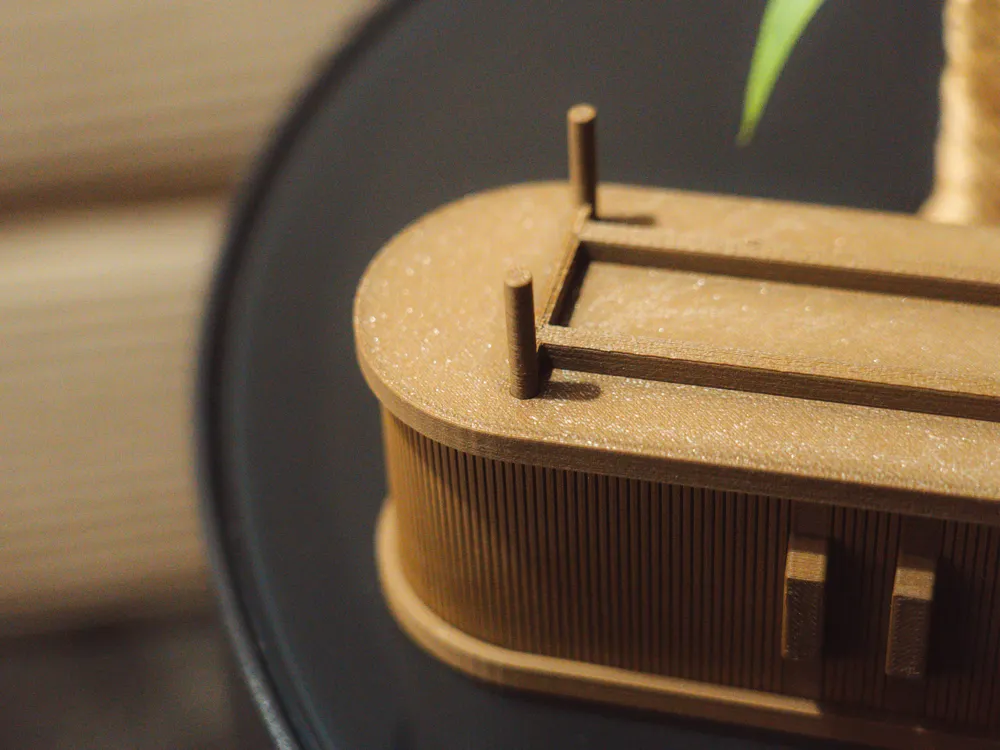
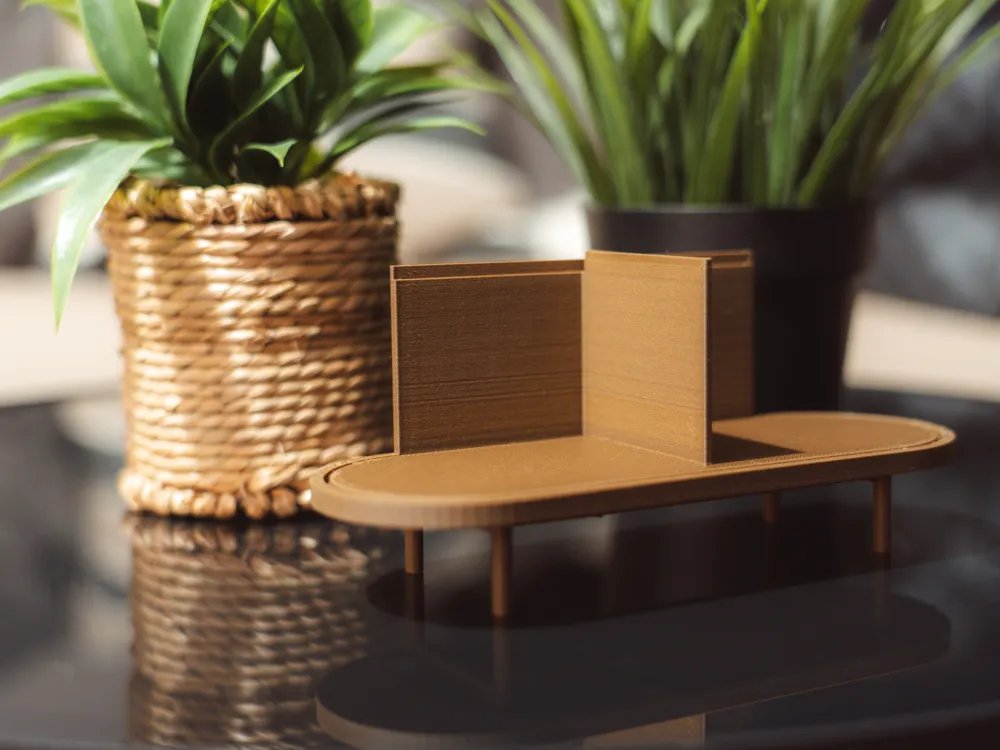
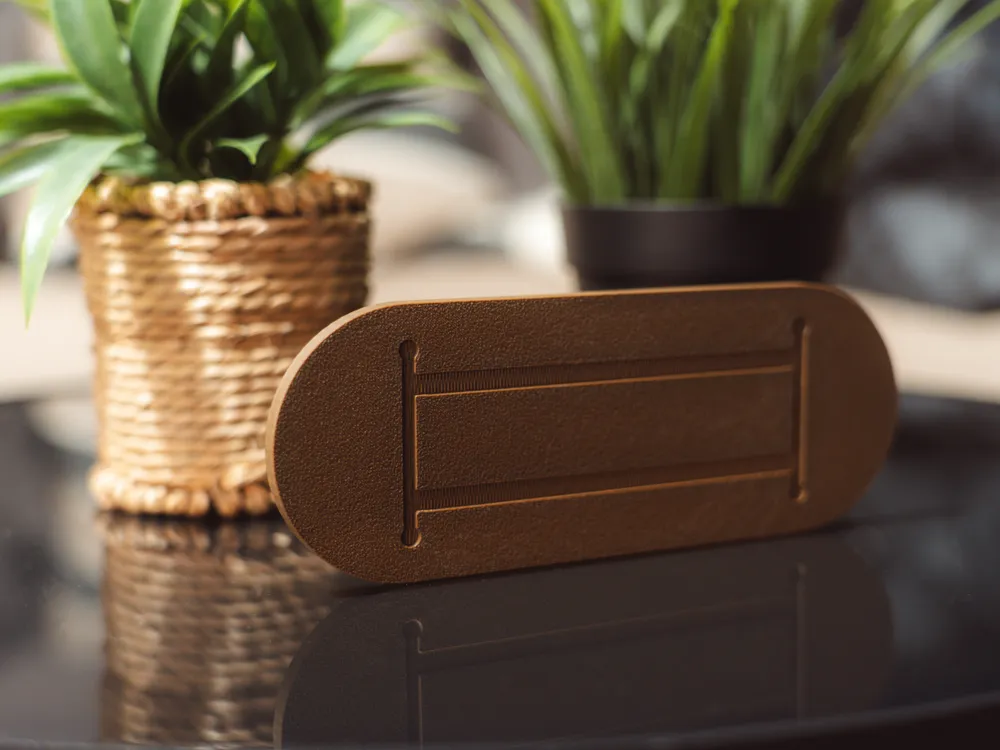
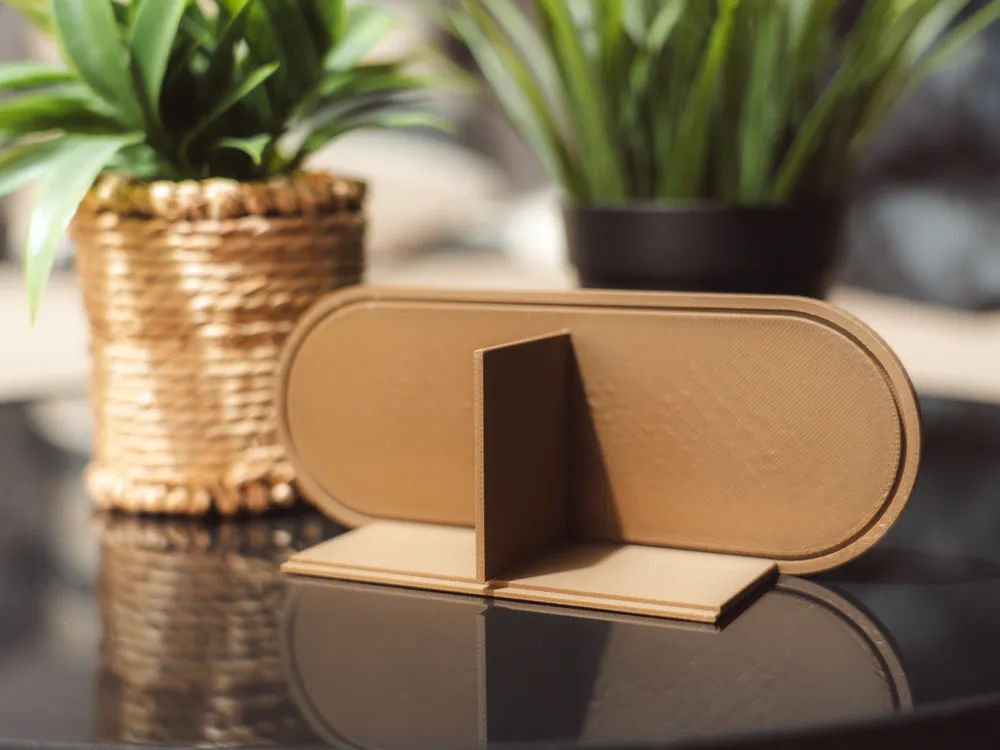
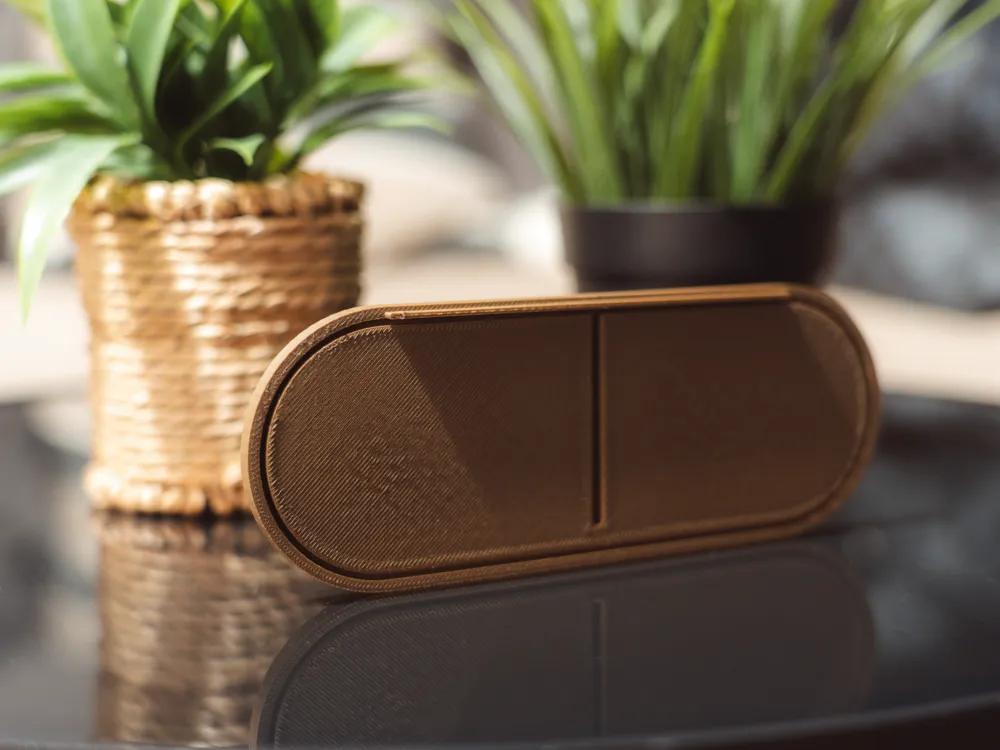
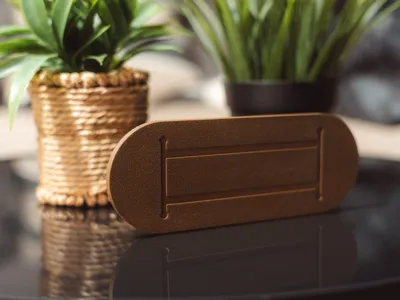
| Lid | 1 | PLA (Wood) | With groove for base plate |
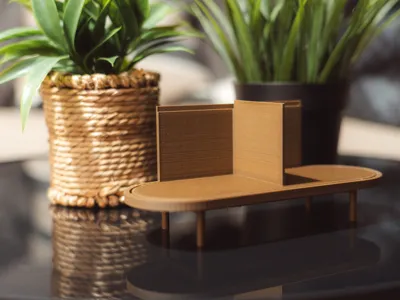
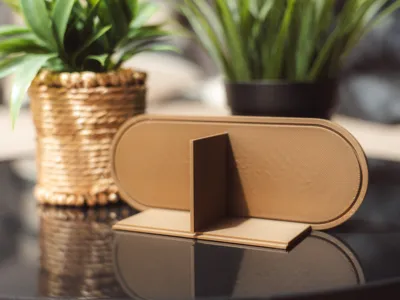
| Base plate | 1 | PLA (Wood) | With groove for lid |
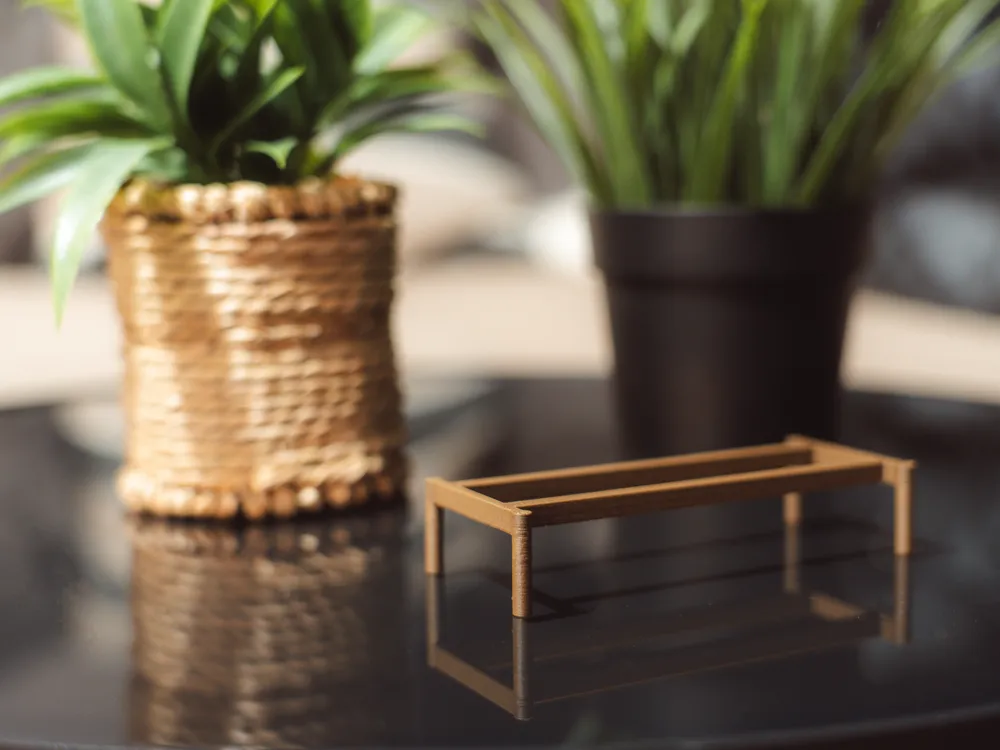
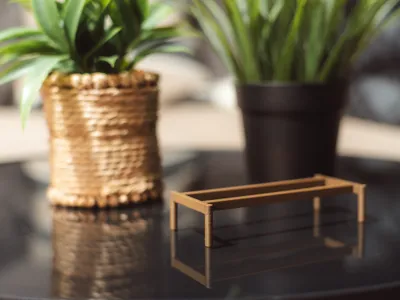
| Feet | 1 | PLA (Wood) | Fits into recess in base plate |
🛠️ Assembly Instructions
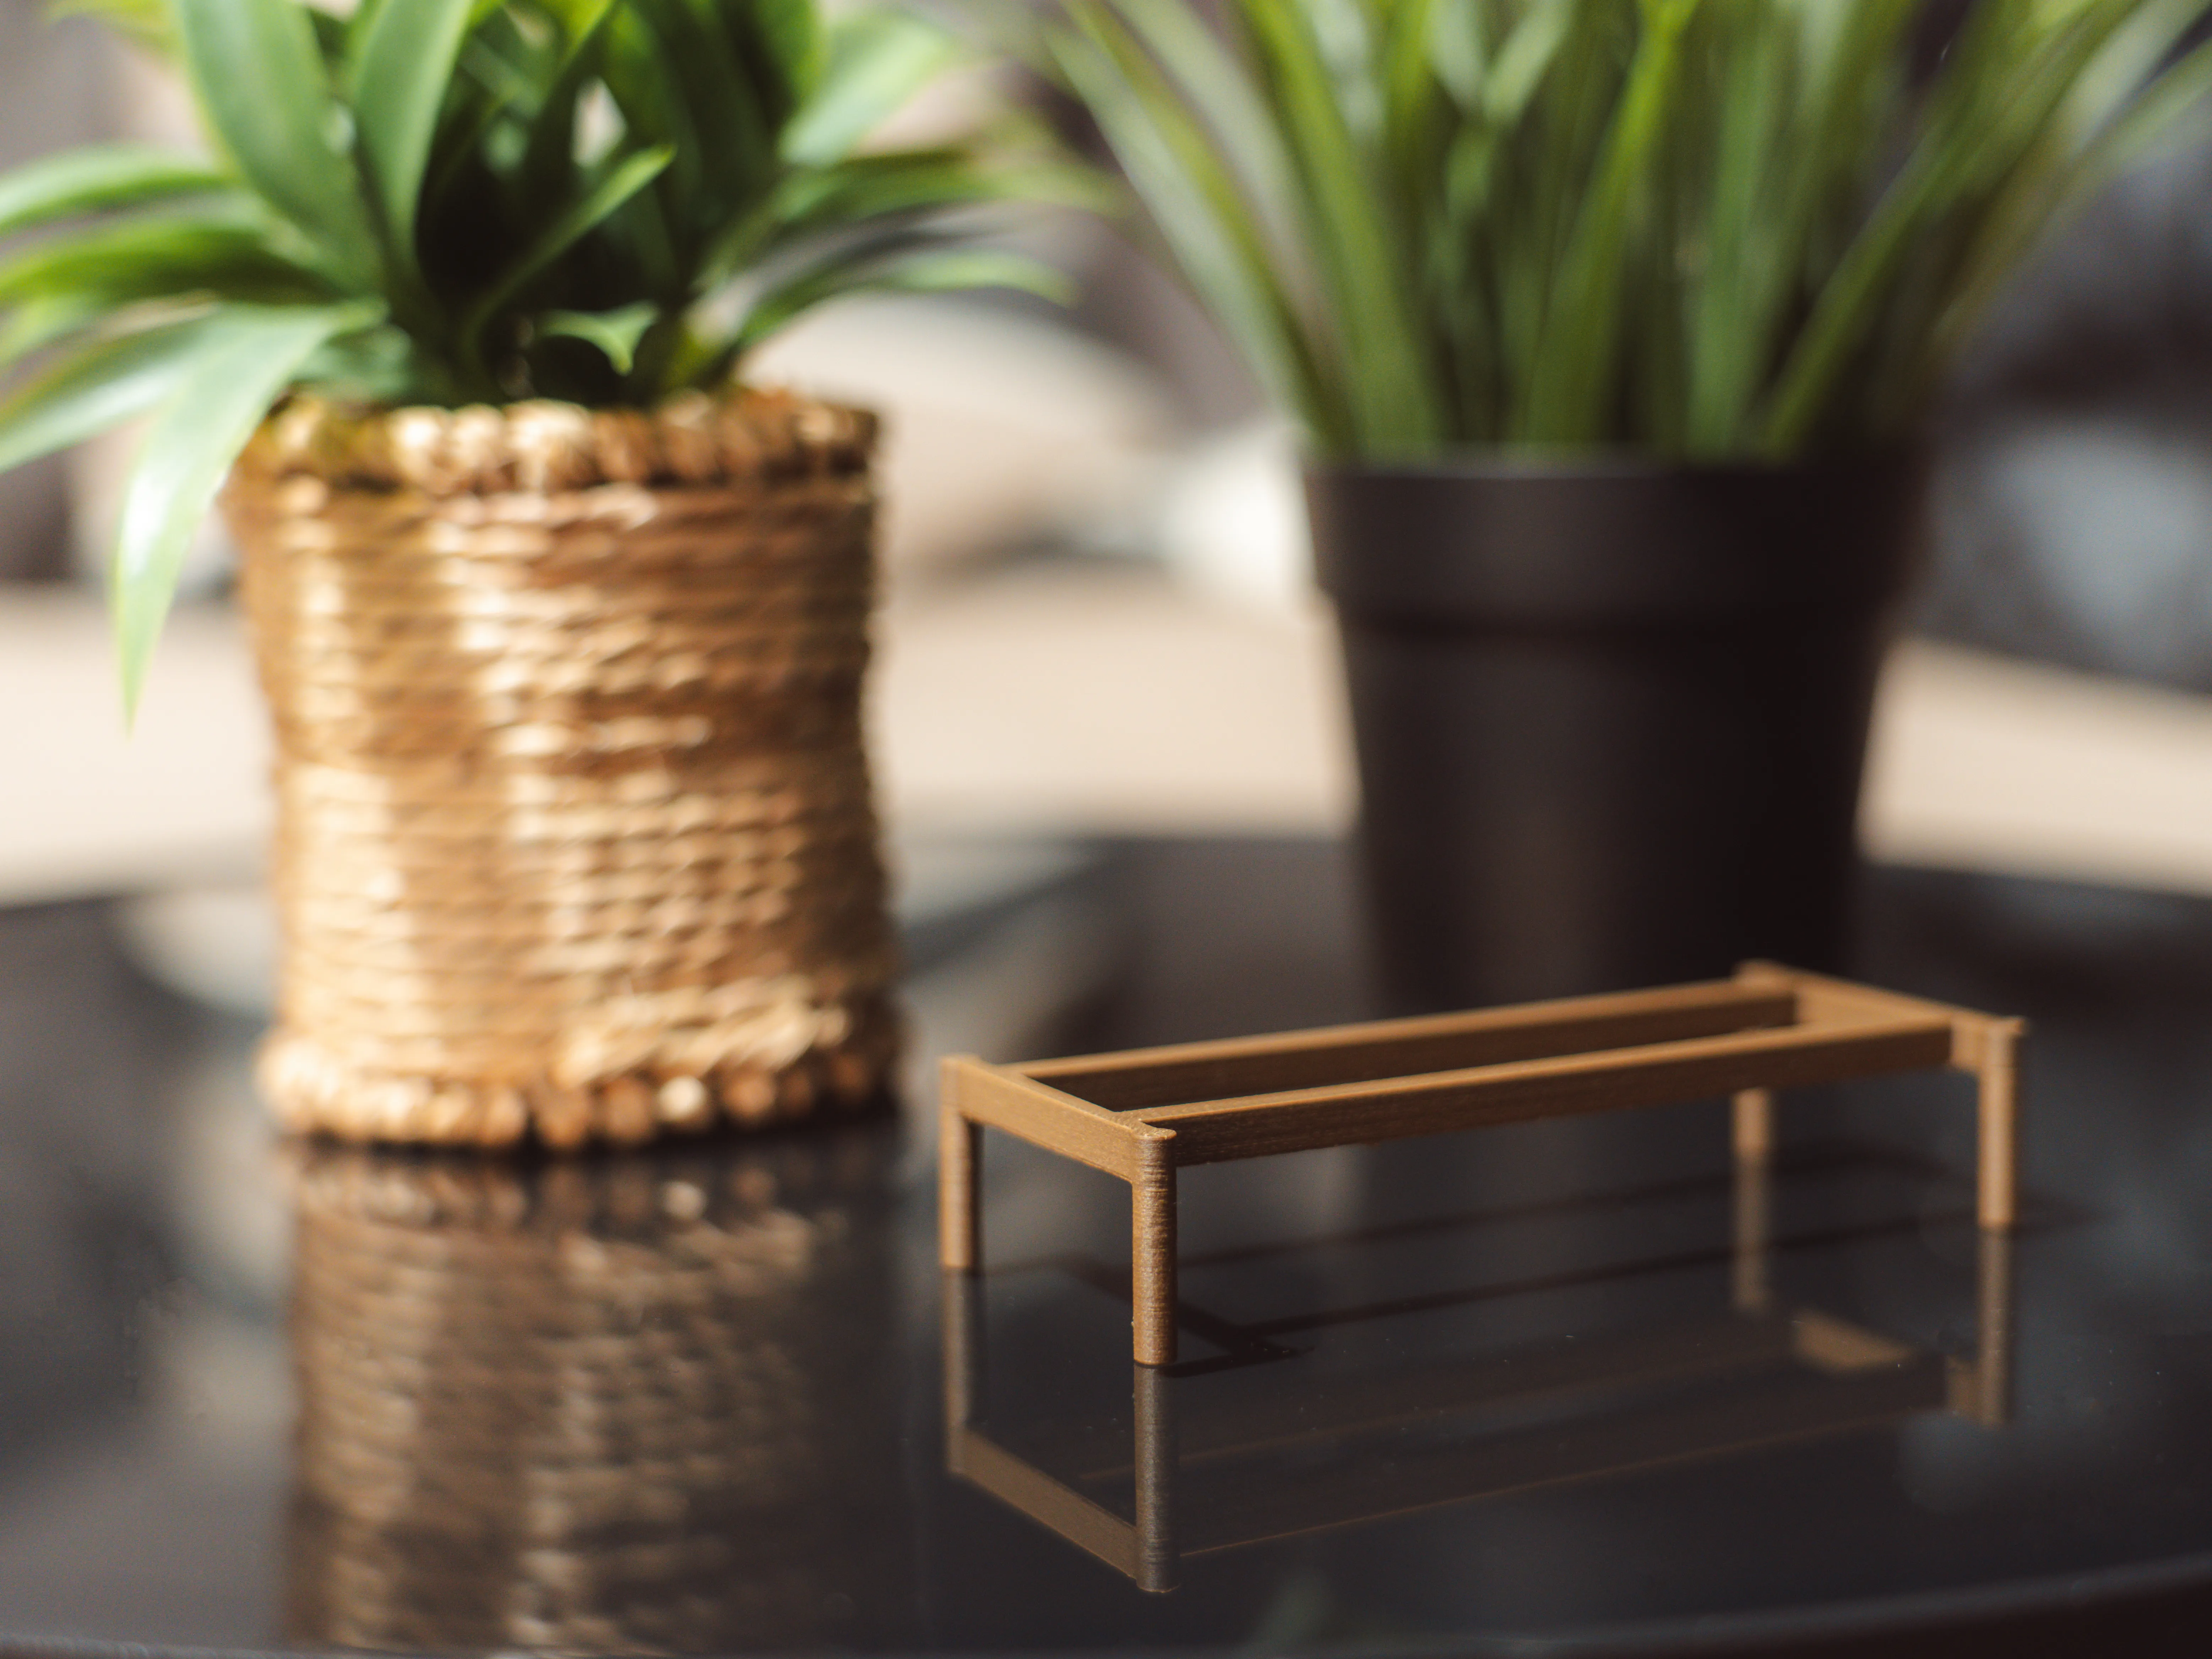
Glue the feet to the base plate.
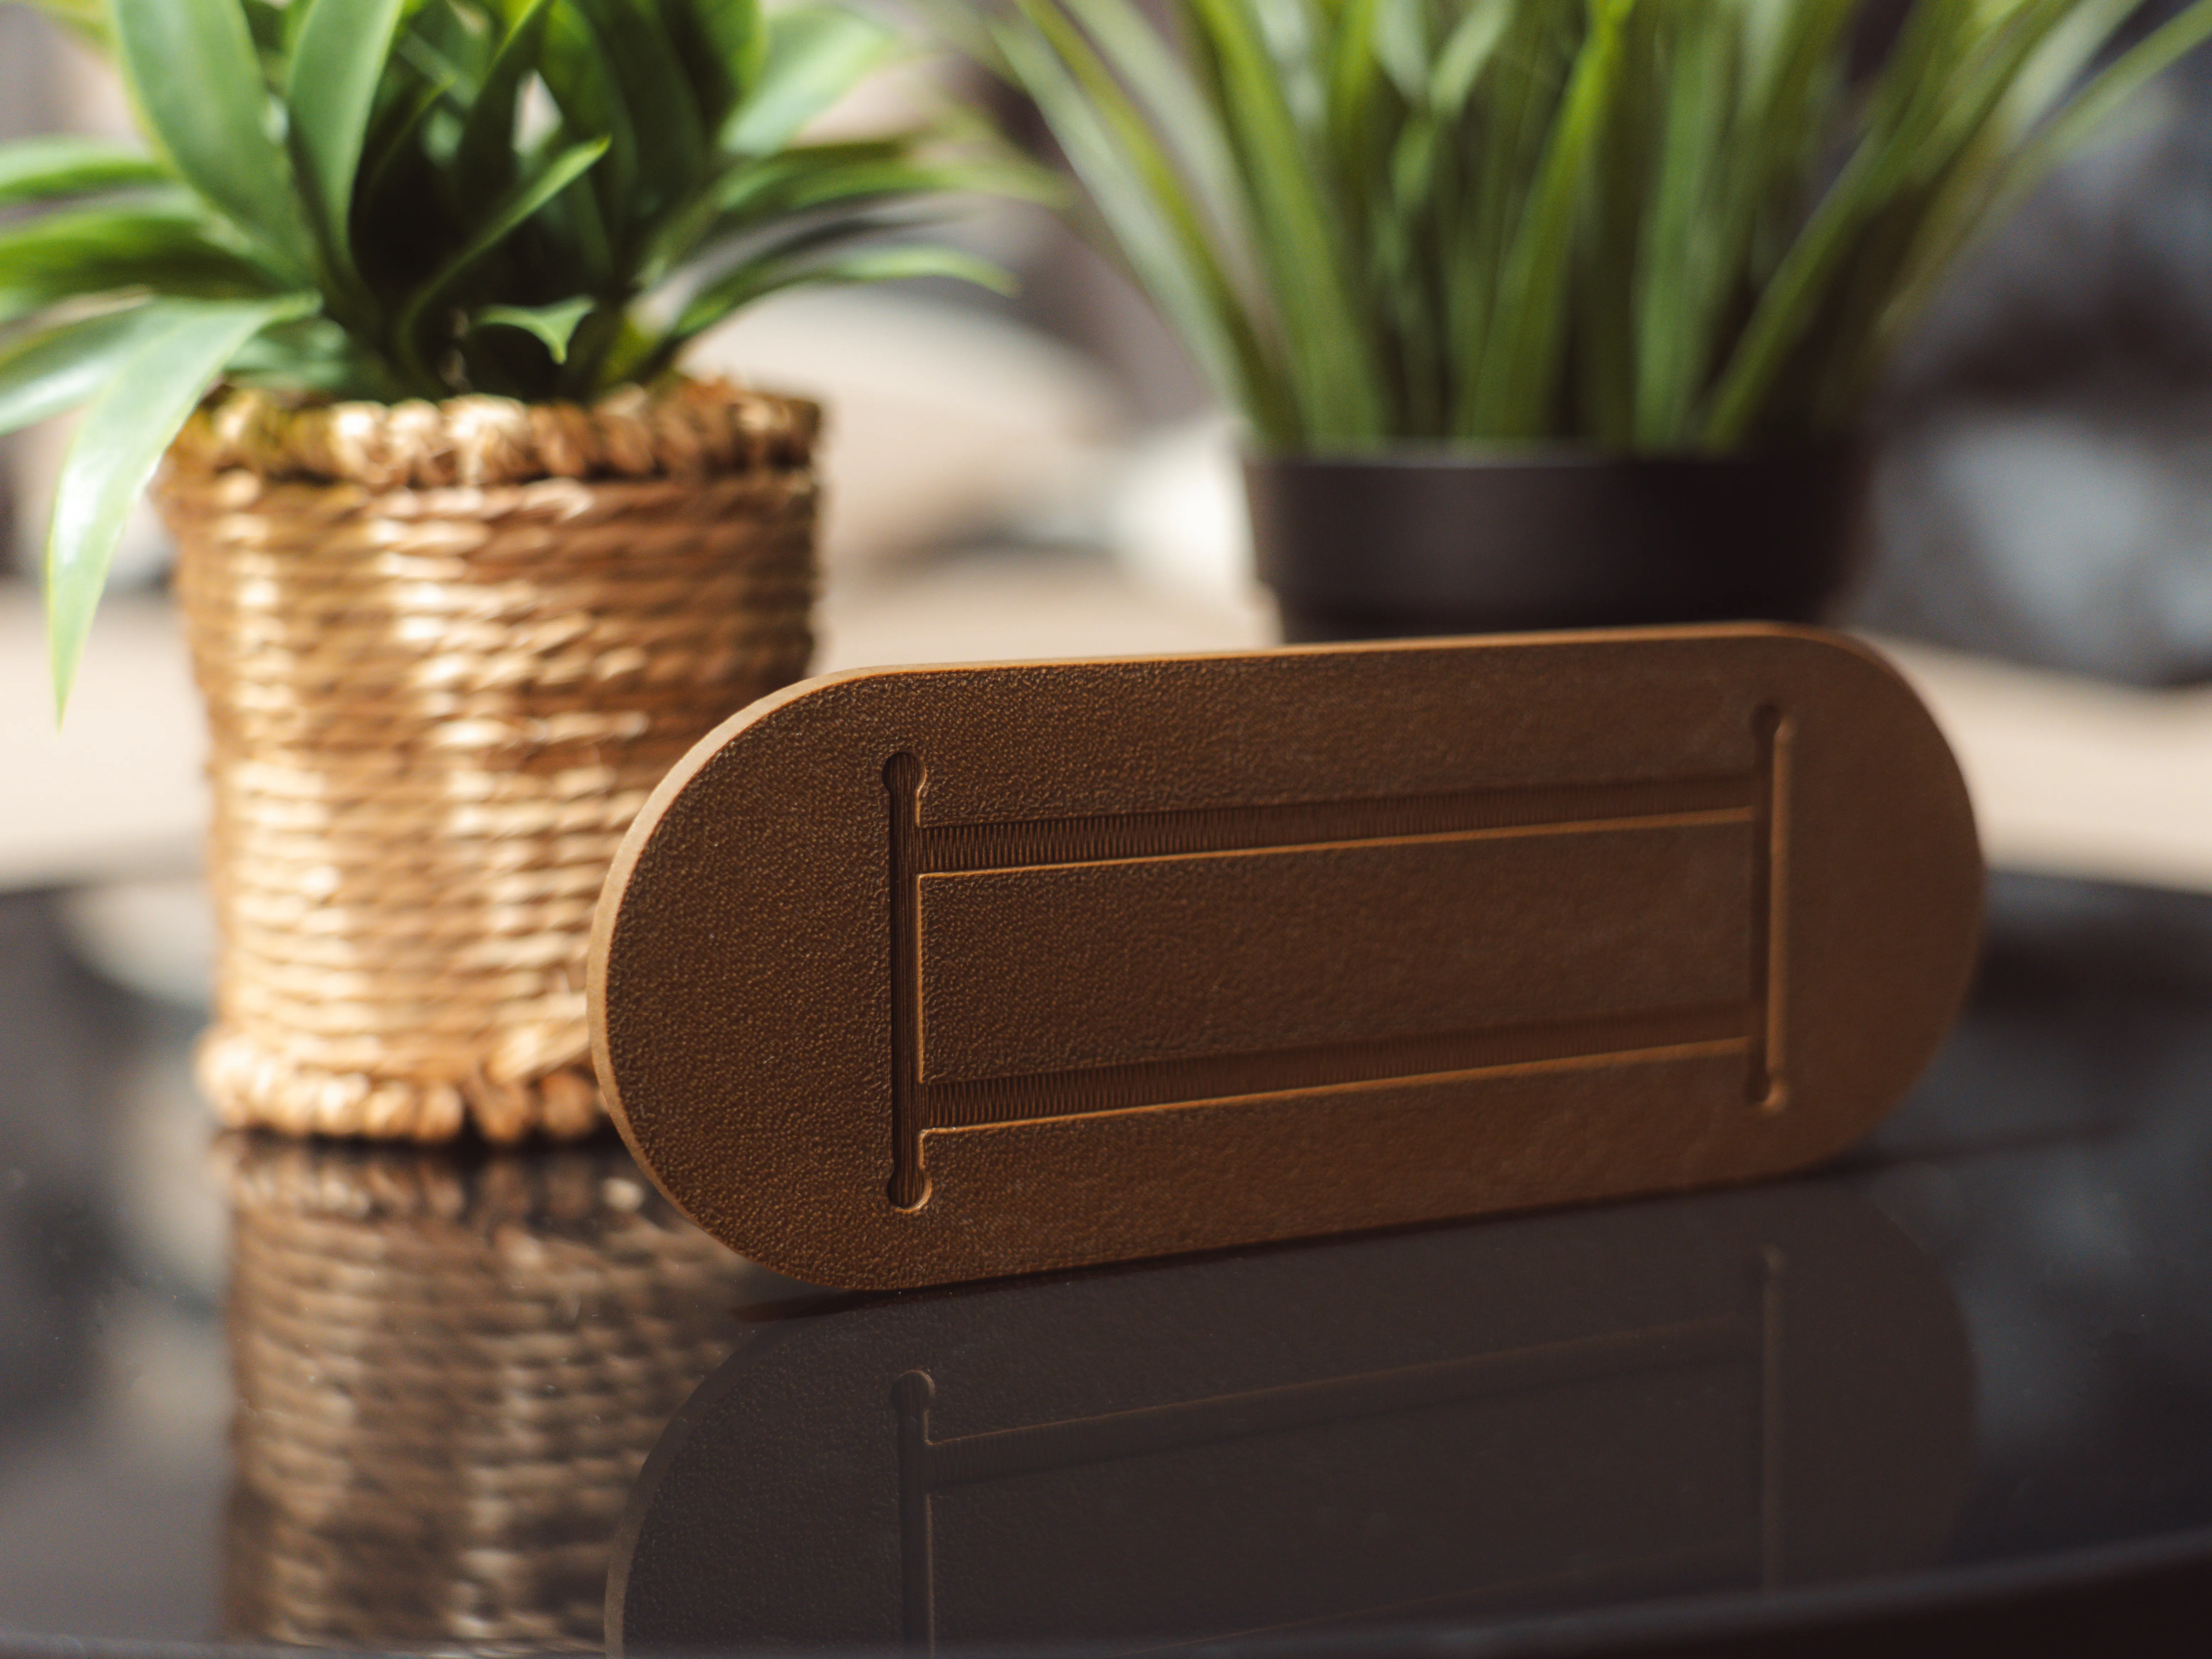
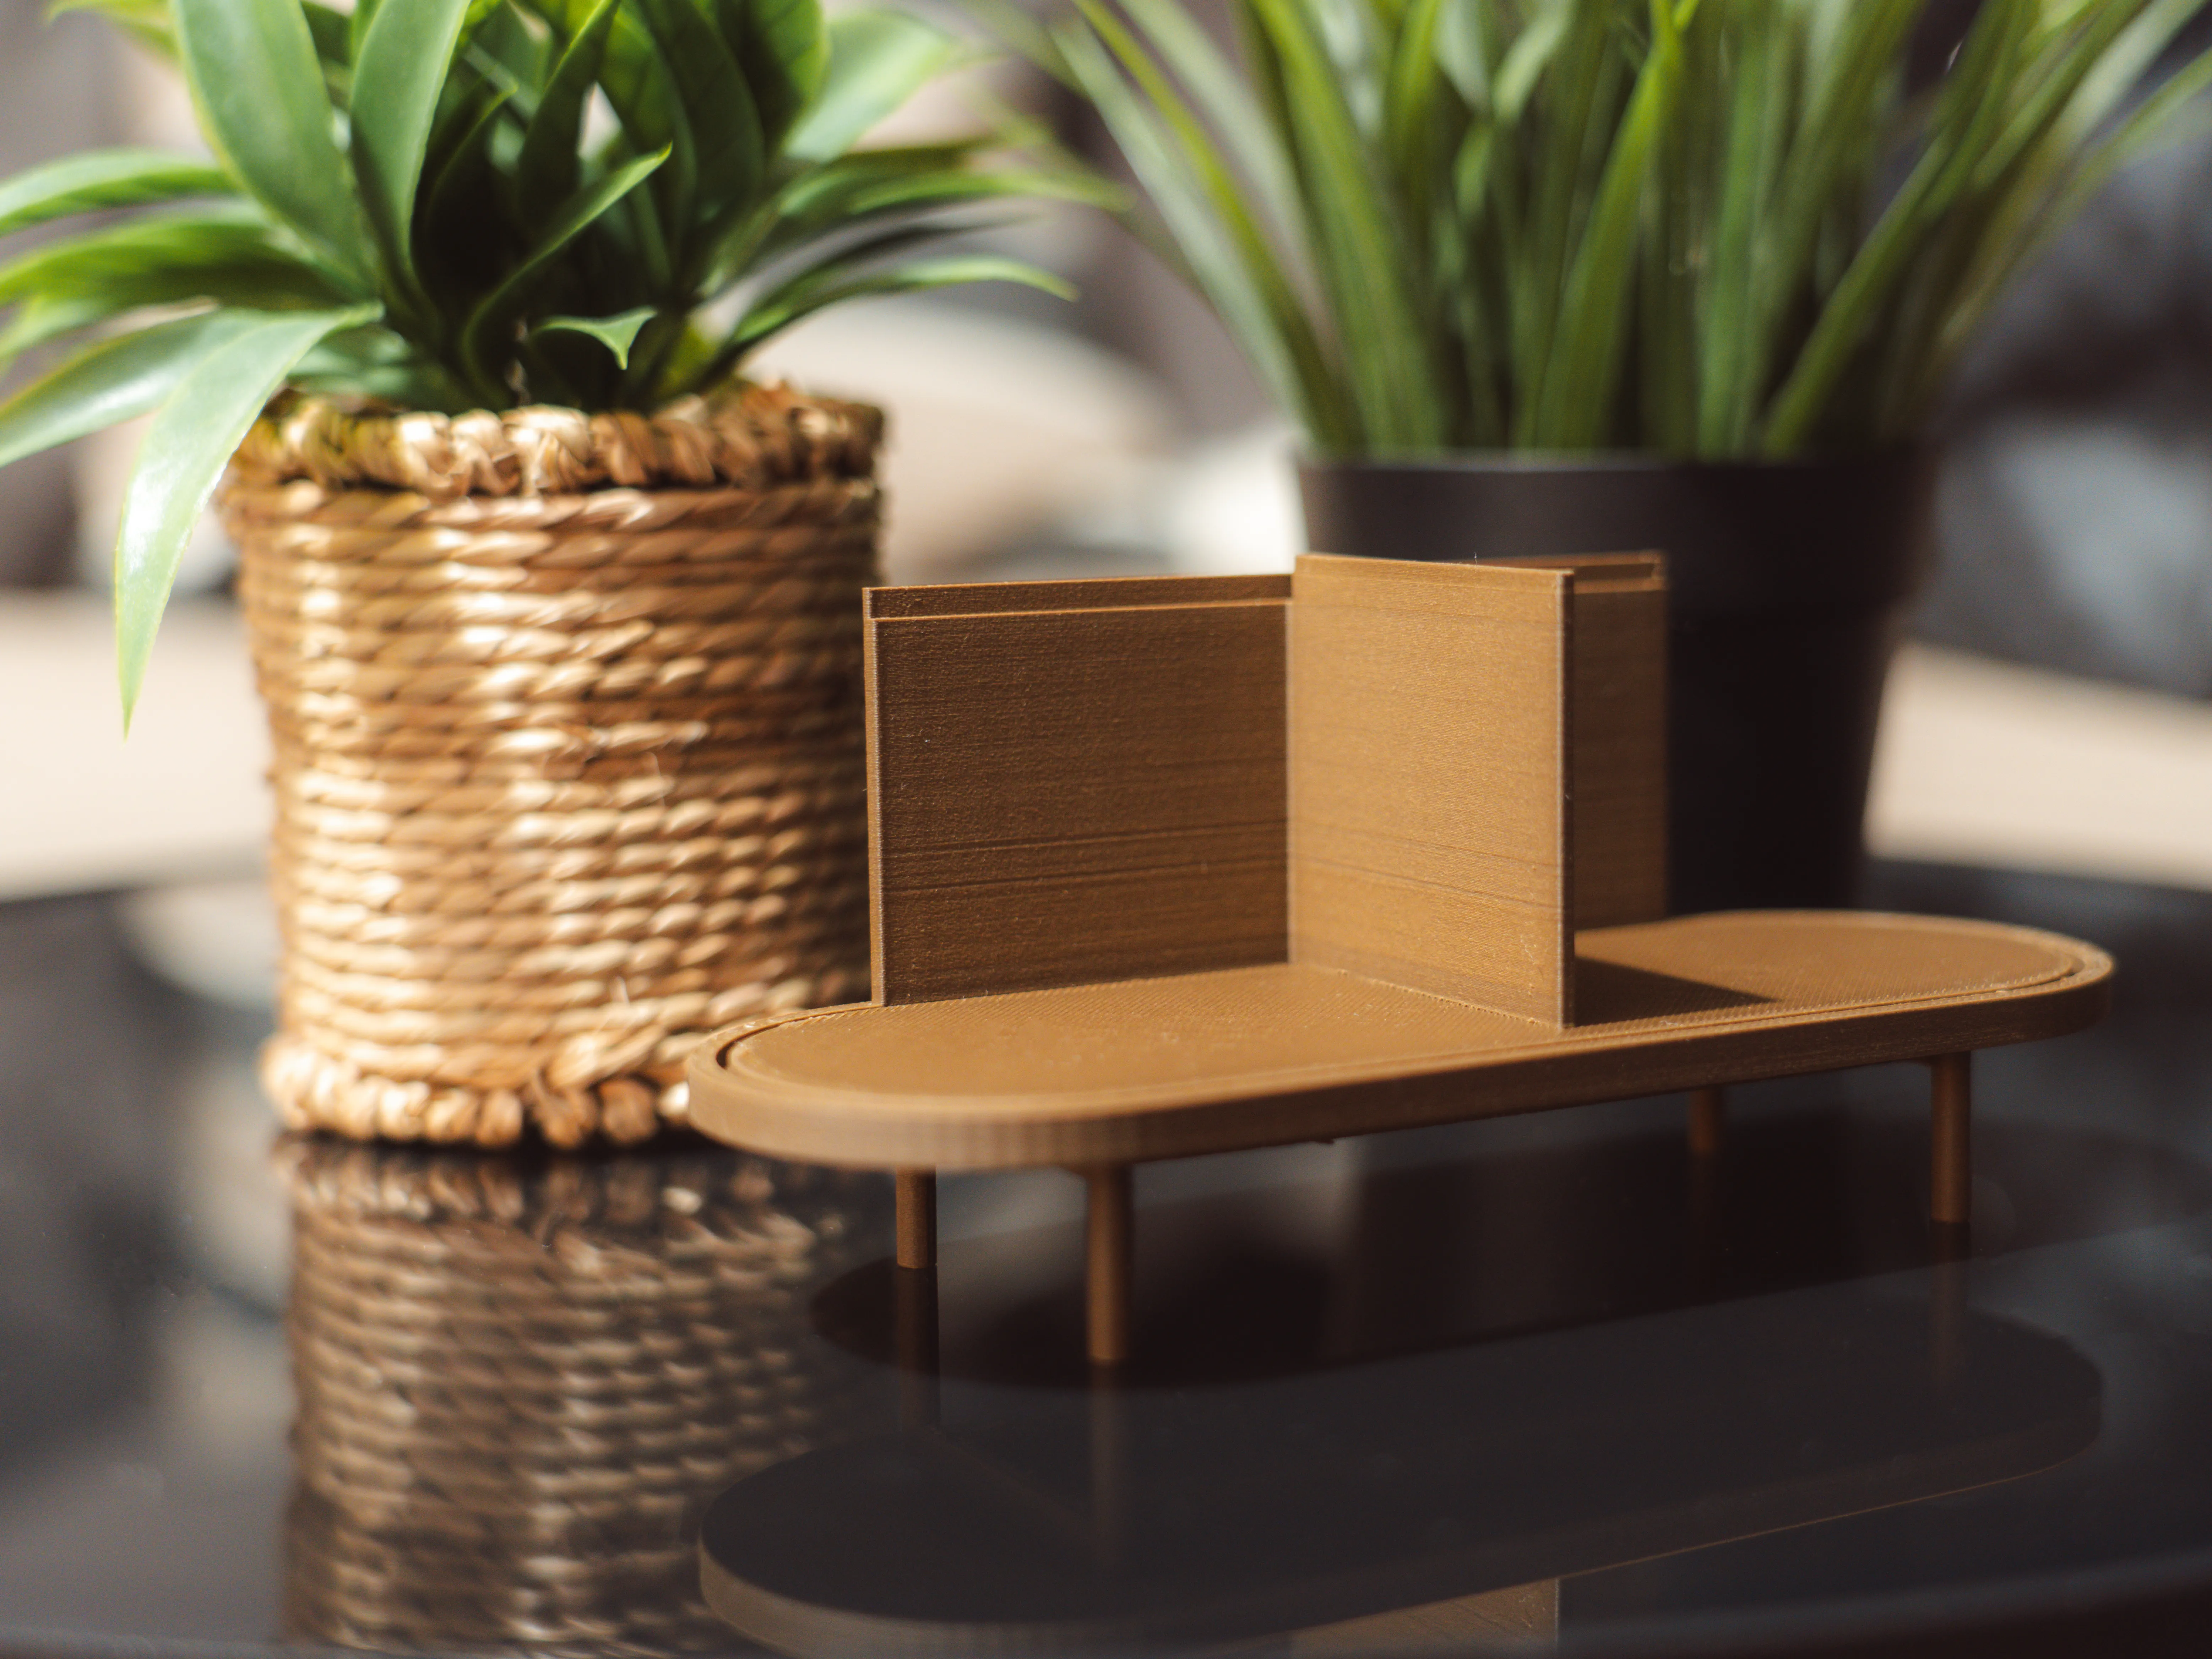
Slide the doors into the rail.
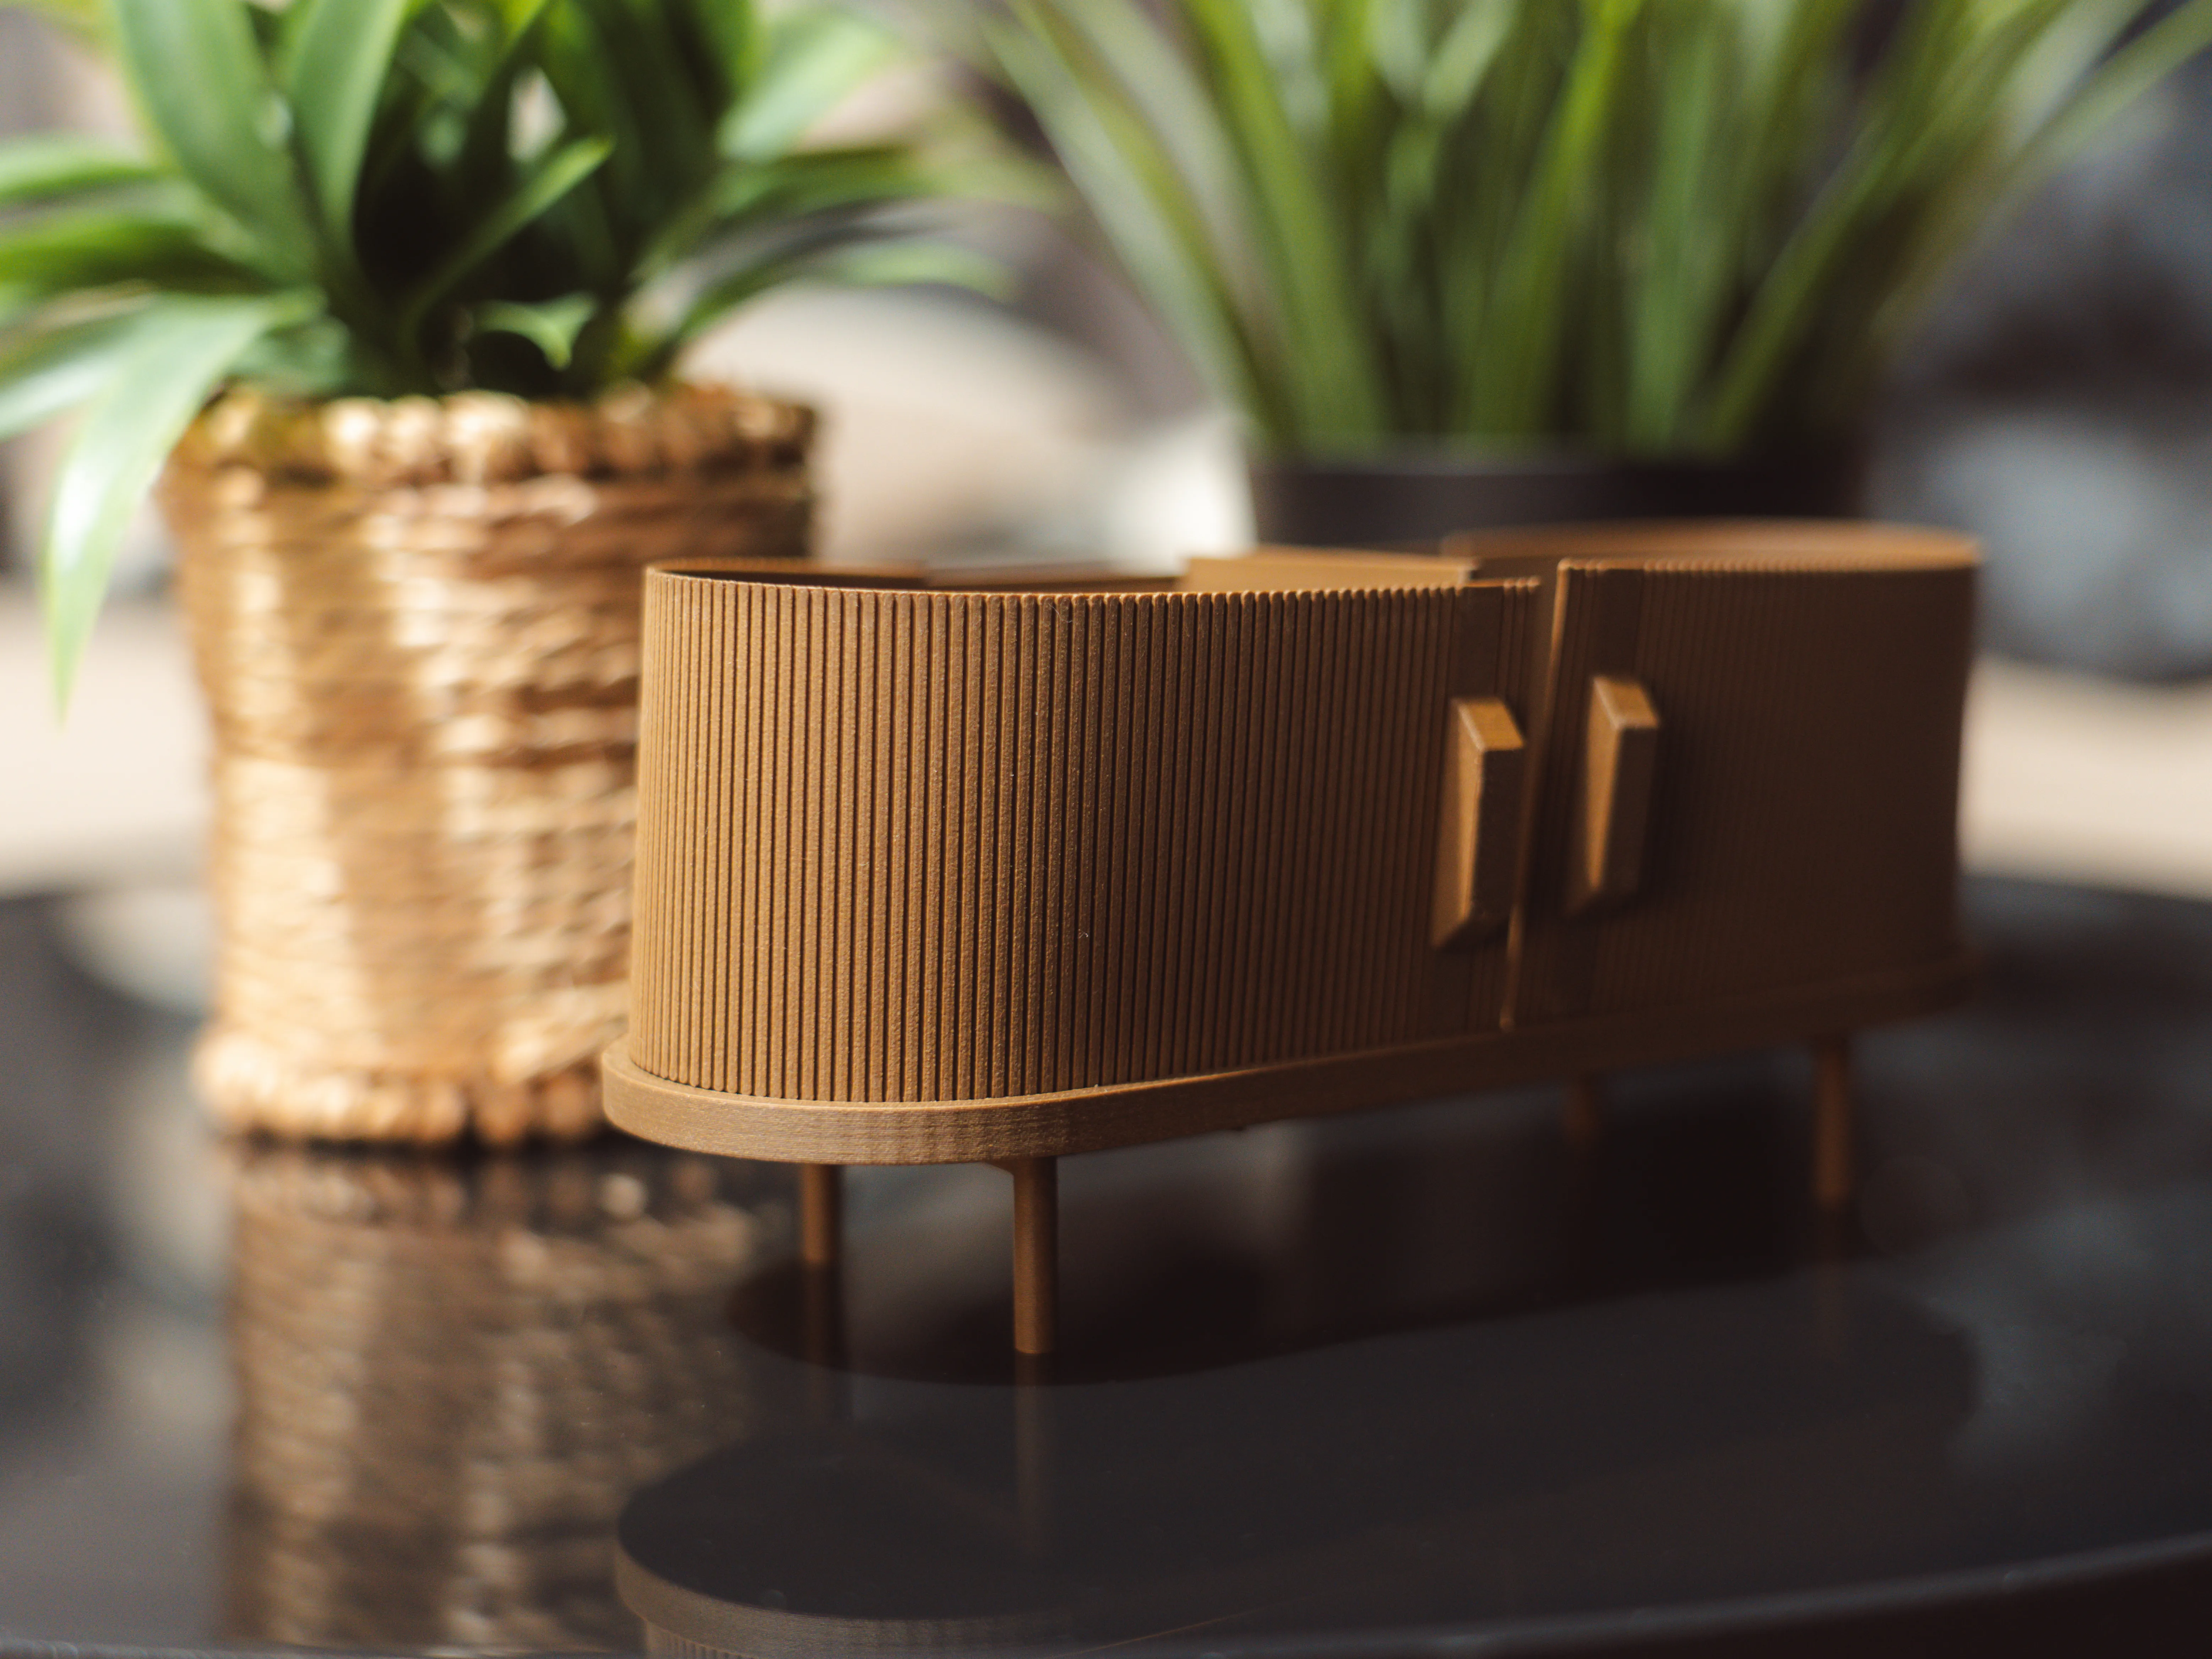
Place the lid precisely onto the groove and the sliding doors. (Glue together with super glue here)
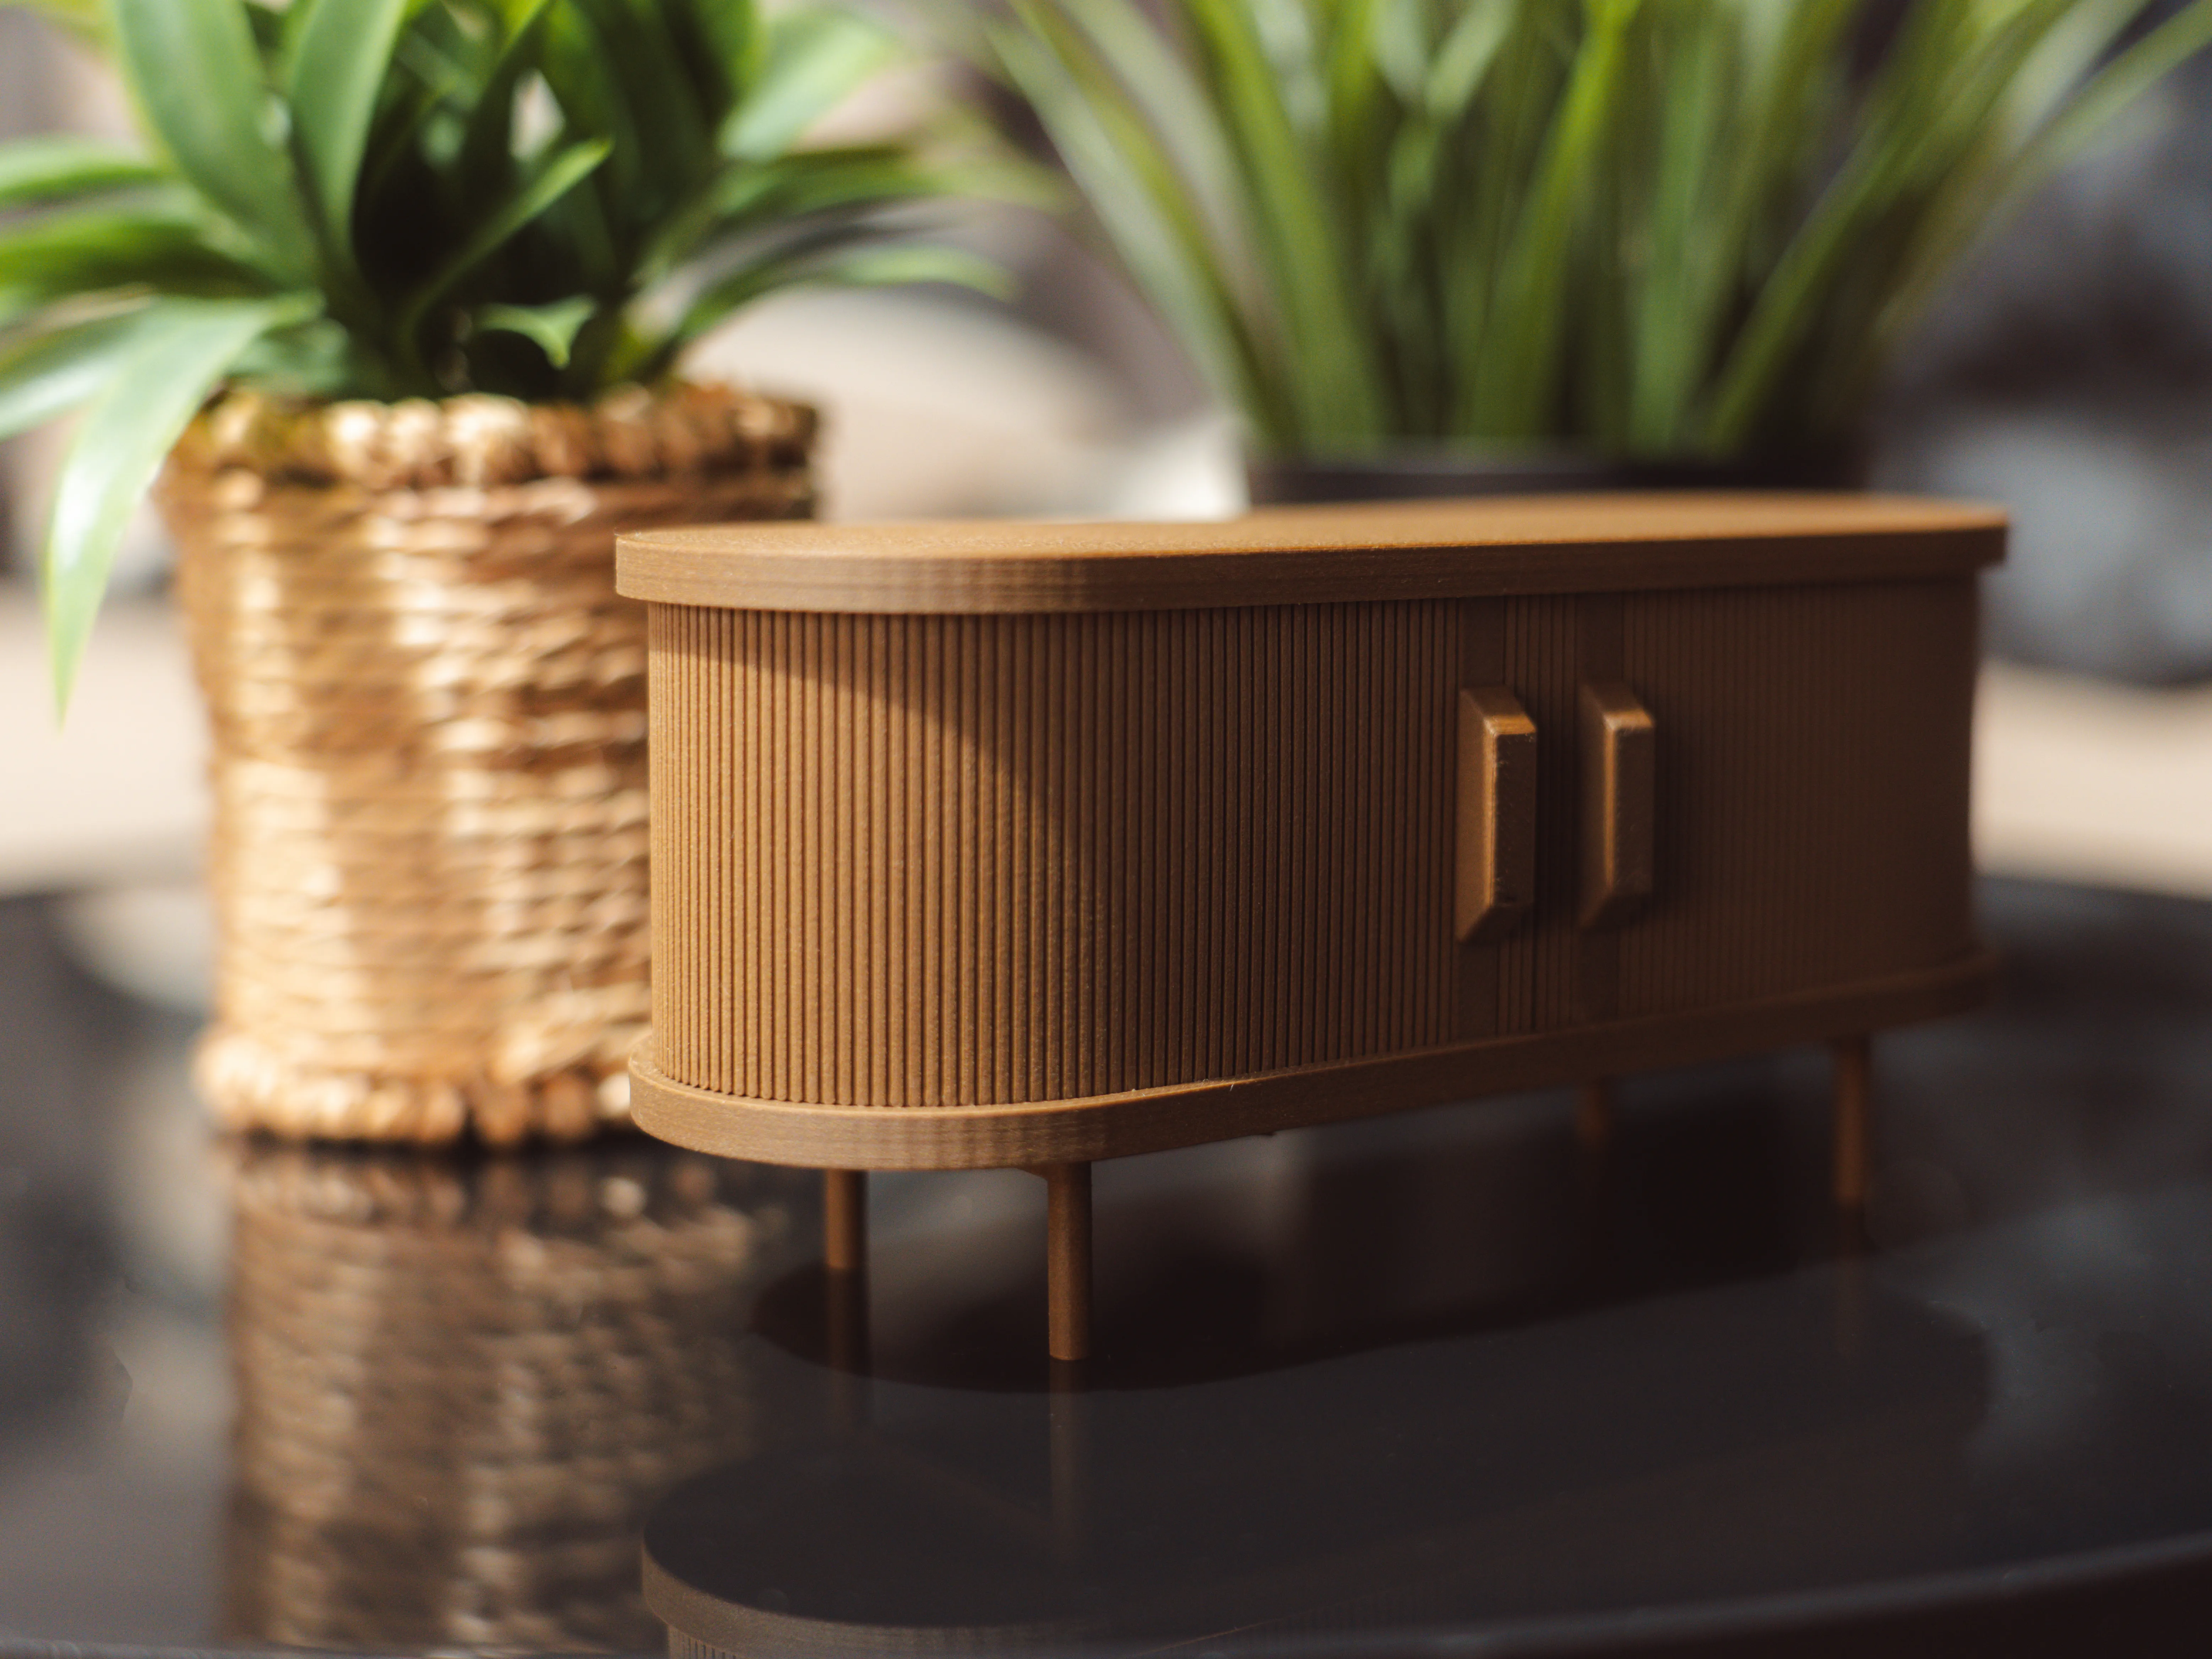
Enjoy it!
License

You shall not share, sub-license, sell, rent, host, transfer, or distribute in any way the digital or 3D printed versions of this object, nor any other derivative work of this object in its digital or physical format (including - but not limited to - remixes of this object, and hosting on other digital platforms). The objects may not be used without permission in any way whatsoever in which you charge money, or collect fees.


Comment & Rating (60)