Magnetic Door Catch (push-in)


Print Profile(1)

Description
Magnetic Door Catch
Replacement for Traeger part # HDW050. Found in Traeger Select Elite pellet grills (and possibly others).
Dimensions:
Outer face - 41mm x 12mm
Inner body (to fit inside hole) - 34mm x 7mm
This is a push-in magnetic door catch.
It’s really easy to find screw-on magnetic door catches… but the push-in style are quite difficult to source. The original magnetic catches from Traeger are highly prone to rusting. They might still work fine, but when they rust they look like hell, and they stain your equipment.
Here’s what some of my old rusty catches looked like:

This new catch design eliminates the (visible) rust – keeping the magnet(s) hidden behind a thin wall of plastic.
I used 20x10x5 mm neodymium magnets from AliExpress, just because I had some laying around.
Update: use longer/stronger magnets than I did! These little ones are barely strong enough to hold the metal doors closed. The cavity size is 31x5x12.
Here’s the magnet I used:

To hold the magnets in place, you have 2 options:
- Magnetic Catch – open. This version is very close to the original. You can secure the magnets inside using your favourite adhesive. (Hot melt glue would probably work great.)

2. Magnetic Catch – closed. This version is the exact same, but with a lid added on the back, to hold the magnets inside.
I added a pause at layer 81, so you can add your magnets, then resume the print to finish the lid.

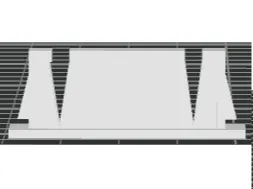
(Notice the green bar on the right hand side in Bambu Studio –
that’s for selecting actions by-layer within a sliced object. Note the manual “pause” I added at layer 81.)

Both versions of the catch are included in the original print profile, on separate plates. There are also plates with 4 copies of each magnetic catch, in case you want to tackle them 4 at-a-time. (My BBQ uses 4.)
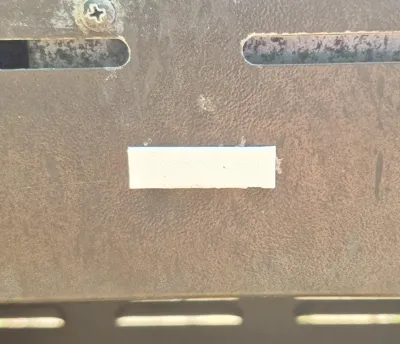
And here is one of the finished catches, as installed in our old Traeger grill:

Installation tip: fit one end in completely before applying pressure on the opposite side to fully seat the catch into the hole. It should snap-in nicely. This is the way.
These catches were modelled from scratch, using the HDW050 as a reference, in Tinkercad.
SUPPORT THE RIGHT TO REPAIR!! 😊
P.S. If you’re having issues printing these in PETG, try the following 2 things:
1. Dry your filament first; and
2. Turn up your nozzle temp to 265, and your bed temp to 80 (the stock PETG profile settings from Bambu are not great.)
Boost Me (for free)
If you find this model helpful, throw me a boost!
Comment & Rating (0)