

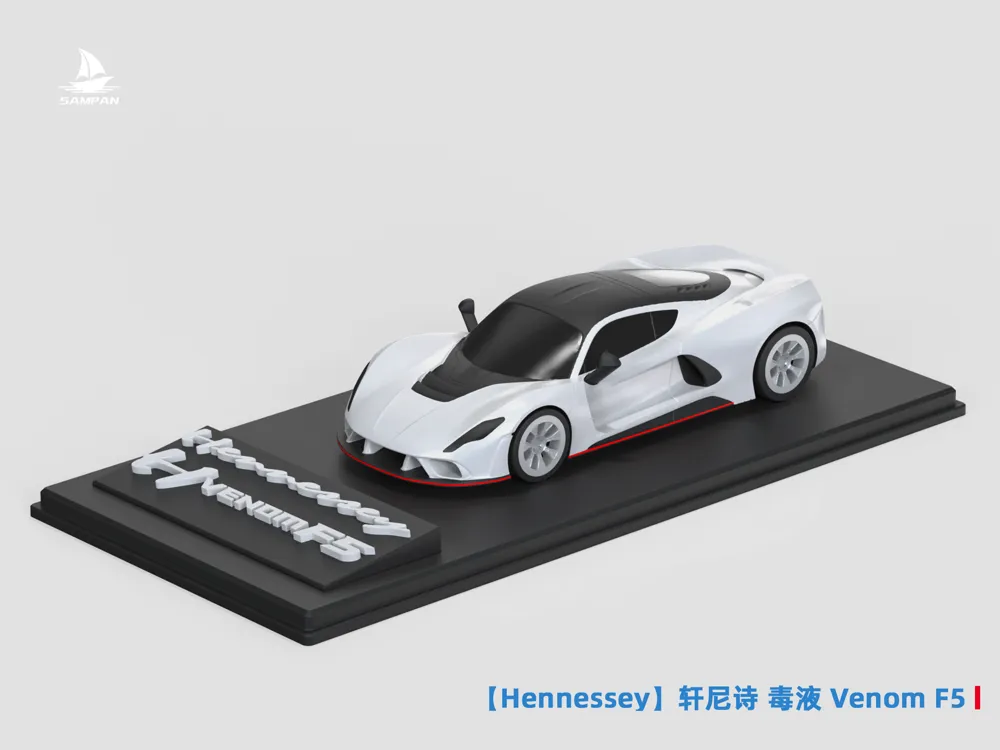
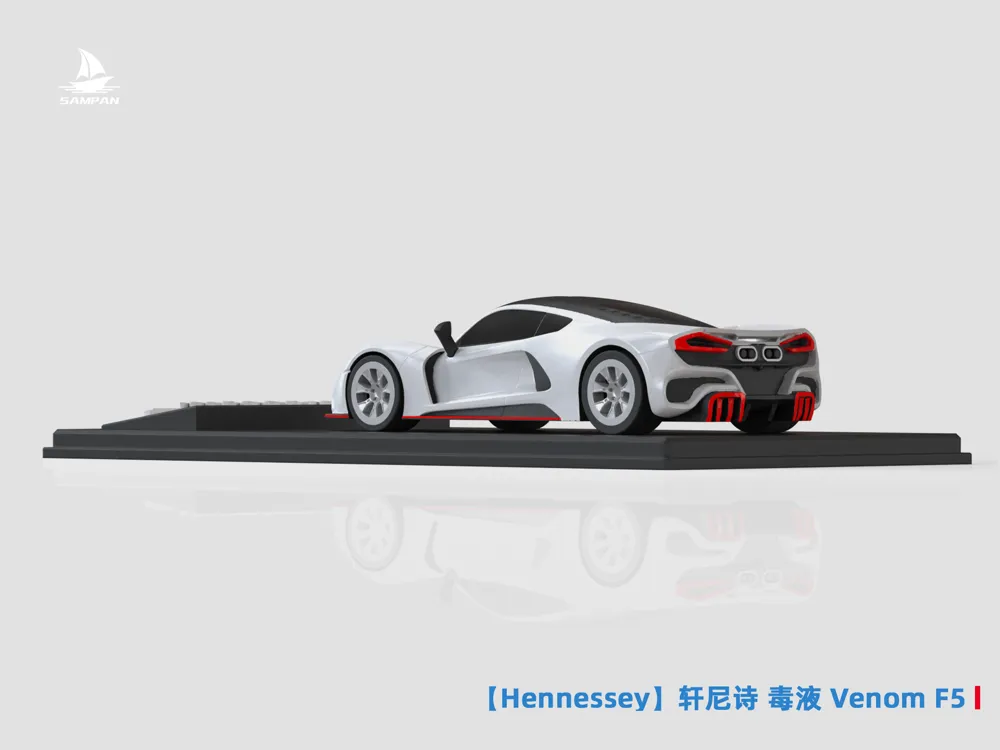
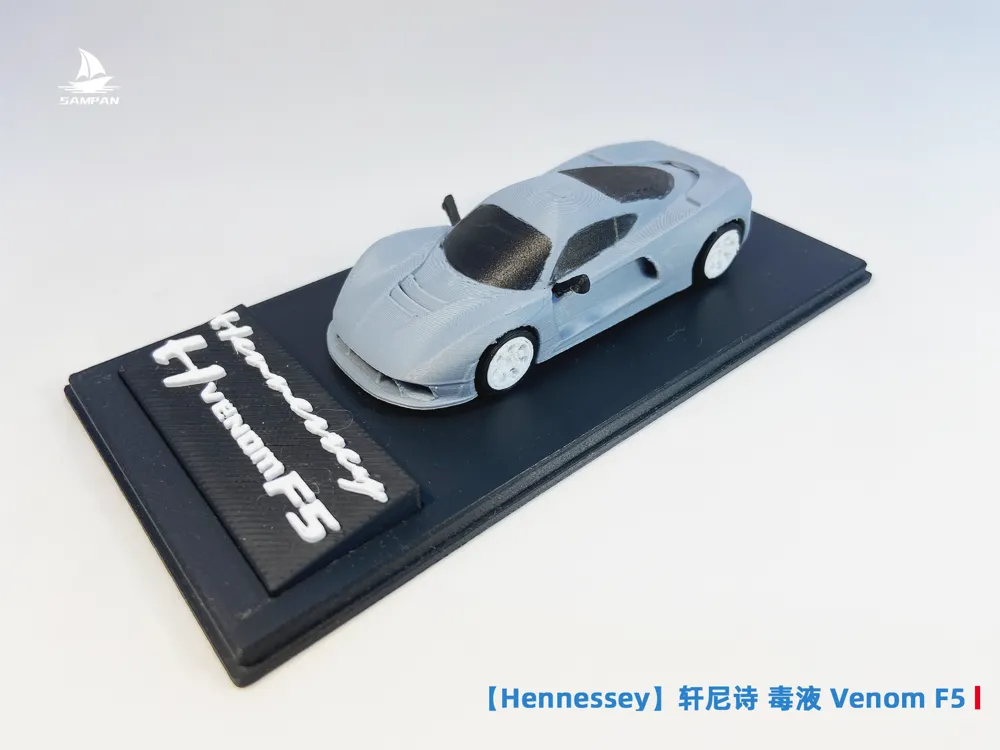
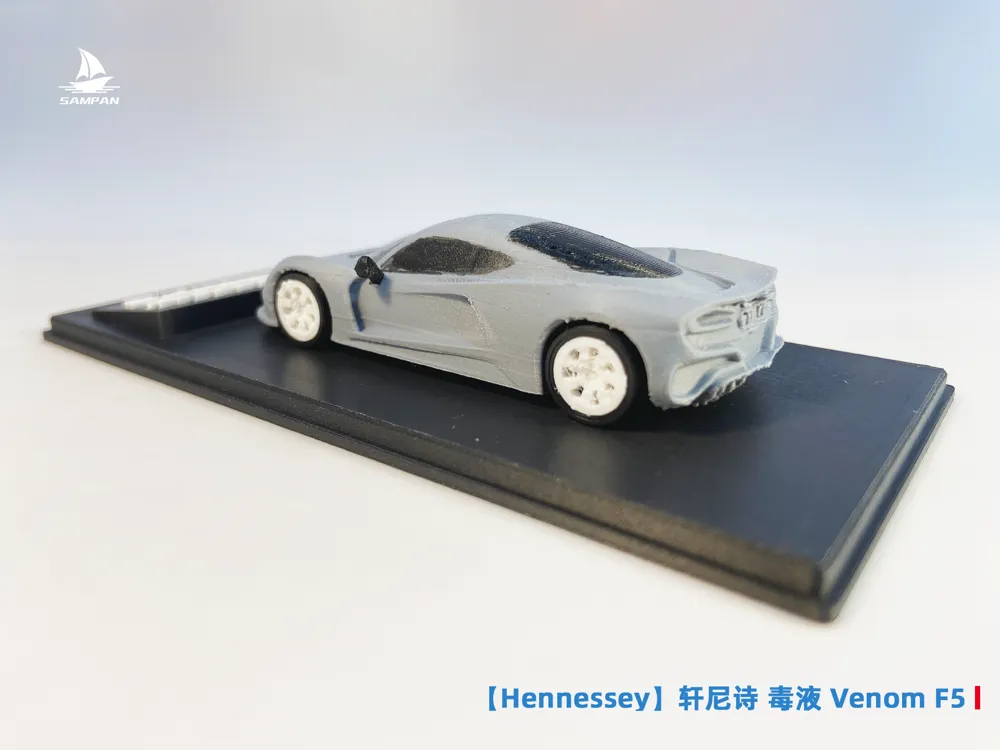
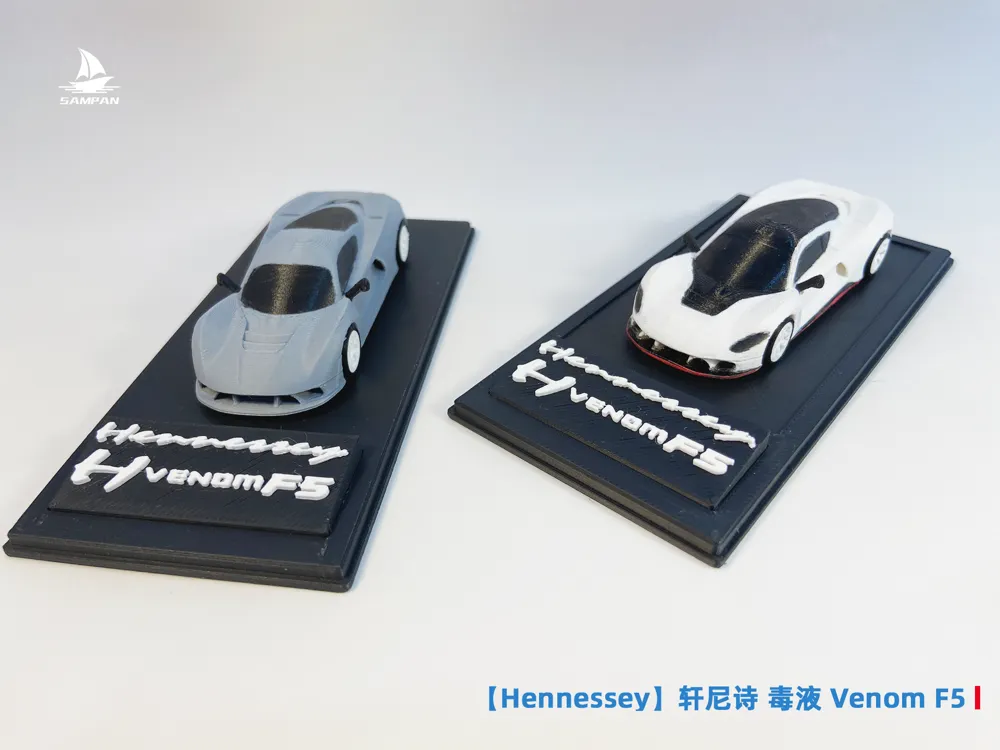
[Hennessey] Hennessey Venom F5 Flagship Hypercar Racing Car Assembly/Movable Tires
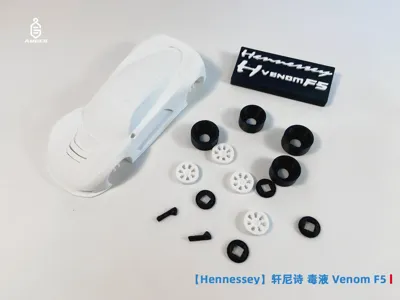
Print Profile(2)


Description
Boost Me (for free)
If you like this model, please boost it! Your support is my motivation for continuous updates!
【Special Notes for F1 Models】
1. The author has conducted structural printing tests on all models before release. However, the F1 model has a complex structure and requires high printing precision. Newcomers are advised to use the parameters in the slicer directly for printing and not to adjust them arbitrarily to avoid printing failures; experienced players may ignore this reminder.
2. The printing effect of the model is affected by various objective factors such as equipment, filament, and environment. If you encounter problems during printing, you are welcome to contact me through comments or private messages, and I will assist in troubleshooting. Creating is not easy. Please communicate before evaluating and do not give low scores at will; malicious negative reviews will result in being blocked. Thank you for your understanding!
3. All models from the author are tested based on Bambu Lab printers, and the configuration files use Bambu Lab's official slicing software. If you are using other brands of printers, it is recommended to adjust the parameters according to your own equipment's slicing software and preview before printing. Thank you for your cooperation!
4. As multi-color printing becomes the trend, the model is sliced with the H2C multi-nozzle printer by default. For other models, please refer to your own model for slicing preview to check the time and filament consumption.
5. Thank you again for the recognition and support from fellow enthusiasts. I hope to receive your likes and boosts. In 2026, let's unlock more F1 models together!
【Read Before Printing!!! Warm Tips】
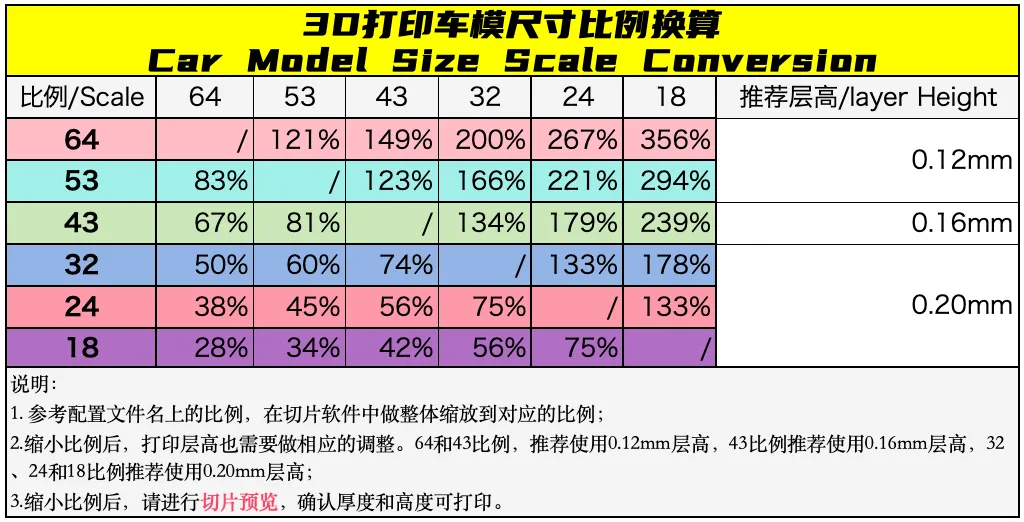
It is strongly recommended to print the single-color configuration first before printing the multi-color configuration to test the model structure and slicing effect (Cost of single-color model printing: 64 scale 15g filament, 2 hours. 43 scale 50g filament, 3 hours). After being satisfied with the model's appearance, articulated structure, and slicing effect, then print the multi-color version. Thank you.
Note: Before printing the multi-color configuration file, you can enlarge it according to the complexity of the paint scheme. Preview in the slicing software to check the details and ensure printability.
---------⇪3D Printing Instructions-----------⇩ Product Introduction--------------
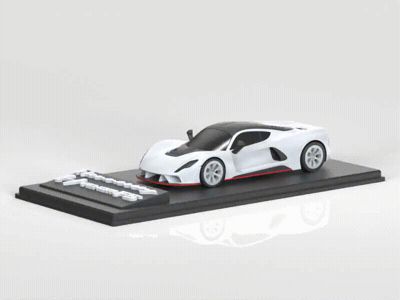
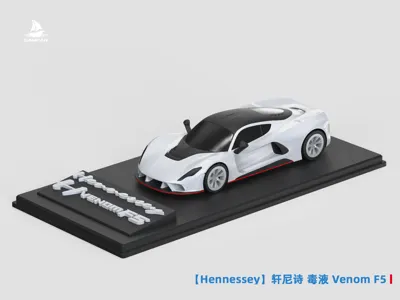
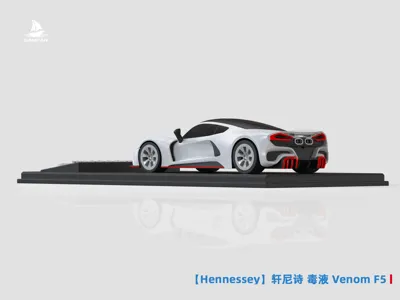
The Hennessey Venom F5 is not just a hypercar, but also the ultimate embodiment of humanity's pursuit of extreme land speed.
With its ferocious 1817 horsepower, extreme lightweight design of 1360kg, low drag coefficient of 0.39Cd, and a measured top speed of 484km/h, it redefines the performance limits of fuel-powered hypercars.
As the wave of electrification sweeps across the globe, the Venom F5, with its pure mechanical and raw aesthetic, marks a glorious final chapter for the era of fuel-powered hypercars.
For car enthusiasts and collectors, the Venom F5 represents not only speed and passion, but also a persistent pursuit of the essence of automobiles, a legacy of mechanical art that transcends eras.
As per a friend's suggestion, releasing the scribed and paint-friendly version here: [Hennessey] Hennessey Venom F5 Scribed and Paint-Friendly Version from AMBER•CenJieSuYing MakerWorld: Free 3D Model Download
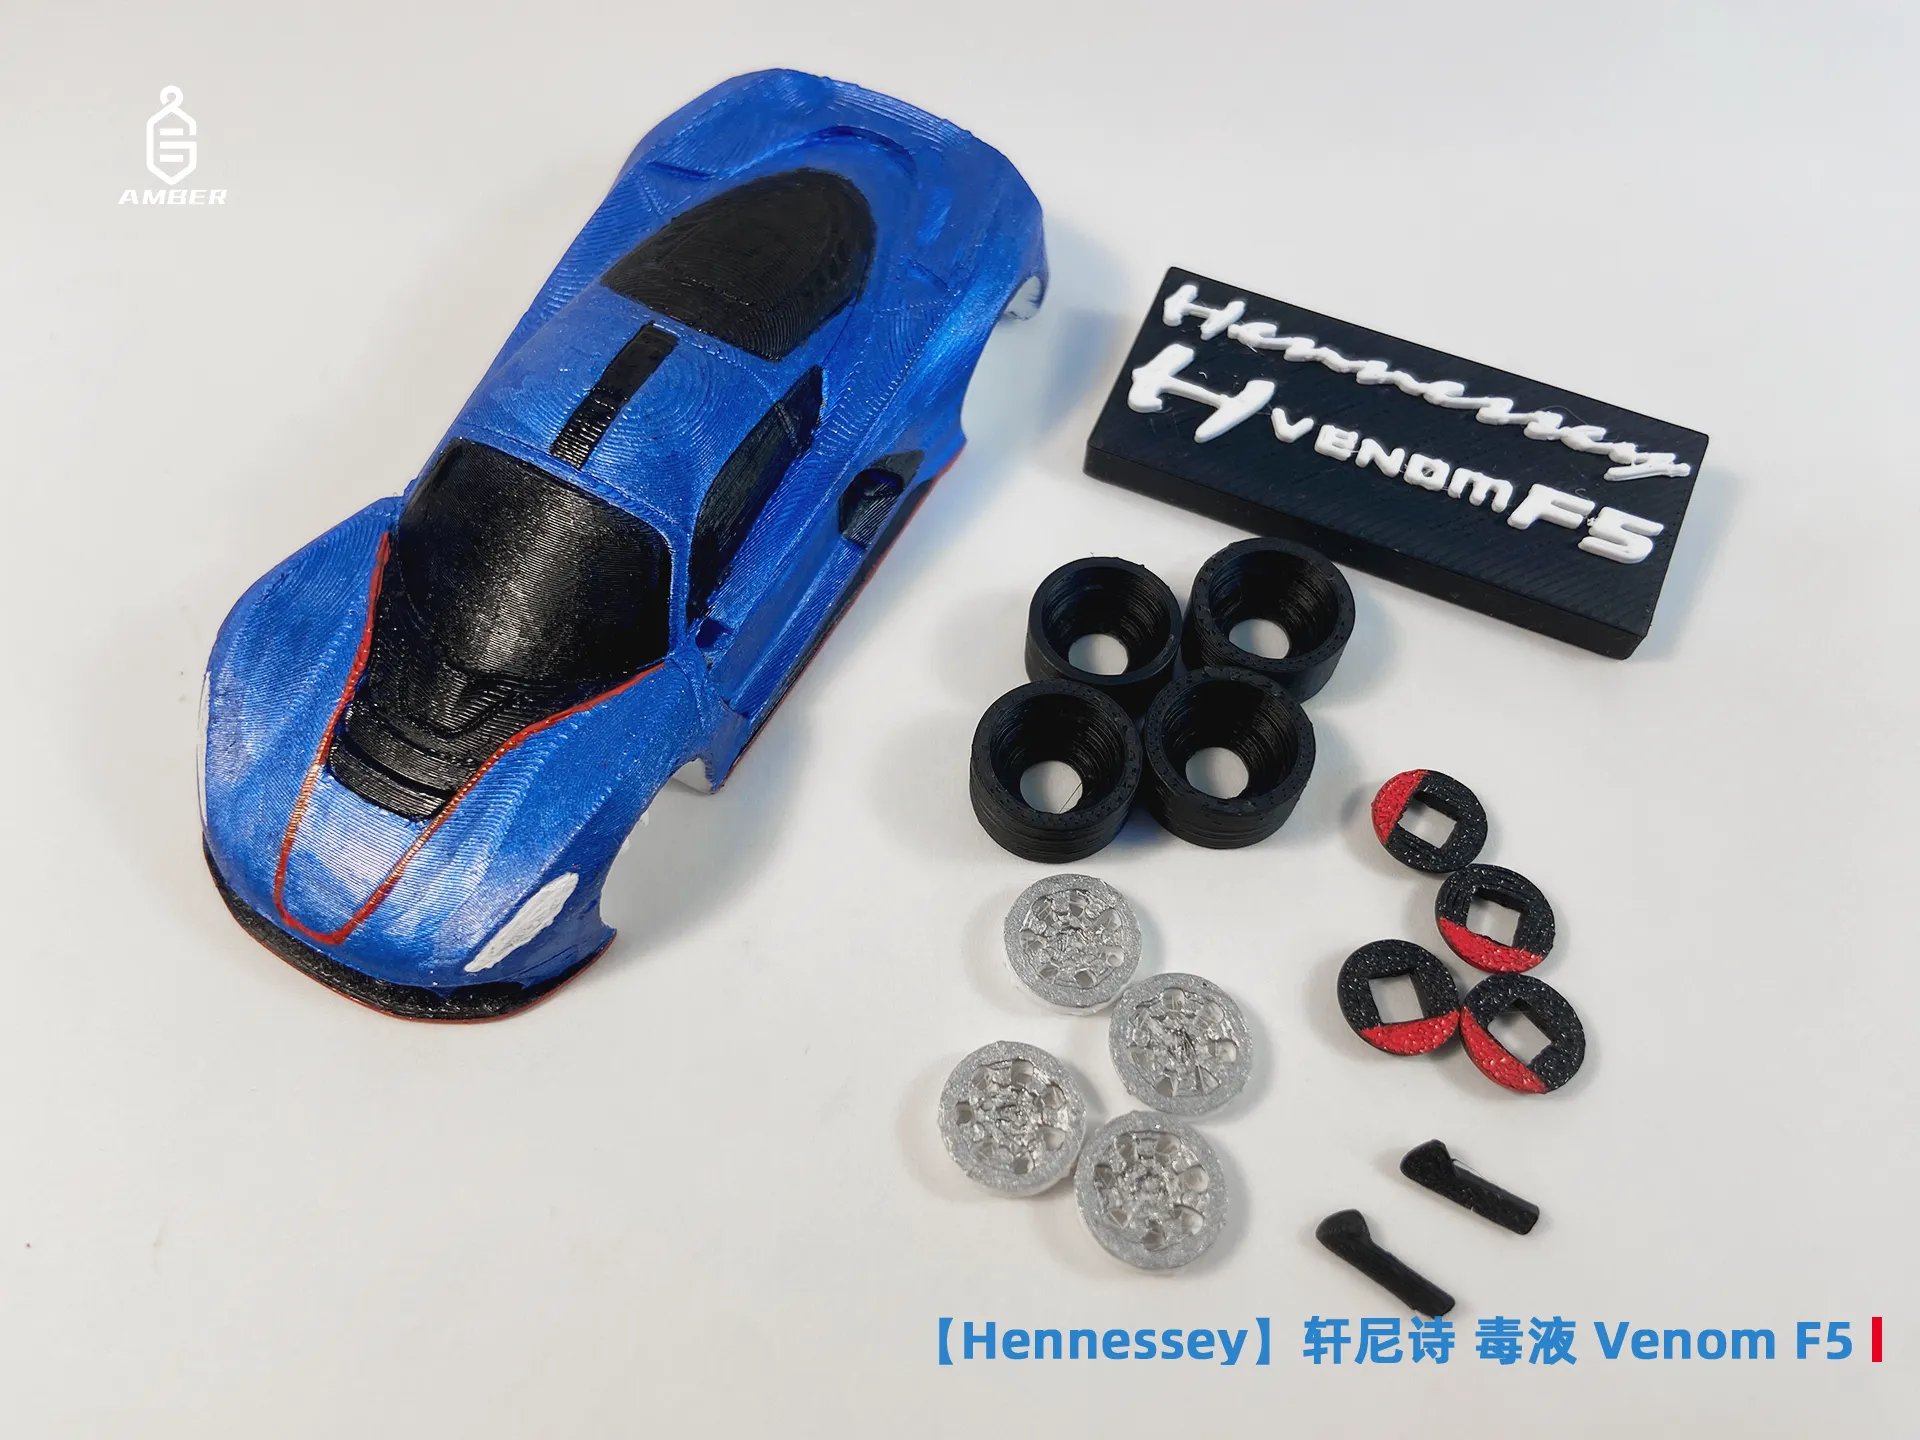
Model Description
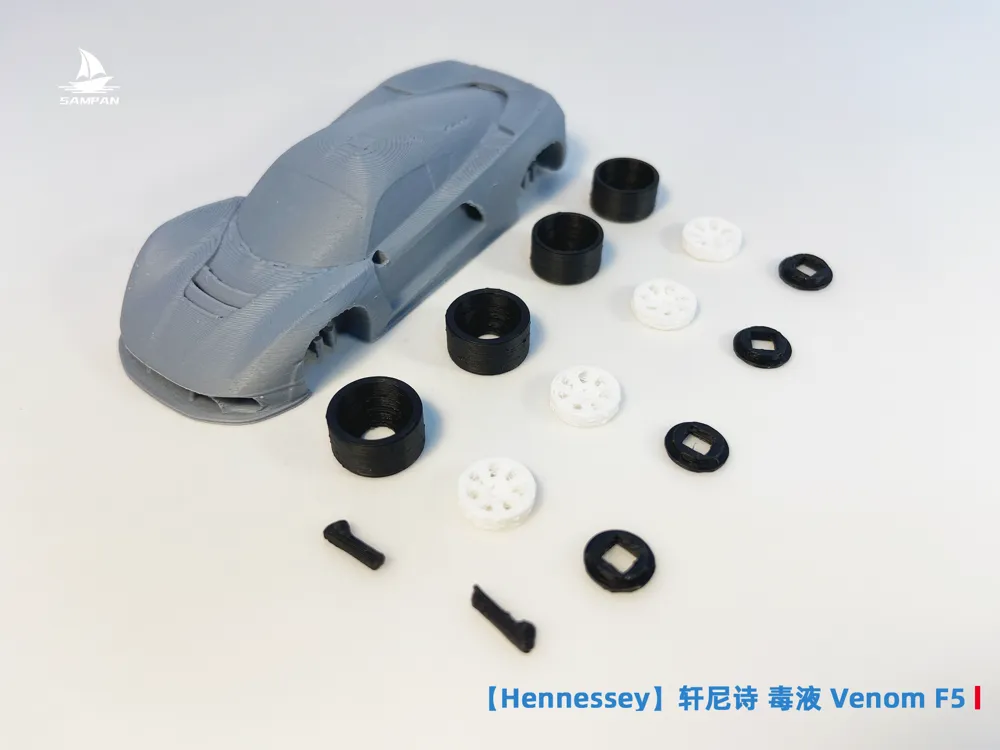
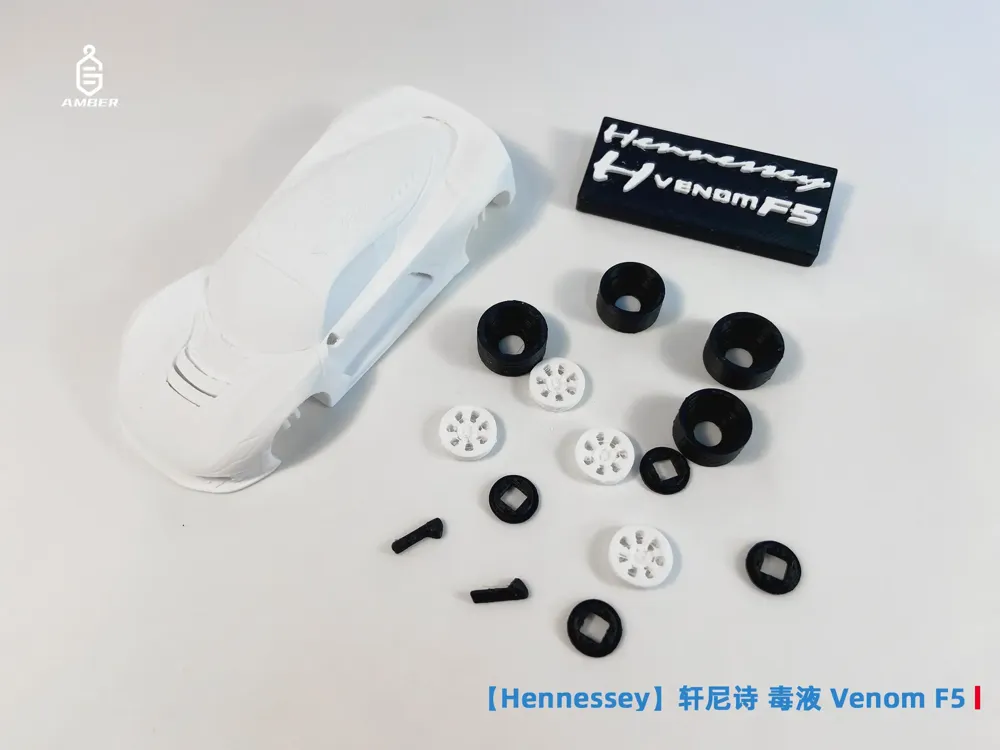
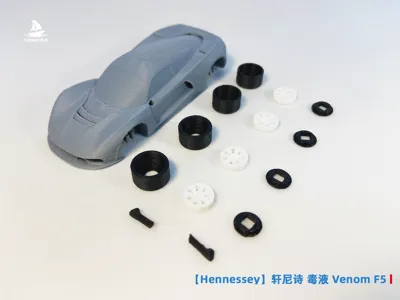
- Wheels are movable, and assembly requires no glue. The front and rear tires are different sizes.
- All wheel hubs for 1/64 scale cars under this account can be replaced. Browse the homepage and download your preferred wheel hub styles.
Dimensions
- 1/64 scale
- 1/43 scale: simply enlarge by 150%, print with 0.16mm layer height
- For slicing files, use the minimum printer size settings. You can adjust the number of models printed at once according to your printer size to save time and filament.
FDM Print Settings
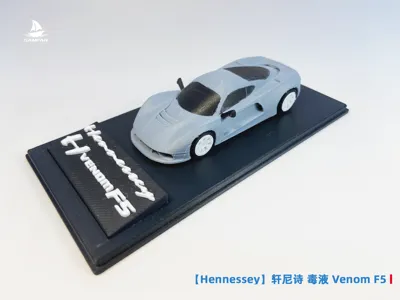
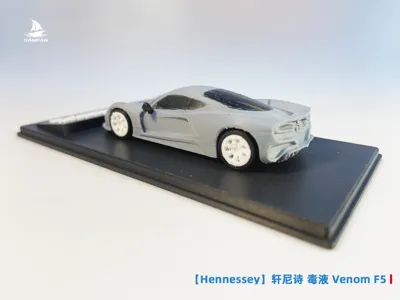
- The physical model was printed using an A1 mini with a 0.4mm nozzle, 0.12mm layer height, and official PLA. Using equipment, parameters, and filament with higher specifications will yield better results (if assembly is too tight or too loose, you can compensate by adjusting the XY outer contour dimensions of the components, or by using sanding tools and 409 glue for processing and connection).
- Infill density: 15%. To increase the model's heft, you can adjust the infill density to 100%.
- Supports: A combination of normal and tree supports was used.
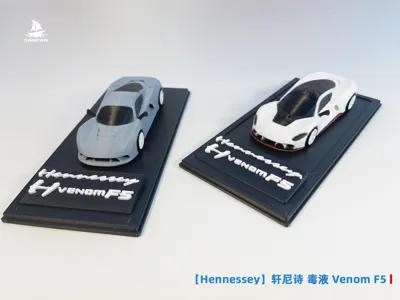
- Various painted versions will be released later. Follow the account to get the latest updates as soon as possible.
- You can also adjust printing parameters based on your own printing experience.
Support Removal Instructions
- The model is relatively small, with supports added at critical locations. Support removal requires the use of side cutters and tweezers. Directly breaking them off by hand will likely lead to structural breakage, especially for the side mirrors and rear wing sections.
- Tip: To ensure successful removal from multi-color models and avoid breakage, you can first print a single-color model for removal to understand the model and support structure, then remove the supports from multi-color models (if breakage occurs, 409 glue can be used for connection).
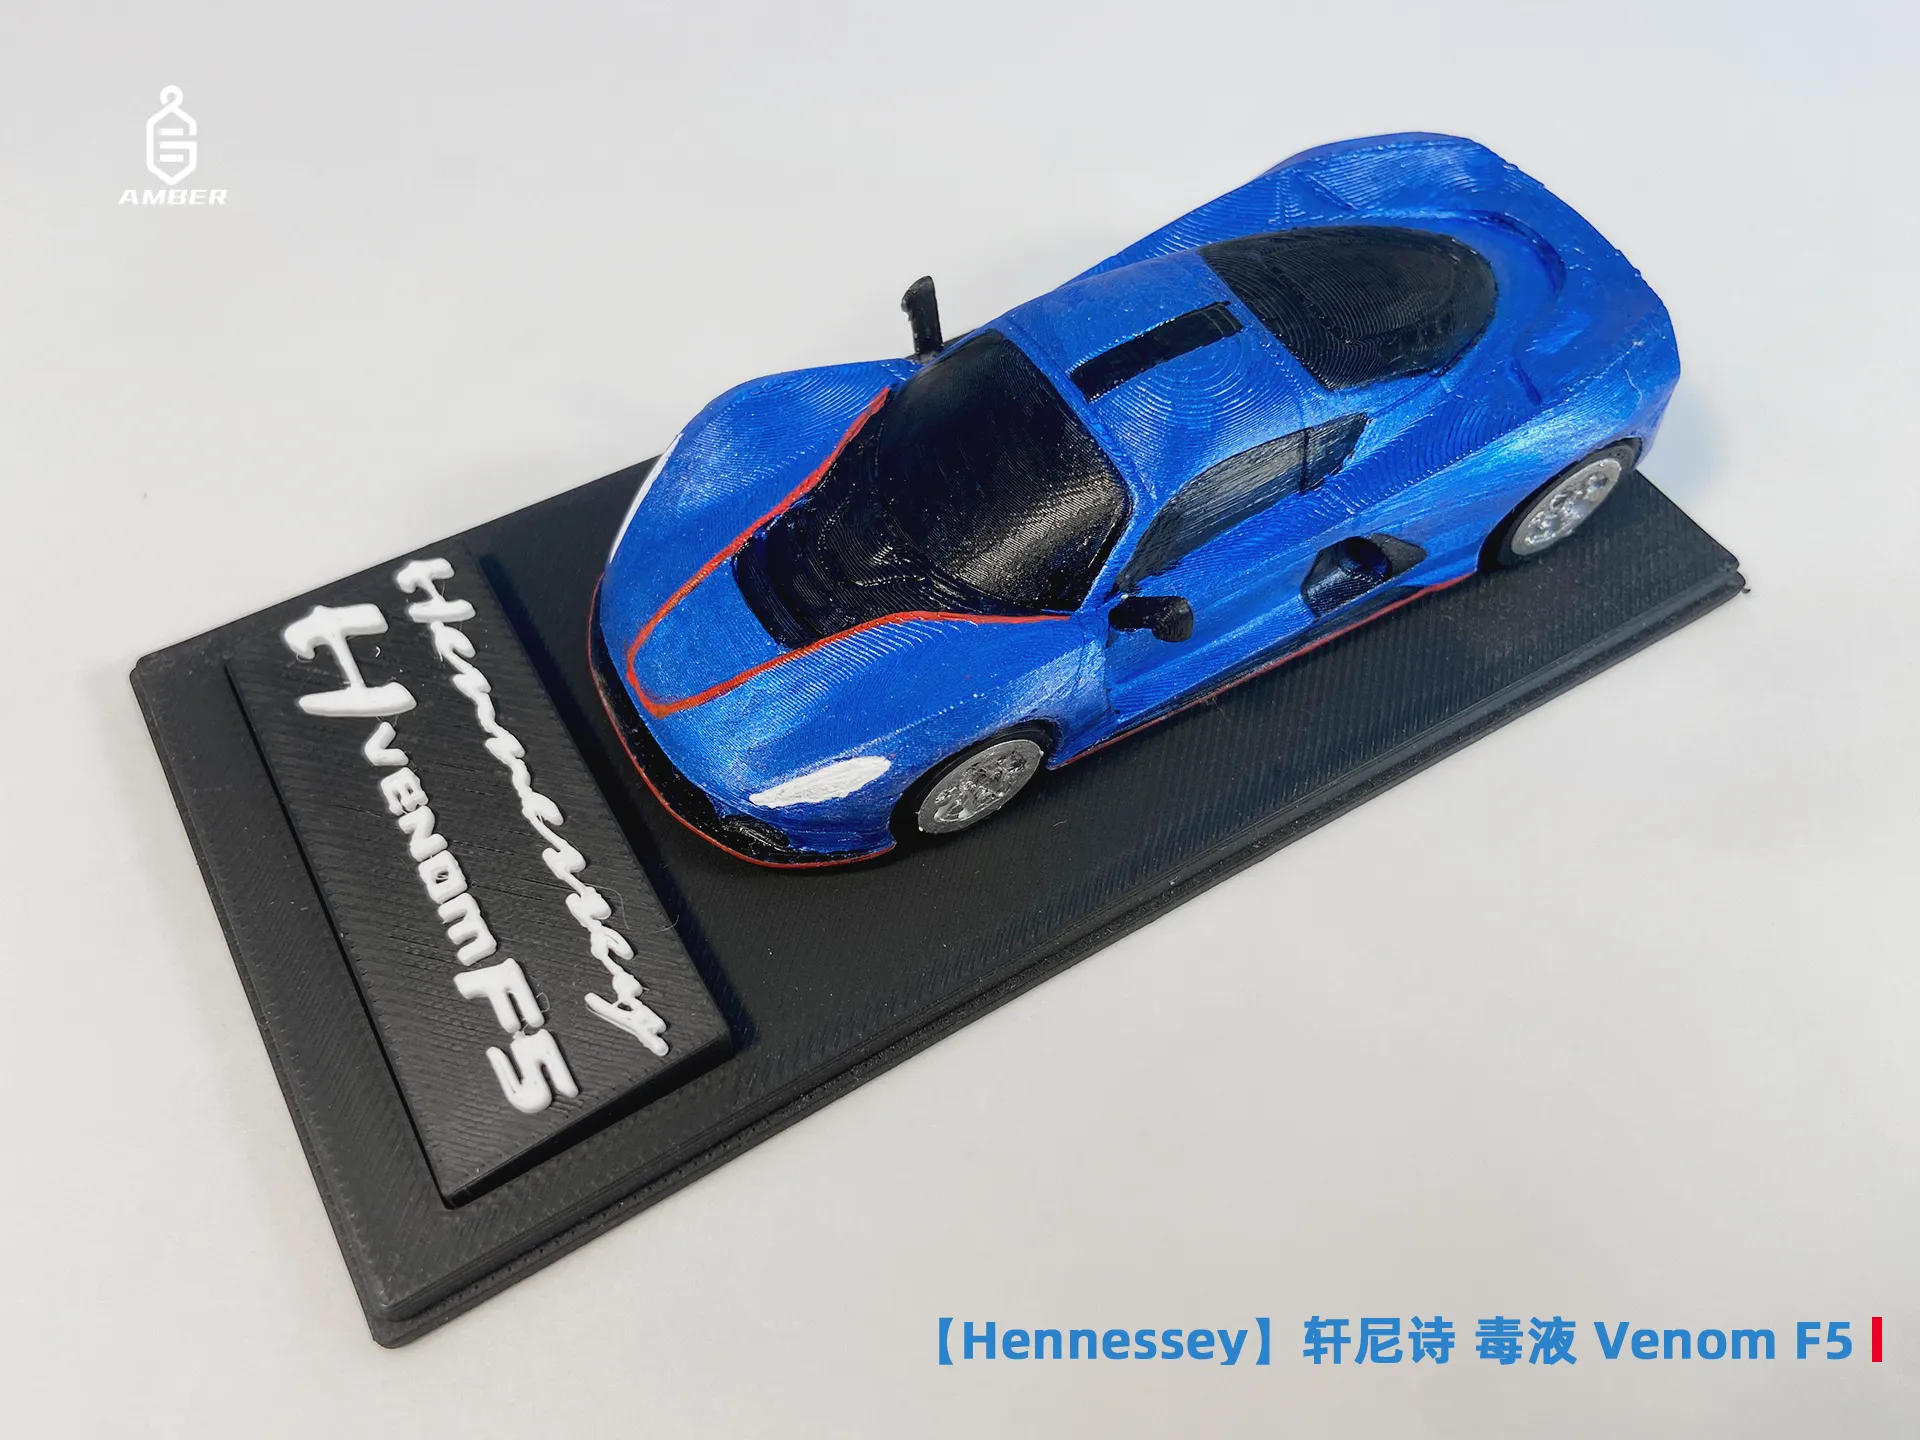
Monochromatic Painting Reference (printed with white filament)
- Sanding: (Optional) Sand in the order of 400-600-800 grit.
- Painting: Paint with acrylic colors and brushes (for issues with layer lines penetrating at edges, you can first apply the main color over a large area, then paint the edges).
- Polishing: Polish with a flannel cloth to bring out the luster of the acrylic paint.
Assembly Instructions

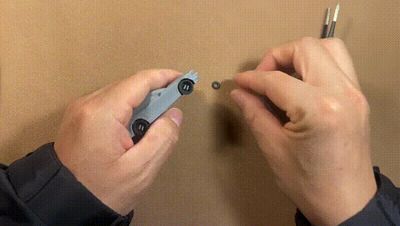
- For long-term stability of the wheels, moderate force is required for installation, and the first few rotations will be tight. After playing with it a few times, it will become more flexible. See GIF demonstration for wheel installation.
- To facilitate the installation of wheel calipers, a dedicated wheel caliper installation tool has been designed and produced. Link: 1/64 Scale Wheel Caliper Installation Tool from SAMPAN LingJieFuKe - MakerWorld
Visit the author's homepage to see all vehicle models, welcome to like and follow!
Hope to see more friends share your printing photos, I'm curious what kind of works you will print!
We will continue to release various high-precision 3D printed vehicles, thank you for your attention and support!
Membership
China site:https://makerworld.com.cn/zh/@sampan1120
International site:https://makerworld.com/zh/@sampan1120
Documentation (1)

License

You shall not share, sub-license, sell, rent, host, transfer, or distribute in any way the digital or 3D printed versions of this object, nor any other derivative work of this object in its digital or physical format (including - but not limited to - remixes of this object, and hosting on other digital platforms). The objects may not be used without permission in any way whatsoever in which you charge money, or collect fees.


Comment & Rating (13)