
Book Trimmer - Bookbinding Plough
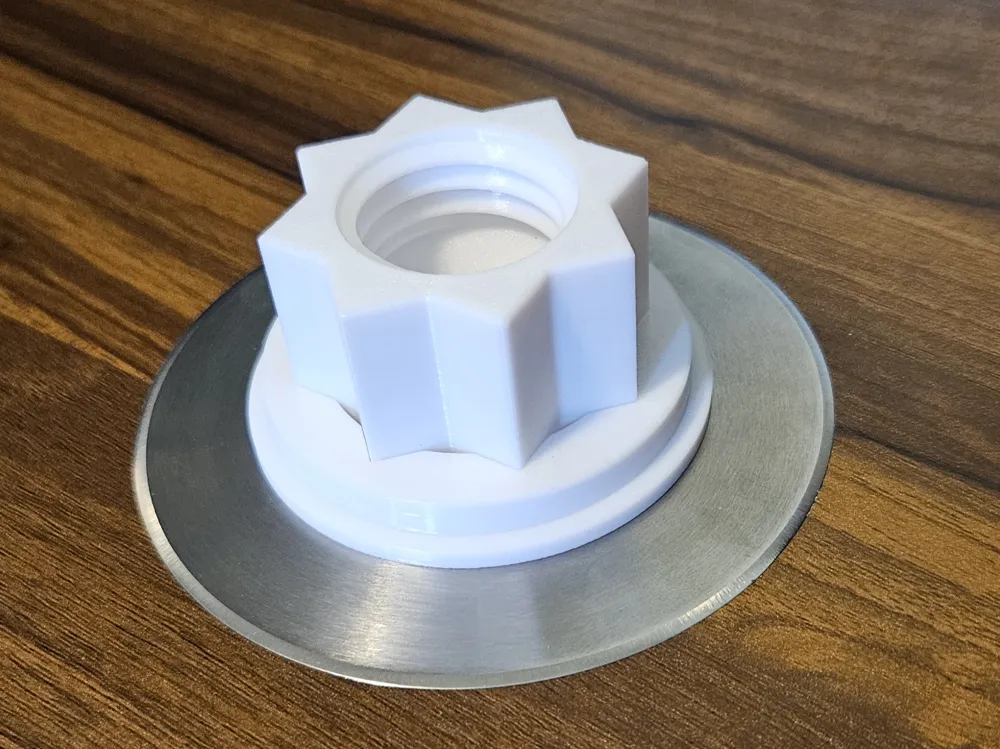
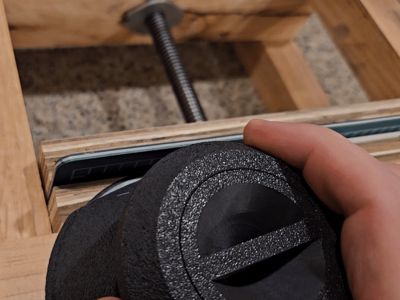
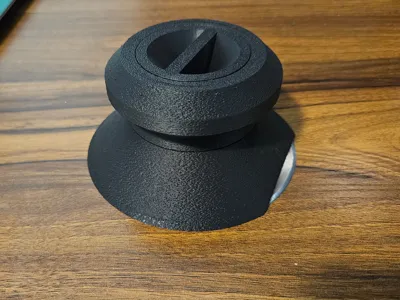
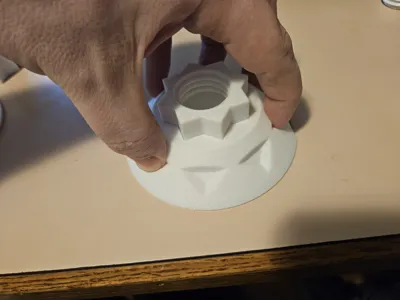
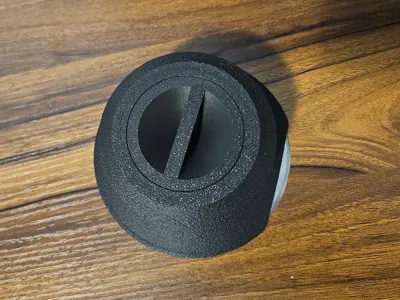
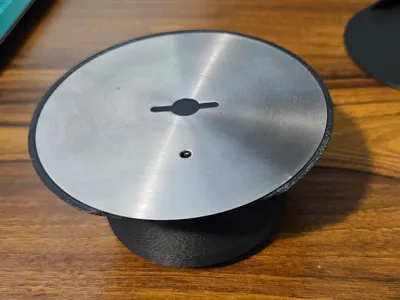
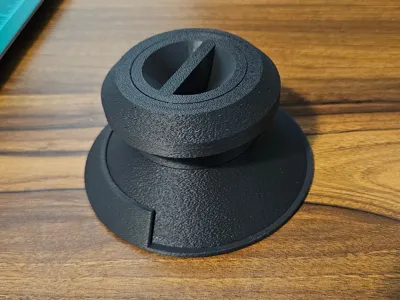
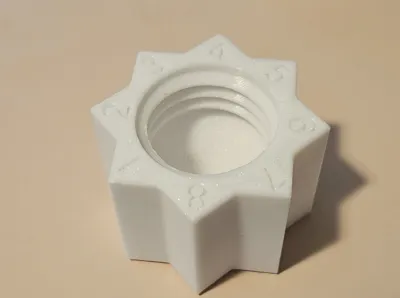
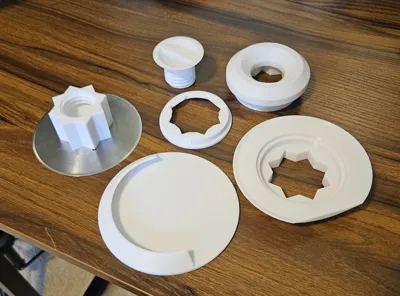
Print Profile(3)


Bill of Materials
- 100mm Kebab Slicer Blade x 1: https://www.amazon.com/dp/B0DRCVTXWY
- E6000 Glue x 1: https://www.amazon.com/dp/B007TSYNG8
Description
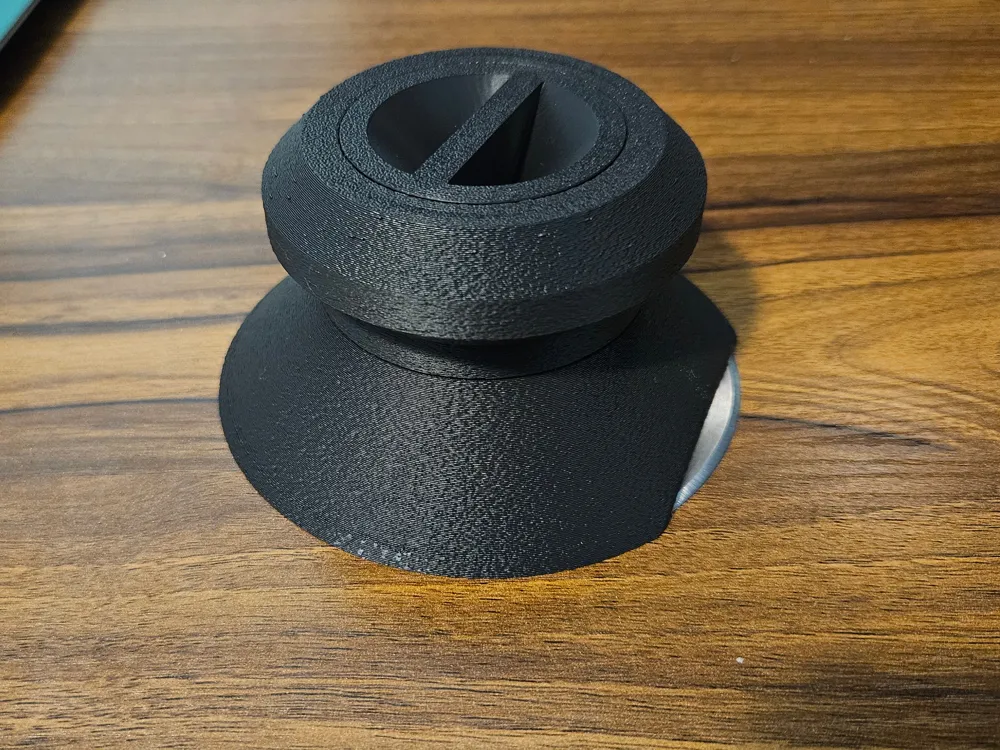
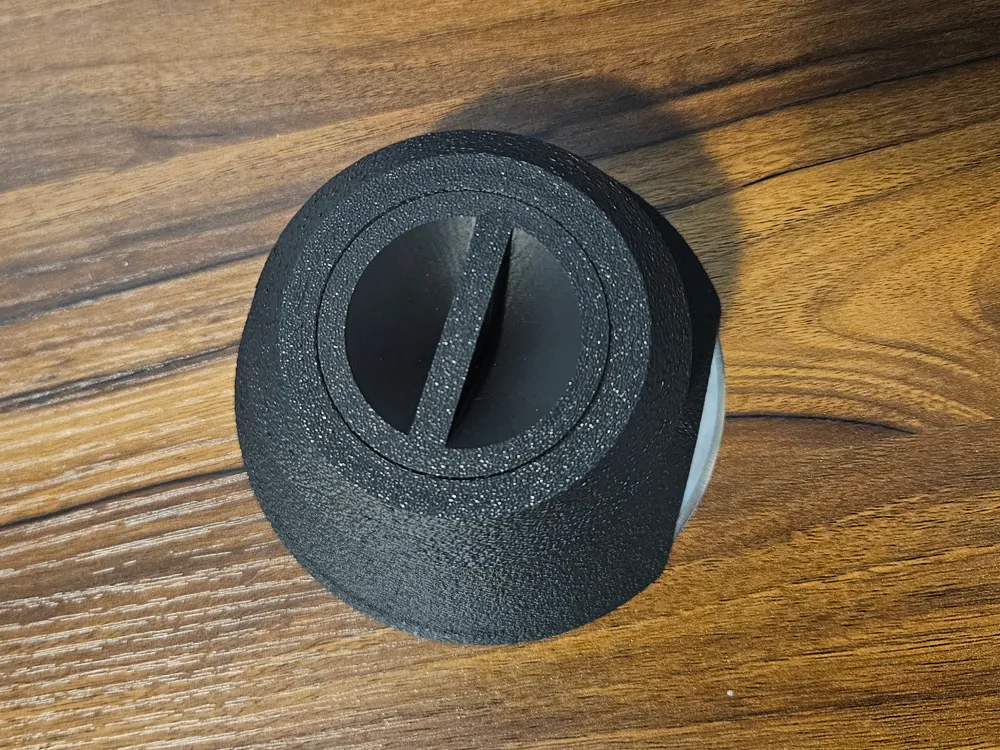
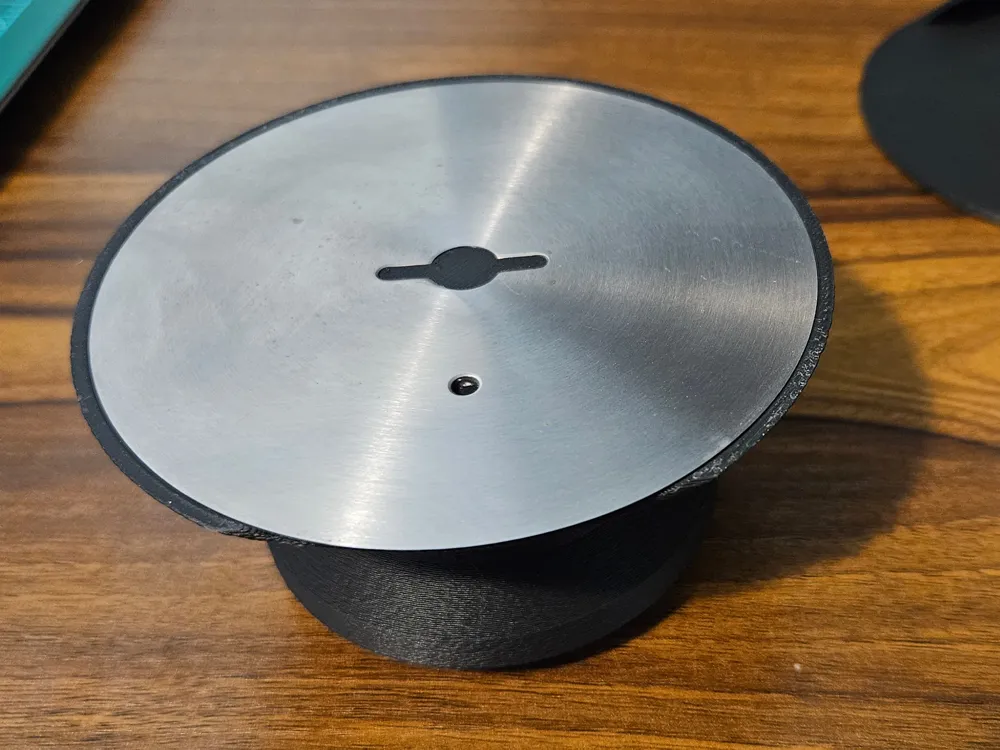
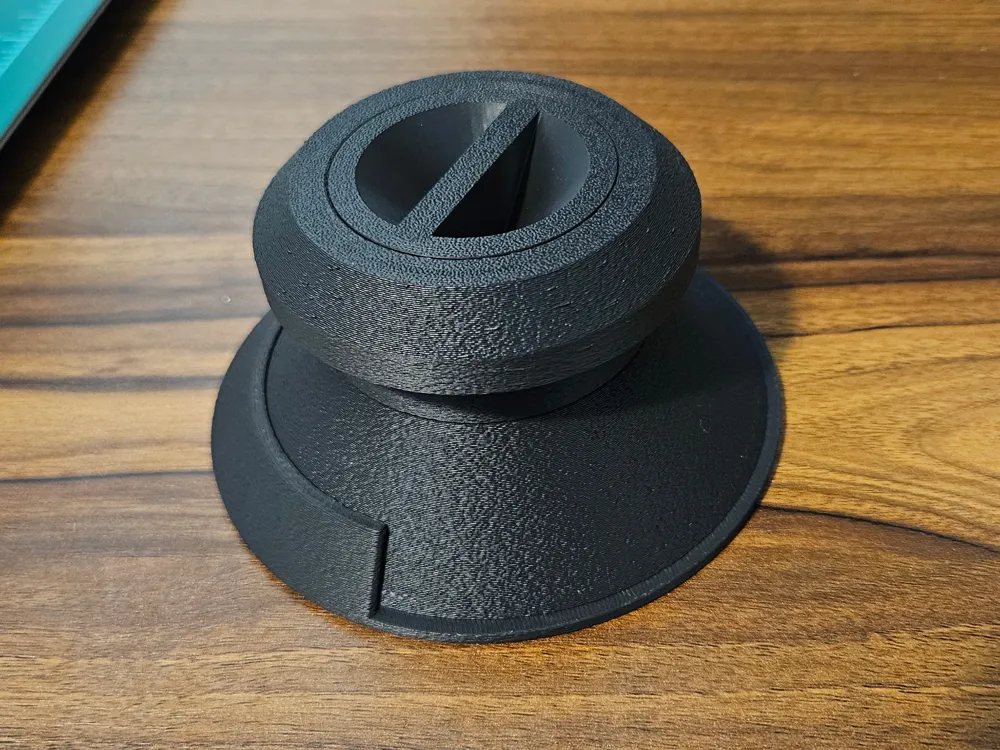
This is a book trimmer or a bookbinding plough, which is used to make the edges of a book block flat and smooth.
Updates
2026-02-07
Improvements based on excellent suggestions by @Phils_in_a_Bind
- Added a new 80mm blade option
Added grips to the blade shield so that you can more easily remove it without putting your fingers near the blades
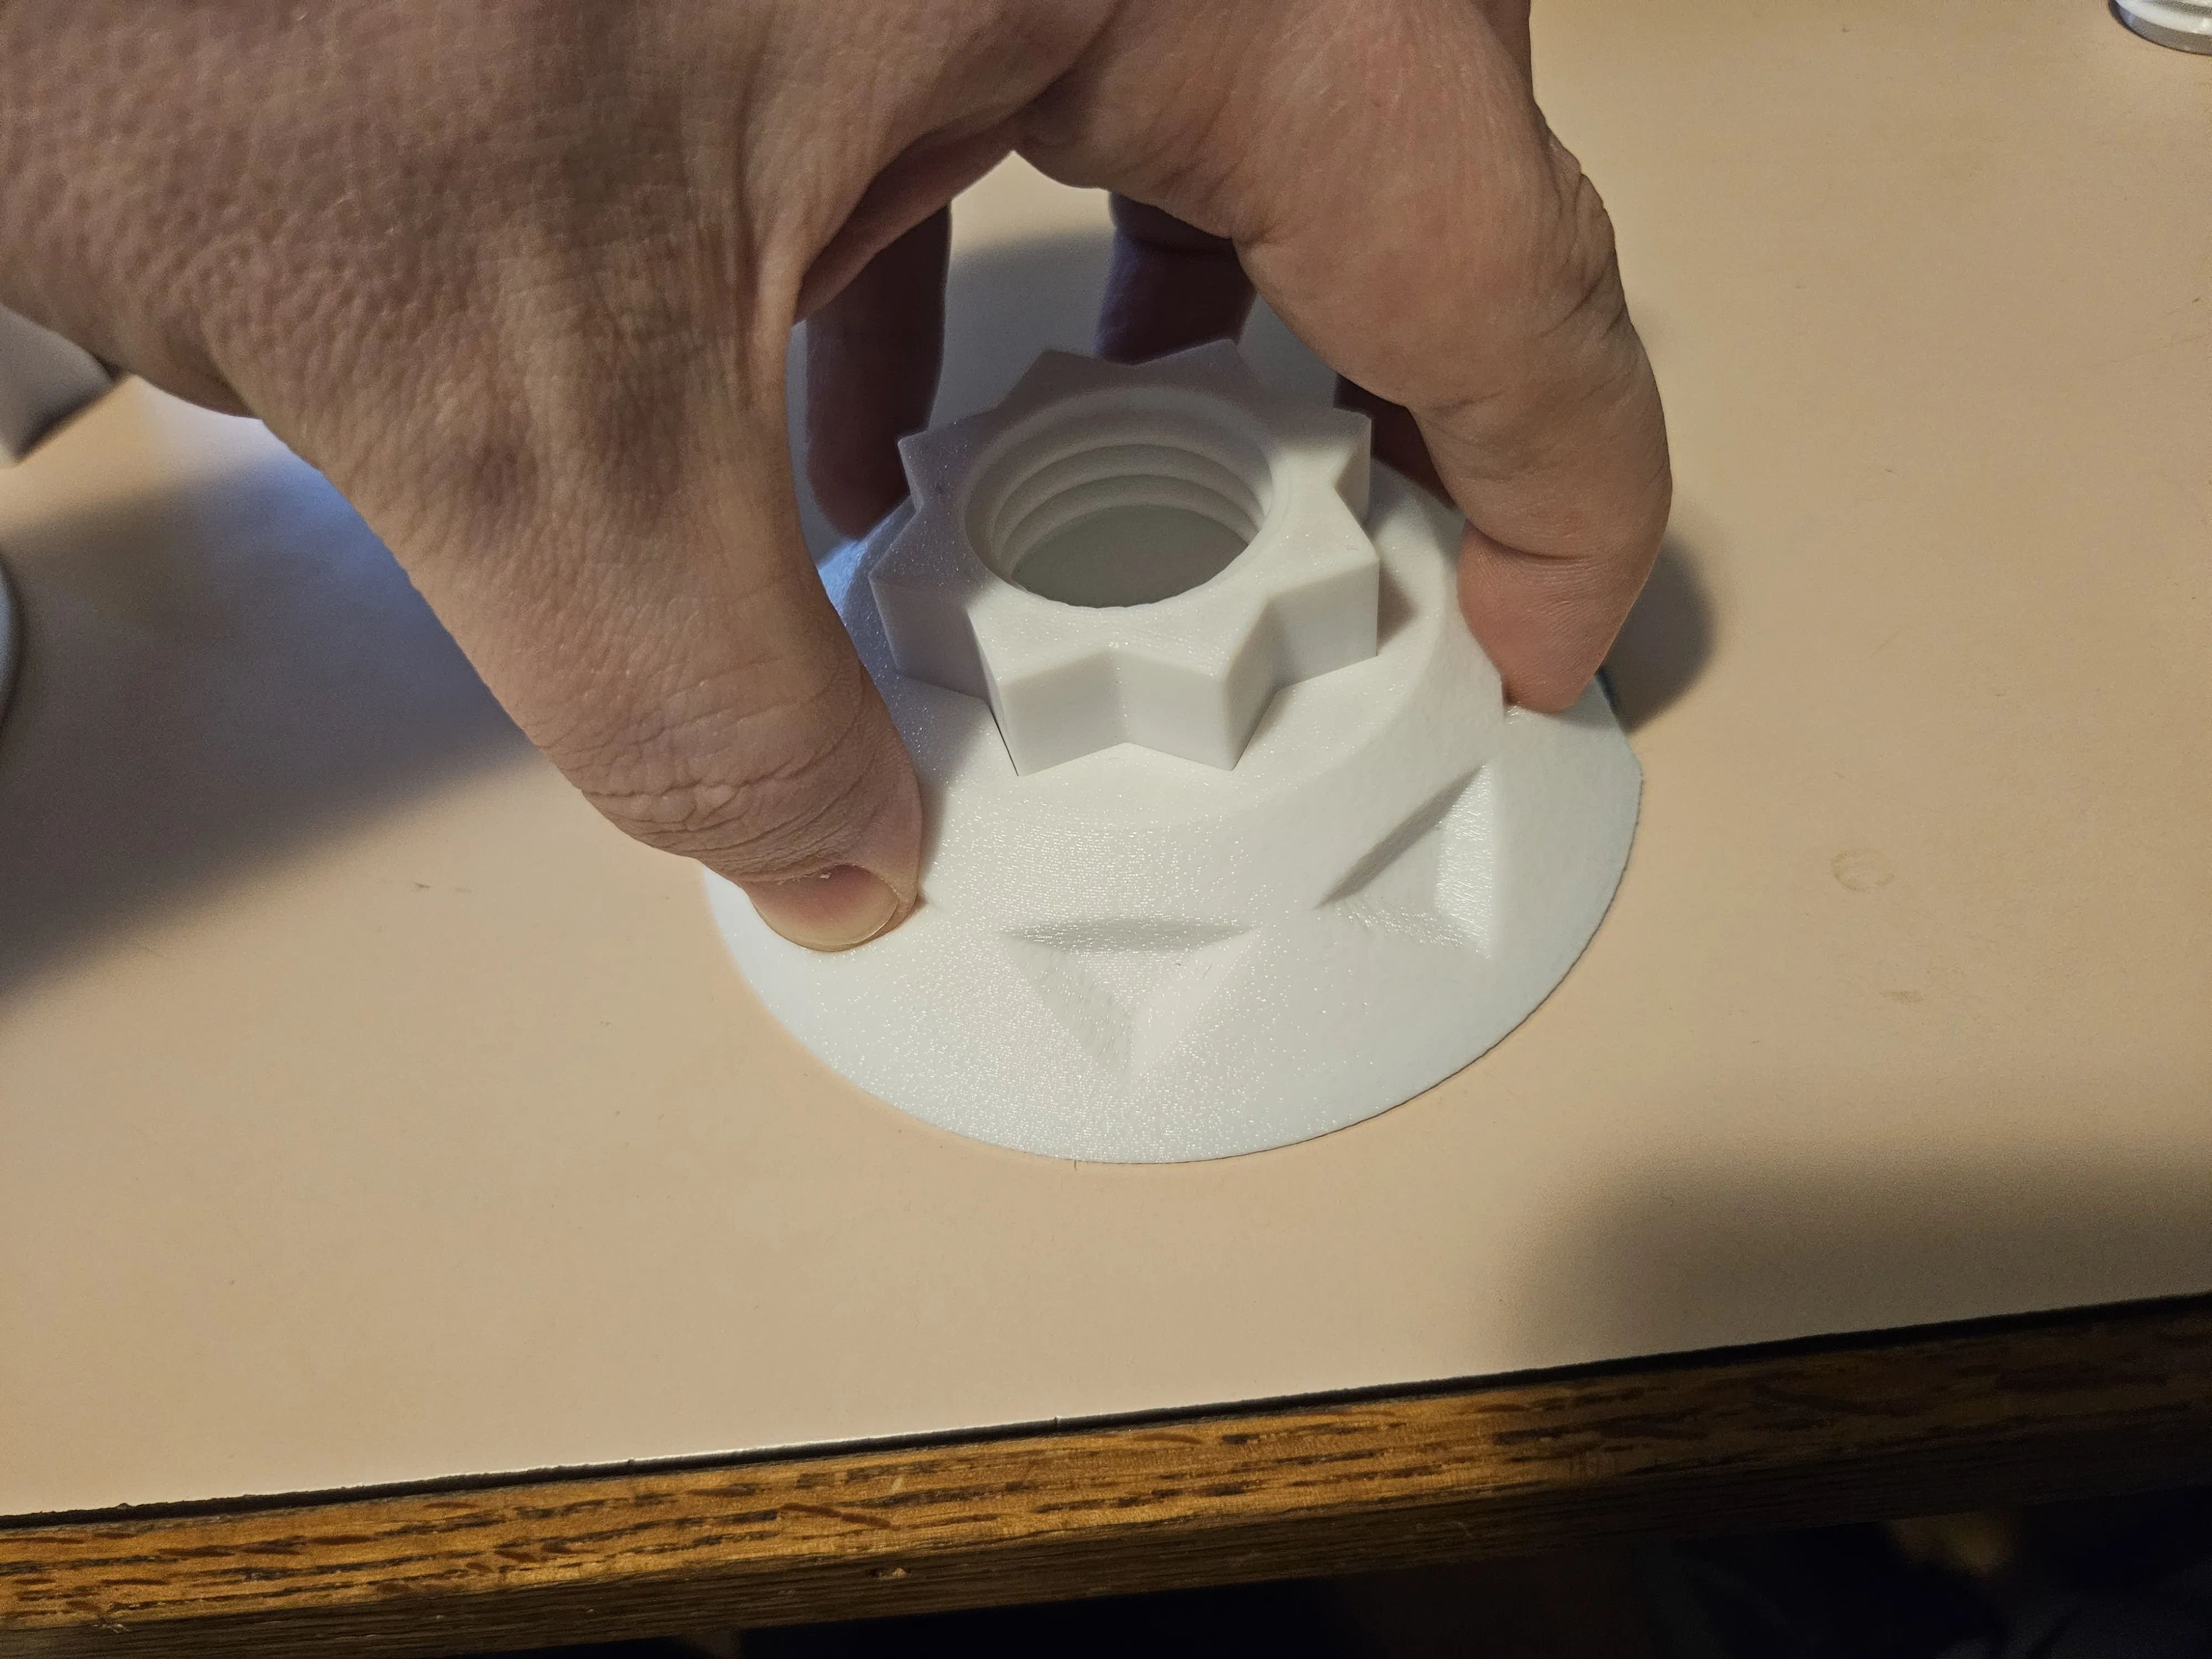
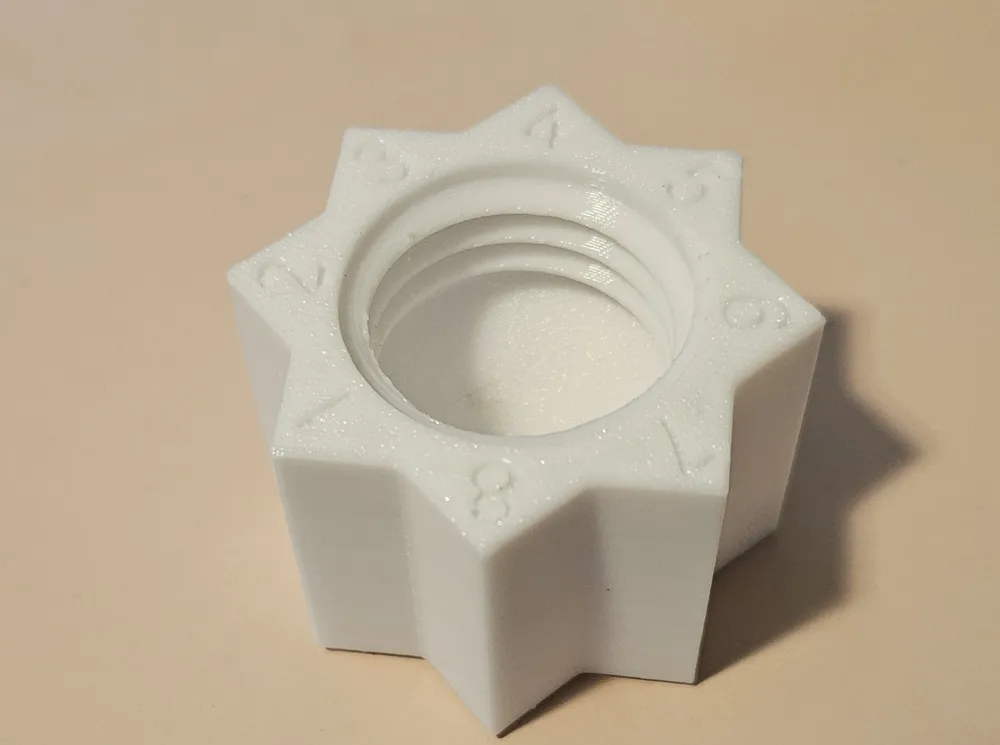
Added numbers to the blade interface so that you can keep track of which sections of blade have been used.
2025-11-26
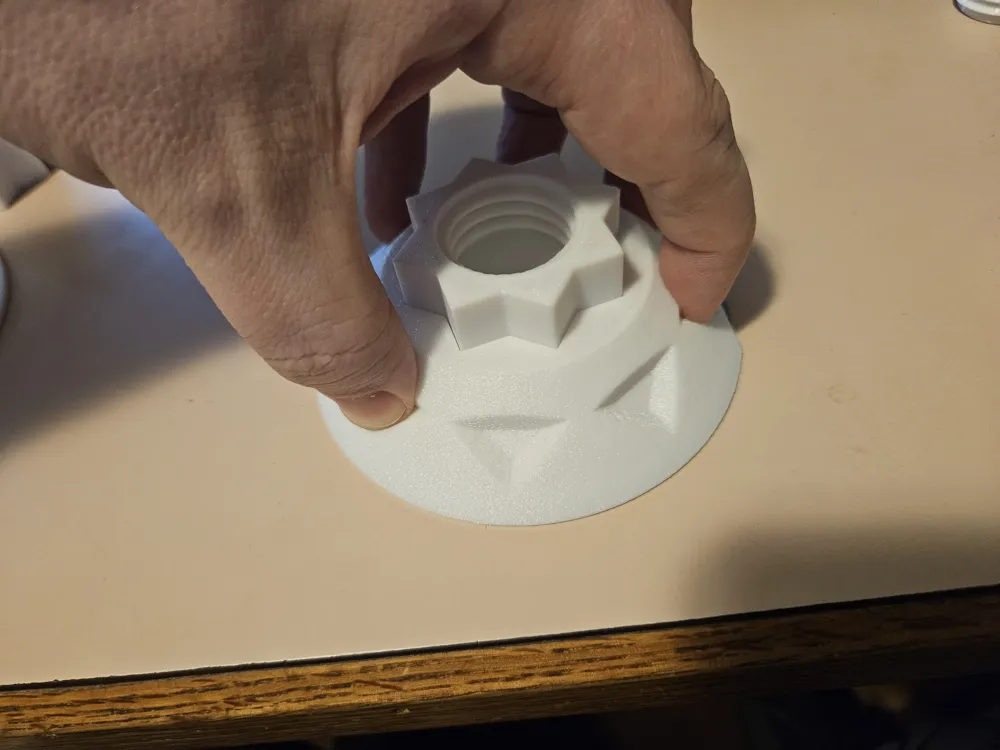
- Added a new part: A spacing jig to assist with sharpening the top of the blade. A corresponding cutout of the blade shield.
- Added slightly more space between the star shaped blade interface and the connecting components (shield and handle)
- Reduced the recess for the blade in the shield so that it lines up flush with the blade
- Added slight curve to the top of the blade interface so that it more easily contacts the blade
- Increased the chamfer on the edge of the shield so that it does not feel sharp
- Correctly set Fuzzy Skin in the print profile.
- Maybe a few slight tweaks to sizes that I have forgotten.
Introduction
I really like the design of Affordable Binding Equipment's Bookbinding Plough. I like how easy it is to use, how you can rotate the blade so that you have a sharp surface for a long time, how easily you can sharpen it, etc. I've wanted to make one for a long time.
Unfortunately, I was not able to find a single-bevel blade no matter how I searched. But reddit user u/Kilh made an excellent post about using a Kebab/Kebap blade. Brilliant.
I decided to design my own to fit my requirements.
Usage
Book trimming
You need some way to clamp your book with an available flat surface. A bookbinding press is good here, but you can just use a couple of 2x4s with quick release clamps, as long as the boards are straight.
You also need something backing it, such as a cutting matte. This is so the last few pages don't get mangled. I actually have a customizable model for press attachments that I think is very convenient to help with this: Book Trimmer Press Attachments

Then gently glide the plough along the top, not pressing into the paper too hard. Keep it exactly flat (don't tilt, don't let paper get under it, etc.) It's actually very relaxing.
There is a GIF attached that shows me demonstrating it (slightly awkwardly due to trying to video with one hand). I later realized that standing to the side and pulling it toward you is easier and gives more consistent results.
Rotating
When you notice the blade getting dull, rotate along the star shape by one notch. To do this, unscrew the assembly screw, remove the handle (which should be pretty tight), pop off the blade guard (⚠️ BE CAREFUL NOT TO CUT YOURSELF ⚠️), and rotate the blade guard by one. Then put it back together.
Sharpening
When the blade is fully dull, you need to sharpen it.
- Unscrew the assembly screw, remove the handle and pop off the blade guard.
Put the handle back on and put the assembly screw back on. ⚠️ Trust me, with the blade exposed, it's easy to cut yourself. Be careful. ⚠️
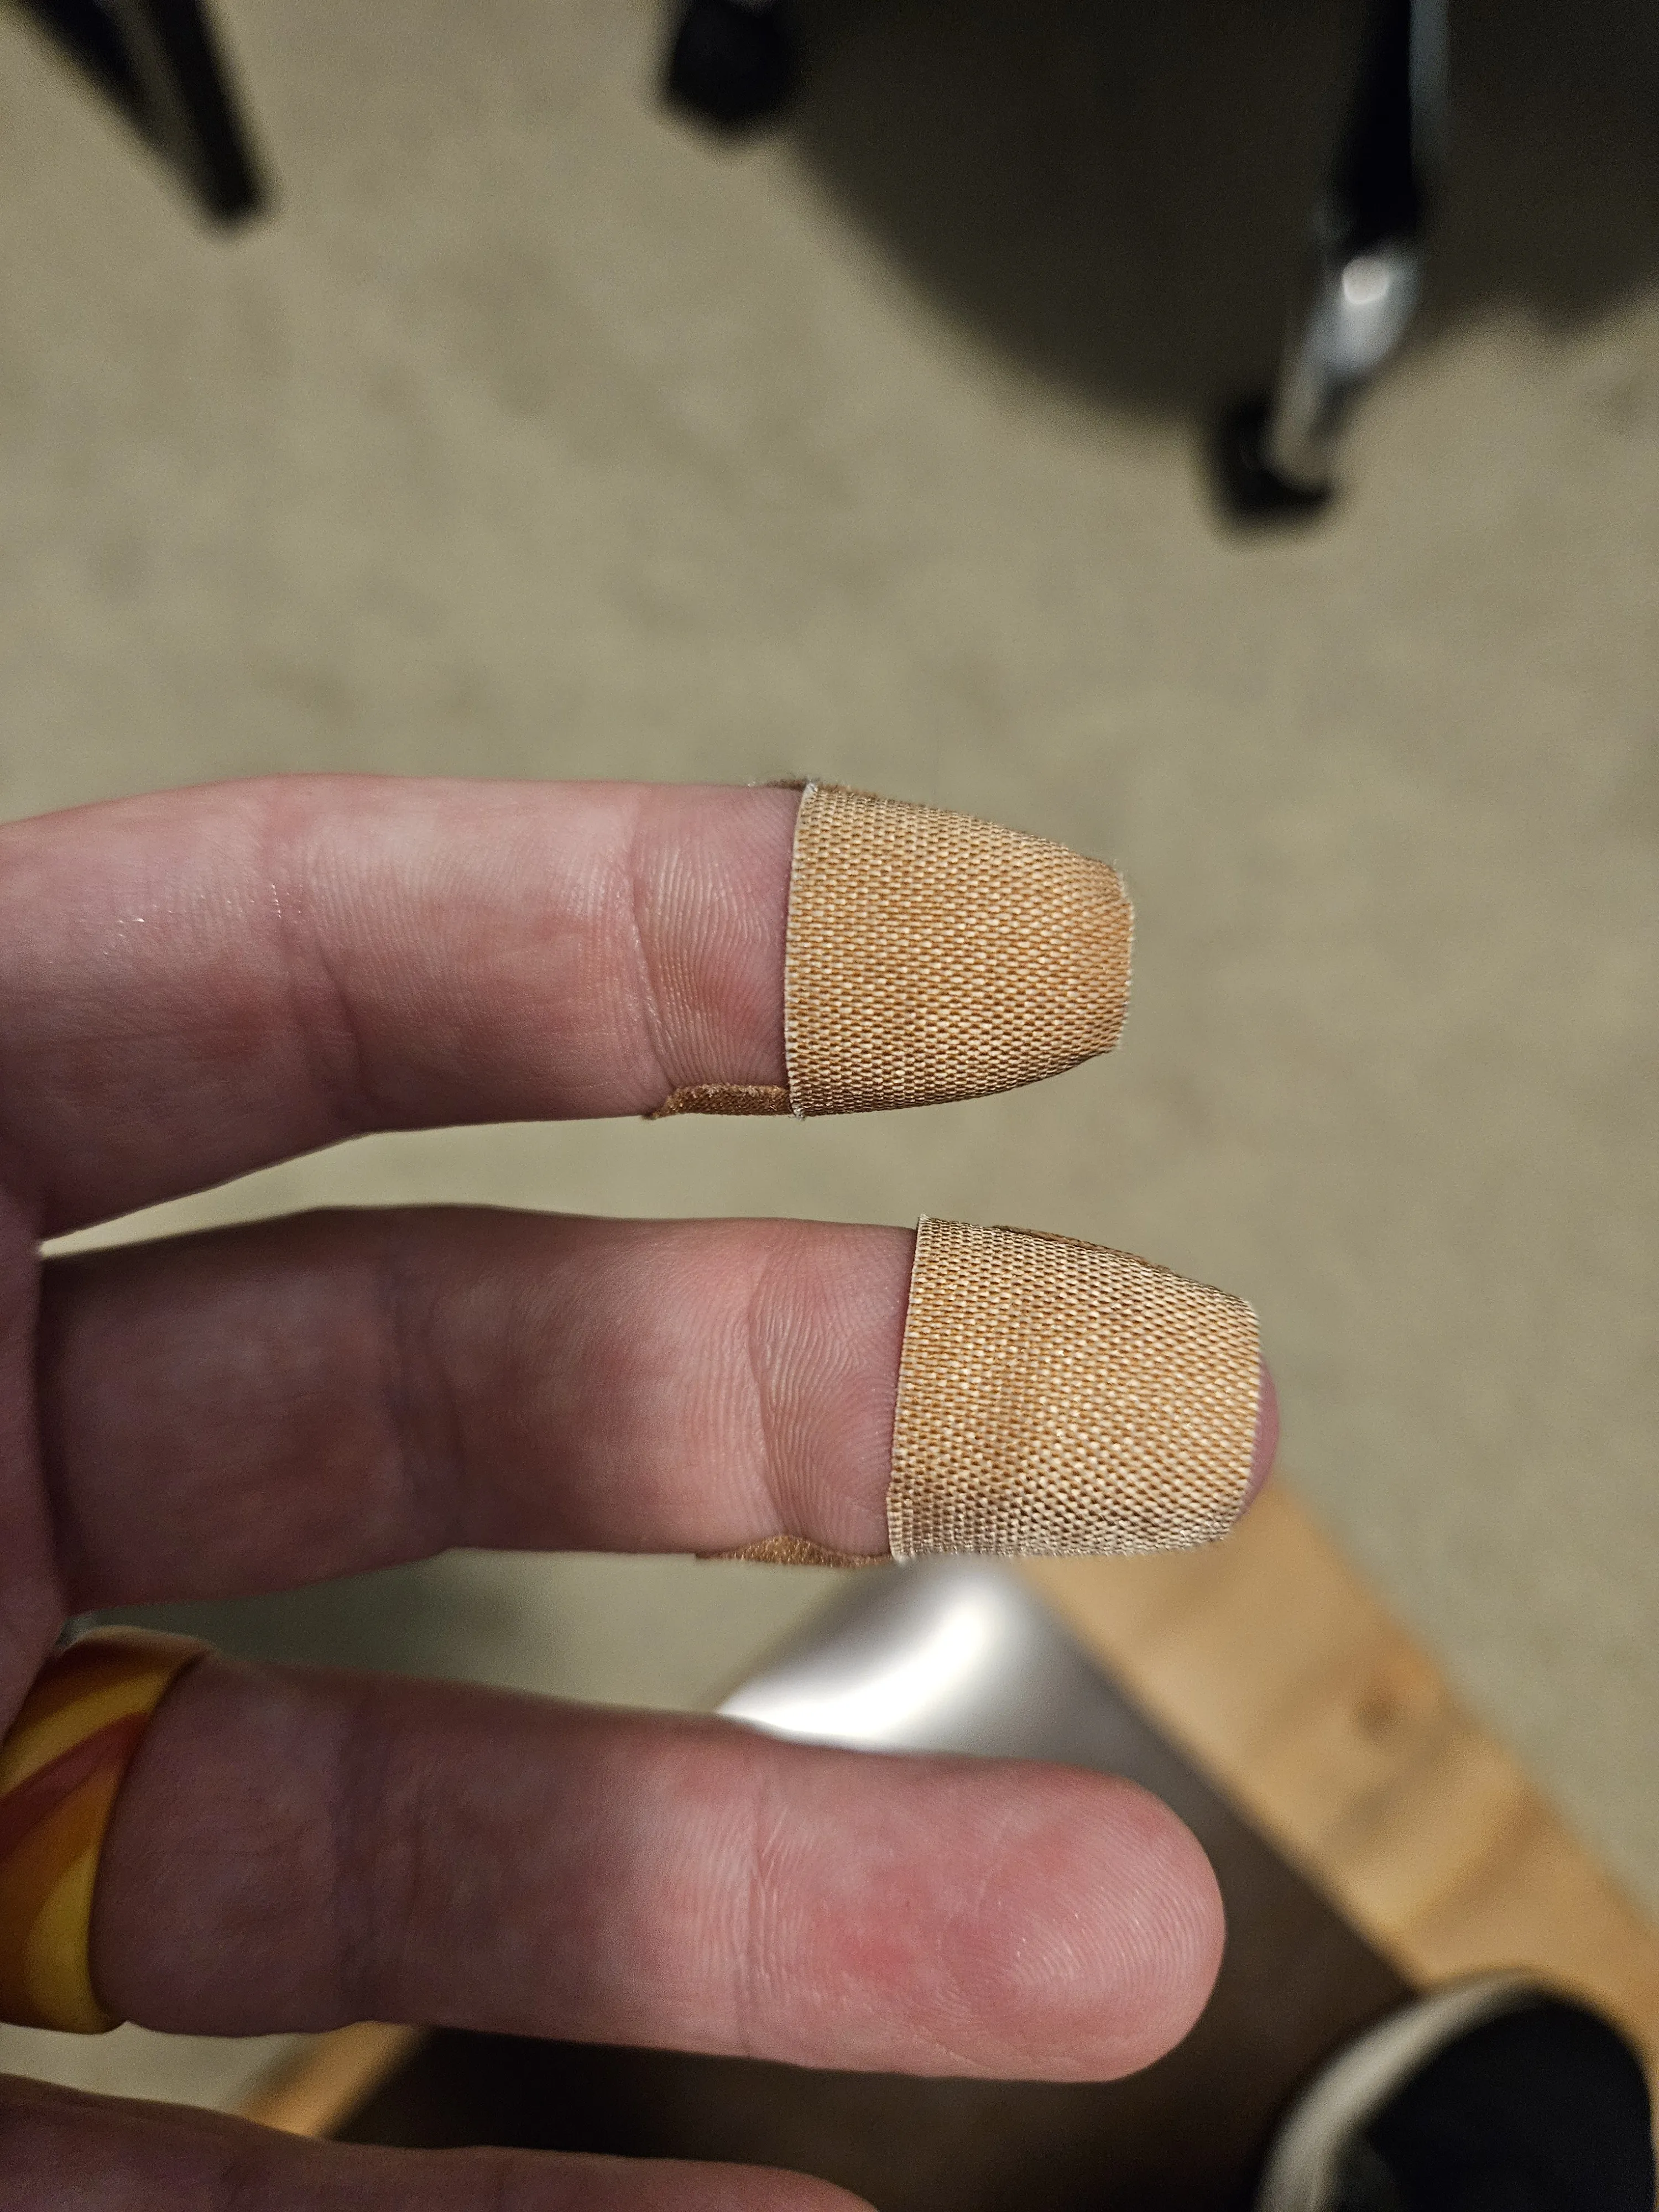
- Slide the blade across a whetstone, diamond stone, or high grit wet sandpaper. Rotate often as you slide, and keep your fingers away.
- Flip it over and use the sharpening spacing jig to give you the angle for sharpening the bevel of the blade. You can rotate along it.
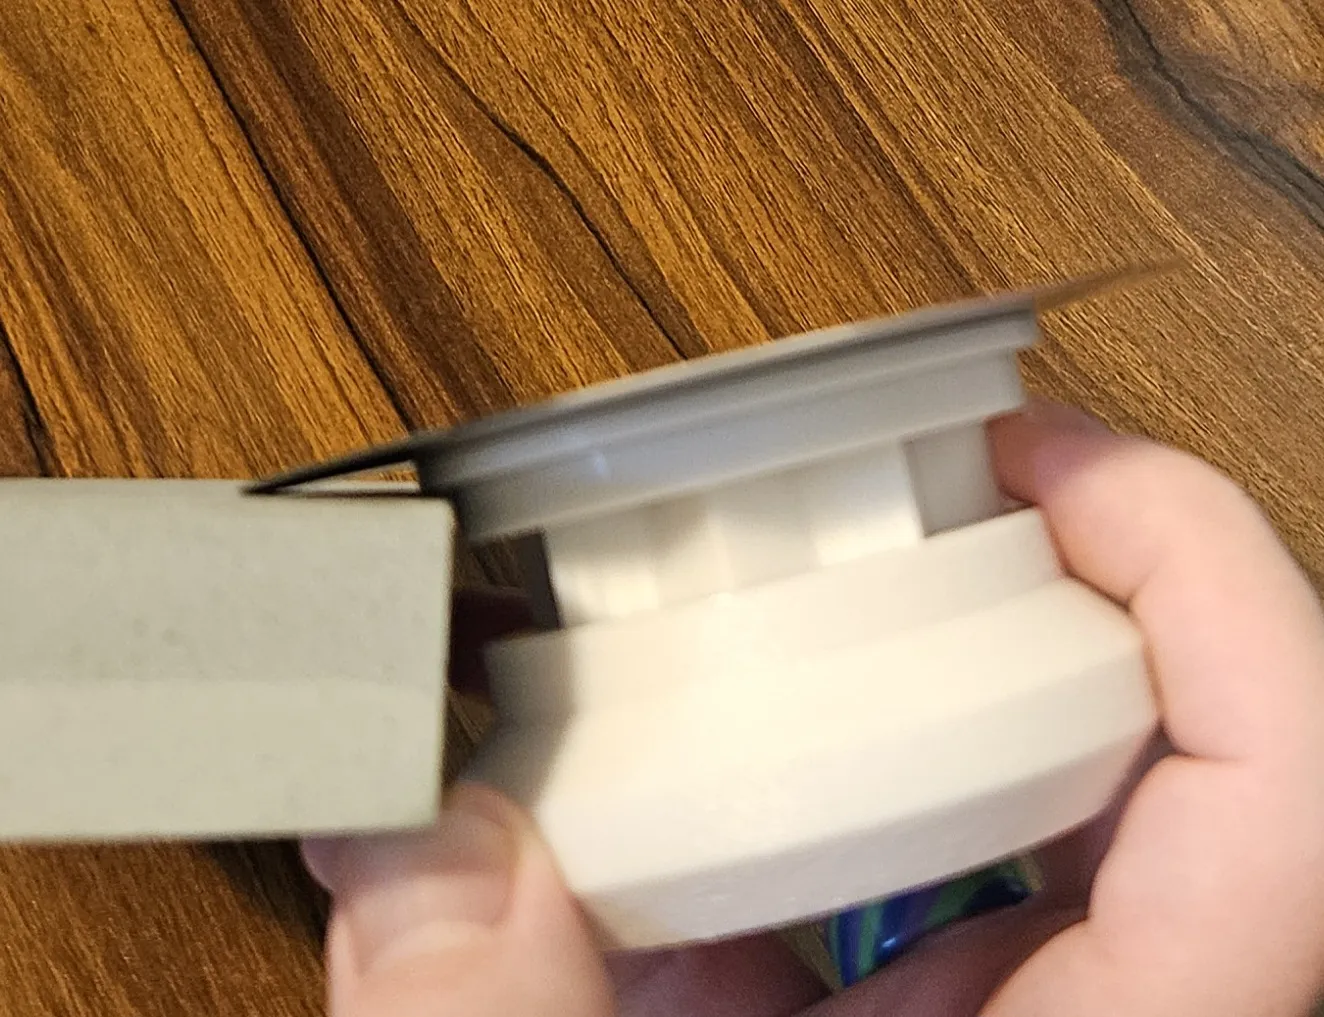
- Carefully clean the blade so that metal doesn't get into your paper. The easiest way I've found is to fold up a wad of paper towels and to rotate the blade into it (have I mentioned to be careful? 😊)
- Reassemble.
Printing
No supports are needed. My print profile has been tested with PLA and PETG, but I'm sure other materials will do well, too. If you want to roll your own print profile, I recommend 0.12mm layer height for the threaded parts, and 0.2mm for the rest.
I have included Fuzzy Skin on various parts because it looks and feels nicer to me. If you customize this, be careful not to add fuzzy skin to any tight fitting points (threads or star parts).
Assembly
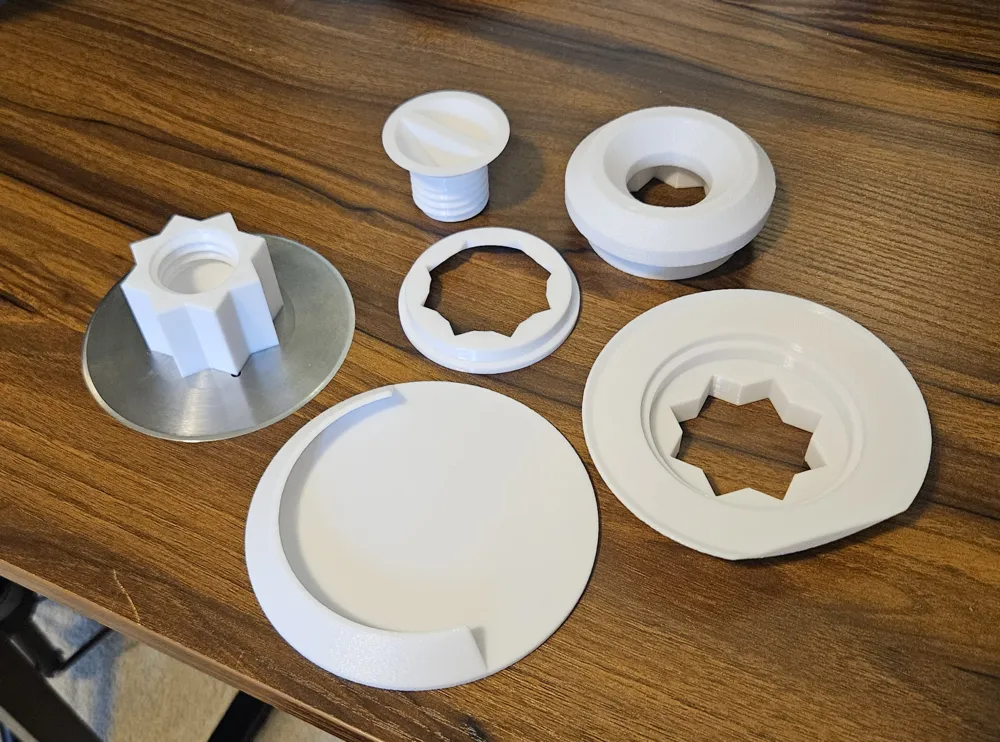
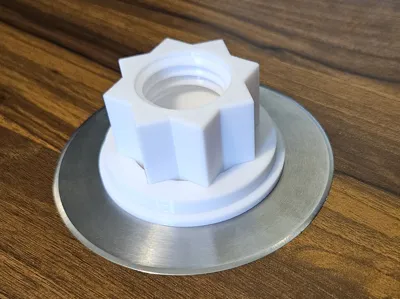
You need a 100mm Kebab blade, which is glued to the printed piece labeled “Blade Interface”. I recommend using something like E6000 glue, but Super/Krazy CA glue would probably also work.
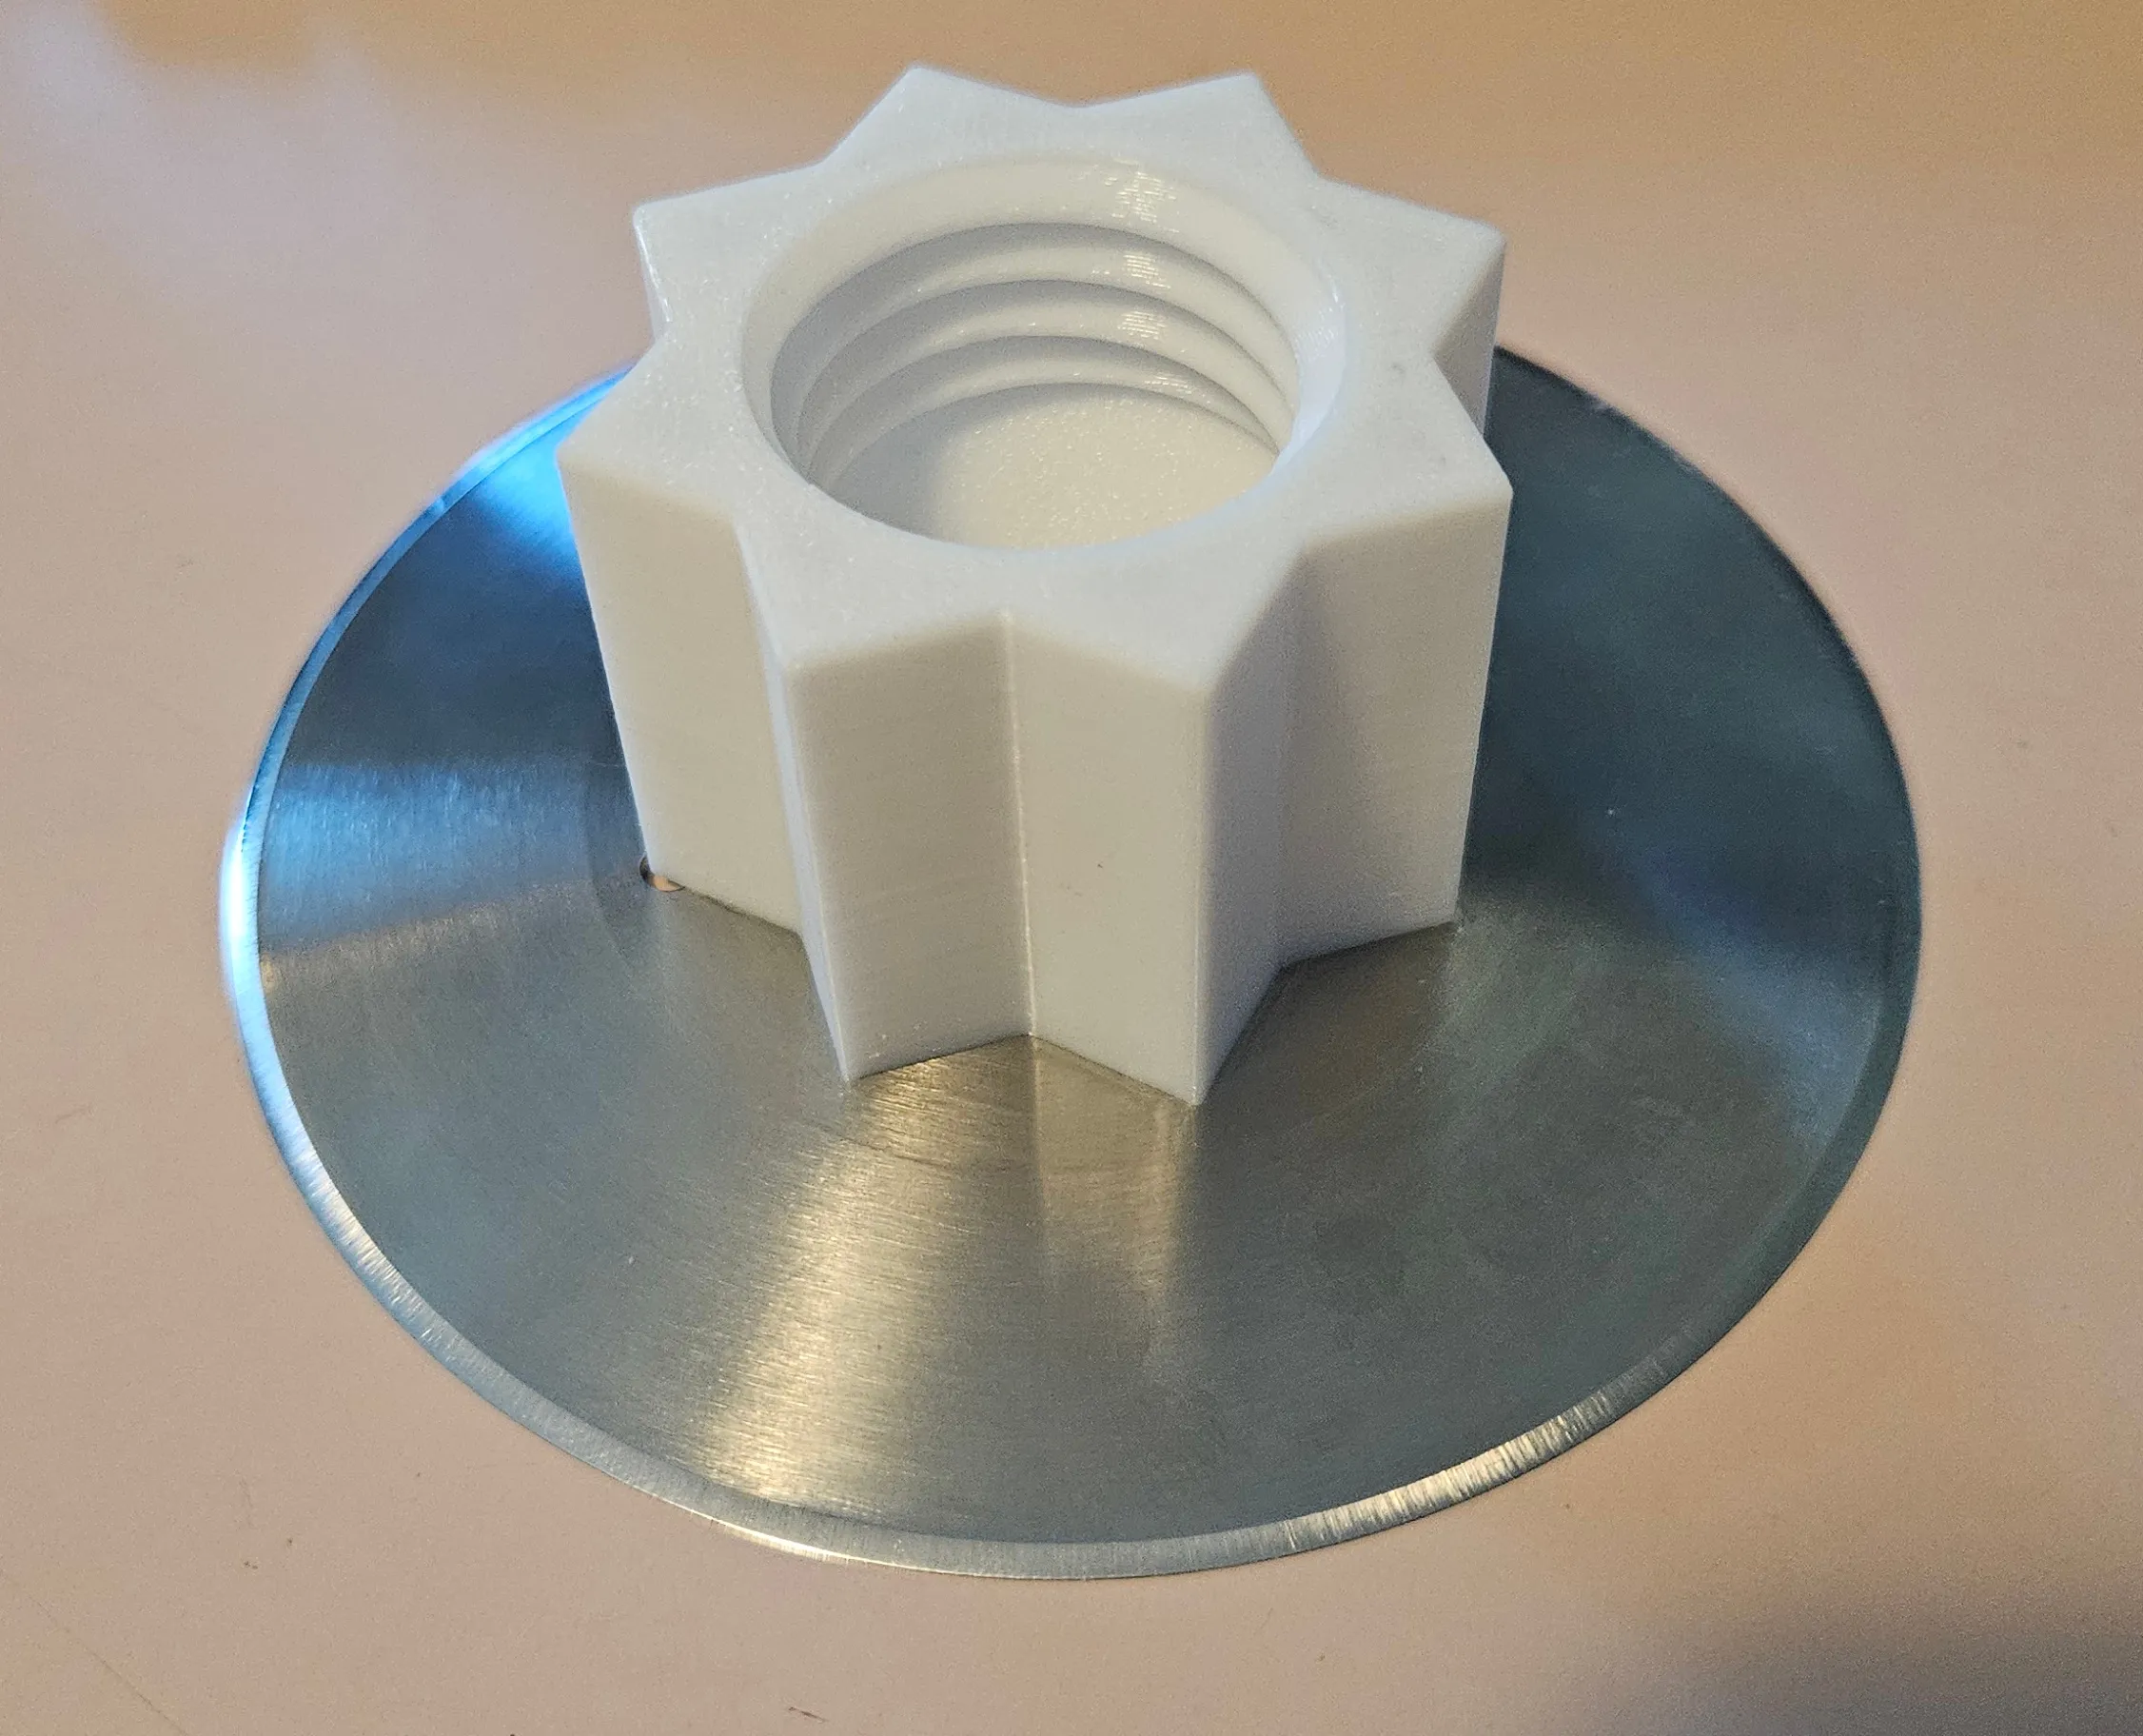
Slide the sharpening spacing jig over the blade interface. You can glue it if you'd like or leave it unglued. So far mine is unglued because I want to easily dry the parts after sharpening/cleaning.
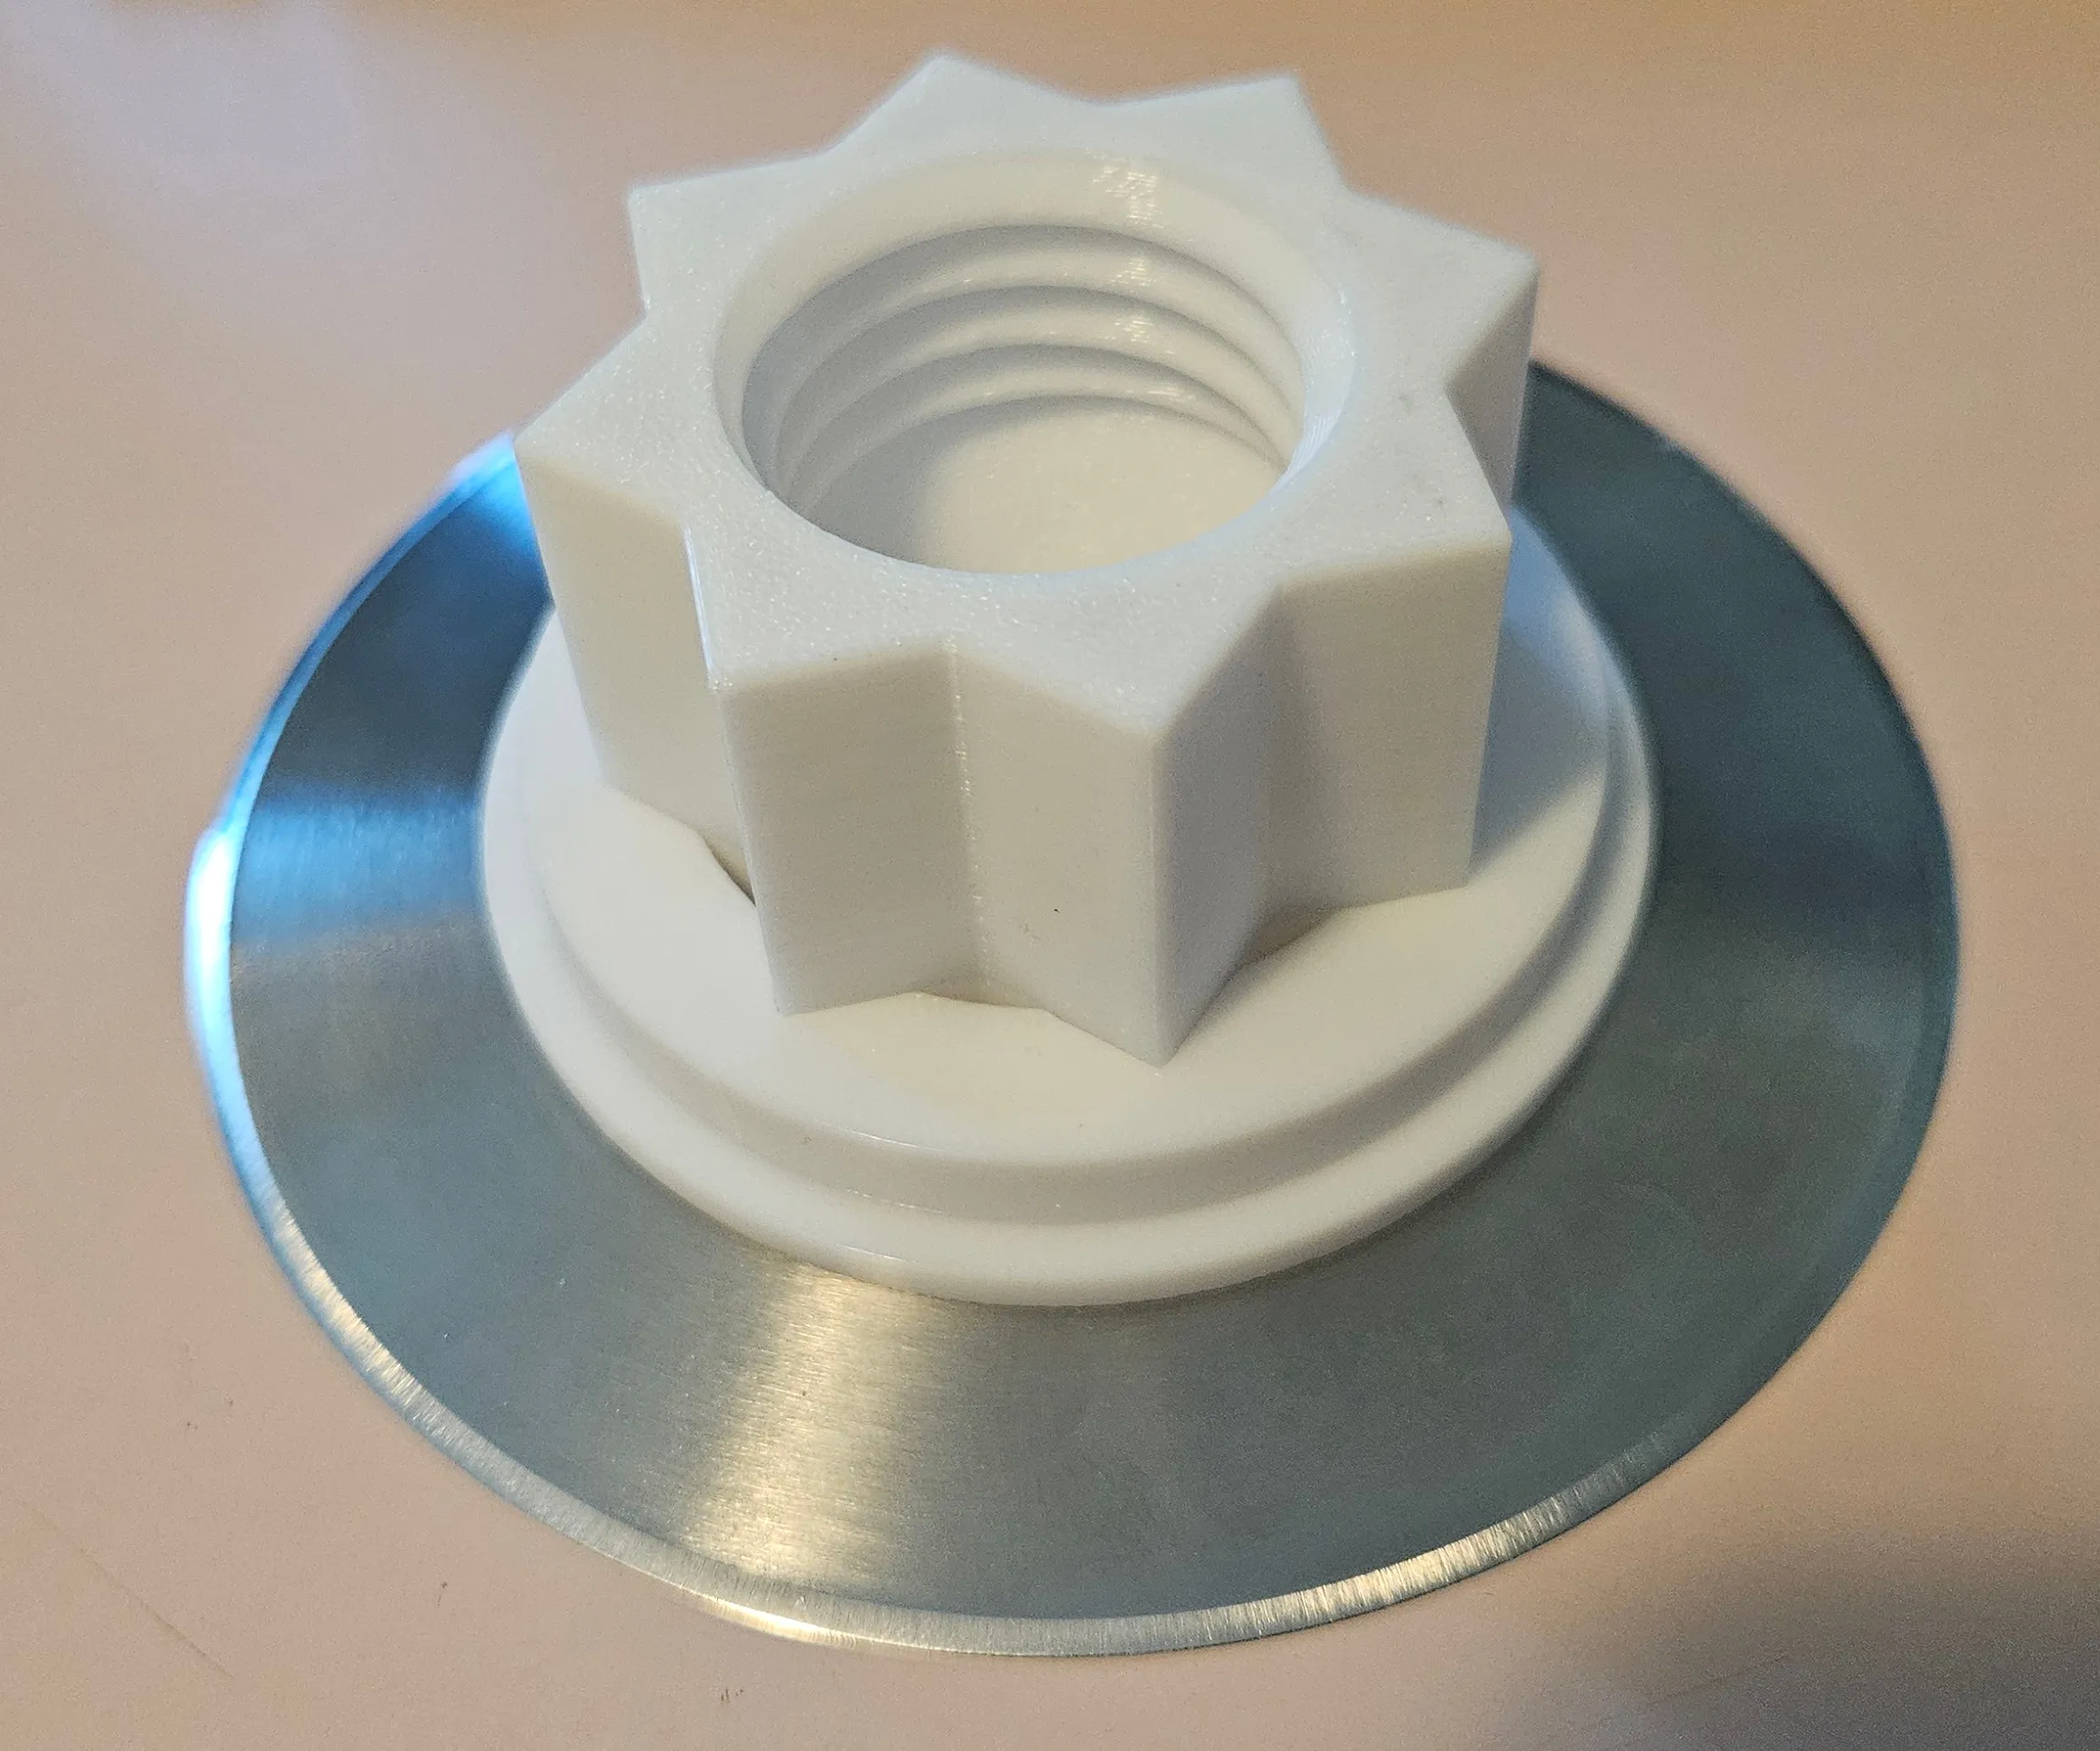
The blade shield slips over the top of the blade interface. It should slide easily but not have too much wiggle room.
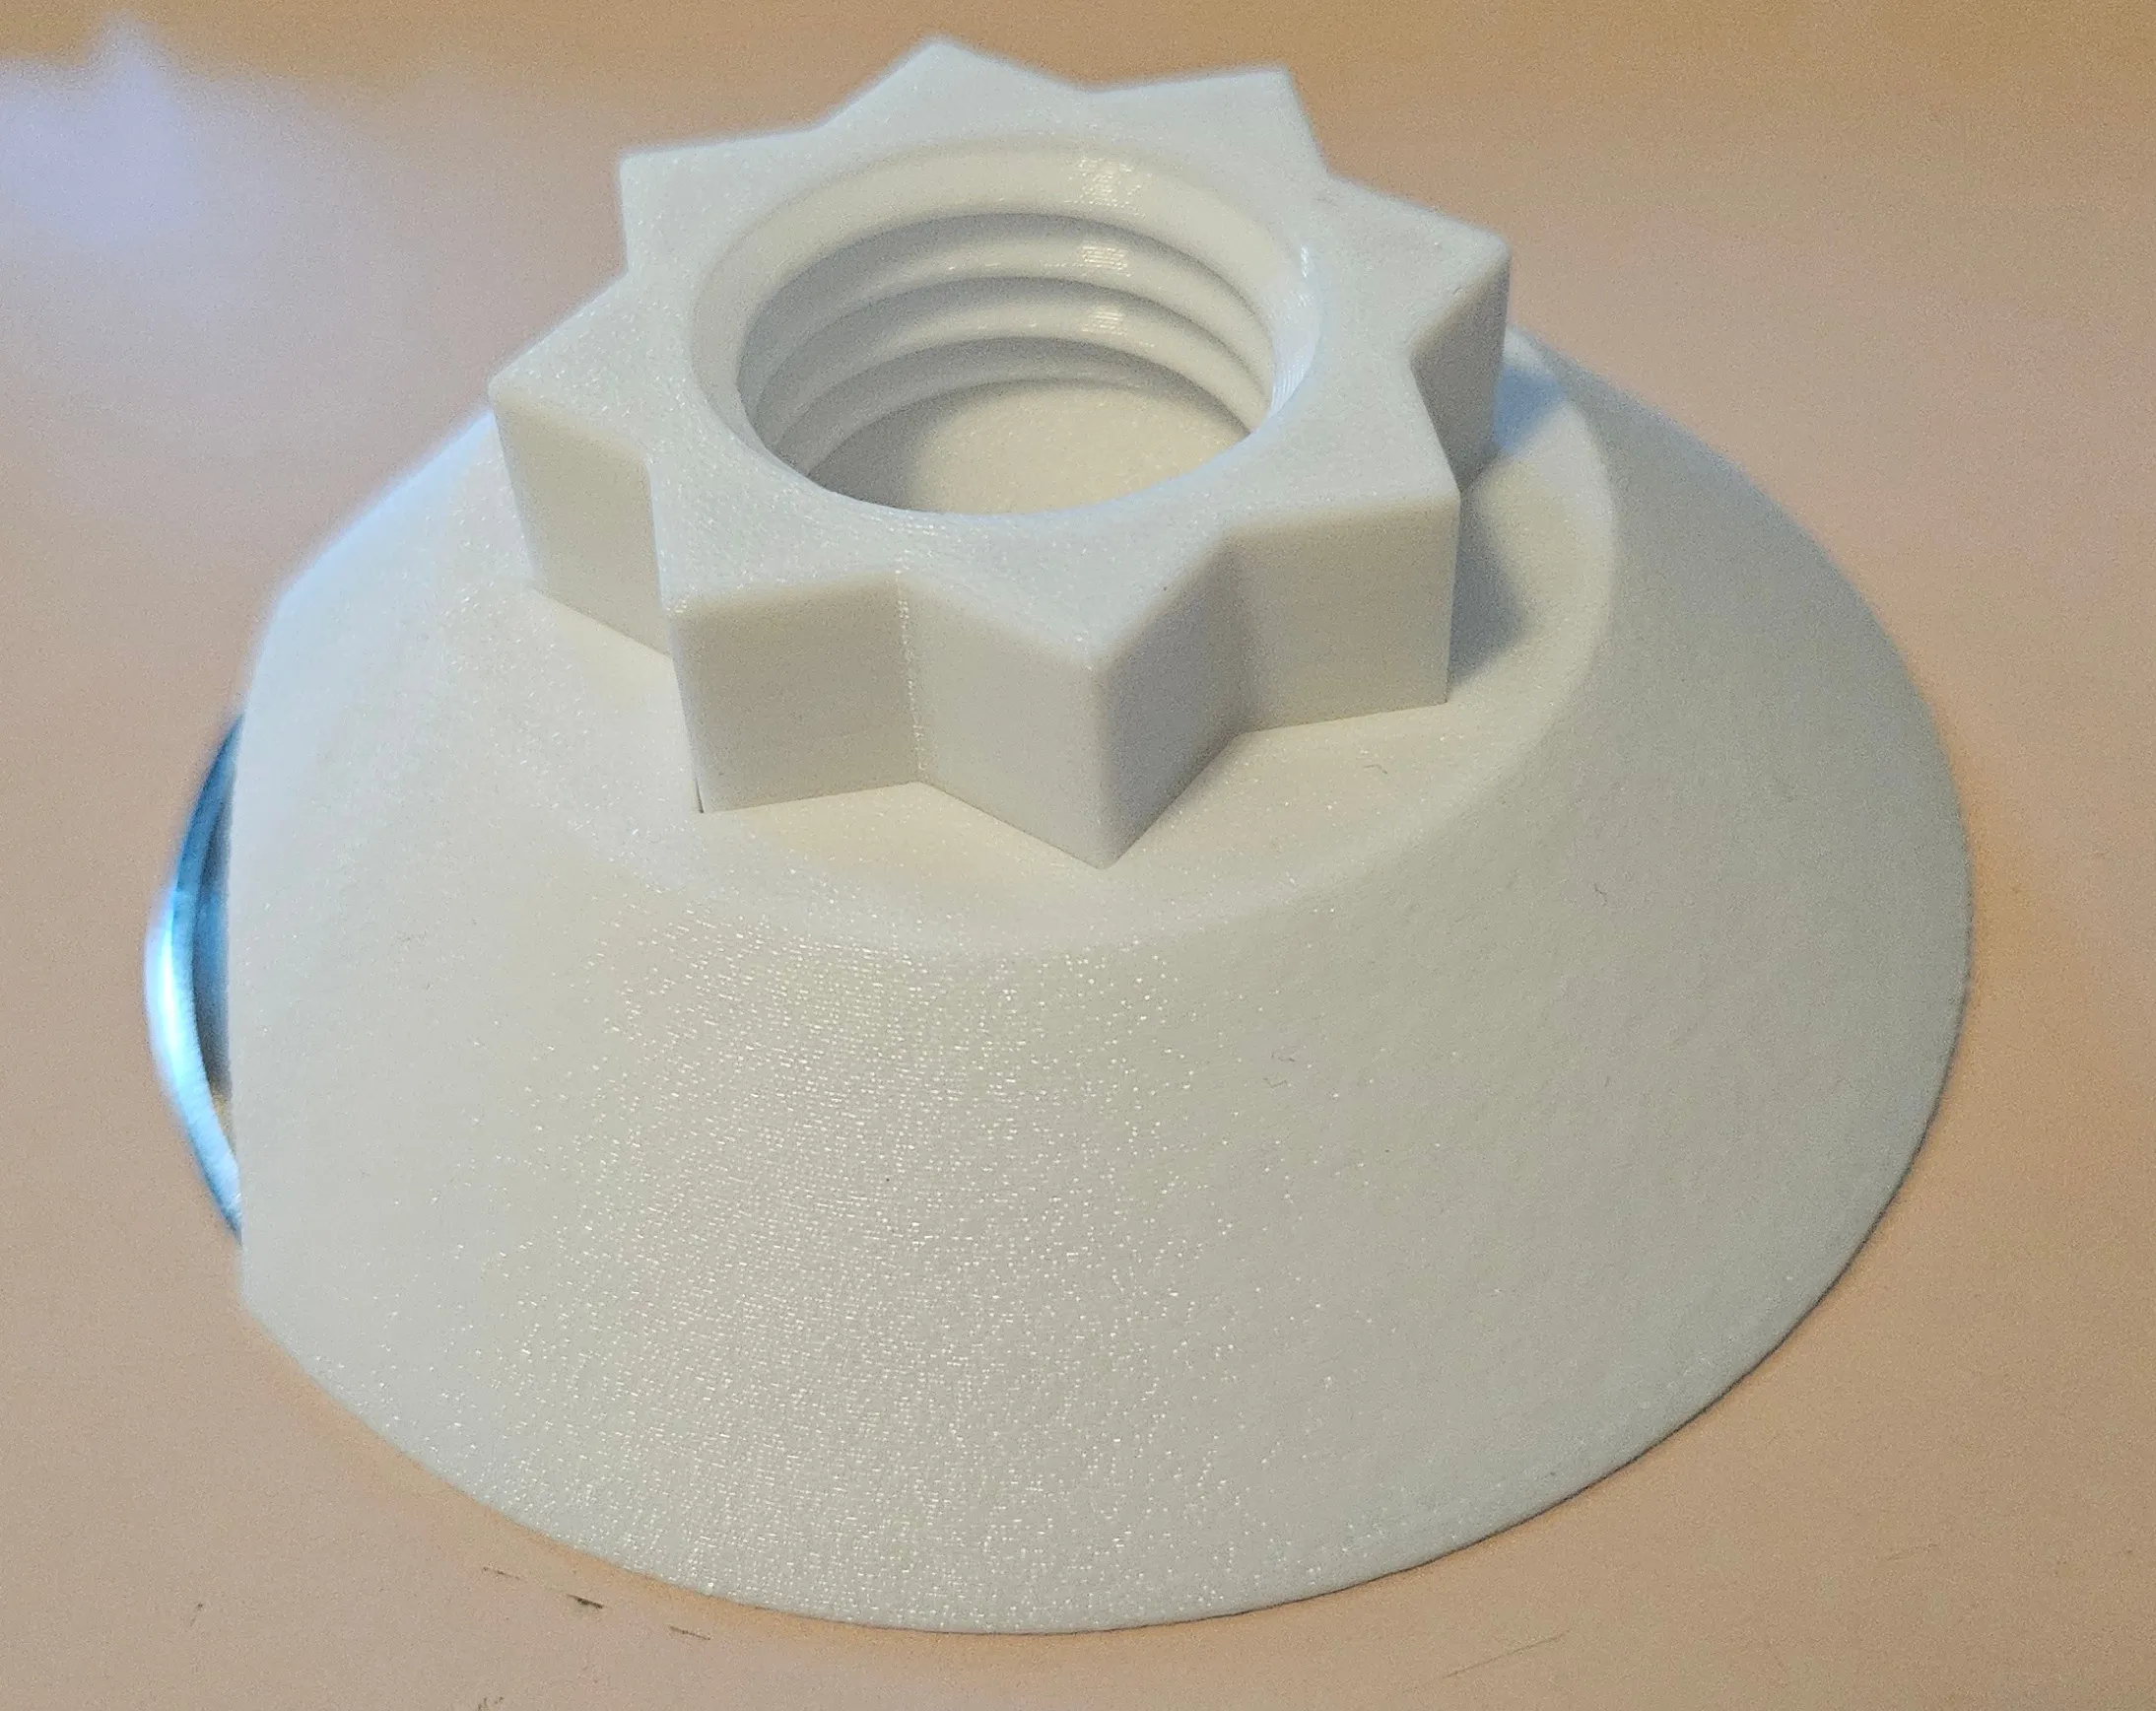
The handle pops on top. It should be a snug fit but it should still easily come off
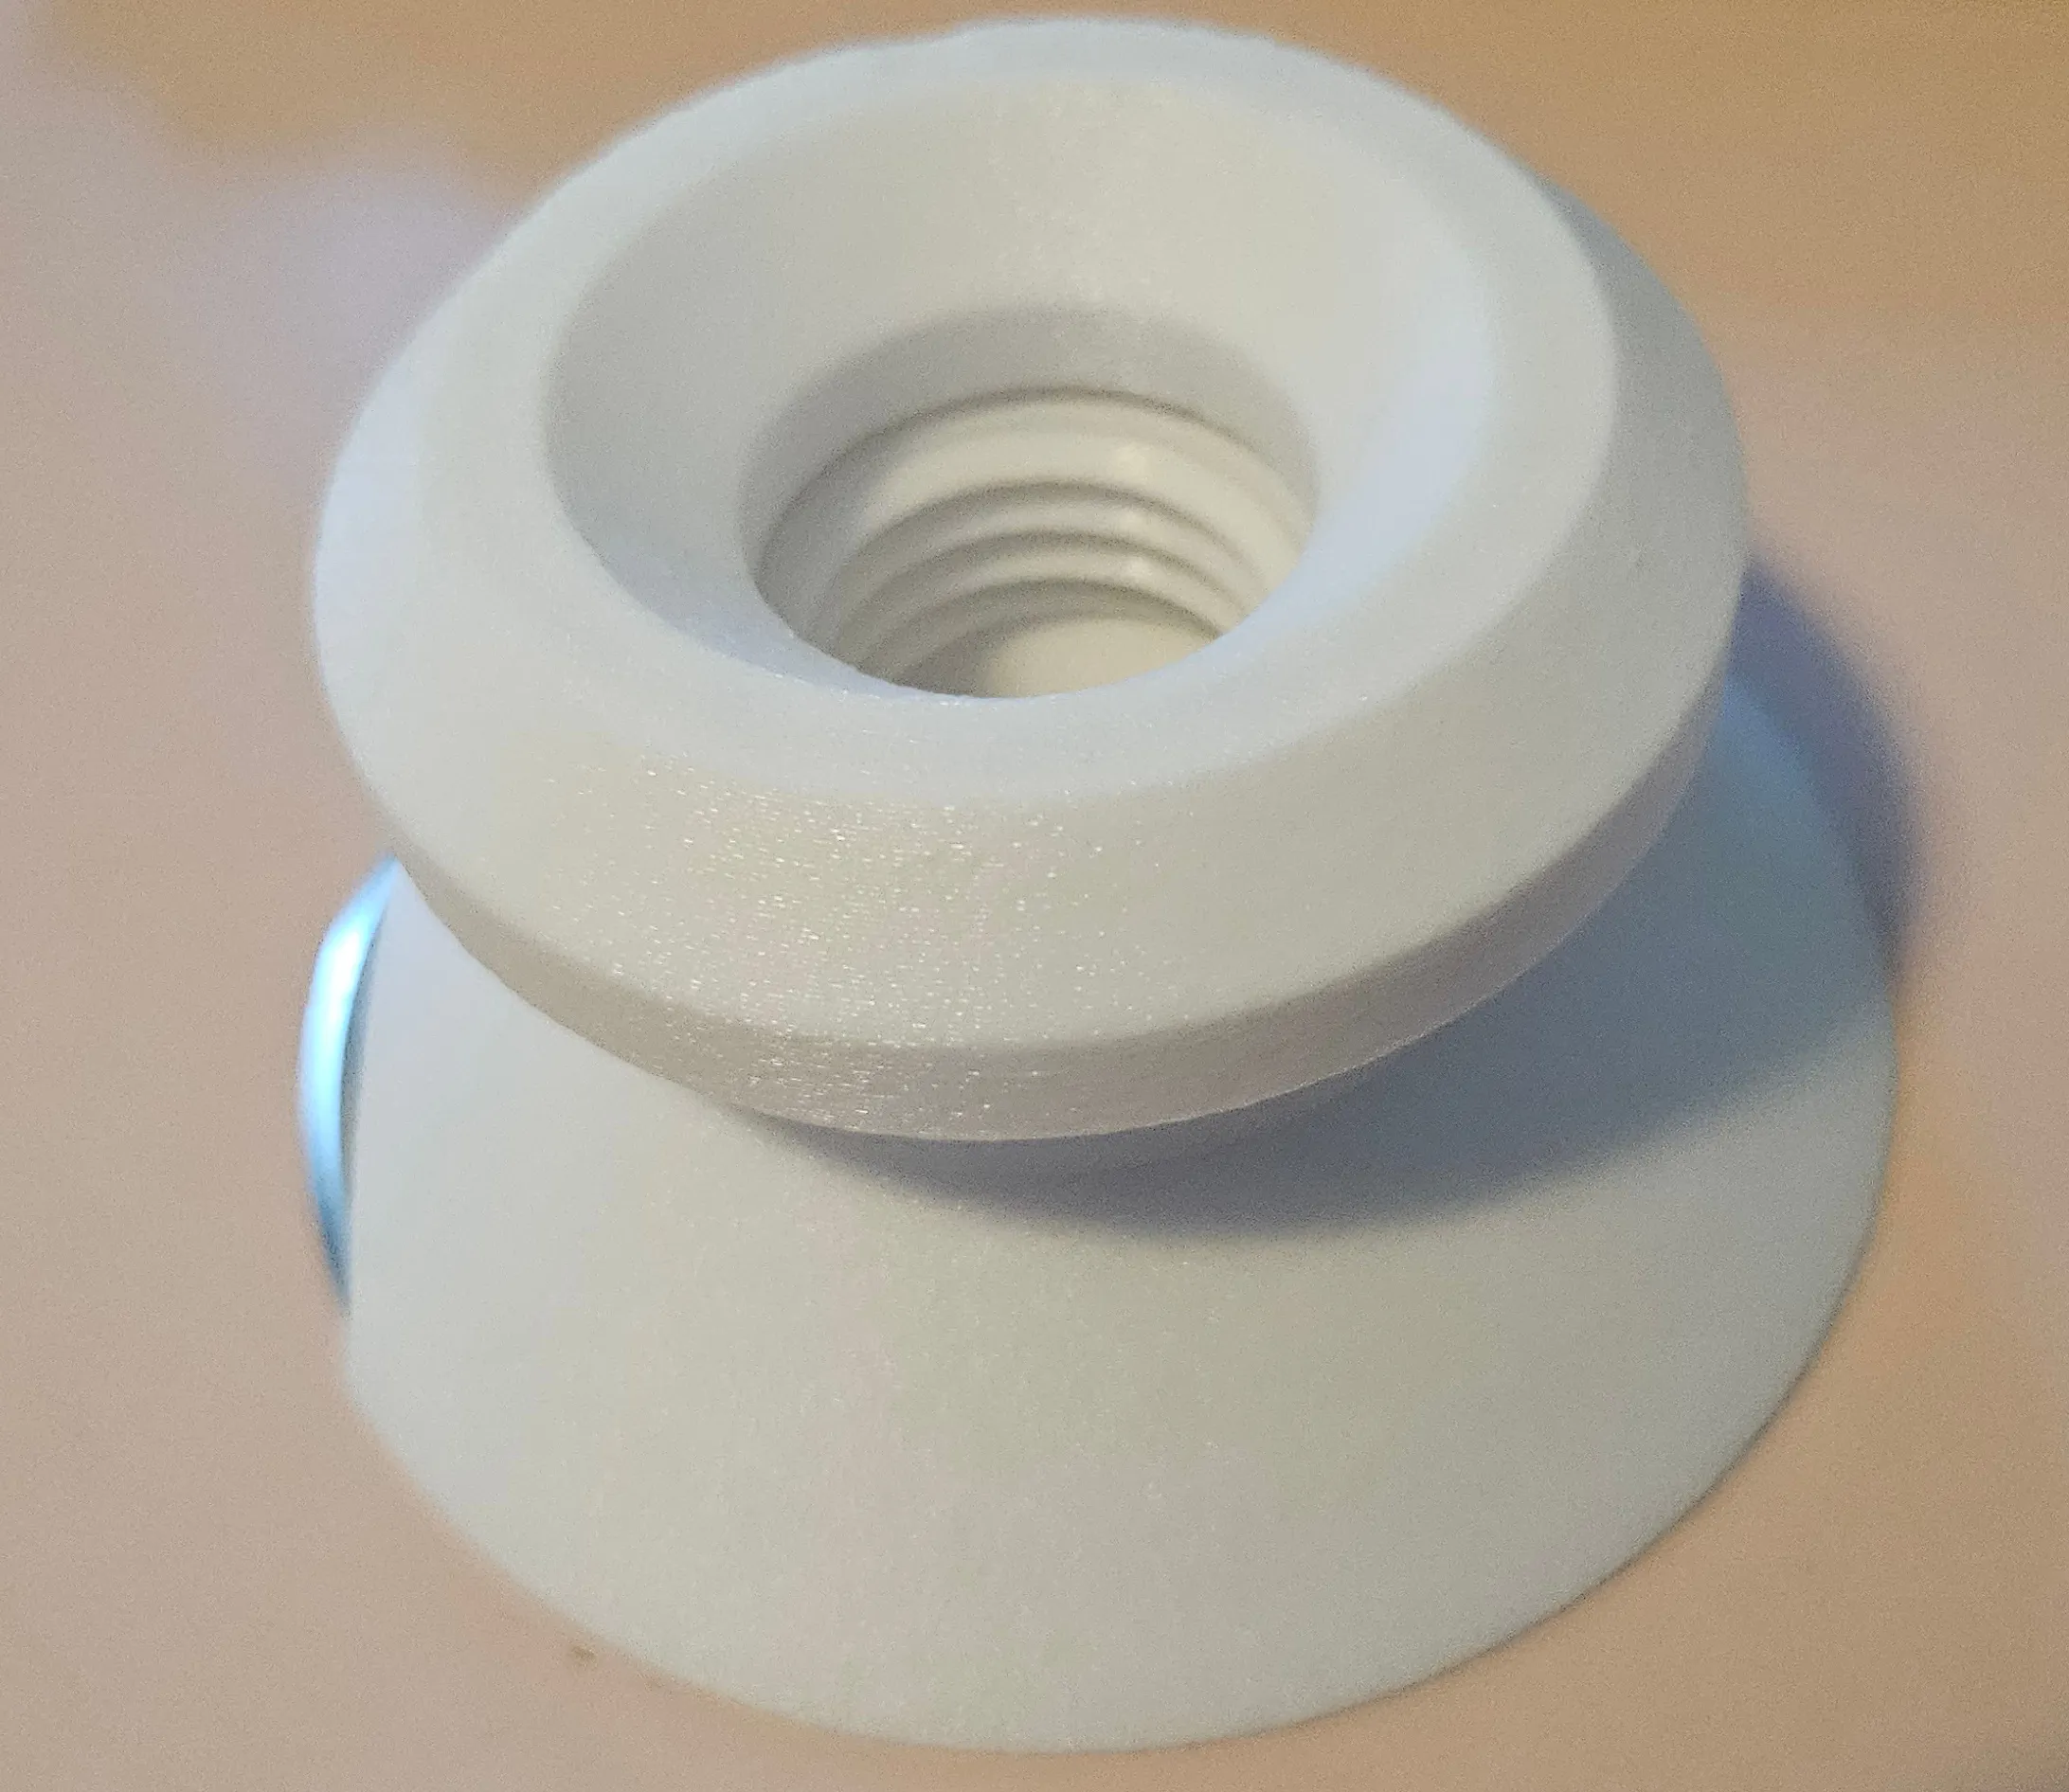
The screw on the top holds it all together. You do not need to tighten the screw very tight. It is just there to hold the assembly together.
The blade safety guard slides on the front so that this can be stored and transported safely (both for your safety and the safety of the blade). Please be careful when removing it.
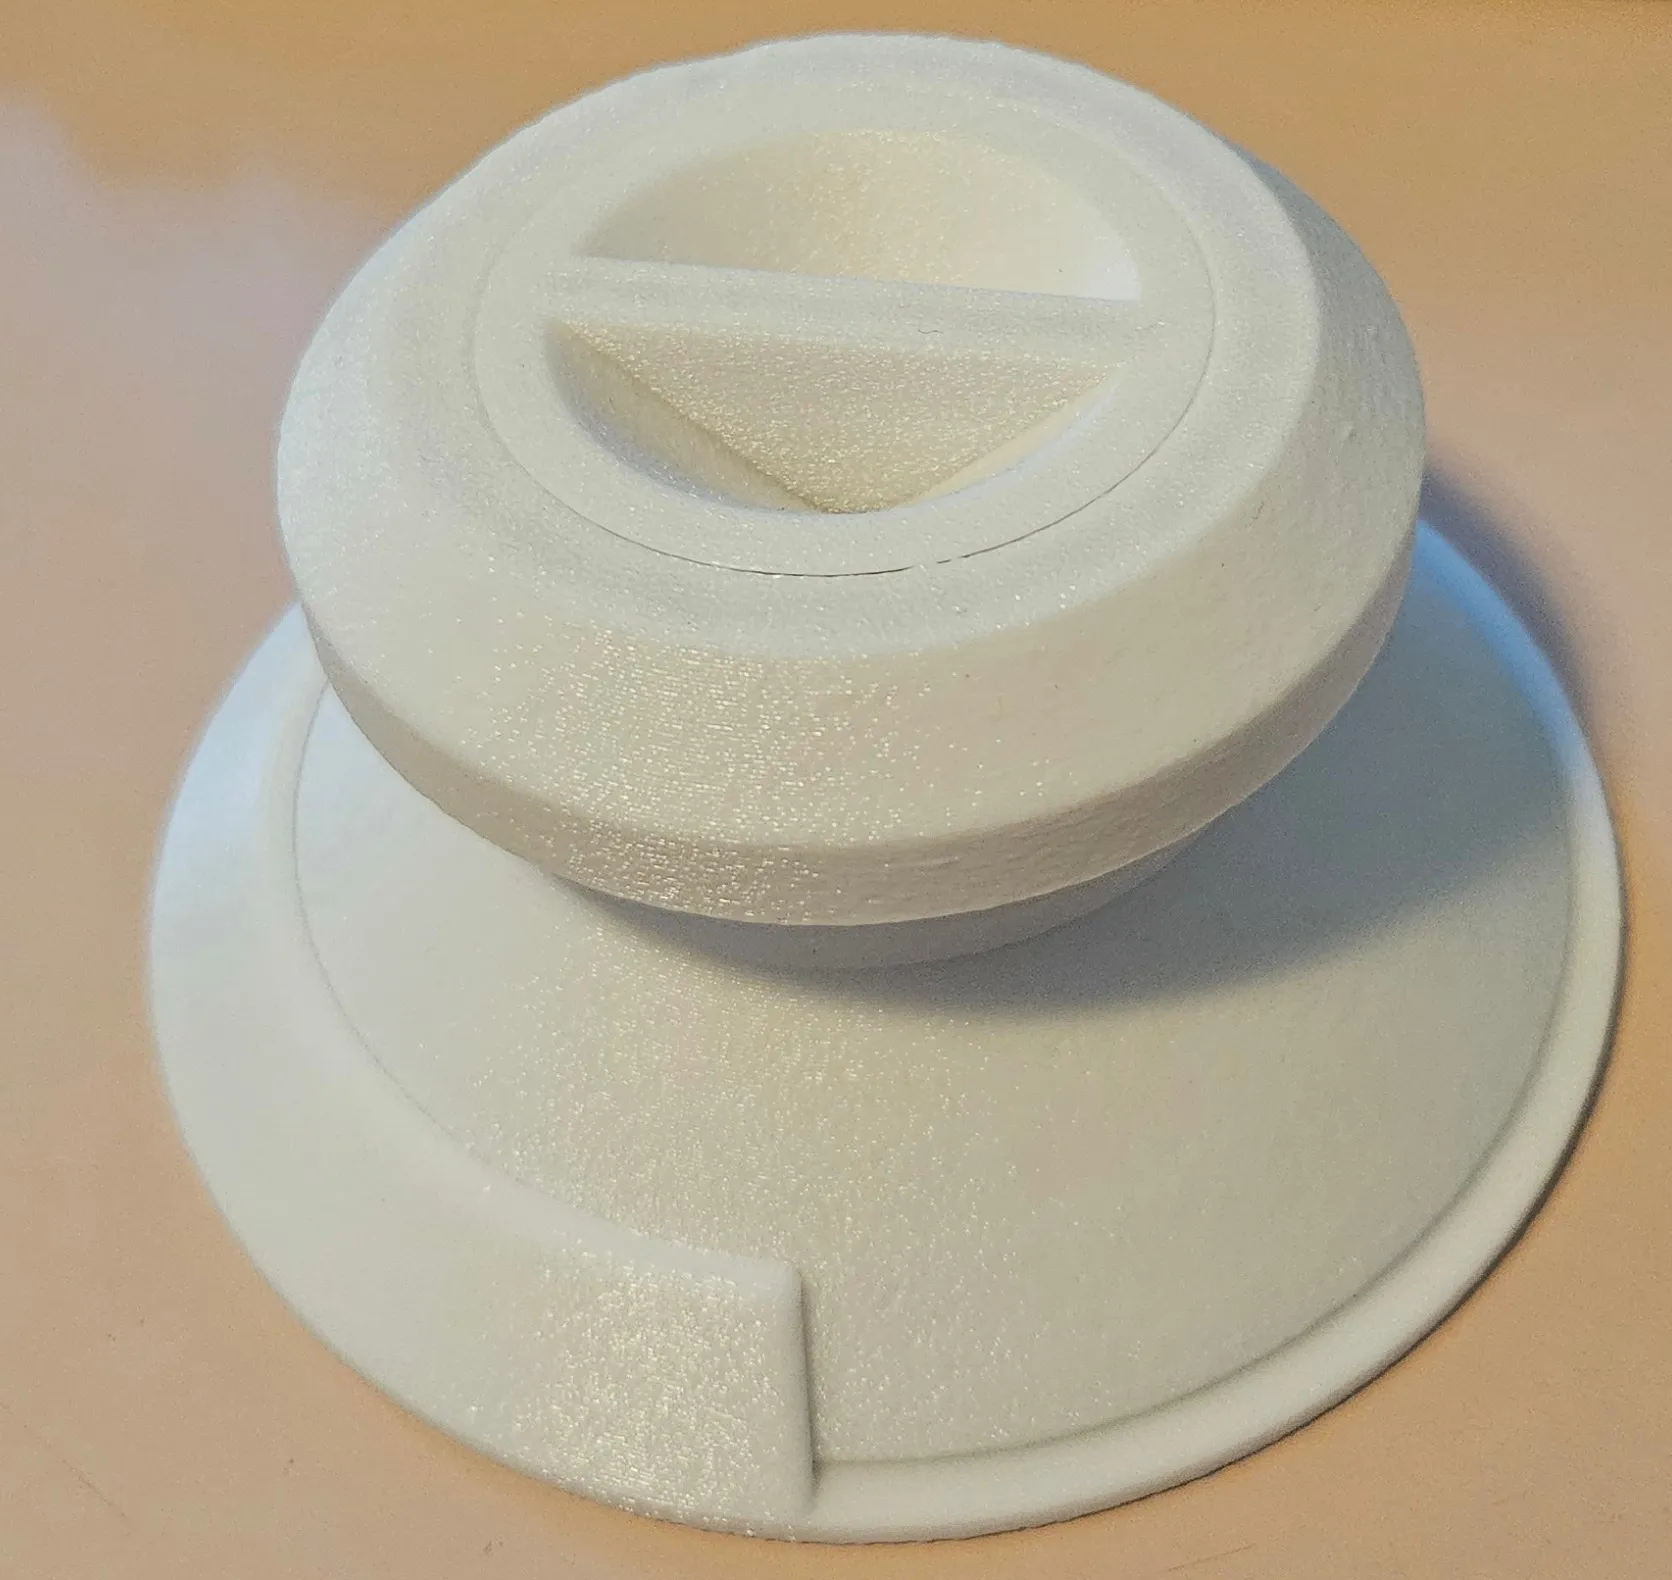
I hope you enjoy it!
License



Comment & Rating (85)