SWITCHBOT DOOR OPENER WITH WINDOW CONTACT


Print Profile(1)

Description
Transforming the Switchbot Curtain into an Automatic Door Opener
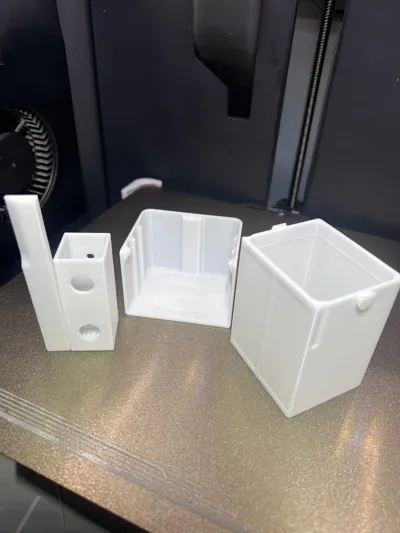
The Switchbot is inserted into the casing and secured under tension with a standard elastic band.
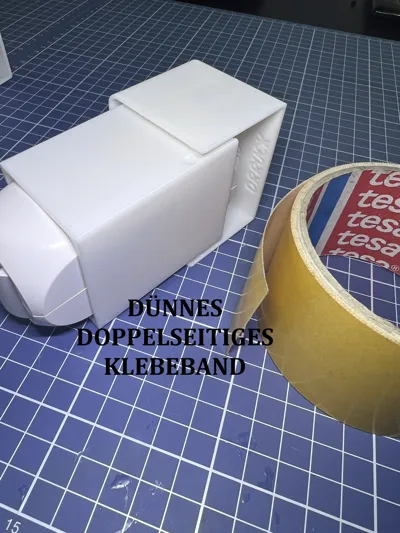
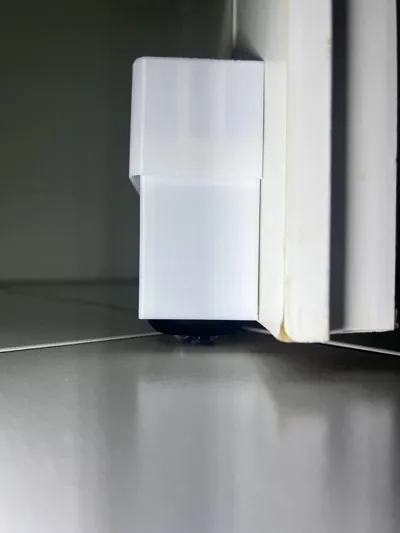
The casing is then affixed to the door using double-sided adhesive tape.
The minimum clearance between the lower edge of the enclosure and the floor should be approximately 10mm
Variants are available for both thin and thicker double-sided adhesive tapes.
It is highly recommended to utilize gel-based double-sided adhesive tape from AMAZON, available for approximately 3€
+ Window Contact Enclosure for Robotic Vacuum Automation
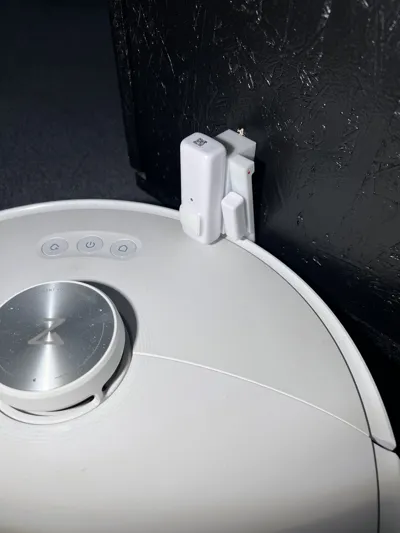
You can affix a window contact of your preference onto this enclosure.
The height of the enclosure must be adapted to your specific robot; position it such that when the robot actuates against it, it interrupts the sensor's contact.
The sensor features a Print in Place design; should it exhibit any resistance, rotate it until it moves freely.
Designed for either screw mounting or adhesive application.
My current automation scheme is as follows:
Should the main entrance be secured > interior doors close!
When the robotic vacuum is operational > it actuates against the contact > doors open!
After a waiting period of X (70 minutes) > doors close.
This configuration enables your robotic device to autonomously open closed doors.
It is technically unfeasible to fully engage the door's latching mechanism, as this would necessitate manual operation of the handle for subsequent opening.
I maintain a slight aperture of 2-3cm, which remains sufficient for retaining ample warmth within the room.
I highly recommend utilizing PETG for the fabrication of these components.
The enclosure designed for the thin adhesive tape necessitates a singular inversion; I shall amend this as soon as I ascertain the procedure for updating the file.
License
You shall not share, sub-license, sell, rent, host, transfer, or distribute in any way the digital or 3D printed versions of this object, nor any other derivative work of this object in its digital or physical format (including - but not limited to - remixes of this object, and hosting on other digital platforms). The objects may not be used without permission in any way whatsoever in which you charge money, or collect fees.
Comment & Rating (19)