Curtain rod supports – roller shutter


Print Profile(2)


Description
Hello Makers:
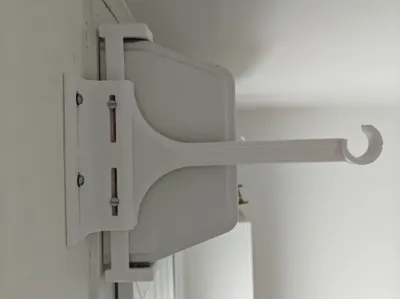
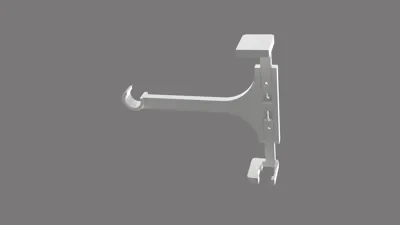
Adjustable Curtain Rod Brackets – Roller Shutter Box
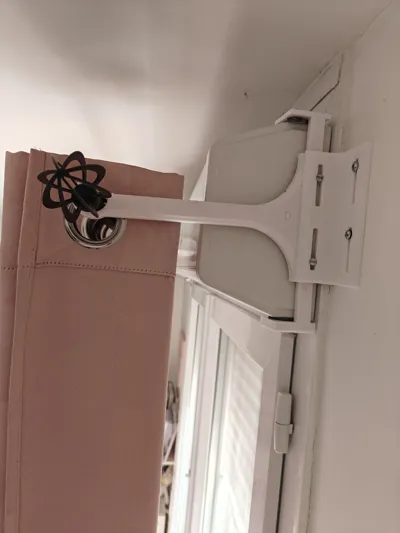
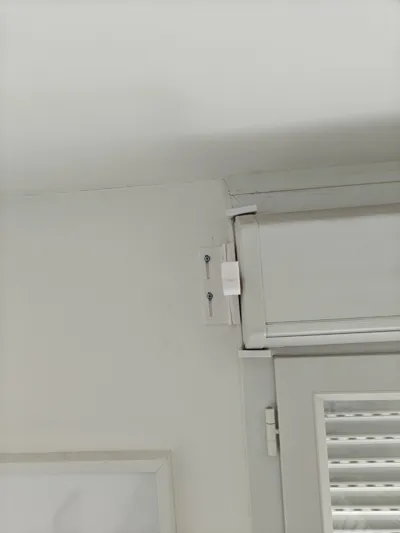
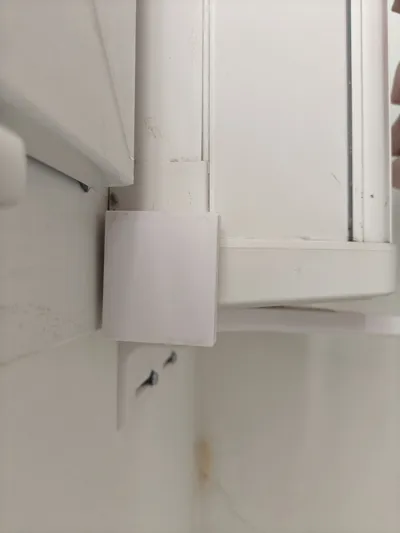
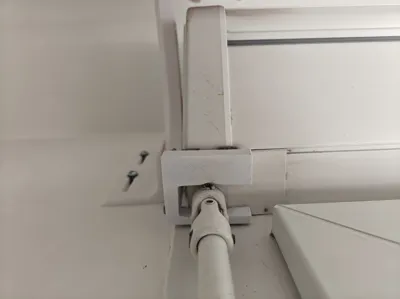
I present my curtain rod bracket for roller shutters, designed to fit roller shutter casings, whether flat, rounded, or beveled. Practical and easy to install, it can, depending on the shape of the casing, be directly attached without drilling. For some models where the shape or dimensions do not allow it, wall mounting parts are also provided.
List of printable parts:
For the left side:
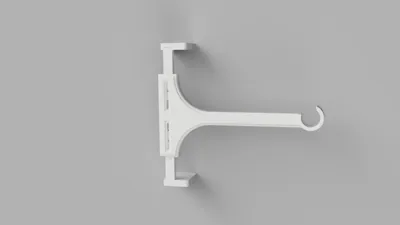
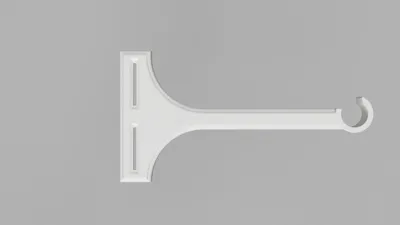
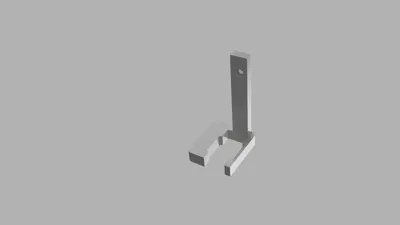
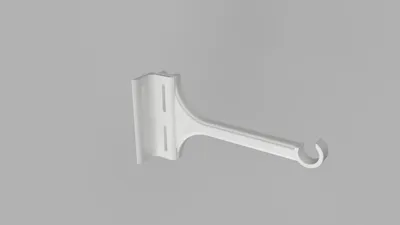
Curtain Bracket:

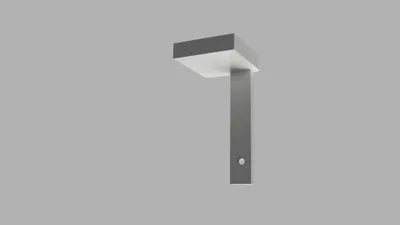
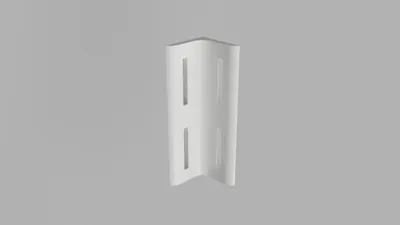
Upper Fixing Part:

Lower Fixing Part V1:

Lower Fixing Part V2 (if you have a crank):

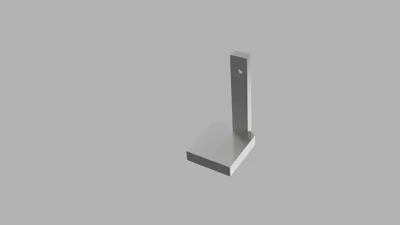
Wall Fixing Part (if the shape and dimensions of your casing do not allow for drilling-free attachment)

PS: For the right side, the same parts are used, but mirrored to match the symmetrical configuration; you will find them on plate #2.
List of non-printable parts:
- M4x15 (x4)
- M4 Nut (x4)
- Self-adhesive anti-slip felt - H 40mm x W 40mm (x4), for the fixing parts for better grip.
If you are going to use the wall fixing parts (drilling):
- Replace M4x15 with M4x20
- Curtain rod mounting kit (x1) (or 4 Screws and 4 anchors)
Bracket Dimensions:

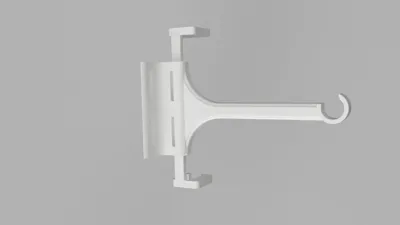
Bracket Assembly:

- Obviously print all necessary parts

- Place the upper and lower fixing parts into the bracket
- Insert the M4 nuts into the designated slots on the fixing parts

4. Place the self-adhesive felt pads on the fixings, where they will come into contact with the roller shutter casing
5. Insert the M4x15 screws from the other side and partially tighten to hold all parts together
6. Place the assembly on the roller shutter casing on the correct side, then apply pressure from both sides before tightening the M4x15 screws
7. Do the same on the other side, and there you go!
8. In case you are obliged to use the wall fixing parts:
8.1 Use M4x20 screws instead of M4x15, and attach the wall fixing part with the bracket as well as the upper and lower fixing parts, as shown in the GIF
8.2 Place the entire assembly on the roller shutter casing to mark your drilling points
8.3 Drill and insert your anchors
8.4 Replace the entire bracket on the casing, then apply pressure from both sides before tightening the M4x20 screws
8.5 Screw the entire assembly to the wall

Thank you for taking the time to discover this model!
Boost Me (for free)
If you found it useful or inspiring, feel free to leave a small boost ⭐, it helps me immensely to continue sharing my creations with you.
Happy printing!
Documentation (2)

License
You shall not share, sub-license, sell, rent, host, transfer, or distribute in any way the digital or 3D printed versions of this object, nor any other derivative work of this object in its digital or physical format (including - but not limited to - remixes of this object, and hosting on other digital platforms). The objects may not be used without permission in any way whatsoever in which you charge money, or collect fees.
Comment & Rating (6)