
LED strip display 9x28 - Easy to make WLED WS2812
Print Profile(1)

Description
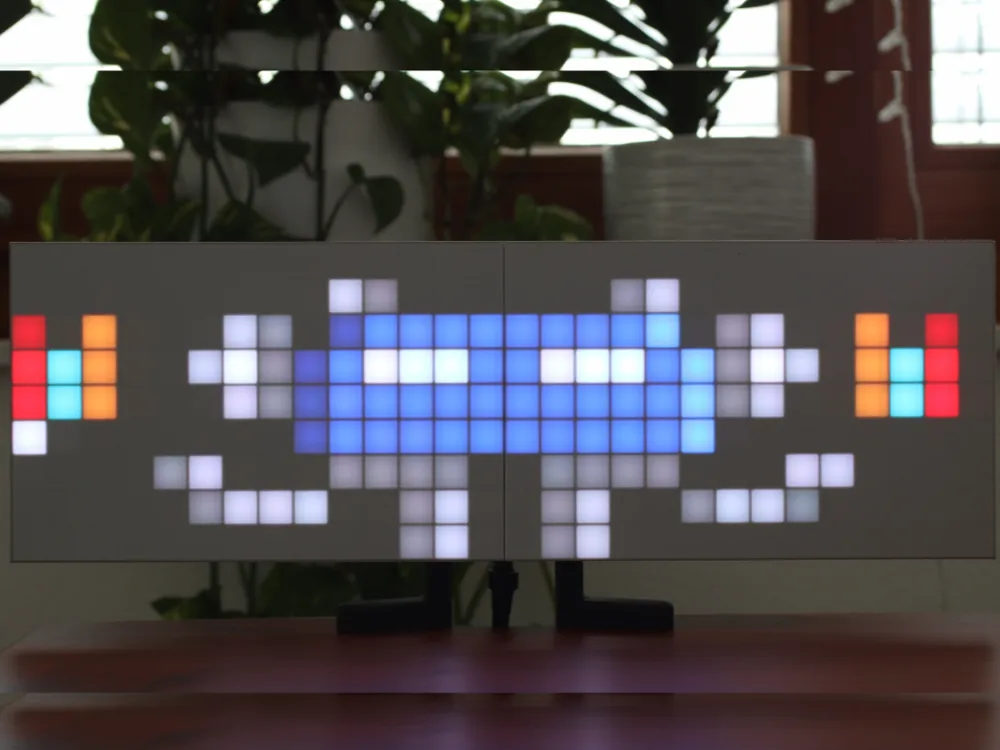
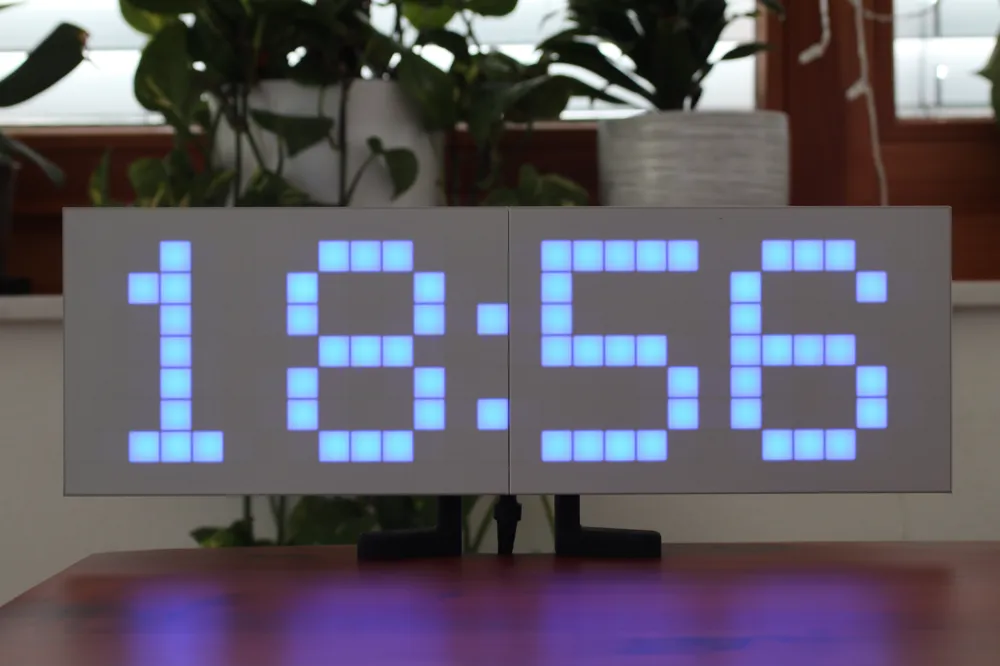
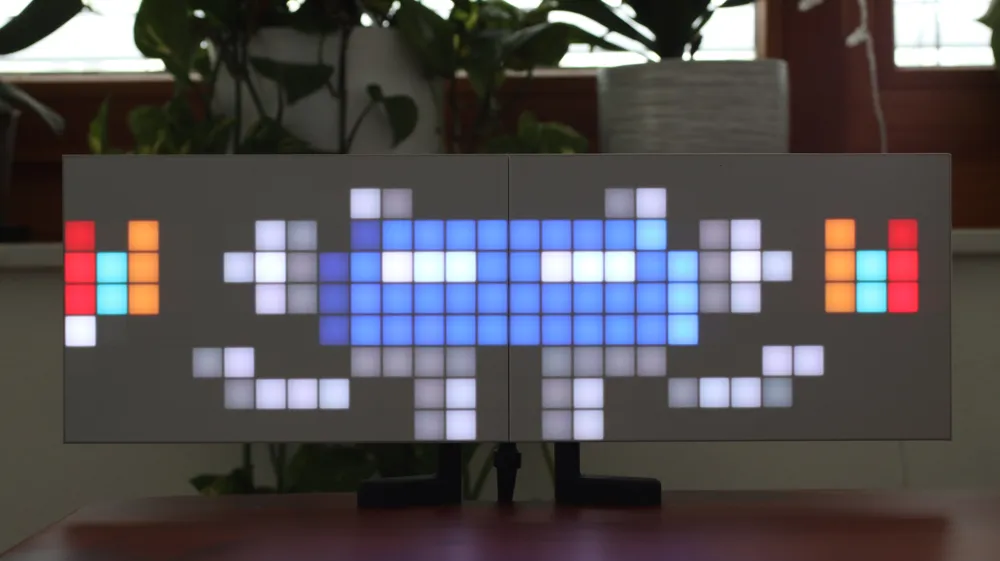
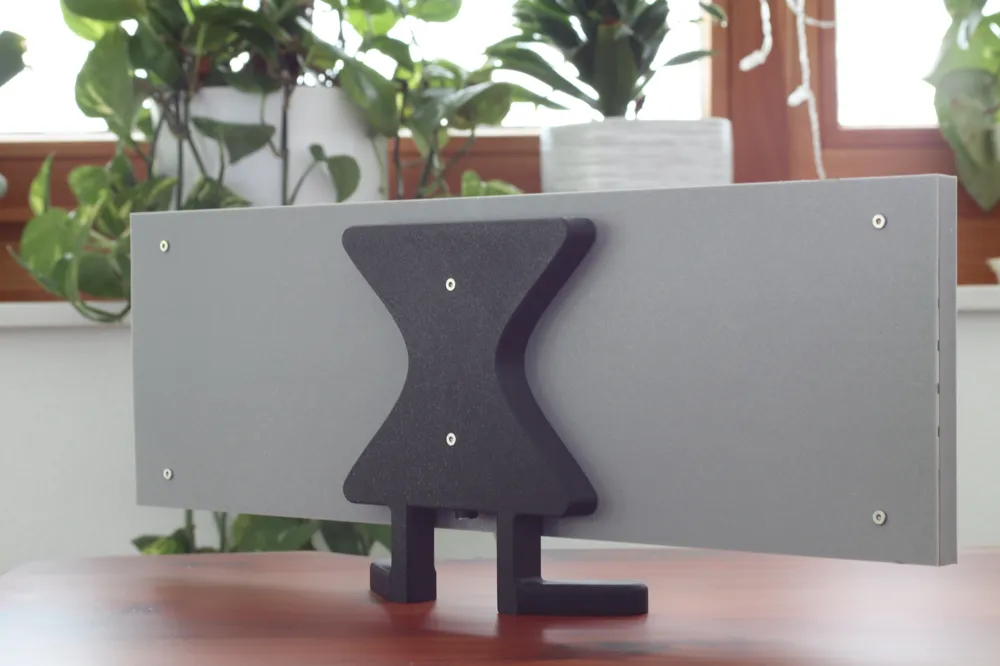
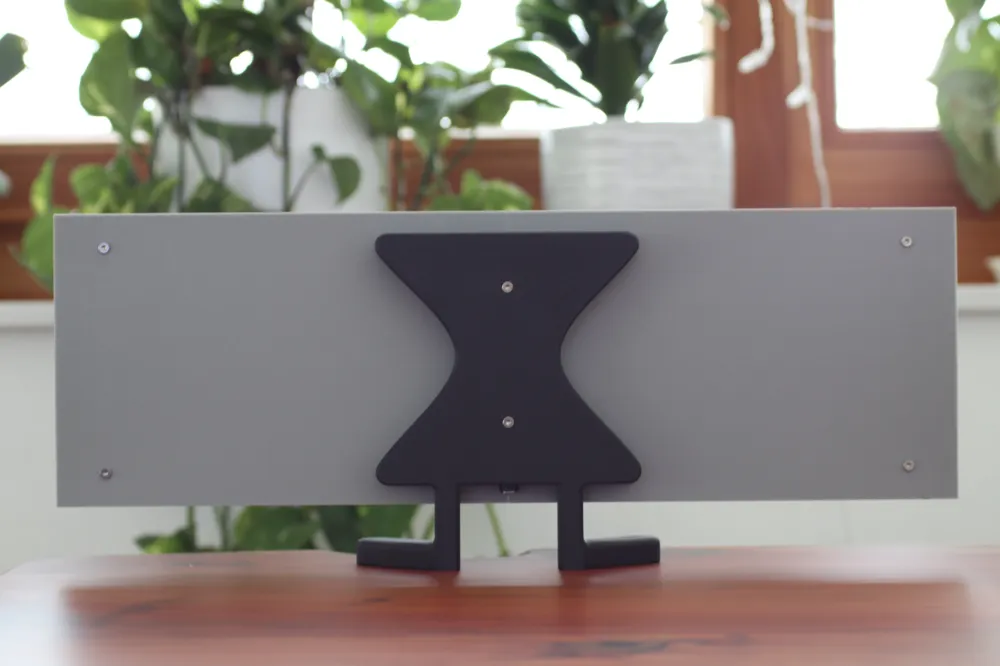
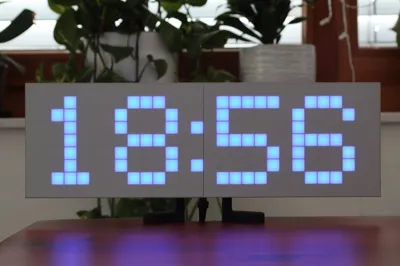
This is a simplified version of a led matrix 2D display. Other projects usually require complicated wiring or lots of soldering, I have focused on trying to make this project as simple as possible, both for printing and assembly.
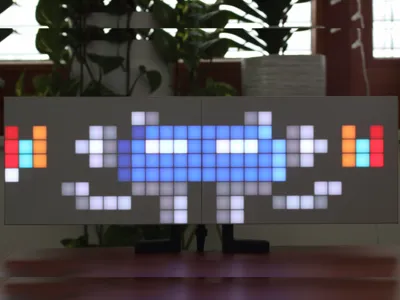
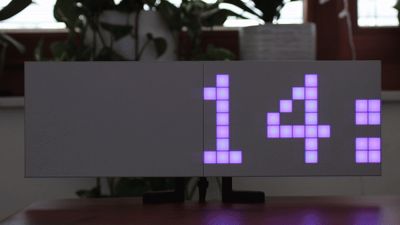
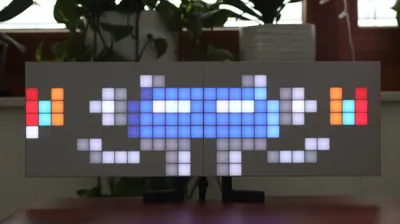
It can be used to display text, the time or animations.
A detailed assembly/programing guide available on github (as well as link for all the required parts).
Parts required for the build
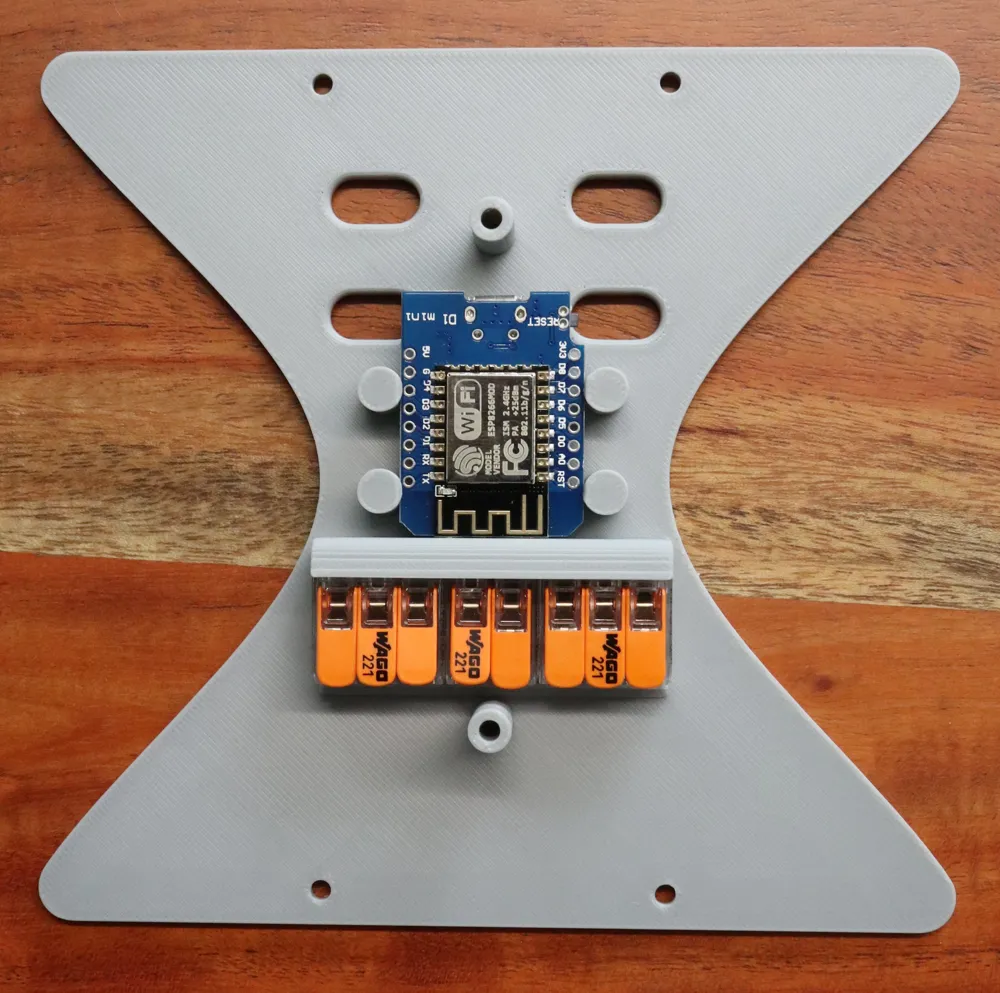
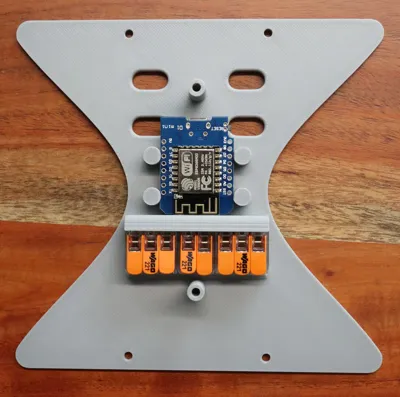
- 1 WeMos D1 mini (any clones work, I took one with USB C) - 2.4€
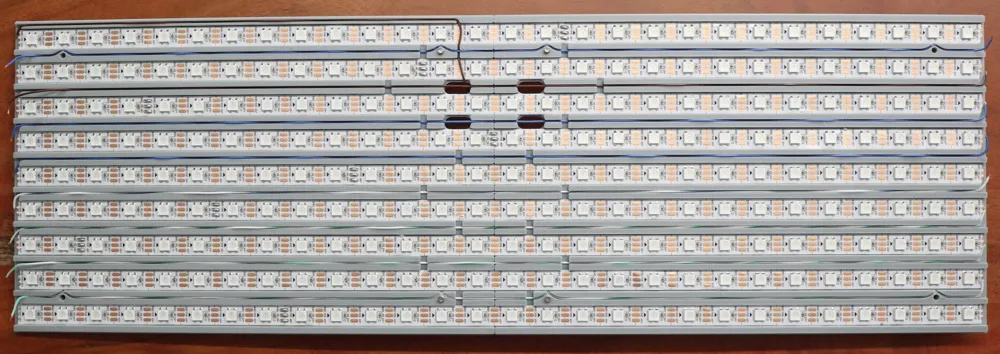
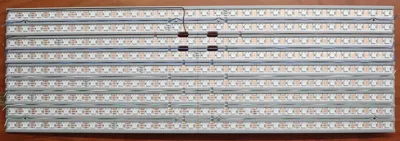
- 4.2 meters of 60 leds / meter WS2812b strip (252 leds + one led used as signal amplifier) - 8.79€
- a 5 volts power supply - depending on how bright you want it to become, anything between 1A (5W) and 5A (25W) would do -
- a DC jack input port - 0.6€
- a resistor, any between 200Ω and 500Ω will do - a few cents
- 4 meters of thin wires (max diam. 1mm) for the signal wire - I used a sacrificial ethernet cable
- 60cm of 18 AWG cable or equivalent (max diam. 2mm) - 50 cents
- 10 M3*8mm screws - a few cents
Optional:
- a capacitor, any above 5volts and above 450uf will do - it will help the power supply in case of sudden change of consumption - 1€
- 3 Wago 221 splicing connectors, 2x3 pin(221-413), 1x2pin (221-412) - you can solder directly to the esp, but this helps with assembly - 1.5€
Total cost:
- parts: 25€
- filament: 440 grams
Print notes
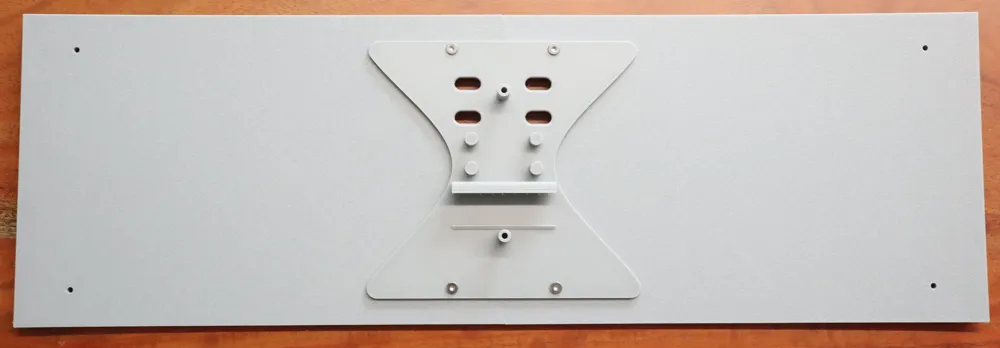
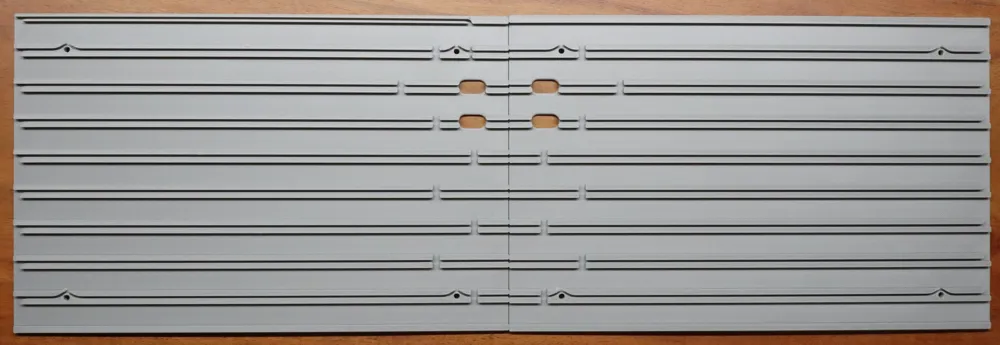
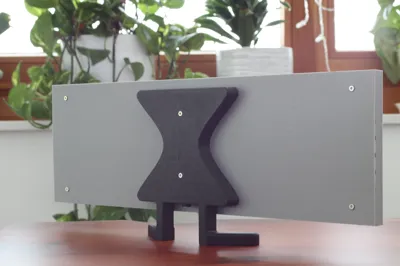
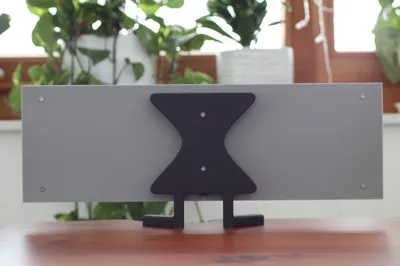
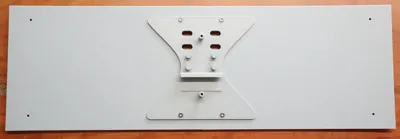
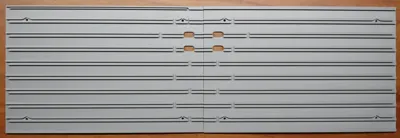
The print is easy, you only need support on the joining plate, as well as the electronic cover (for the 2 screw holes).
No insert were used, screwing the M3 into the PLA directly provide a strong enough bond.
The 2 front panel must be printed white on the first 0.4mm to allow for the light to pass through. You can either achieve this via AMS or by adding a pause in the print and switch the filament after the second layer (at 0.2mm layer height). Printing the model all white is also an option, but you will have some light bleeding through between the pixels.
Assembly
You can find an assembly guide as well as a programming guide for it on my github:
License

You shall not share, sub-license, sell, rent, host, transfer, or distribute in any way the digital or 3D printed versions of this object, nor any other derivative work of this object in its digital or physical format (including - but not limited to - remixes of this object, and hosting on other digital platforms). The objects may not be used without permission in any way whatsoever in which you charge money, or collect fees.


Comment & Rating (12)