Paint Shaker


Print Profile(1)

Description
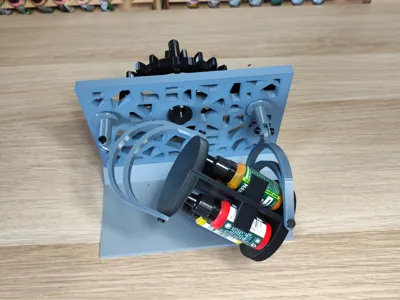
PAINT SHAKER
Tired of shaking paint pots individually and experiencing cramps? The solution is here:
Discover this paint pot shaker designed for four pots simultaneously.
Compatible with paint pots from brands such as Green Stuff World, Army Painter, Vallejo, etc. (maximum dimension for pots: 80x24mm)
Must be printed EXCLUSIVELY in PETG
Assembly instructions are provided below
Adhesive application must be precise to avoid gluing moving parts; a tip: apply glue to the base of the female components in a reasonable amount.
Fit the panel into the base (in the same orientation as the image)

Assemble the crank and apply adhesive (For all parts requiring adhesive, ensure you only apply glue to the joint to prevent impeding intended movements)

Assemble the large gear to the center of the panel

Assemble the small gear with the pivot, securing it with adhesive (verify its placement beforehand, in case you have inverted the direction)

Assemble the final pivot, securing it with adhesive

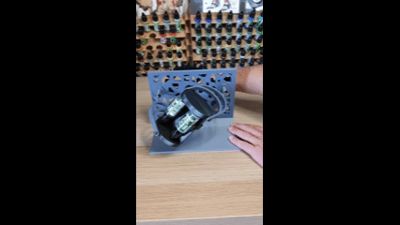
Now assemble the pot shaker, aligning it in the same direction as the photo, and adhere the assembly squares to maintain its position

Assemble the rods that hold the arms and the pot (no adhesive required)

Finally, assemble the arms to the pivots by fitting the last two rods and securing them with the two small washers
License
You shall not share, sub-license, sell, rent, host, transfer, or distribute in any way the digital or 3D printed versions of this object, nor any other derivative work of this object in its digital or physical format (including - but not limited to - remixes of this object, and hosting on other digital platforms). The objects may not be used without permission in any way whatsoever in which you charge money, or collect fees.
Comment & Rating (37)