
FLSUN SR ENCLOSURE


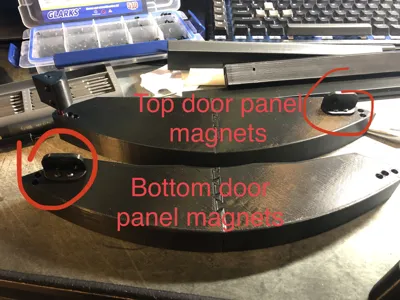
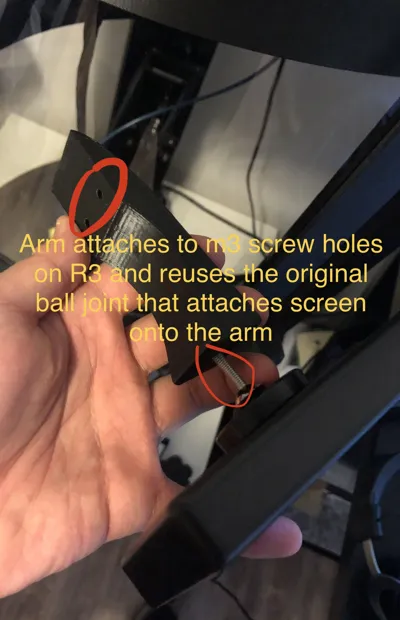
Print Profile(0)
Description
Boost Me (for free)
Much appreciated and directly support creators
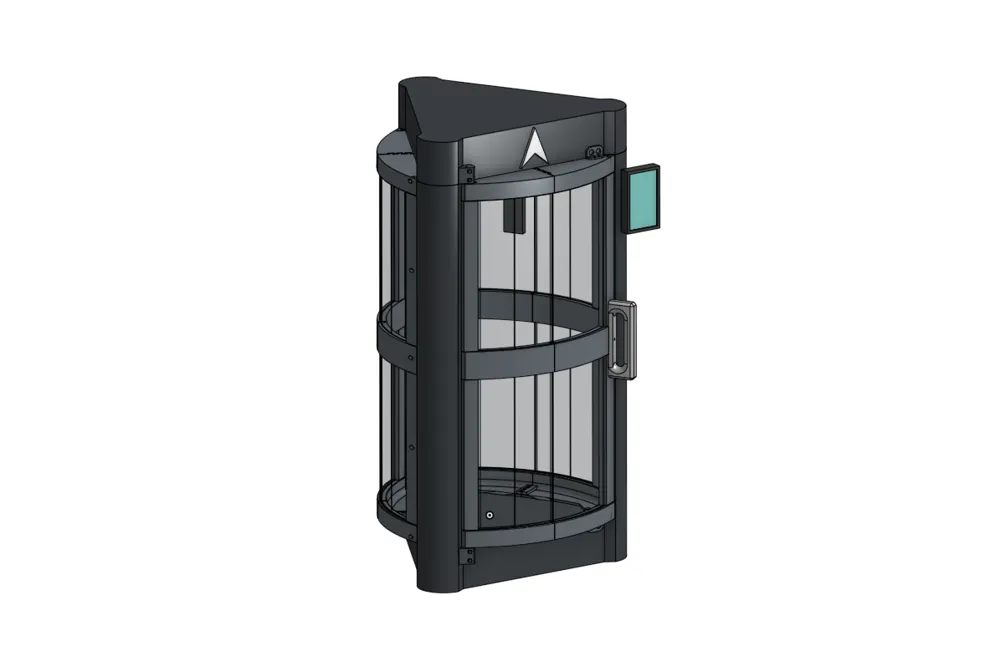
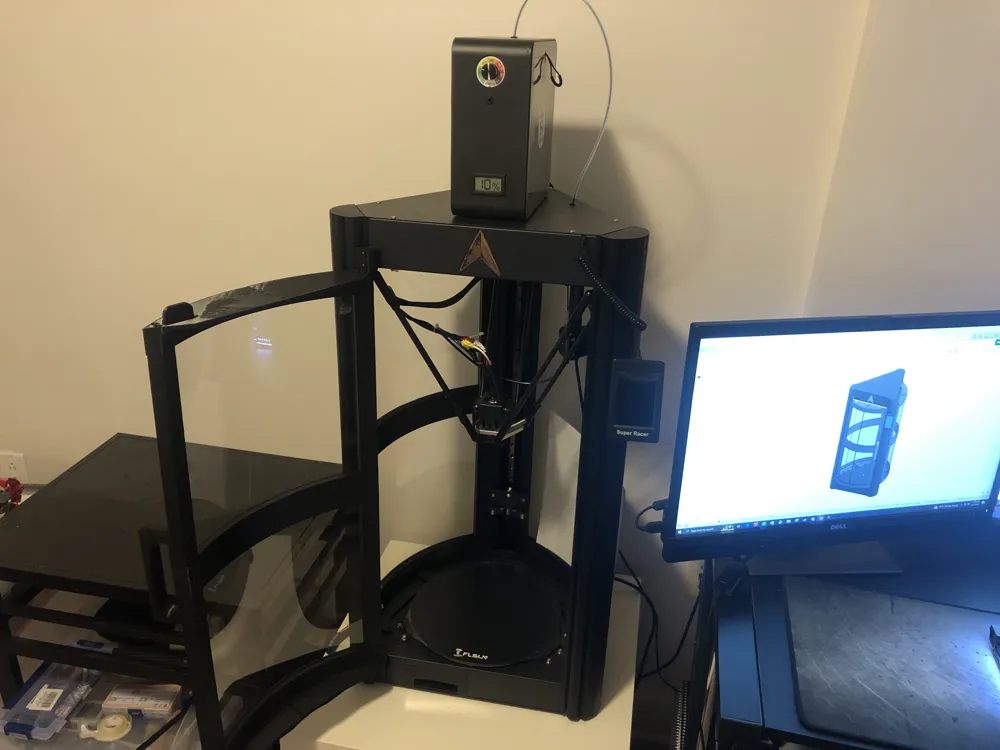
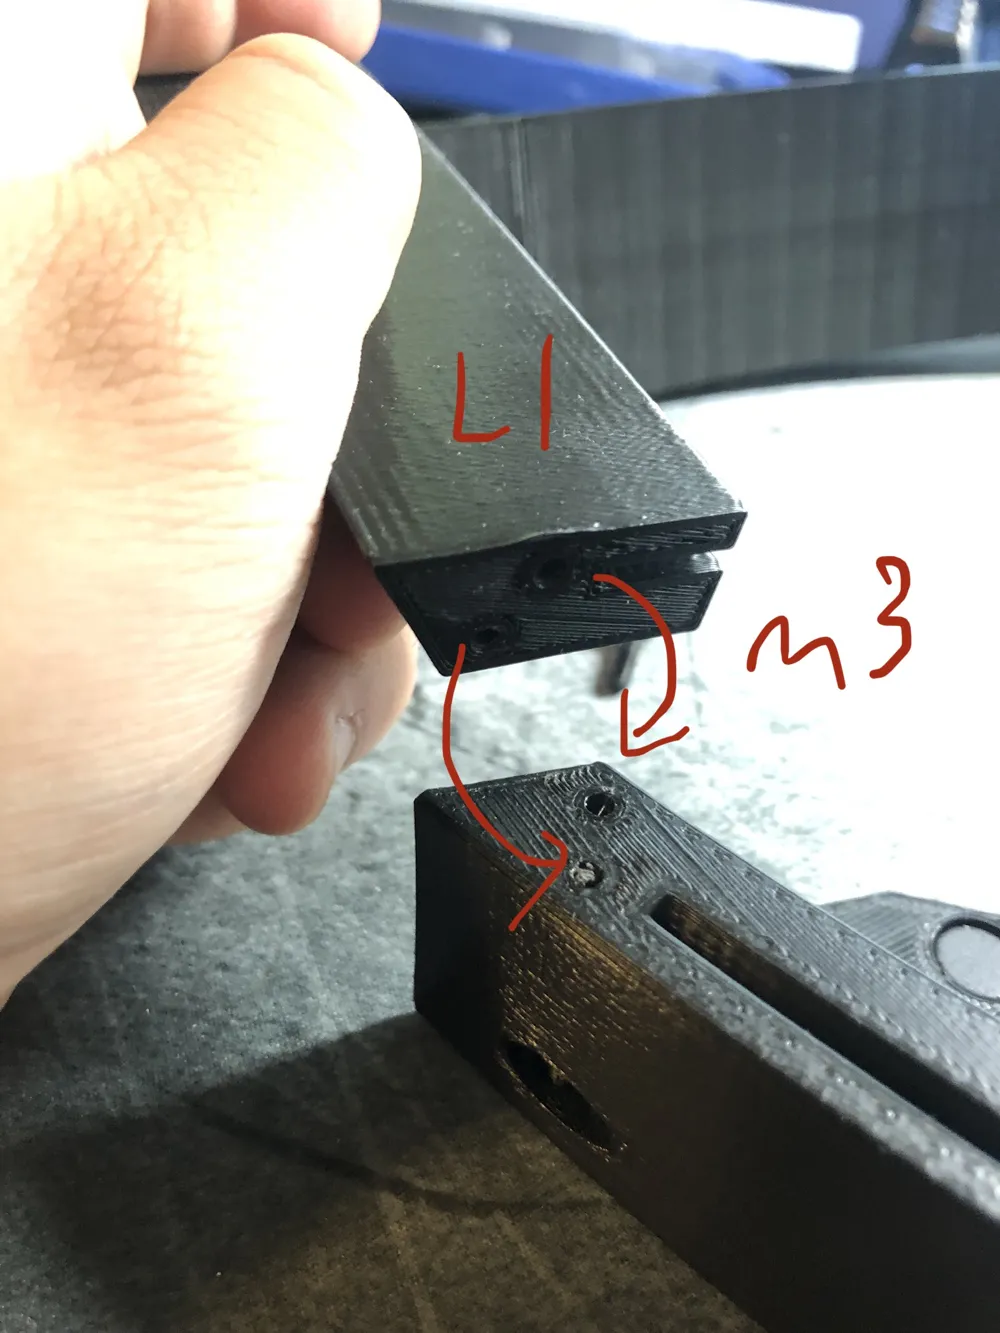
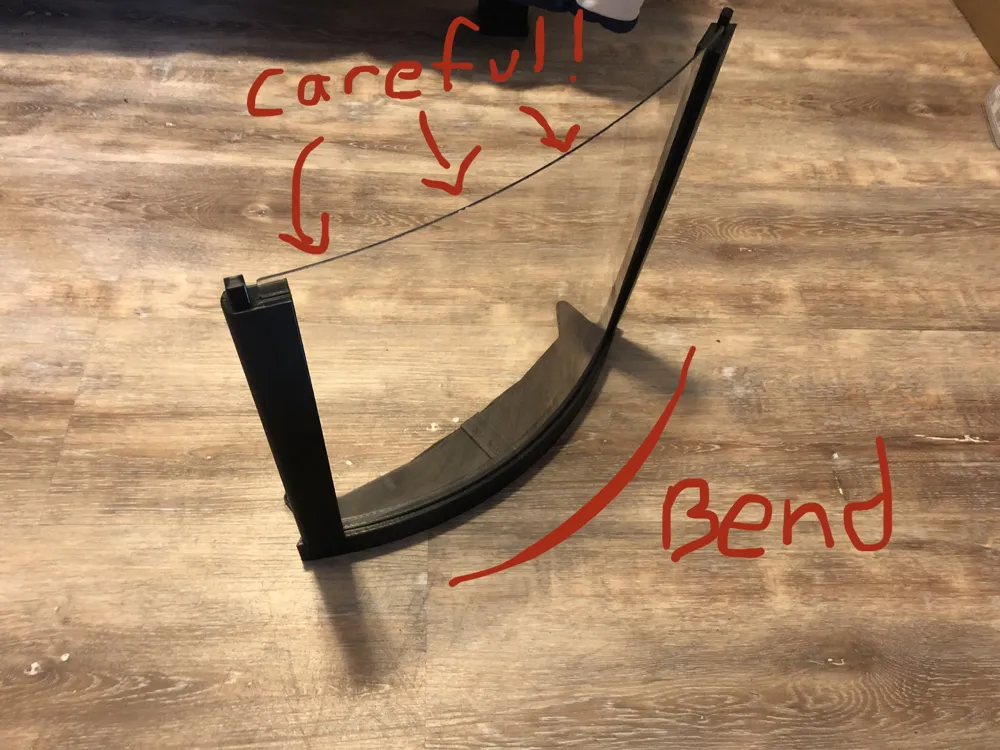
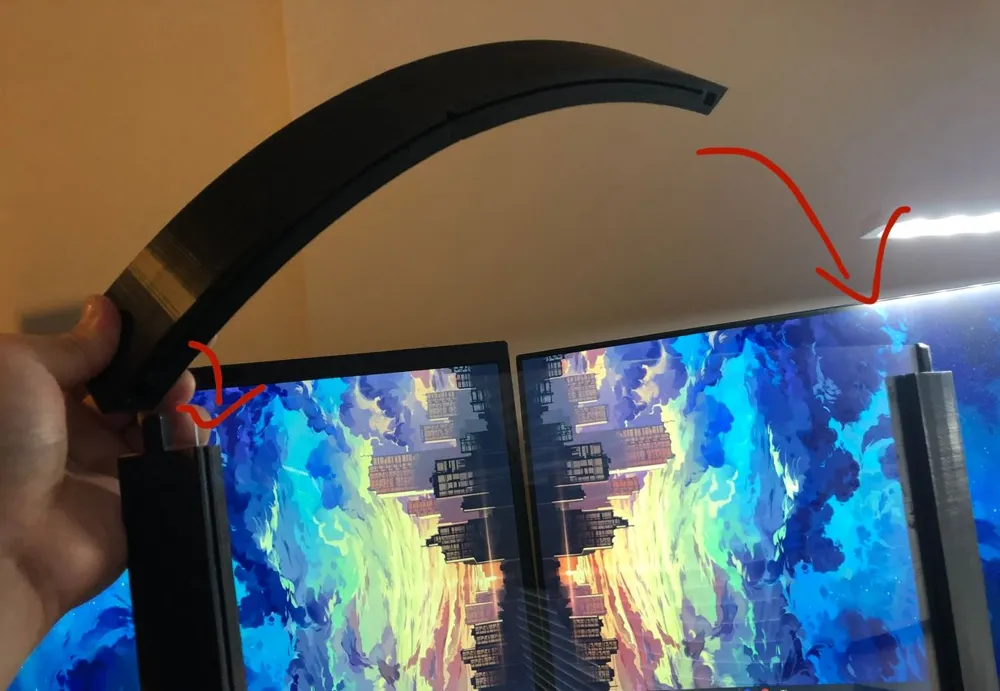
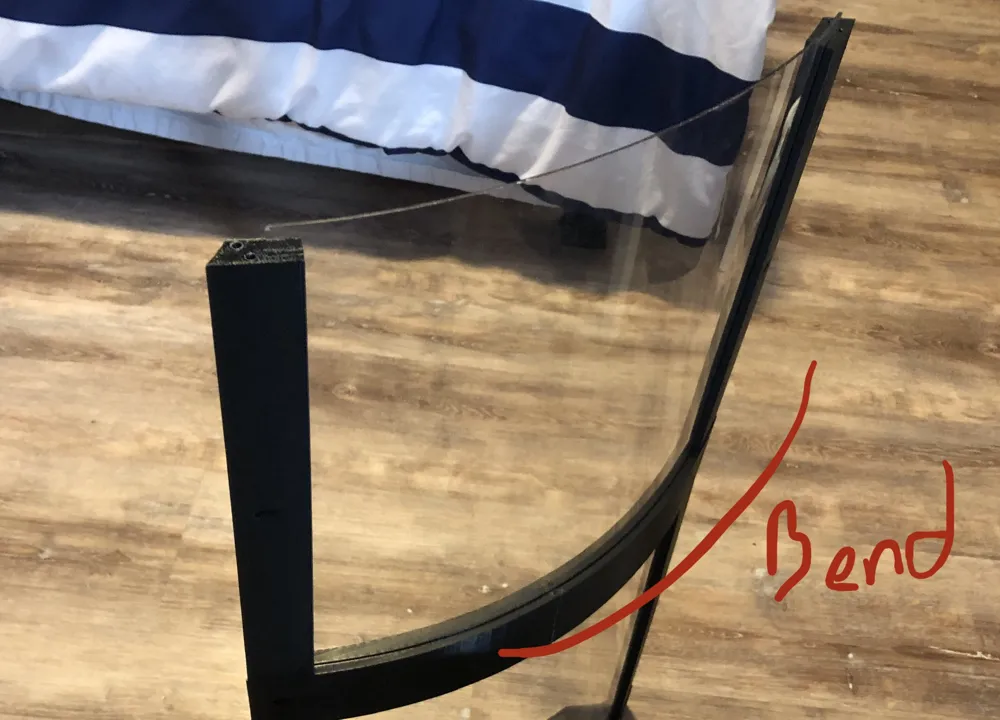
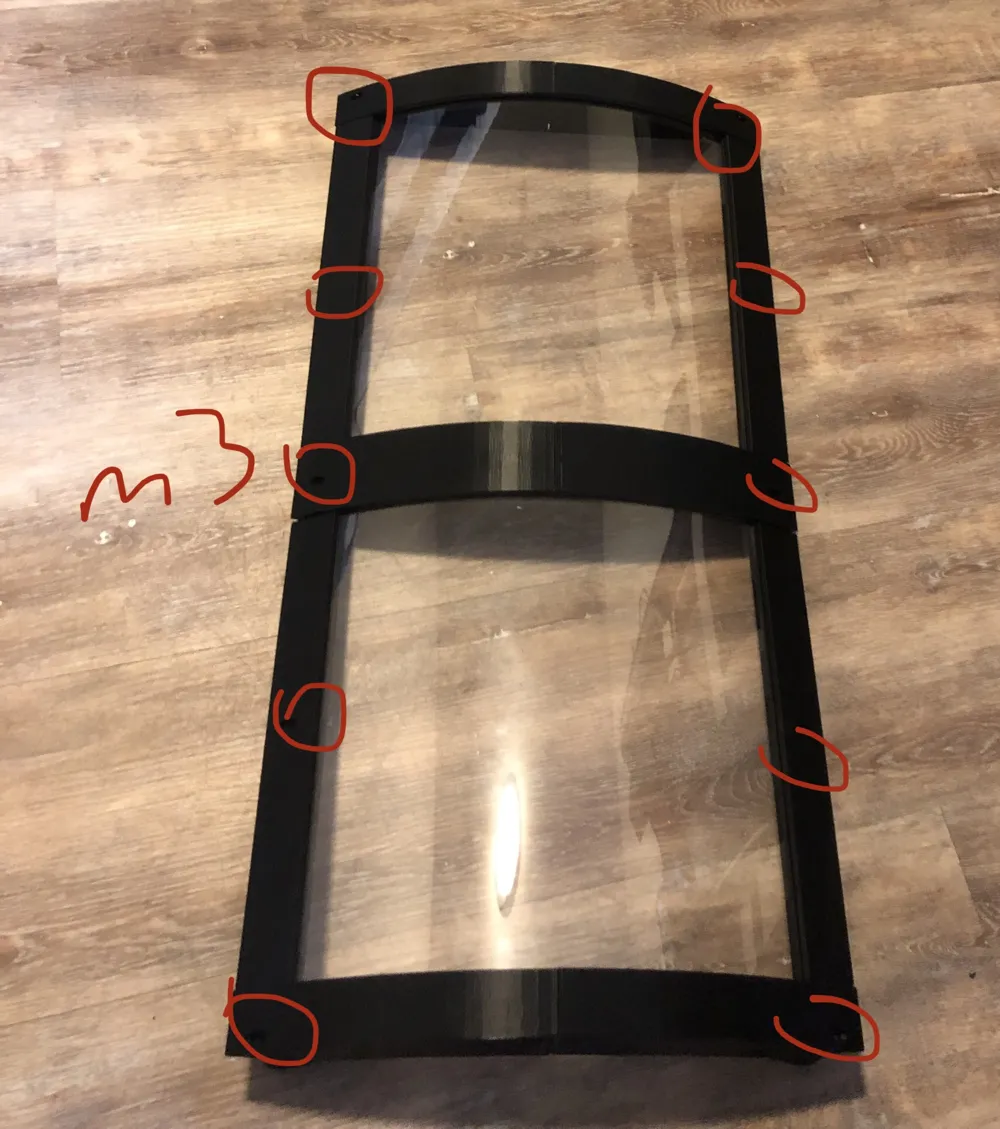
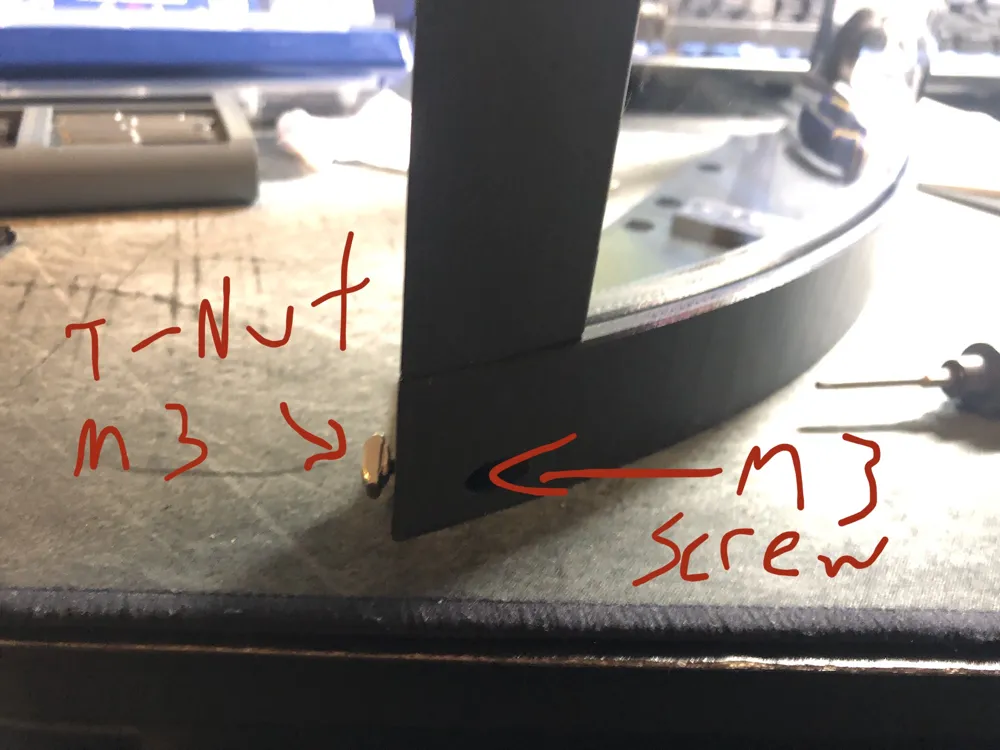
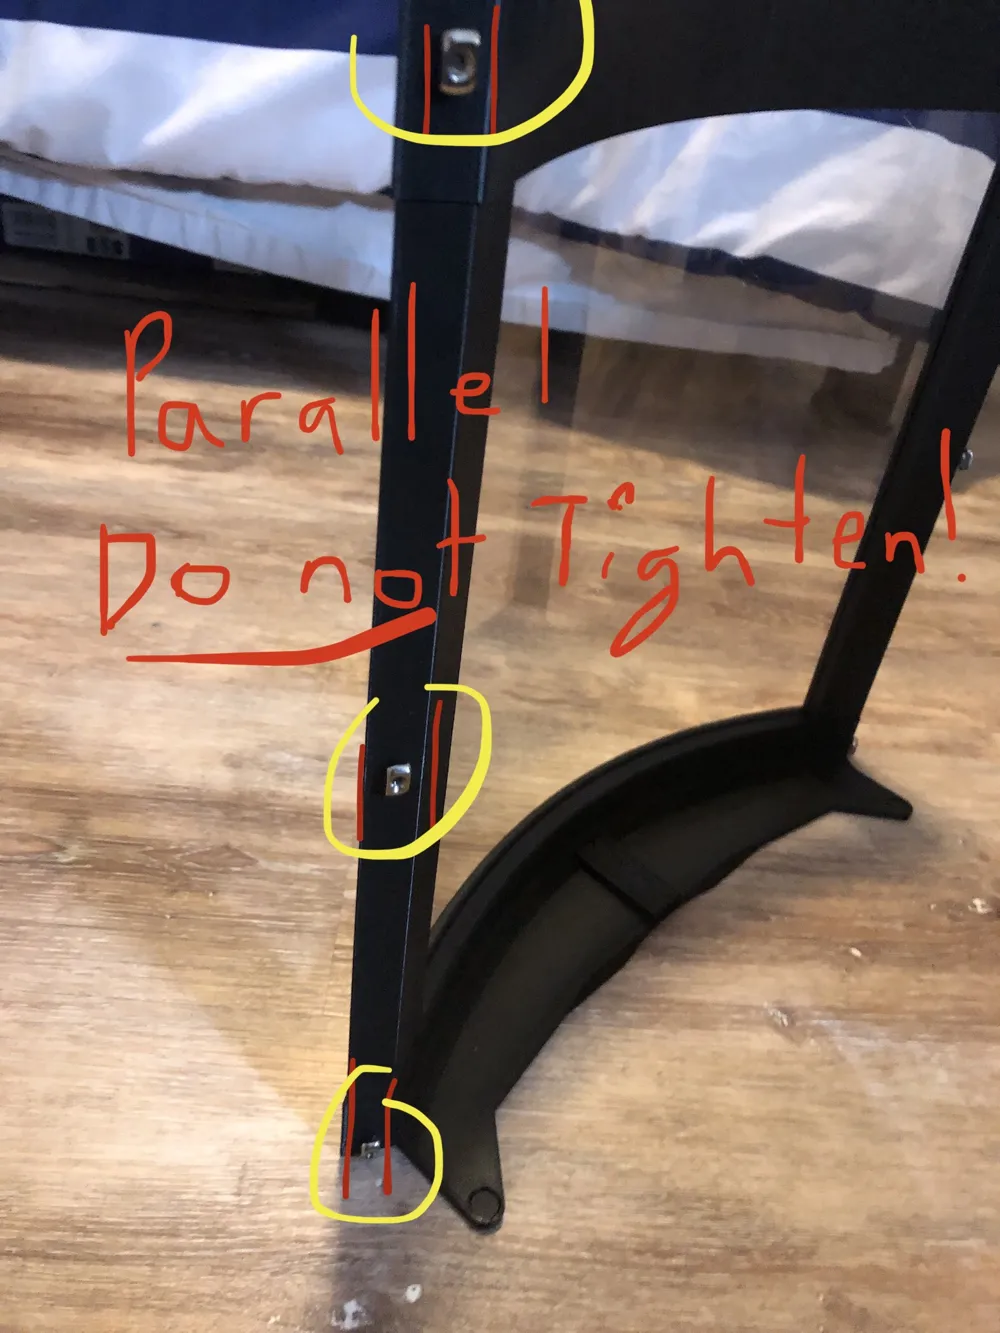
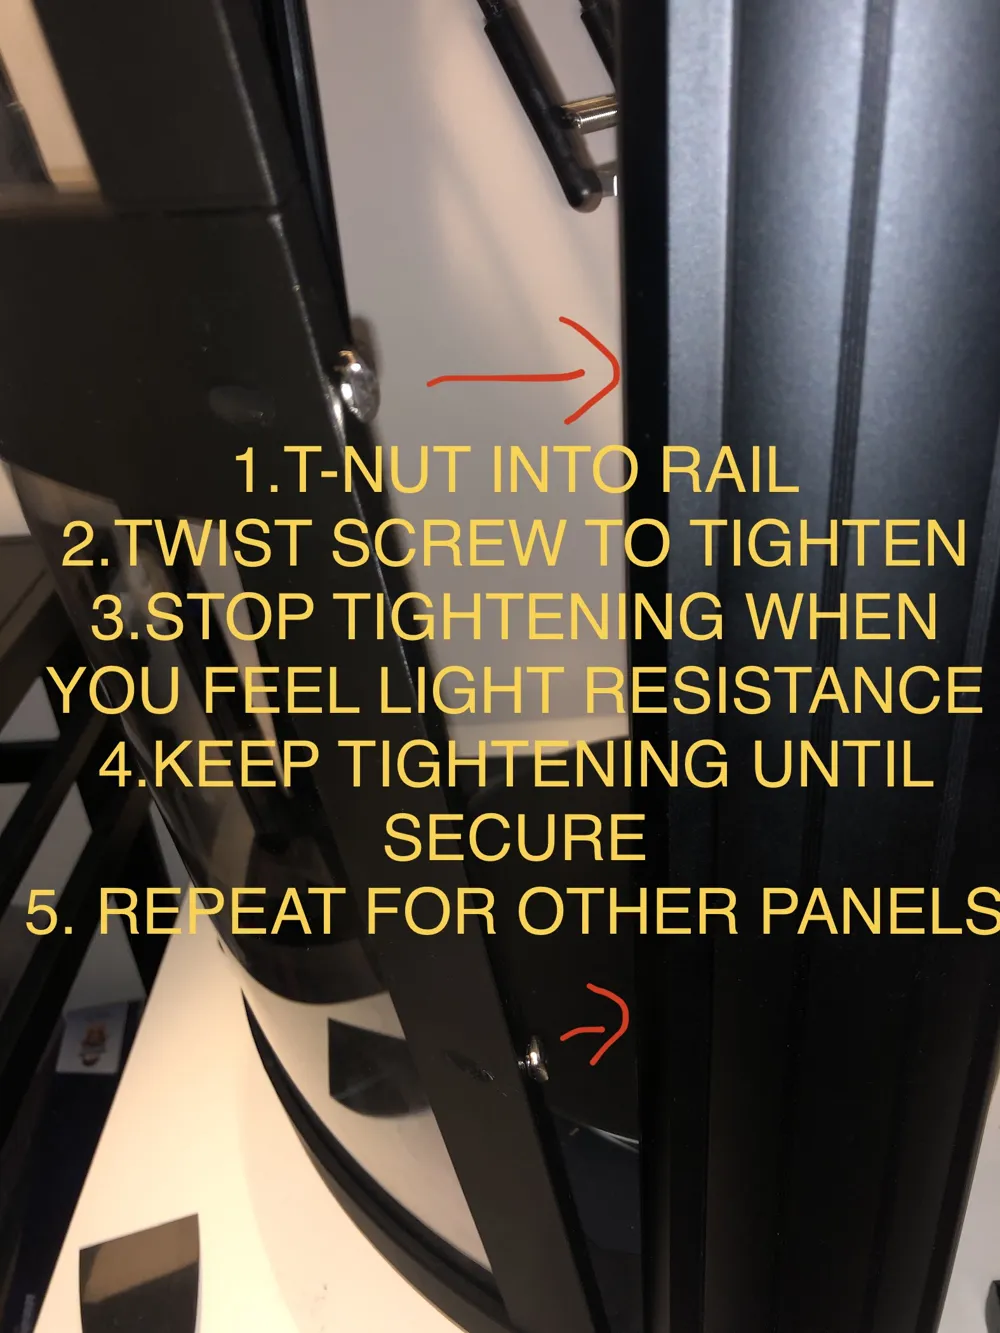
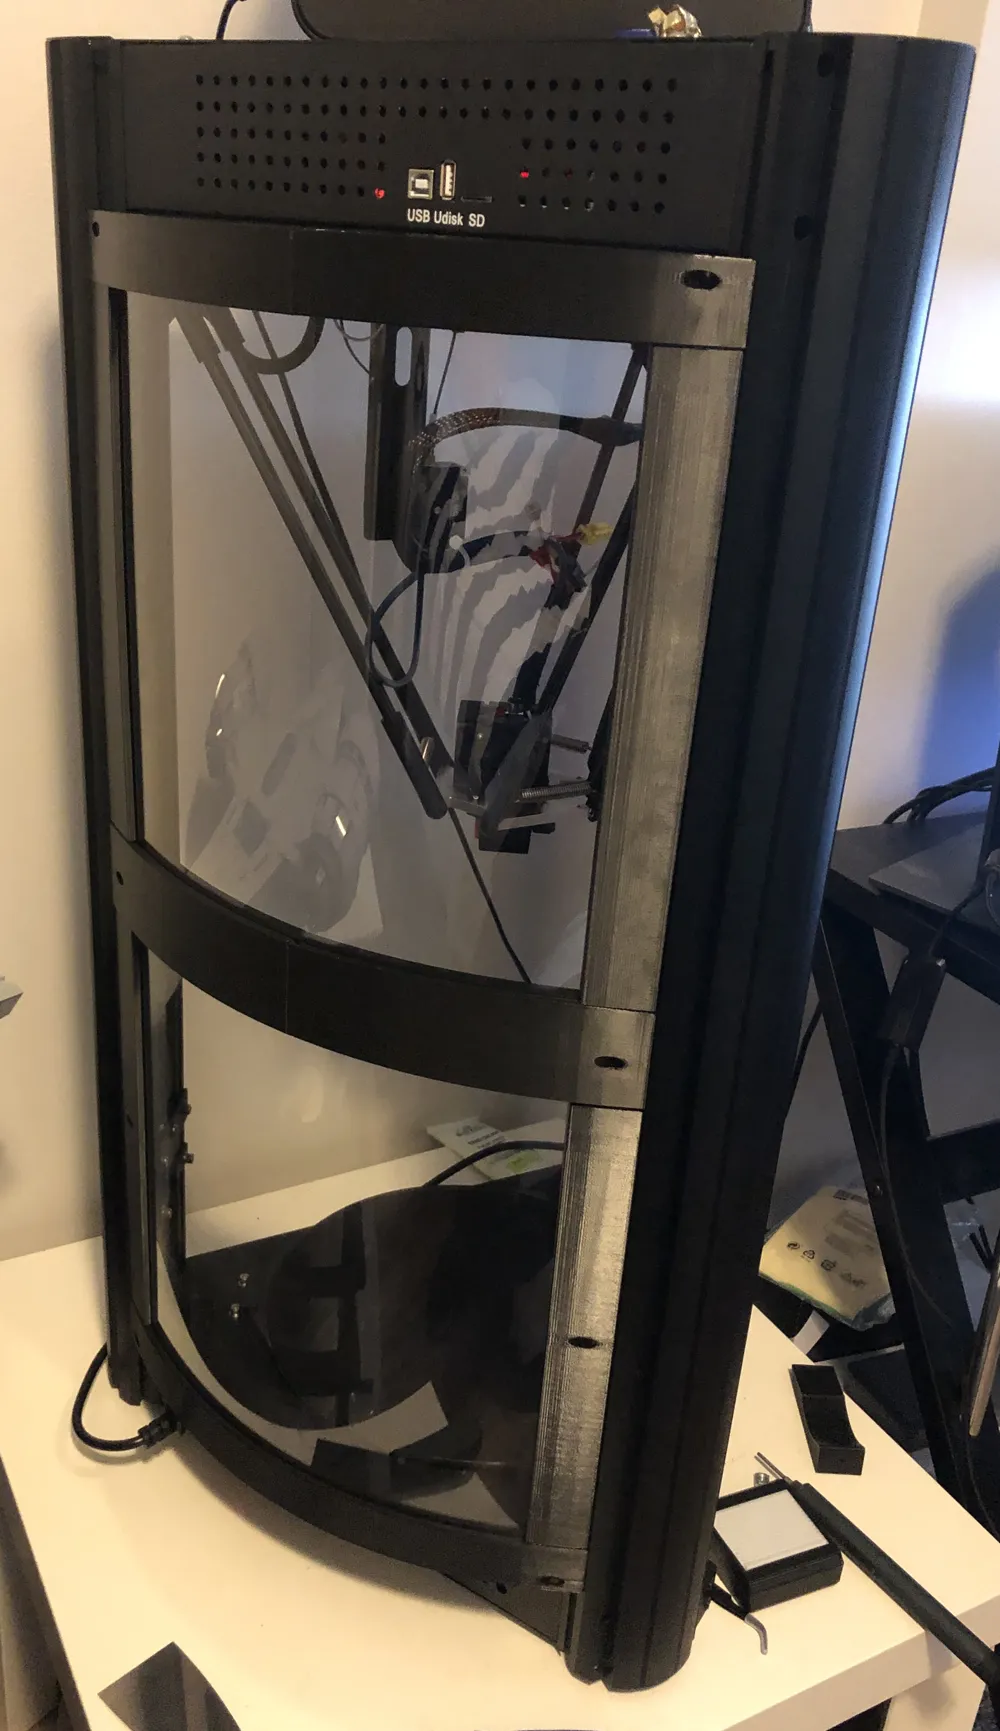
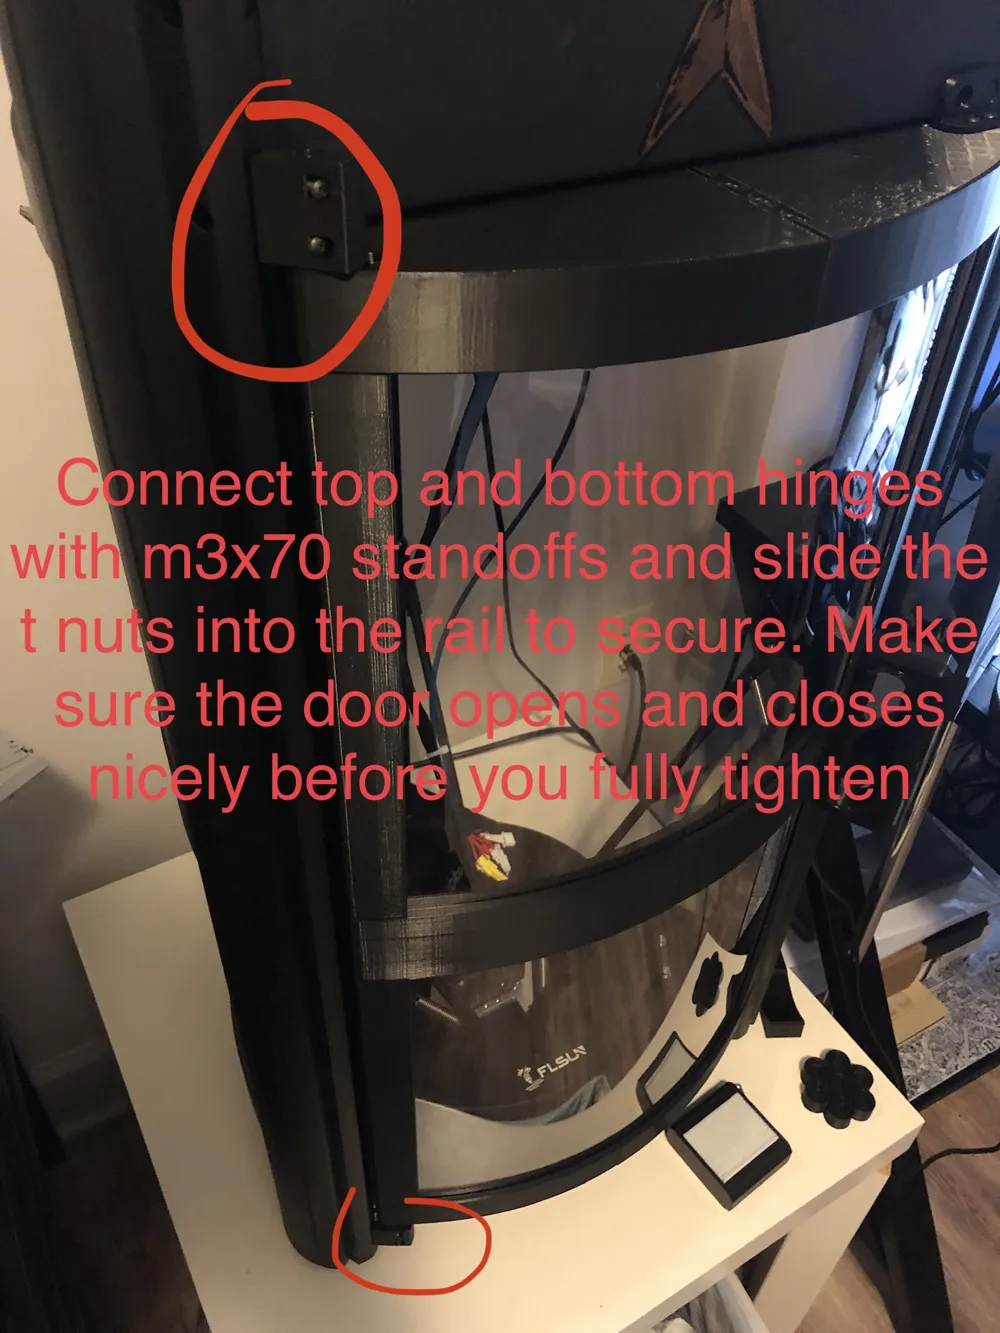
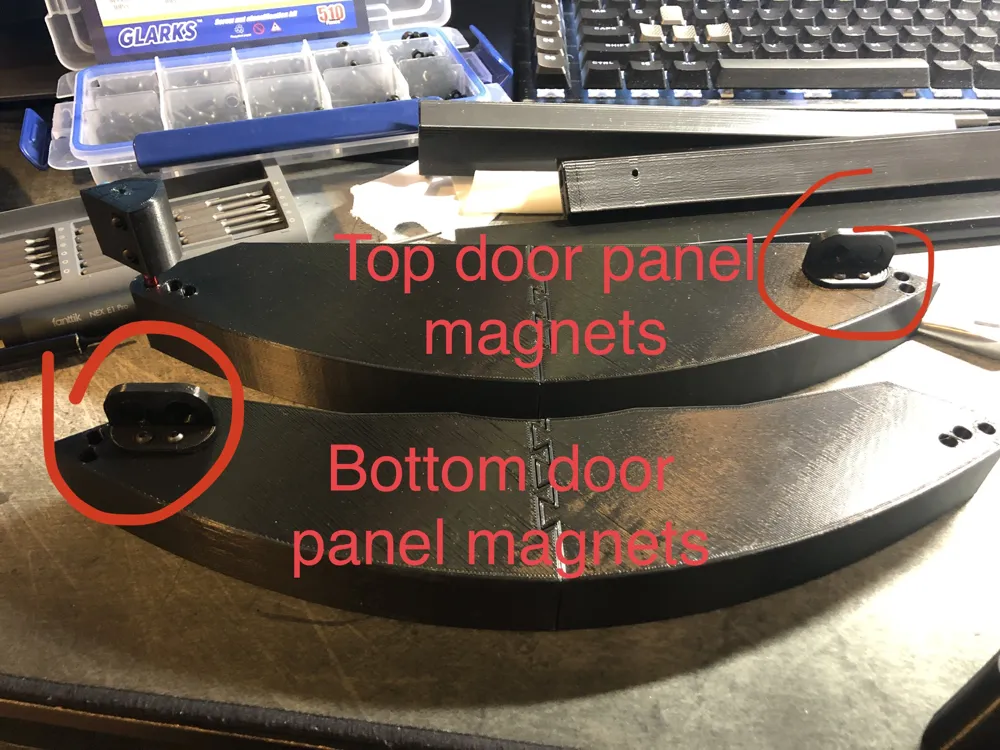
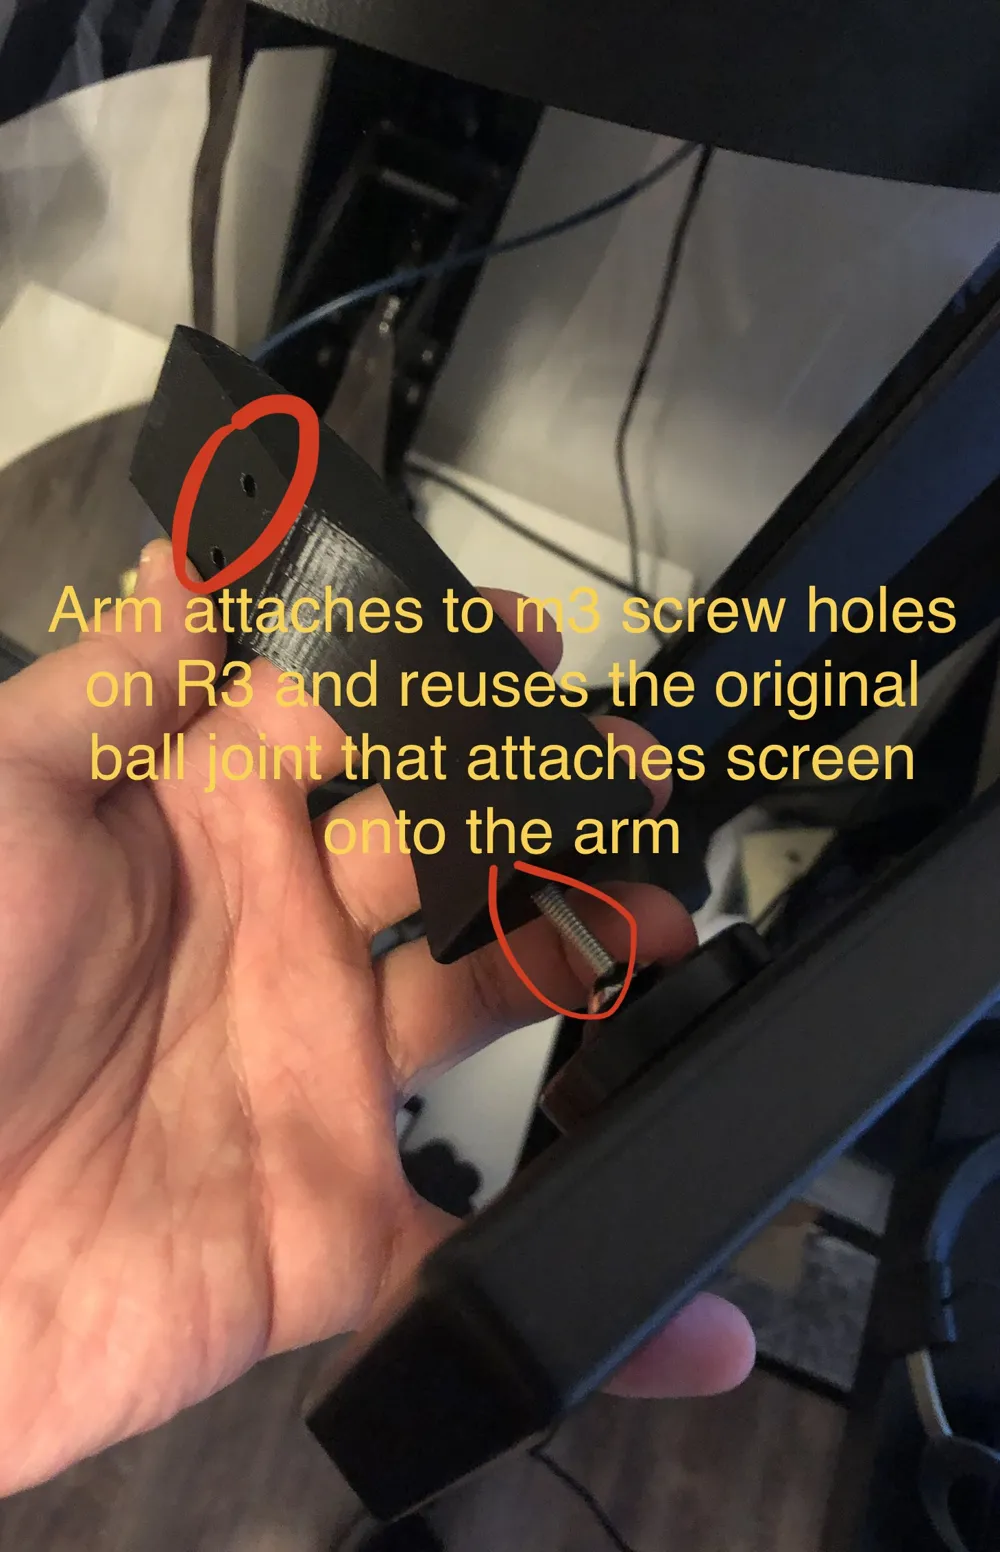
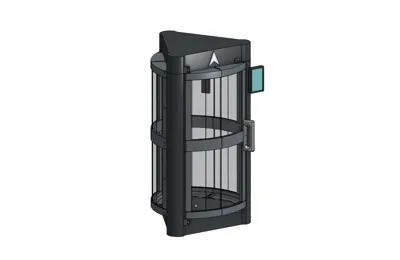
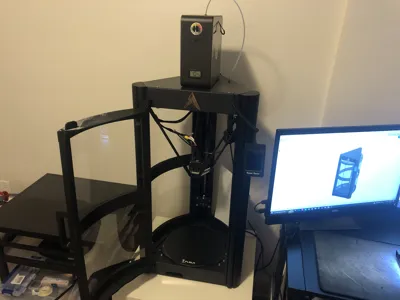
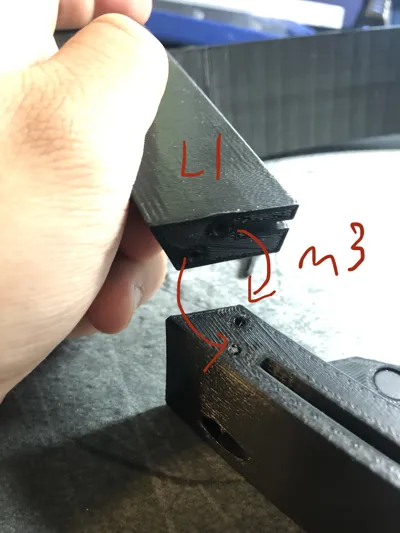
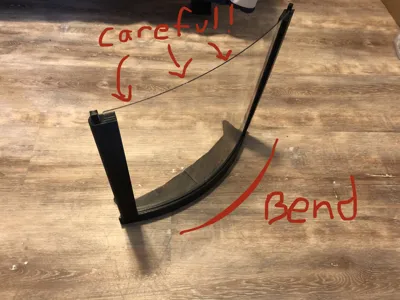
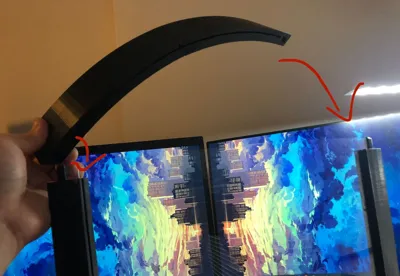
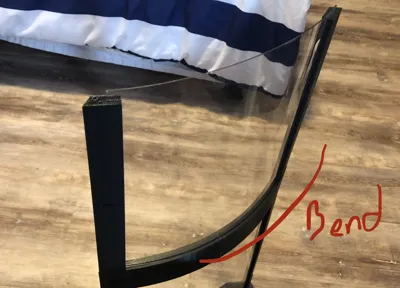
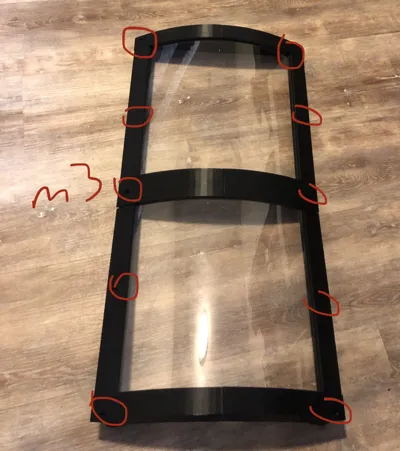
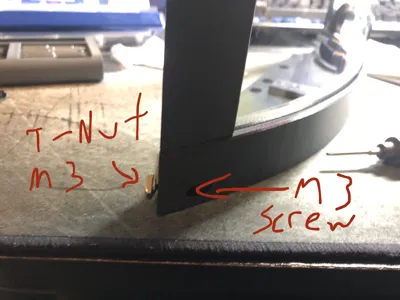
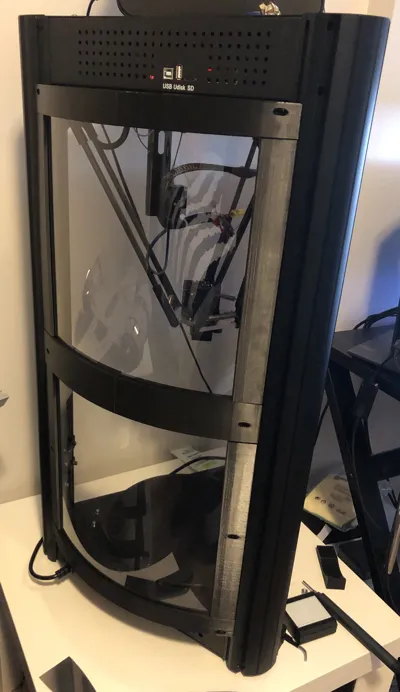
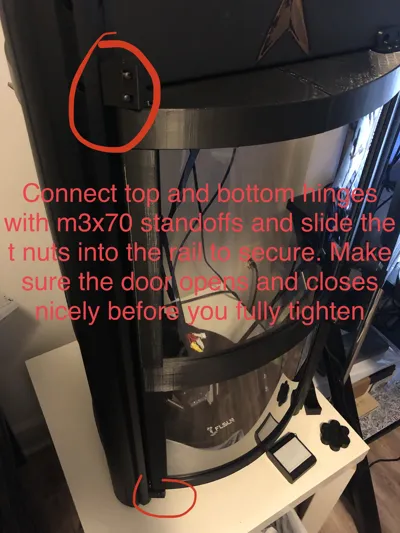
This design uses the FLSUN SR printer itself to print the parts. Each panel for the enclosure is held on using 10x3mm round magnets as well as m3 screws and m3 T-nuts. The 6 panels are standard 12x12 inch sheets with 1/16 inch width. There are no special tools needed to cut the sheets since you just bend them into the sockets. The door is hinged using two 5x70mm standoffs as axles. If you are confused how to slice parts, look at the gcode reference files. Basic assembly guide if you scroll through the screenshots above. I'd be glad to reply to any questions and suggestions for possible future improvements and upgrades! Parts list at the bottom!
News Updates:
May 27th 2023 - New Option to Print Split Parts: L1-4 , R1-4 , F1-4. New folders with the mentioned parts split in two for those who have had difficulty printing the tall thin rods. (0.4mm tolerance, superglue or adhesive recommended to make sure they stay sturdy once combined for the door section). Still recommended to print vertically! (The walls are curved so be careful if you do choose to print flat!)
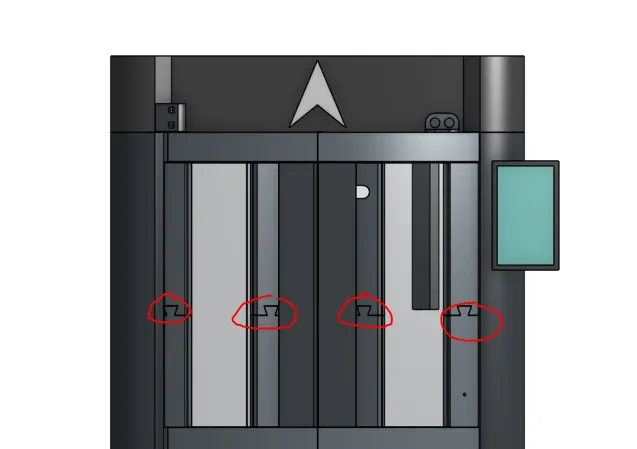
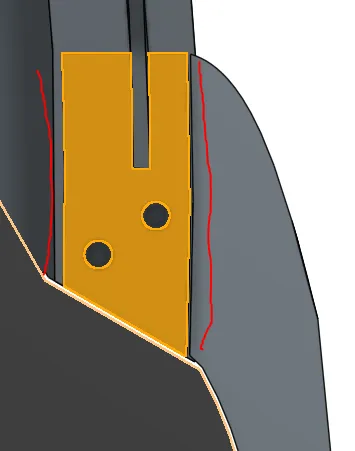 May 20th 2023 - Updated a few parts of the door for better printing and nicer tolerances. (Handle, Hinges, F1, F3, TOP F+/MID F+/BOTTOM F+)
April 2nd 2023 - Enclosure Compatible Fan Filter (HEPA+Carbon Filter) Upgrade
- LINK: https://www.printables.com/model/440510-fan-filter-built-for-flsun-sr
- Filter that is compatible with my enclosure design (Less odors and cleaner air inside the enclosure)
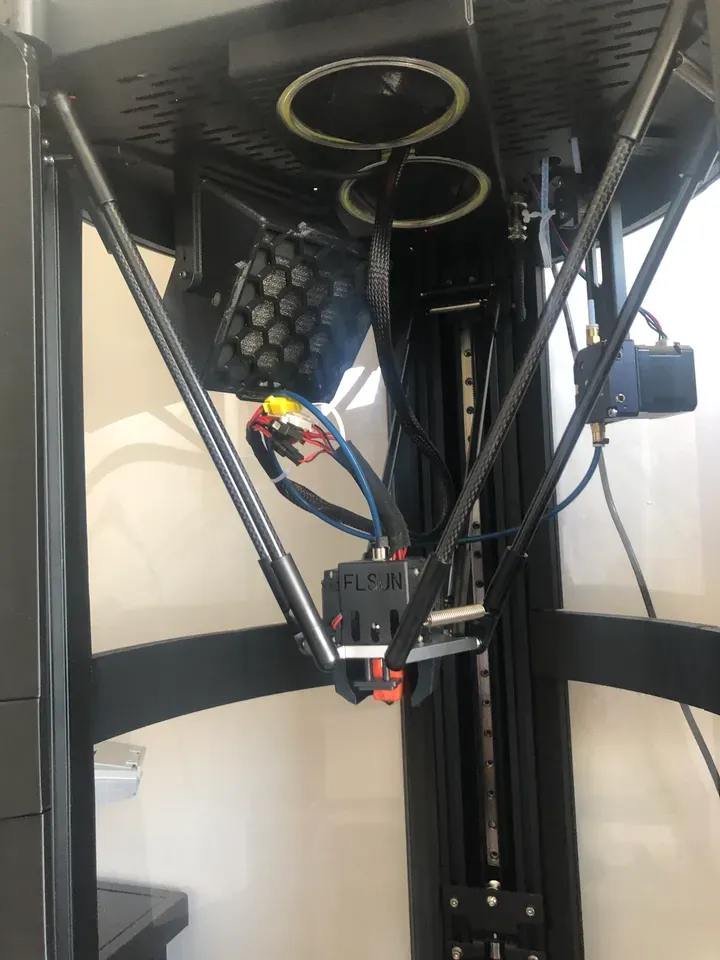
April 1st 2023 - Enclosure Compatible Lighting Upgrade
- LINK: https://www.printables.com/model/440181-flsun-sr-lighting
- LED Mounts are compatible with my enclosure
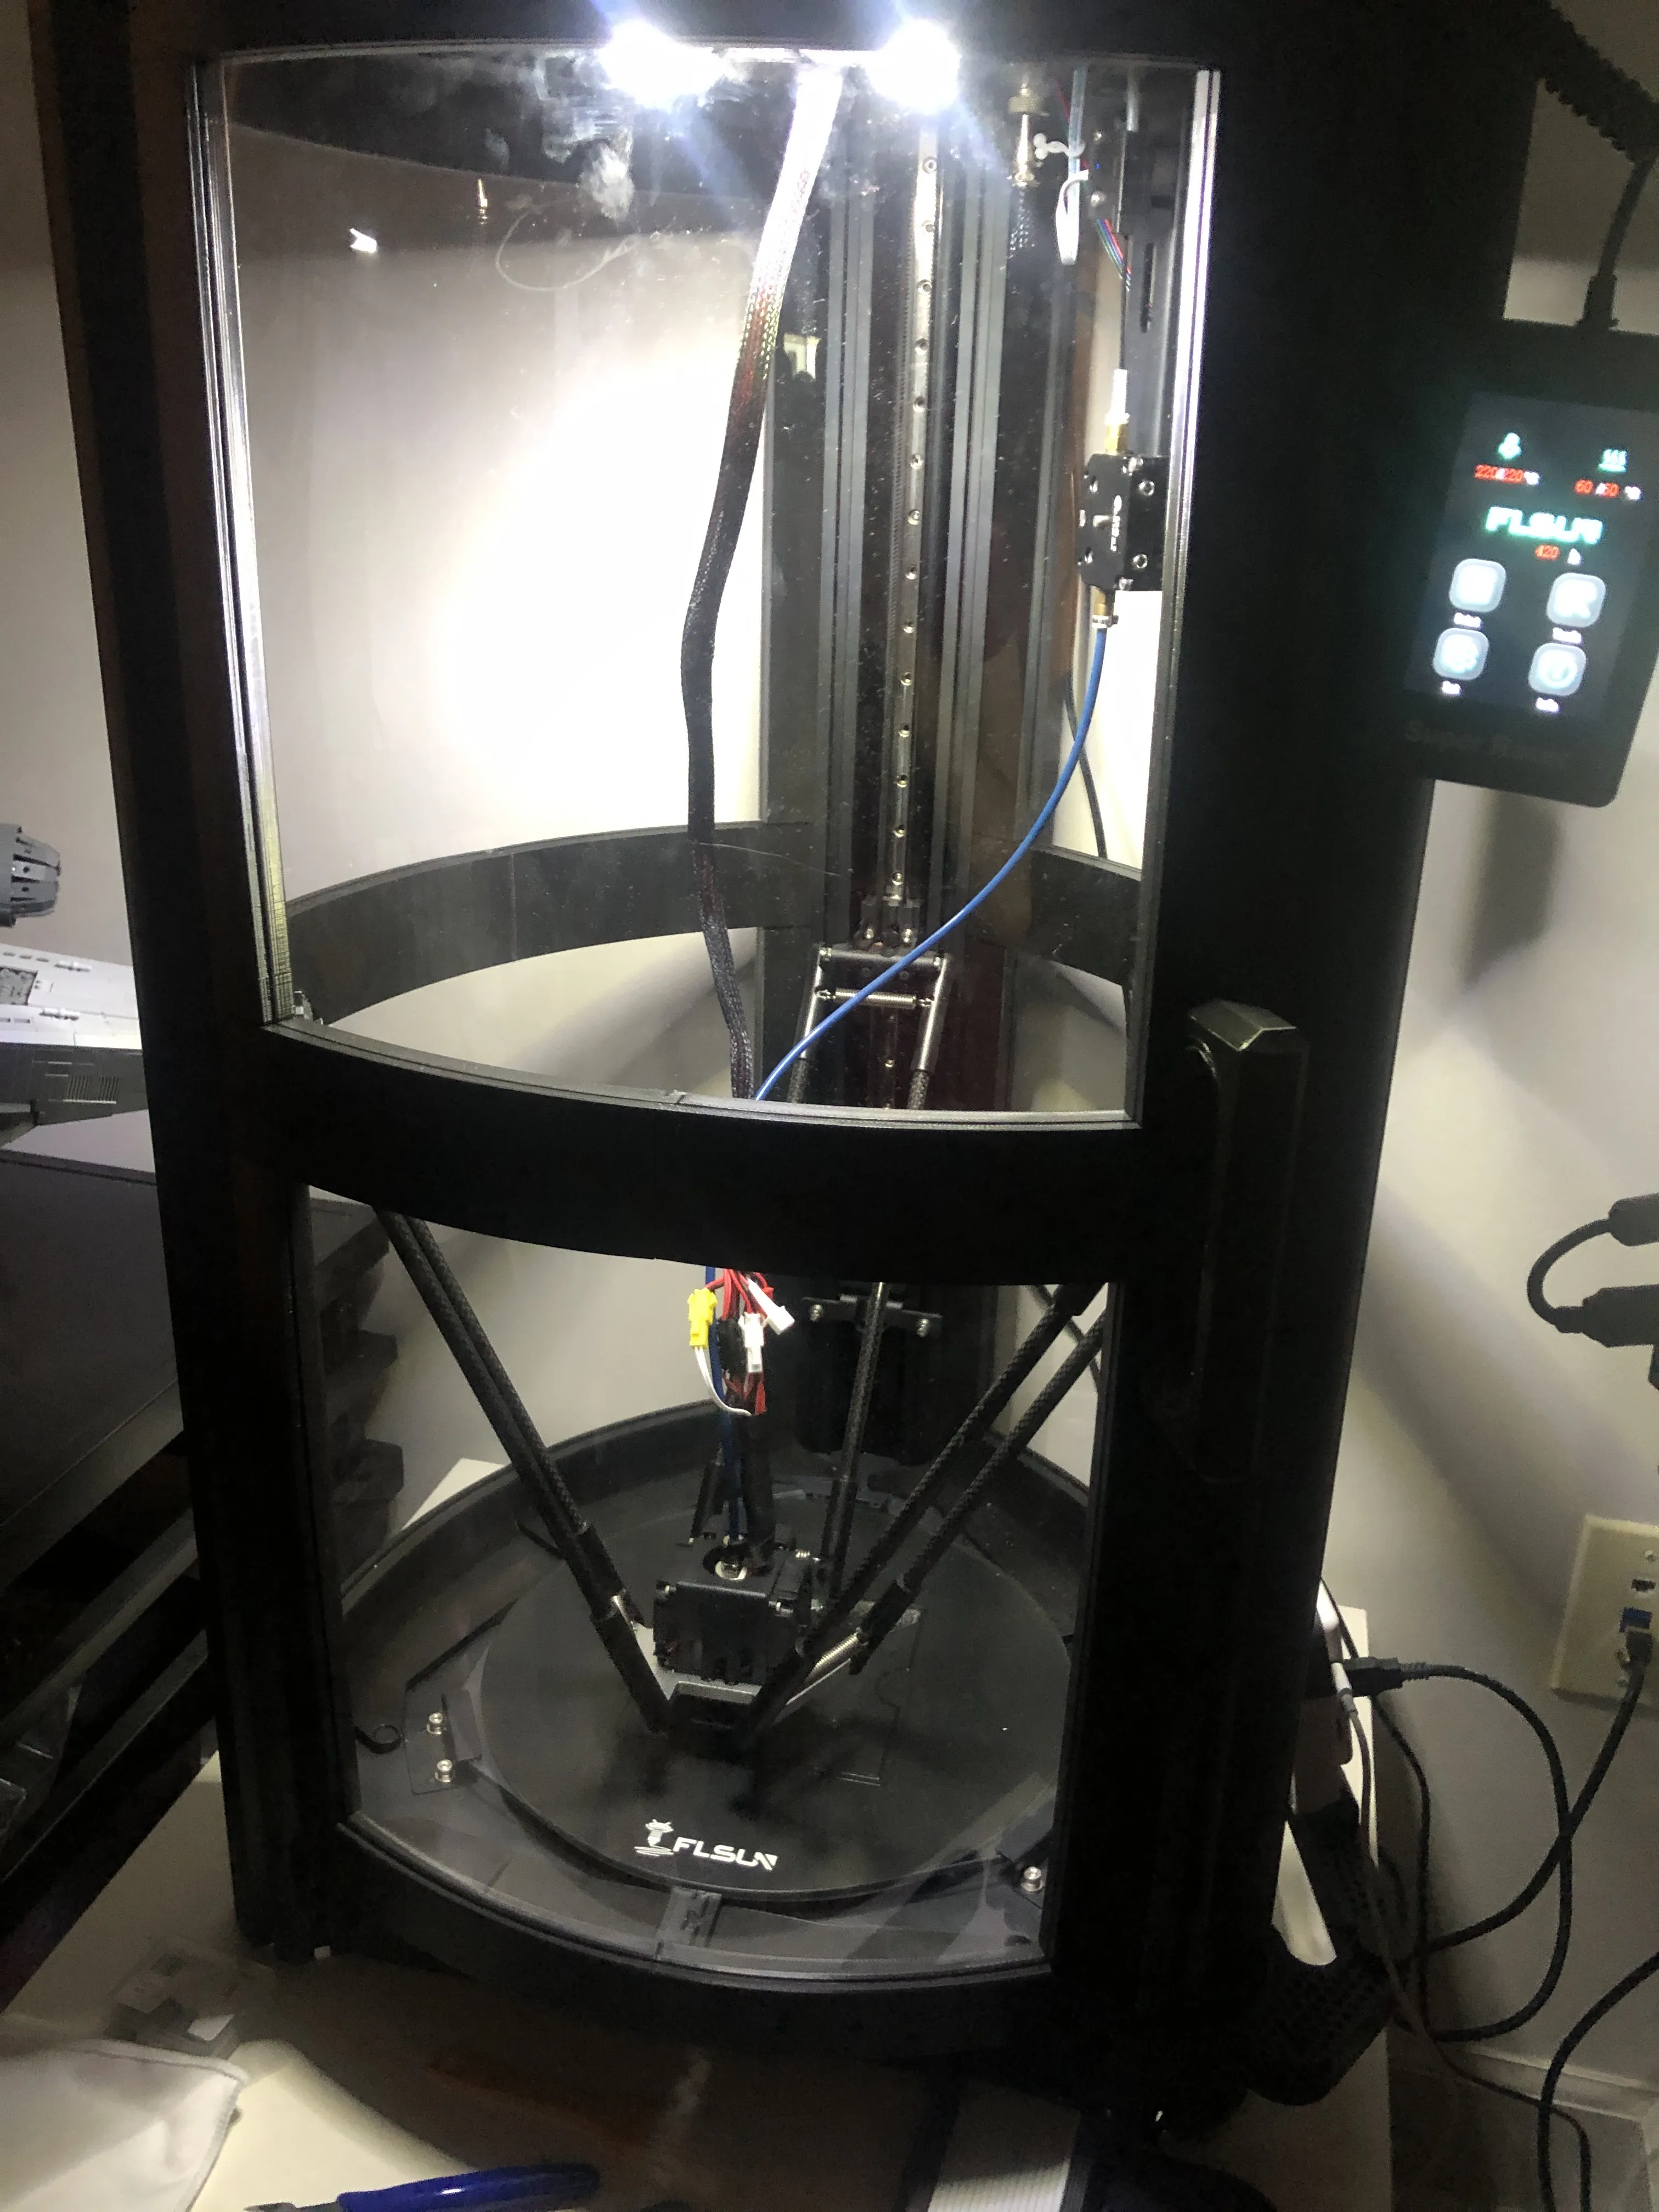
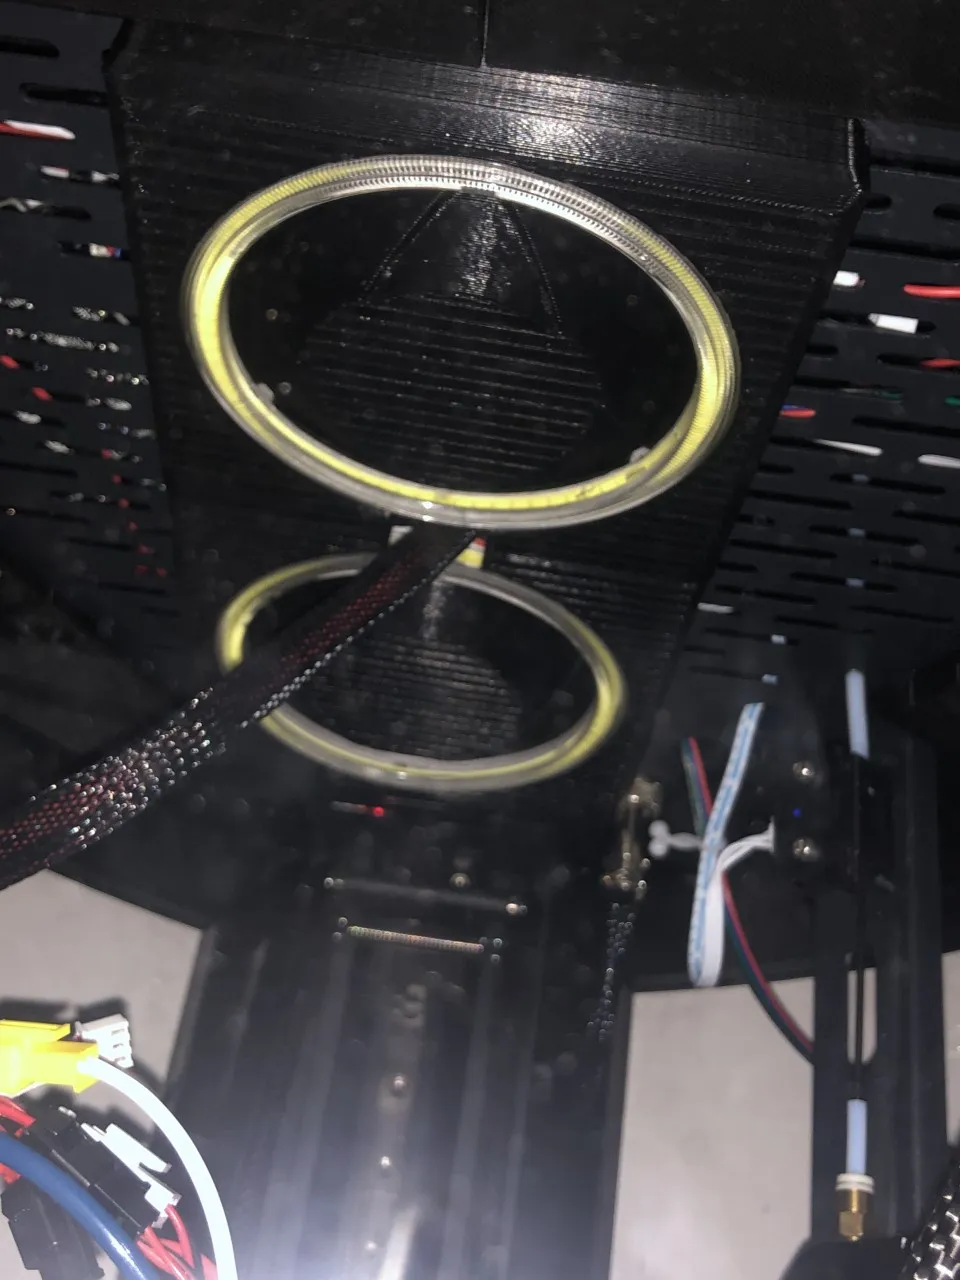
March 10th 2023 - Improved R2, R4, and MID R+ Parts as well as the G-Code.
- Now you can directly loop the thick wire out of the enclosure through R4 rather than fitting it in between the rails. This should help allow you to use all of the t-nut holes for a better seal.
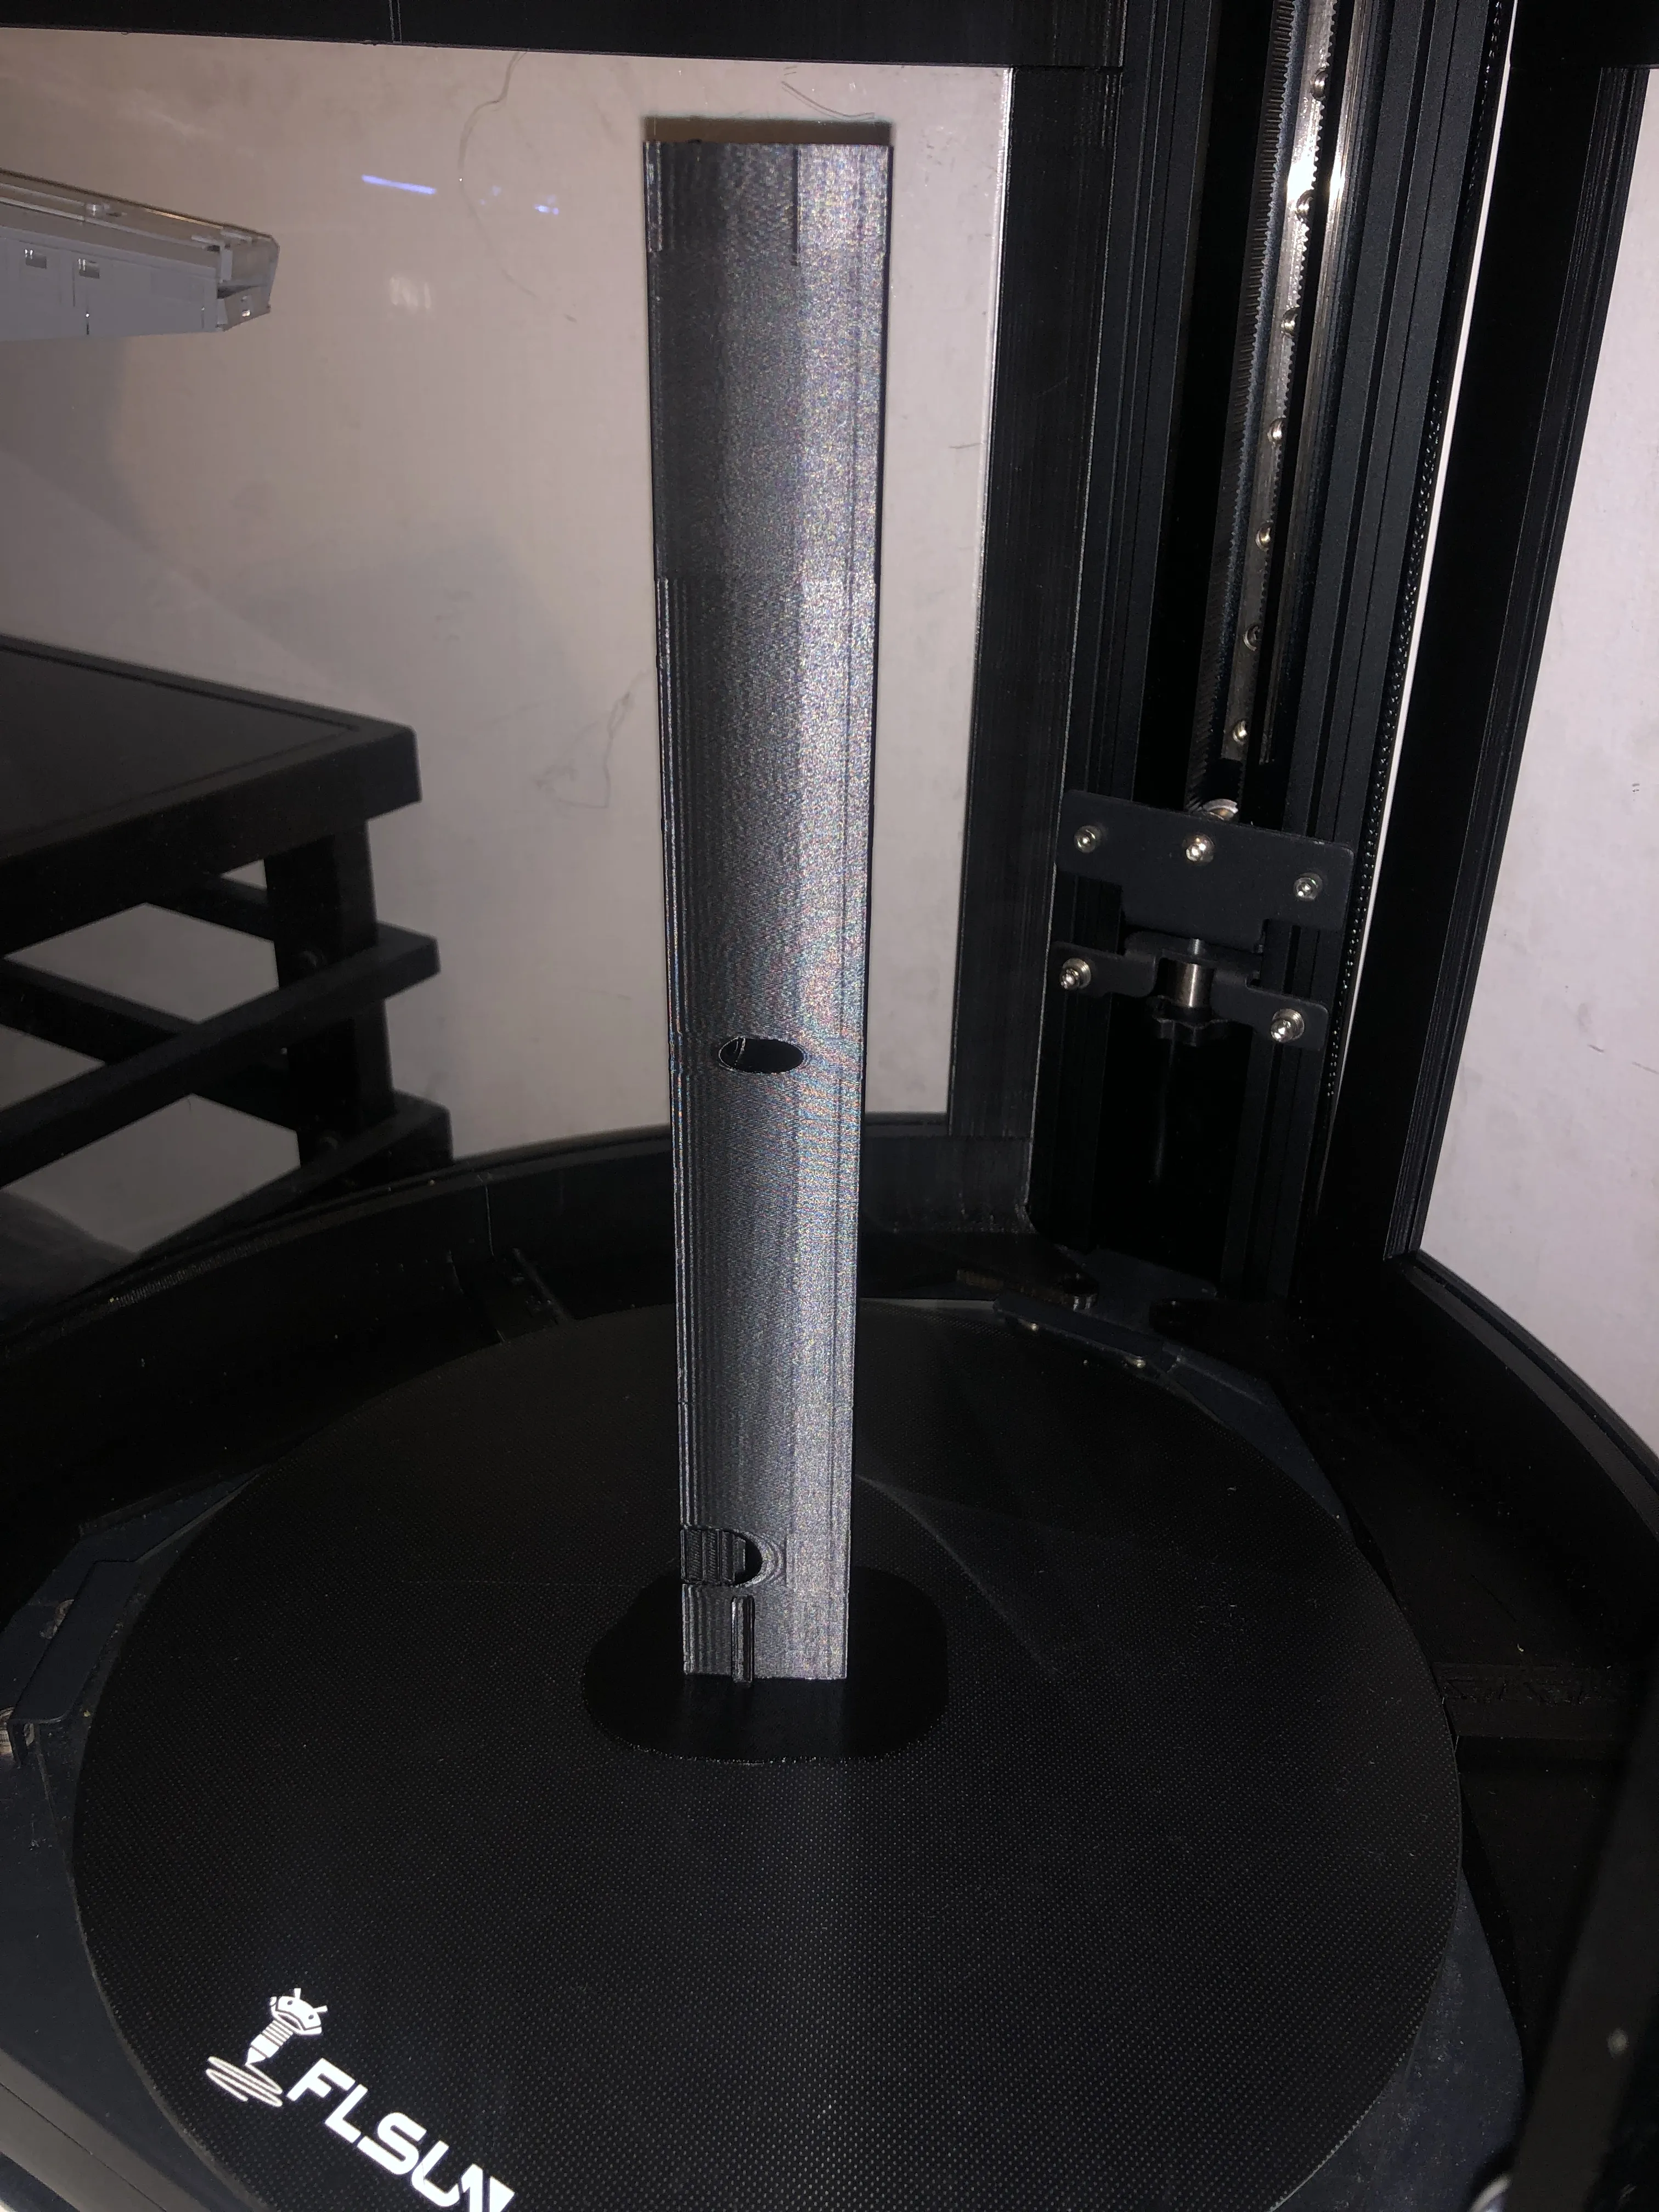
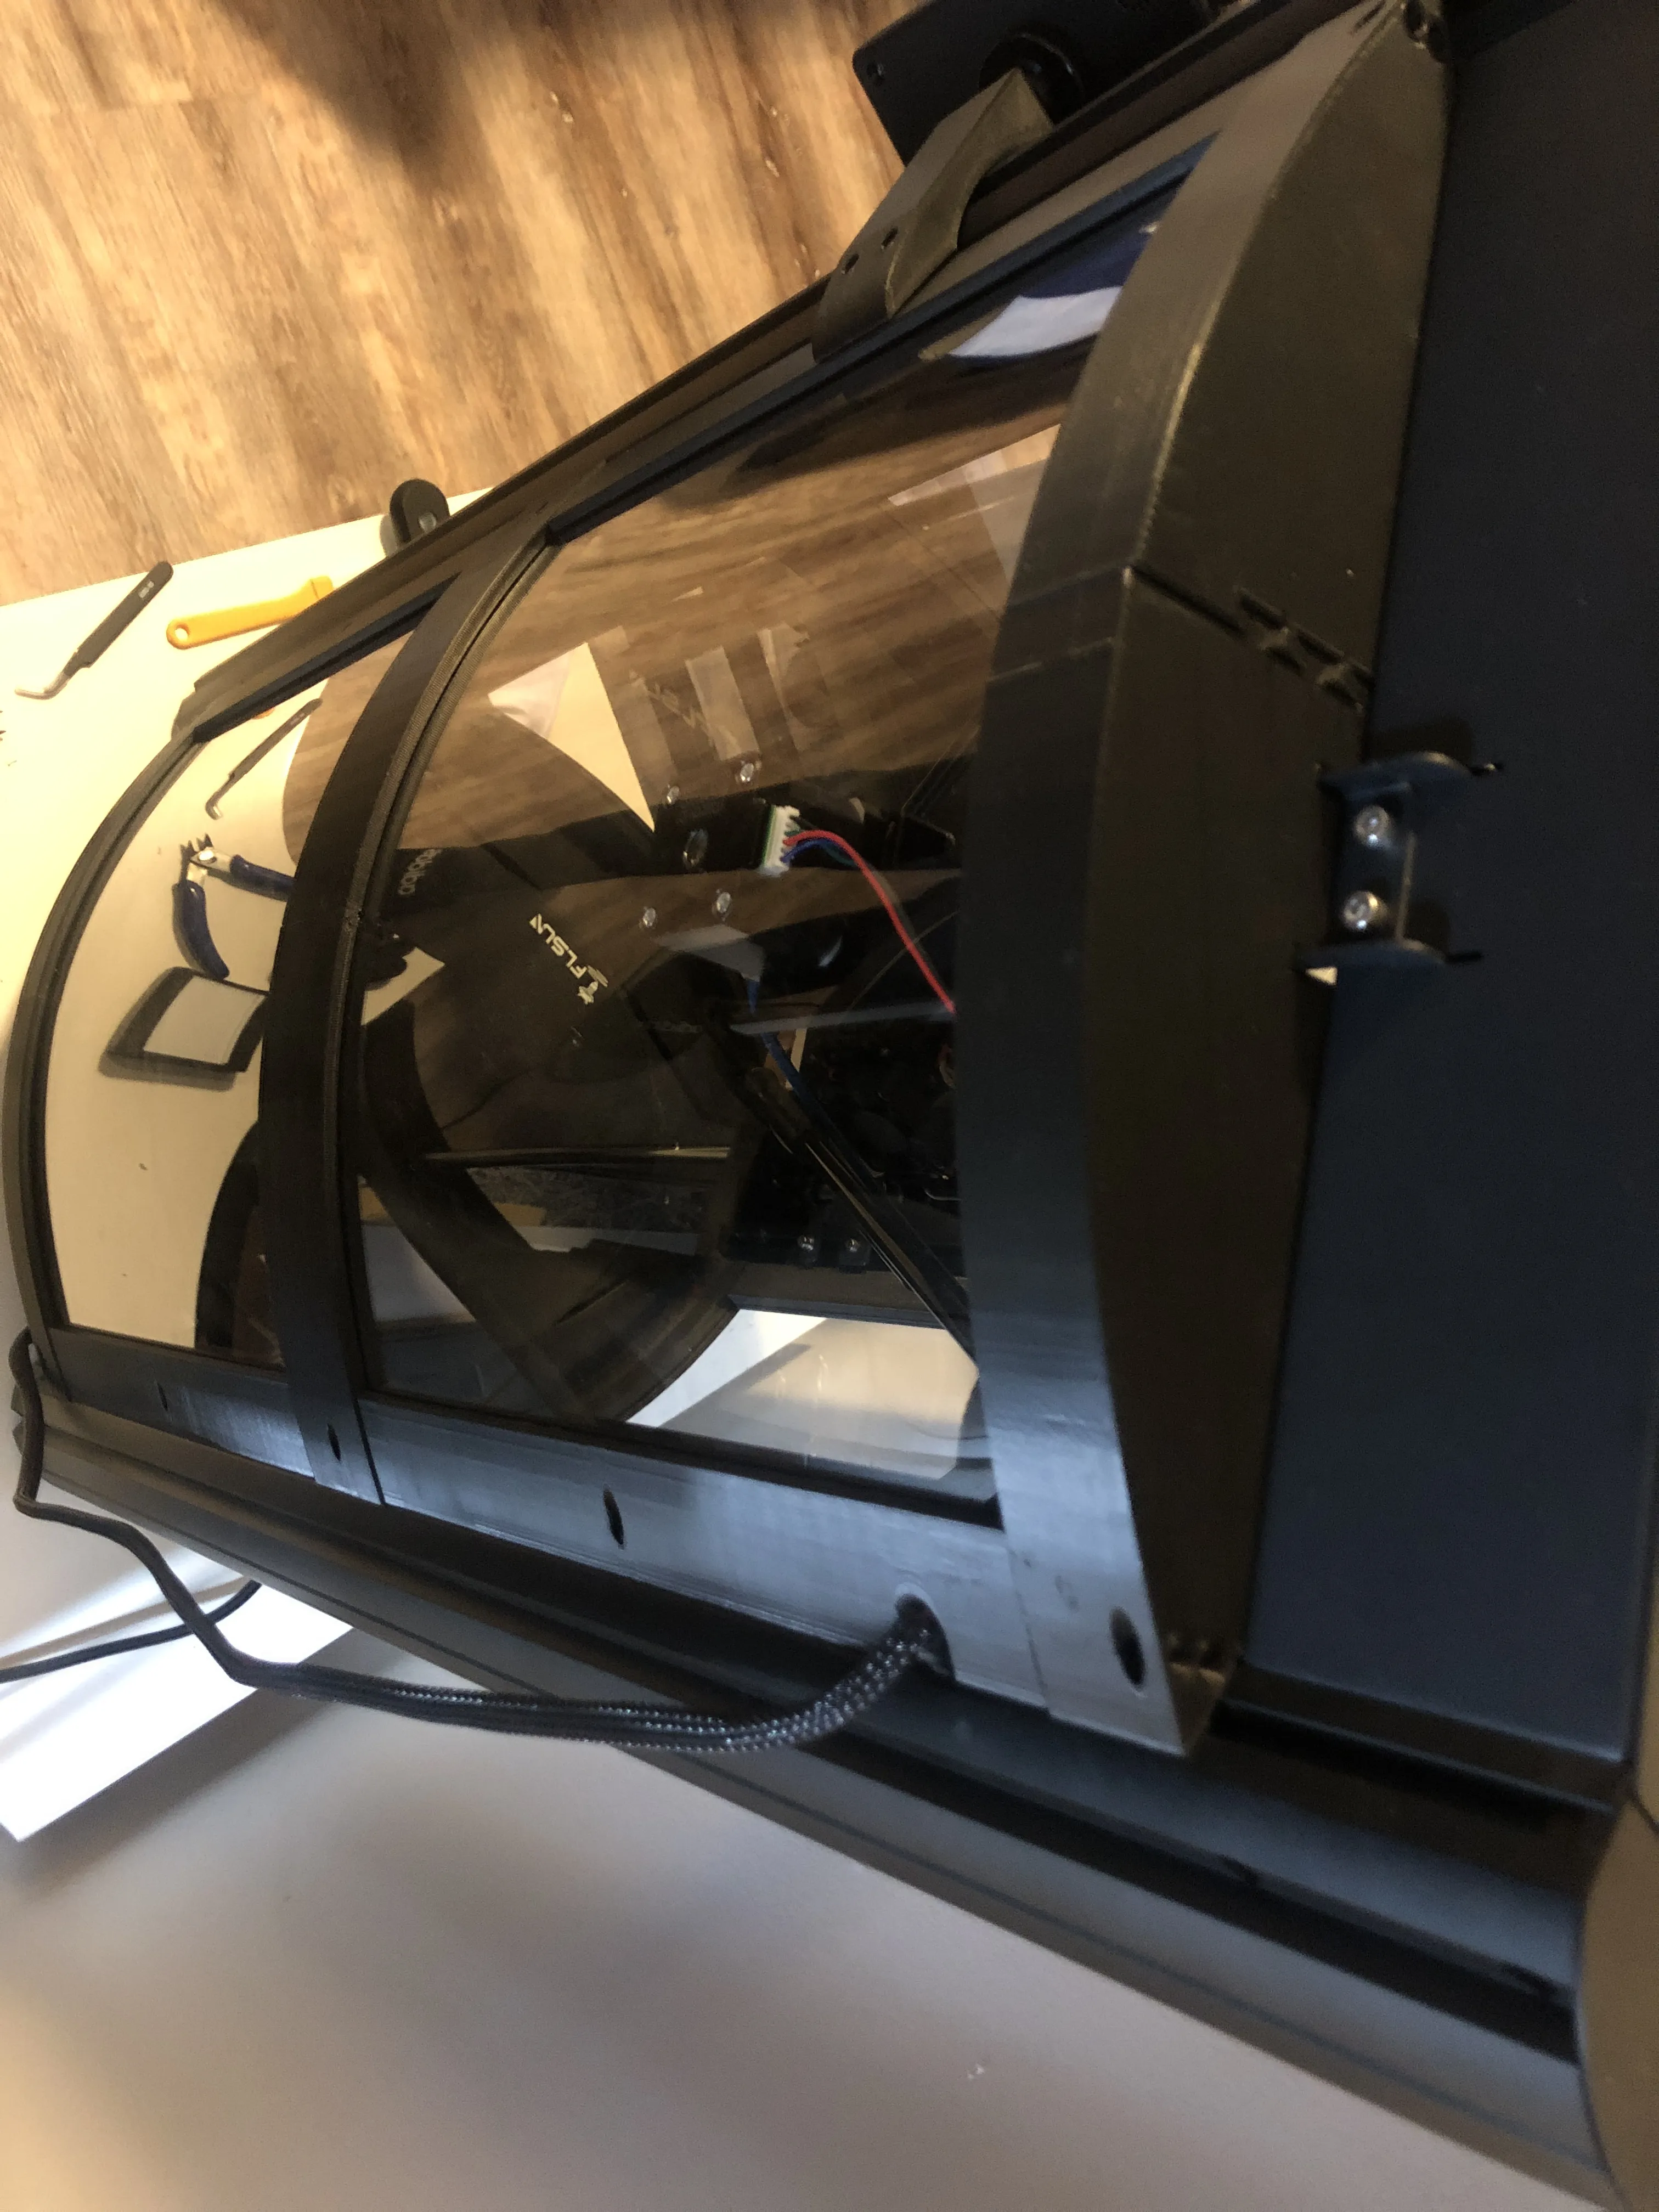
Testing the Enclosure
The side panels secured with t-nuts show no deformities. The door does show slight signs of warping so if you are leaving it somewhere more exposed to the environment and temperatures like a garage, I recommend printing the enclosure with a more resistant filament like PETG rather than PLA. Otherwise, I've had good results with printing PLA and PETG with surfaces that no longer warp. I plan to make a new design using PETG parts with lighting, a filter to remove the print odors, as well as fixing any current issues that may arise if there is any interest in the future. Let me know if you any problems or possible request for the new designs and update. I'd be happy to hear them out!
**IMPORTANT**
THIS IS NOT AN AIRTIGHT ENCLOSURE BUT SHOULD HELP RETAIN HEAT FOR MORE SENSATIVE FILAMENTS.
STL FILES:
L1-4 and R1-4 and F1-4 (Recommend to print these one at a time with grid infill)
THE PARTS ABOVE ARE ALL VERY TALL AND THIN PRINTS. I RECOMMEND 20-30MM RAFT. IF THERE ARE STILL ISSUES, DECREASE FLOW RATE TO 90% AND USE SLOW PROFILE INSTEAD OR TRY PRINTING THE FILE UPSIDE-DOWN (Culprit is usually the screw holes on the top of these prints). YOU CAN ALSO MANUALLY DECREASE PRINT SPEED TO 50% AT THE LAST 80-90% OF THE PRINT IF IT STARTS WIGGLING. MAKE SURE THE BED IS SUPER CLEAN FOR GOOD ADHESION. EVERYTHING ELSE I USED SKIRT WITH FAST PRINT AND 10% INFILL.
Another Note:
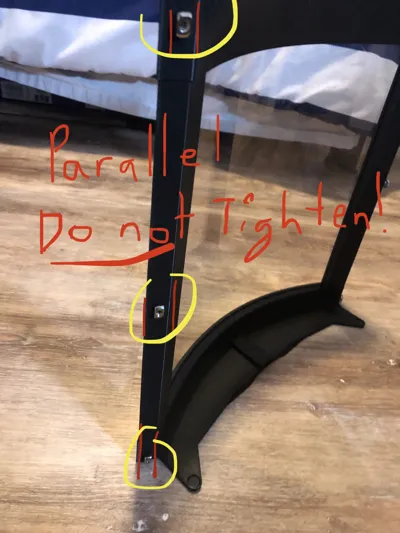
- Although the left and right side are technically capable of being connected with purely magnets, the seal would be relatively weak and the panels are more likely to warp over time so I recommend getting t-nuts and m3 screws to secure it into the rails.
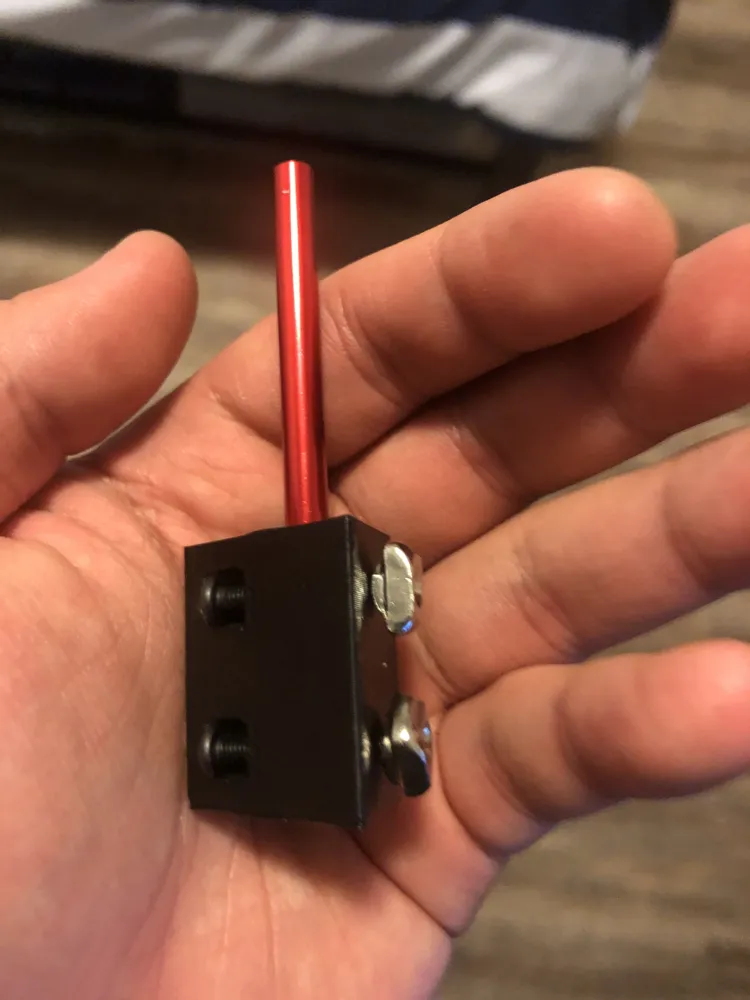
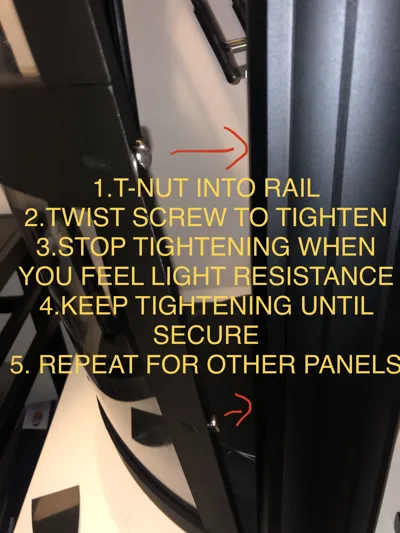
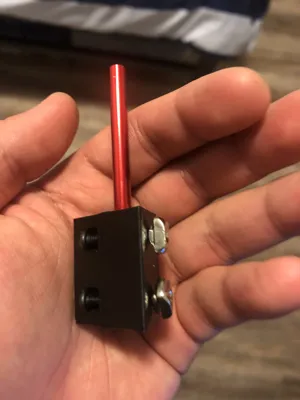
- You simply slot the t-nuts into the rails (should be just small enough to fit straight into the rail) and then twist with screw to secure it. It is very easy to overtighten so stop when you feel light resistance and check the fit to see if it still moves.
- The right panel is difficult to install in one piece since the extruder motor bar piece is in the way. Either brute force it (will damage rail a little) or just don't use t-nuts for the top portion.
- Magnets are not necessary except for the front, which uses it to close the door. The optional magnet holes on the side panels are up to you. I used them to test fit and temporarily place as well as make it easier to assemble.
LINKS FOR PARTS I USED:
DISCLAIMER: (These are Amazon affiliate links, which means you can help support me at no extra cost to you if you make a purchase through these links.)
- https://amzn.to/3ErO83V - 10mm Magnets Only
- https://amzn.to/3YMRE0K - 10mm Magnets I used (Comes with assorted sizes, so get 10mm only if you don't need all of these for future projects)
- https://amzn.to/3IGUmj3 M3 Screw Set only
- https://amzn.to/3IgufxZ - M3 Screws I used (I recommend finding M3 screws only if you do not need all of these for other projects)
- https://amzn.to/3lTdwZL M3 T-Nuts only
- https://amzn.to/3XMwQ8k - M3 T-Nuts I used(Comes with M3 to M5, but you can find M3 sets only if you do not need the rest)
- https://amzn.to/3KjMxRz - (You need 6) 12" X 12" X 0.0625" Polycarbonate Sheets. Does not have to be polycarbonate, as long as its flexible and has the same dimensions.
- https://amzn.to/3YK7OYN - M3 x 70 mm Standoffs. These are the ones I had from another project. You only need 2 standoffs so you can find other m3x70 standoffs in smaller quantities. (I measured these and they are a bit thicker than 5mm so I had to adjust accordingly for the door hinge)
- https://amzn.to/3KF9m2c - Hatchbox 1.75mm Black PLA (Filament I used for enclosure)
- https://amzn.to/3SIzT0v - Overture 1.75mm Black PETG (If you are using an enclosure that is exposed to the environment, I recommend more resistant filaments like PETG. You will need to slice your own settings accordingly.)
License



Comment & Rating (1)