
Fart Machine
Print Profile(3)


Bill of Materials



Description
“Let 'er rip” - epitaph of Leslie Nielsen
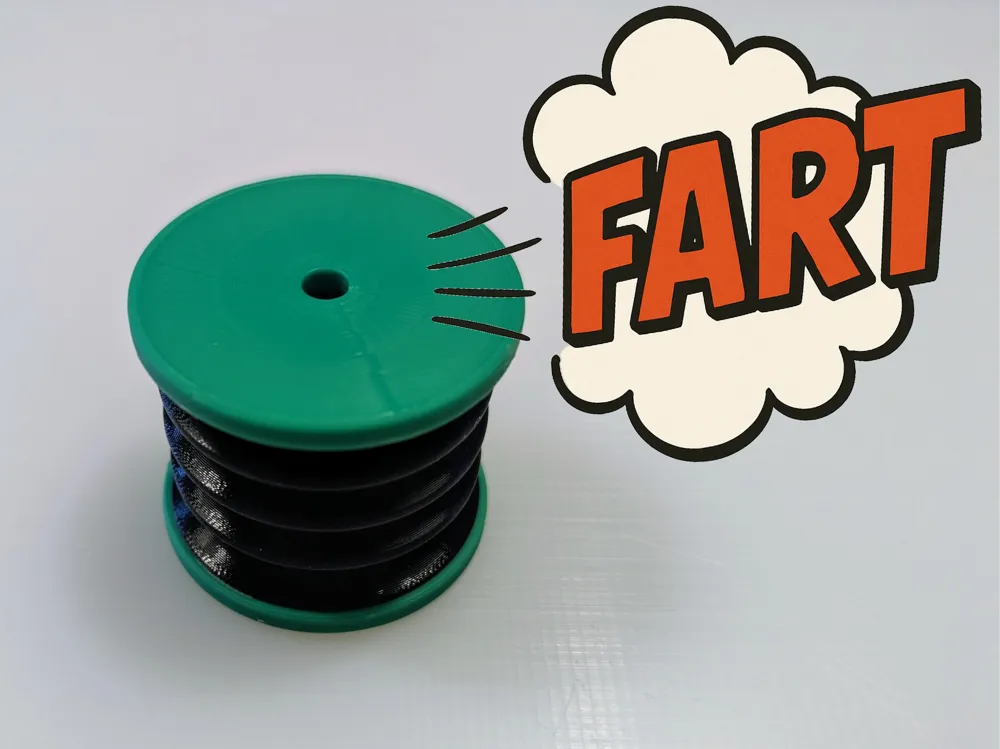
This is a printable, portable, hand-operated fart machine. You need TPU for the print. TPU90A is very much recommended as it is flexible AND robust. I expect that harder TPU like TPU for AMS will tear between the layers sooner.
It takes some practise to master this device and late actor Leslie Nielsen could play it like a violin. It was his favourite practical joke.
You hold the farter in your hand, the hole is facing to your thenar. When you press the fart generator the air escaping the hole vibrates the skin of you thenar and makes a … sound. See this video demonstration:
UPDATE 2025-08-07:
I made print profiles for TPU95A and TPU for AMS. I expect that these two filaments are less robust, but the farts are as good as with TPU90A.
Print preparation:
Make sure that your print bed is clean and grease-free and use quality brand filaments.
IMPORTANT - dry your TPU filament! This is critical because TPU is very hygroscopic.
Print settings:
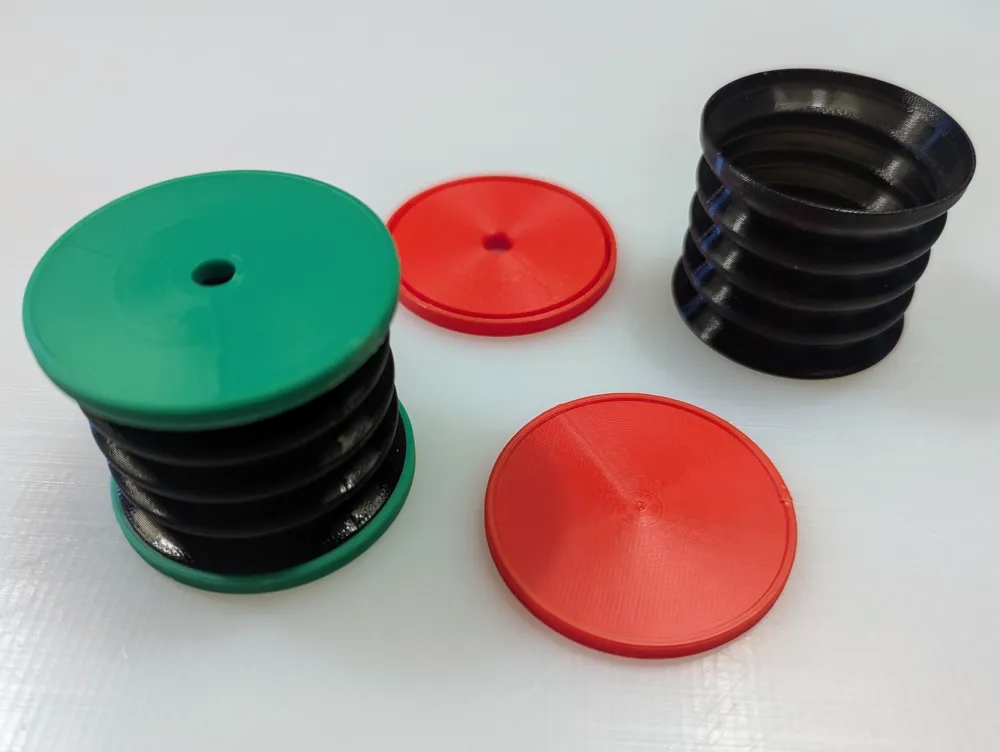
The bellows need to be printed with TPU in spiral vase mode. The line thickness varies depending on your filament. For TPU90A it should be 0.7mm (with a 0.4mm nozzle). This results in a quite durable and compressible part.
The top and bottom cover can be printed with PLA and standard settings.
See my print profiles for details.
Assembly:
De-burr everything thoroughly, especially the groove on the top cover.
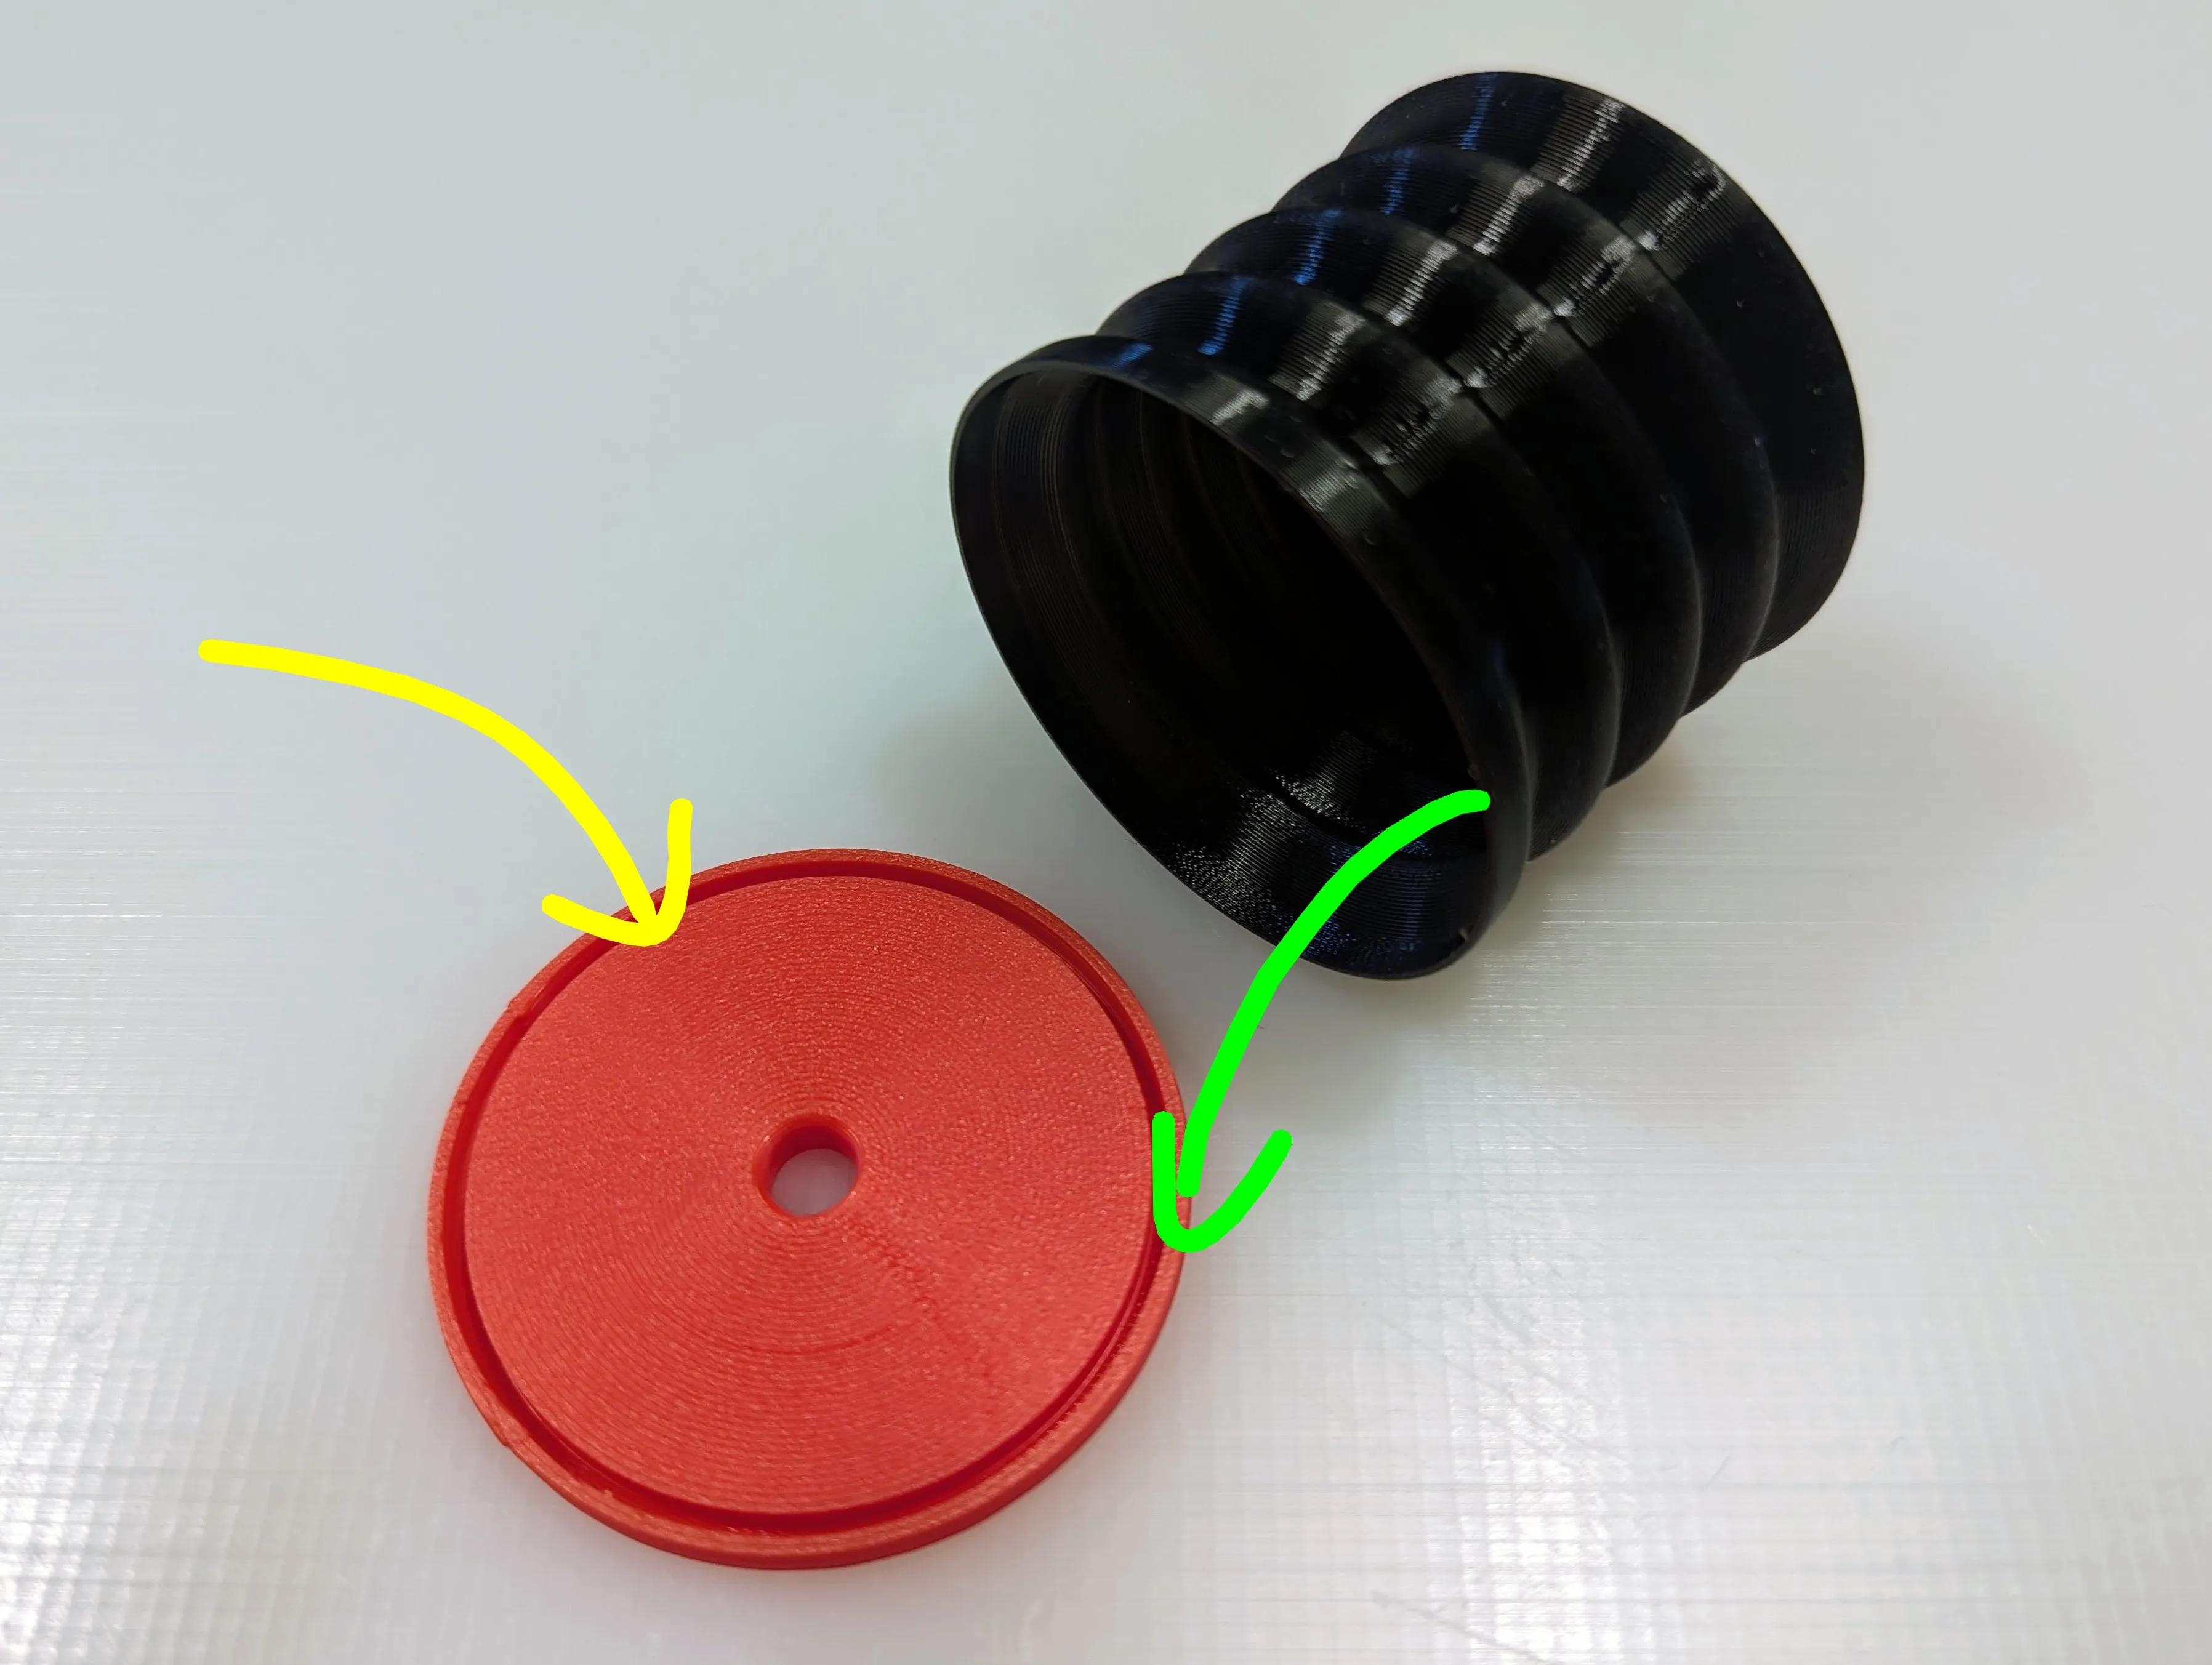
Put glue in the groove. Use a semi-fluid glue to make a good seal.
I recommend something like Tangit PVC-U Plus or Pattex Classic.
Then press the open end of the bellows in the groove.
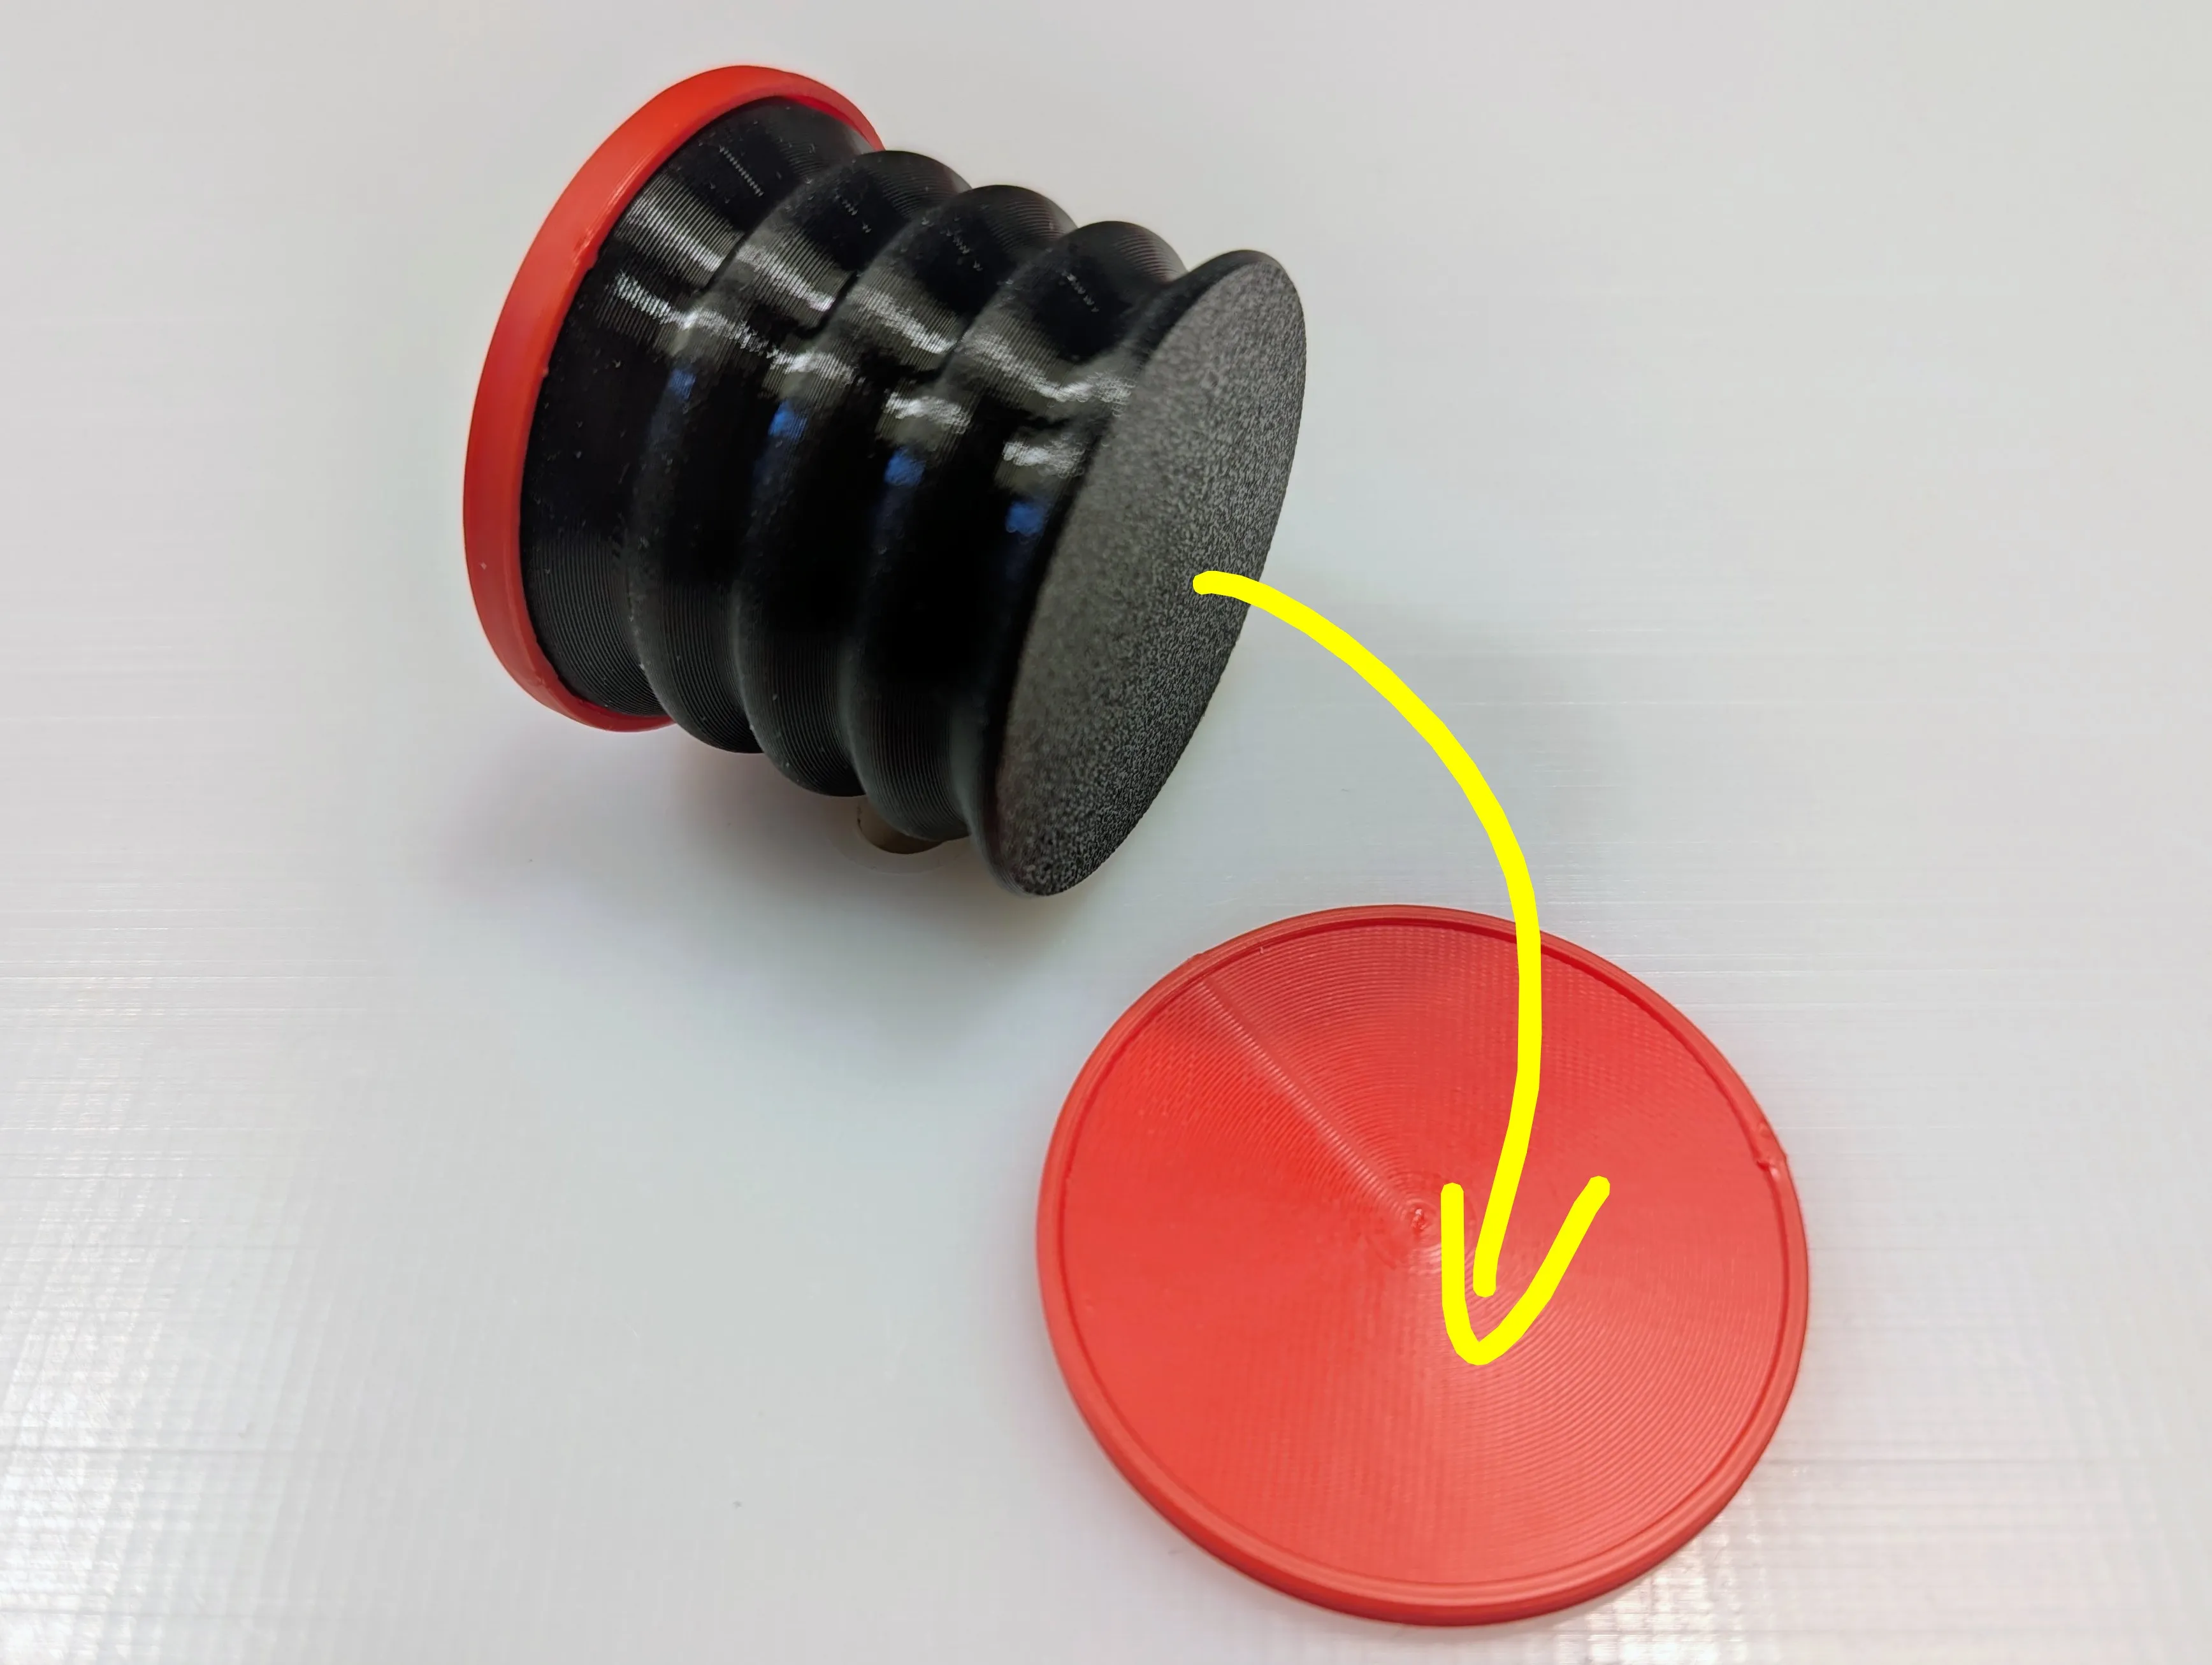
Glue-on the bottom.
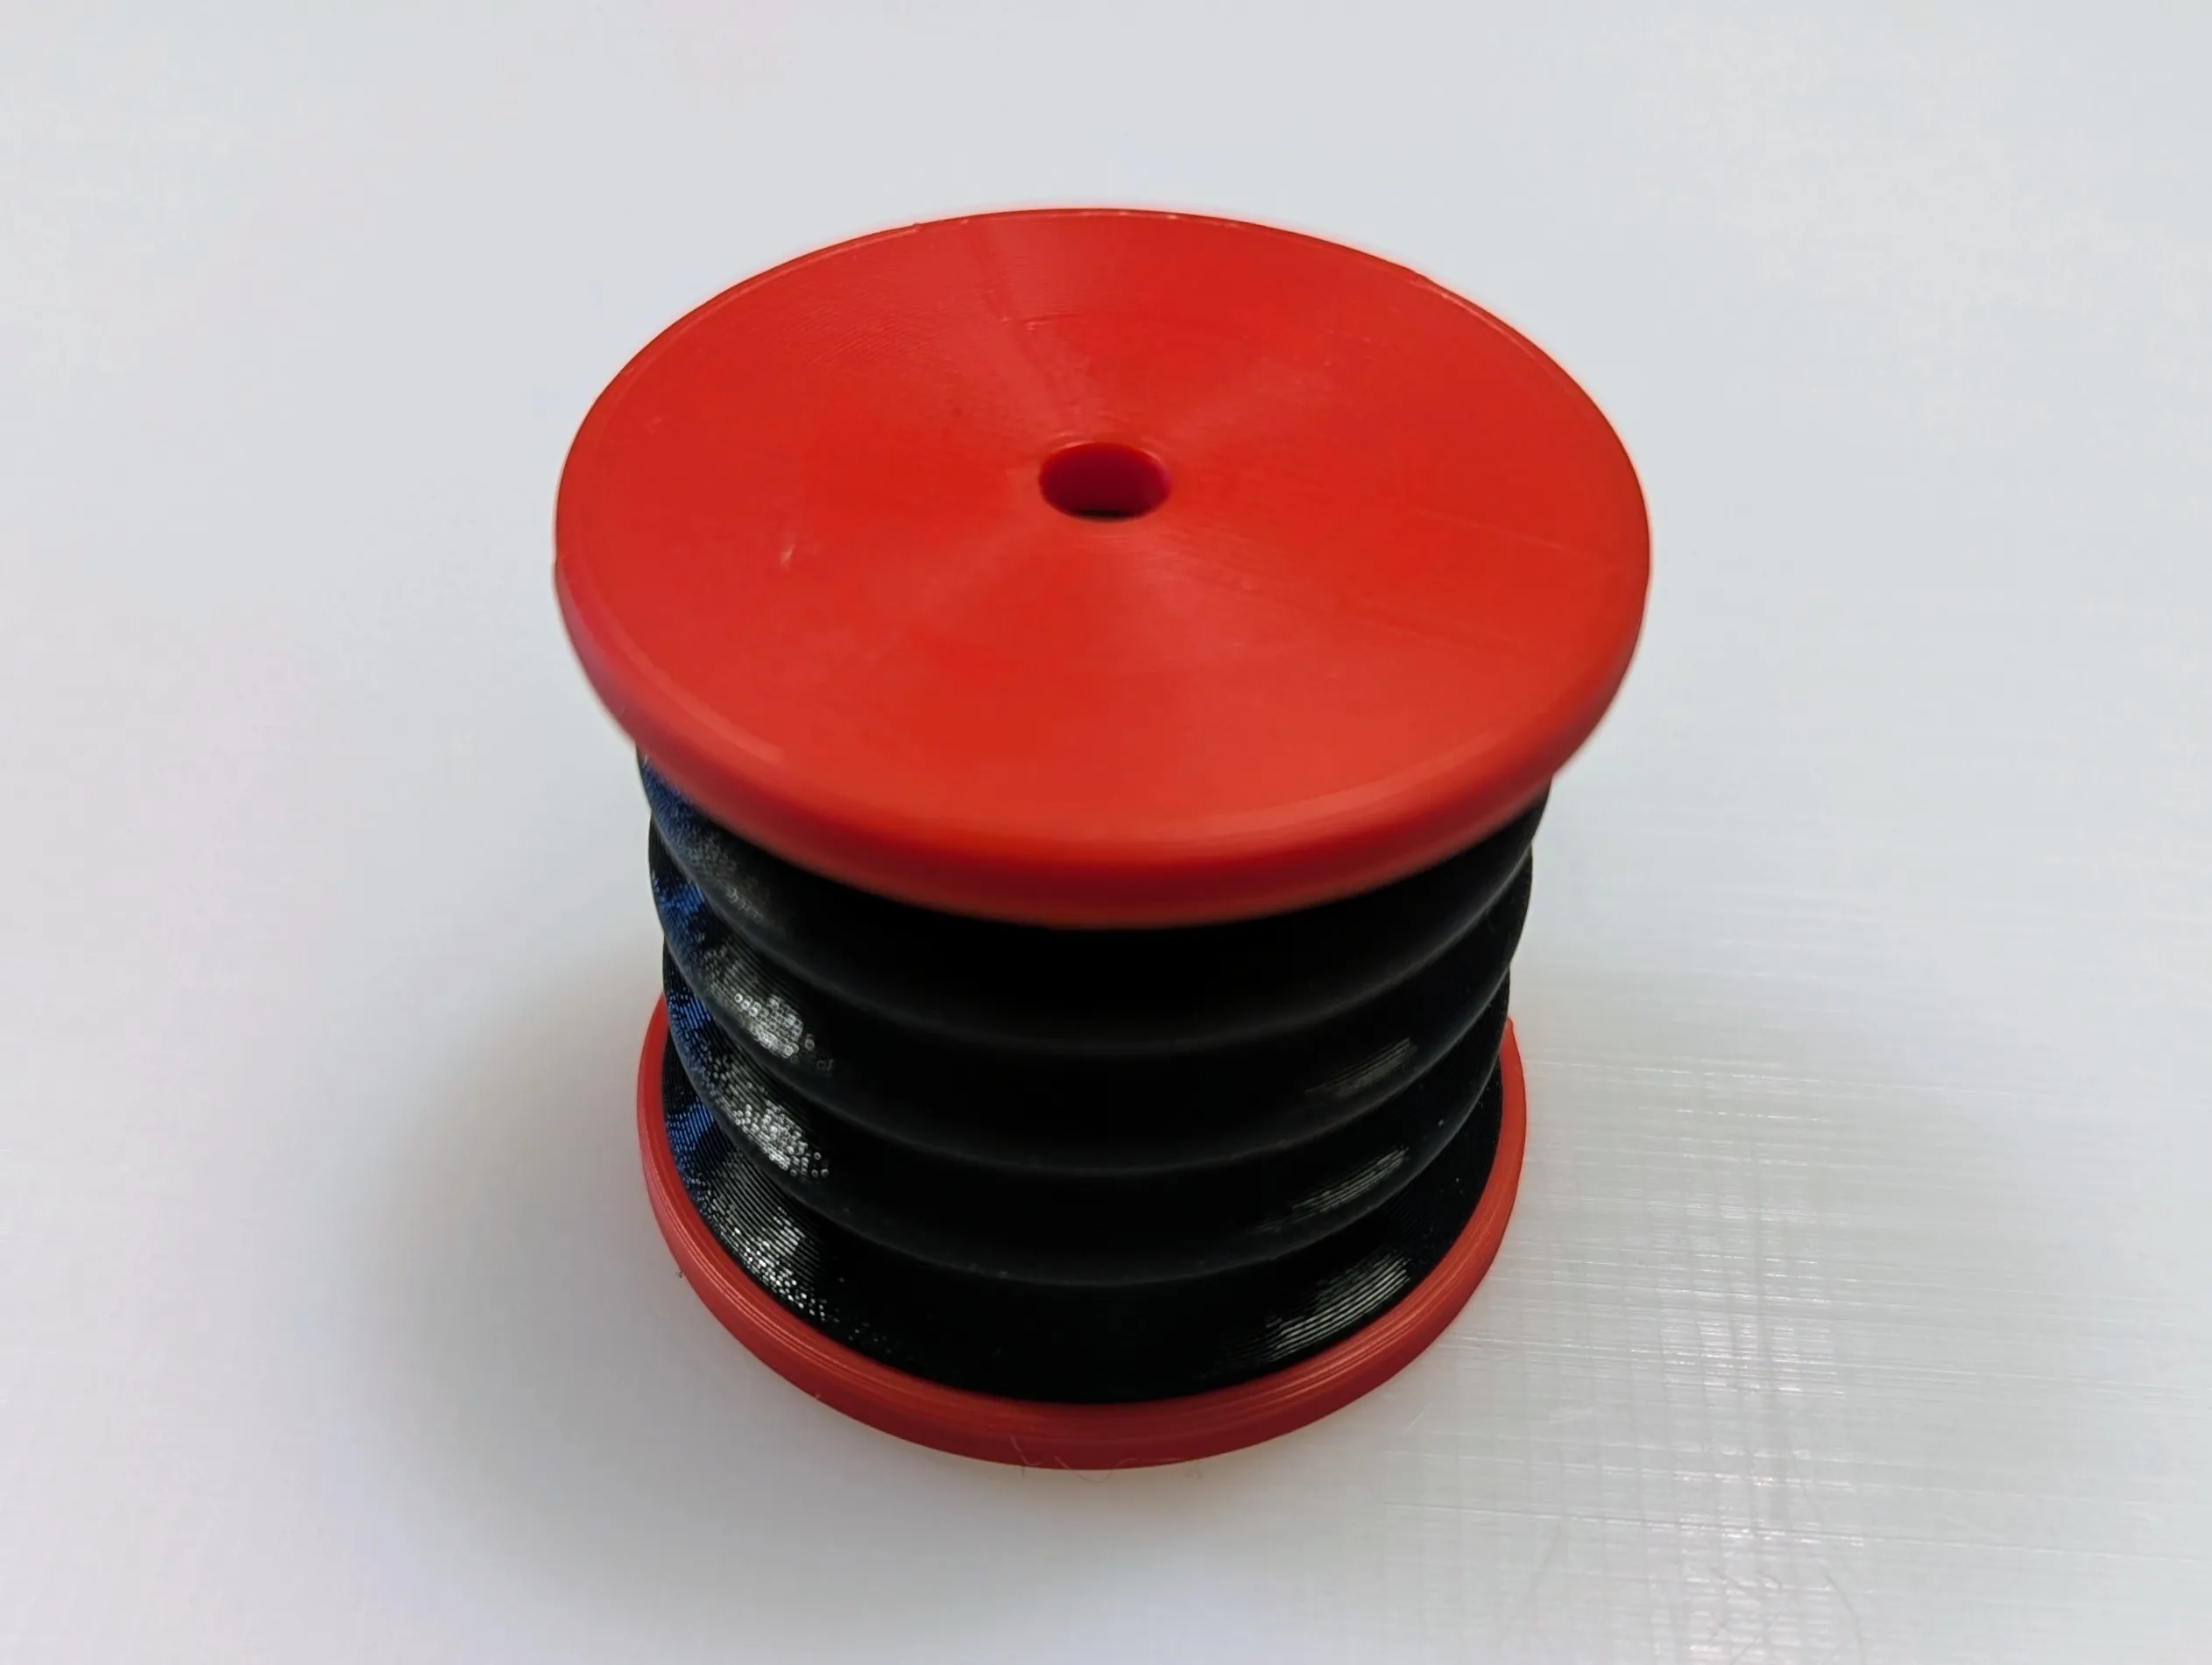
Let 'er rip!
Boost Me (for free)
Like it? Boost it!
If you want to support me you can leave a tip at ko-fi.com/blecheimer.
Disclaimer:
This work by blecheimer is licensed under CC BY-NC-SA 4.0. The shown model must not be used commercially.
Copying this model to other 3D printing websites is not allowed without my permission.
License



Comment & Rating (158)