Search models, users, collections, and posts

Modular Vertical Filament Spool Storage
IP Report

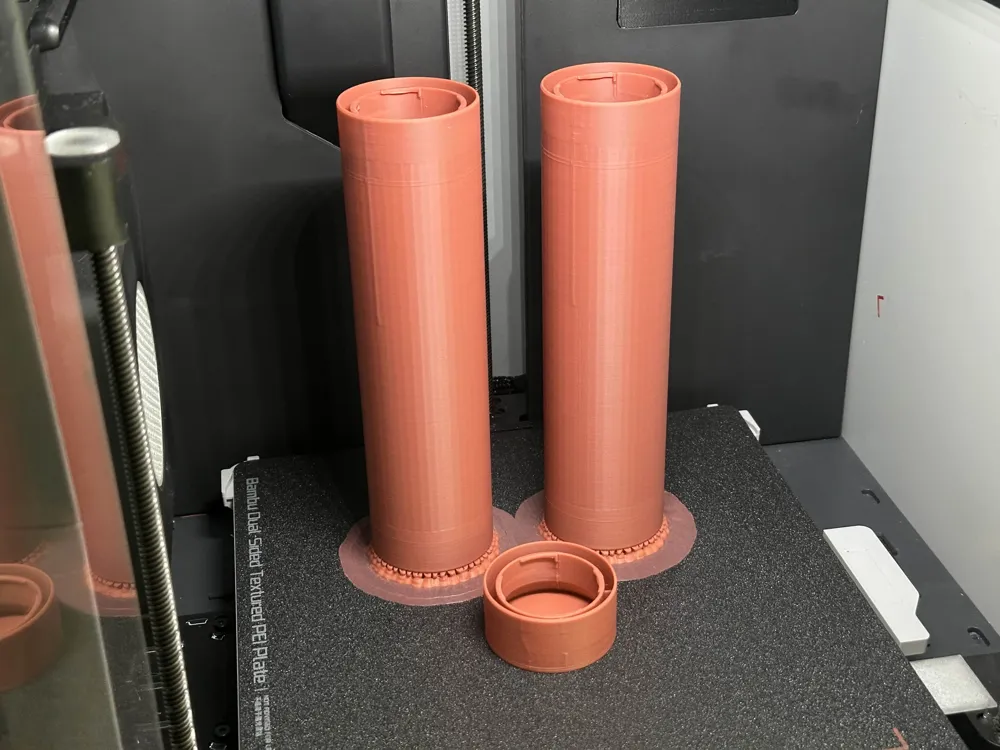
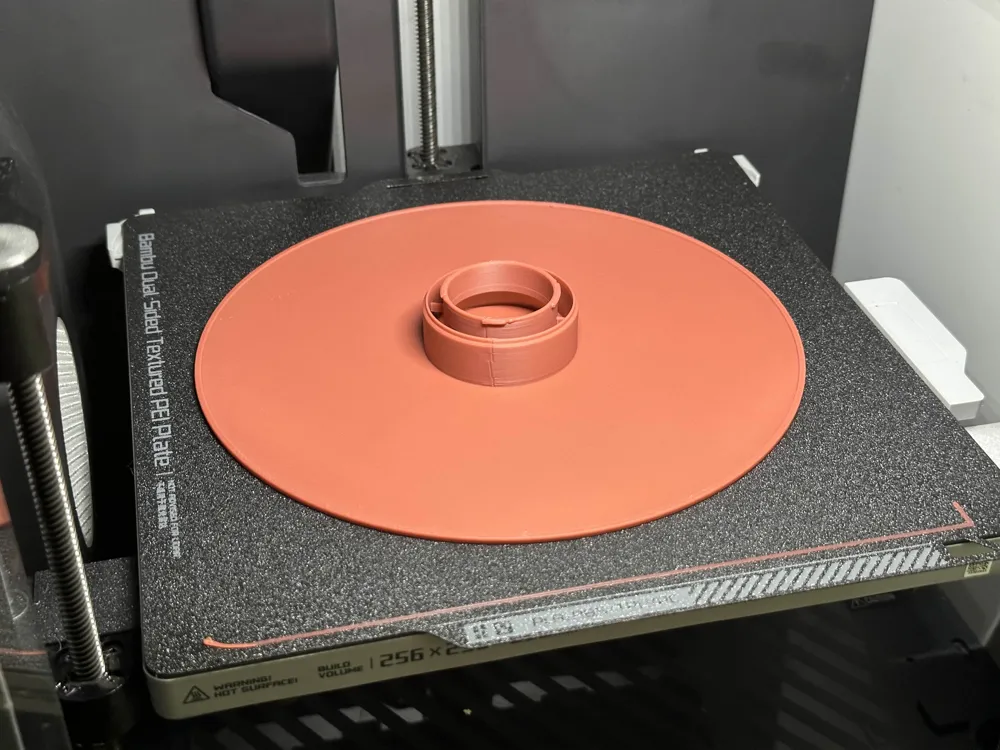

Print Profile(2)

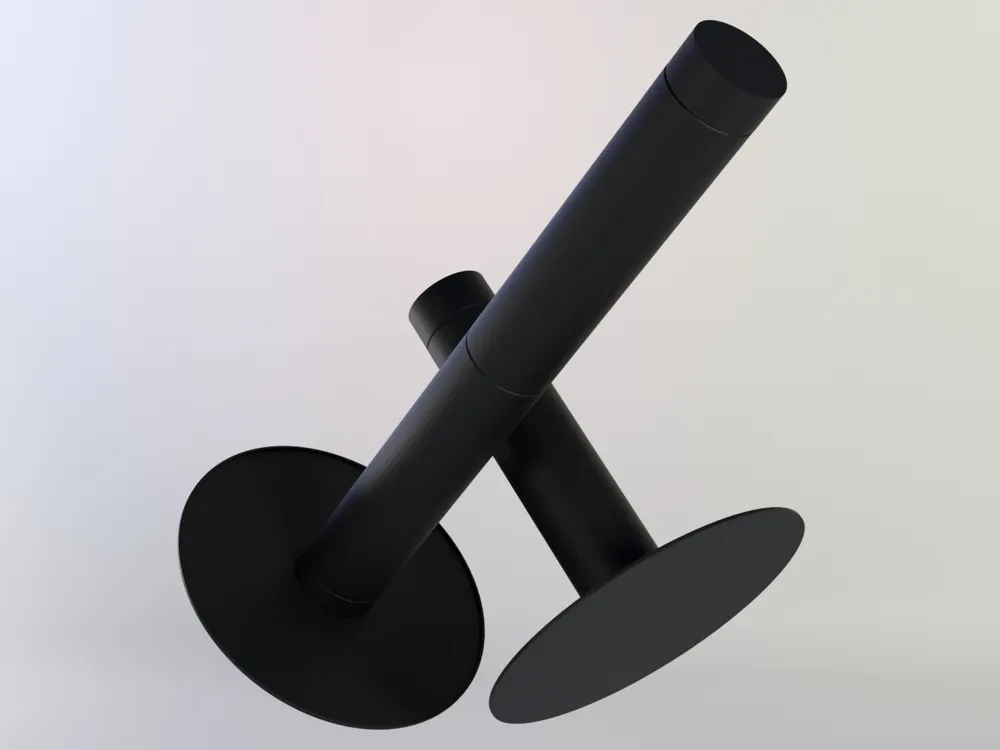
1x 2-High Vertical Storage: 0.2mm layer, 3 walls, 15% infill
Designer
5.2 h
2 plates

3x 2-High Vertical Storage: 0.2mm layer, 3 walls, 15% infill
Designer
15.5 h
4 plates
Open in Bambu Studio
Boost
299
980
80
19
797
471
Released
Description
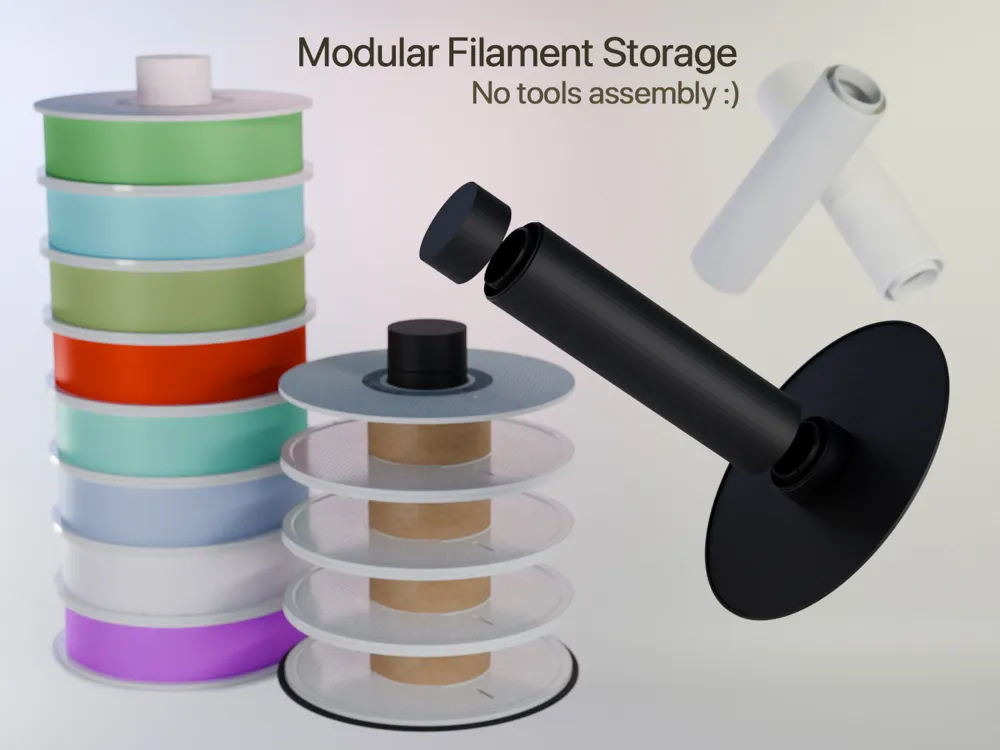
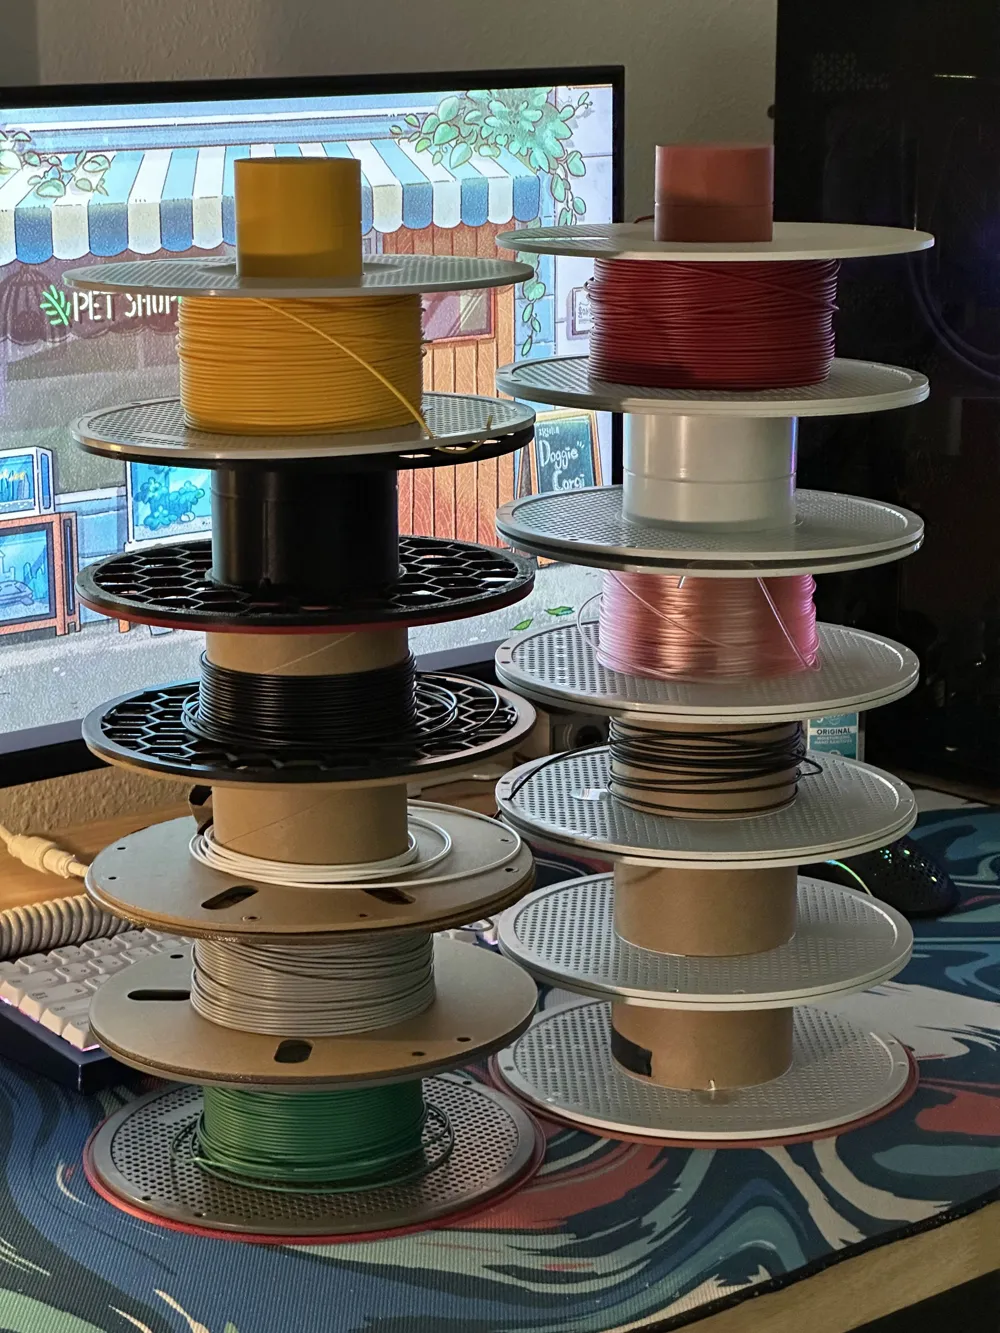
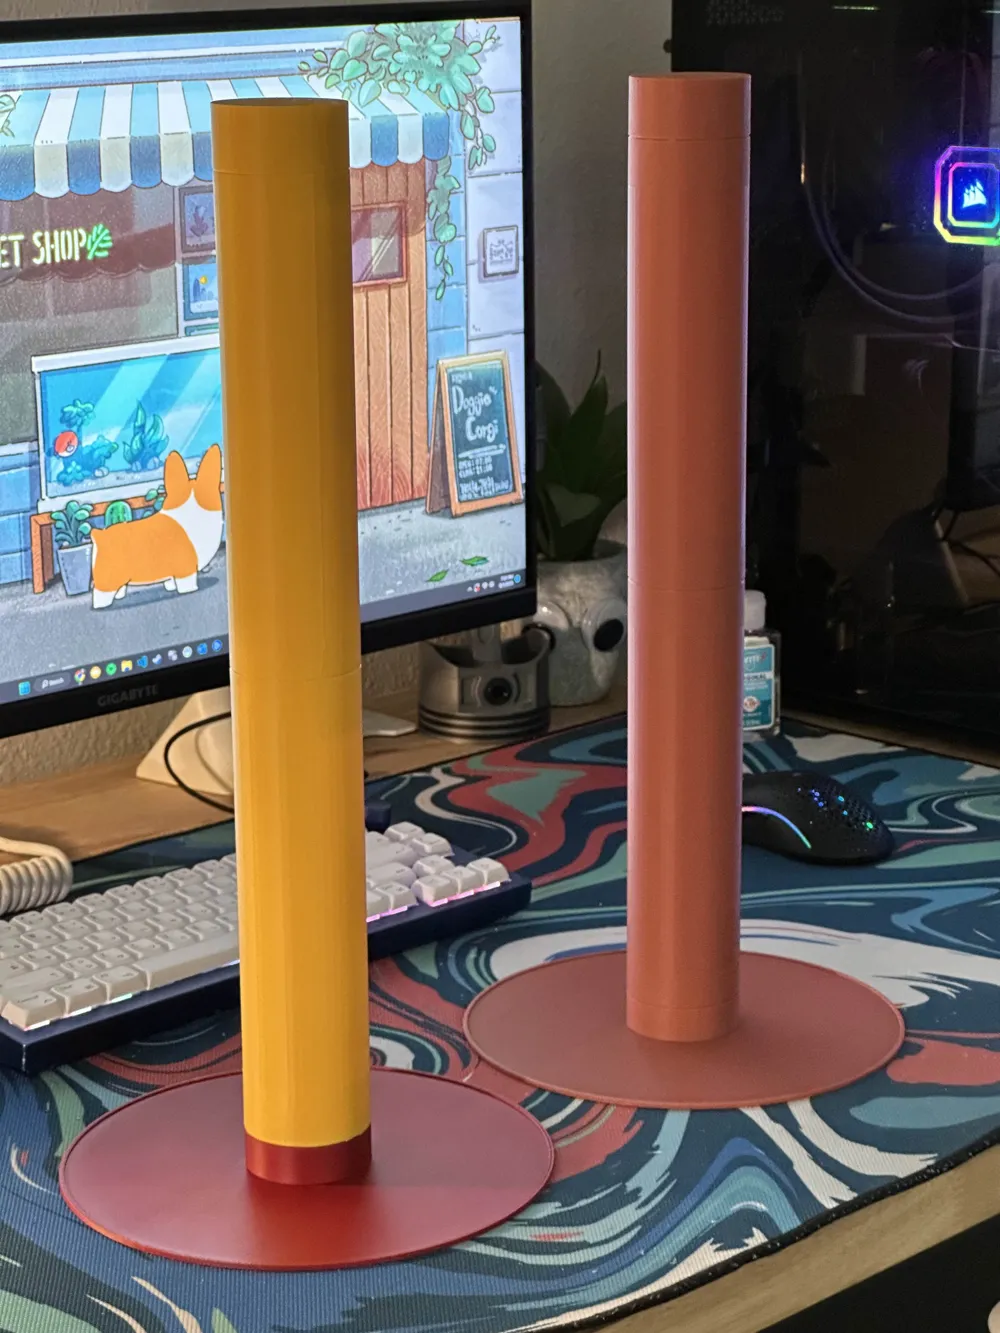
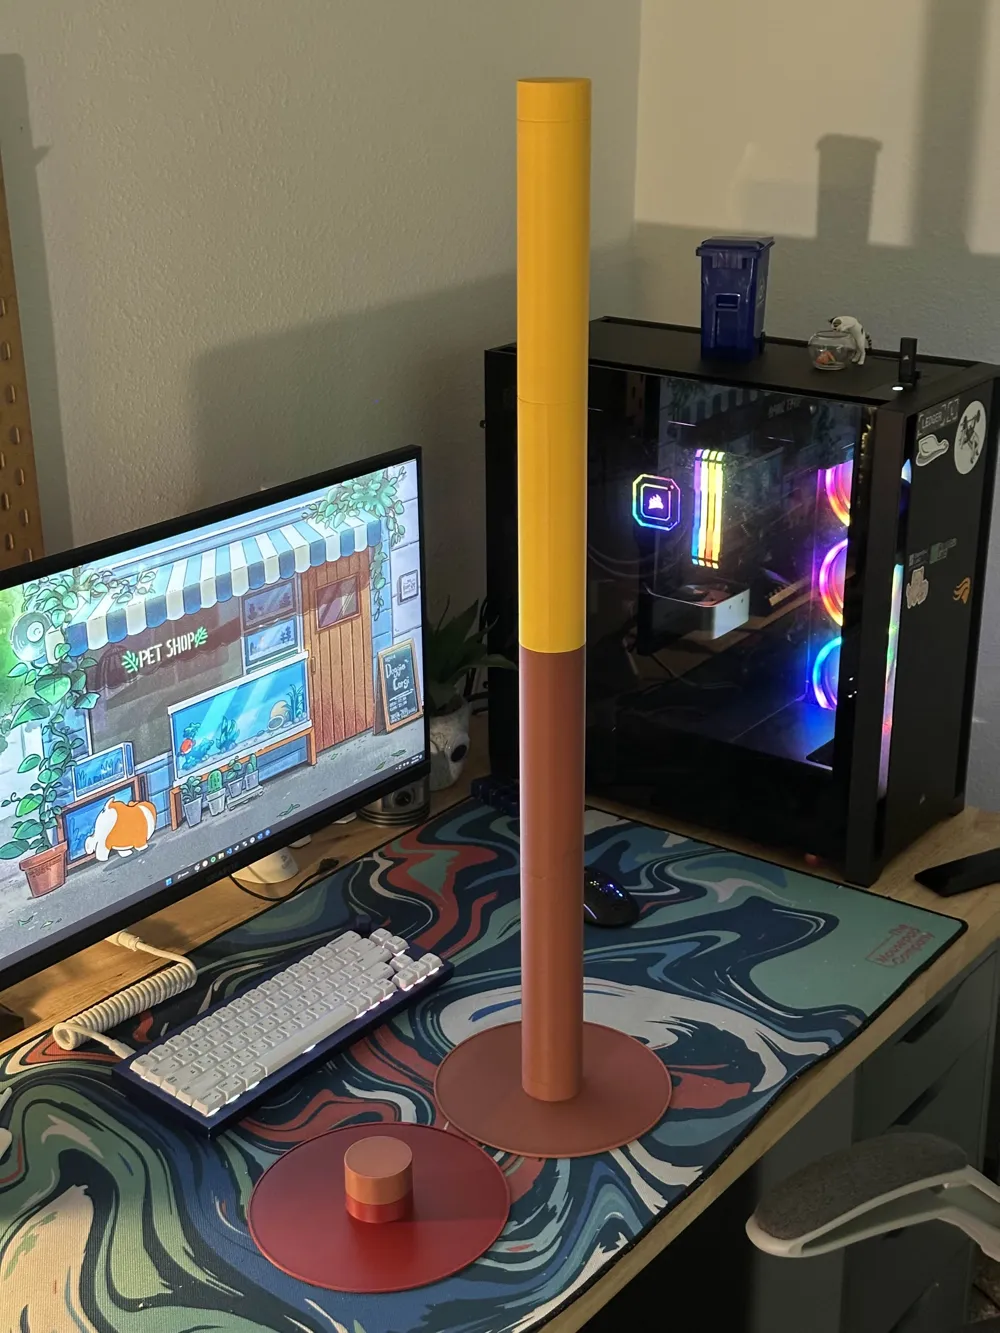
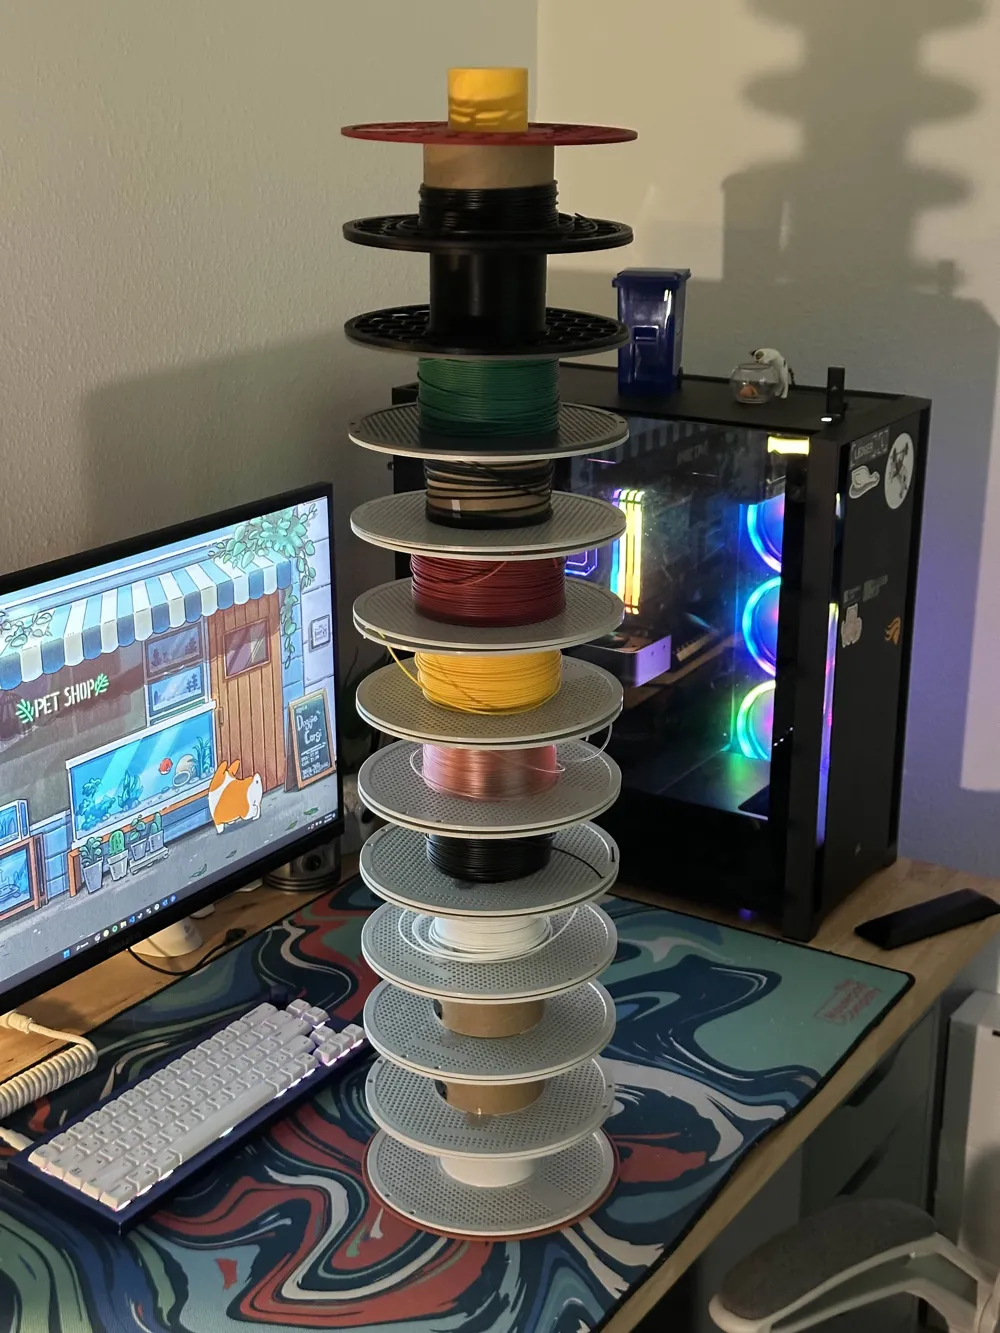
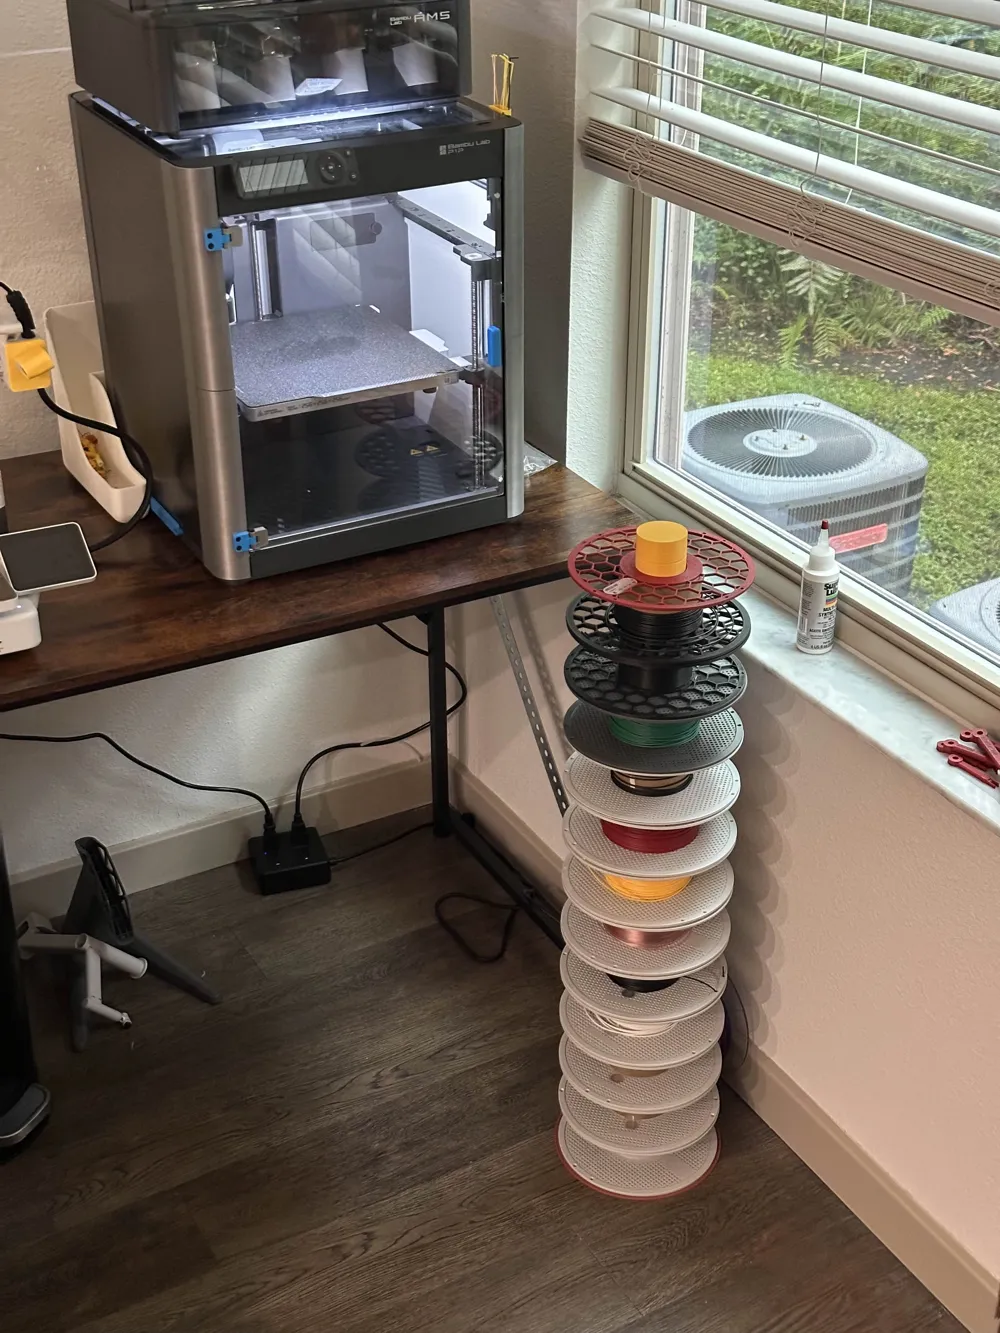
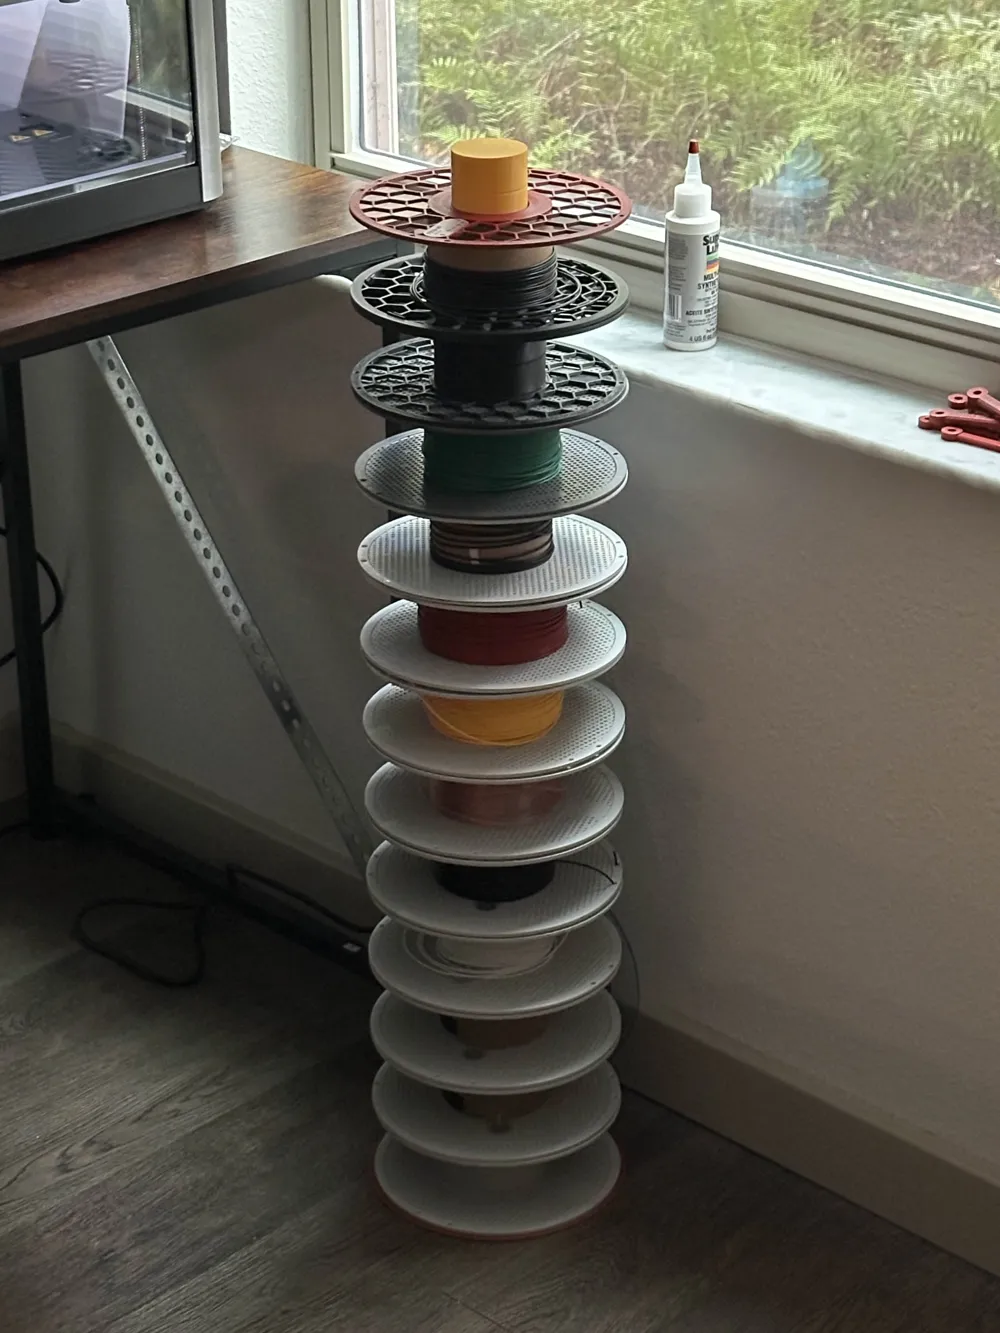
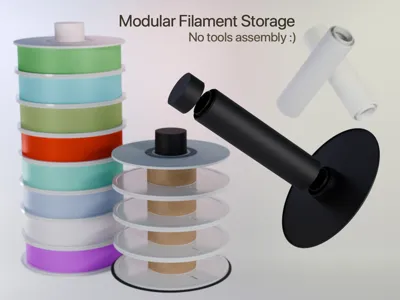
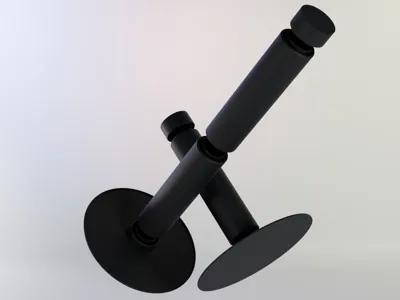
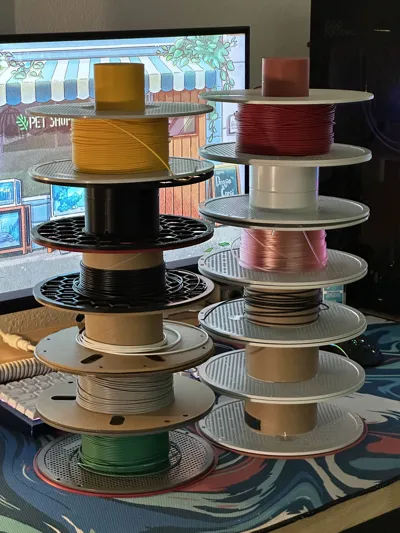
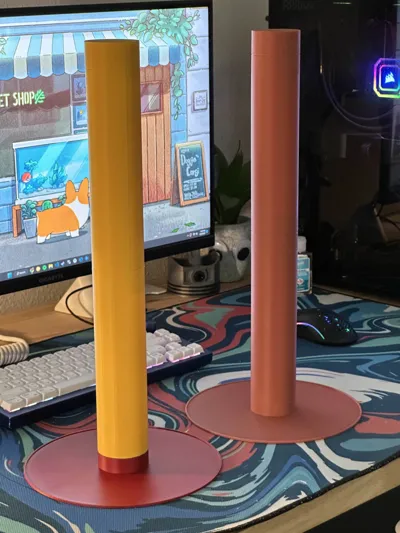
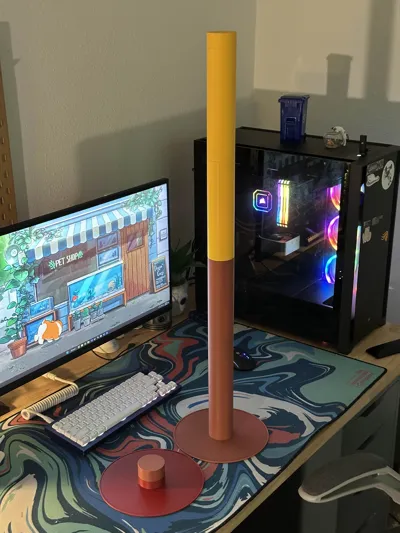
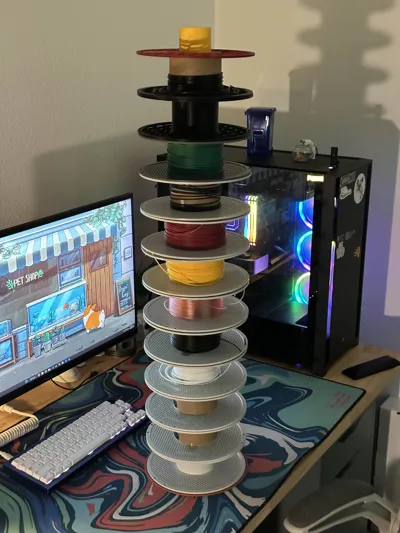
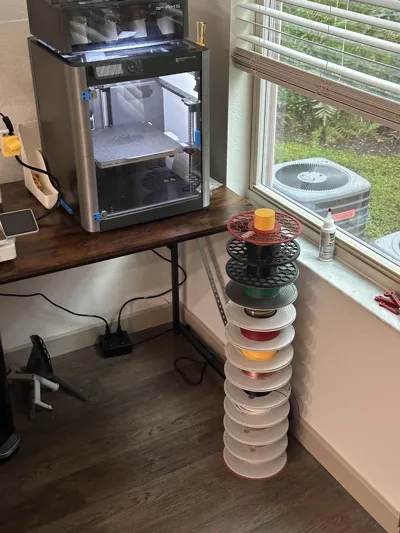
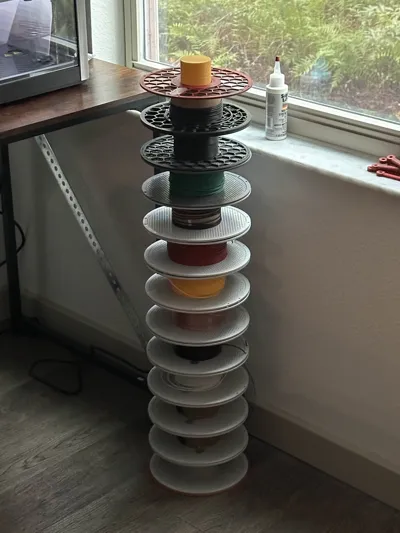
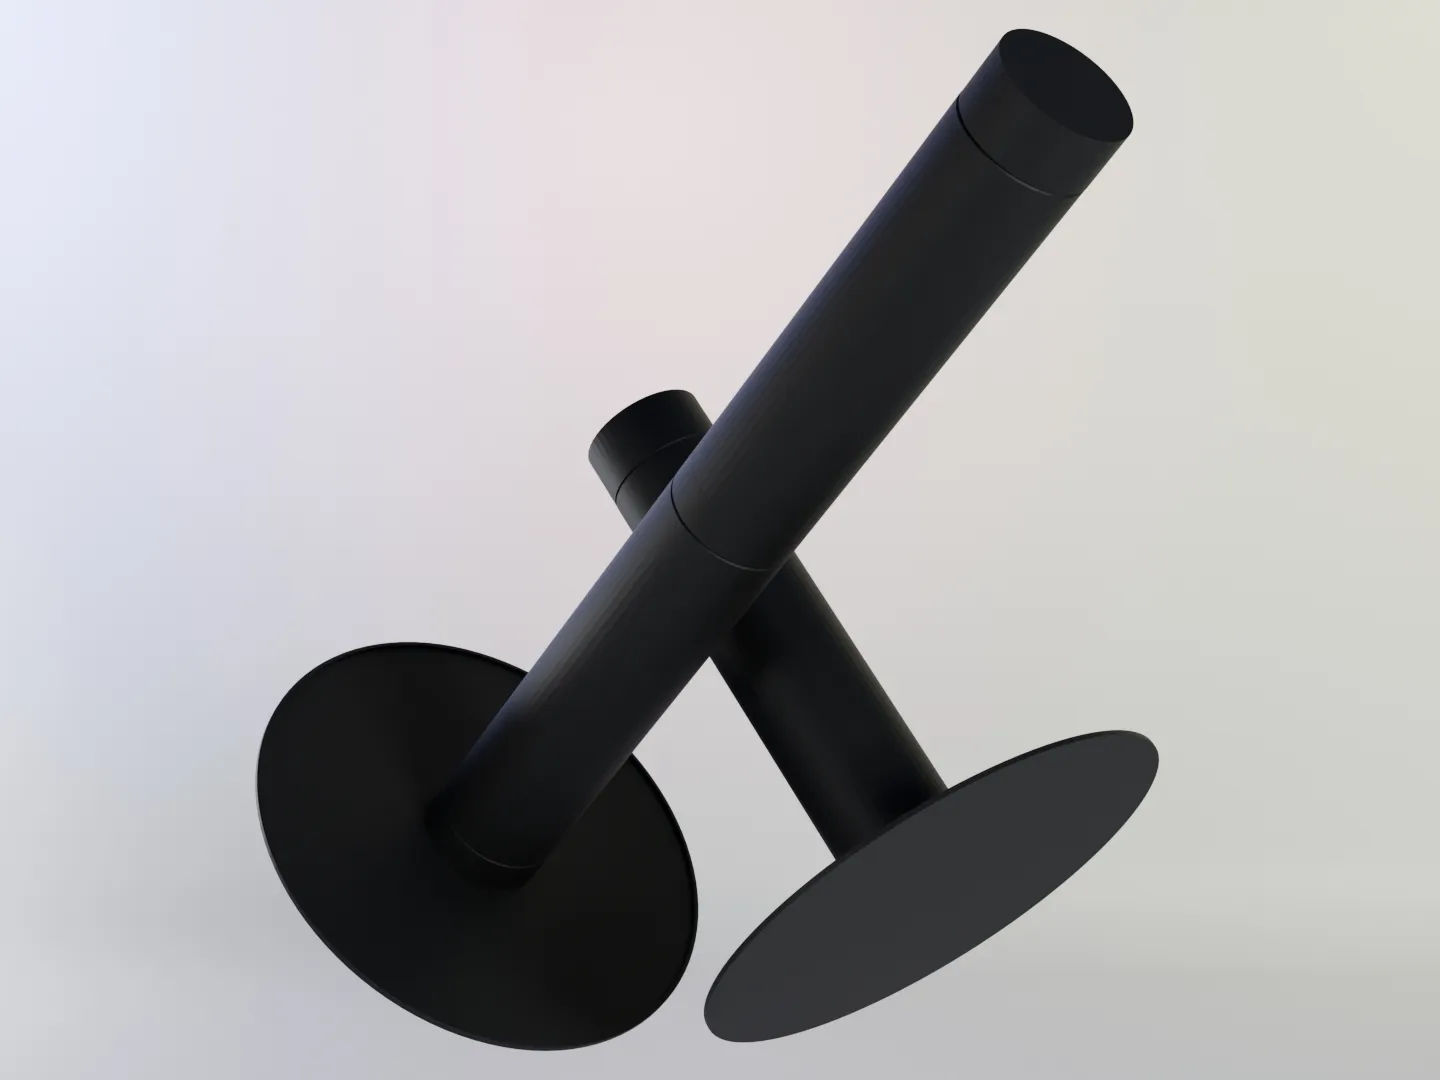
Tired of half-used spools cluttering your filament bins? Drop them into the Vertical Filament Storage Rack and reclaim your workspace. Built around the snap-fit hub from Bambu Lab’s reusable spools, this modular system stacks upward as high as you dare, letting you organize leftovers without burning through more filament than the rack saves.
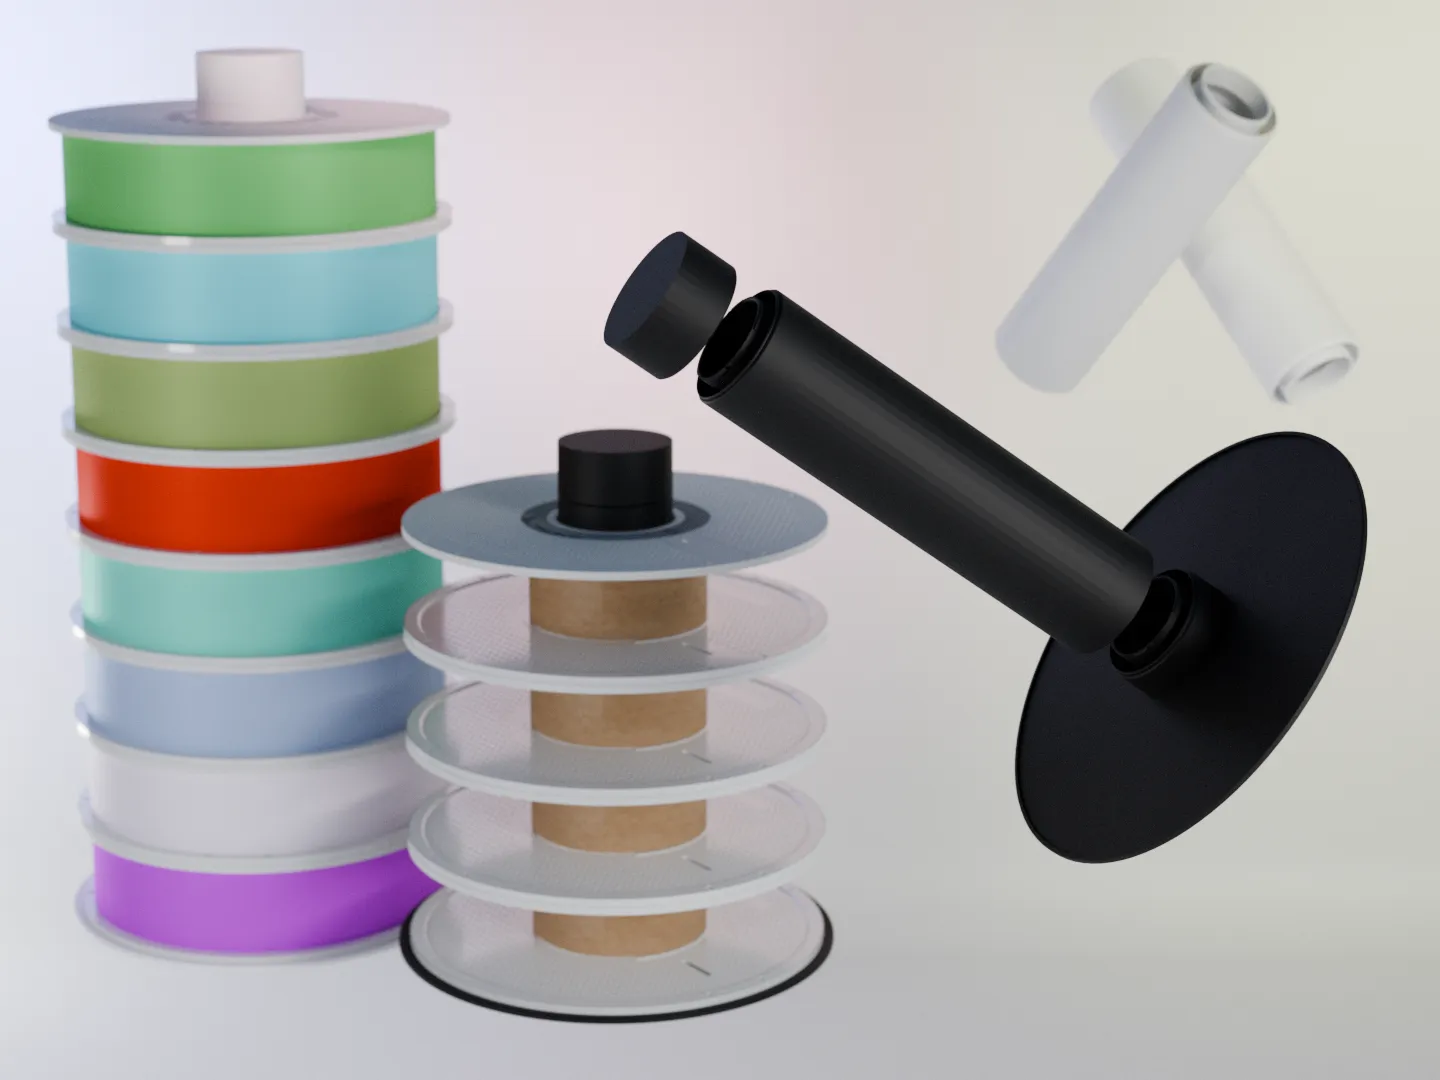
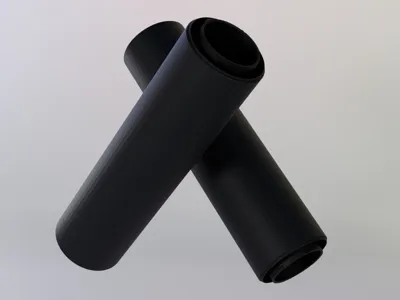
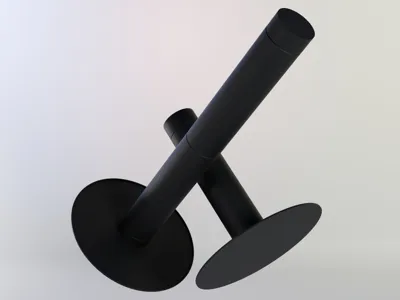
- Minimal material, zero fuss – Slim rods and press-fit joints keep print time and plastic use as low as possible.
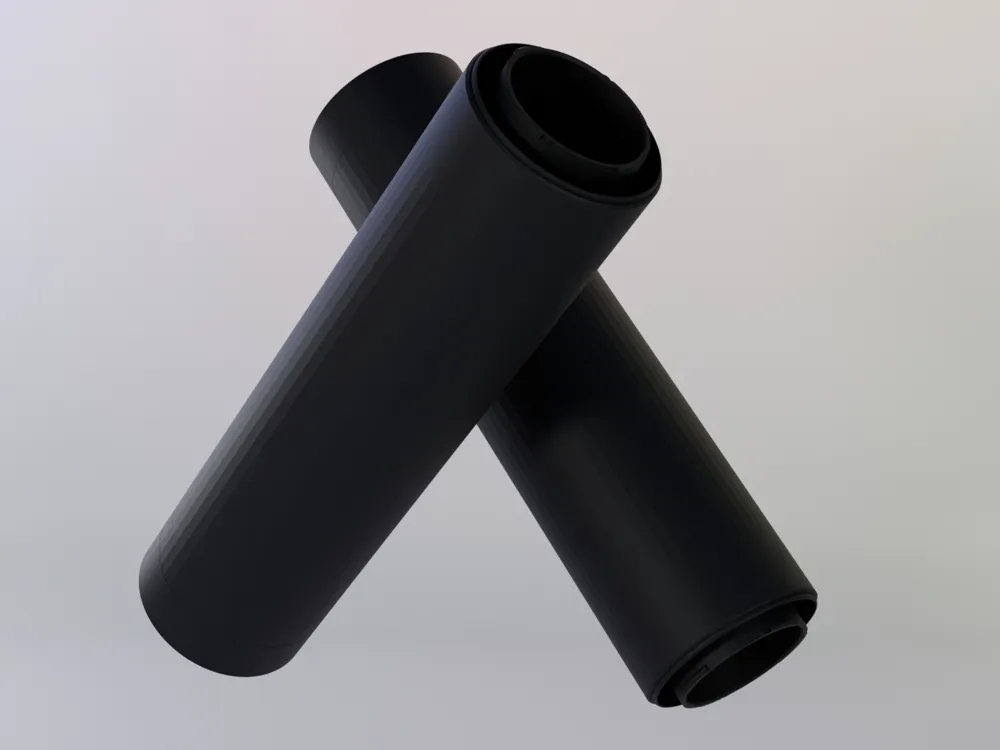
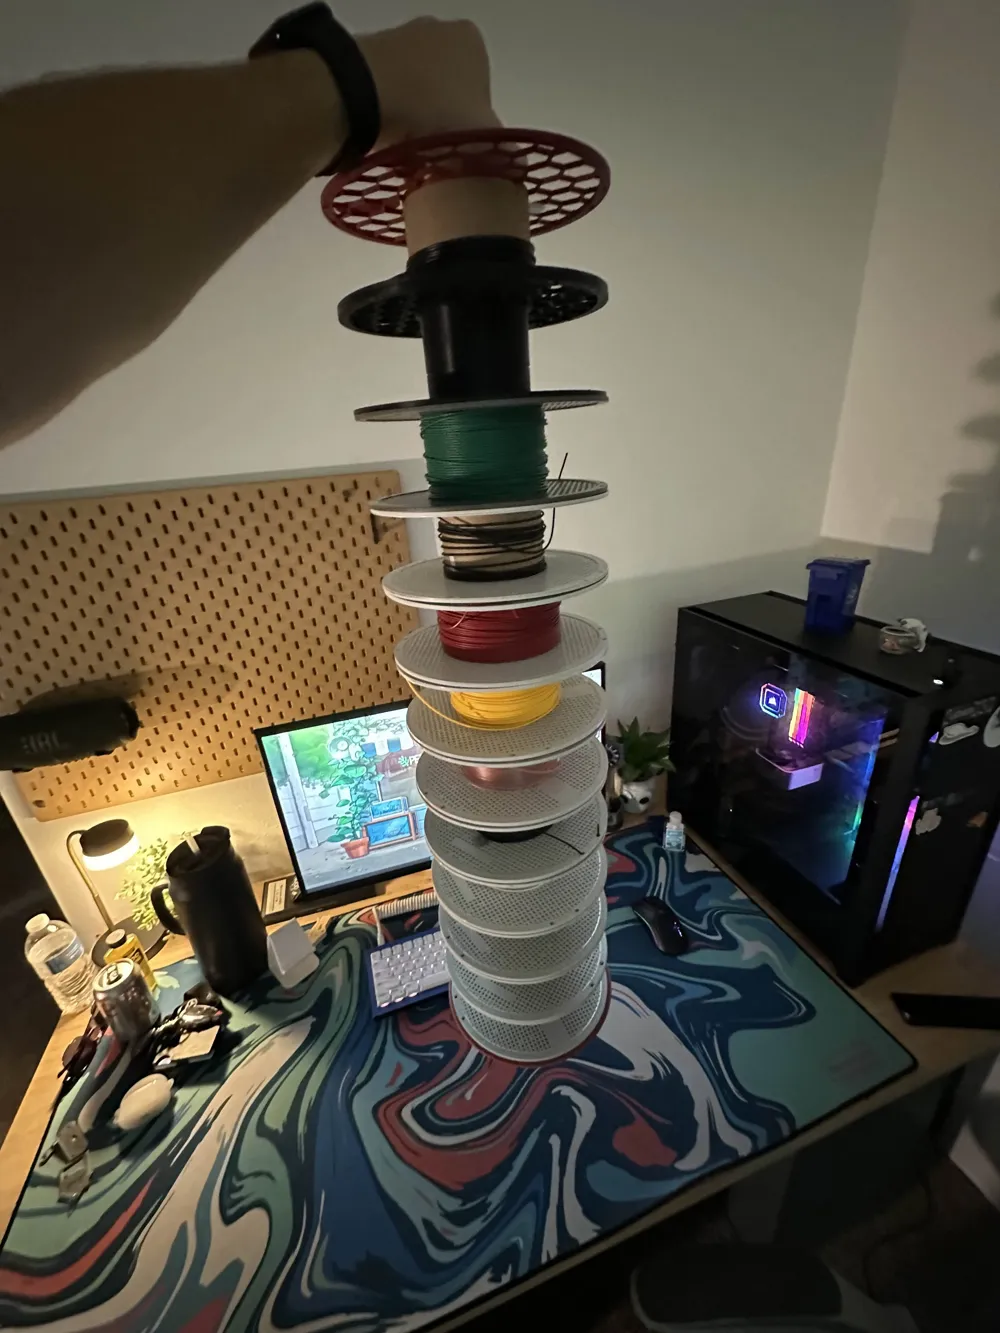
- Bambu spool compatible – Uses the existing snap system (slightly modified), so each vertical tube locks in fast and stays put. This is a strong link between rods, many spools can be stacked and still moved around with ease.
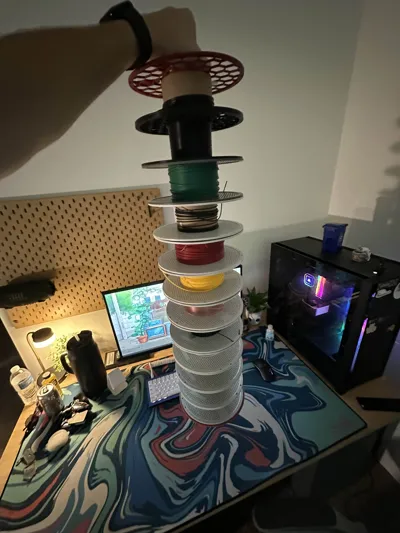
- Modular by design – Add or remove tiers at will. Two-tier racks are rock-solid; taller stacks do wobble a bit, so park heavier spools on the bottom row.
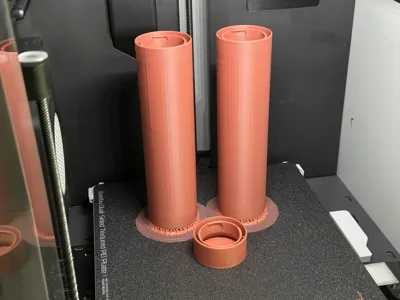
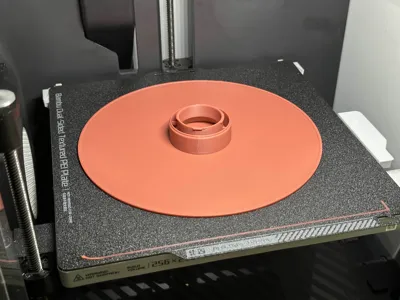
- Print profiles included – One file for a single two-tier rack, another for a batch of three (all two tiers tall). Slice, print, click together—done.
Clear the chaos, show off your colors, and stop sacrificing shelf space to half-empty spools. Print a rack or three and get back to making.
2 rods hold 6 spools, 4 rods hold 12 spools! That's only 36g of filament per spool for storage (or 30g/28g if you stack higher than just 2 rods)!
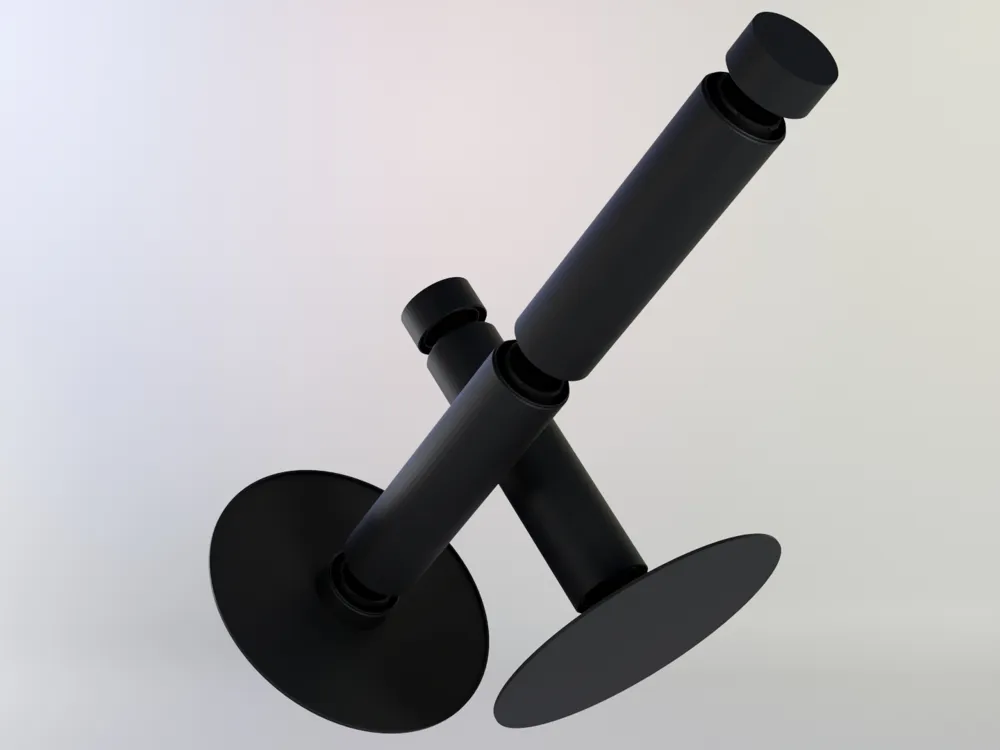
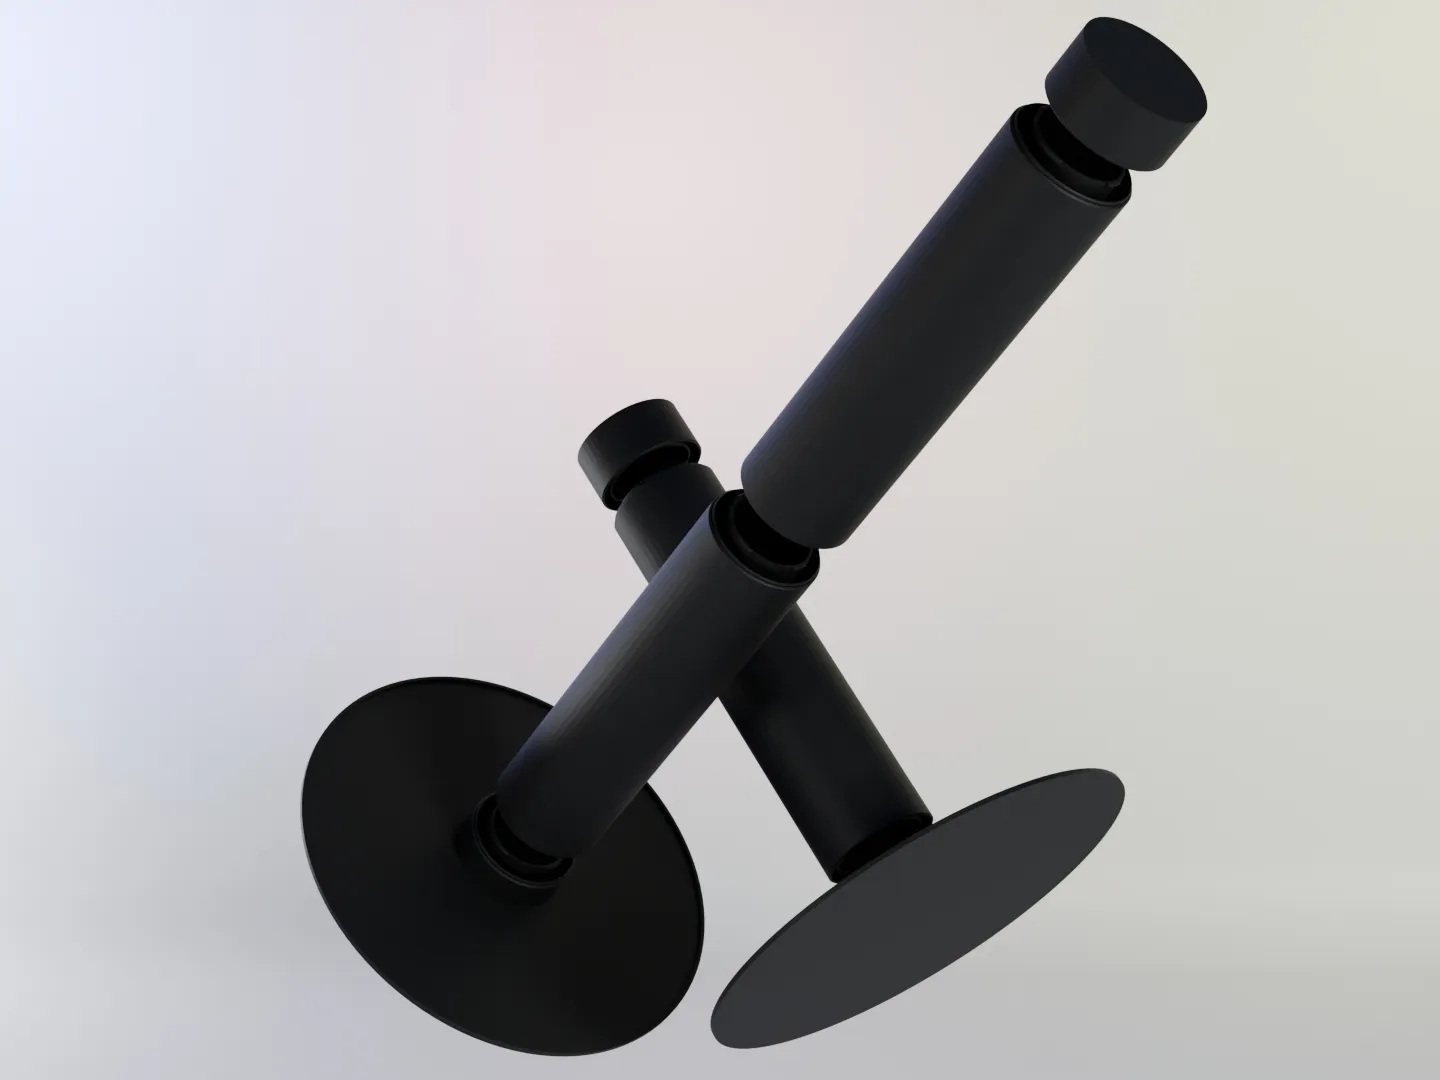
Assembly — Snap, Twist, Done
- Align the connectors — Match the male post to the female slot, just like snapping a Bambu Lab reusable spool together.
- Twist to seat — Turn until you feel the parts bottom out. The fit is deliberately snug.
- Lock it in — Give one final firm twist to click everything into place. That’s it.
License

This user content is licensed under a
Creative Commons Attribution-Noncommercial


Comment & Rating (80)