
Fidget-Fuse Grenade 5-in-1 Snap-Fit Fidget Toy
Print Profile(10)


Description
Boost Me (for free)
If you like my work, drop a 👍 and hit “Boost” to help it reach more makers! Your support means more free designs and cool future projects for the community.
Boost Me (for free)
If you like my work, drop a 👍 and hit “Boost” to help it reach more makers!
Your support means more free designs and cool future projects for the community.

Update 2nd Feb. 2026: Check the latest Fidget Fuse Tactical 7in1, new and improved!
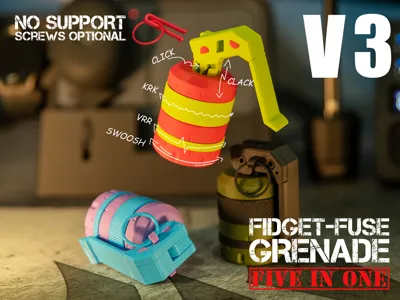
Updated v3.0 30th Dec. 2025
V3 Release Notes:
1- Fewer parts for easier assembly.
2- Better Tolerance.
3- Fixed the issue where sometimes the middle mechanism gets stuck while sliding up and down.
Updated v2.0 4th Aug. 2025
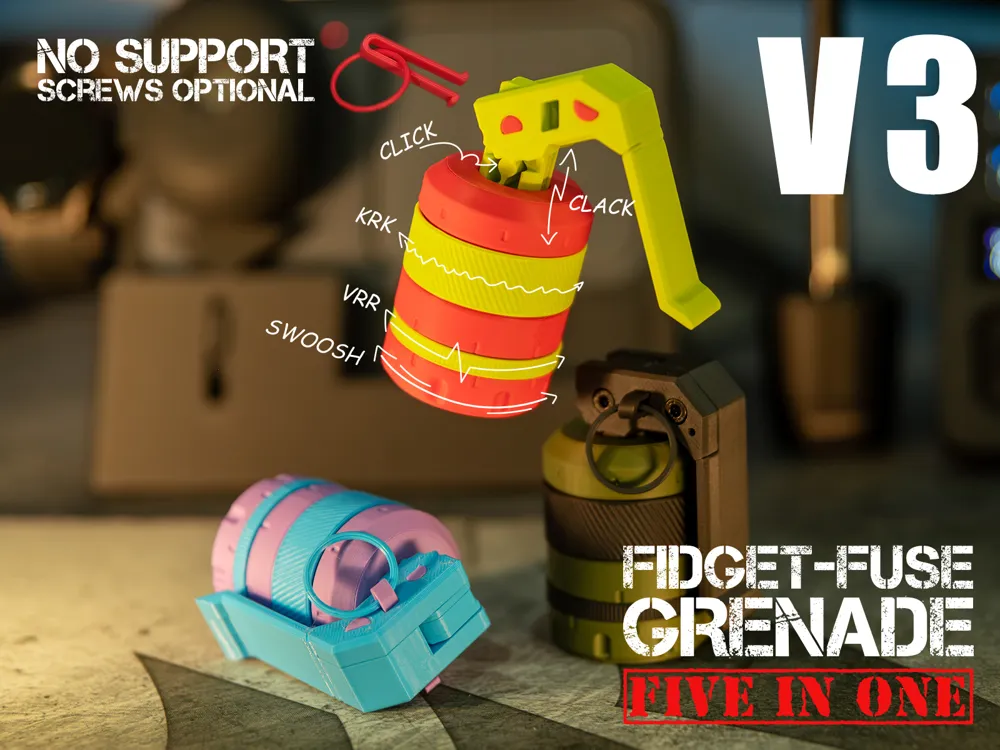
🧩 Fidget-Fuse Grenade – 5-in-1 Click & Spin Fidget Toy (No Support, Tool-Free Assembly)
Print → Snap → Play.
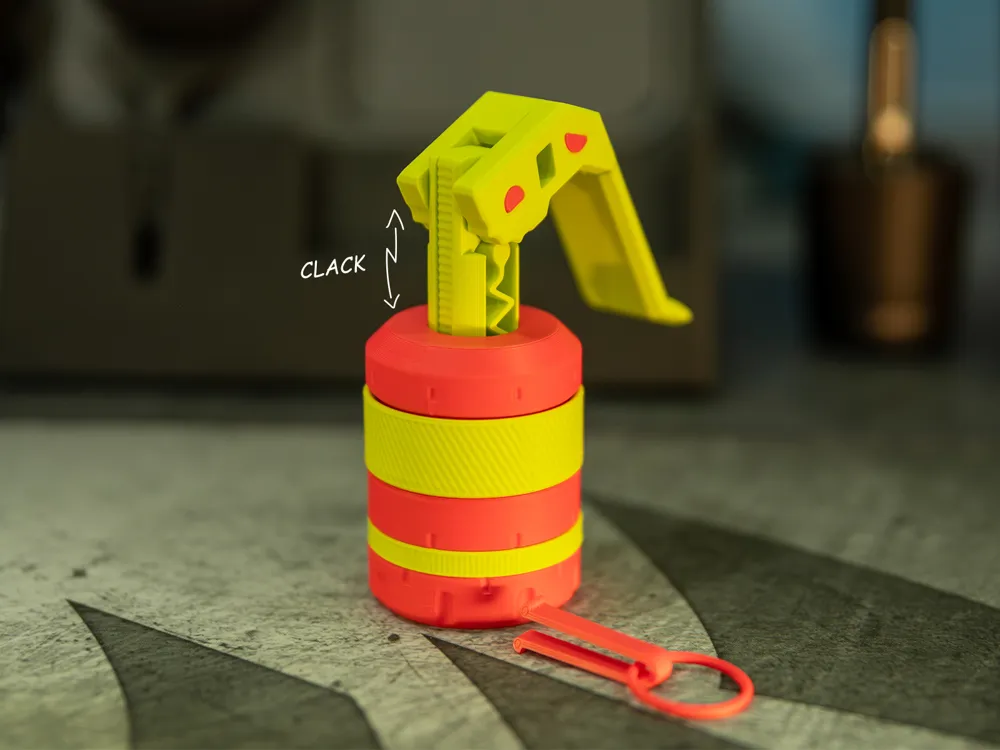
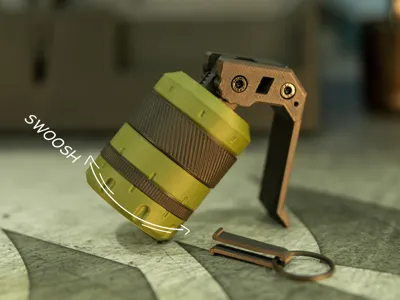
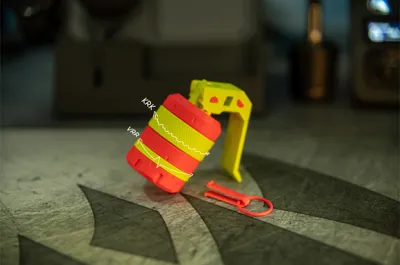
Fidget-Fuse is a grenade-inspired 5-in-1 tactile toy designed for maximum sensory feedback. Featuring multiple click, spin, and rattle actions, this compact fidget device is perfect for stress relief and endless satisfying interactions.
✨ Features
- 5-in-1 Fidget Actions:
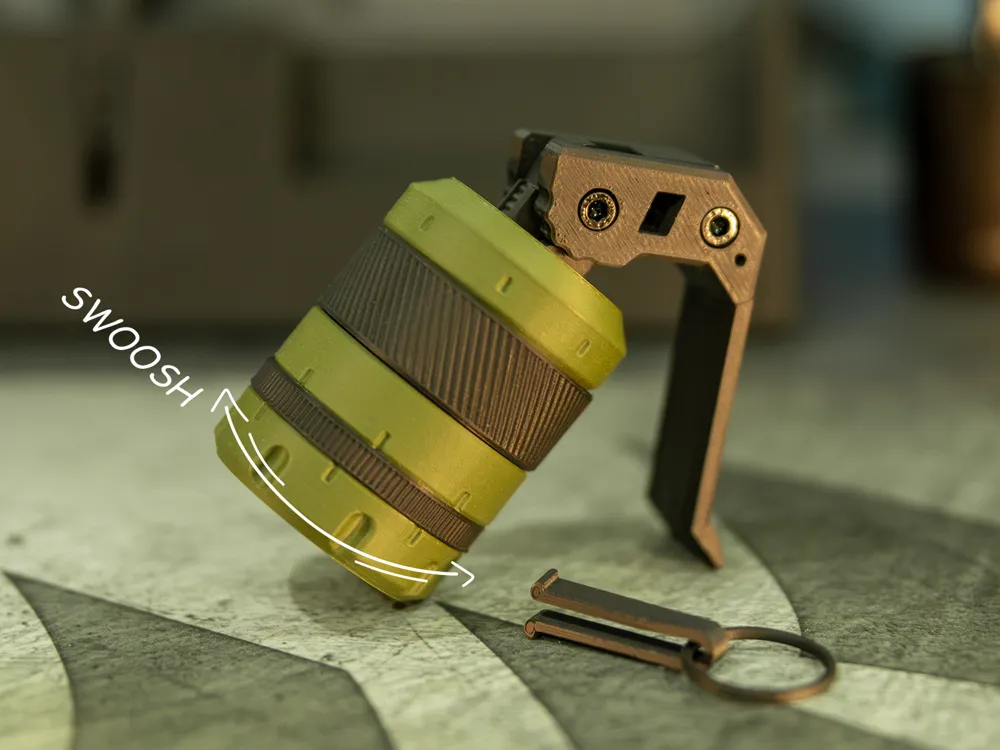
- Smooth free spin
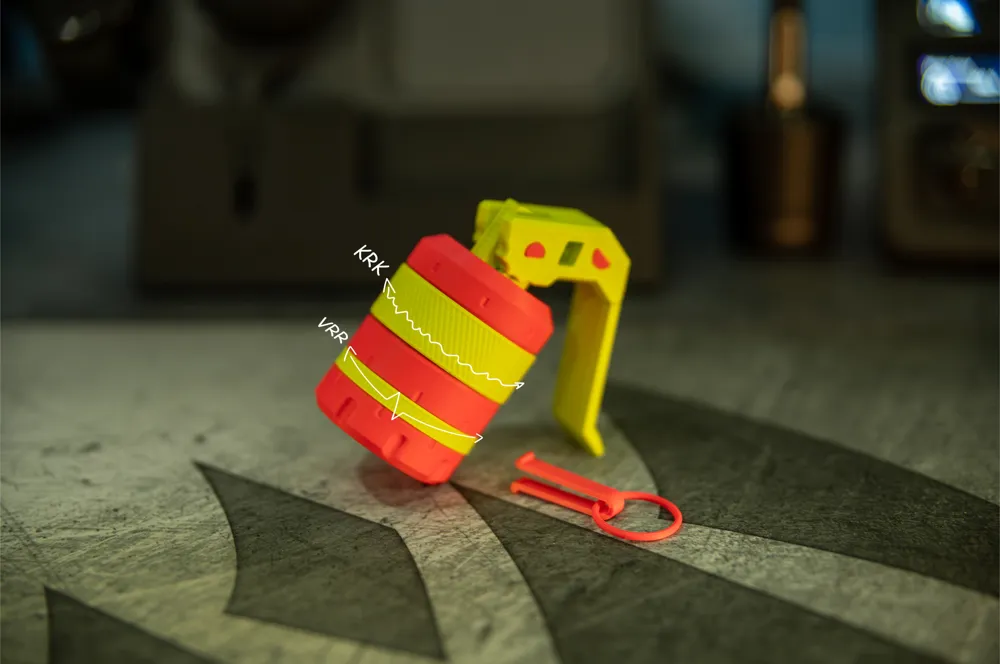
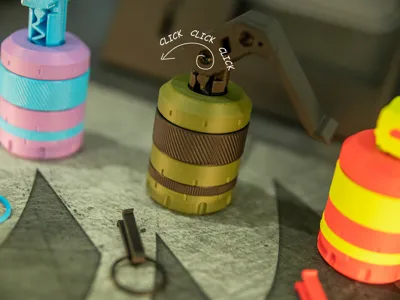
- Rattling gear clicks
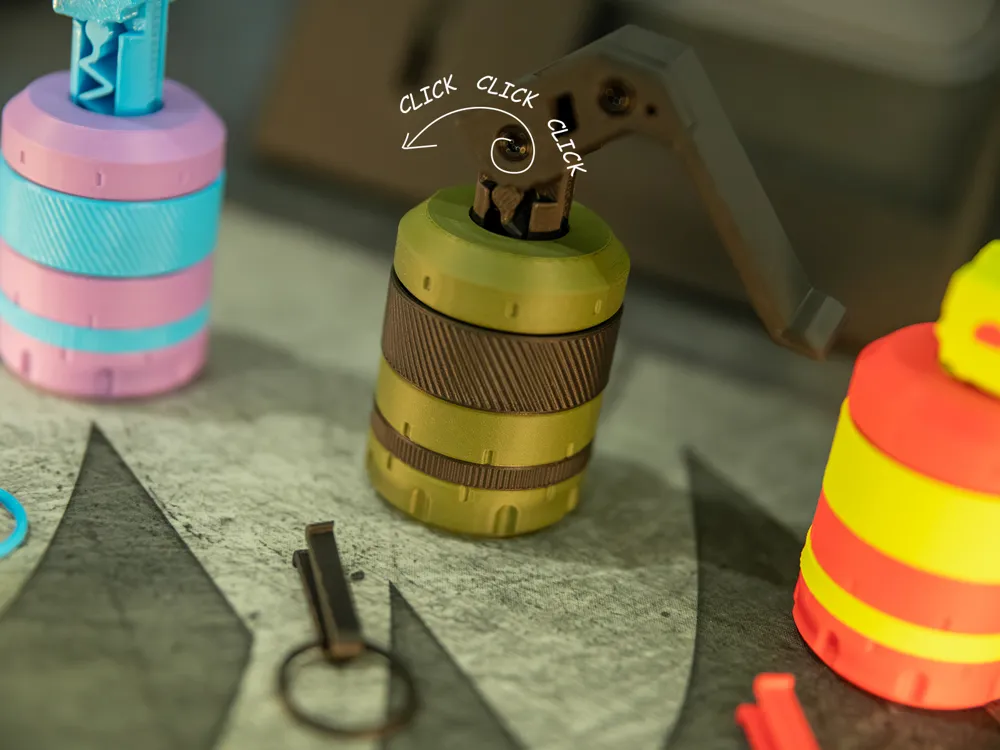
- Crisp slider clicks
- Tactile rotations
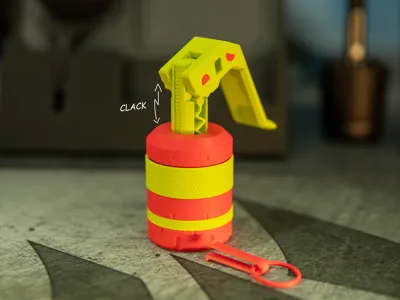
- Handle clack action
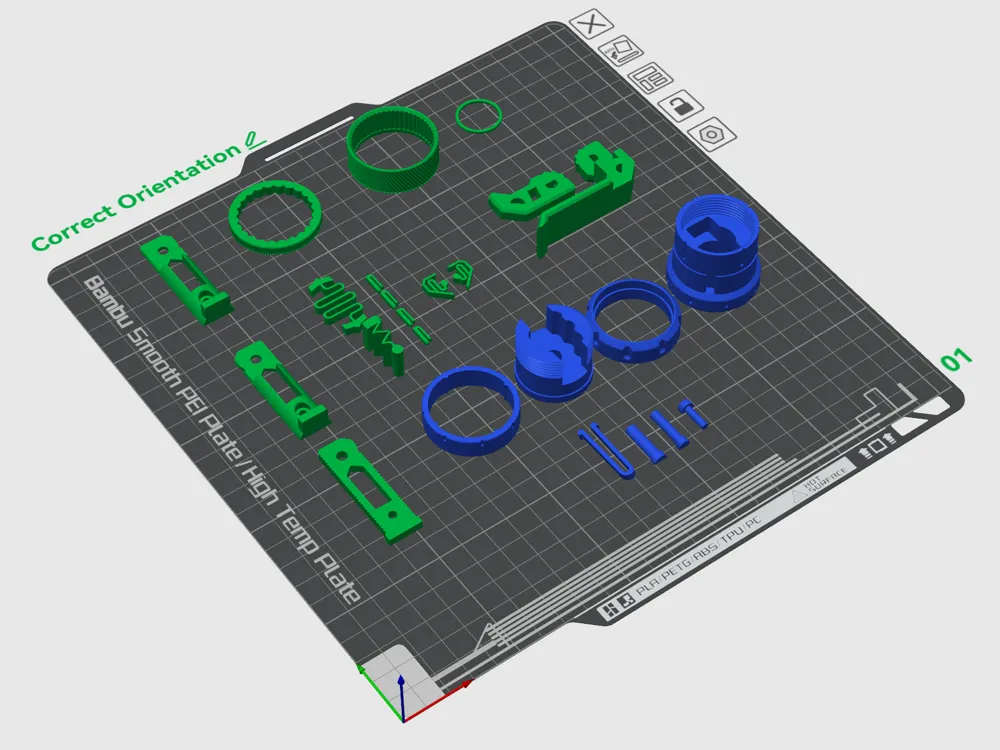
- No Support Needed: All parts are designed for clean, support-free printing.
- Tool-Free Assembly: No screws, no inserts—just snap the pieces together.
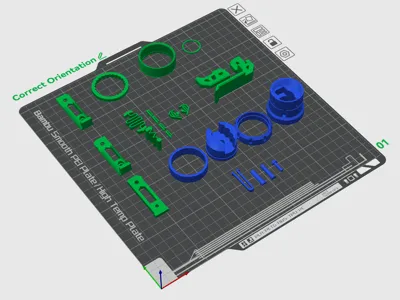
- Easy to Print: 24 parts, optimized for PLA or PETG.
- Durable Design: PETG makes louder clicks and extends life; PLA offers a smoother, quieter experience.
🔧 Update v2.0 – Easier Assembly + Improved Durability
This update introduces refined parts focused on simplifying assembly and improving long-term durability:
- Threaded center mechanism has been redesigned for smoother assembly. It’s now more durable and automatically aligns at the correct stopping point, ensuring the middle section moves freely without trial and error.
- The middle spring slots (previously difficult to insert) have been reworked for a hassle-free fit.
- Updated parts:
01_Body_BaseHousing v2
02_Spinner_FreeSpin v2
08_Spring_Middle_Click v2
10_Body_OuterShell v2
11_Spring_Upper_Left v2
12_Spring_Upper_Right v2
📽️ A new instruction video is now available in the description to reflect these changes.
📦 The original video, older parts, and print profiles are still available for reference.
🖨️ New Print Profiles:
- V2_Easier_Assembly_Fidget-Fuse_PETG_0.2mm_LoudClick_Durability
- V2_Easier_Assembly_Fidget-Fuse_PLA_0.2mm_SmoothClick
🖨️ Print Details
- Total Parts: 24
- Recommended Layer Height: 0.2 mm
- No Supports, No Brims Needed
- Material: PLA (quieter) or PETG (louder, more durable)
- Assembly Time: ~10 minutes (tool-free)
📂 Included Files
- 24 STL files, numbered (01–24) for step-by-step assembly.
- Clear build guide with GIF animations for each step.
⚠️ Notes for Makers
- This design is fully snap-fit no screws or tools required.
- A screw-reinforced version exists but isn’t needed for normal use.
- Tolerances are tight; ensure your printer is well-calibrated for best fit and function.
🔧 Assembly Guide Video & Written Instructions
Update v2.0 – Easier Assembly + Improved Durability Assembly Video
Update v1.0 – Assembly Video
Step-by-step GIF instructions are included on the project page.
Simply print in order (01–24), snap together, and enjoy five different tactile actions in one compact fidget toy.

Step 1 – Prepare the Base Housing
Parts:
- 01_Body_BaseHousing
- 02_Spinner_FreeSpin
- 03_Spring_Bottom_Click
- 04_Gear_Bottom_Click
Instructions:
- Place 02_Spinner_FreeSpin inside 01_Body_BaseHousing.
- Insert 03_Spring_Bottom_Click into its slot above the spinner.
- Position 04_Gear_Bottom_Click on top, ensuring it clicks properly when rotated.

Step 2 – Assemble the Middle Slider Mechanism
Parts:
- 05_Slider_Mechanism_Left
- 06_Slider_Mechanism_Right
- 07_Slider_Mechanism_GearTrack
- 08_Spring_Middle_Click
- 09_Lock_Pin_Middle
Instructions:
- Align 05, 06, and 07 together to form the slider mechanism.
- Insert 08_Spring_Middle_Click inside for clicking feedback.
- Secure all pieces using 09_Lock_Pin_Middle.

Step 3 – Prepare the Outer Shell
Parts:
- 10_Body_OuterShell
- 11_Spring_Upper_Left
- 12_Spring_Upper_Right
- 13_Spring_Side_1
- 14_Spring_Side_2
- 15_Spring_Side_3
- 16_Spring_Side_4
- 17_Gear_Upper_Rattle
- 18_Body_LockingRing
Instructions:
- Place 11 and 12 into the internal spring slots of 10_Body_OuterShell.
- Attach 13–16 (side springs) to the outer slots around the shell.
- Fit 17_Gear_Upper_Rattle on top of the side springs, ensuring it can rotate and rattle freely.
- Place 18_Body_LockingRing from the bottom of the assembled Body_OuterShell.
- Ensure all side springs remain seated under the upper gear before proceeding.

Step 5 – Insert Slider Mechanism
Part:
- Middle Slider Mechanism Assembly (from Step 2)
Instructions:
- Insert the assembled slider mechanism from Step 2 through the bottom of the Outer Shell Assembly (Step 4).
- Push the mechanism all the way up.

Step 6 – Combine Base and Outer Assemblies
Instructions:
Take the Base Housing Assembly (Step 1) and twist it into the Outer Shell Assembly (Step 5) to lock both together.
“Utilize the 20_Handle_Lever to actuate the locking mechanism. Apply a simultaneous downward force on the middle assembly while rotating it to ensure proper alignment and free vertical travel.”
Verify all clicks, spins, and rattles are functioning properly.

Step 6 – Assemble the Handle
Parts Required:
- 19_Handle_Base
- 20_Handle_Lever
- 21_Handle_Pin
- 22_Handle_Pivot_Pin
- 23_Safety_Pin
- 24_Pull_Ring
Instructions:
- Align 19_Handle_Base with 20_Handle_Lever and secure them using 21_Handle_Pin to form the primary hinge connection.
- Position the assembled handle onto the top of the Middle Slider Mechanism Assembly, ensuring proper alignment with the pivot axis.
- Insert 22_Handle_Pivot_Pin to lock the handle to the main assembly, maintaining free rotational movement.
- Install 23_Safety_Pin through the designated slot and attach 24_Pull_Ring to finalize the handle assembly and secure the mechanism.
✅ Assembly Complete! Your Fidget-Fuse Grenade is ready to click, spin, and rattle with 5-in-1 tactile action!
Final Note
If you enjoyed printing and assembling the Fidget-Fuse Grenade and found these instructions helpful, please consider giving this model a Boost on MakerWorld.
Your support helps this project reach more makers and encourages me to release more free, high-quality designs for the community. 🚀💜
Boost Me (for free)
License

You shall not share, sub-license, sell, rent, host, transfer, or distribute in any way the digital or 3D printed versions of this object, nor any other derivative work of this object in its digital or physical format (including - but not limited to - remixes of this object, and hosting on other digital platforms). The objects may not be used without permission in any way whatsoever in which you charge money, or collect fees.


Comment & Rating (1282)