Lighthouse - Illuminated


Print Profile(1)

Description
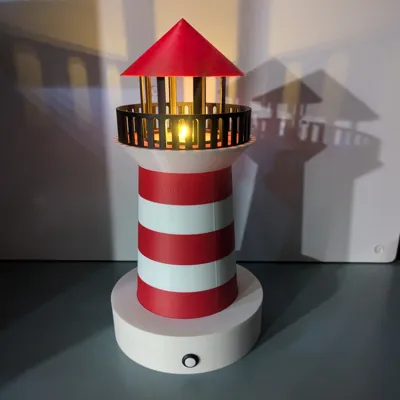
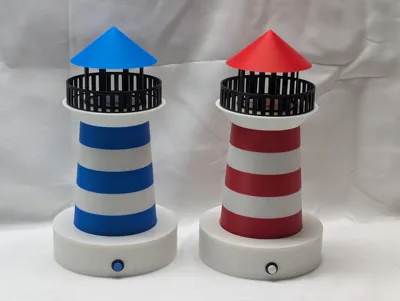
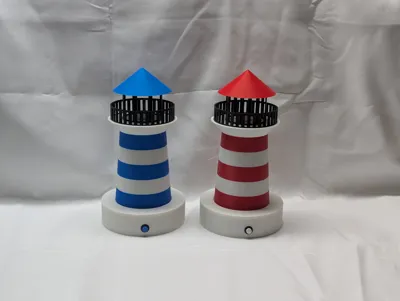
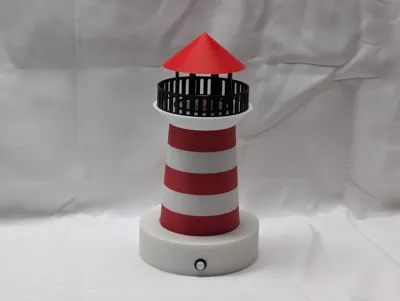
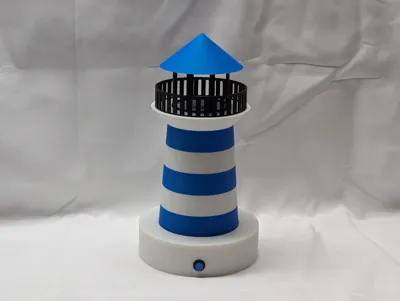
Lighthouse
Help Benchy find his way back to port!
This spectacular lighthouse is a great way to explore multi-color printing as well as simple electronic circuits!
Materials:
• 3mm LED – Soft white: https://amzn.to/4szVwkD
• 3V+ Battery – (I used CR123A): https://amzn.to/47oZqVa
• Battery Holder: https://amzn.to/4rUUFdi
• Resistor – 147 Ohms: https://amzn.to/4t7b67f
• 12mm Latching Button: https://amzn.to/3PzsJy7
*Affiliate Links - I may earn a small commission if you make a purchase.
Boost Me (for free)
Love this model? Let me know and I'll make more like it! 😊
Recommended Settings
| Software | Creality or Bambu Slicer | |||||
| Printer | K1C | |||||
| Layer Height | 0.2mm | |||||
| Infill | 15% Grid | |||||
| Retraction | Enabled: 0.5mm | |||||
Print Item | Material | Color | Extruder Temp. | Max Speed | Support? | Notes |
| Base | PLA | White | 220°C | 300mm/s | Yes | Support button hole |
| Base Lid | PLA | White | 220°C | 300mm/s | Yes | Support body inset |
| LED Holder | PLA | White | 220°C | 300mm/s | No | |
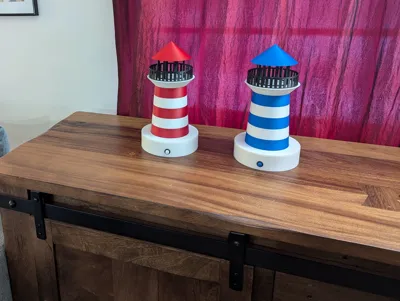
| Lighthouse Body | PLA | White/Red | 220°C | 300mm/s | No | Alternate Colors |
| Railing | PLA | Black | 220°C | 300mm/s | No | |
| House at Top | PLA | Black | 220°C | 300mm/s | No | |
| Roof | PLA | Red | 220°C | 300mm/s | Yes | Support in-set for house |
If you don’t have and AMS/CFS, you can add a PAUSE in the slicer to create the red and white stripes.
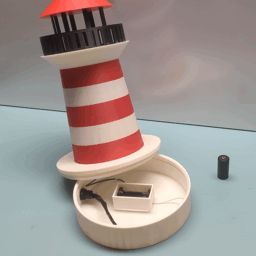
Assembly
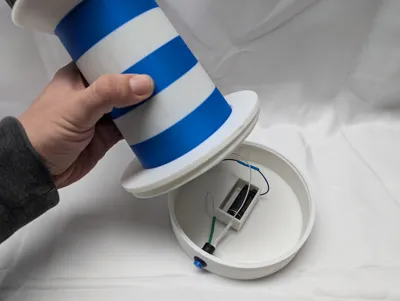
The battery goes in the center compartment. Just glue in whatever Battery holder you decide to use. Wires can run underneath the compartment walls. (I used a CR123A battery and a matching holder.) In the picture below, the black and white wires running out of scene will go to the LED light.

A resistor needs to be wired into the circuit somewhere in the base. I used a high-value resistor to keep the light dim, but you could easily make it brighter. (If using a Use 15Ω to 150Ω resistor, depending on brightness.)

The led can be glued into the LED holder piece, which screws into the top of the lighthouse body.


It is a good idea to insulate your wires before fully assembling

Glue the roof and railing into place along the fitted indents.

Ensure that you don’t get the circuit permanently assembled before you get a chance to run the LED wires up the body of the lighthouse!
Commercial Use:
This model is for PERSONAL USE ONLY.
💲💲💲
If you would like permission to SELL THIS MODEL please subscribe here:
Membership
Sell David's Models!
OR
Join my Patreon here:
https://patreon.com/davidsitgarage
Happy Printing!

Documentation (1)
License
You shall not share, sub-license, sell, rent, host, transfer, or distribute in any way the digital or 3D printed versions of this object, nor any other derivative work of this object in its digital or physical format (including - but not limited to - remixes of this object, and hosting on other digital platforms). The objects may not be used without permission in any way whatsoever in which you charge money, or collect fees.
Comment & Rating (0)