
Customizable Spotify Keychain / Tag
Print Profile(6)




Bill of Materials


Description
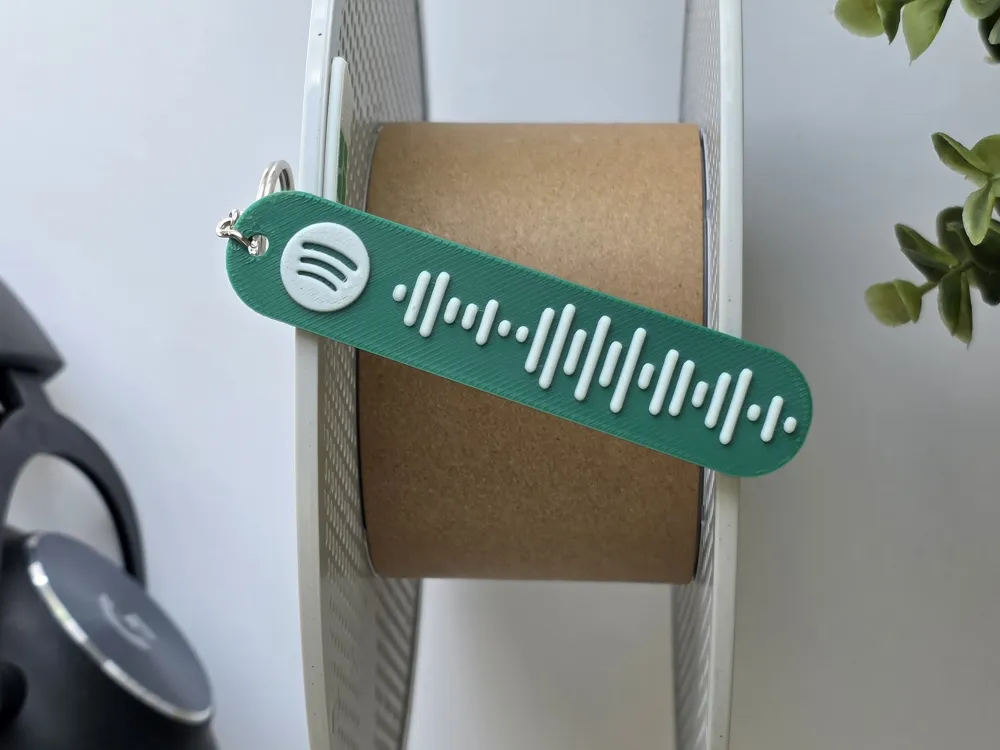
🎶 Personal music moments now print as fast as they play 🎶
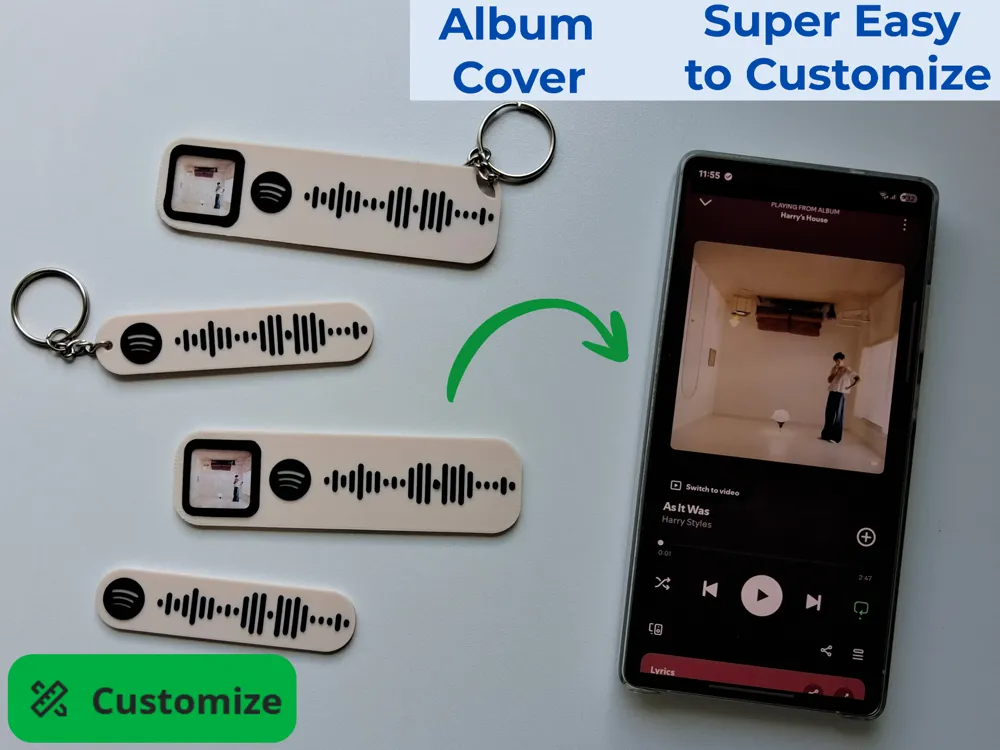
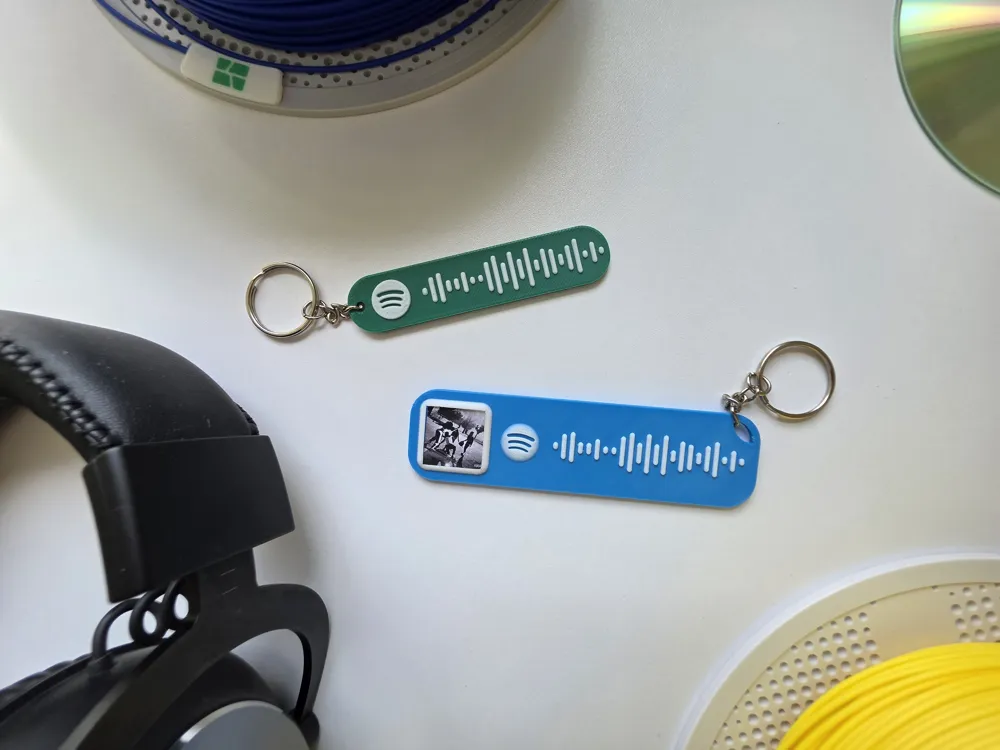
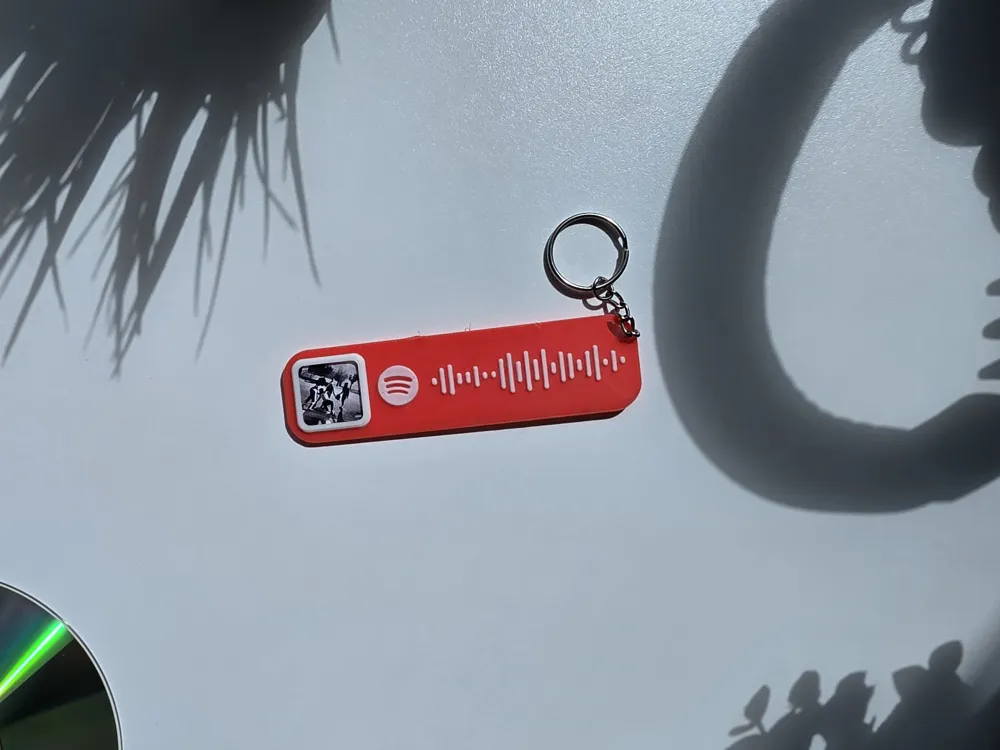
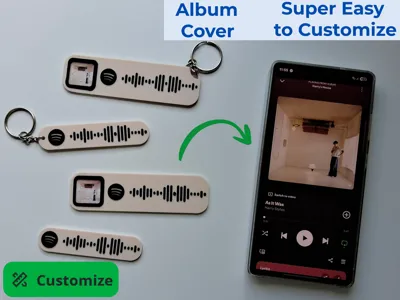
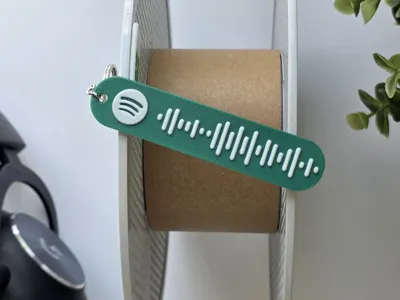
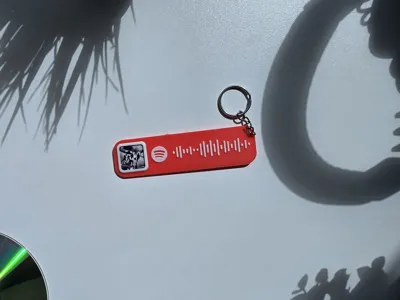
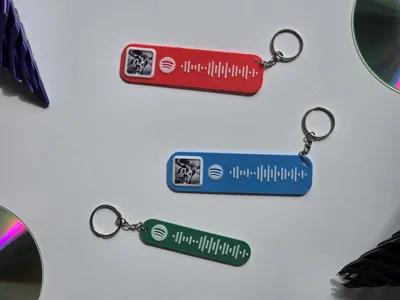
With this super easy to customize model you can turn your favorite Spotify tracks, albums, playlists, or podcast episodes into a unique scannable 3D printed Spotify Tag in seconds. No complex CAD or manual Spotify Code creation is needed!
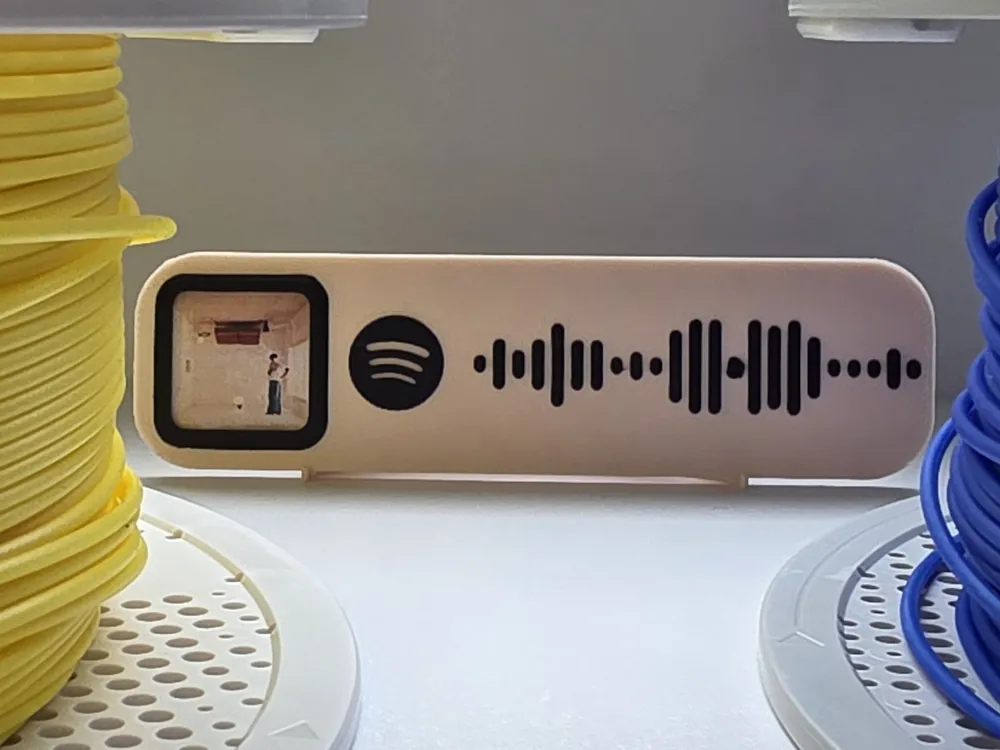
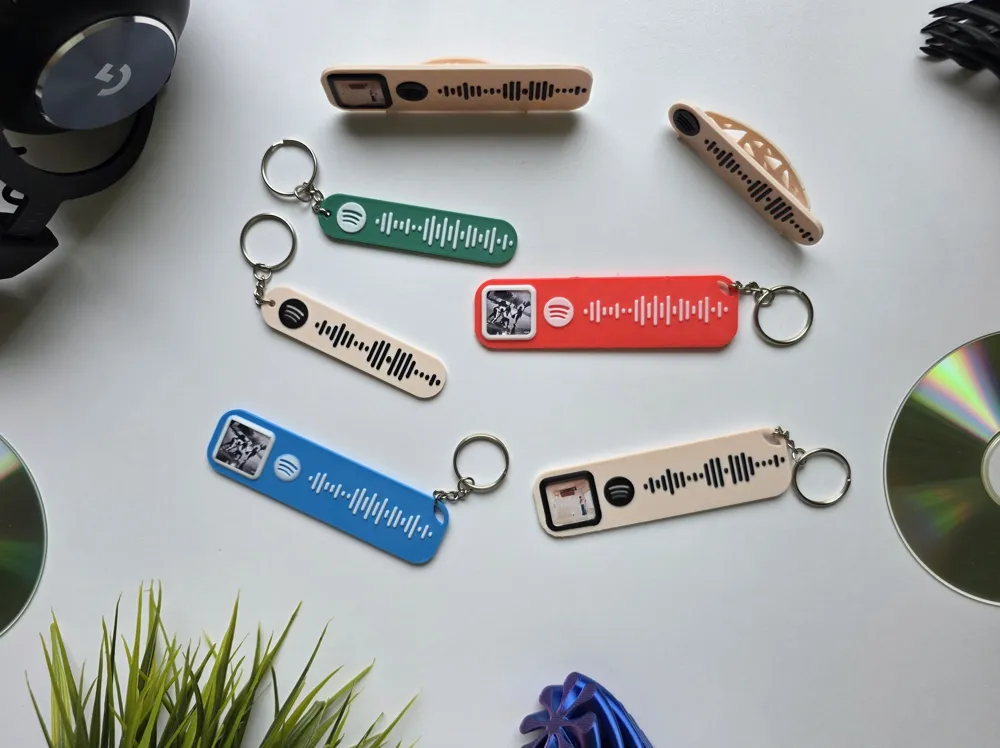
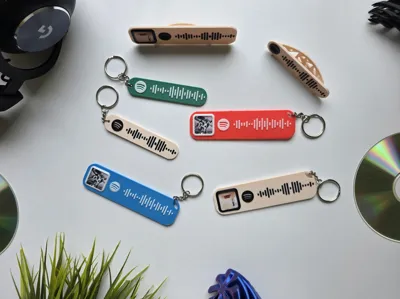
Wheter you want a pocket keychain, a shelf display with album art, or a clean plaque for your desktop, the same file adapts in seconds to become a stylish personlized piece.

Boost Me (for free)
If you like the personalized Spotify Tag, consider leaving a comment and sharing your print! This project took a lot of effort and time. If you have a spare Boost, giving one would truly mean a lot to me <3 Thanks for your appreciation and support!
Membership
Love this model? Support my future designs by dropping a little something in the Tip Jar! Want to sell physical prints of this design in your own shop? Grab a Commercial License membership to get official selling rights. Click the badge to explore my tiers. Thanks <3

Effortless Customization
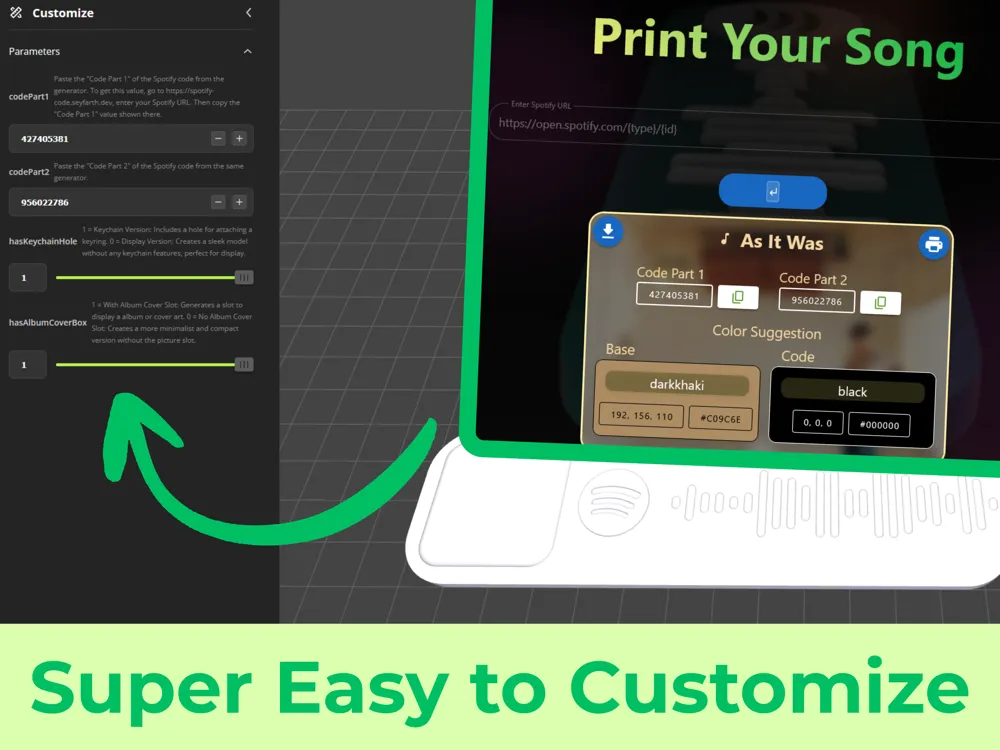
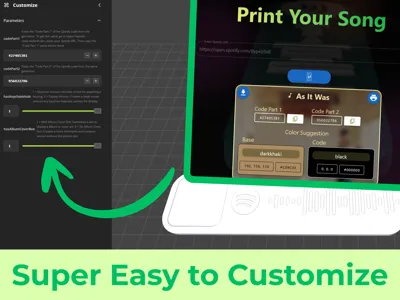
No complex 3D modeling skills required! You just have to paste two simple codes that are generated from any Spotify URL. For more information see “Step By Step Guide” below.
Personal Touch
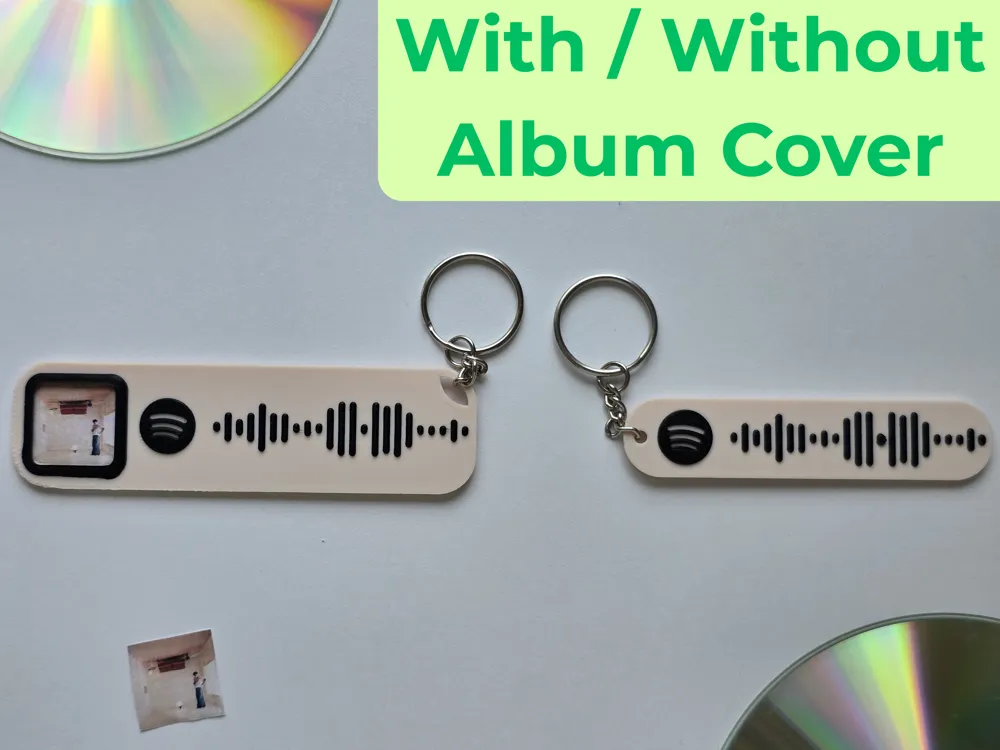
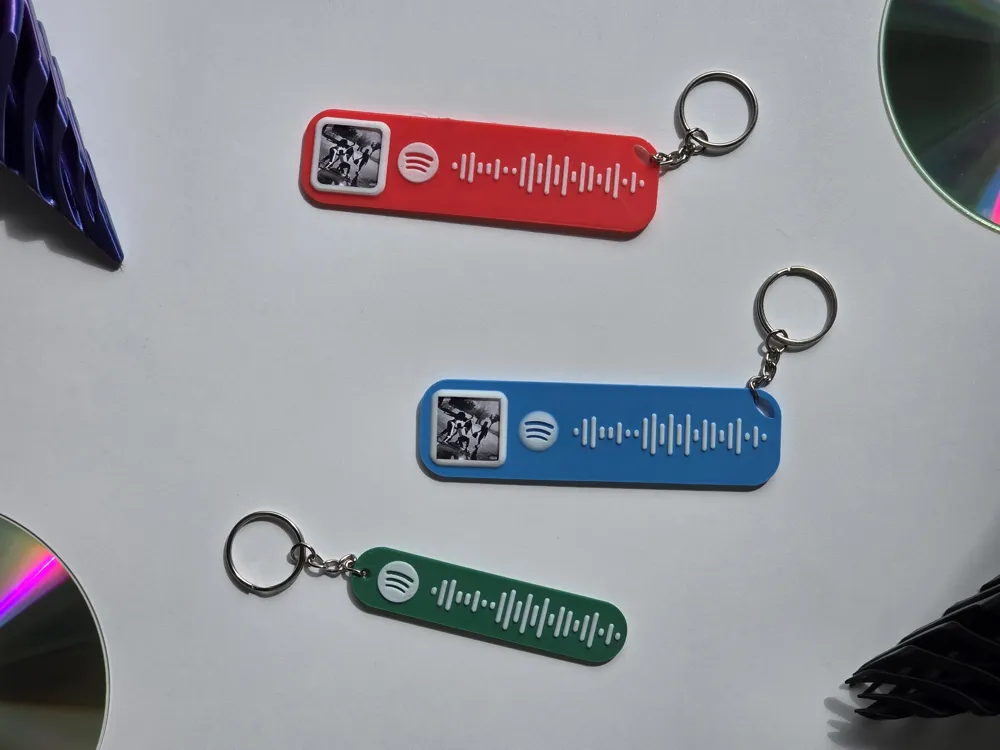
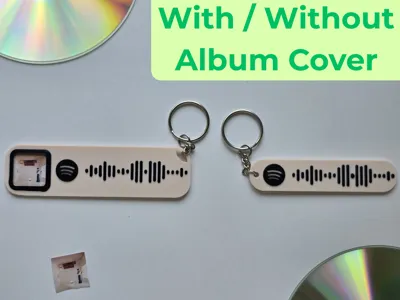
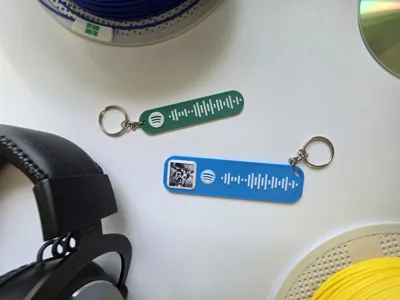
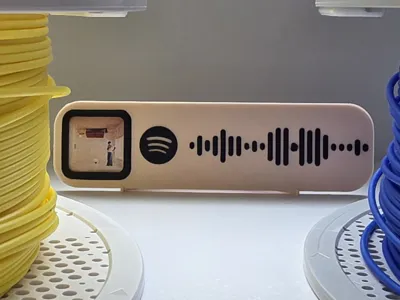
You have the choice to optionally add a slot for the album or cover art. You can insert a picture that you can print with any 2D ink / laser printer in this slot to display your favorite album or podcast cover art! For more information see “Step By Step Guide” below.
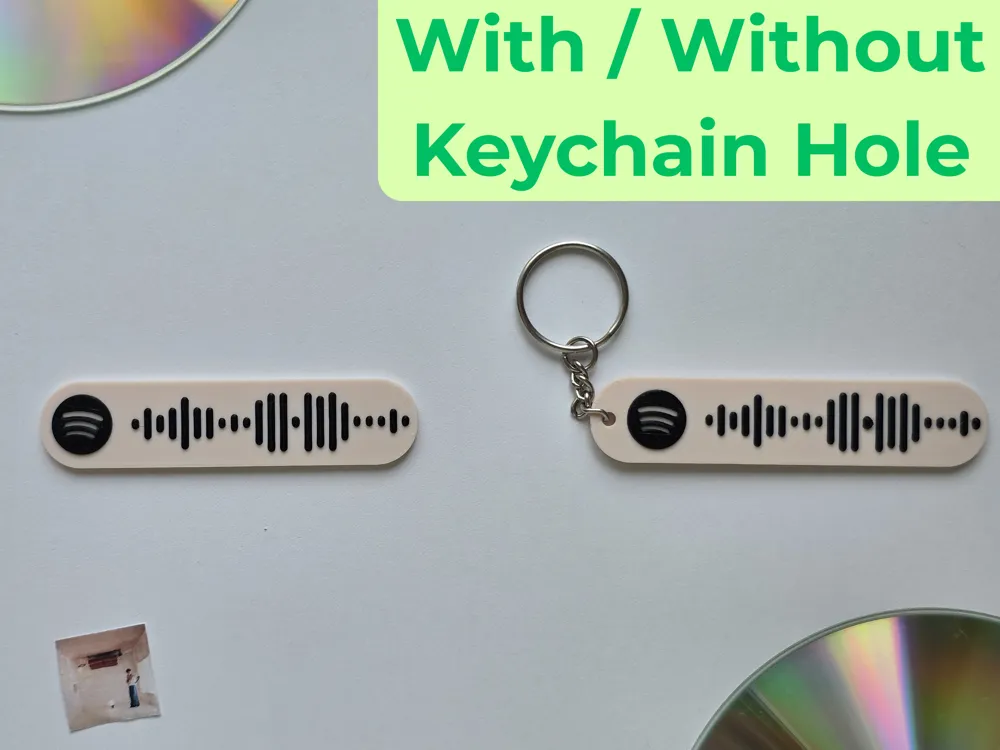
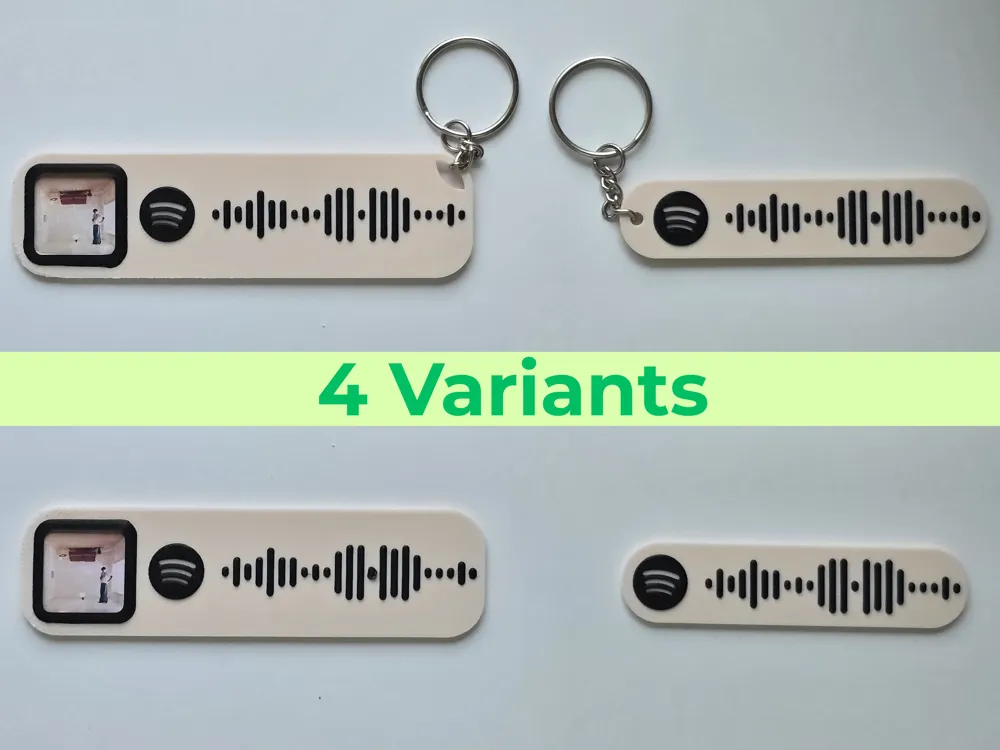
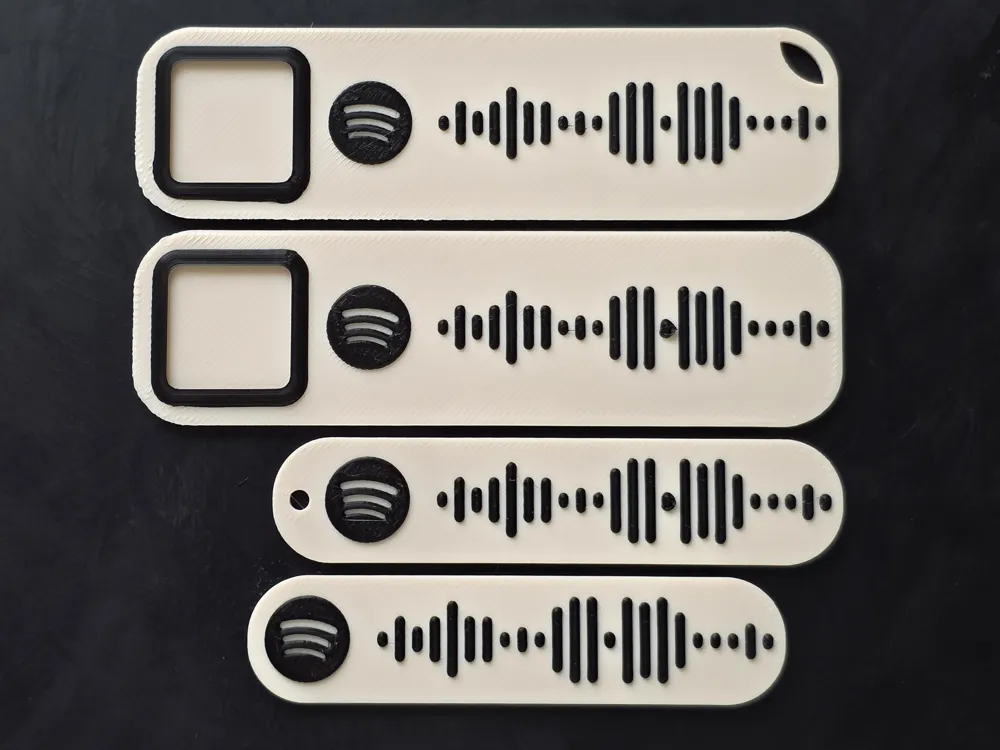
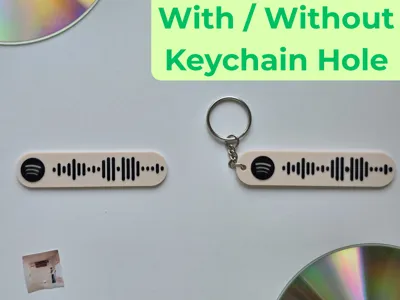
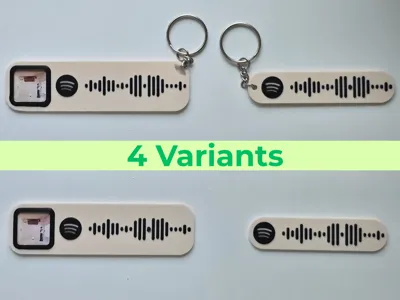
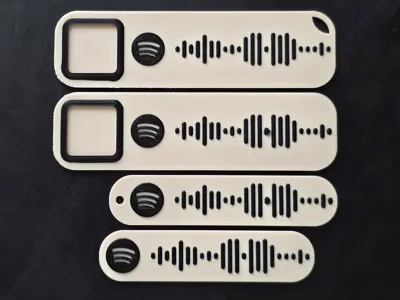
Furthermore you can choose between a keychain version or a basic tag. The keychain version includes a keychain hole to attach it to any key ring. If you are looking for a piece of decoration for your sleek desktop, you can switch to the Spotify Code Tag version with just one click!
Instant Playback

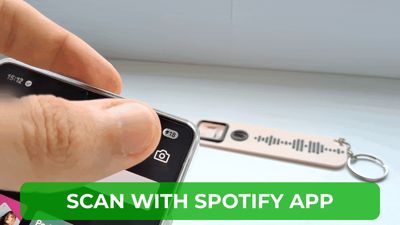
Don't know what those Spotify Codes are? The Spotify Code that is integrated in the model (Those distinctive wavy lines) are scannable with the Spotify mobile application, directly linking to your chosen audio! See uploaded GIF for a demonstration.

These may look like many many steps, but they are actually super easy to follow baby-steps. Soo, don't let your TikTok brain (jk <3) trick you into procrastinating this (i've been there… so often…). Trust me, if i say it is super easy to customize, it really is :)
NOTE: As of July 2026 it is not possible to color a 3d model in the mobile version of Bambu Studio. Therefore it is not possible to follow this guide fully on a mobile device but requires the desktop version!
1. Find Your Spotify Content
- Grab any Track, Album, Playlist, or Podcast episode you want to immortalize.
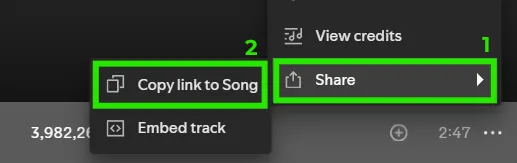
- Click the “…” (three dots) next to your chosen content.

- Go to “Share” and select “Copy link to [Song/Album/Playlist/Episode]”
2. Generate Your Custom Codes
- Visit the easy-to-use [Code Generator Website]
- Paste the Spotify URL you just copied into the text field and click the Submit Button

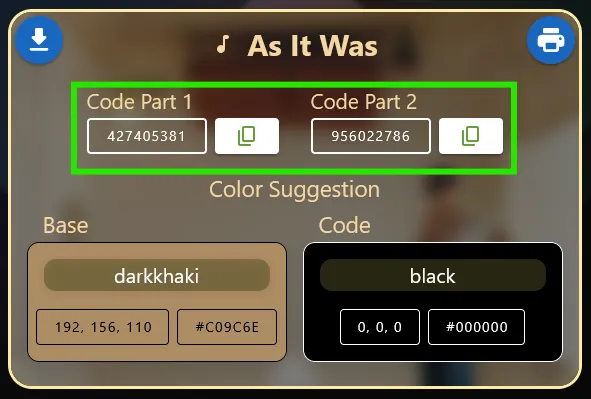
- The website will instantly provide you with two codes: “Code Part 1” and “Code Part 2”
3. Customize the MakerWorld Parameters
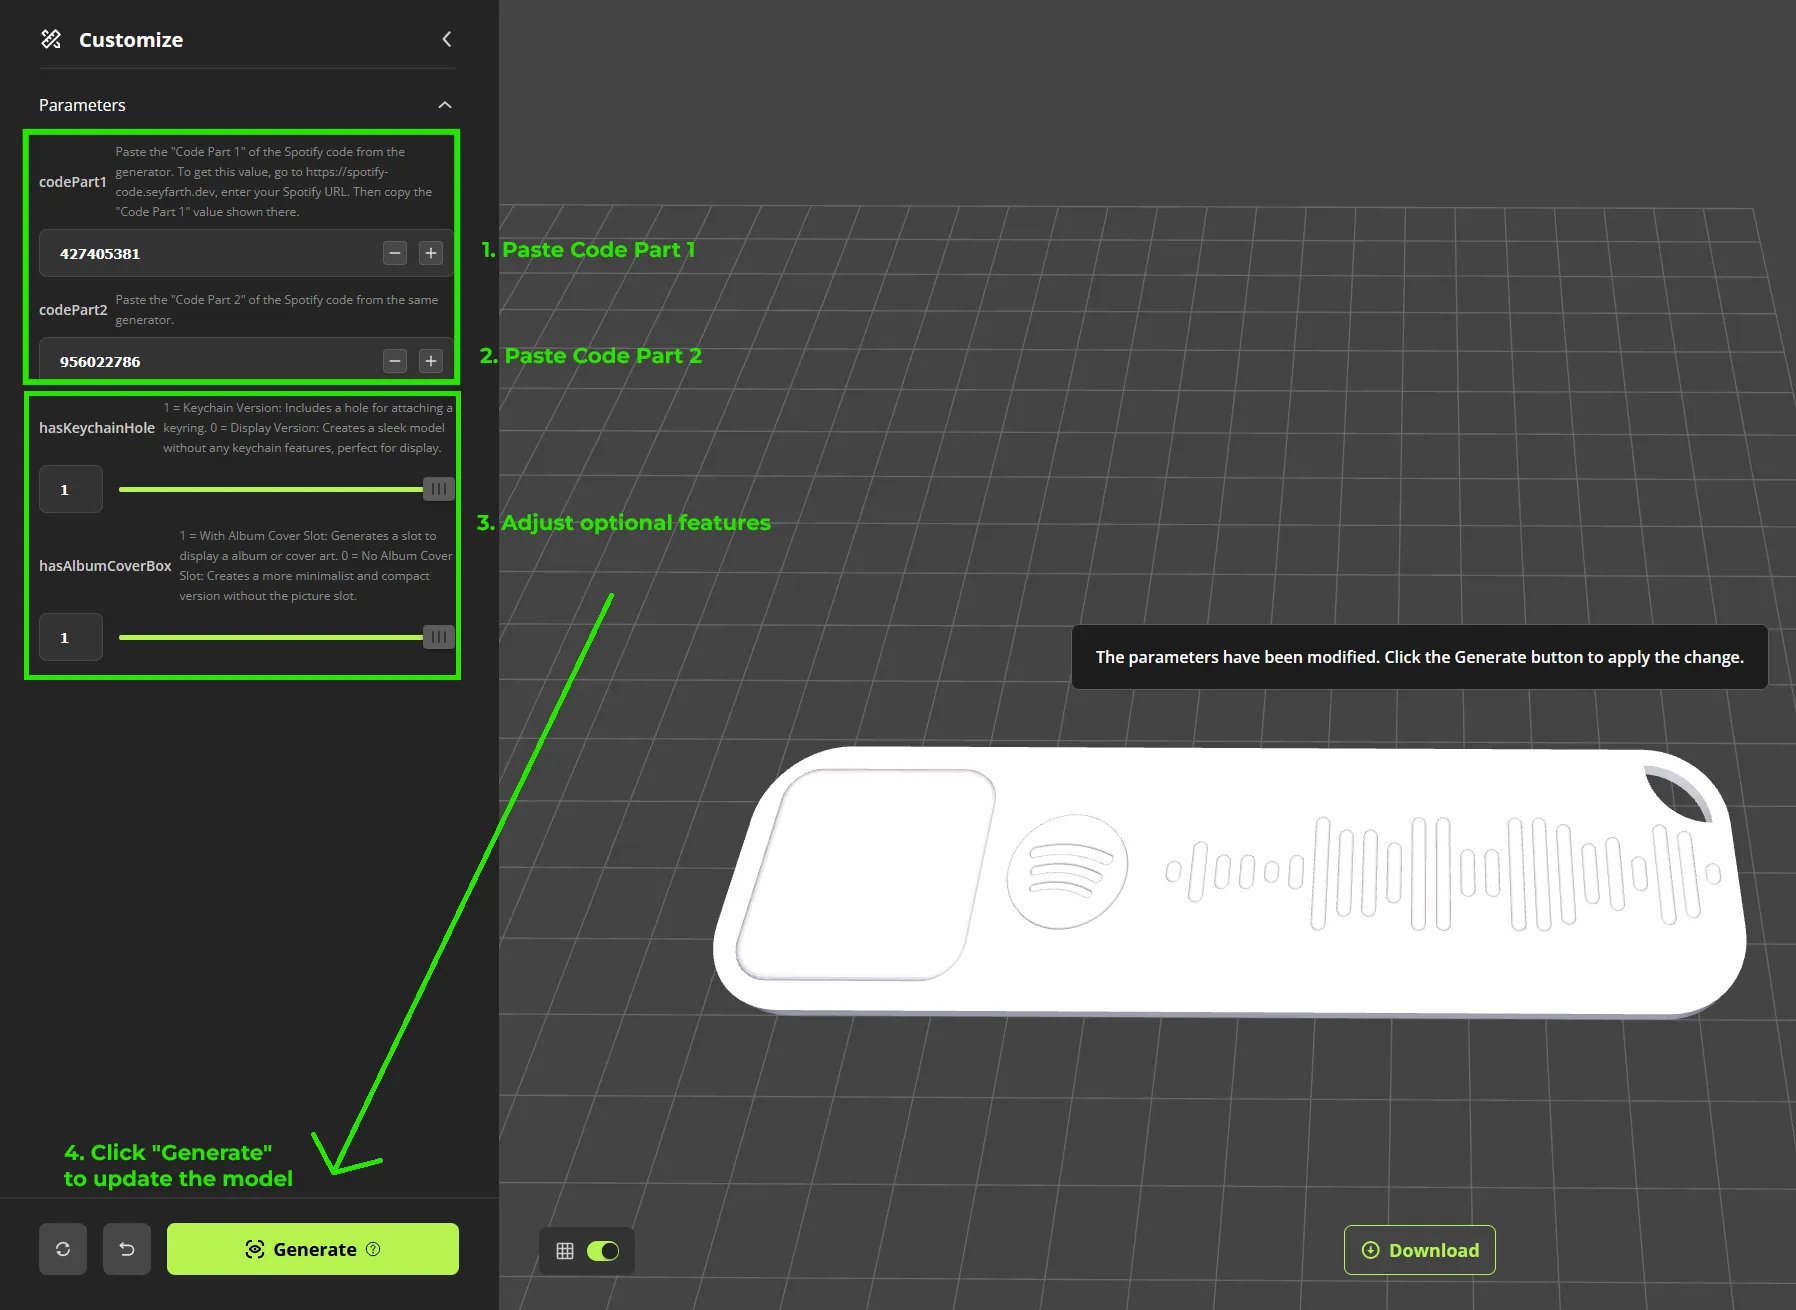
- On this model page, click the “Customize” Button (usually just below the print profiles)
- Copy “Code Part 1” from the website and paste it into the “codePart1” parameter field on MakerWorld
- Copy “Code Part 2” from the website and paste it into the “codePart2” parameter field on MakerWorld
- Adjust Optional Features:
- hasAlbumCover: Set this to 1 if you want the slot for the 2D ink-/laser-printed picture, or 0 for a more sleek and smaller version.
- hasKeychainHole: Set this to 1 to include a keychain hole in the model, or 0 if you'd like a standalone ornament.
- Click the “Generate” button in the MakerWorld editor. The 3D preview of the model will update to display your unique Spotify Code!
4. Apply Color
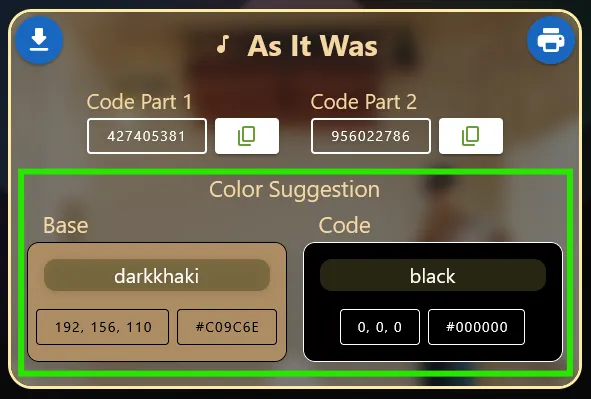
For a striking, scannable code, i recommend using at least two filament colors: one for the base and a constrasting one for the raised Spotify Code. It is really important that the contrast between the colors is high enough that the camera can actually detect the Spotify Code.
If you are not sure which colors you should use for the model, there are suggestions on the website that match with the album / cover art style. The "Base" color is intended to be used for the Base of the tag (Bottom Part). The “Code” color is intended for the extruded Spotify Code (Top Part).
- Download your model from the MakerWorld Editor and open it in Bambu Studio (or your preferred slicer)
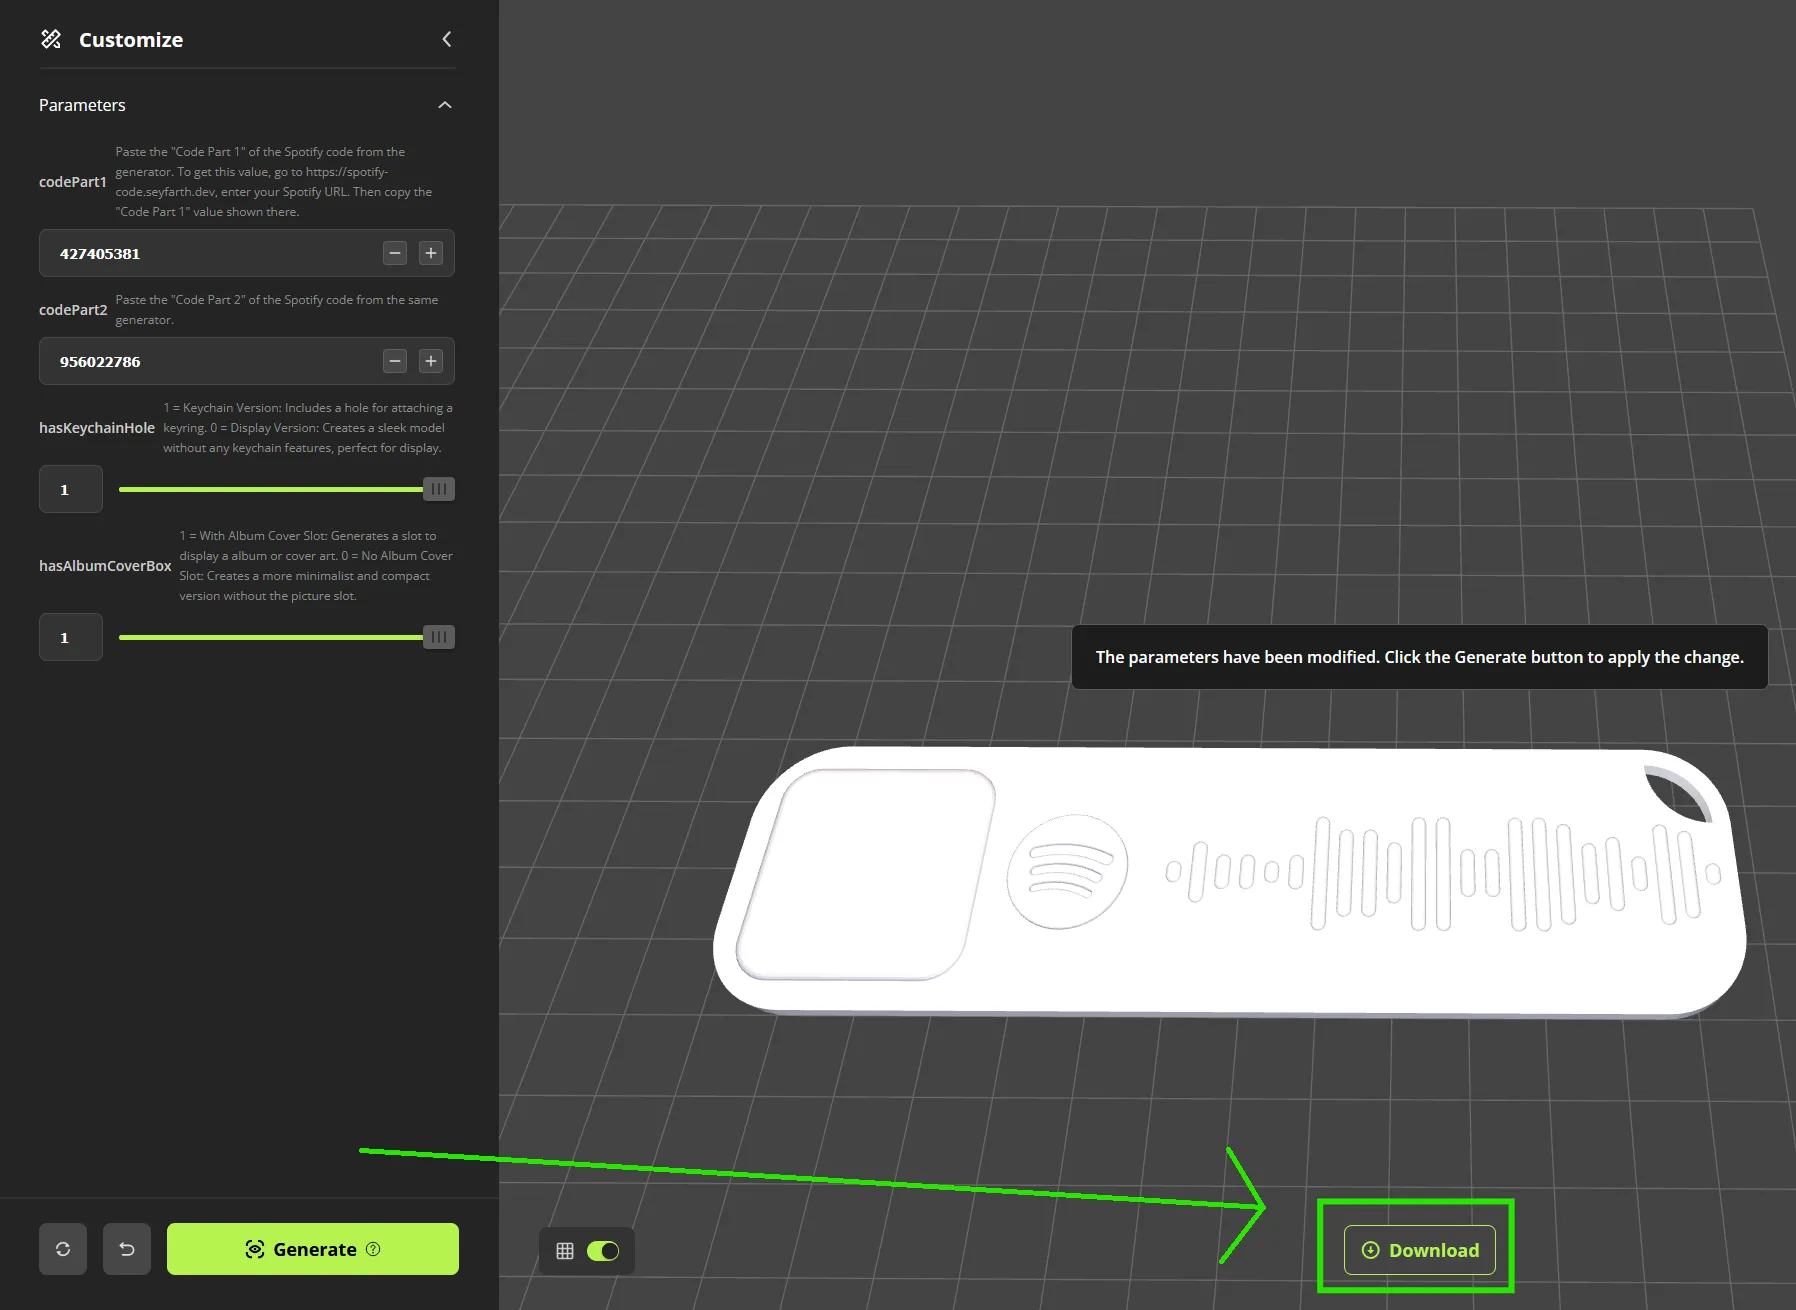
- Make sure you have at least two filament colors available in your “Project Filaments”. If you have only one filament displayed there, click the “+” to add a new filament.
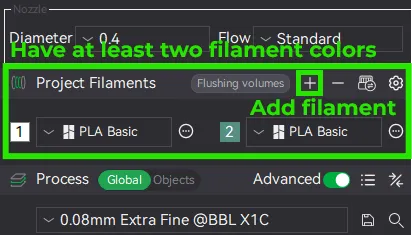
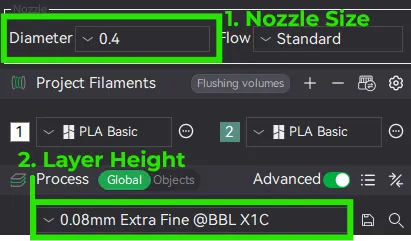
- I recommend printing with a 0.4mm Nozzle with the Preset: 0.08mm Extra Fine
Coloring Options (Choose one):
NOTE: As of July 2026 it is not possible to color a 3d model in the mobile version of Bambu Studio. Therefore this step is not possible on a mobile device but requires the desktop version!
A) Layer Filament Change (recommended)
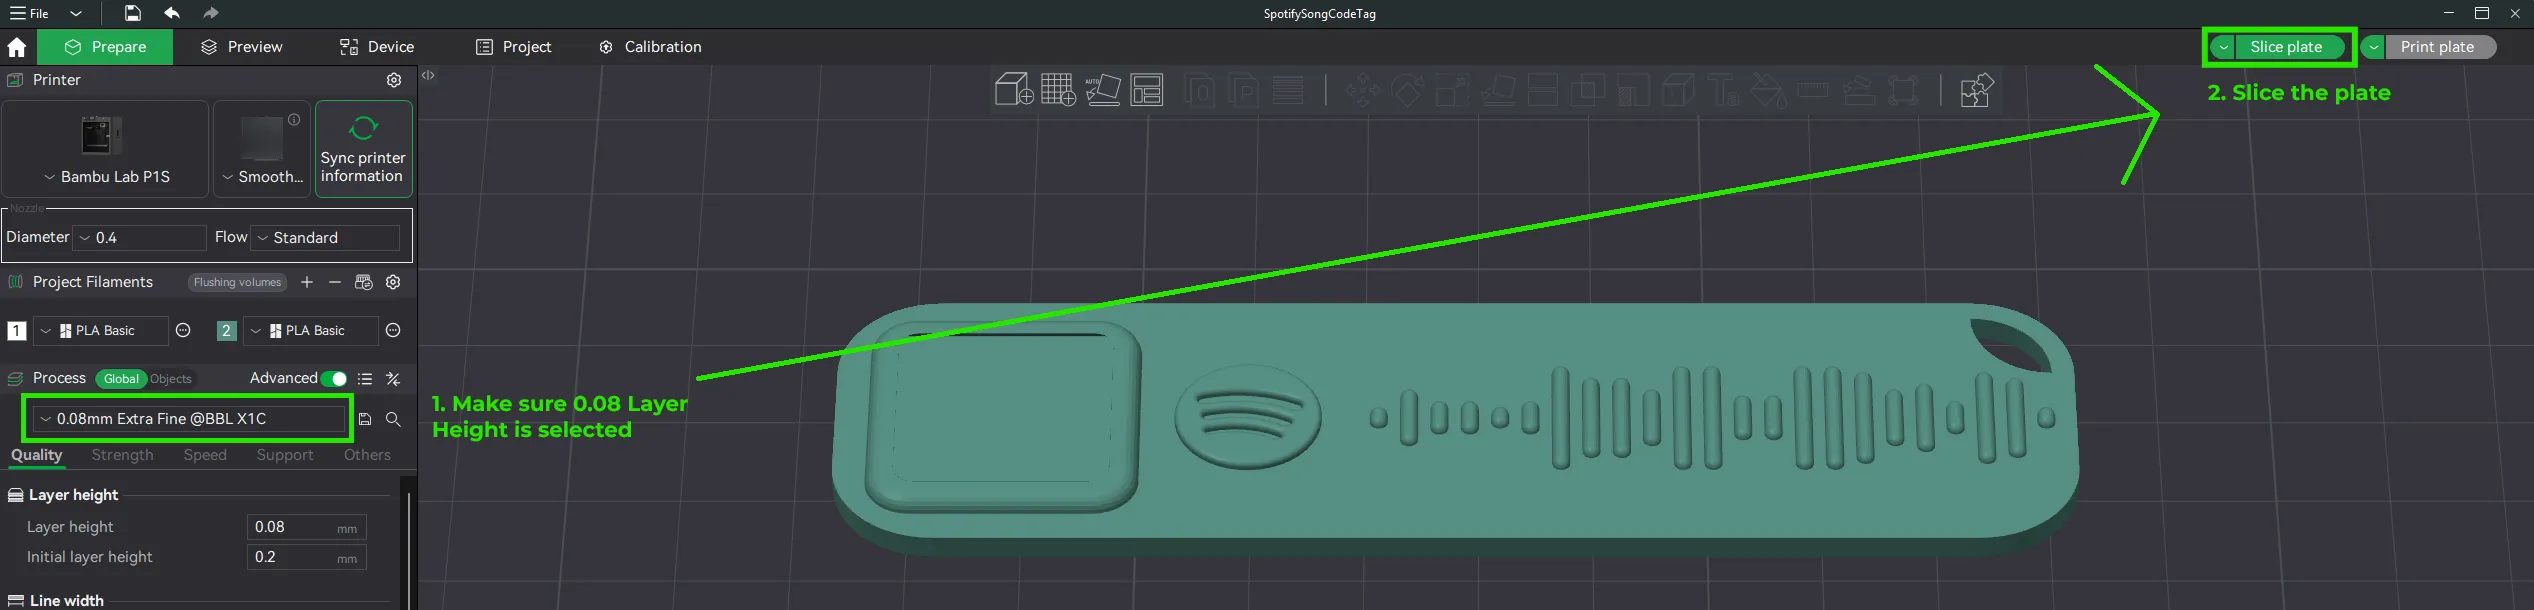
- Make sure the layer height is set to "0.08mm Extra Fine". Then slice the model.
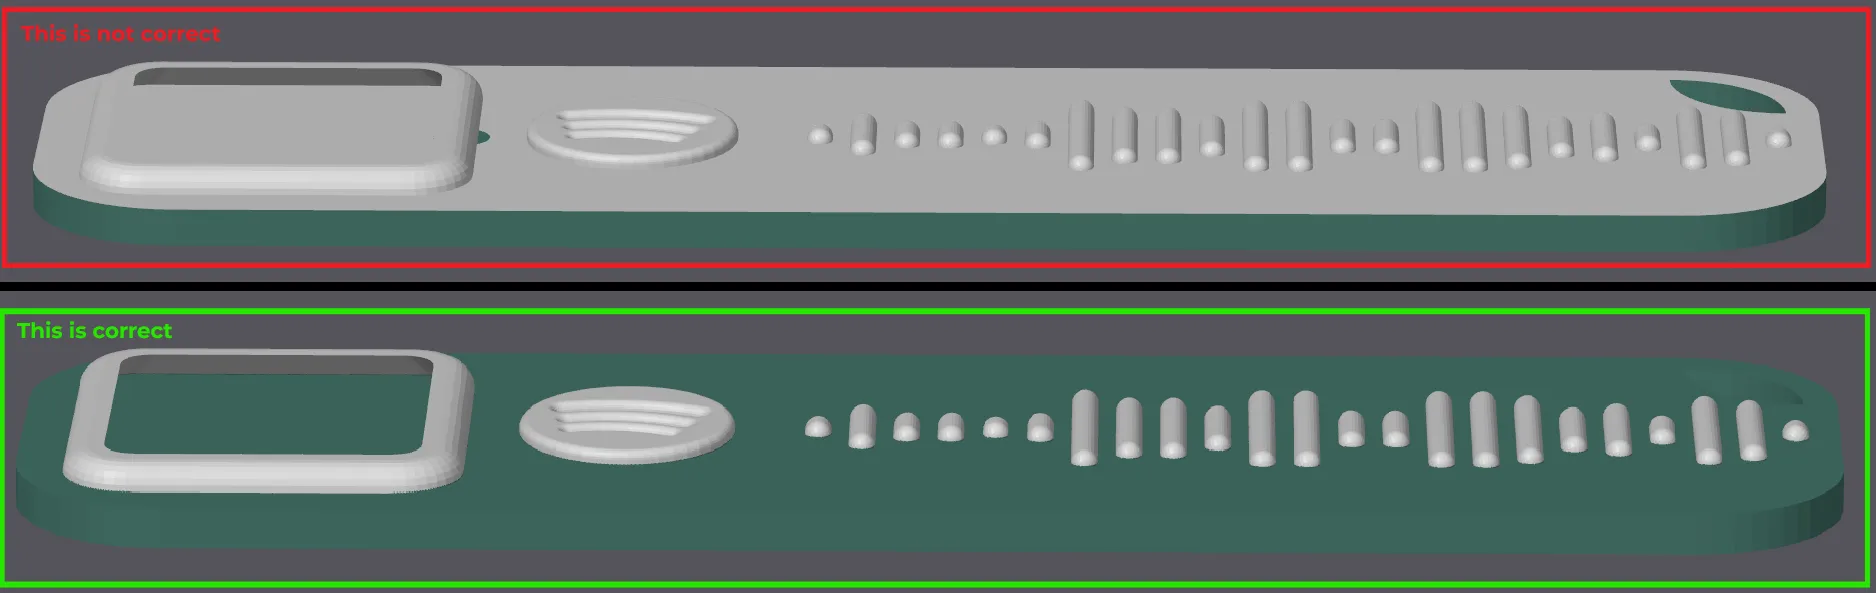
- Slide the top layer slider to Layer 28. Right-click on the “+” icon next to the layer slider. Click “Change Filament” and select the filament you want to use for the Spotify Code Color.
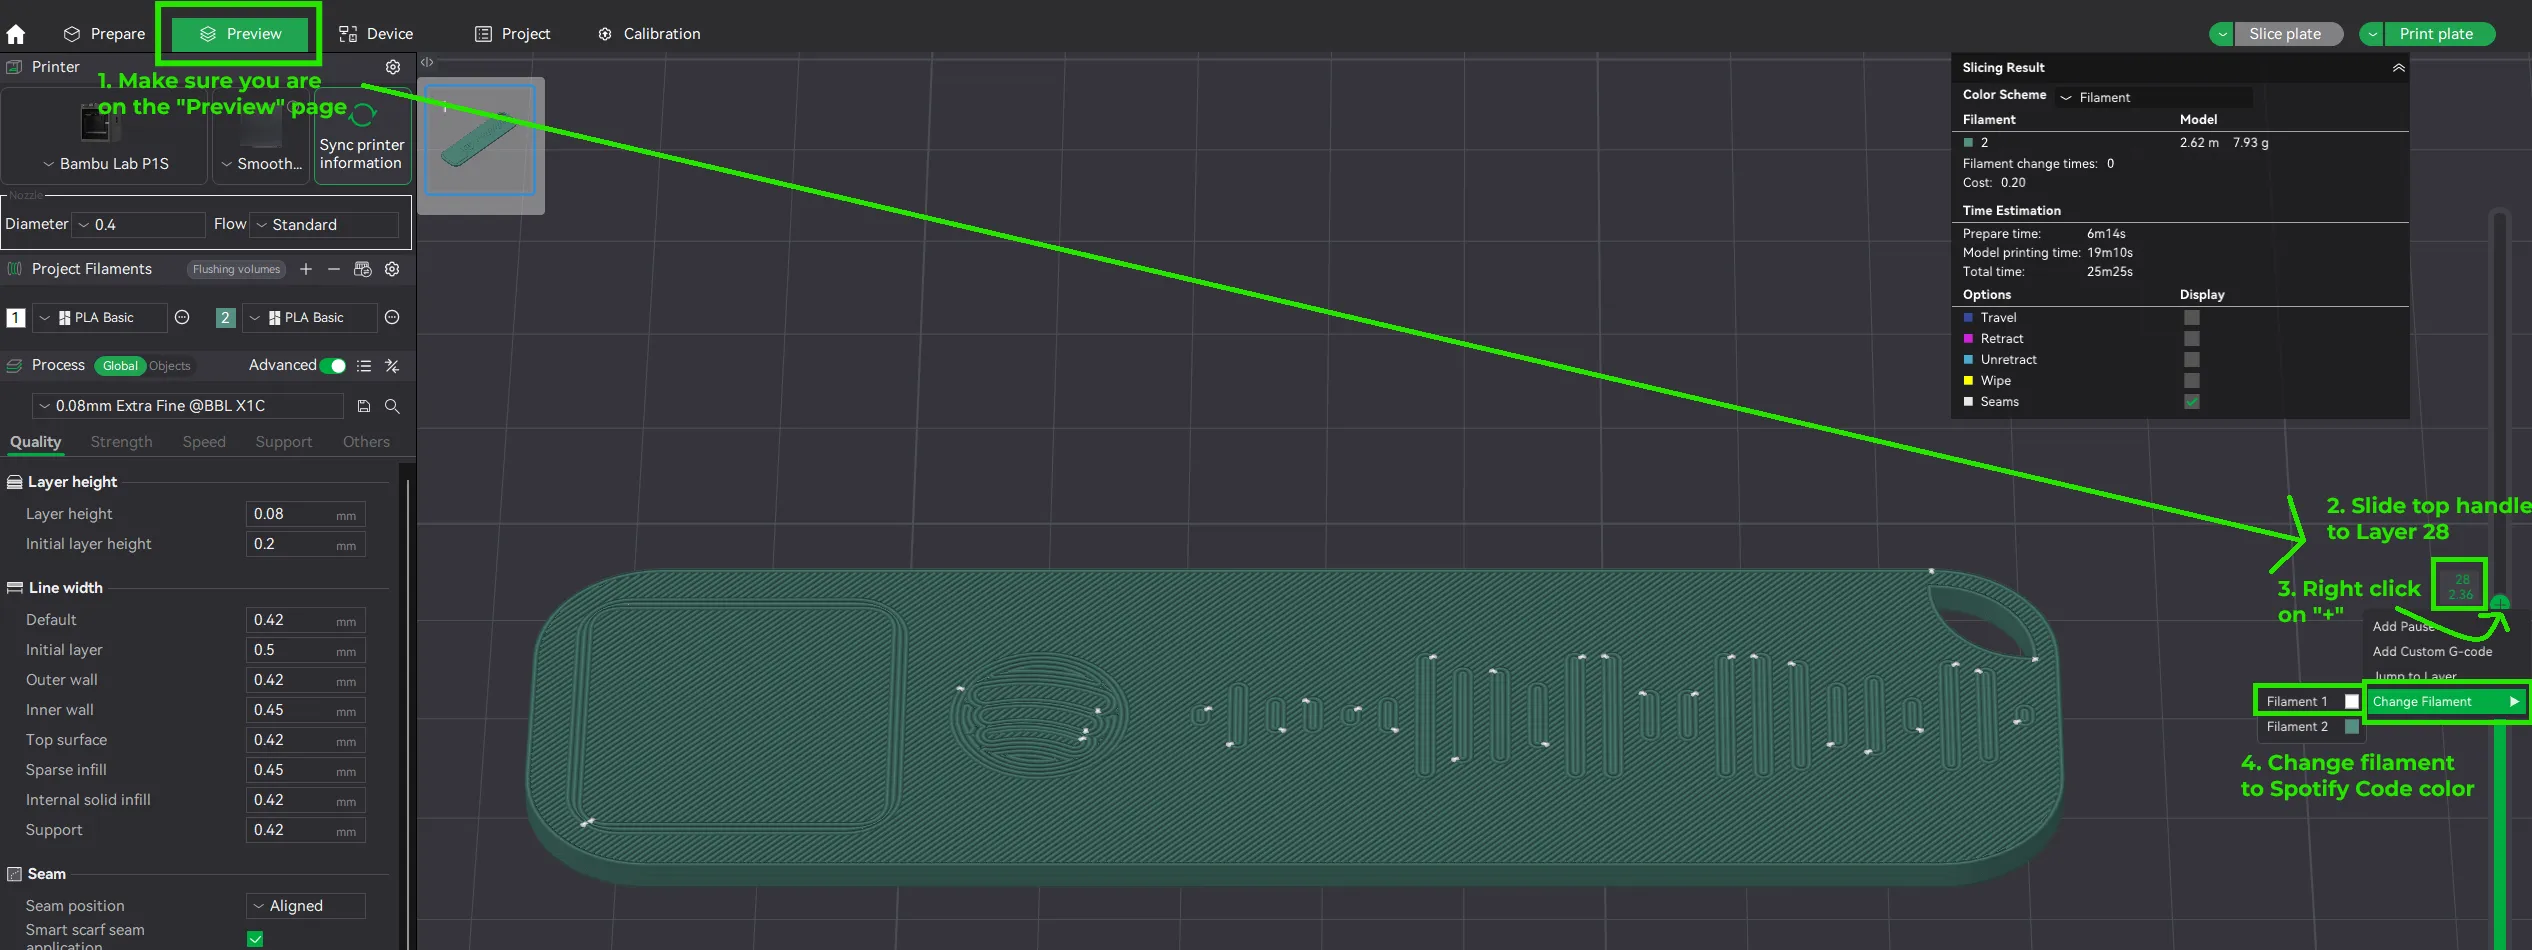
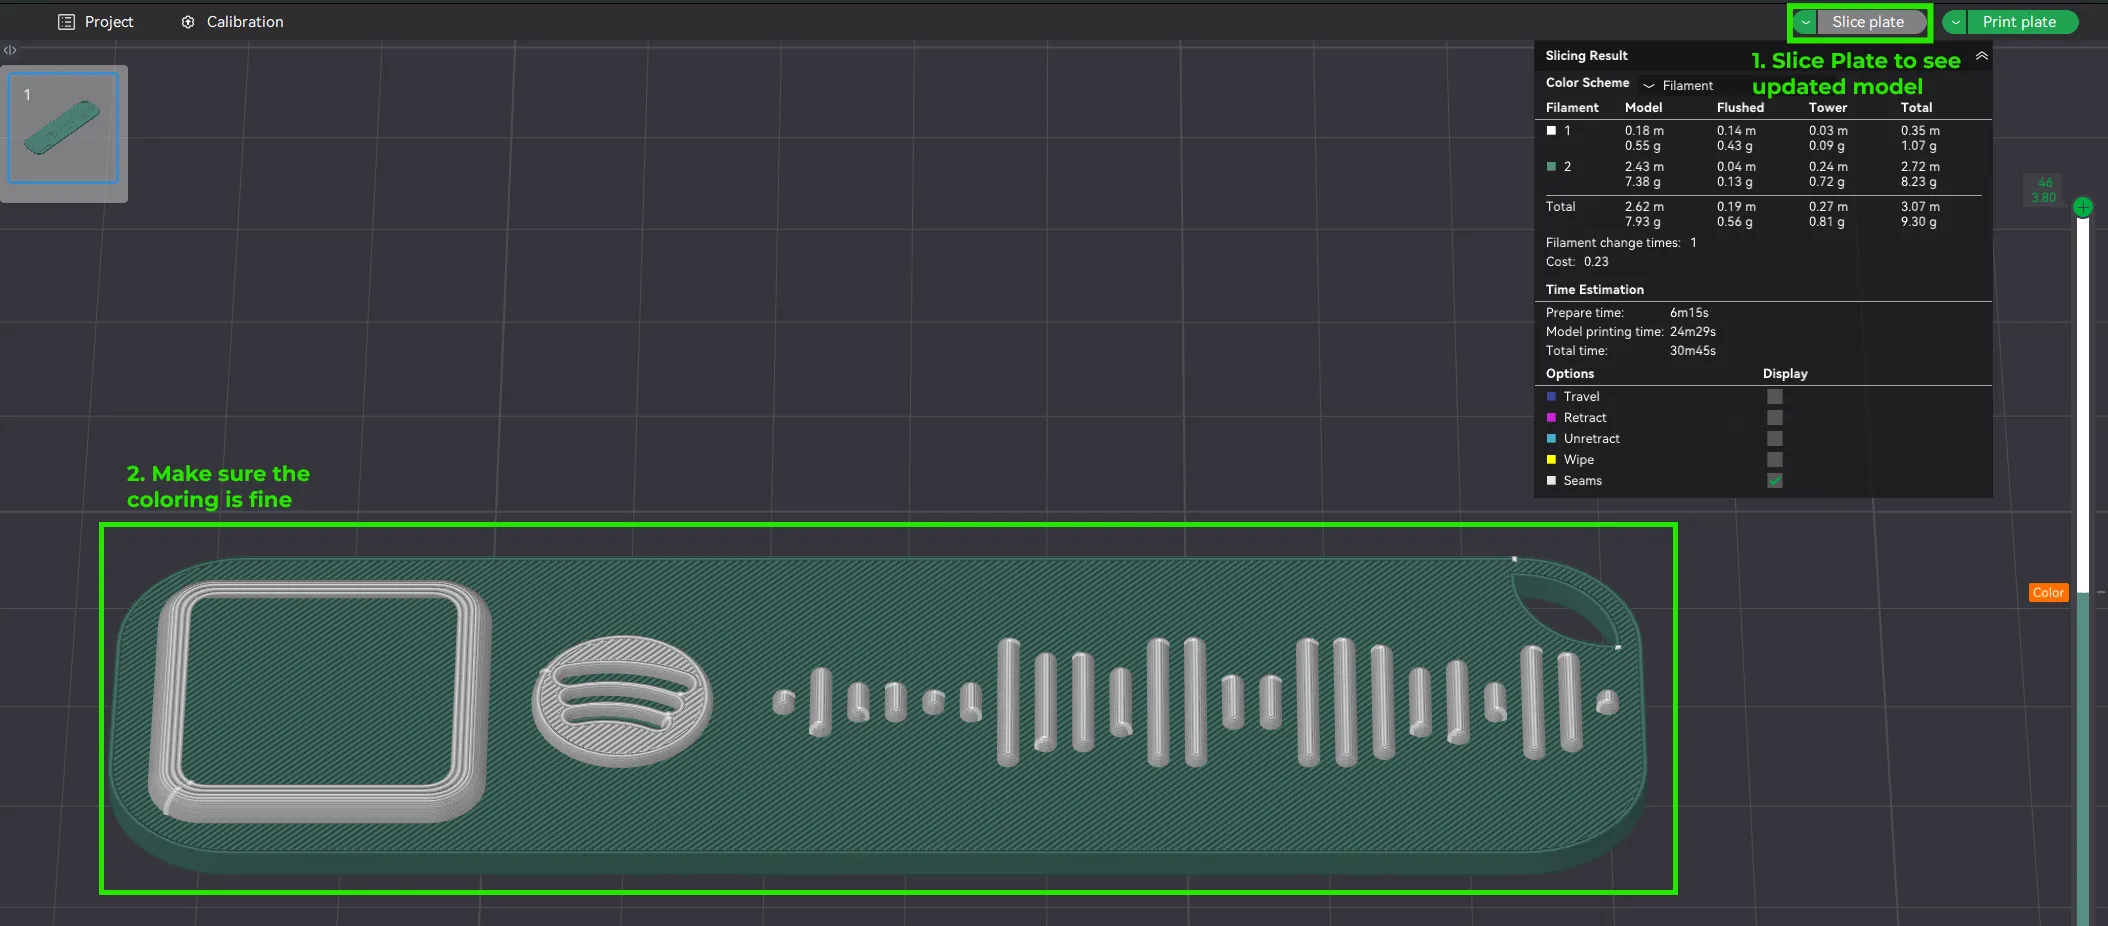
- That's it! You can verify the layer coloring by slicing the model again. Make sure the coloring starts at the first layer that is above the base of the tag.
B) Paint Tool
(You can skip this step if you already colored your model, this is just an alternative way)
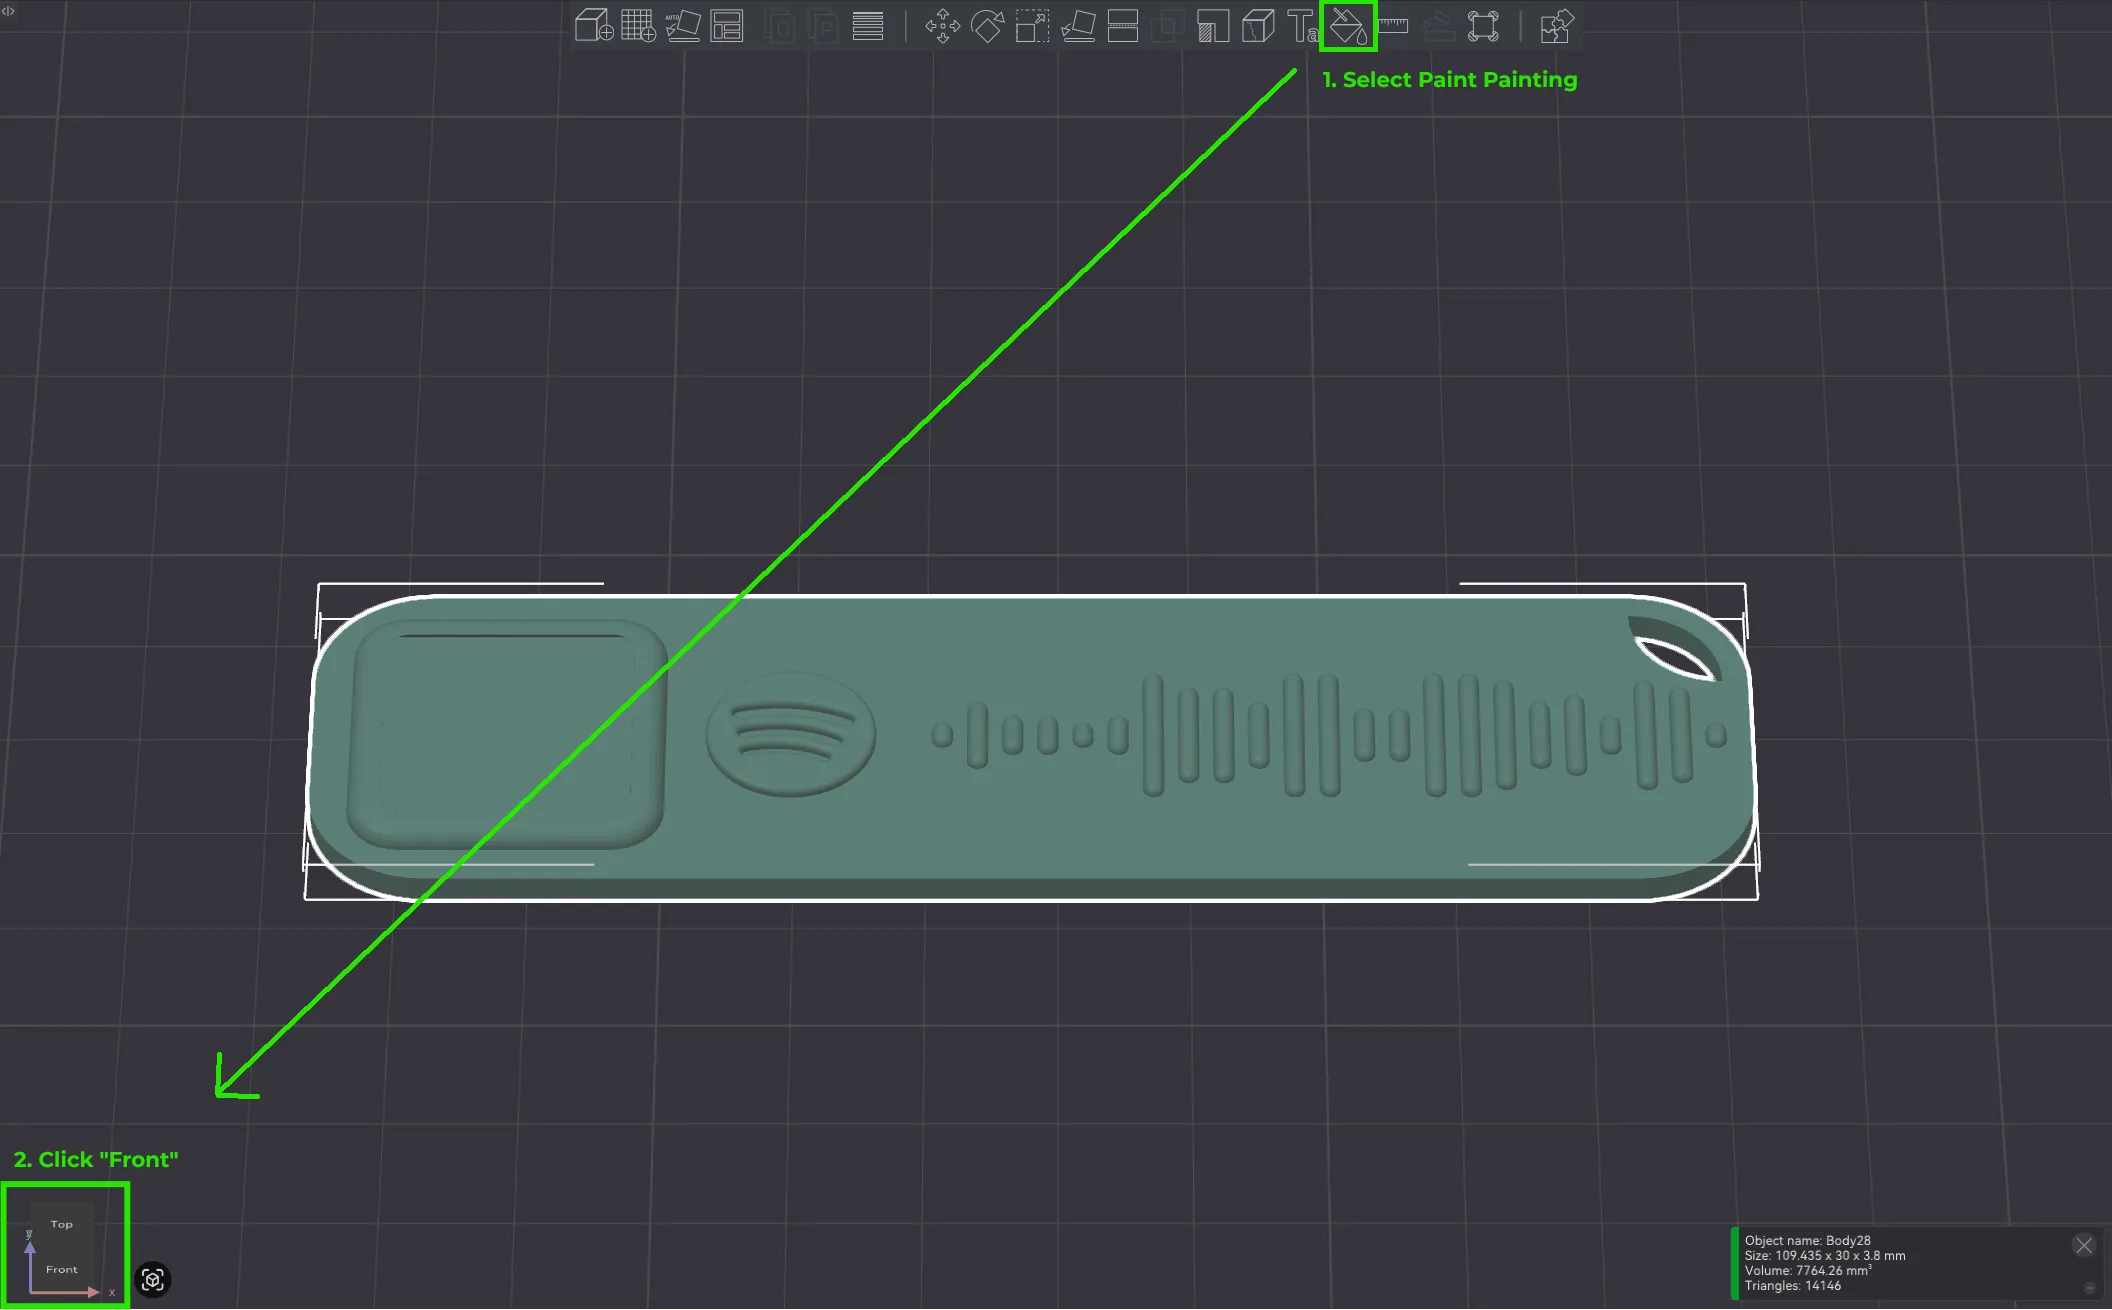
- Click the “Color Painting” Option in the top toolbar. Then click the “Front” view in the bottom left corner, to color the model in the best orientation.
- Select the color you want to paint the Spotify Code in the “Filaments” section. Then select the “Height Range” Tool. Now you can paint the extruded part of the model.
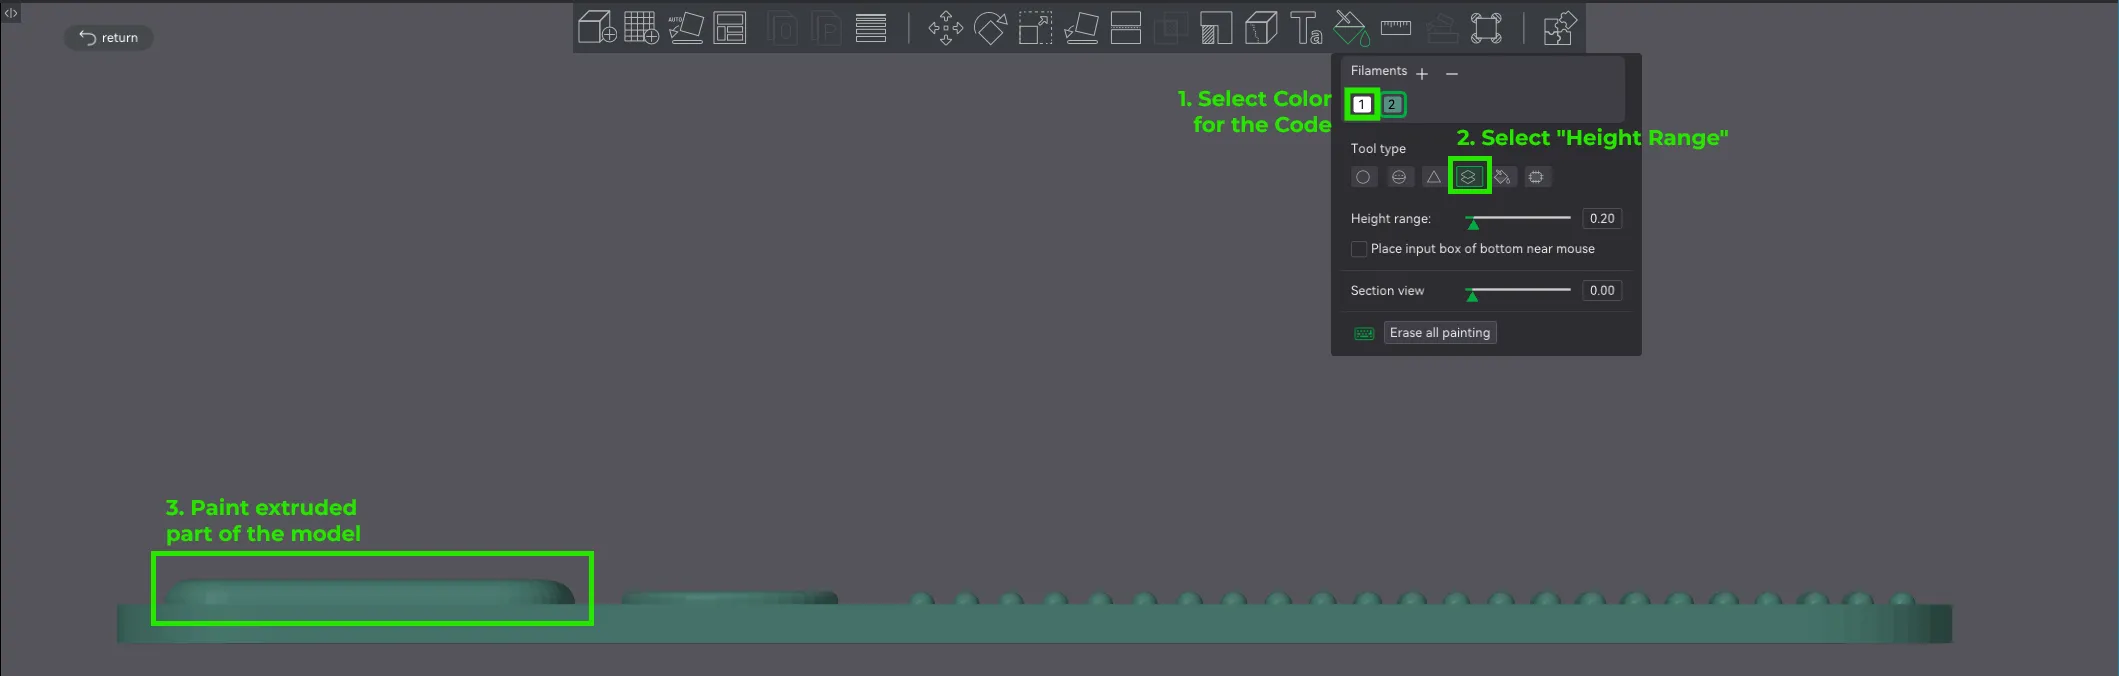
- That's it! Double check that you did not accidentally color the base of the tag, but only the extruded part.
5. Print the model!
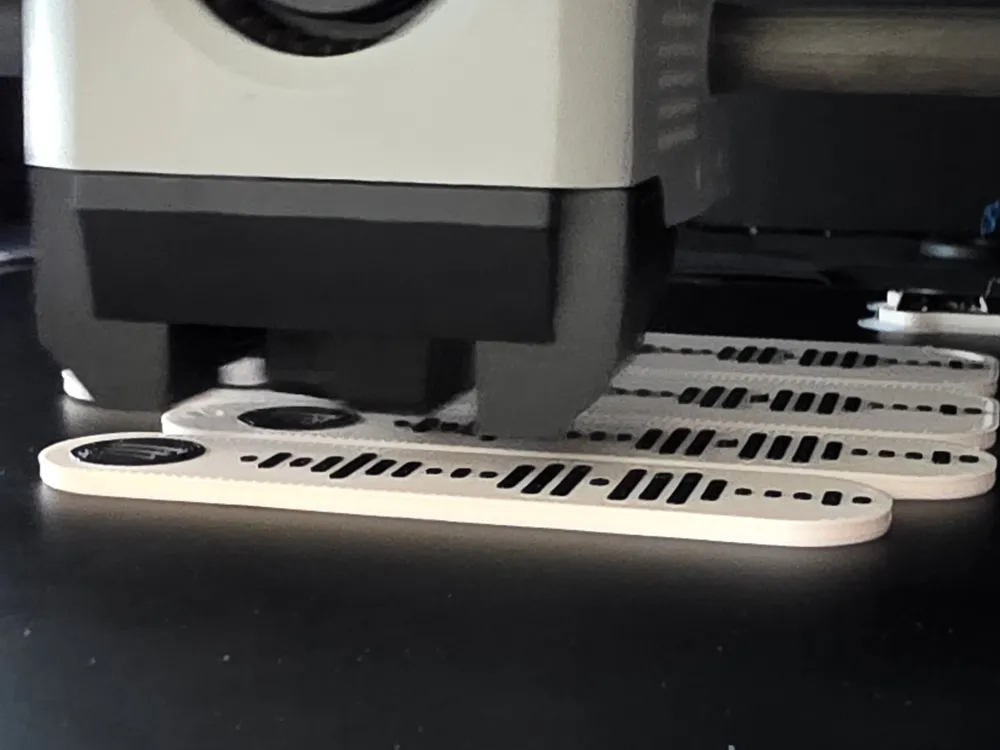
- Now you are ready to print the model! Load filament into your printer and click “Print Plate”.
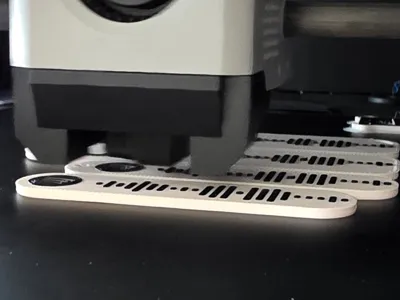
- No Supports or Brim is required.
- Avoid using high-gloss silk filaments for the Spotify Code, reflections can hamper a good shot with your mobile camera.
6. (Optional) Album Cover Print
While the printer is doing its job… (And you don't want to watch the crazy printing magic that happens)
If you chose the option “hasAlbumCoverBox” there is a cutout on the left side of the model where you can insert the album or cover art of the track or podcast you chose.
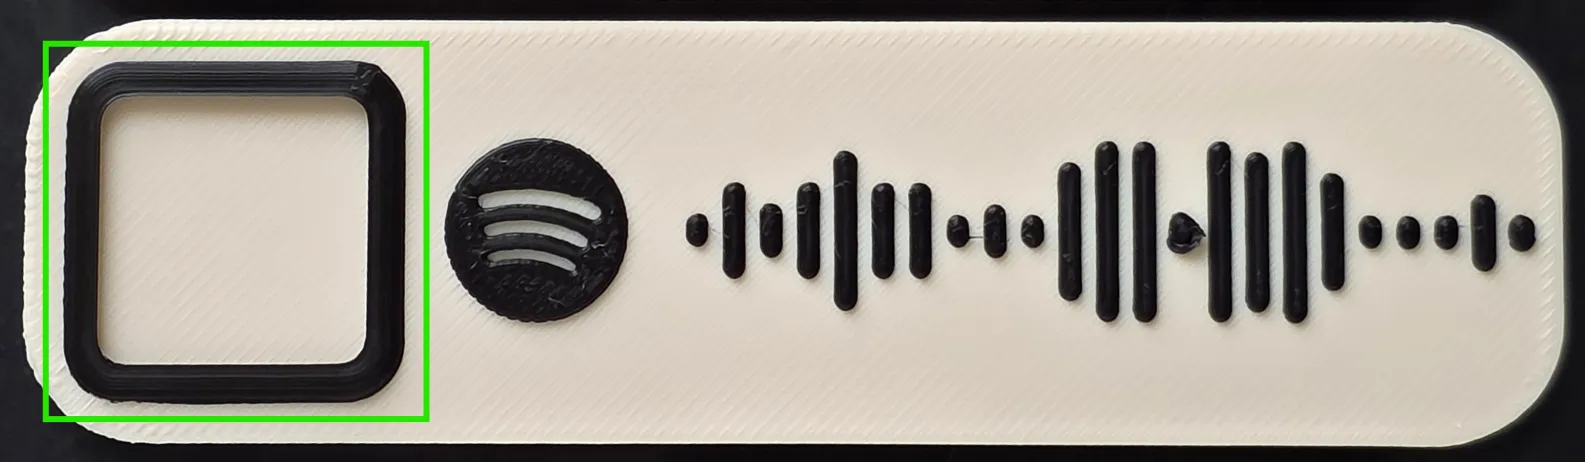
You have to print this picture with a 2D ink / laser printer (with paper).
Recommended picture insert size is 20mm x 20mm (0.8 x 0.8 inches)
Don't worry, you don't have to get the album cover art somewhere and you also don't really have to worry about the size. Let me explain.
The picture is also provided on the website:
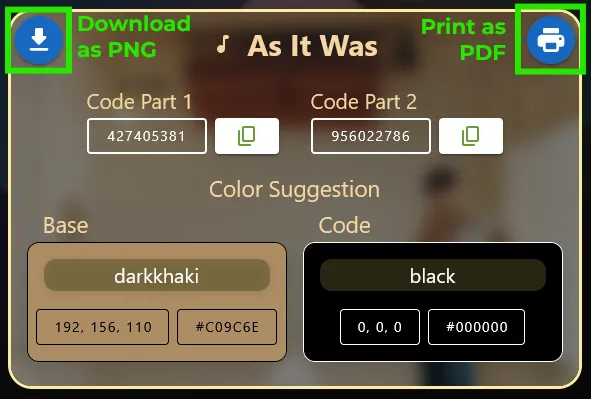
- Print the picture as a PDF via the “Print” Button. This provides a PDF File with the picture placed in the middle of the page making sure it's easy to print. (Recommended if you only want to print one album cover)
- You can find a PNG version via the “Download” Button. Then you can place the downloaded picture manually in a Word or LaTeX File (e.g. via \includegraphics[width=20mm,height=20mm]{image1.png} ) (Recommended if you want to print more than one album cover to save paper)

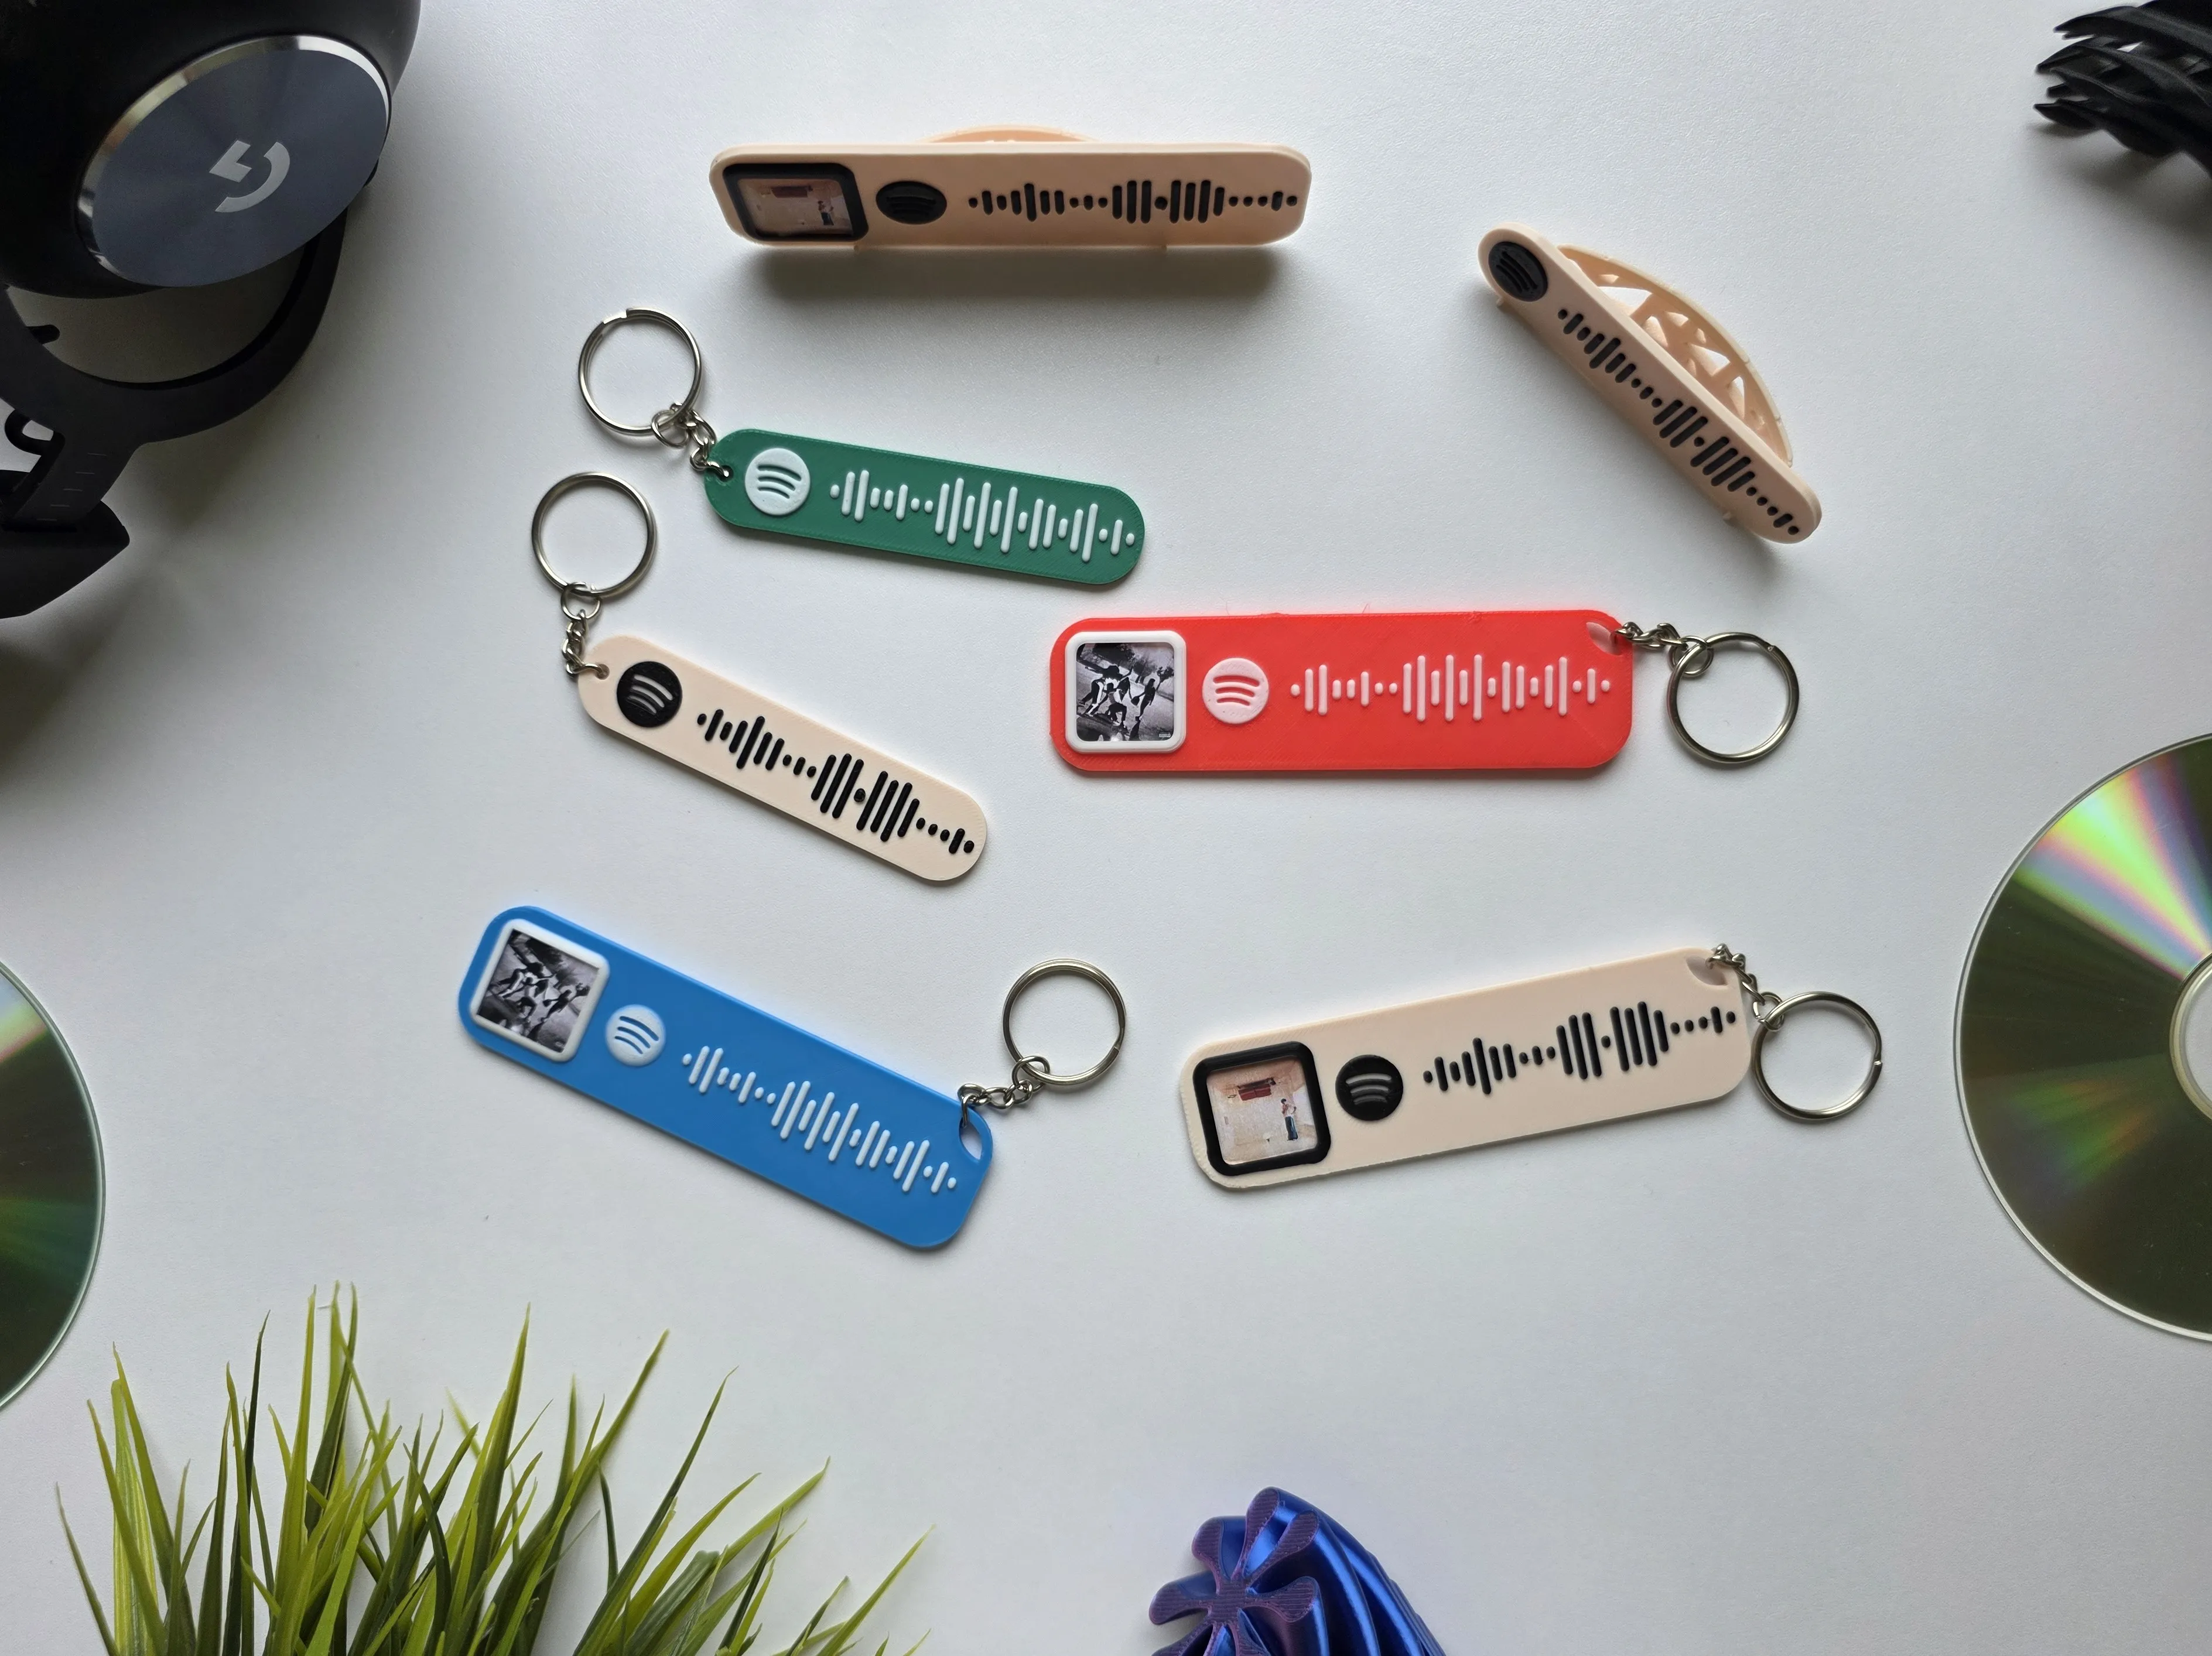
| WITH keychain hole | Without keychain hole | |
|---|---|---|
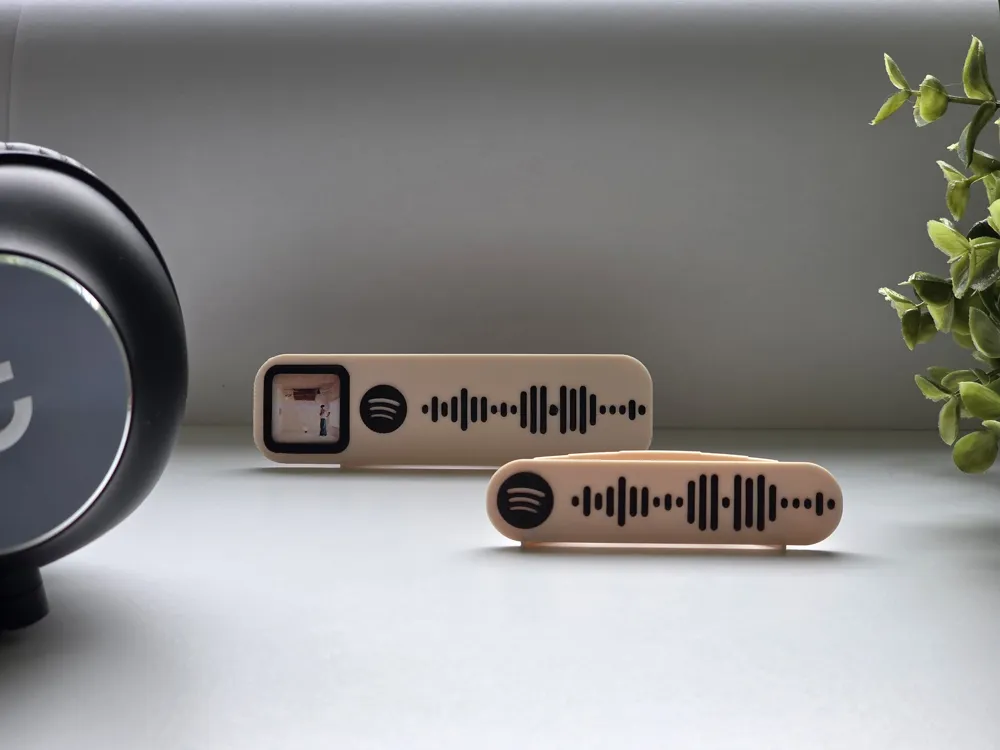
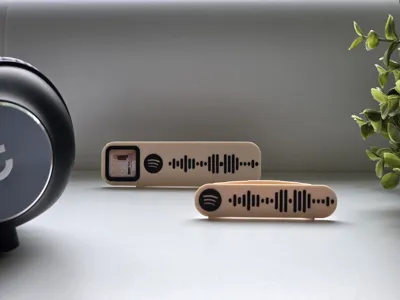
| WITH album cover box | Album Keychain: For keychain collections or to hang it down as a unique decoration piece | Album Tag: Perfect shelf display beside your CDs / Vinyl collection or on top of you desktop. |
| Without album cover box | Pocket keychain: Everyday carry, small and sleek design featuring your favorite audio | Minimal Ornament: A sleek and minimalist plaque for your personal or office desk. |
These are of course just some recommendations. There are many other uses. Feel free to feature your use case in the comments!
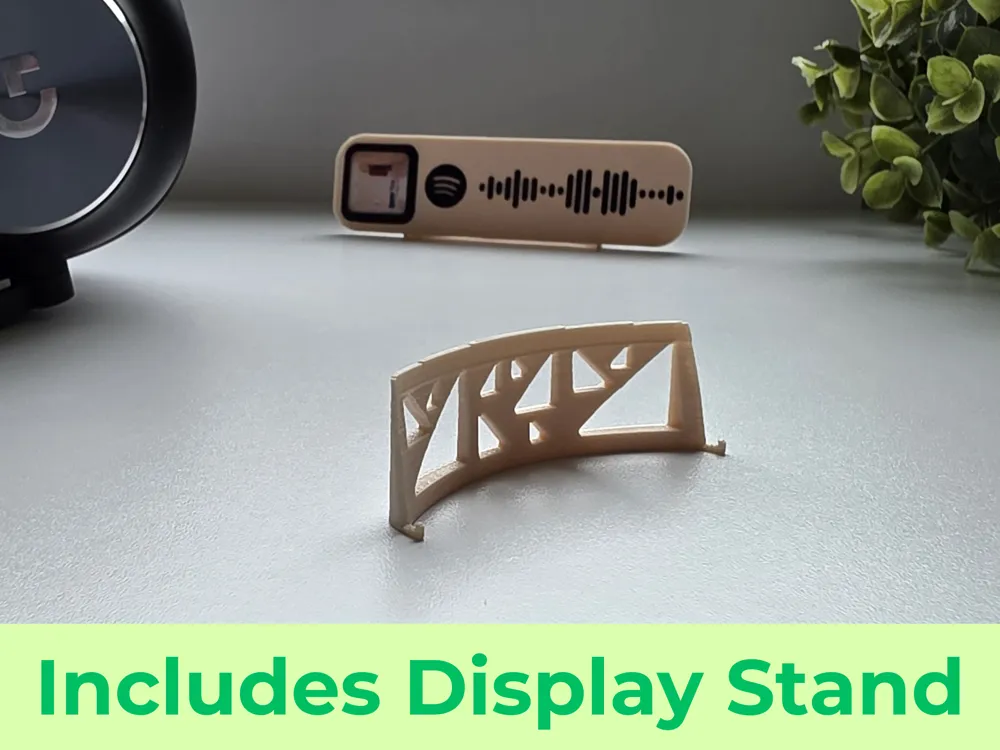
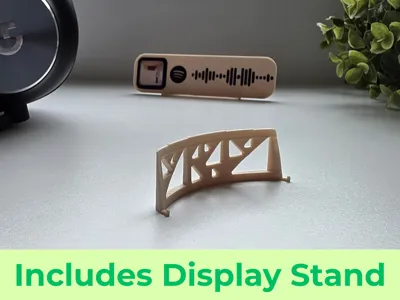
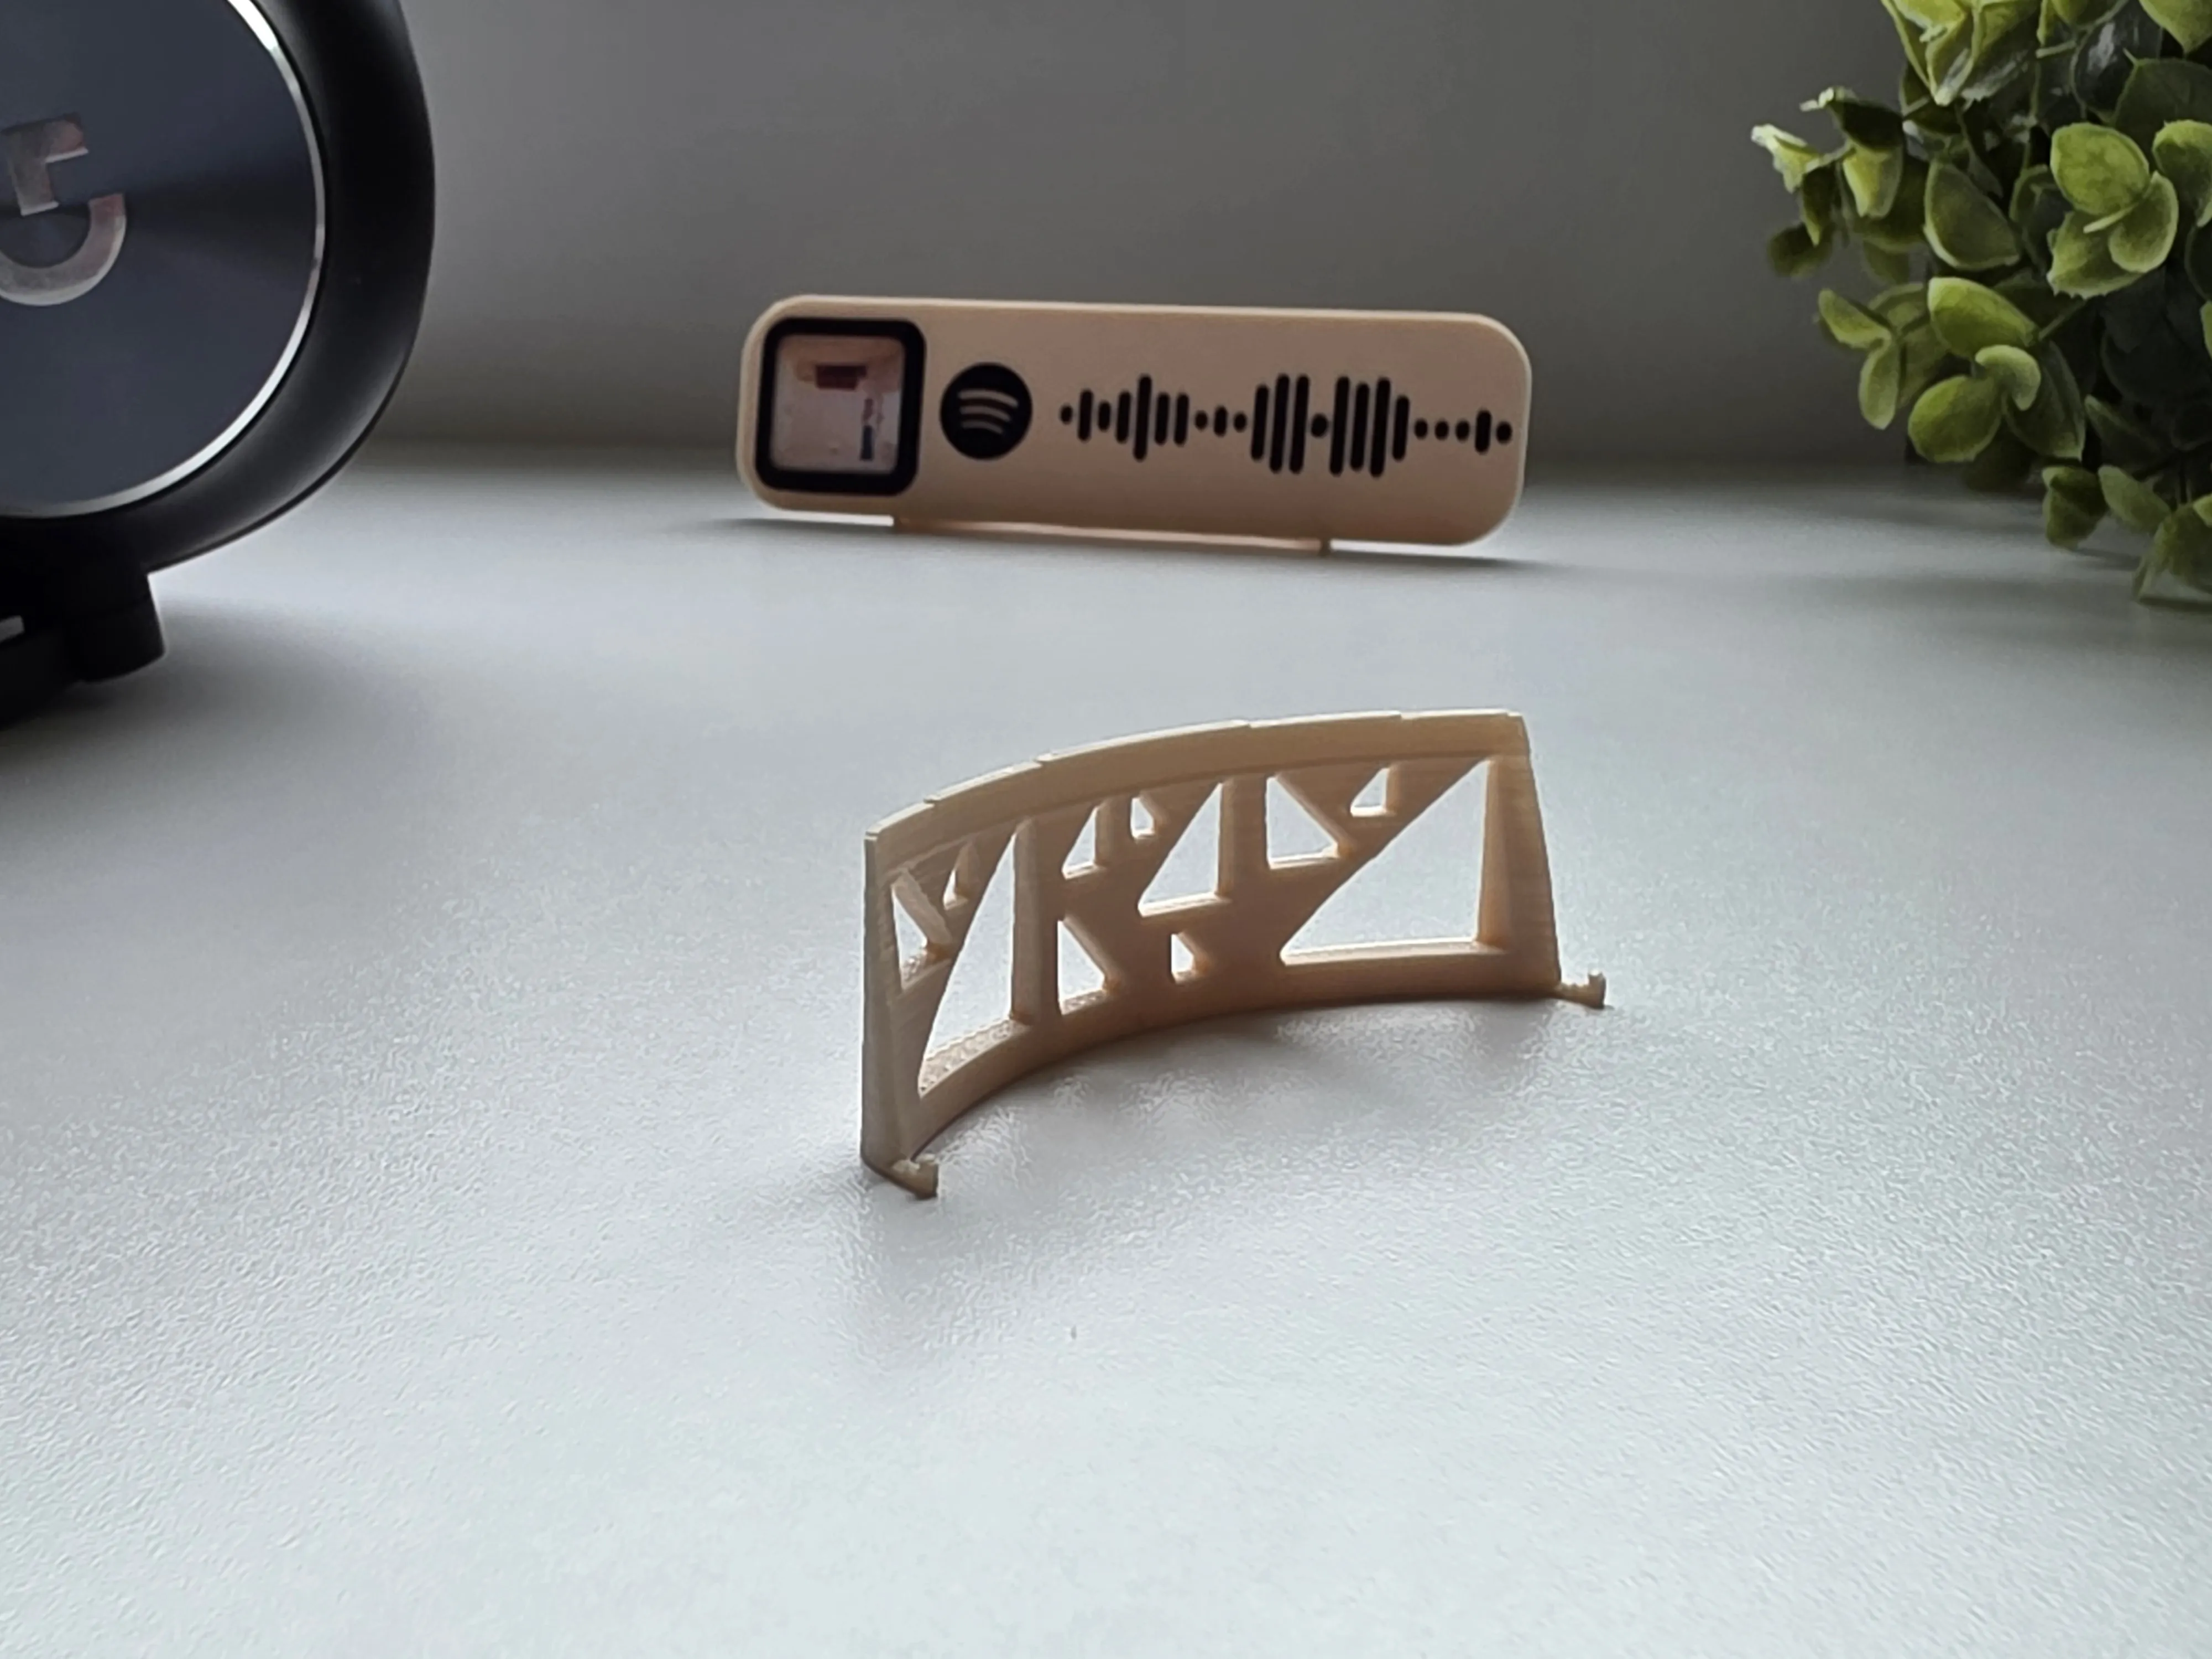
If you choose a version without a keychain hole, one print profiles include a Display Stand to easily showcase your personalized tag on any flat surface.

How do these codes work?
The Code Generator will transform the Spotify URL into the Spotify Code Image and detects via image recognition the bars in the Spotify Code. It will then transform them into a list of numerical values from 0 - 7 that correspond to the height level of the bar. One Spotify Code includes 23 Bars, excluding the guard rail bars (first, middle, last one) which are necessary to normalize the height of the bars, there are 20 bars that carry the data. Those 20 numerical values are then encoded into Base 8. After that the resulting large code is divided into two smaller codes, because Fusion 360 (which i used to design the 3D model) does not support such large numbers as parameters. These two codes are provided on the Code Generator website. In the Fusion 360 parameters the exact opposite happens: The codes are decoded into the 20 data values and from those the 3D model is constructed!
If you are really curious: Everything (Frontend and Backend) is open source. If you want to dive deeper you can take a look at the logic on this [GitHub Repo]
What is with the text that was available on the first version of the model?
You might recall my v1 version of this model, which included additional text for the artist and song title. Due to current Fusion360 model parameter limitations, text customization is not yet possible. This feature may be provided in the future when there is support for text parameters :)
Note: The website connected with this project is created by and intended for the 3D printing community, with no advertising purpose.
License

You shall not share, sub-license, sell, rent, host, transfer, or distribute in any way the digital or 3D printed versions of this object, nor any other derivative work of this object in its digital or physical format (including - but not limited to - remixes of this object, and hosting on other digital platforms). The objects may not be used without permission in any way whatsoever in which you charge money, or collect fees.


Comment & Rating (190)