
Print Profile(1)

Description
English Version
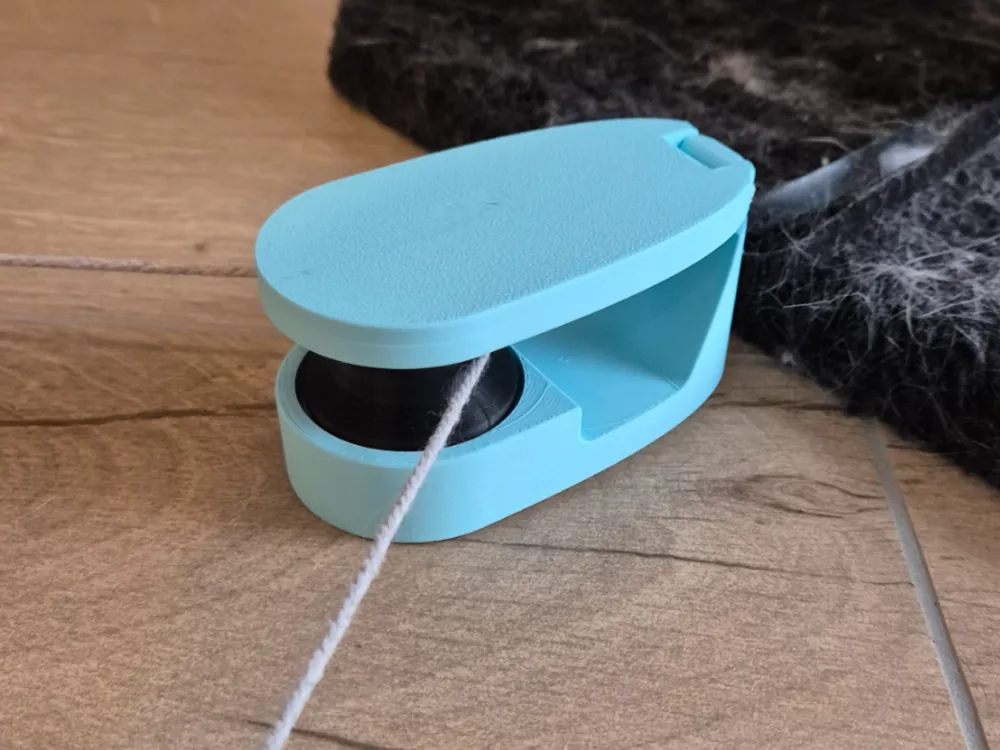
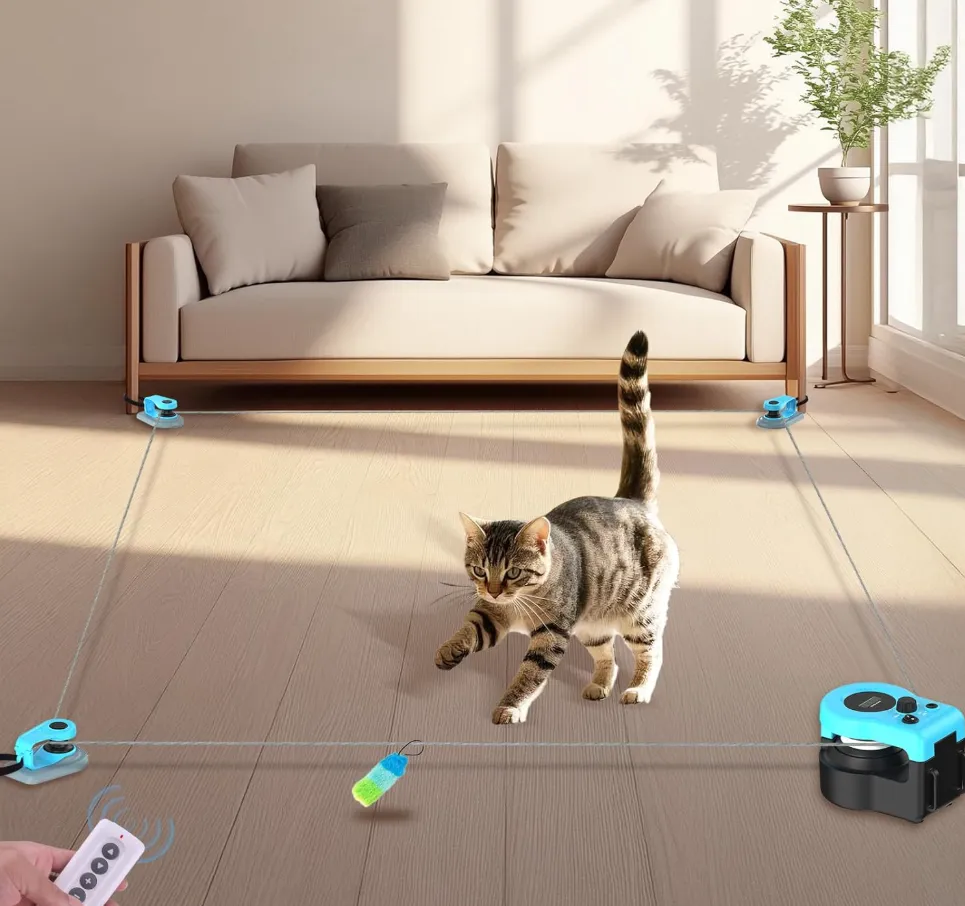
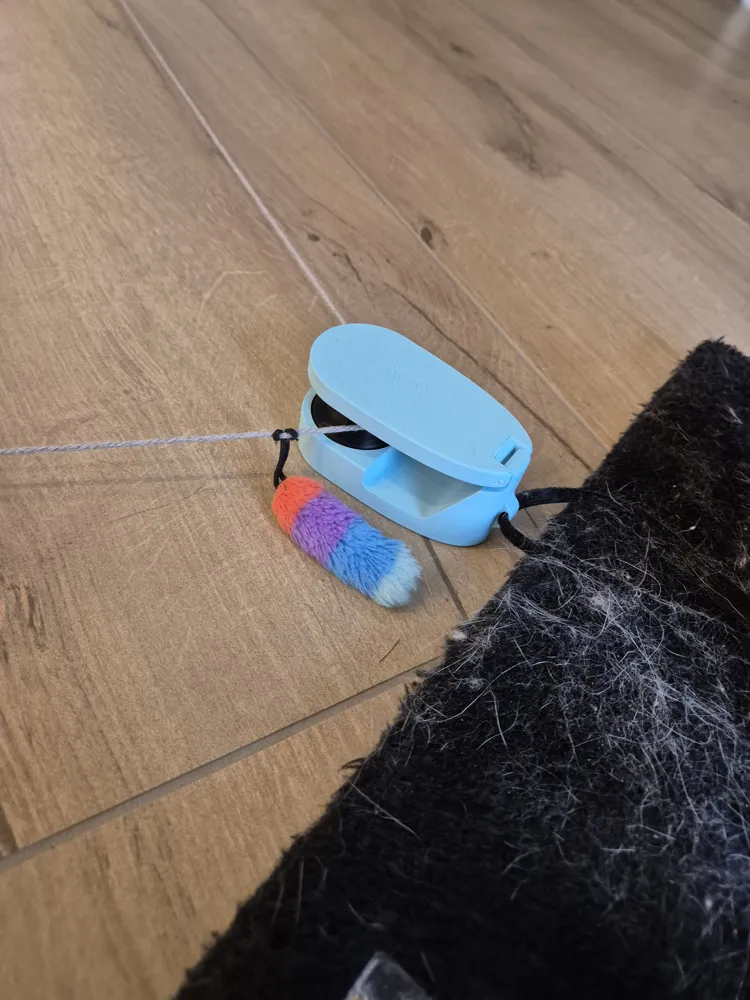
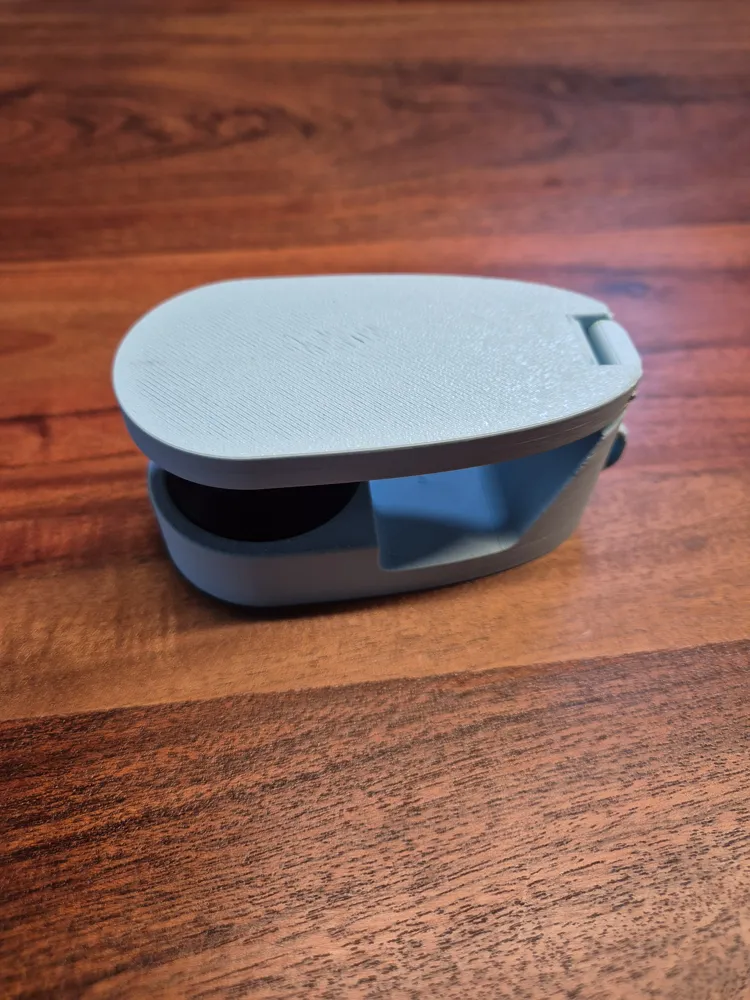
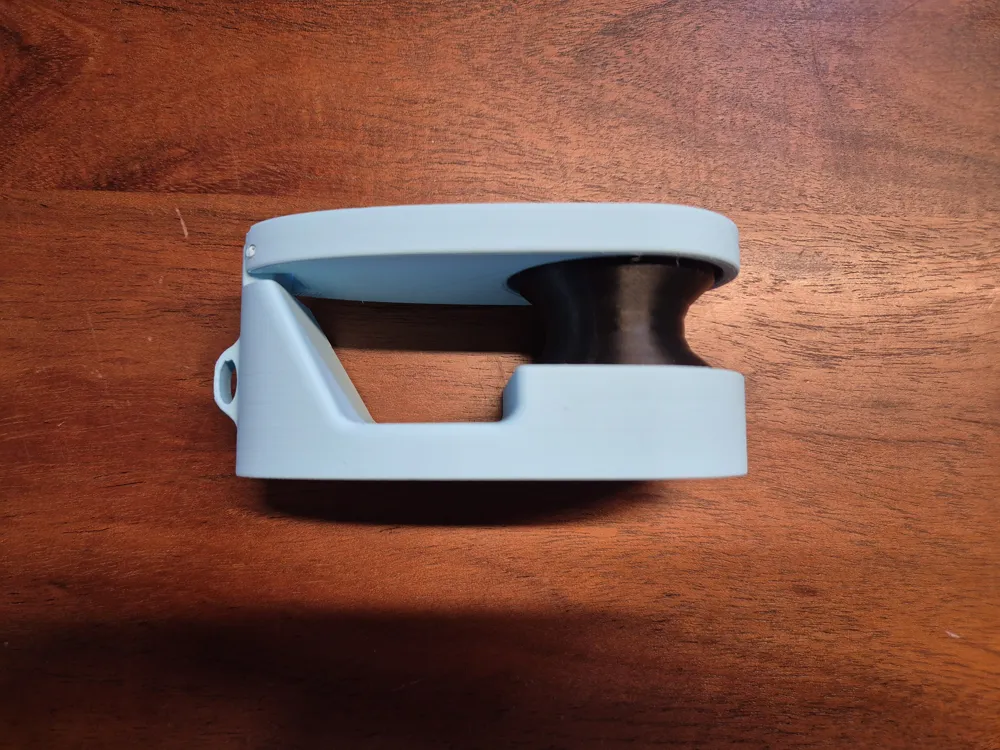
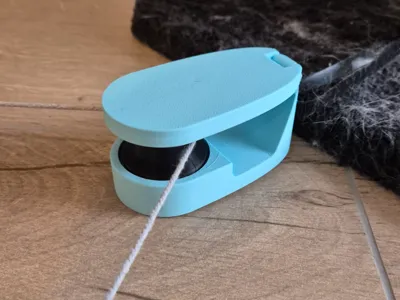
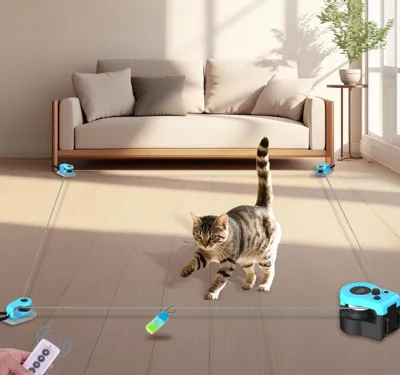
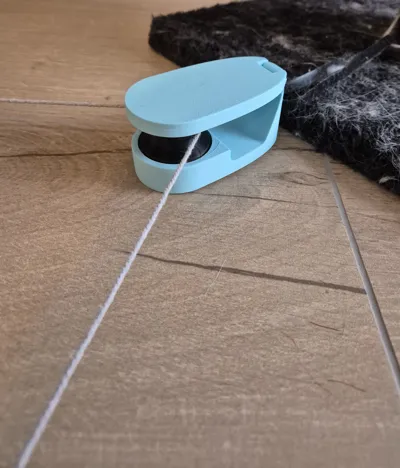
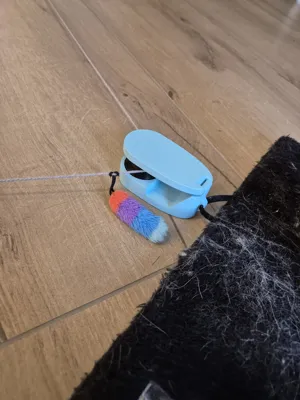
I designed the Pounce Pulley because the original track for our automated cat toy was just too small and simple for my curious cats. I wanted to give them a larger, more complex, and more exciting course to keep them engaged and active.
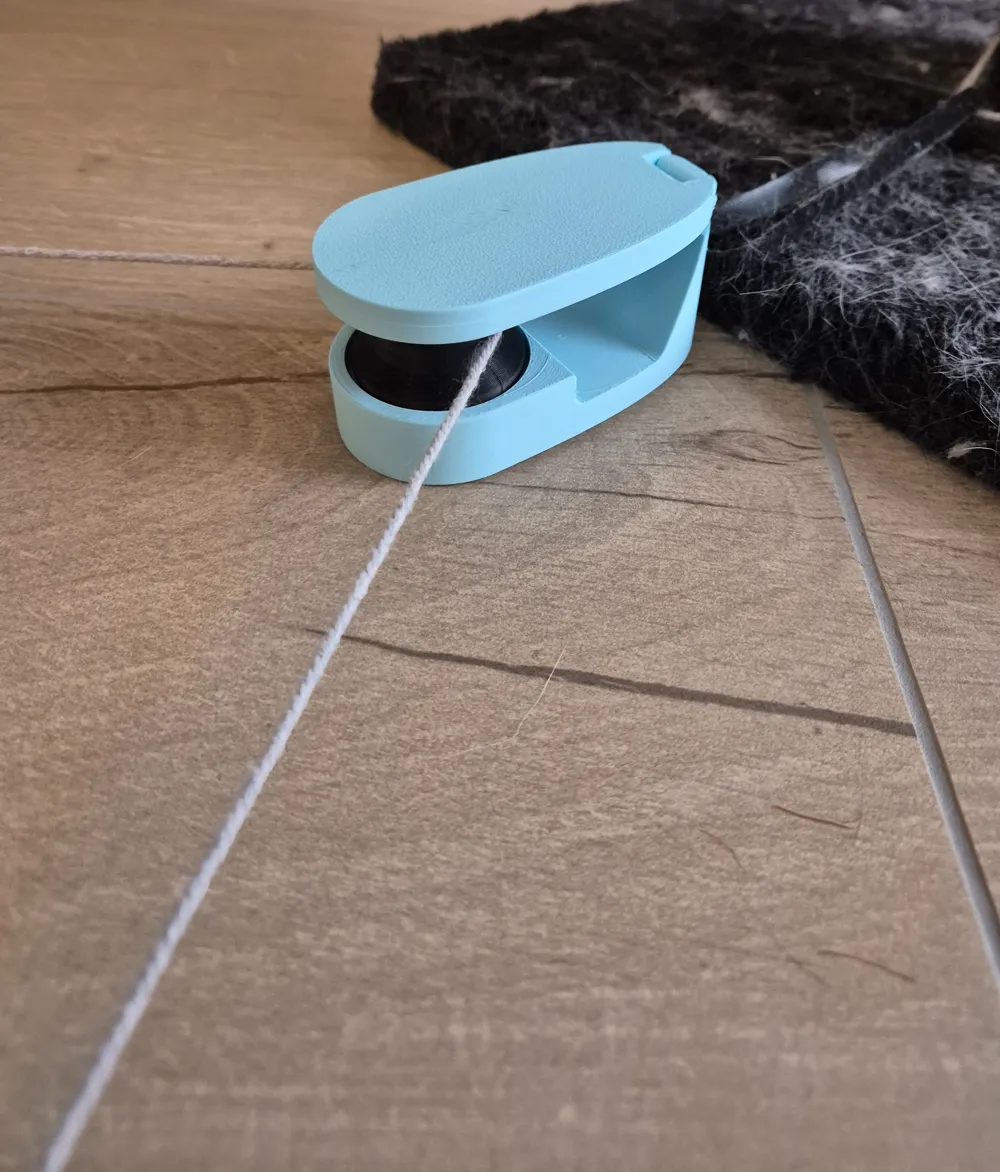
Since you can't buy these corner pulleys separately, I decided to design my own robust and reliable version. This allows anyone to expand their cat's race track, create multi-level setups, or simply replace a lost or broken part.
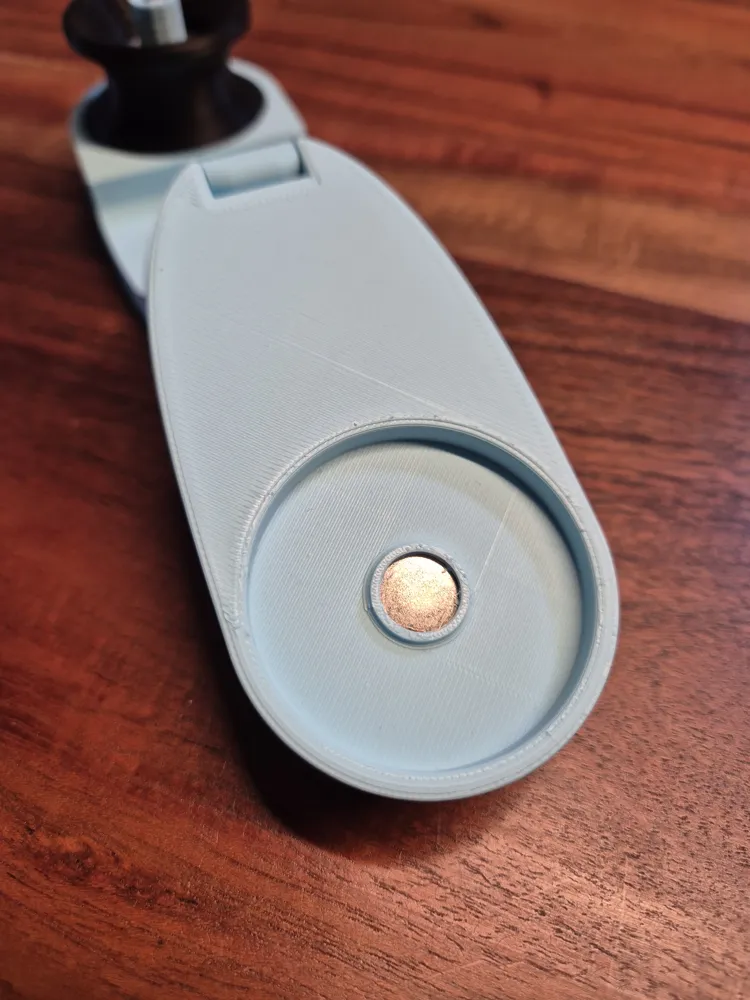
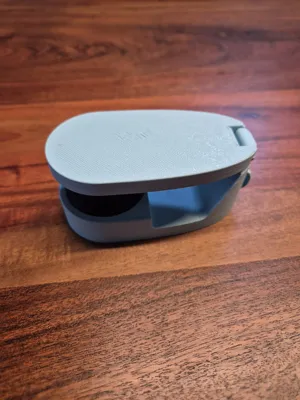
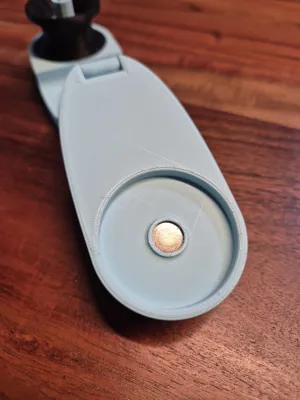
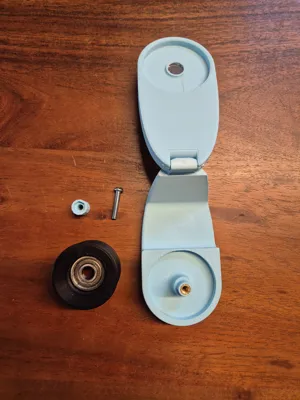
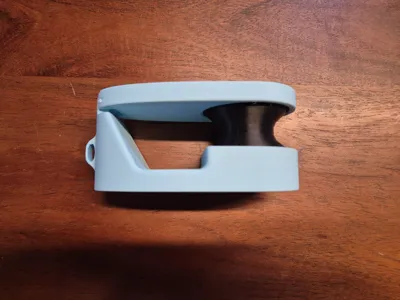
This design uses a standard 608Z bearing for a super smooth roll and features a very clever magnetic closure. A magnet is permanently embedded inside the Top Case during the printing process. When closed, it attracts the head of the M4 screw seated in the Base, keeping the housing securely shut with a satisfying click, while still allowing for easy access.
Required Materials (Bill of Materials)
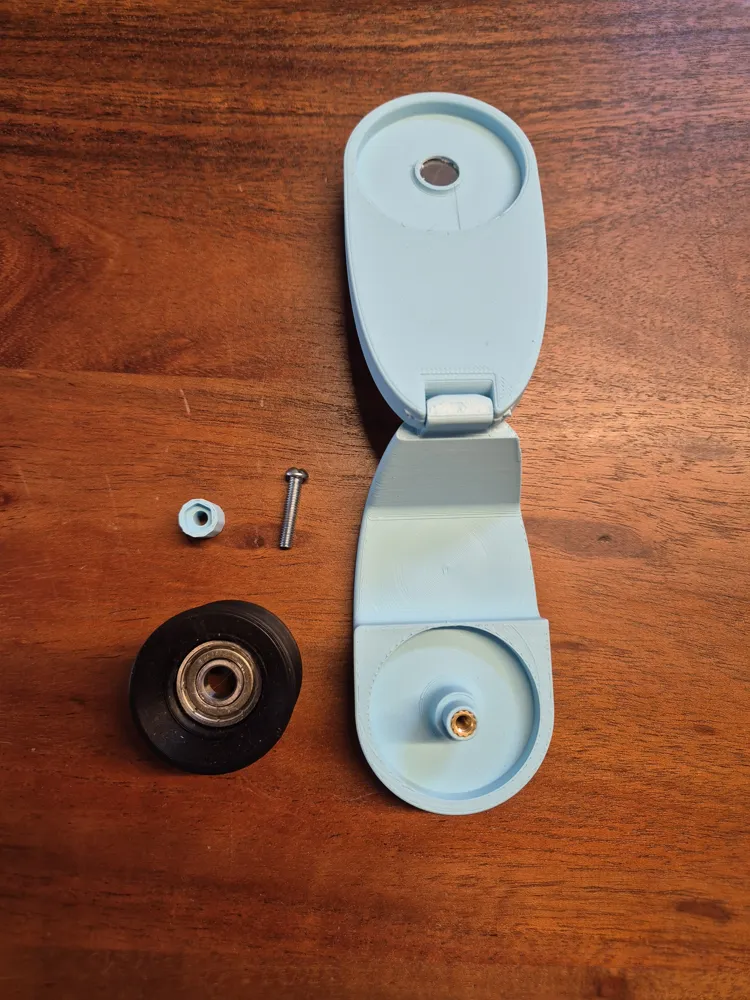
To assemble one Pounce Pulley, you will need:
- 1x 608Z Bearing (This can be salvaged from the original toy's wheel)
- 1x M4 Screw (length ~20mm is ideal)
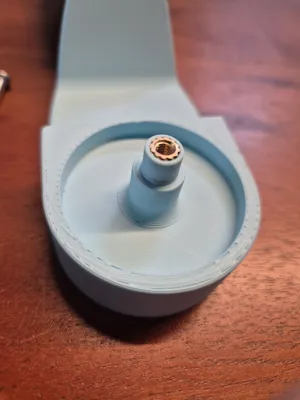
- 1x M4 Heat-Set Threaded Insert (e.g., Ruthex M4, approx. 6mm outer diameter)
- 1x Neodymium Magnet (12mm x 3mm) OR 2x Neodymium Magnets (12mm x 1.5mm)
- A small piece of 1.75mm filament (a scrap piece is perfect for the hinge pin)
- 1x The printed Spacer part
Assembly Instructions
- Printing Note - Inserting the Magnet: The Top Case file includes a print pause. When your printer pauses, carefully place the magnet(s) into the cavity that has been printed. Afterwards, resume the print. The magnet will now be permanently and seamlessly sealed inside the part.
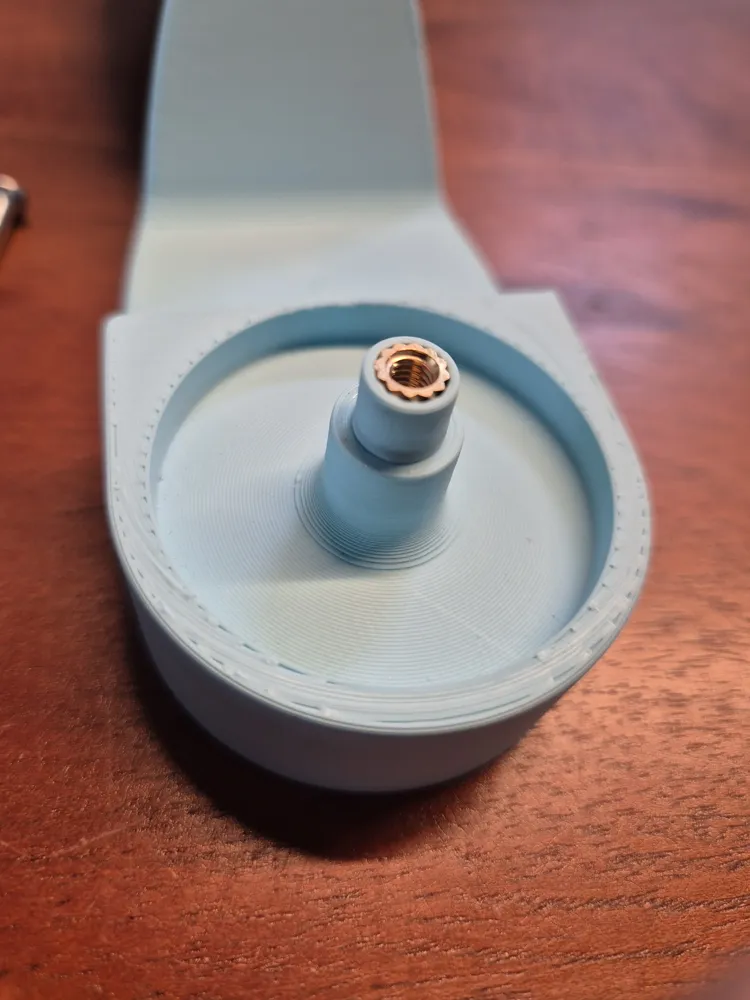
- Install the Threaded Insert: Using a soldering iron, carefully heat the M4 heat-set insert and press it into the post on the Base part until it is flush.
- Assemble the Pulley into the Base:
- Place the Pulley (wheel with bearing) onto the post of the Base.
- Place the printed Spacer on top of the bearing.
- Insert the M4 screw through the Spacer and the Pulley's bearing, and fasten it into the threaded insert. Do not overtighten! The pulley must be able to spin freely.
- Assemble the Hinge & Close the Case:
- Align the Top Case and the Base part at the hinge.
- Slide the piece of filament through the aligned hinge holes to connect them.
- Cut the filament flush on both sides with a pair of flush cutters.
- Now, simply close the housing. The magnet in the top will attract the screw head in the base, holding it securely shut.
Your Pounce Pulley is now ready to go! Have fun creating new and exciting tracks for your cat!
German Version
Description
I designed the Pounce Pulley because the original track of our automated cat toy was simply too small and simplistic for my curious cats. I aimed to provide them with a larger, more intricate, and more thrilling course to maintain their engagement and activity.
Since these deflection pulleys are not available for individual purchase, I decided to engineer my own robust and dependable version. This enables anyone to expand their cat's racetrack, construct multi-level configurations, or simply replace a lost or damaged component.
This design incorporates a standard 608Z bearing for exceptionally smooth rotation and features a highly ingenious magnetic closure. A magnet is directly embedded into the Top Case during the printing process. Upon closure, it attracts the head of the M4 screw seated within the Base, thereby securing the housing with a gratifying click.
Required Materials (Bill of Materials)
For the assembly of one Pounce Pulley, you will require:
- 1x 608Z Bearing (Can be salvaged from the toy's original wheel)
- 1x M4 Screw (Length ~20mm is ideal)
- 1x M4 Heat-Set Threaded Insert (e.g., Ruthex M4, approx. 6mm outer diameter)
- 1x Neodymium Magnet (12mm x 3mm) OR 2x Neodymium Magnets (12mm x 1.5mm)
- A small piece of 1.75mm filament (a scrap piece is perfect for the hinge pin)
- 1x The printed Spacer part
Assembly Instructions
- Printing Note – Inserting the Magnet: The print file for the Top Case includes a print pause. When your printer halts, carefully place the magnet(s) into the designated cavity. Thereafter, resume the print. The magnet will then be fully and invisibly encapsulated within the component.
- Melt in the Threaded Insert: Heat the M4 heat-set threaded insert with a soldering iron and carefully press the heated insert into the post of the Base part until it sits flush.
- Mount the Pulley in the Base:
- Place the Pulley (wheel with bearing) onto the post of the Base part.
- Position the printed Spacer atop the bearing.
- Guide the M4 screw through the Spacer and the Pulley's bearing, then secure it firmly into the threaded insert. Do not overtighten! The pulley must be capable of spinning freely and smoothly.
- Assemble the Hinge & Close the Housing:
- Align the Top Case and the Base at the hinge.
- Slide the piece of filament through the aligned holes to connect them.
- Trim the filament flush on both sides with a pair of side cutters.
- Now, simply close the housing. The magnet within the Top Case will attract the screw head in the Base, thereby maintaining the housing in a closed state.
Your Pounce Pulley is now ready for deployment! Enjoy crafting new and exciting tracks for your cat
License



Comment & Rating (14)