
Treasure Chest | Jewelry Box
Print Profile(3)







Description
Trophy Builder - Design & Print your Own Medal or Cup🏆 More Info Here 👇


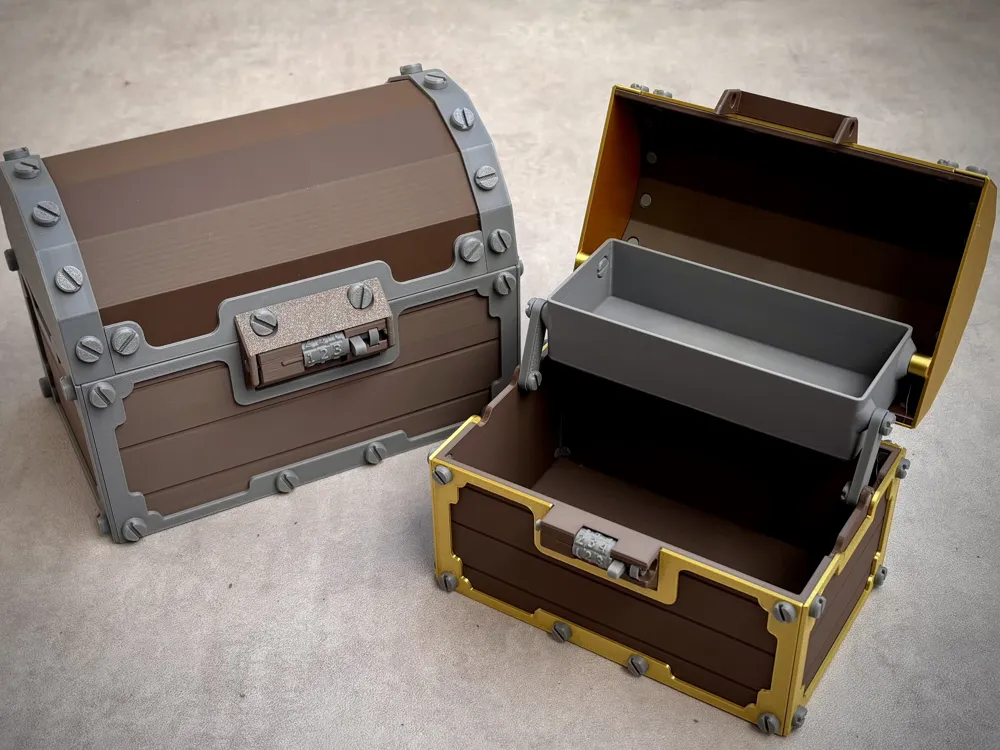
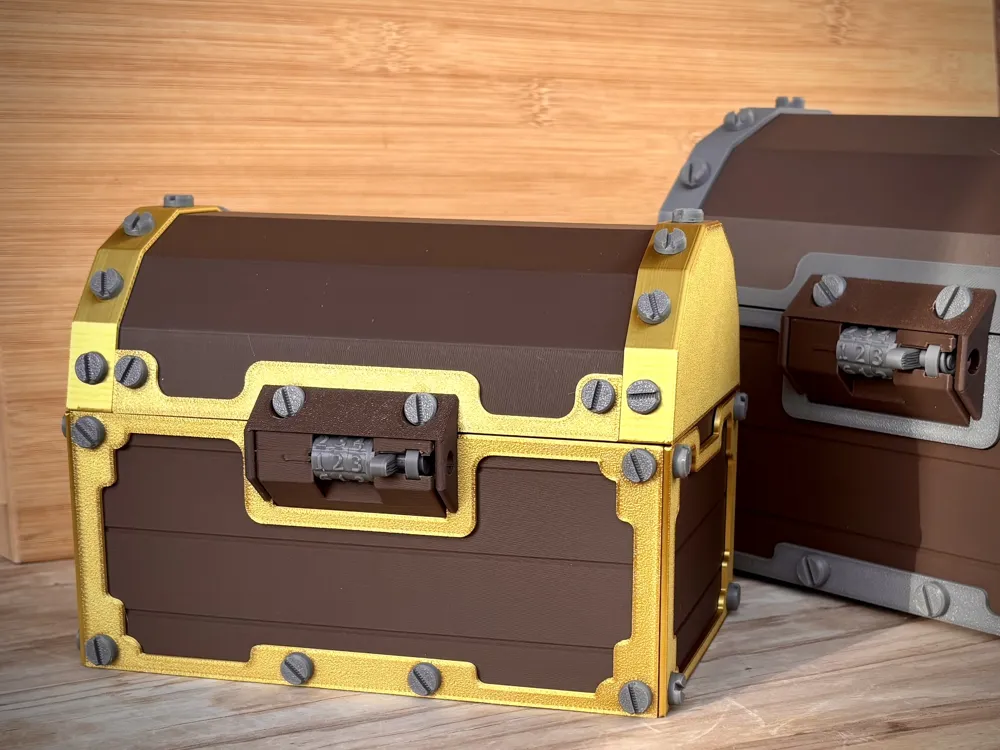
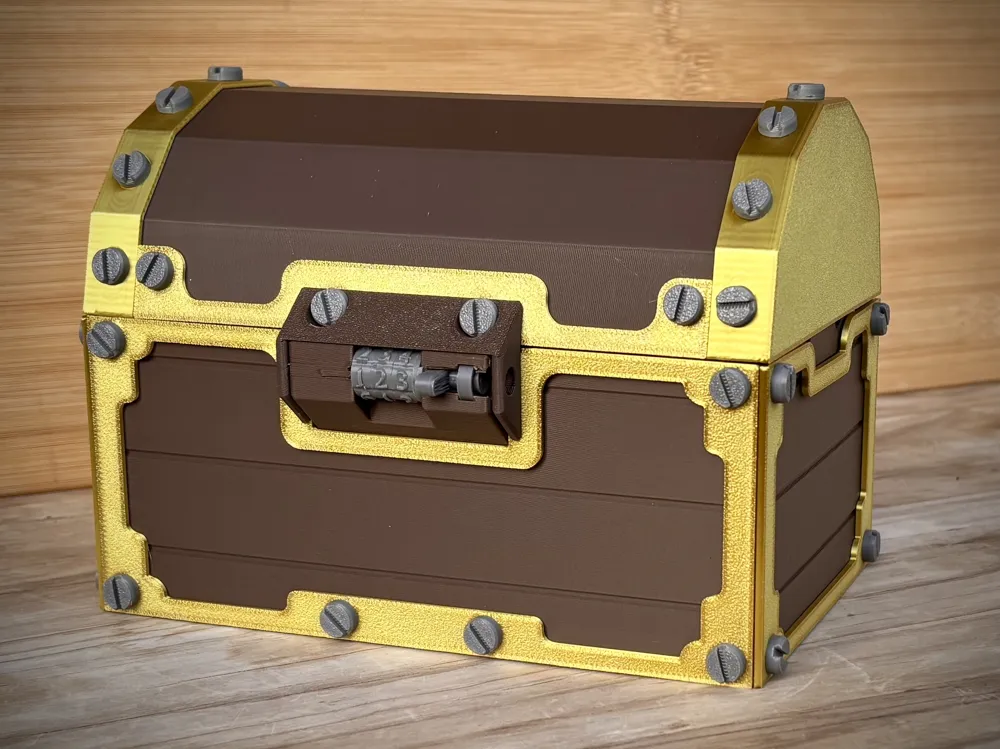
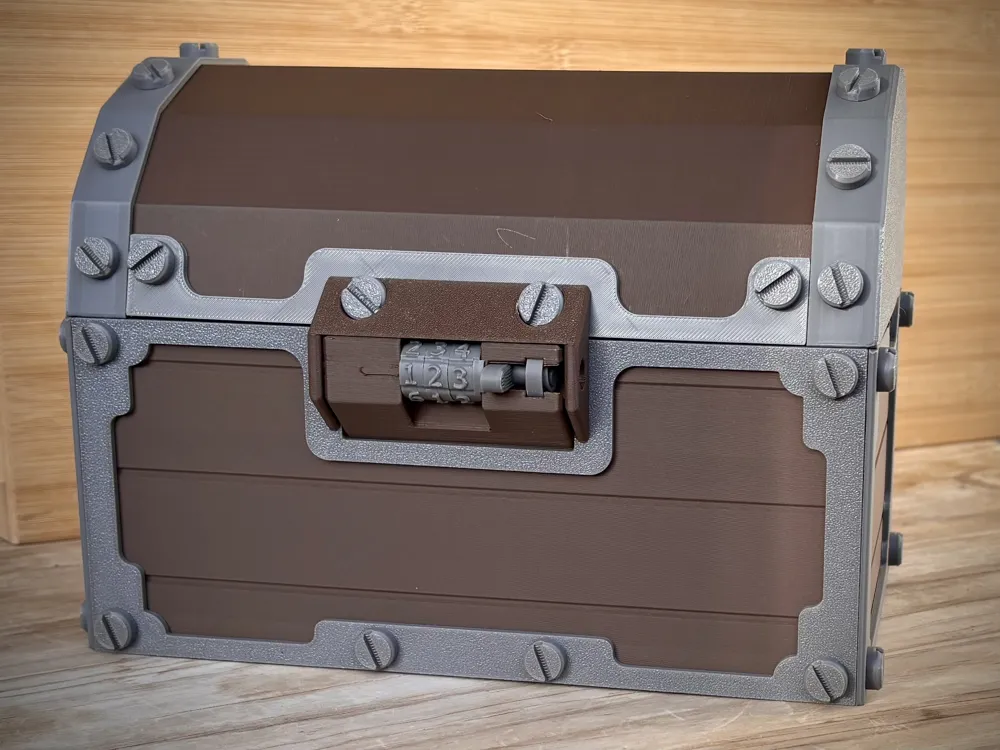
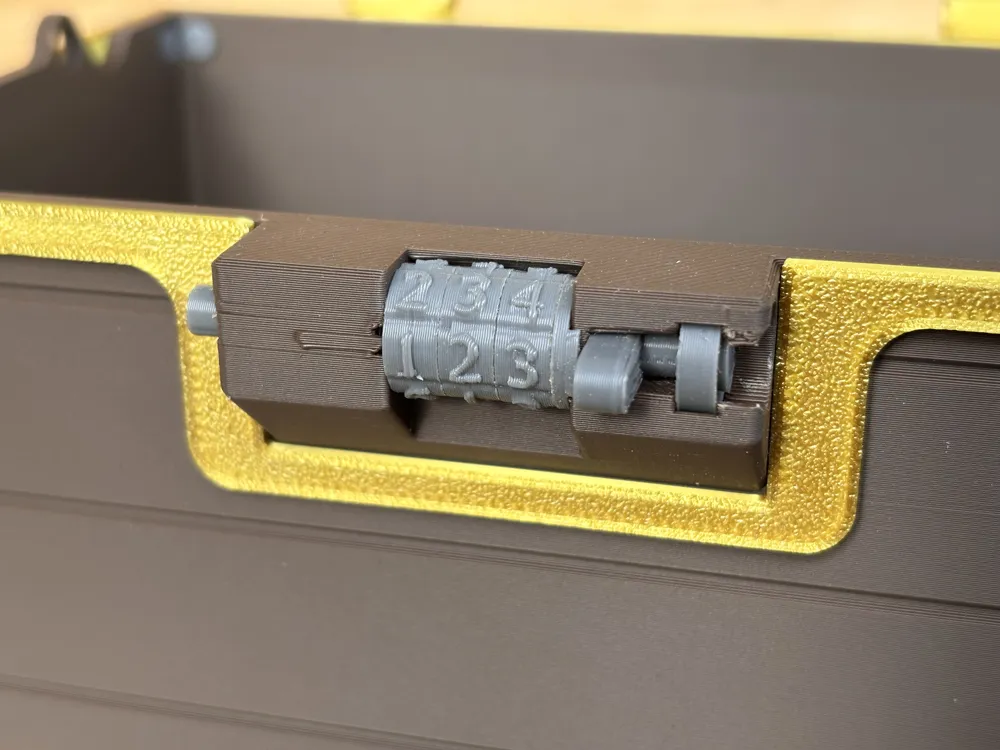
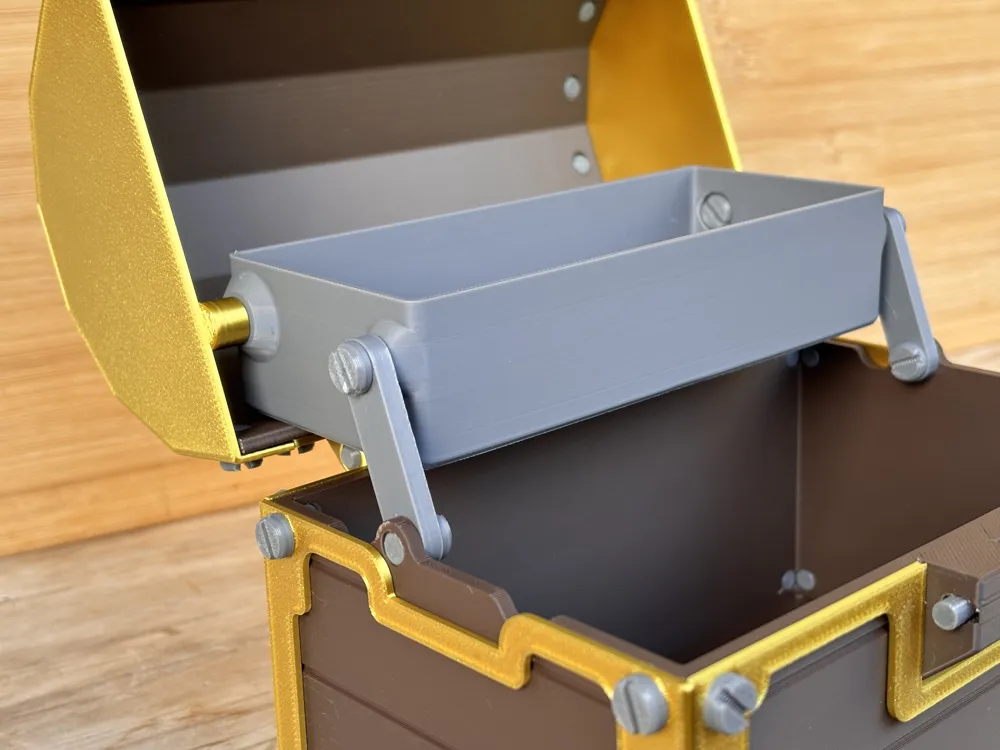
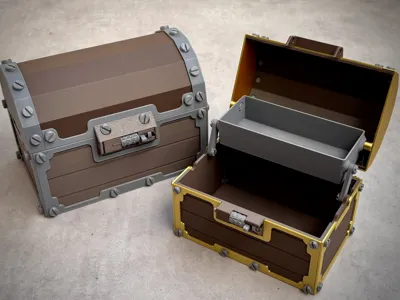
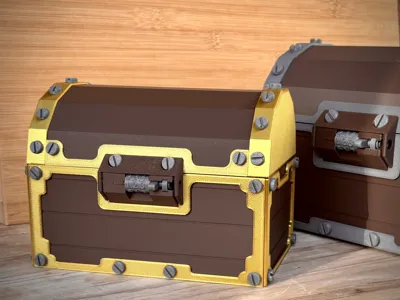
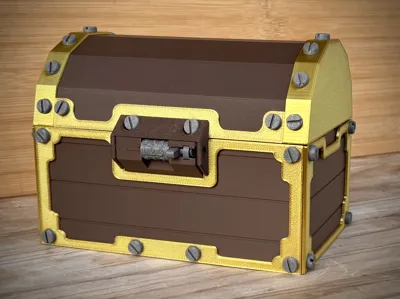
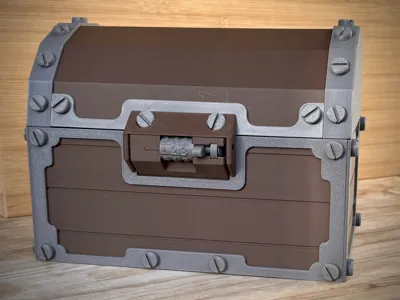
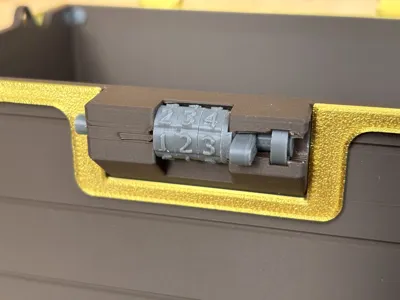
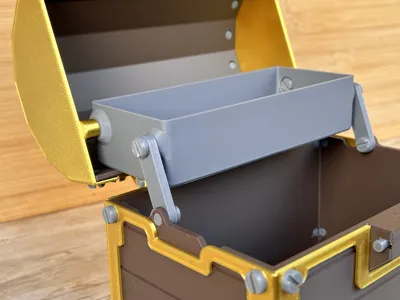
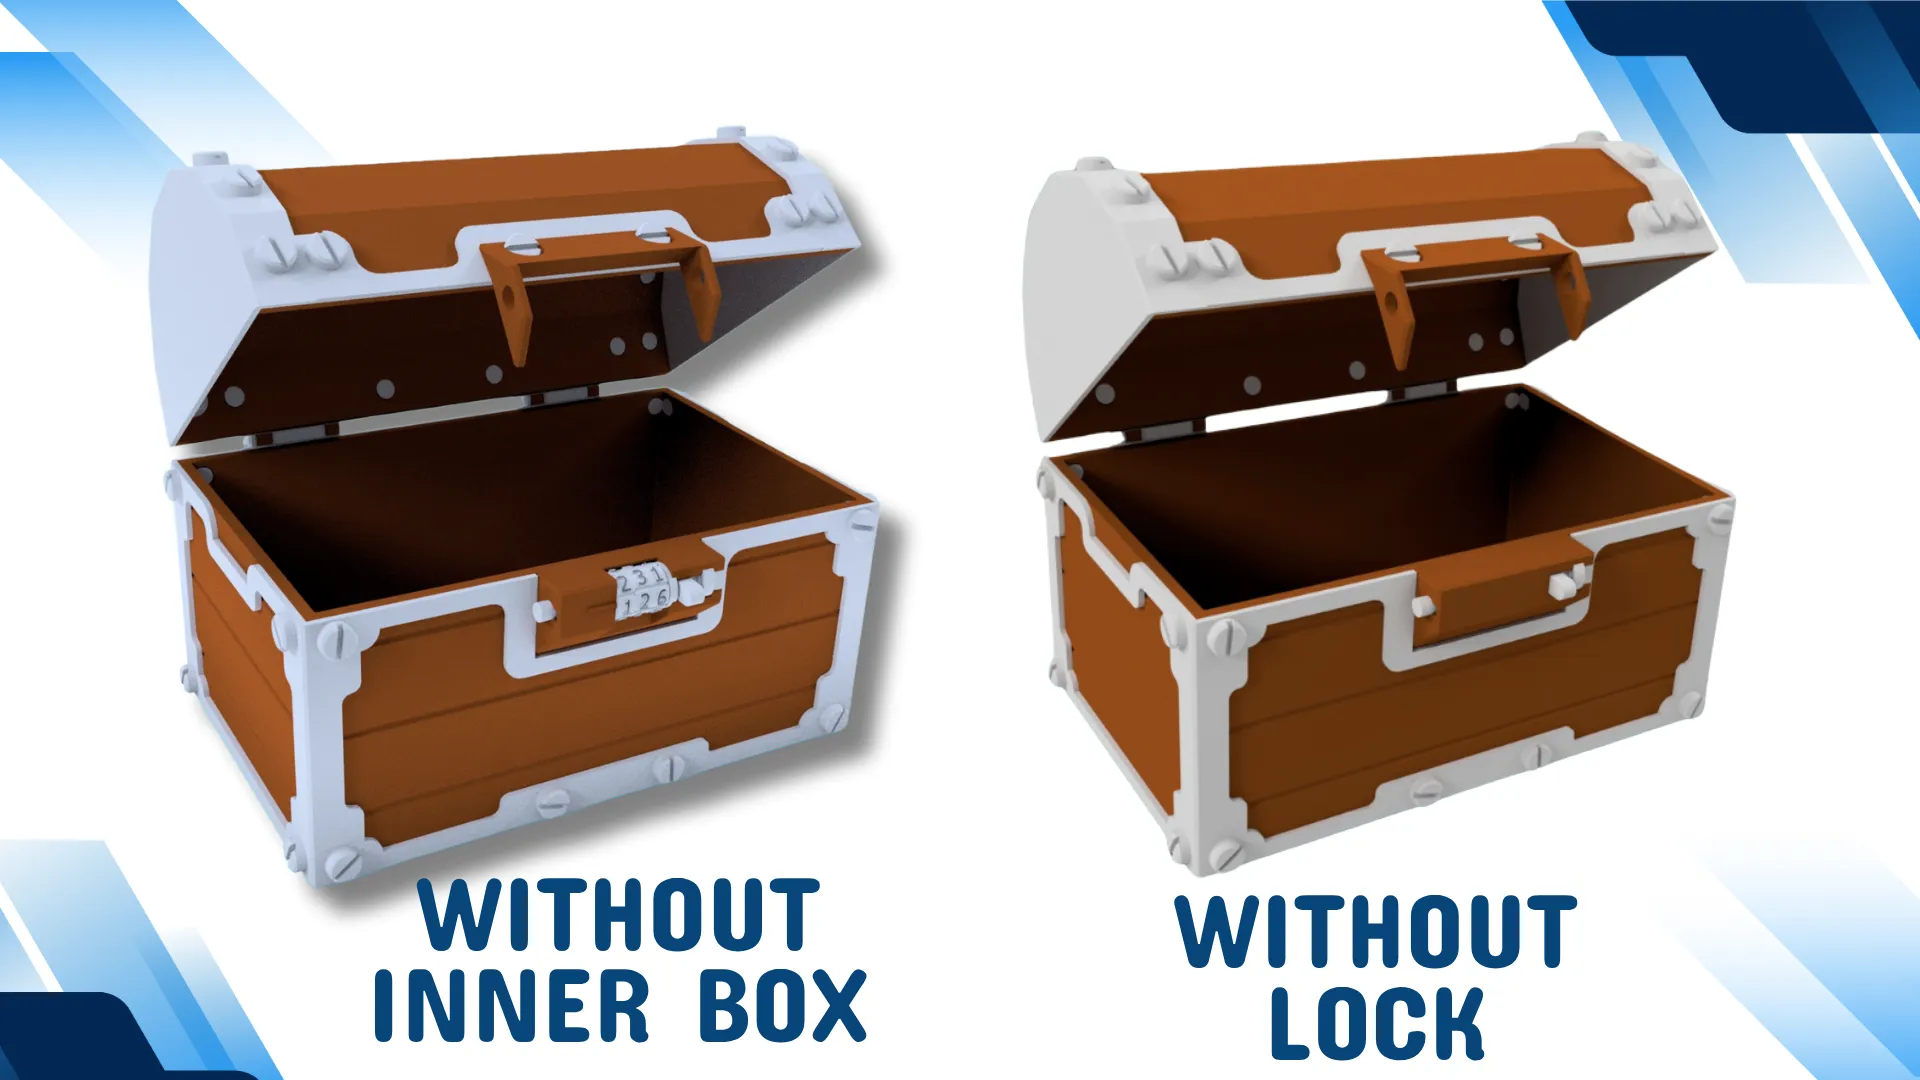
A stylish 3D printed treasure chest featuring a customizable 3-digit combination lock 🔐. No glue or AMS needed – everything assembles easily with screws. Perfect as a jewelry box, decoration, coin bank, escape room prop, or fun interactive toy. Includes an Inner Box that automatically opens when you unlock the chest.
- No AMS or glue required – all parts connect with screws 🔧
- 3-digit combination lock – choose your own code 🔐
- No additional parts! - Chest is completely printable
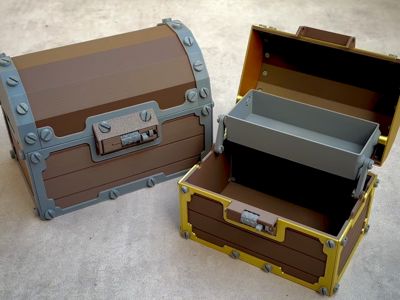
- Two size options available (Print Profile):
• Normal: 208 × 134 × 154 mm
• Small (for A1 Mini): 166 × 107 × 123 mm - Optionally includes an Inner Box that opens perfectly with the lid
- Ideal as a jewelry box, coin bank, secret stash or stylish decor, escape games, kids' play, or functional storage💍
⚠️ Note: This is a plastic model, not a real secure safe. With enough force, it can still be opened regardless of the lock.
Assembly instruction step by step👉:
Bill Of Materials
| Number | Name | Amount |
| 01 | Box | 1 |
| 02 | Lid | 1 |
| 03 | Front Frame | 1 |
| 04 | Side Frame | 2 |
| 05 | Lid Side Frame | 1 |
| 06 | Lid Front Frame | 1 |
| 07 | Back Frame | 1 |
| 08 | Lid Back Frame | 1 |
| 09 | Lid Lock | 1 |
| 10 | Bolt | 38 |
| 11 | Lid Side Frame MIR | 1 |
| 12 | Inner Box | 1 |
| 13 | Lever | 2 |
| 14 | Shoulder Bolt | 6 |
| 15 | Rod | 1 |
| 16 | Spring | 1 |
| 17 | Dial (#1-#6) | 6 |
| 18 | Spacer | 1 |
| 19 | Pin | 2 |
| 20 | Bolt-Longer | 2 |
Attach 06_Lid_Front_Frame and 08_Lid_Back_Frame to the 02_Lid part using screws.
Make sure not to swap them – the front and back frames are not interchangeable!
Once mounted, it will be immediately clear which side of the lid is front and back.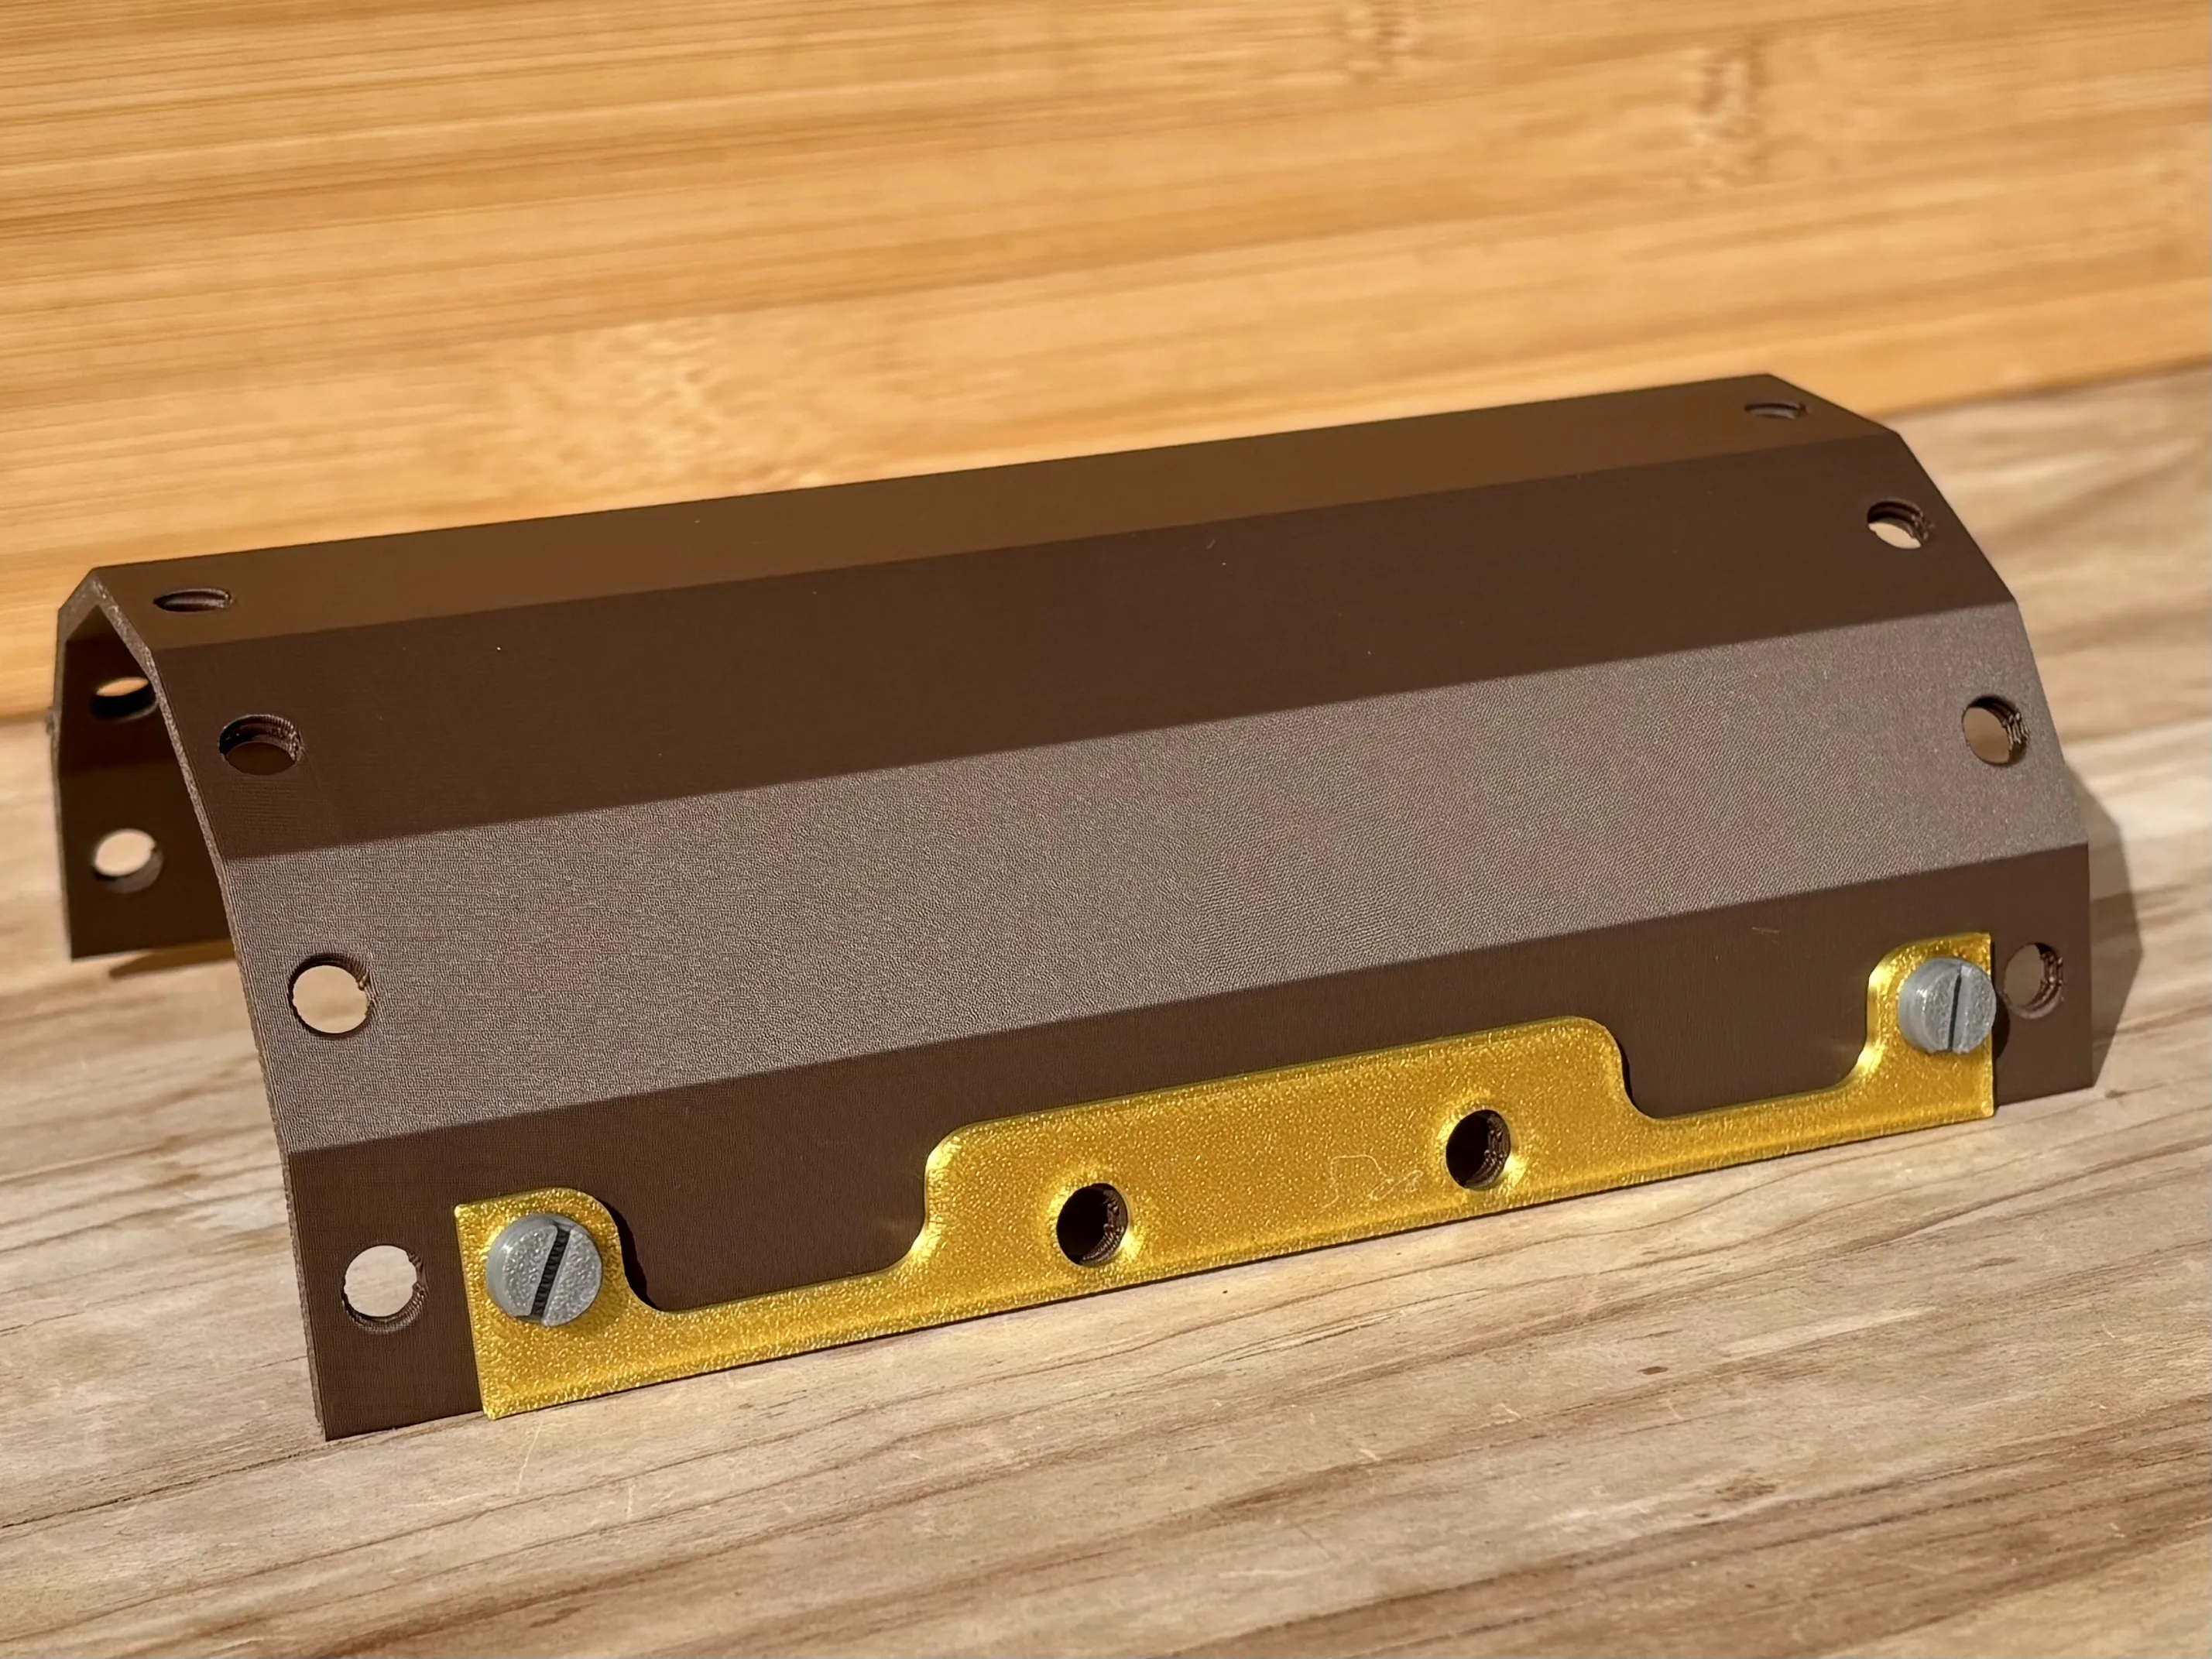
Front side of lid Mount 05_Lid_Side_Frame and 11_Lid_Side_Frame_MIR (mirrored) onto the 02_Lid part.
Make sure the threaded holes are on the correct side – they should face toward the hinges (see image below).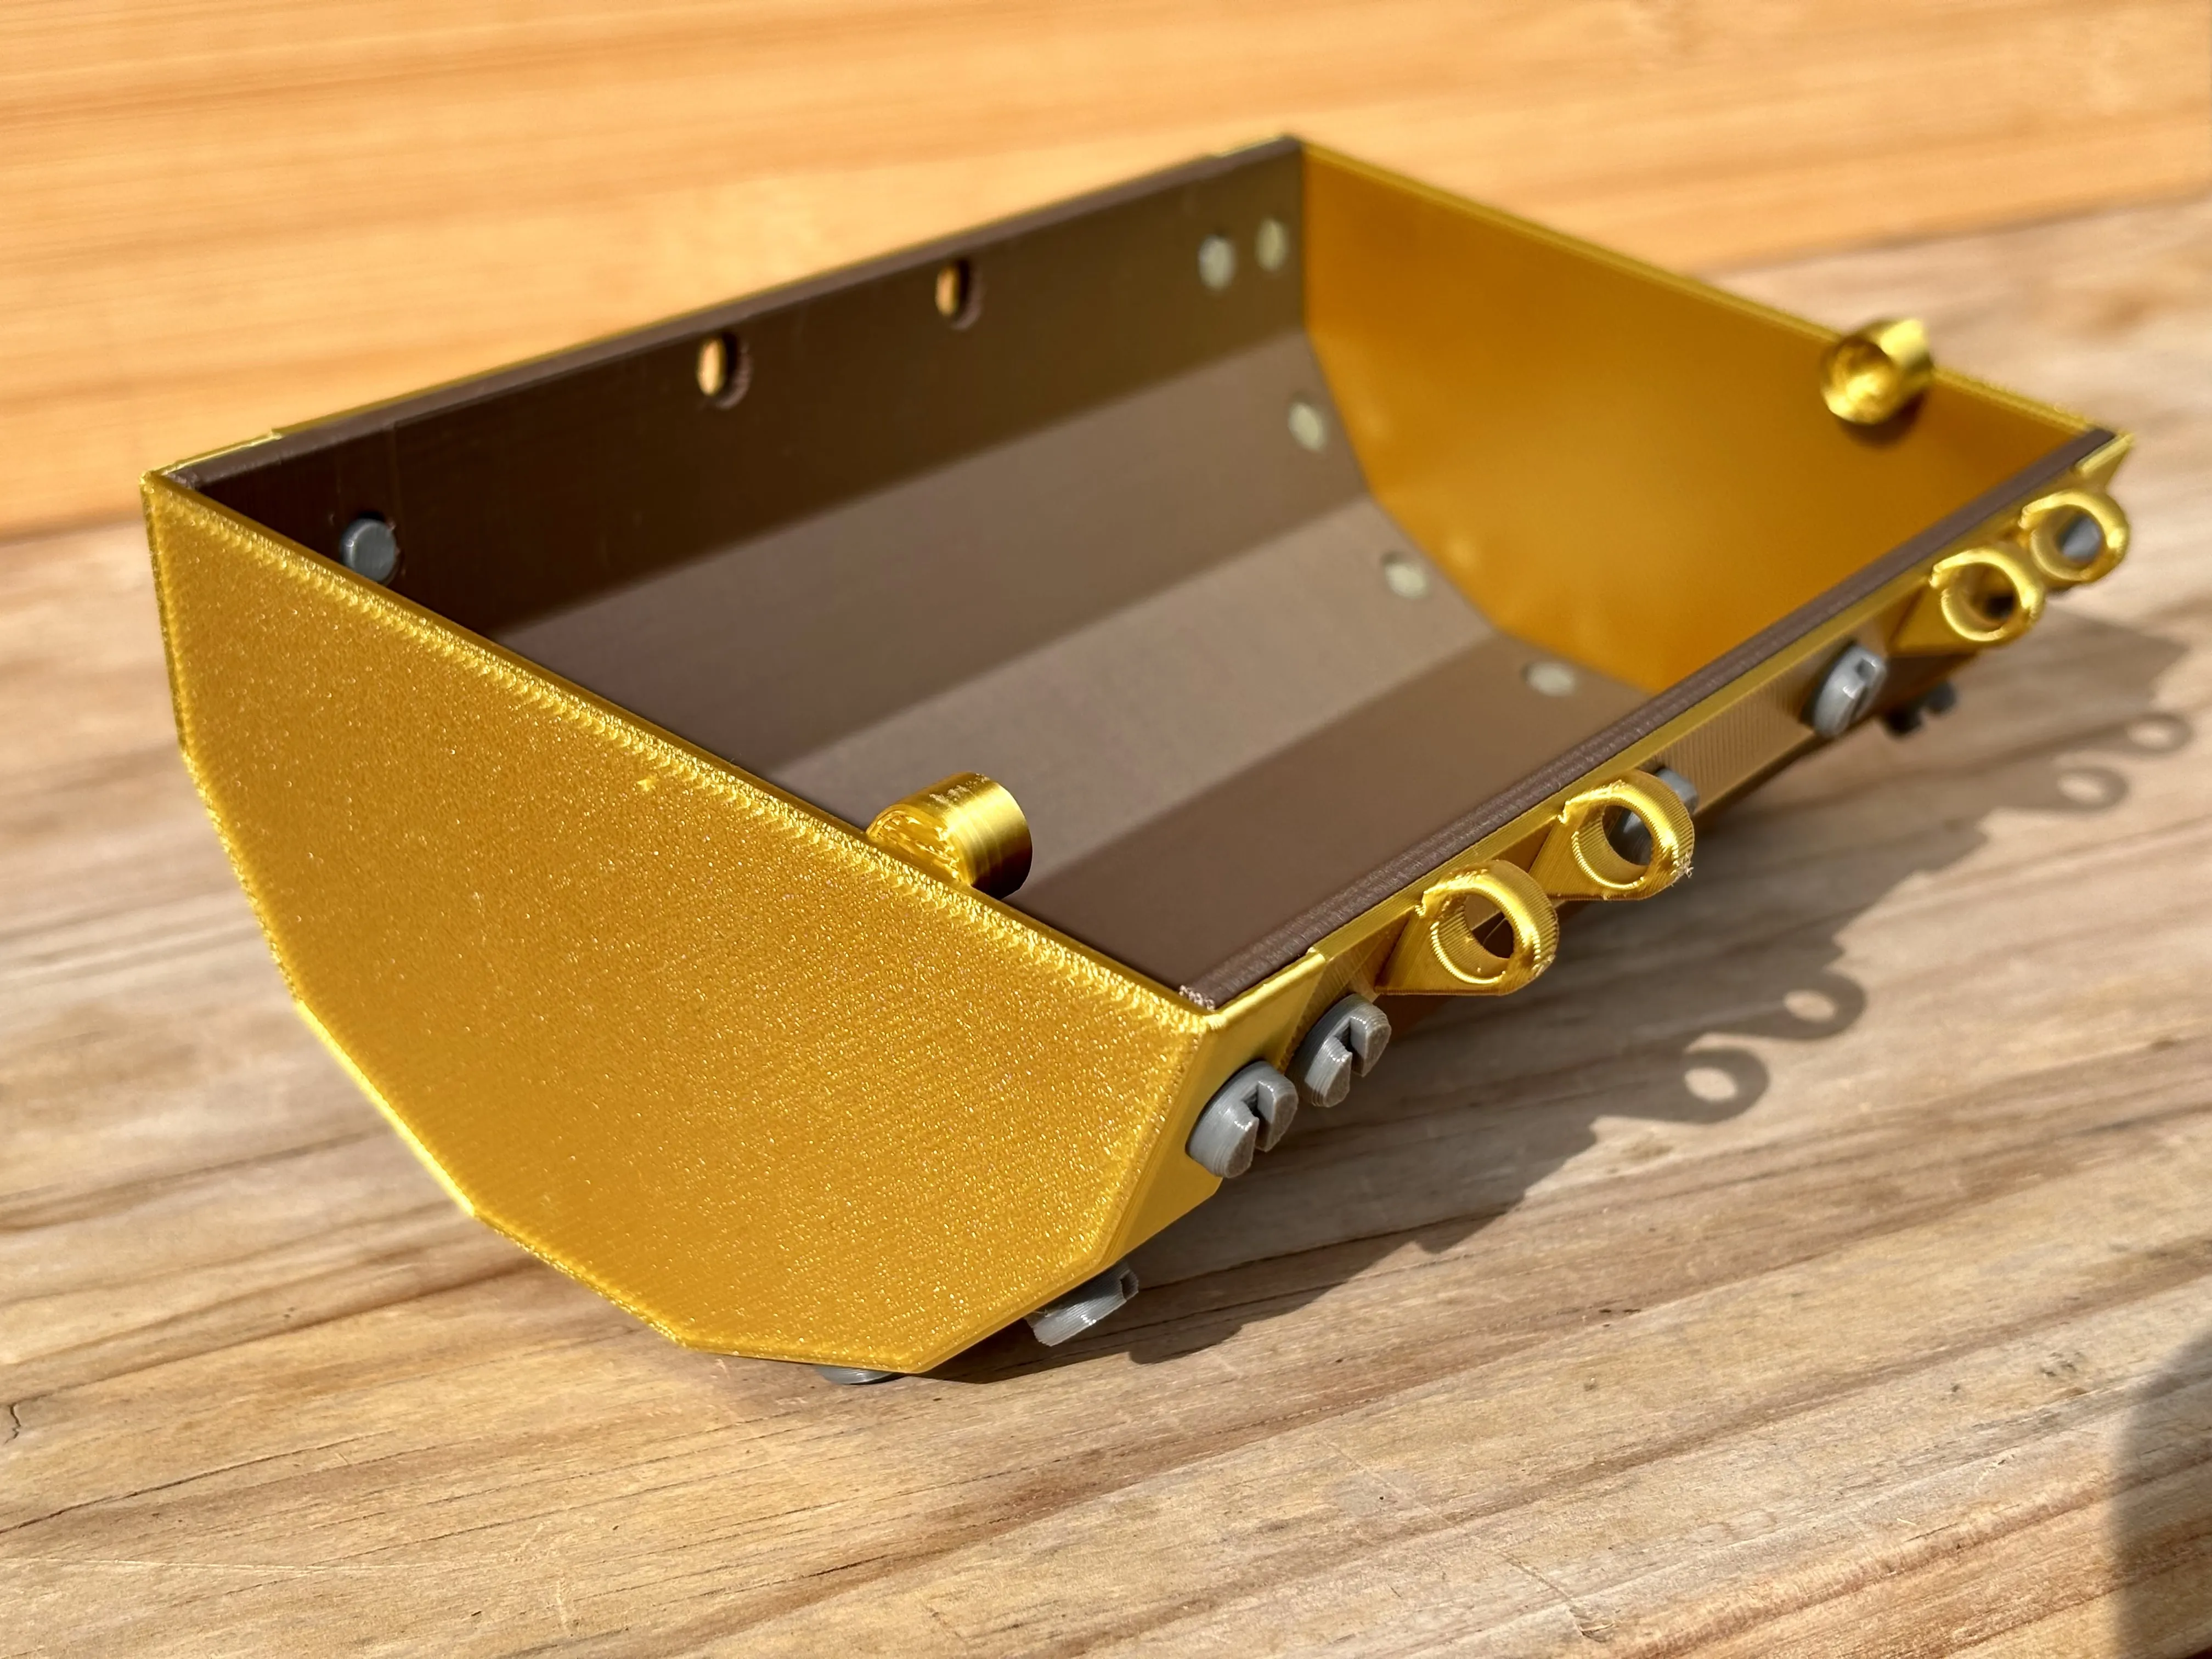
Attach 09_Lid_Lock to the 02_Lid part using two 20_Bolt-Longer screws.
Important: Make sure to use 2× 20_Bolt-Longer!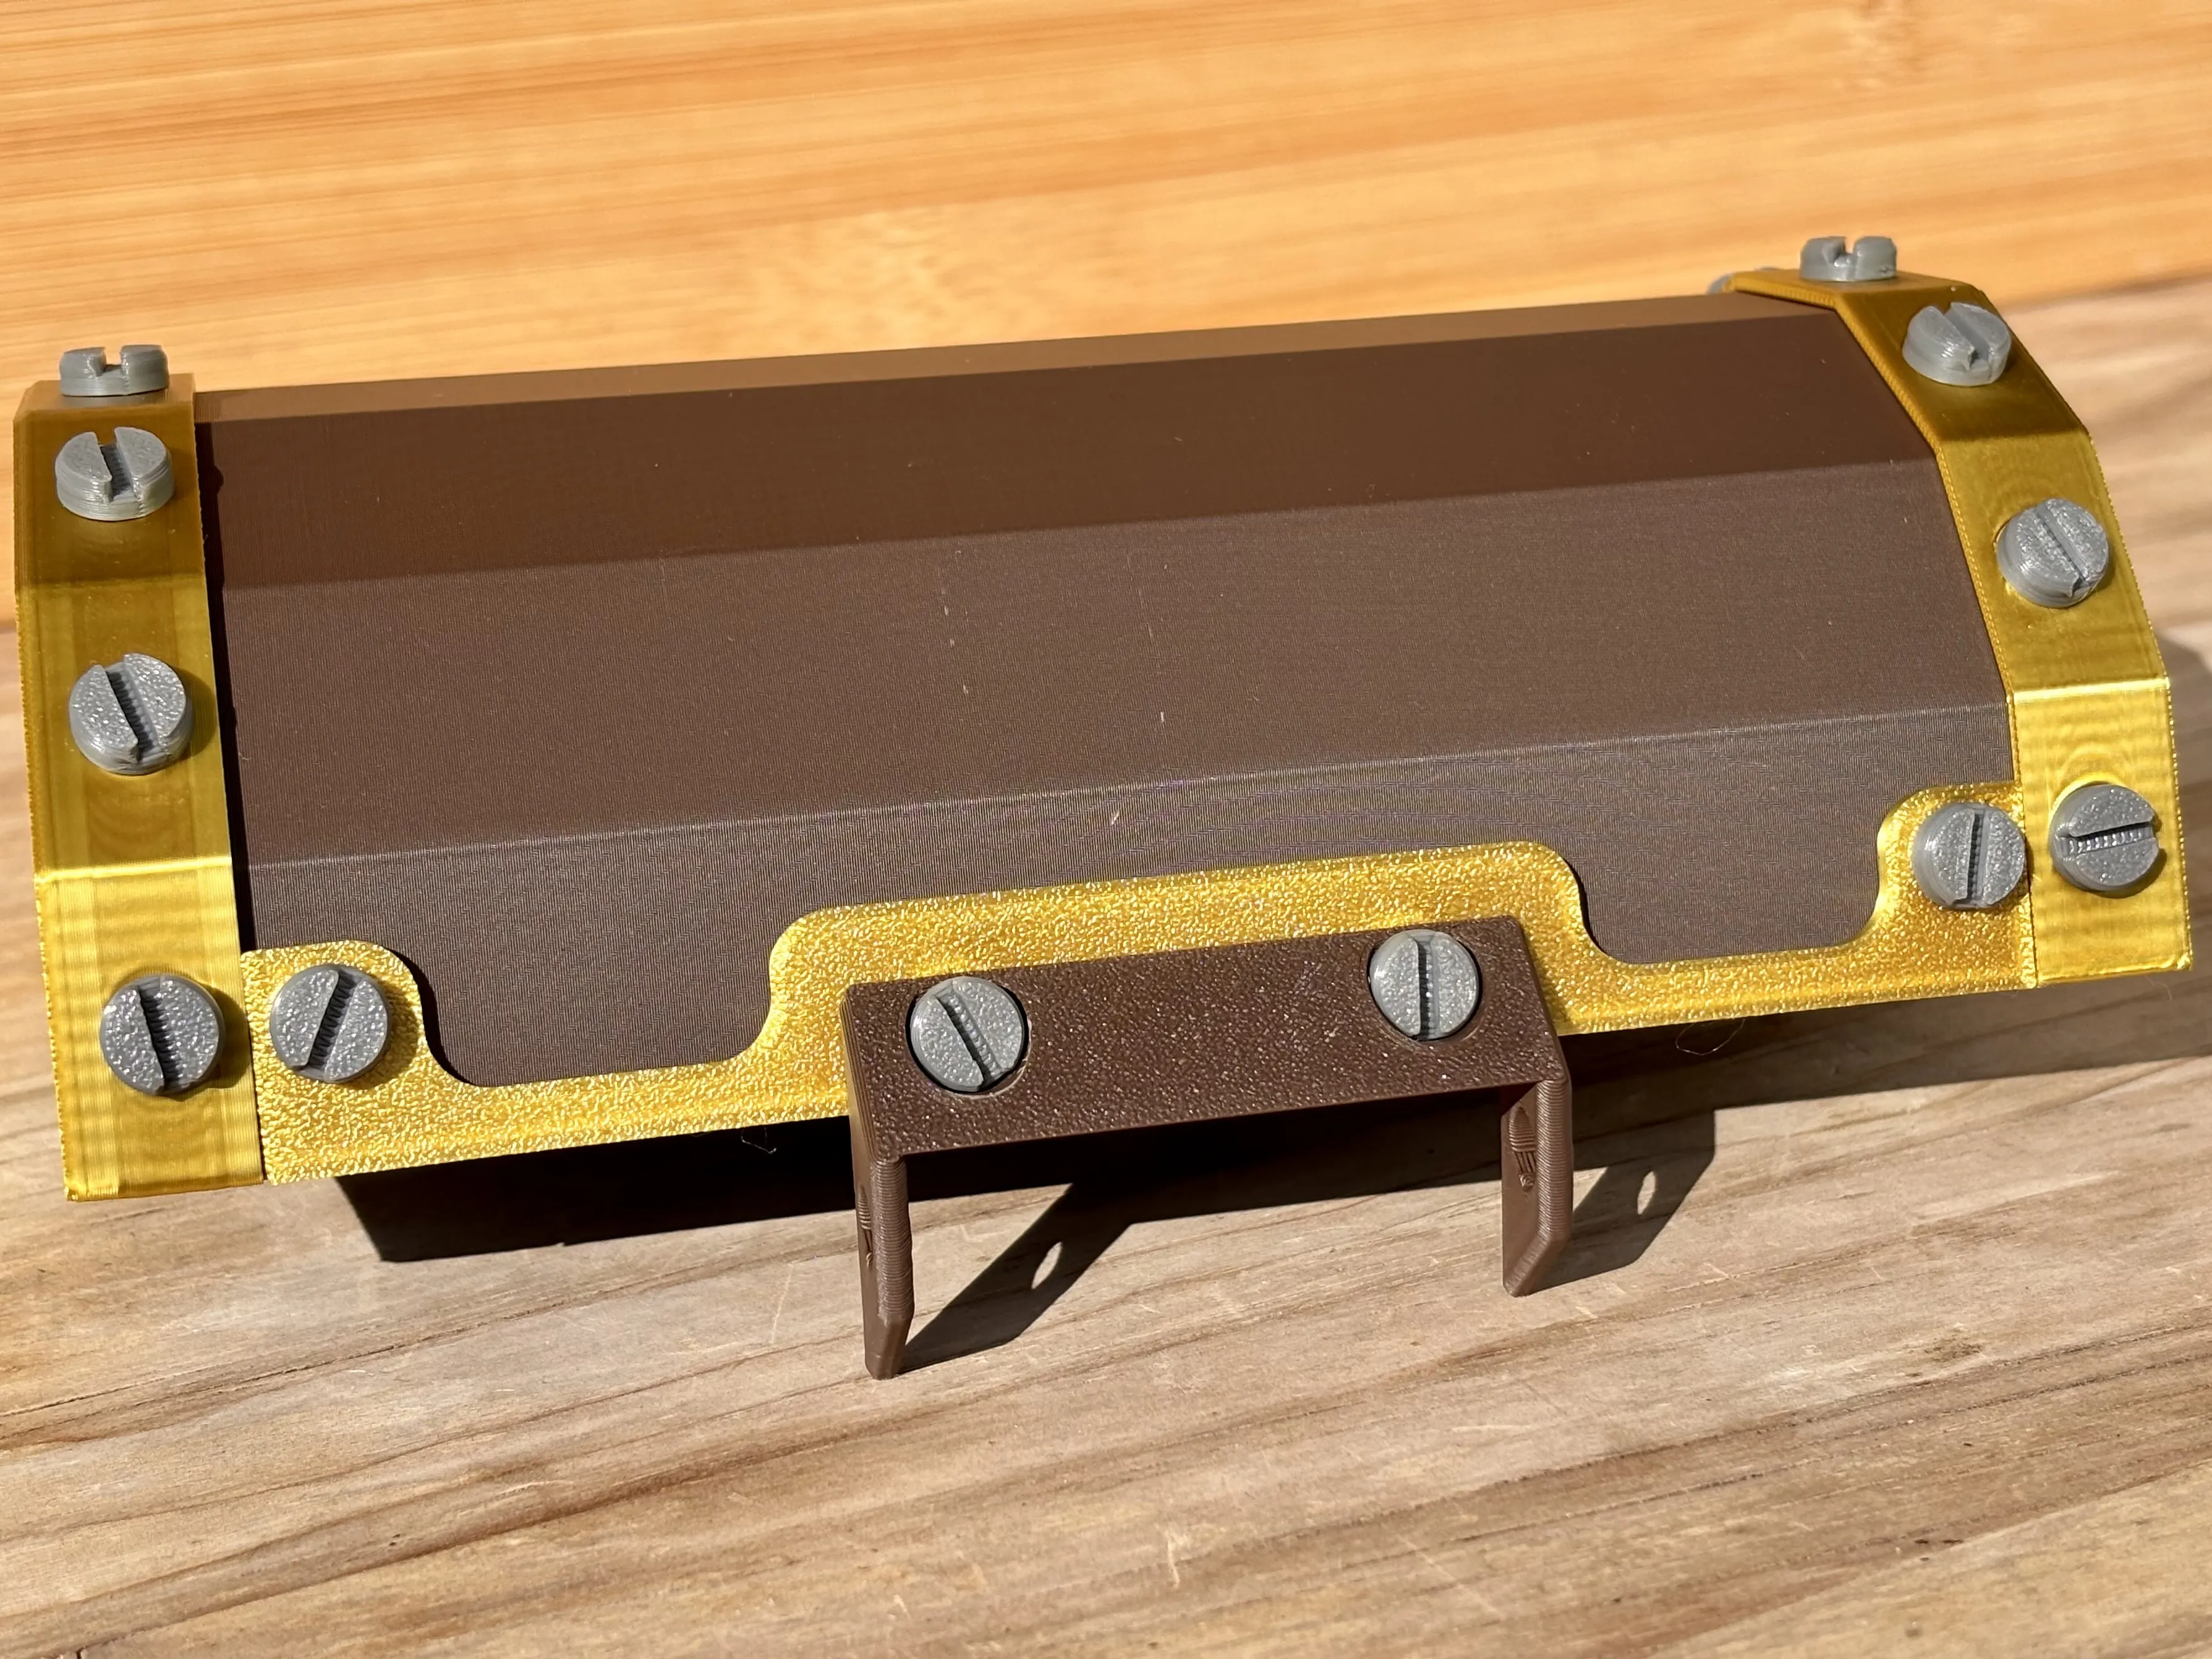
Choose your desired lock code. You’ll find a detailed guide on how to set the code and assemble the lock correctly in a similar model 👉 https://makerworld.com/en/models/1599340-combination-lock-box-key-lock-box-numeric#profileId-1685491
🛠️ Tip: If the 17_Dials feel too tight after inserting 18_Spacer, you can fix it by lightly sanding the 18_Spacer to increase clearance.
Alternatively, you can reduce the Z-scale of the 18_Spacer in your slicer to make it thinner.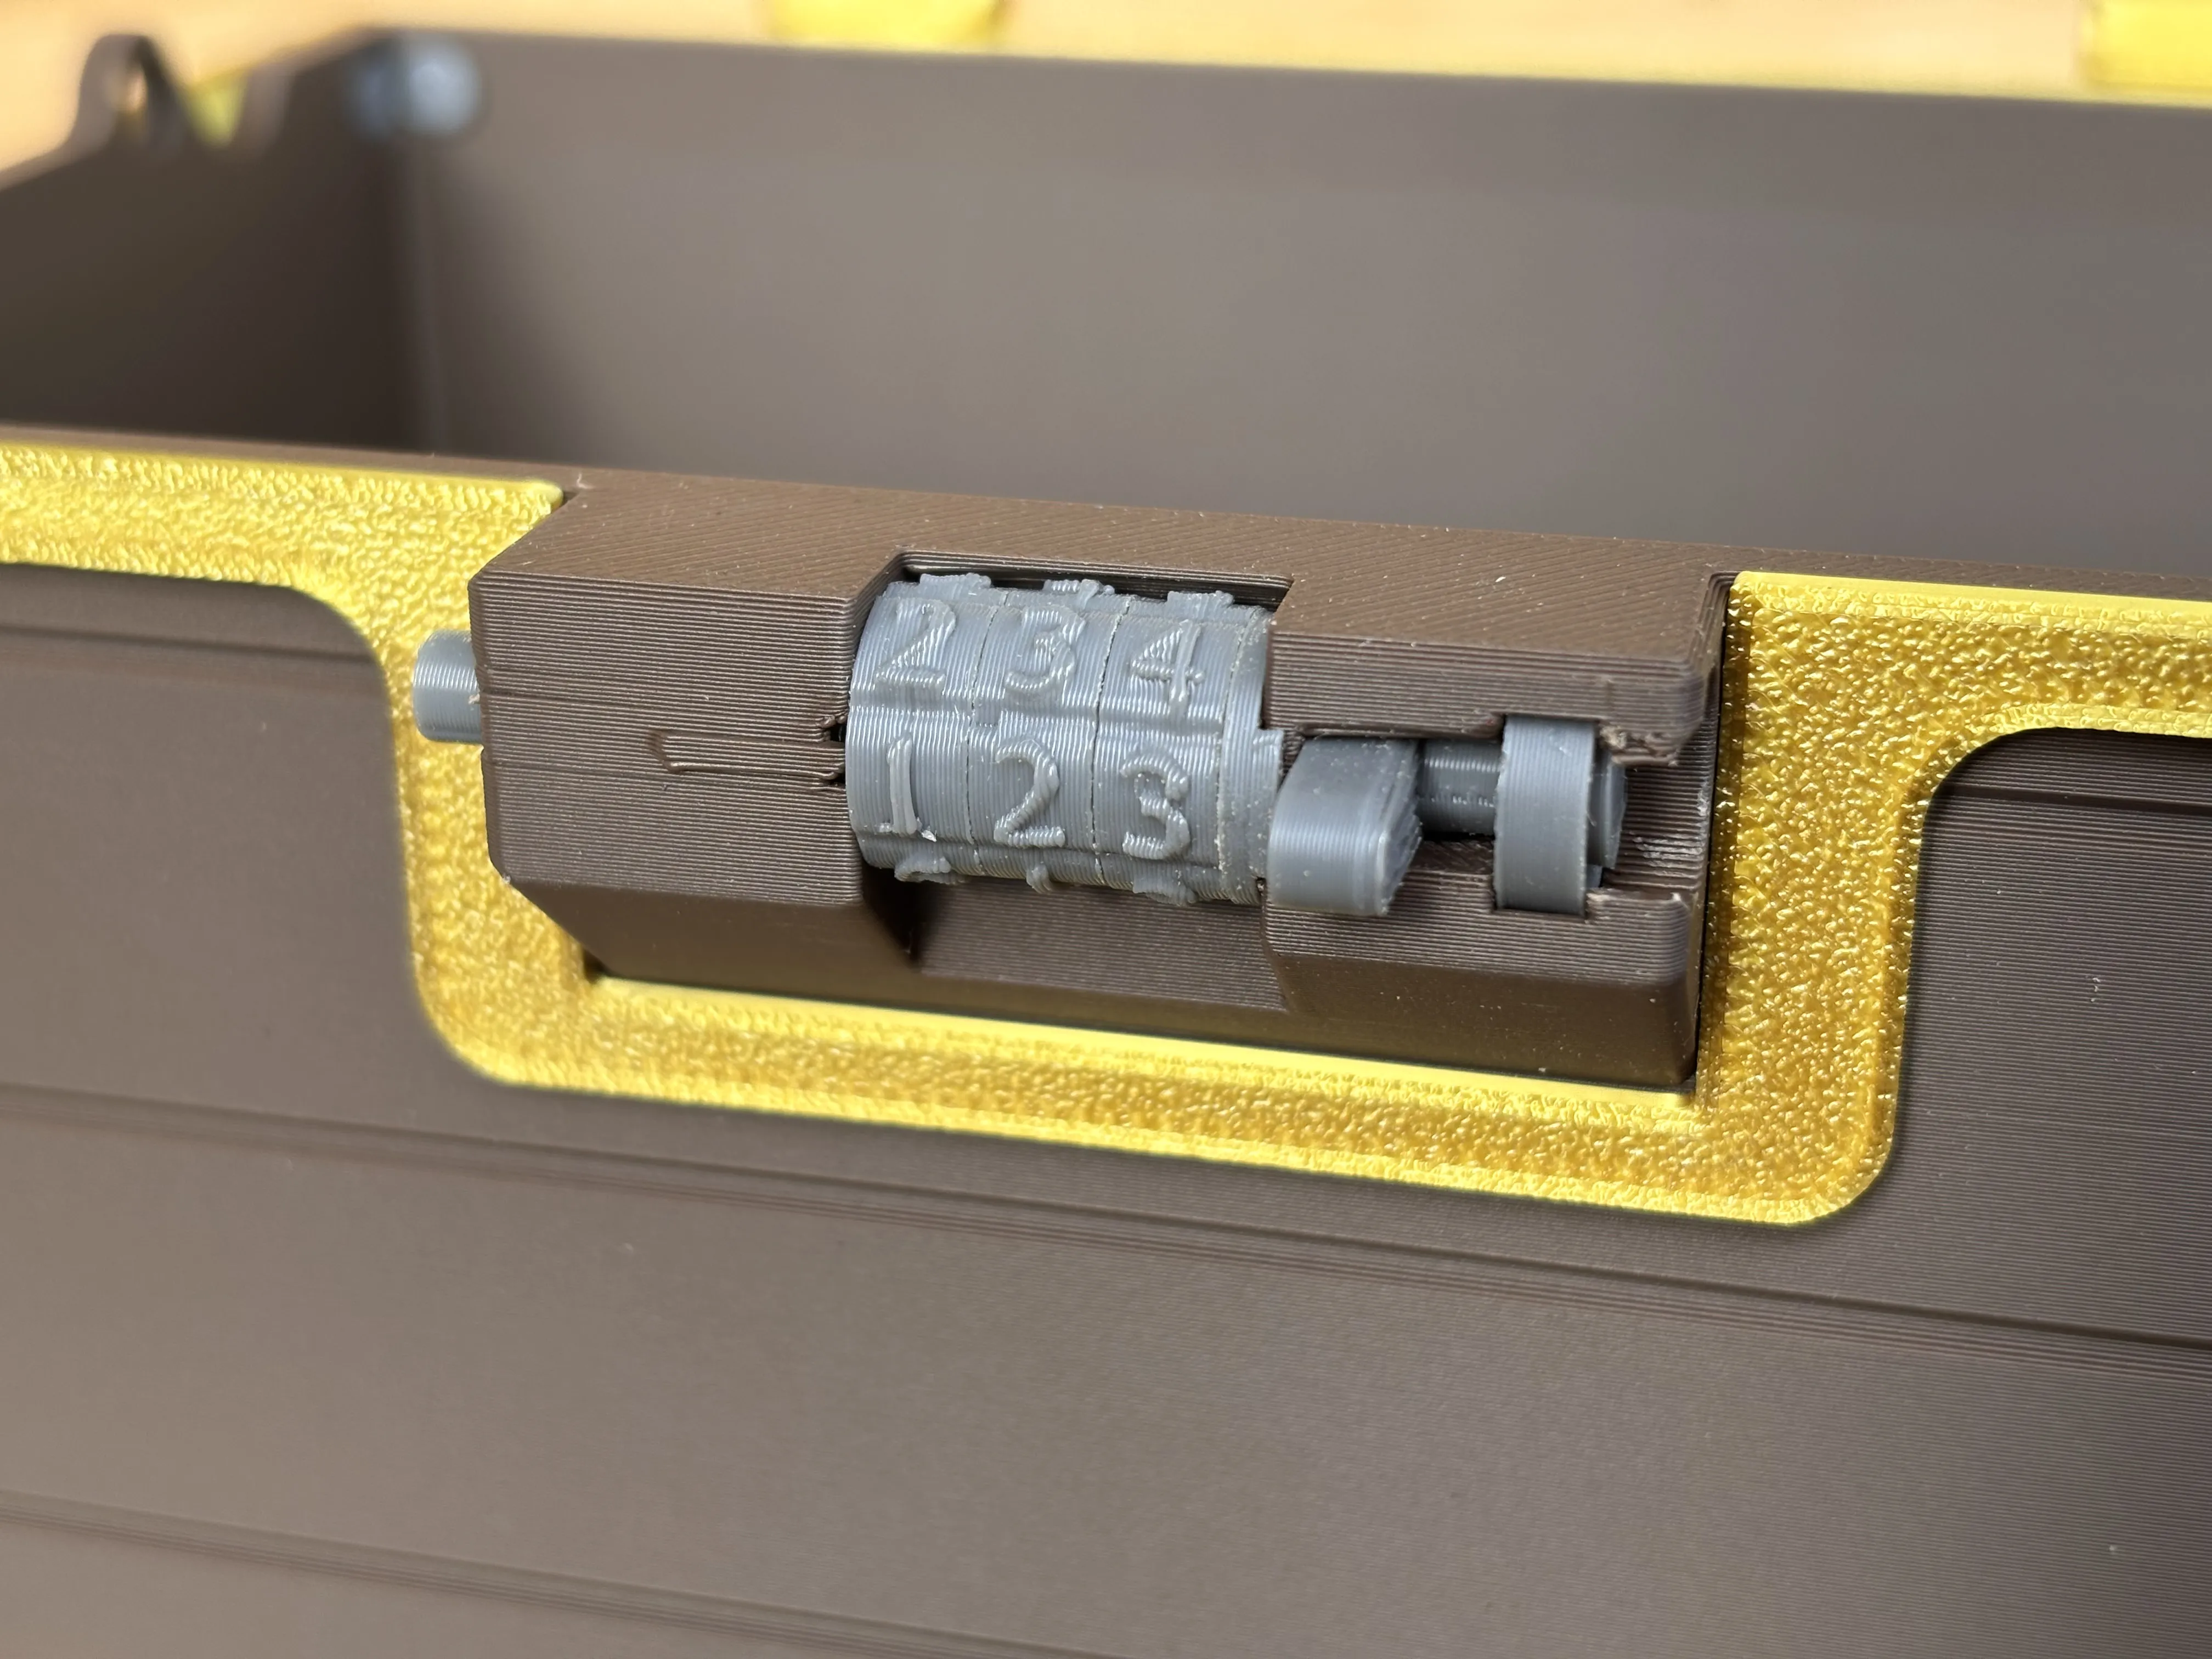
Insert the 19_Pin to connect the Box and Lid parts together.
At this point, the main assembly should be complete.
It’s up to you whether you want to install the 12_Inner_Box – if so, continue to the next step.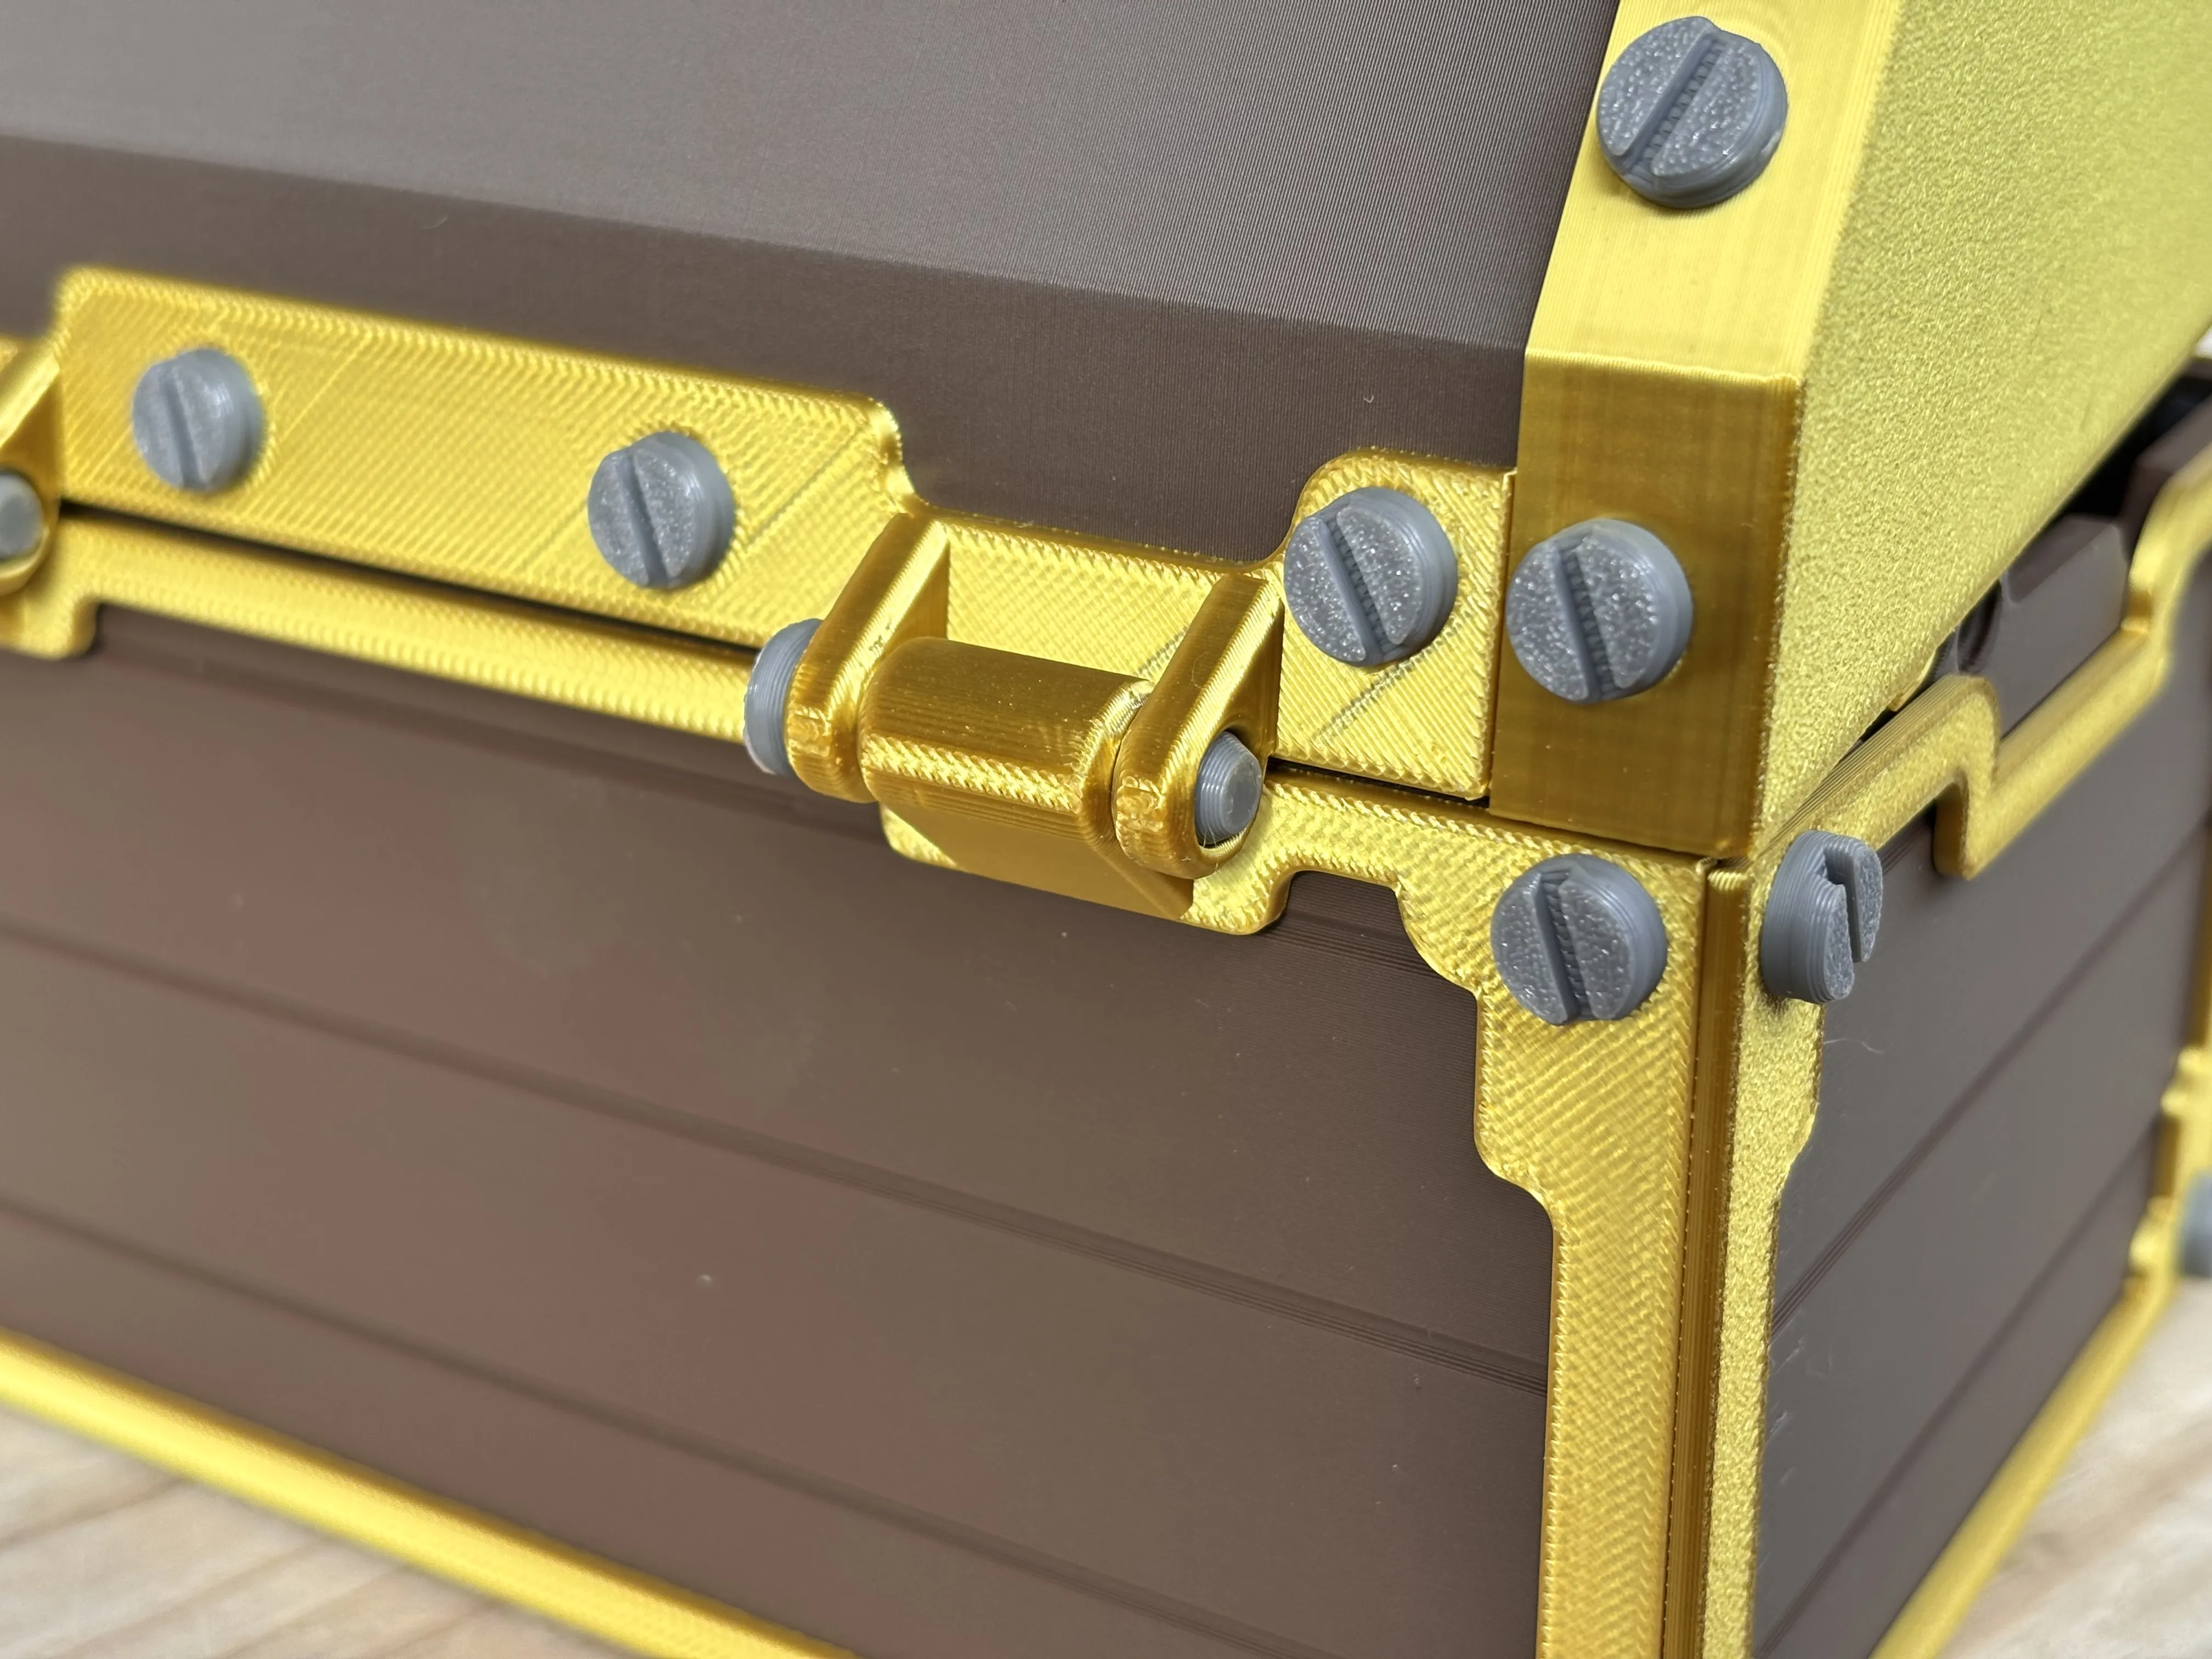
Use 4× 14_Shoulder_Bolt to attach 13_Lever and 12_Inner_Box.
⚠️ Do not overtighten the bolts – the mechanism might become too stiff to move properly!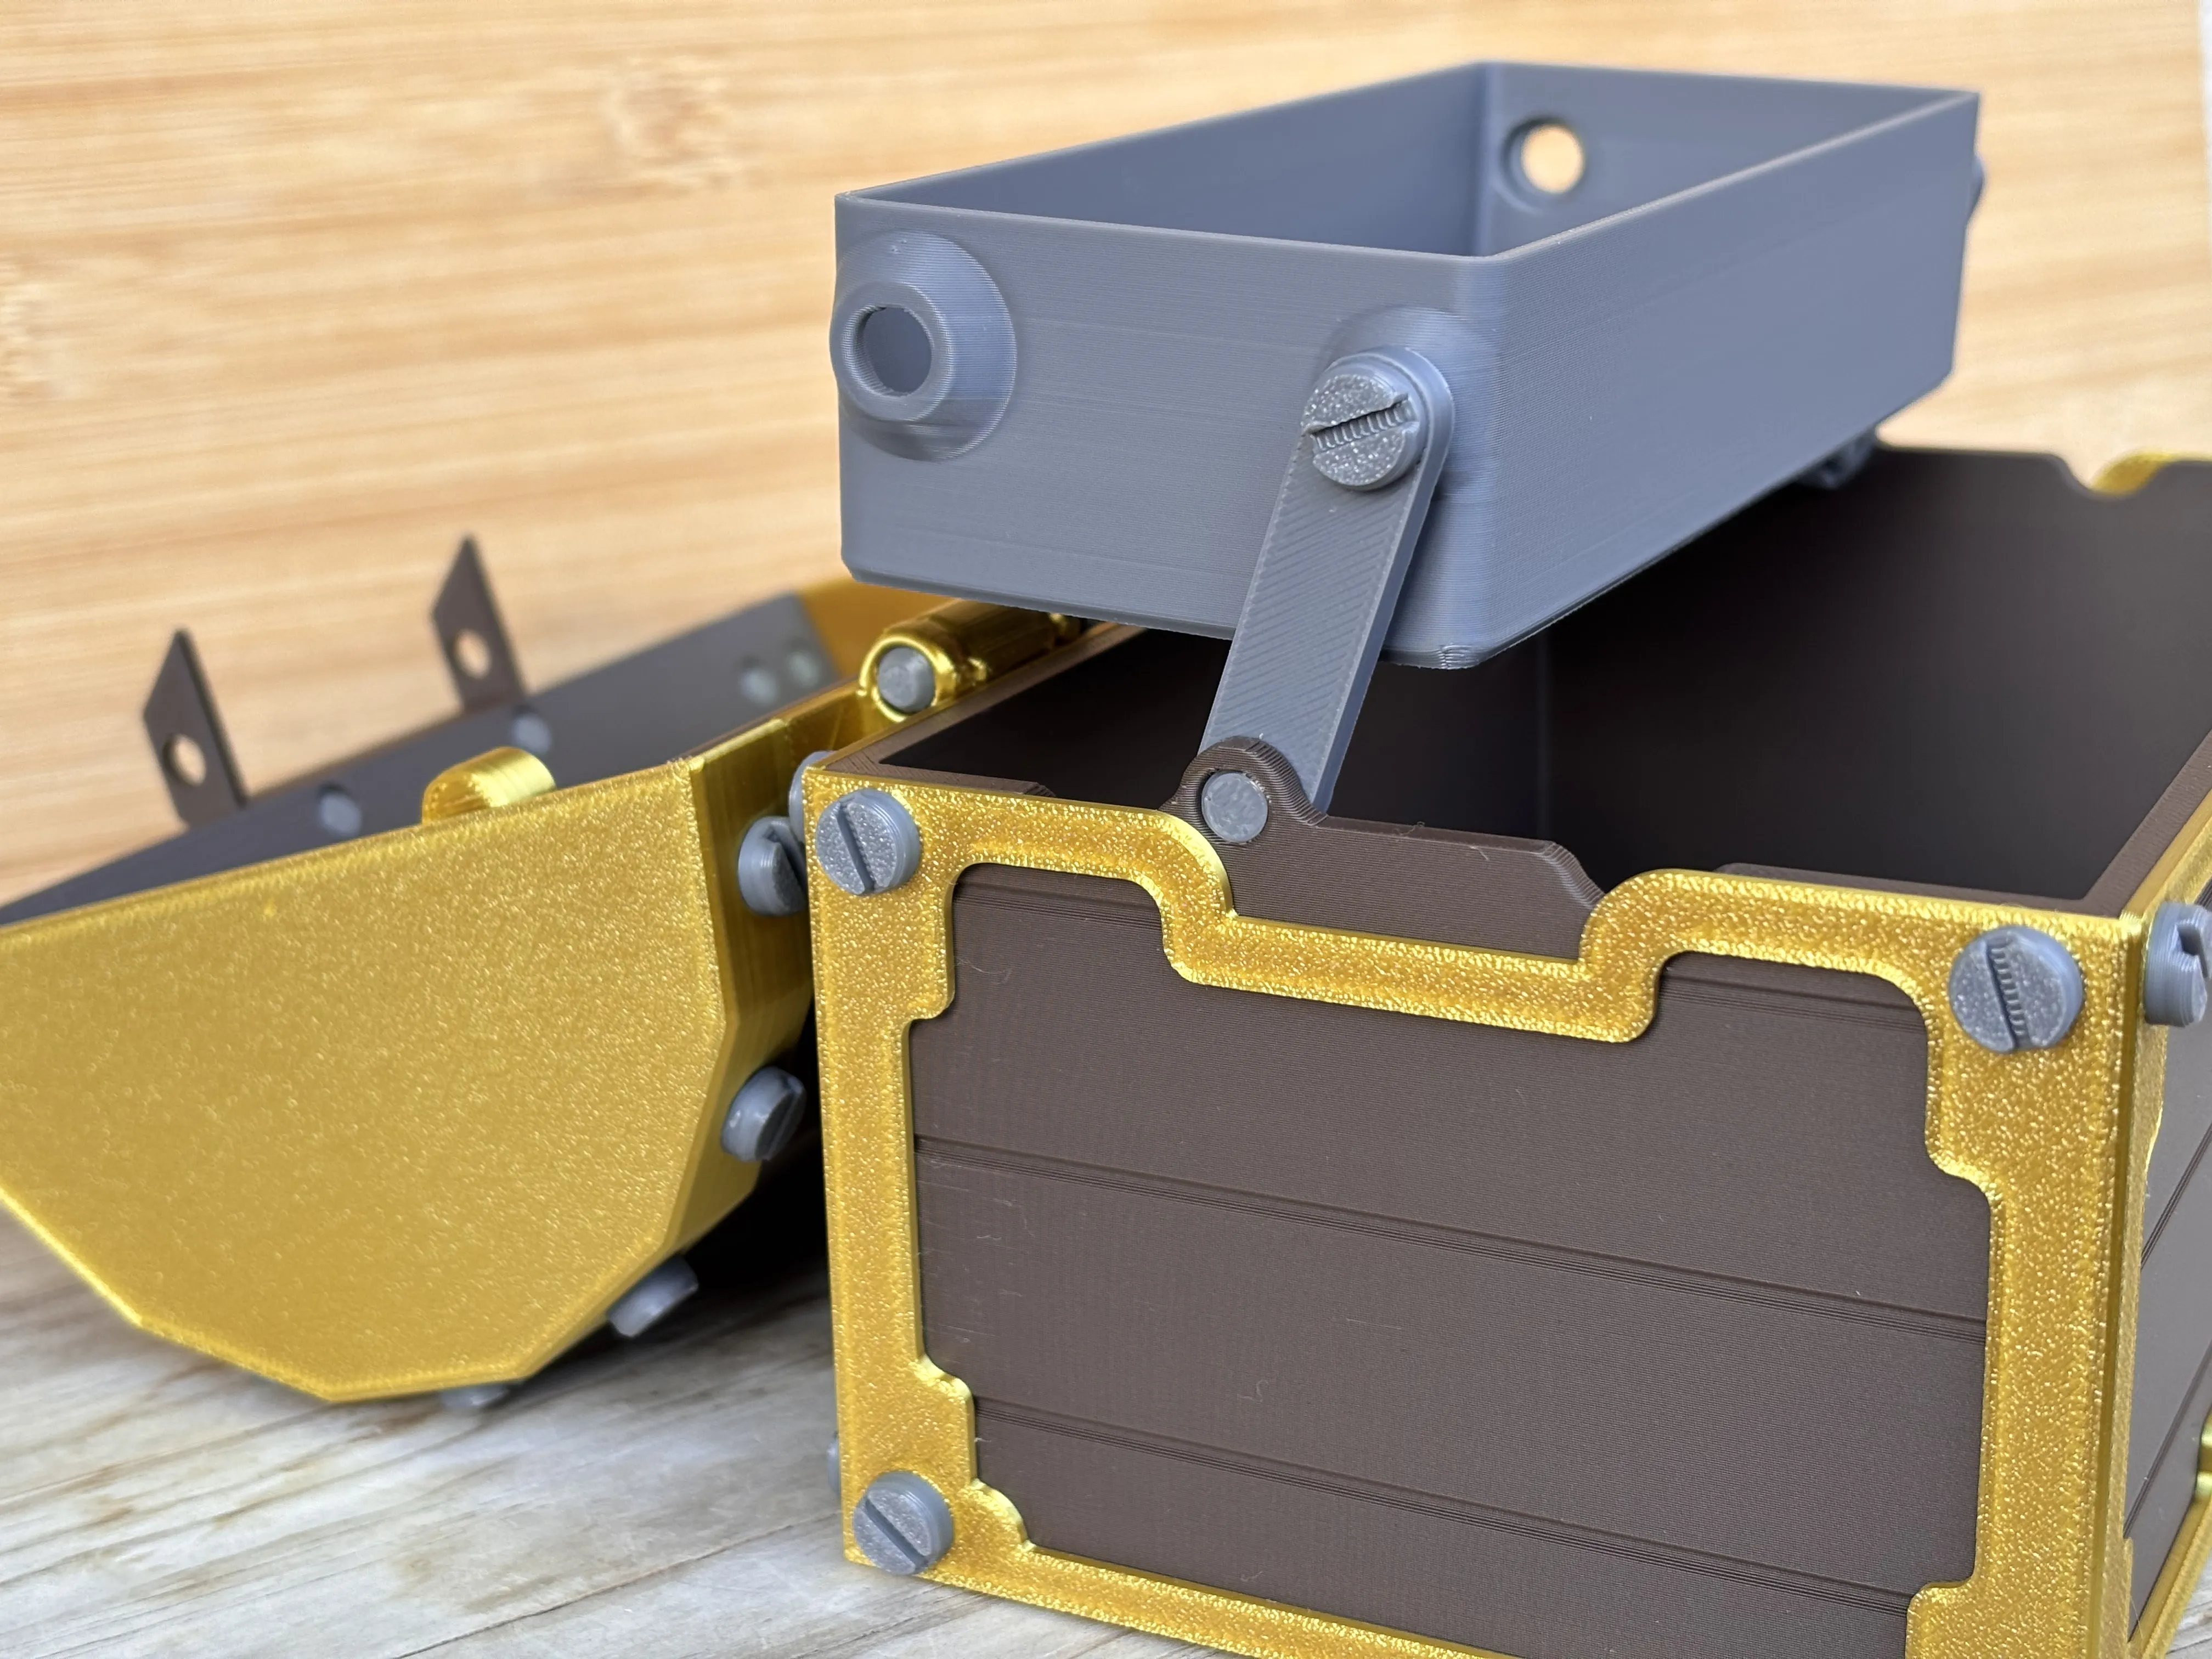
Use the remaining two 14_Shoulder_Bolt to attach the 12_Inner_Box to the threaded holes in 05_Lid_Side_Frame and 11_Lid_Side_Frame.
This connects the Inner_Box to the lid so it opens properly with it.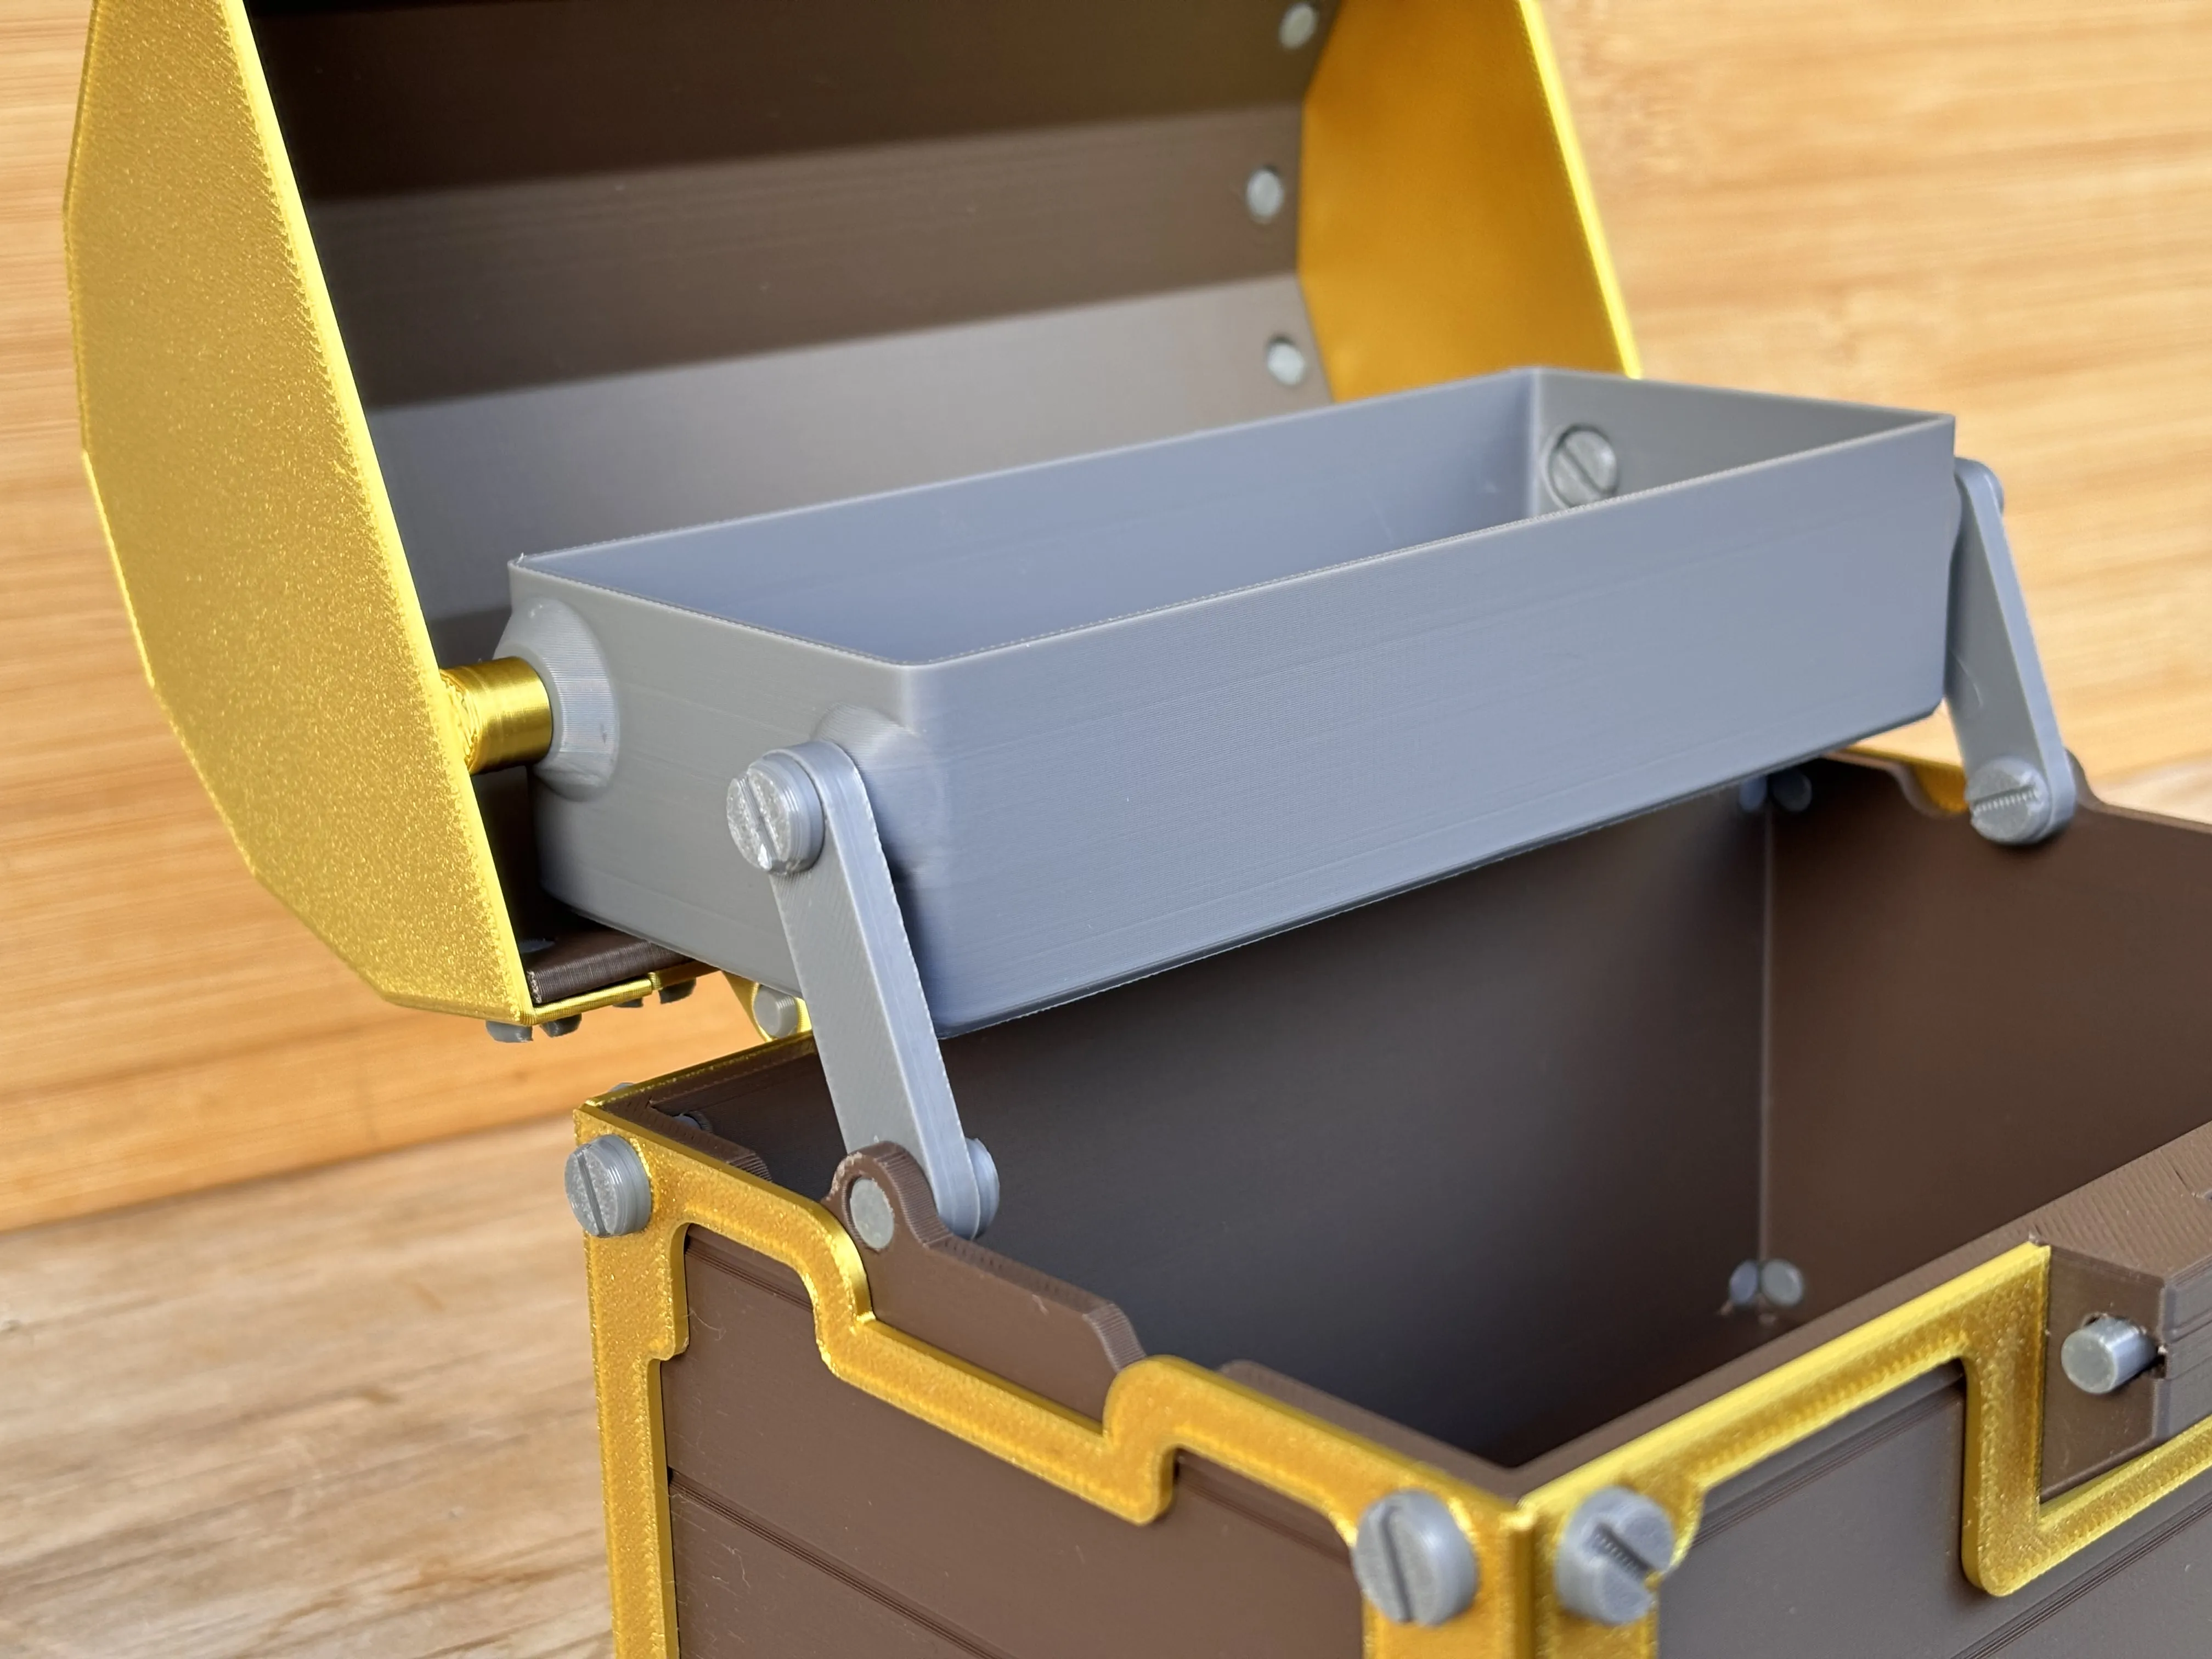
👇If you like my model and would like more variations and support me at the same time! Check out my Patreon!👇

License

You shall not share, sub-license, sell, rent, host, transfer, or distribute in any way the digital or 3D printed versions of this object, nor any other derivative work of this object in its digital or physical format (including - but not limited to - remixes of this object, and hosting on other digital platforms). The objects may not be used without permission in any way whatsoever in which you charge money, or collect fees.


Comment & Rating (211)