
Fan - Swiveling, Tiltable, for 80mm Fan
Print Profile(4)


Description
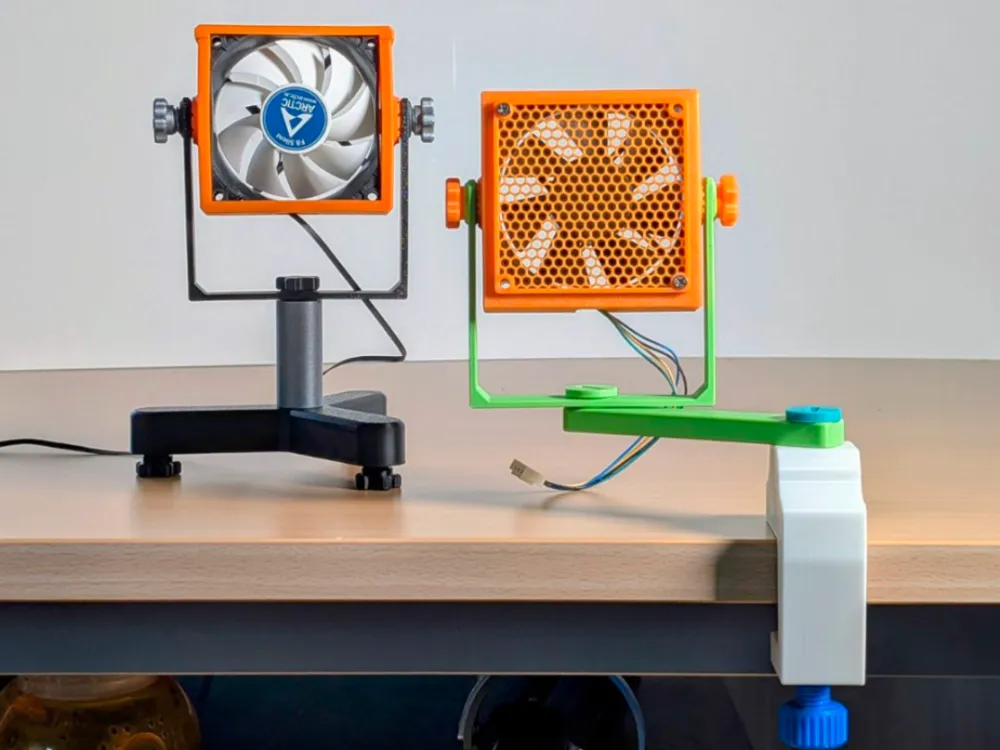
Jogi's fan based on a standard 80mm PC fan
Snaps together without tools
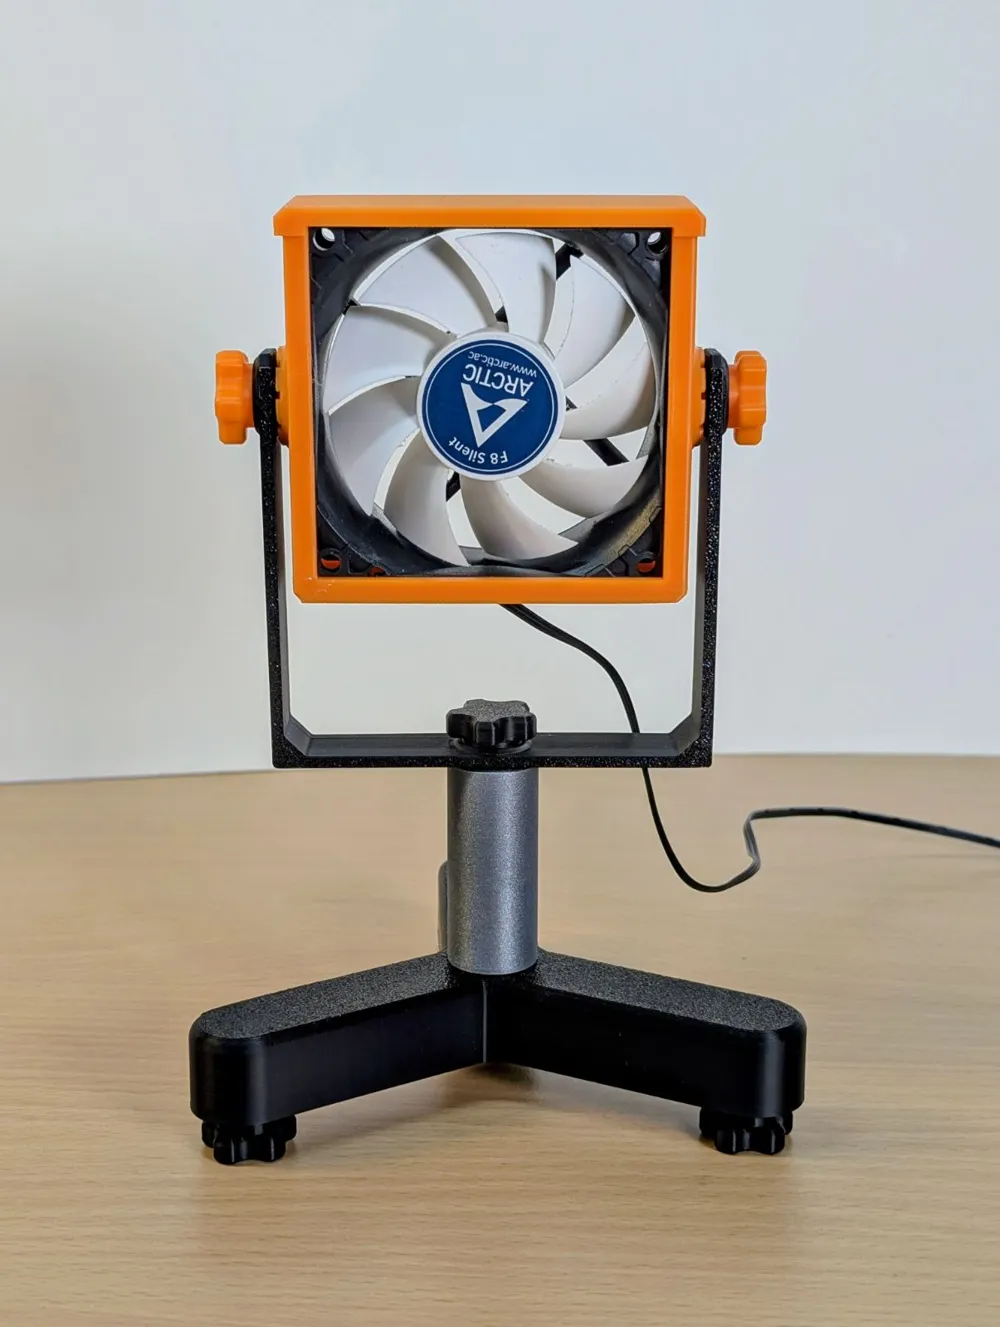
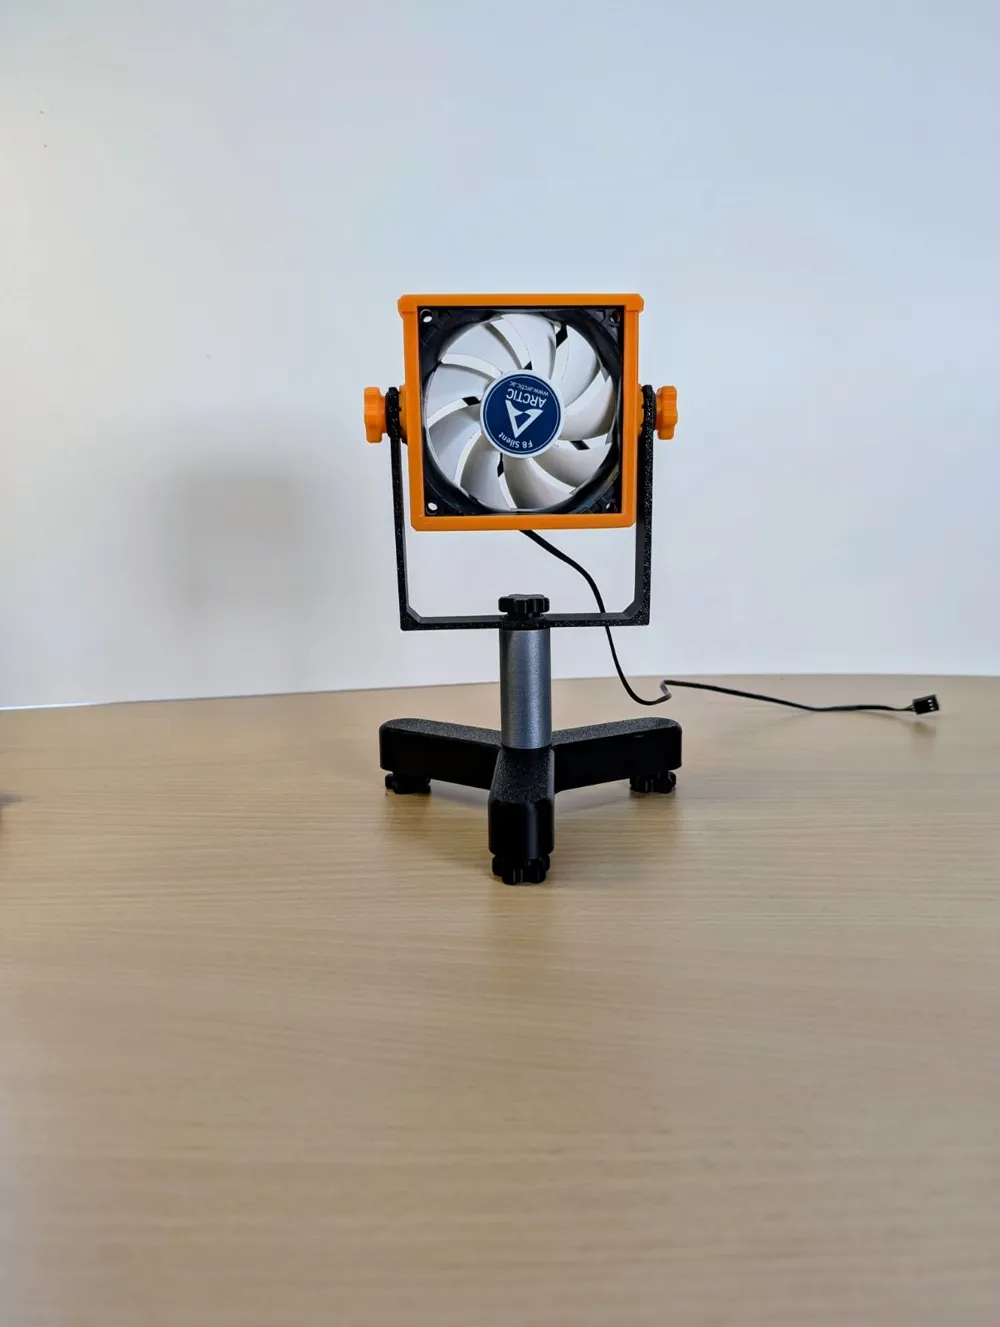
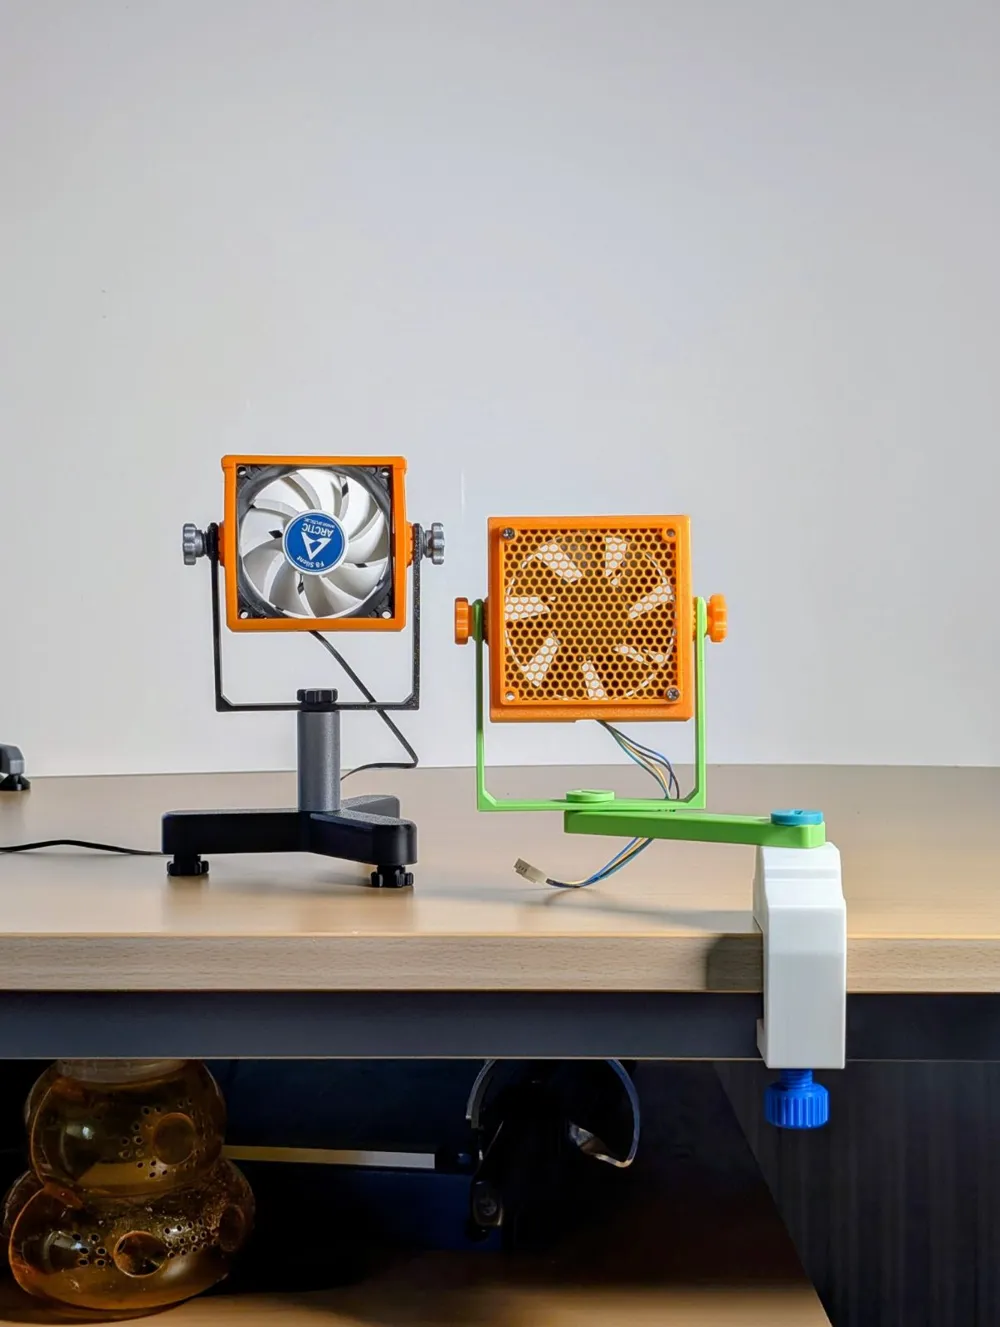
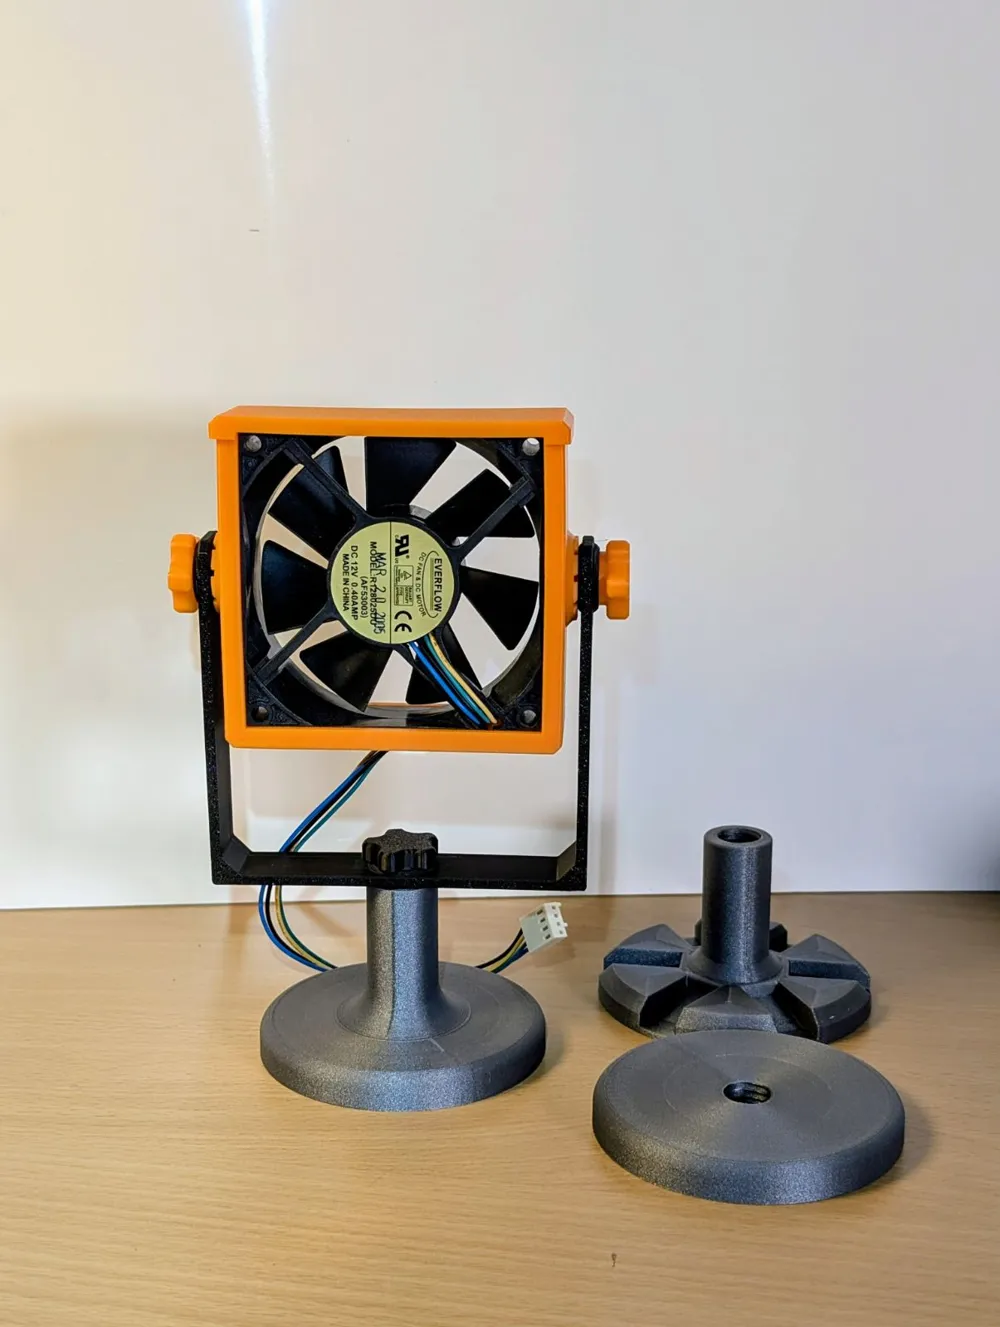
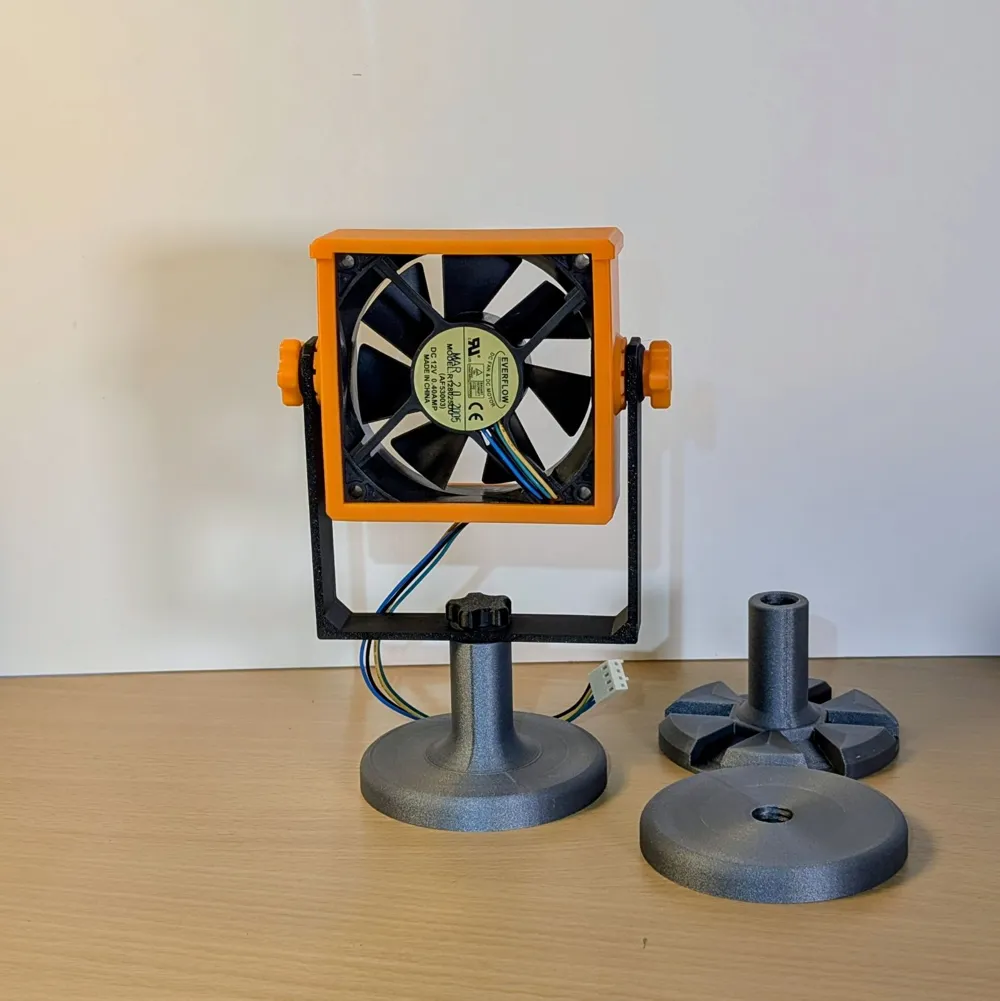
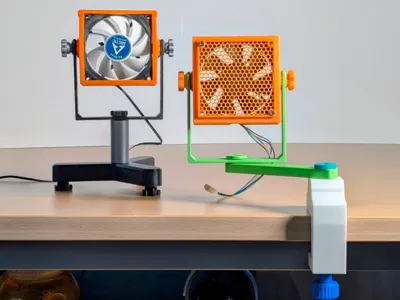
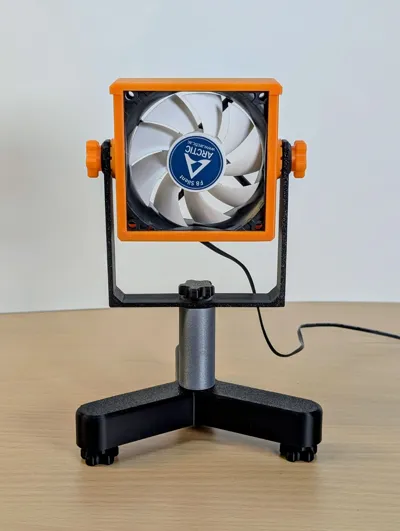
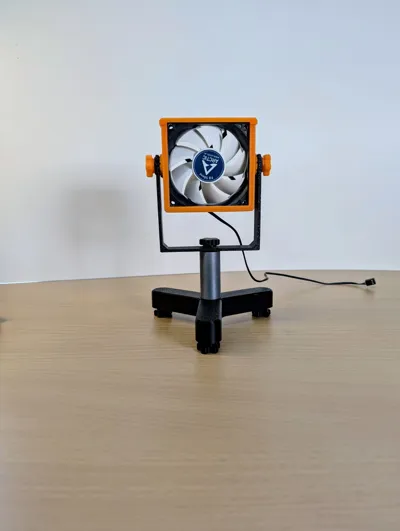
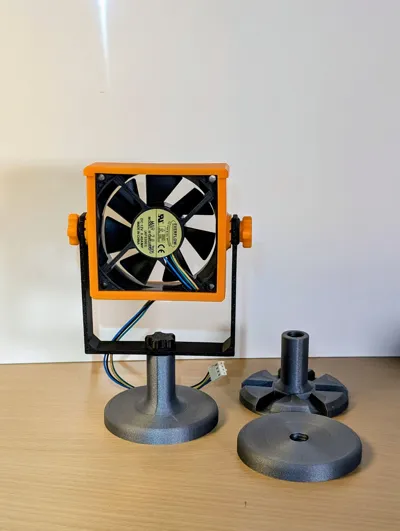
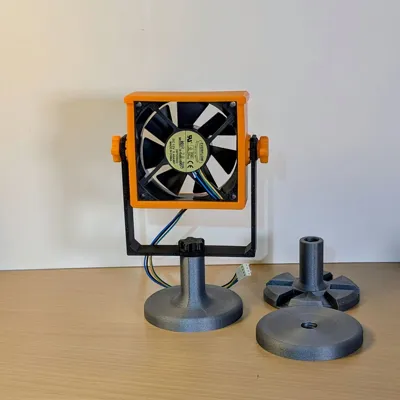
Version 1: Standard fan for desk / on-table use
Fan in a 2-part housing with a tripod base
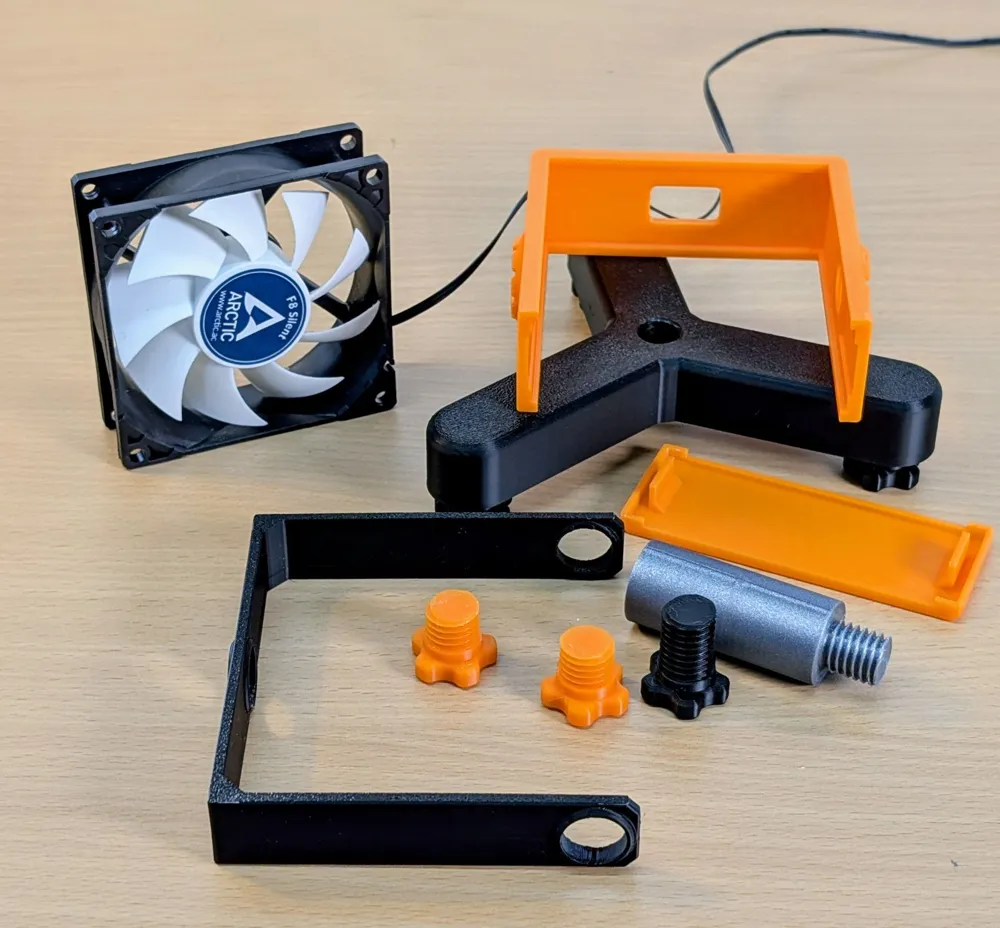
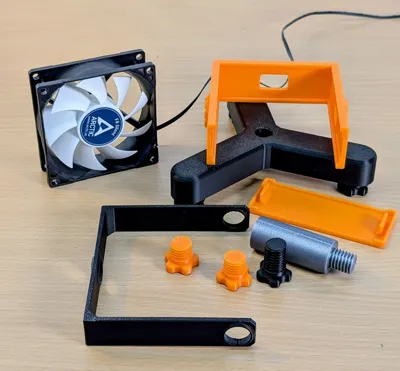
Print all parts
(fan holder + cover, bracket, tripod base, 4 long screws - 3 for feet, 1 for mounting the bracket to the tripod base, 2 short screws)
1. Screw 3 screws as feet onto the tripod base
2. Screw the post from the top into the tripod base
3. Connect the tripod base to the bracket with the last longer screw
4. Insert the PC fan into the fan holder, thread the fan cable through the bottom opening
5. Carefully press the lid firmly from above - it should fit precisely It might be a bit stiff
Your printer must be well calibrated; it works perfectly with PLA and PETG on H2D and X1C
Screw the fan holder to the bracket with the 2 short screws
Finished
Plug in the fan cable, use it…
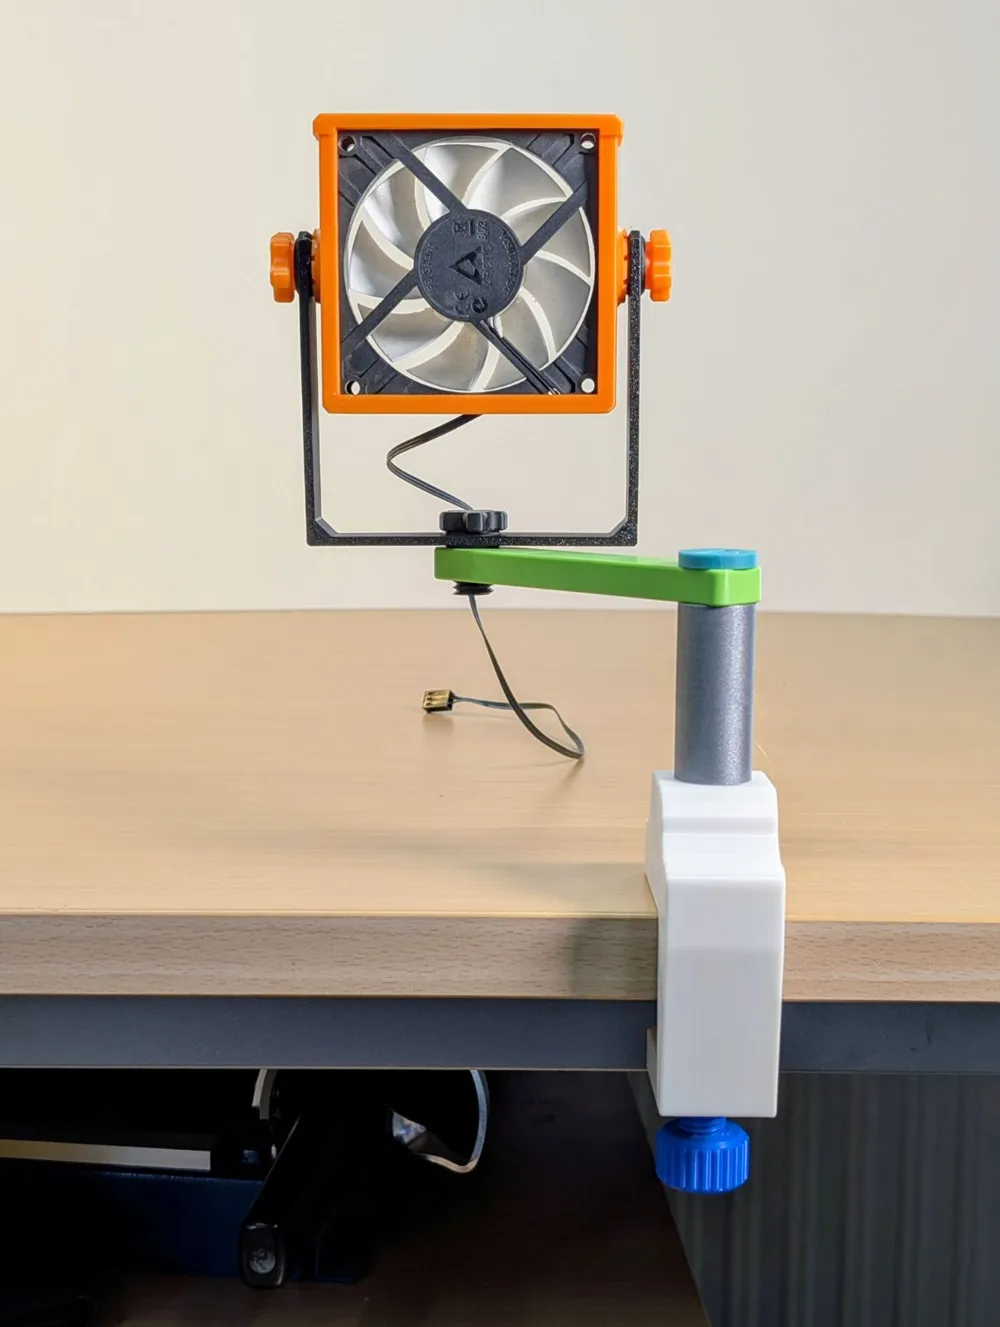
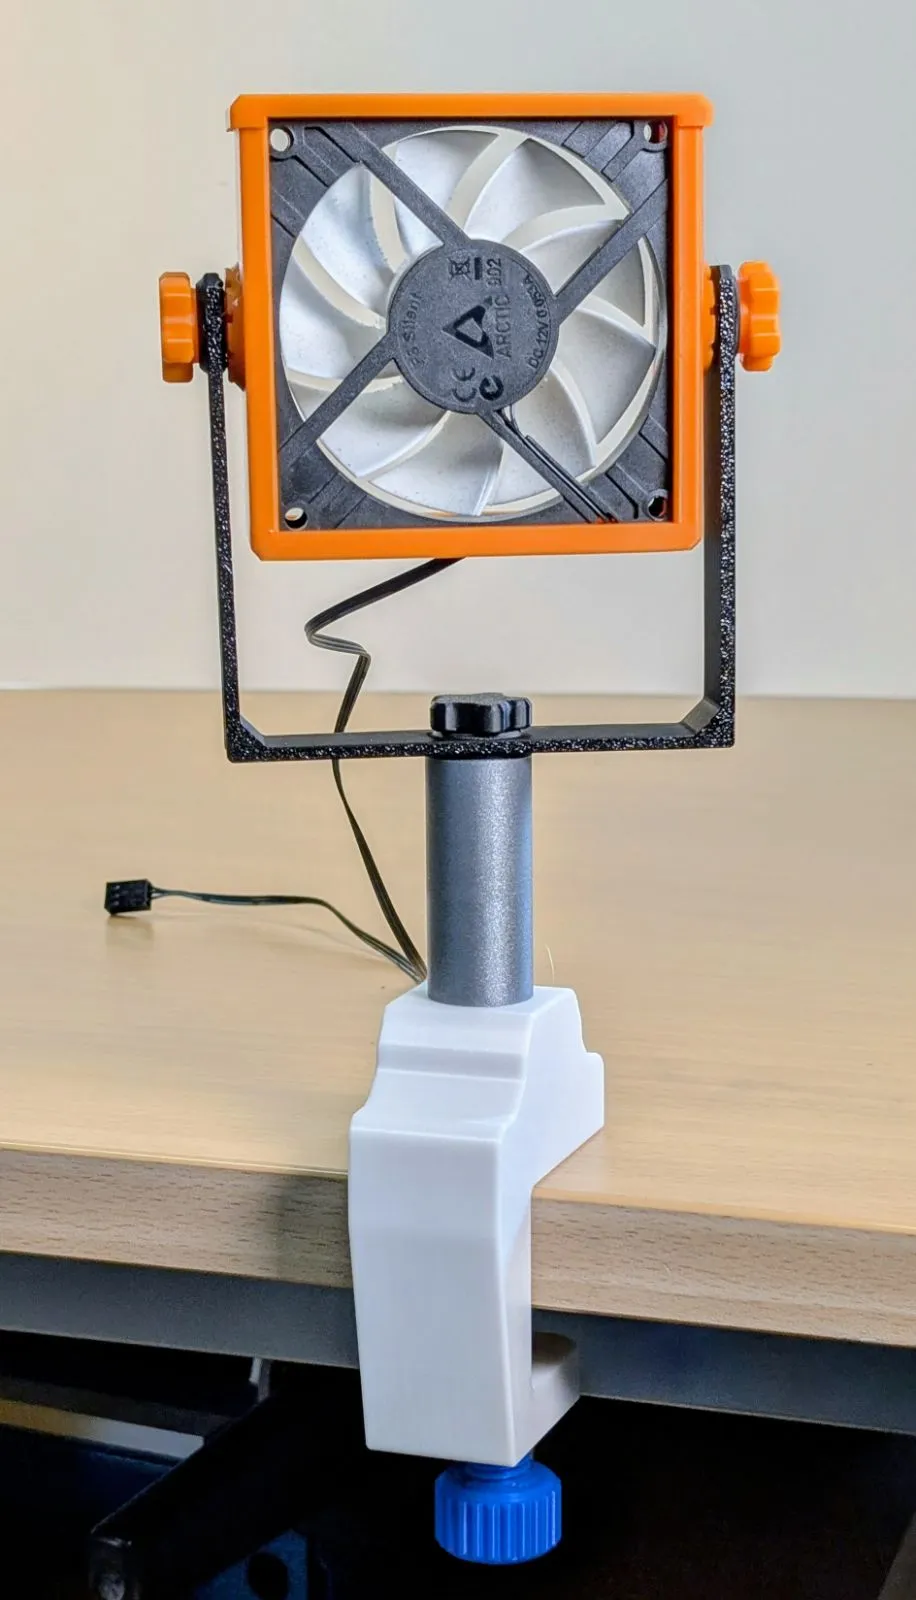
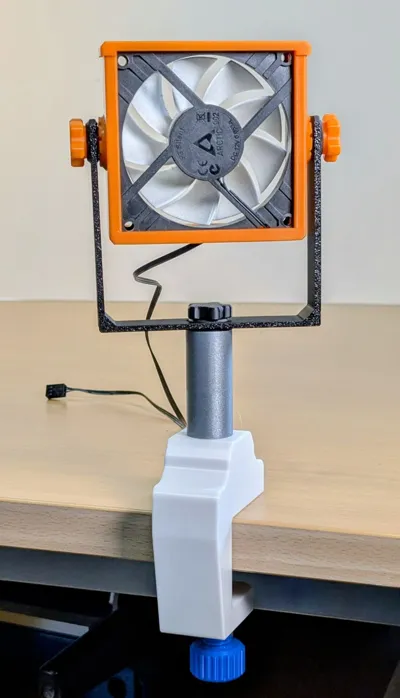
Version 2: Fan for clamping to a shelf or table
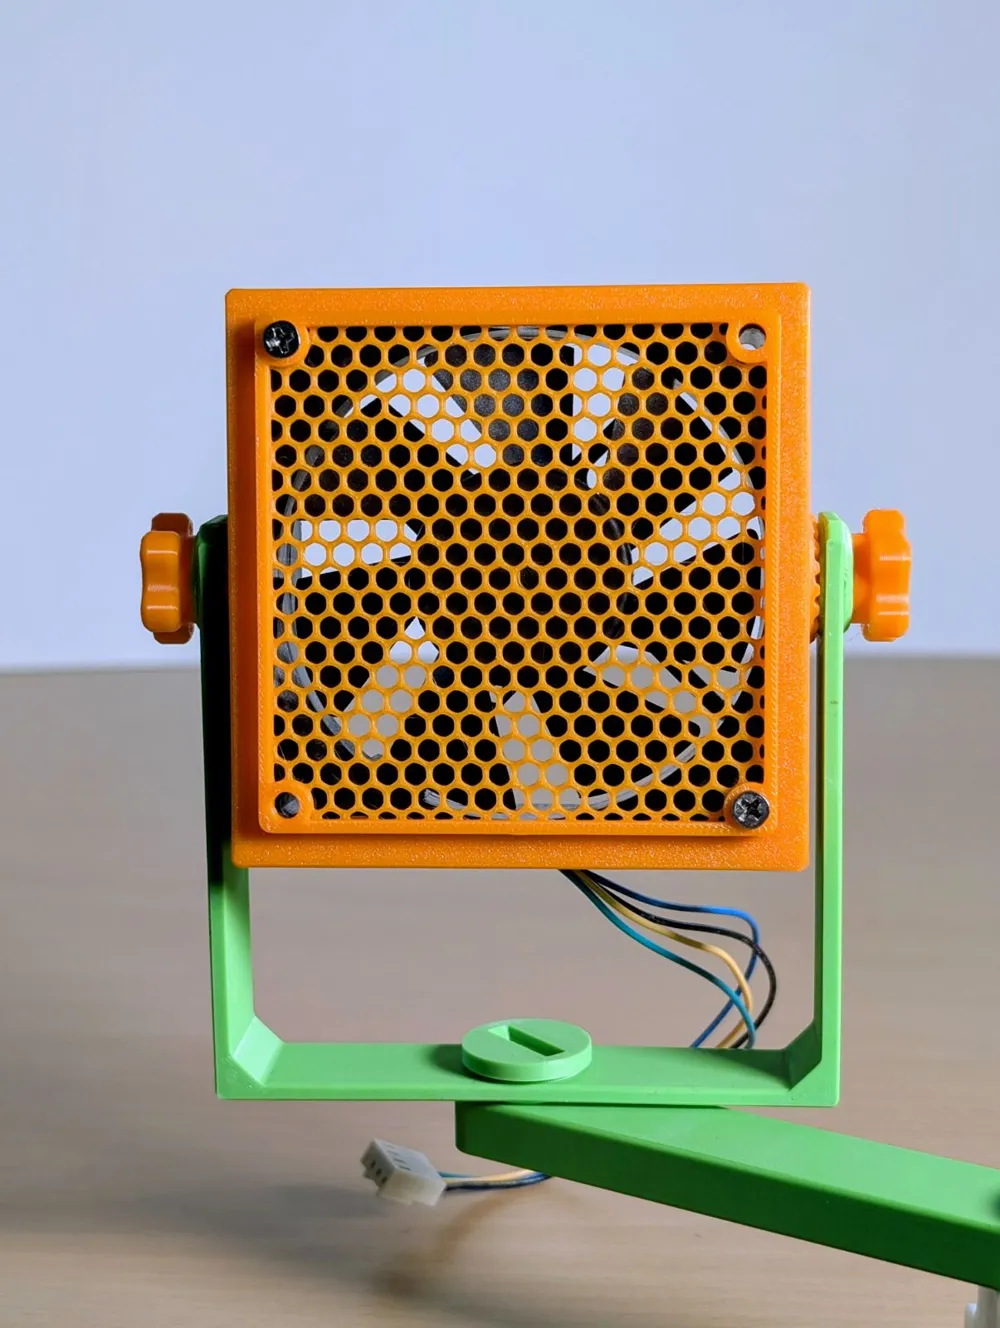
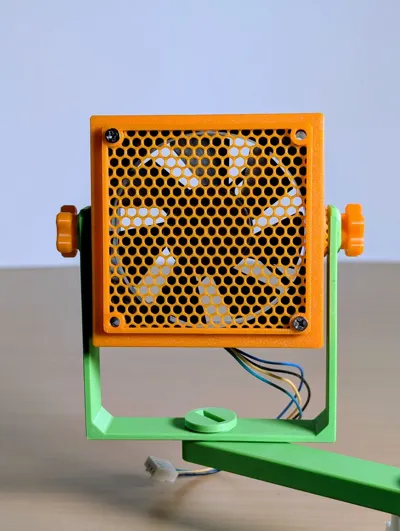
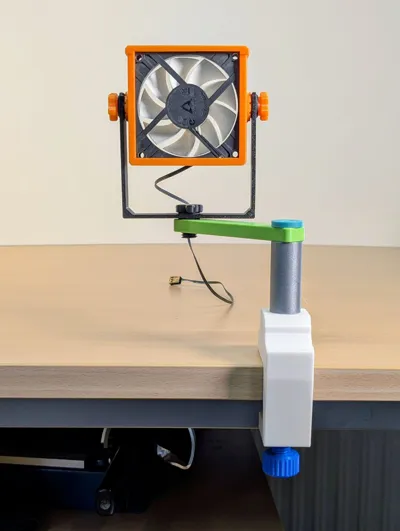
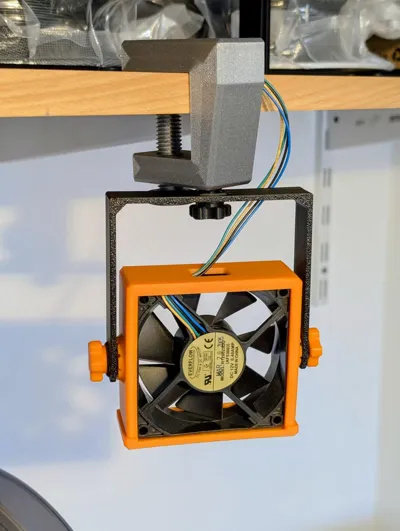
Instead of the tripod base, this version includes a table clamp
The fan holder is also designed slightly differently:
Complete frame, slide fan in from the back, attach cover until it clicks into place
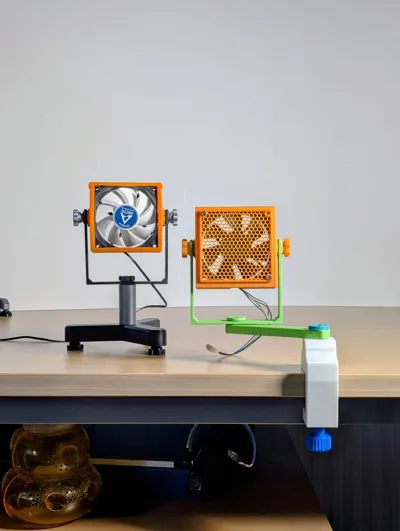
An optional 12cm cross-bracket is included, allowing the fan to be mounted slightly offset to the side
Different screws are included, same function, slightly different design
Parts from Version 1 and Version 2 can be mixed and matched as desired
To adjust, slightly loosen the screws; it is rotatable and tiltable
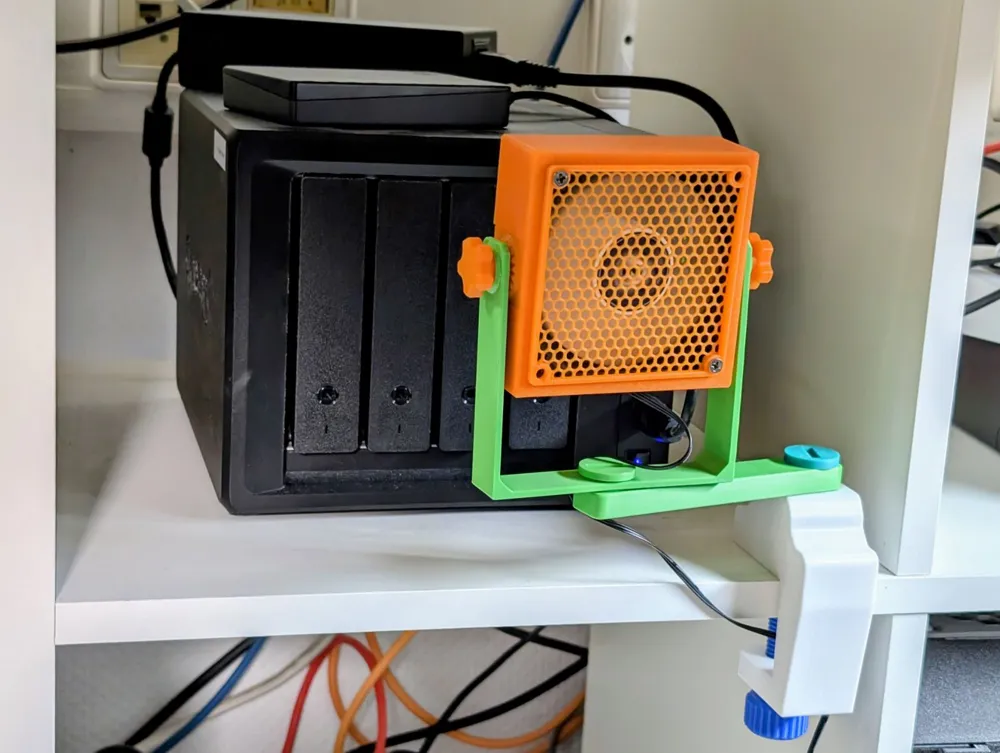
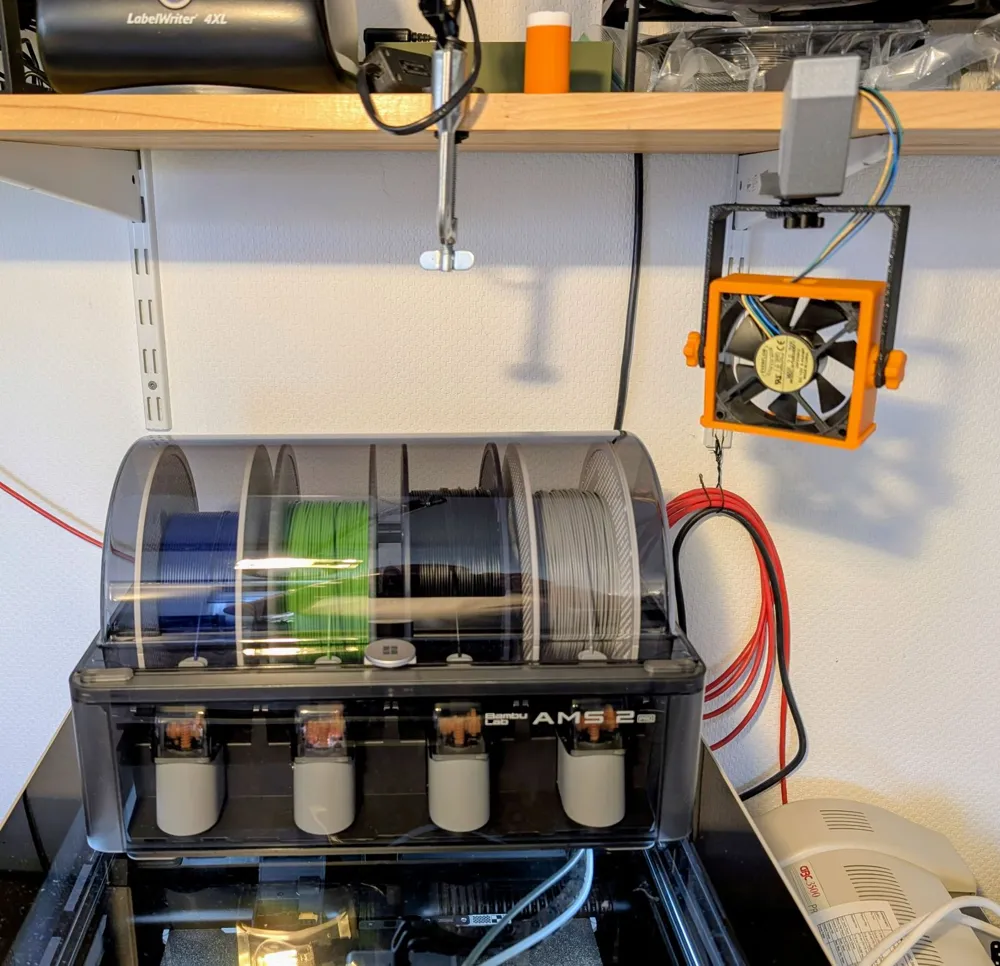
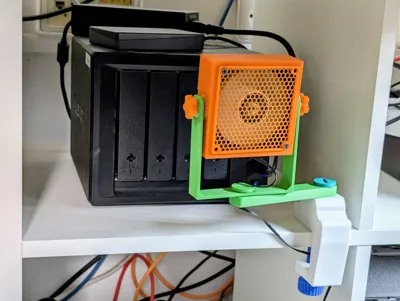
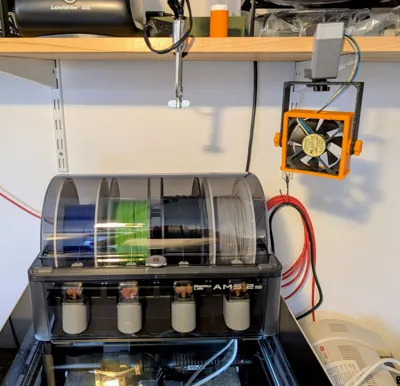
I designed Version 2 because my Synology NAS suddenly reported temperature issues during backup after upgrading to a 10Gbit network Apparently, the integrated fans were reaching their limit
The additional fan is simply clamped to the Ikea shelf and blows air onto the DiskStation For maintenance, I can easily fold it to the side or unscrew it Since it's clamped, it won't just fall down
See also the corresponding photo :-)
August 5, 2025: Additional print profile added:
3 alternative feet for the fan, if you prefer a different design - only one foot is ever needed
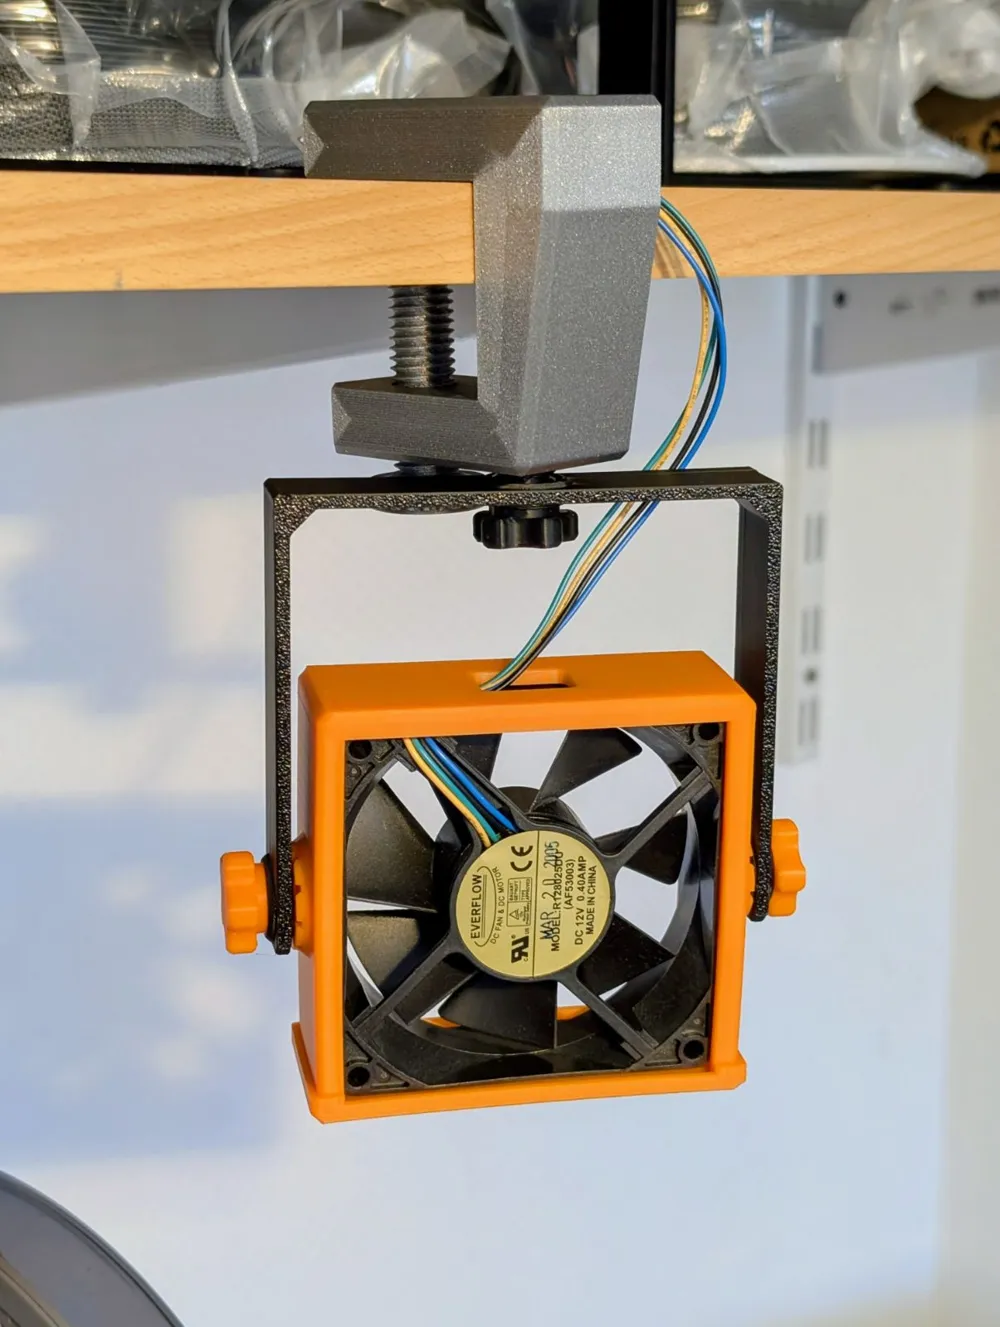
Also a clamp holder for overhead mounting
This allows for suspended mounting - e.g. on shelves, etc
Various screws are included - the short one is for mounting the bracket to the clamp holder, the longer ones for mounting the clamp holder to the board - measure your board and choose the required length
Note - there are 2 clamp holders:
One for upward fan mounting = screwing on the underside and one for suspended mounting = screwing on the same side as the fan
Use 30% or more infill for the screws
Turn them in CAREFULLY the first 2-3 times
If your printer prints the threads too tight, mark the screw, go to Bambu Lab and select Scale
Uncheck UNIFORM SCALE, scale X and Y to 99% or less (screws that are too small will strip - test!), leave height (Z) at 100%, otherwise the thread will change
Have fun
Various fan grills are available here:
Alternatively, my industrial design fan is available here:
https://makerworld.com/en/models/1671170-ventilator-im-industriedesign-verstellbar#profileId-1769378
Boost Me (for free)
Do you like my fan design?
A boost would be nice :-)
License

You shall not share, sub-license, sell, rent, host, transfer, or distribute in any way the digital or 3D printed versions of this object, nor any other derivative work of this object in its digital or physical format (including - but not limited to - remixes of this object, and hosting on other digital platforms). The objects may not be used without permission in any way whatsoever in which you charge money, or collect fees.


Comment & Rating (8)