Extremely Strong Filament Rack


Print Profile(5)


Bill of Materials

Description
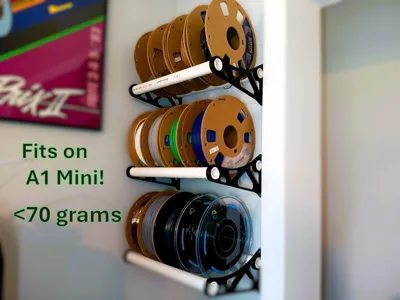
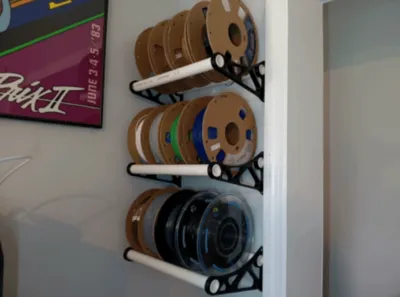
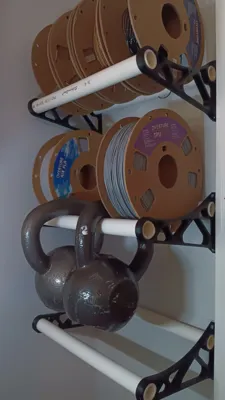
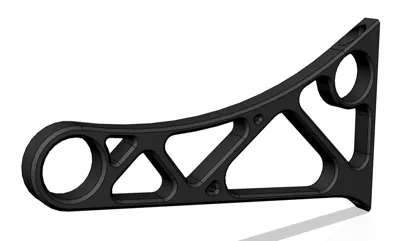
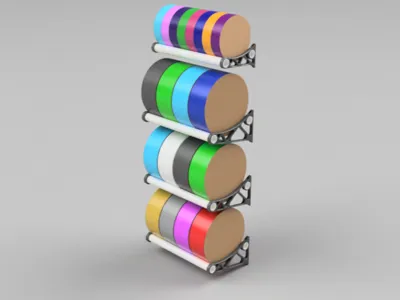
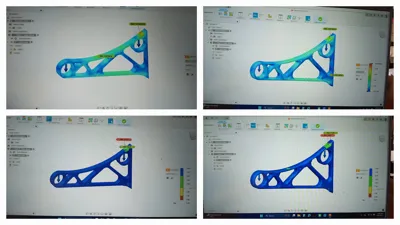
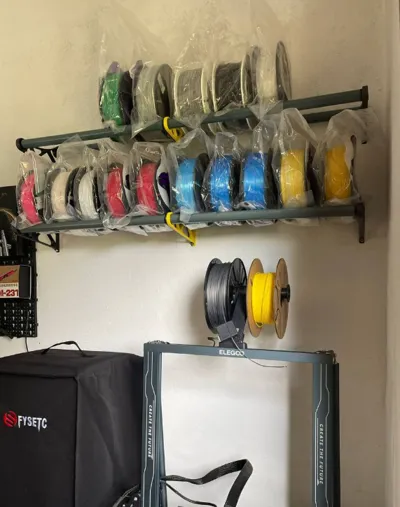
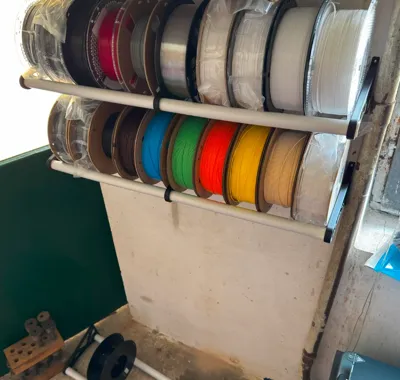
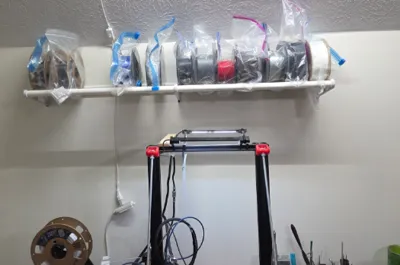
This is a filament rack designed for 1kg filament spools, or spools of anything that are 200mm(~8in) in diameter. To test it for the optimal shape, I used the Finite Element Analysis inside of fusion, to come up with this design. Based on the tests in fusion each one can handle 80lbs of load safely in normal PLA, however, that does not factor in things like layer adhesion, or line direction, which is nearly impossible to stimulate. The tests say two can hold 160lbs of weight, or 70 spools of filament, making the maximum “safe” spacing 17.5 feet apart. But do not do that as the FEA does not account for layer adhesion, line direction, or anything else like that.
I recommend spacing them no more than 5ft apart. Drill them into the nearest stud. In the US studs are spaced either 16 inches apart, or 24 inches apart on normal walls. On openings, there is 3 inches of wood horizontally to the frame opening by law. You can find these studs by using a magnet to find the screws that go into it, using a stud finder, or by using the normal spacing as specified earlier after you have found one stud.
I recommend printing in basic PLA, but PETG or any fiber reenforced filaments will perform better, but PLA plus, MAX, or super PLA are not recommended, as they are engineered for impact strength, not tensile, which is what this relies on.
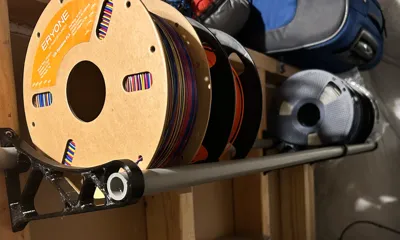
For the rack itself I used ¾ PVC pipes, which are 1.050 inches in diameter, however that may not be available in your location if your nation uses logical measurements, so I made an adapter so you can use pretty much any rod. Just extract the zipped file and slice the chosen rod size.
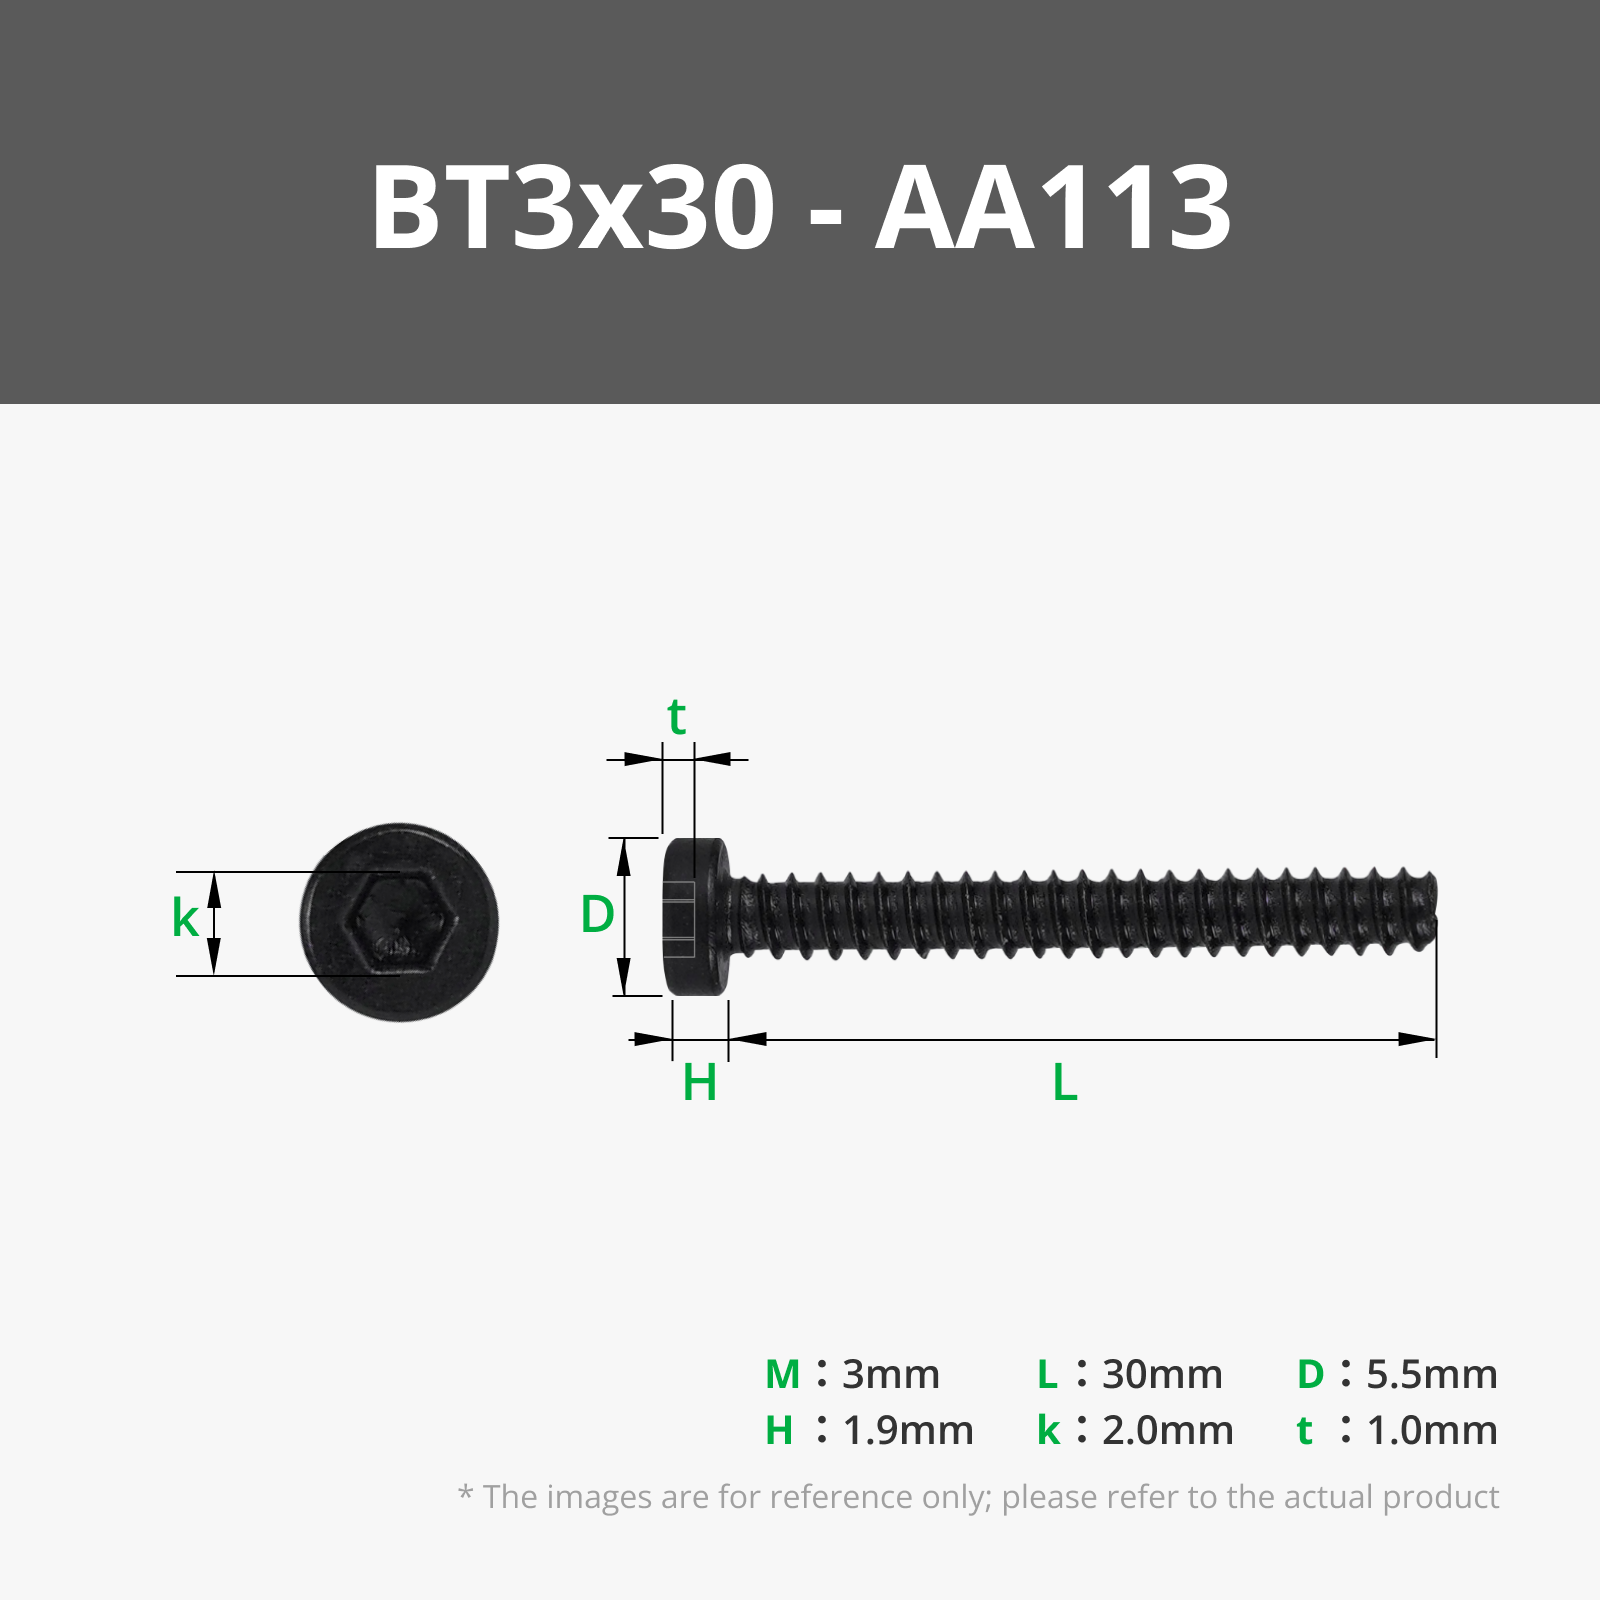
You can use the maker kit's screws I put below, or 1 ¼ inch wood screws with a chamfered end to fit into it, known as countersunk screws.
This is a pretty fast print depending on what printer you have. Print it with a ridiculous number of walls (I did 20), as it will distribute the load better.
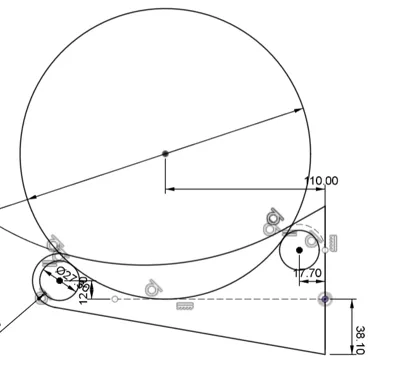
I put the fusion F3D file in, so you can directly edit it in the sketch if you want different dimensions or spacing or even rod sizes.
License
You shall not share, sub-license, sell, rent, host, transfer, or distribute in any way the digital or 3D printed versions of this object, nor any other derivative work of this object in its digital or physical format (including - but not limited to - remixes of this object, and hosting on other digital platforms). The objects may not be used without permission in any way whatsoever in which you charge money, or collect fees.
Comment & Rating (16)