Universal Toilet Cistern Pull Mechanism


Print Profile(1)

Description
Universal Toilet Cistern Pull Mechanism
Today, I introduce a temporary or permanent replacement for your toilet
As with all aspects of life, unforeseen malfunctions can occur at the most inconvenient times, such as
the failure of a cistern mechanism, leaving no immediate opportunity for purchase or replacement
you now have a compact yet highly functional alternative to rectify this predicament
Boost Me (for free)
Support my endeavors; a boost enables me to continue creating designs that streamline your life
Features:
- Completely functional design
- Nearly universal for most toilet systems
- Expeditious printing
- Requires no additional components such as screws or nuts
Printing Specifications:
- Recommended Filament: PETG or ABS
- Layer height: 0.2mm
- Infill: 10%
- Supports: ONLY on part 3 (Screw)
ASSEMBLY
1) Position the decorative trim piece on the toilet cistern lid
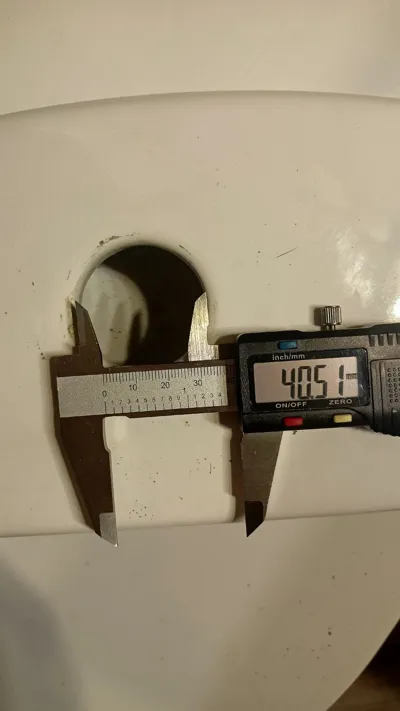
In most instances, the dimensions are consistent; however, should your aperture be shorter, please leave a comment so I may upload a modified version with the precise sizing


2) Affix the counter-nut to the lid


3) On part 3 (Screw), first position the lock nut This serves to permanently adjust the height once the lid and the cistern pull knob are installed

4) Thread part 3 (Screw) through the cistern mechanism's aperture
then apply the nut to adjust the height DO NOT TIGHTEN
IMPORTANT: The screw section measures 5mm in width, which is ample to pass through any opening


5) Mount the screw with the mechanism onto the toilet

6) Place the lid and progressively adjust the nut and lock nut to achieve the precise height for the Screw
IMPORTANT: Part 3 / The Screw should protrude approximately 10mm from the lid

7) Finally, secure the nut and lock nut without overtightening, ensuring they remain firmly in place
Position the lid, and lastly, screw on the mechanism's knob

License
You shall not share, sub-license, sell, rent, host, transfer, or distribute in any way the digital or 3D printed versions of this object, nor any other derivative work of this object in its digital or physical format (including - but not limited to - remixes of this object, and hosting on other digital platforms). The objects may not be used without permission in any way whatsoever in which you charge money, or collect fees.
Comment & Rating (9)