
Ergonomic Mini Painting Brush Grip / Hangar
Print Profile(4)


Description
Boost Me (for free)
Use the boost to get through!
Check out my new version of this brush grip (it's backwards compatible with this one still!) that I updated as part of my full 3d printed mini painting station project, Paintfinity here: https://makerworld.com/en/models/2772099-paintfinity-ergonomic-mini-painting-brush-grip#profileId-3079401
I also recently released a dedicated brush rack that is designed to hold brushes while in my grips with optional magnets for tip-down drying/storage!
Cool, it's a thing that goes on my brush. What do I actually need to print, that's a lot of reading.
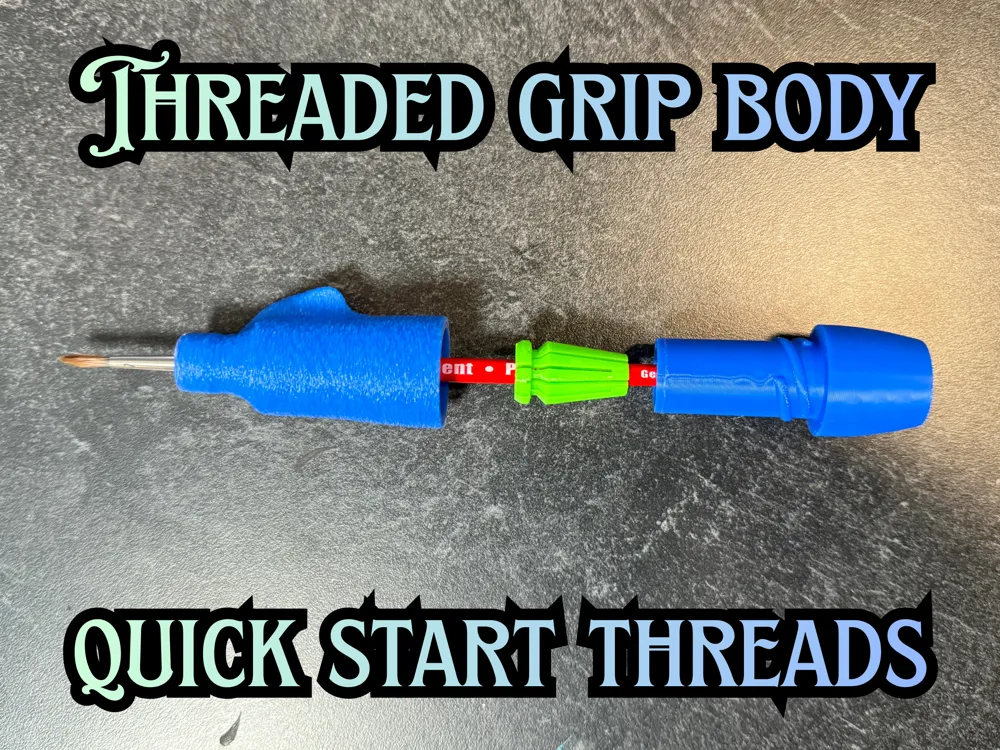
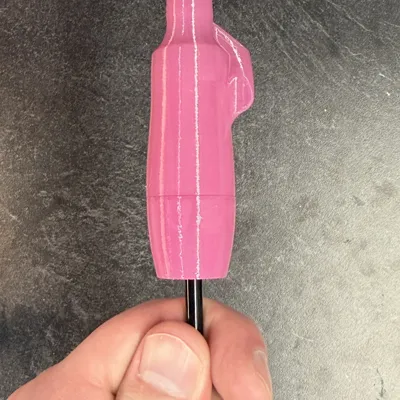
Start by printing all the collets, either the wingless or support fin front grip, and the medium rear section. Find a collet that fits snug(ish) around your brush right where you usually grab it, and thread the top and bottom grip halves together around it. Now go paint!
If you run into any problems or just want more info, please check out my dissertation below:
Updates
10/3/2025 Update 1:
- Added Wingless grip profile
- I created another front grip section that removes the extruded fin- the ‘wingless’ front grip. The wingless grip retains the small inset comfort groove notch and slightly adjusts the front nose profile.
- Added Left Handed variant!
- A separate Left Handed print profile has been created! This is a mirrored profile of the default grip components. Due to this, the threads of any left handed parts will be reverse threaded (righty loosey lefty tighty??) and incompatible with the right handed grip parts. All collets are universal between left or right handed variants.
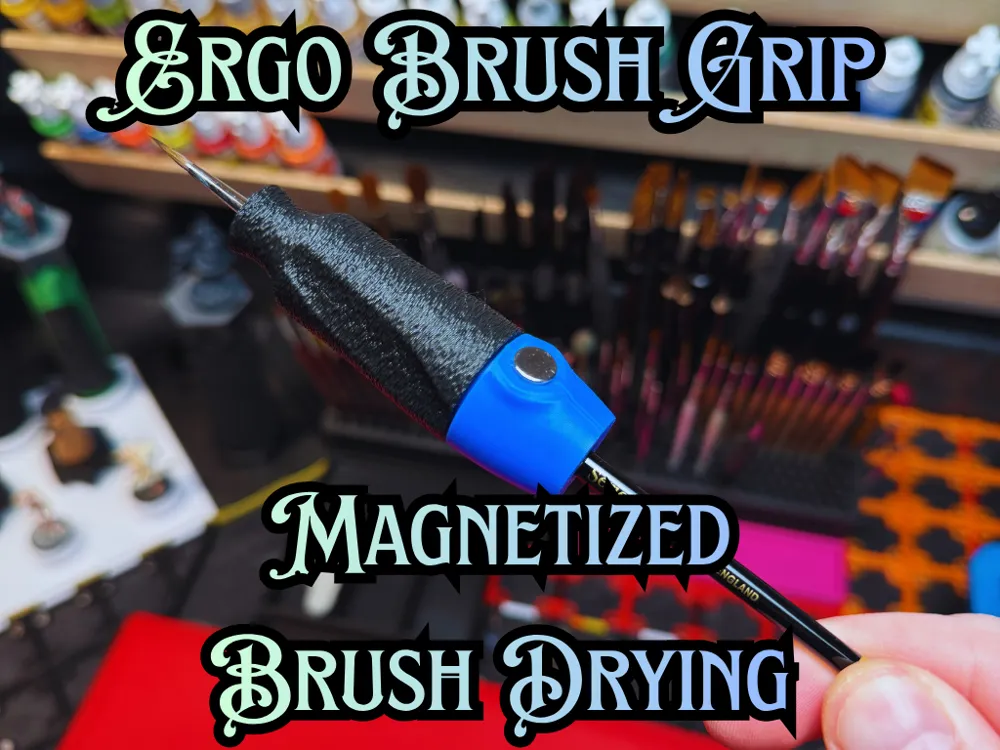
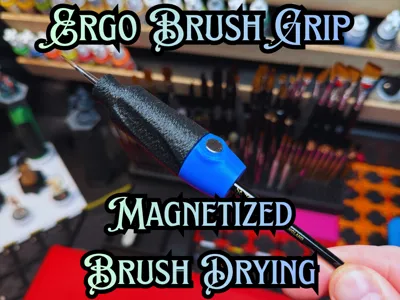
- Added optional Magnetized bottom parts
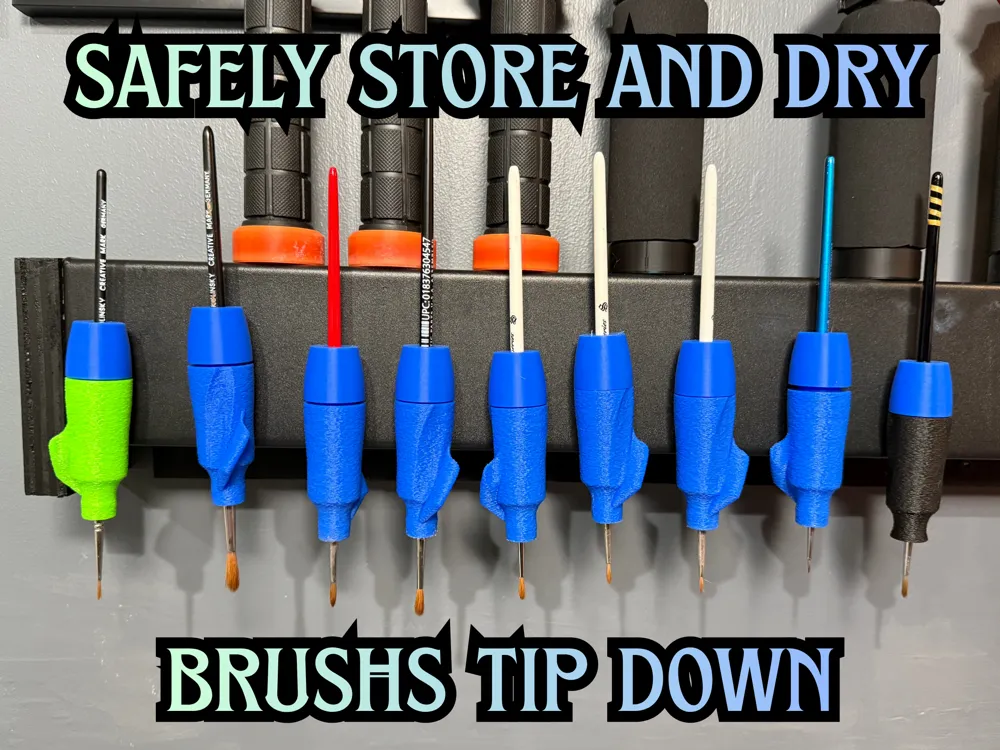
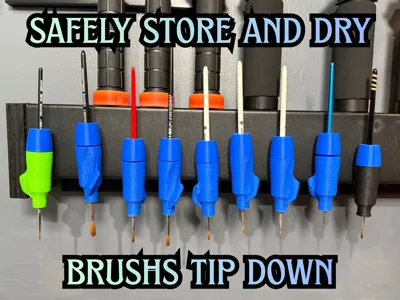
- My preferred storage of all my nicer brushes is by hanging tip down. To assist with hanging my brushes from a metal plate, I added a new rear grip section that allows for embedding magnets into the grip handle. I currently have variants for 6mm, 8mm, and 10mm magnets!
Ideally your magnet should be slightly exposed from the grip to make good contact, make sure it's nice and sturdy before you hang your brushes to avoid damage! I personally use the 10mm magnets directly to a steel plate.
Ergonomic Miniature Painting Brush Grip
We often find ourselves needing small detail paintbrushes when painting miniatures. Small handle diameter combined with repeated fine motor movements can quickly lead to problems in our hands. While talking to other artists I discovered RSI or Repetitive Strain Injury from painting is a fairly common issue.
Many companies are now making more ergonomic handles for their brushes right out of the box. Consider giving those a try!
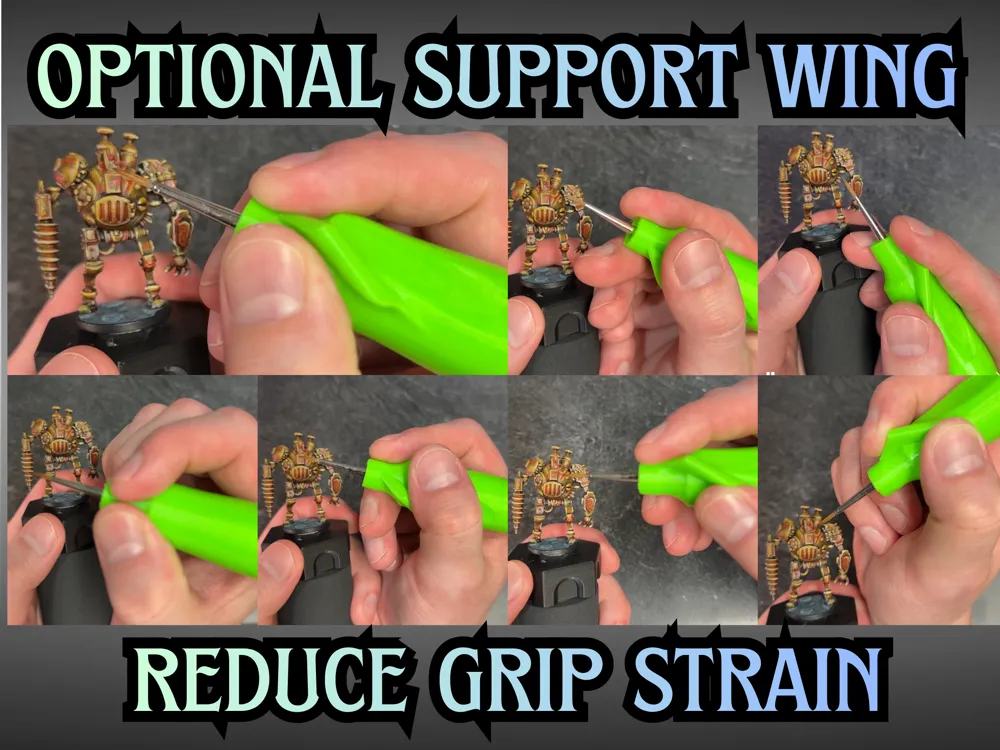
When painting miniatures, we have to tilt the model in many different orientations to paint small nooks and crannies. This means we need to change our brush grip often to accommodate weird approach angles.
I designed this grip to be as versatile as I could. It helps give us some support behind a lot of different grip styles and more push/pull points to use for brush control. By adding variance to our motor movements, we can try to alleviate the repetitive portion of RSI.
Removable, low marring clamp design
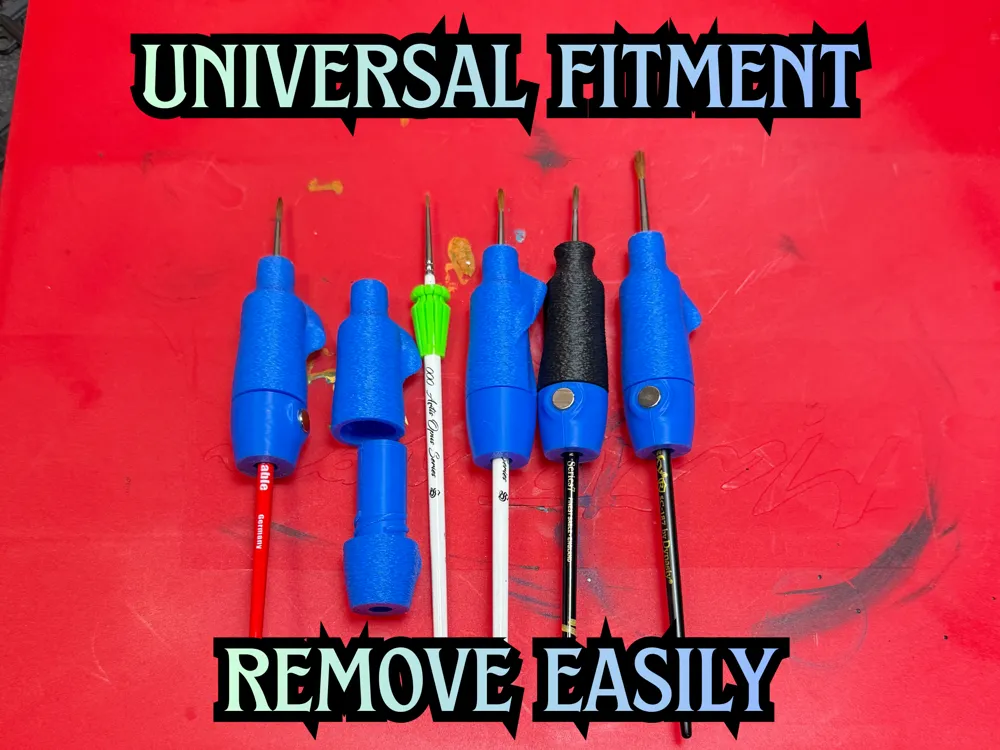
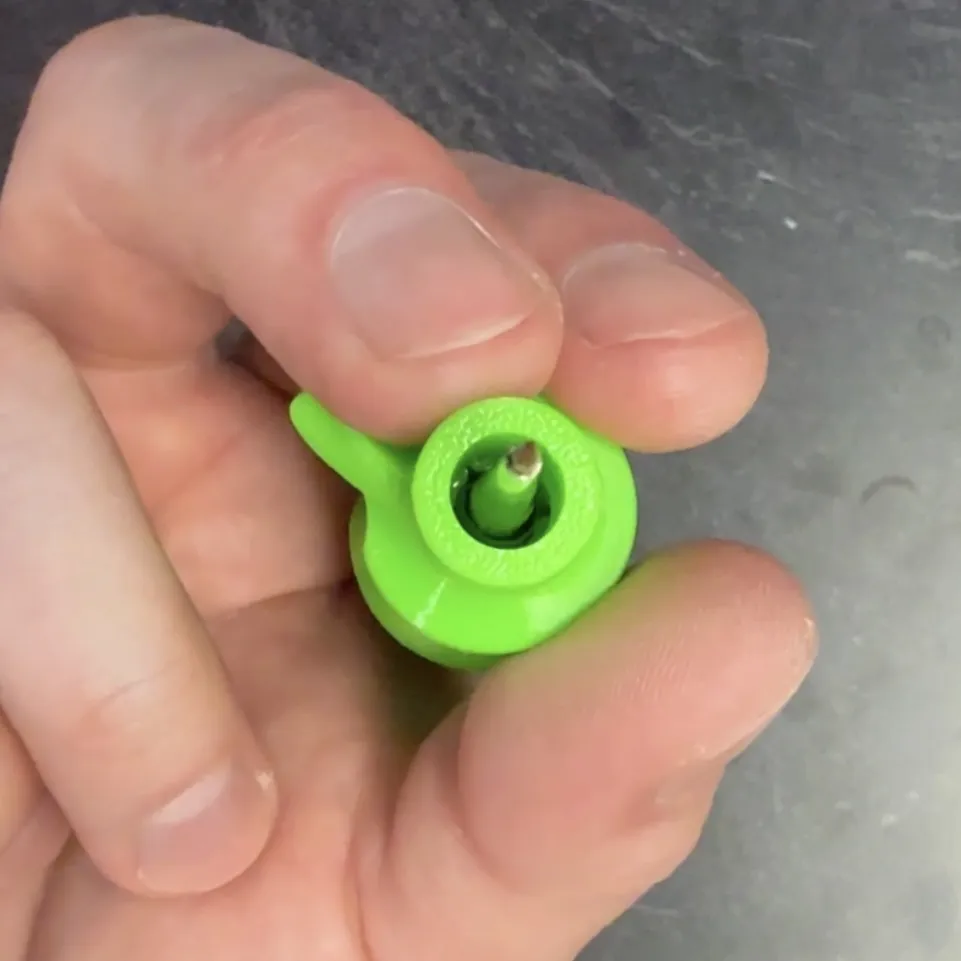
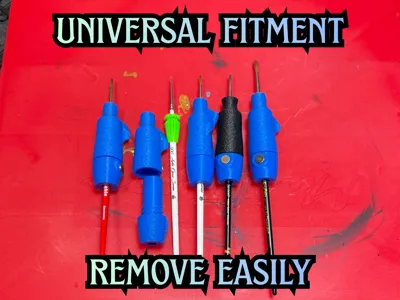
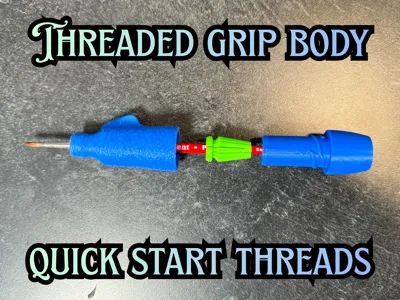
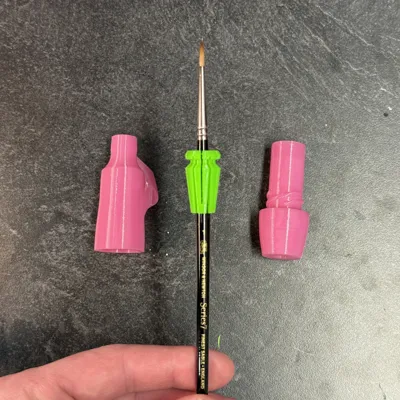
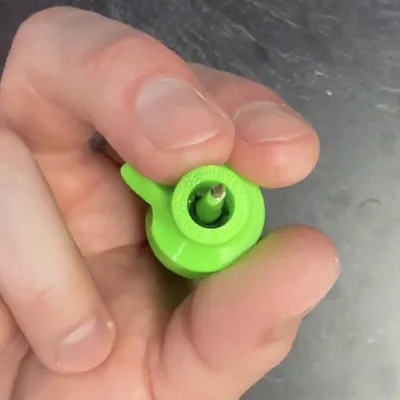
My grip utilizes a clamping collet to hold itself on your brush. The grip handle itself is in two pieces that thread together around this collet, securing the whole thing in place.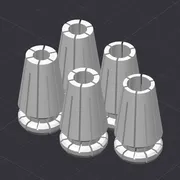
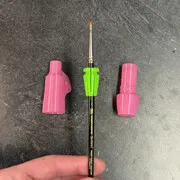
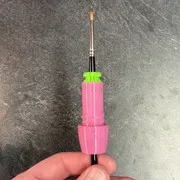
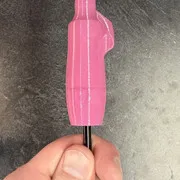
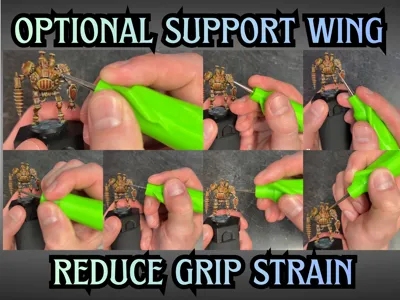
Here are a few examples of the grip during use. A few common grip variations are shown. Use the fin against your thumb for a relaxed grip, help brush control placing fin against any of your fingers
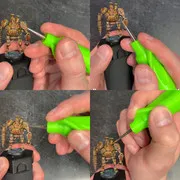
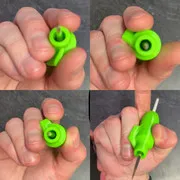
Depending on what I'm painting, I can find the extruded fin annoying. To accommodate this, I have also made a ‘wingless’ front section. Feel free to try them both out!
1) Find the collet size for your brush
The design of my grip was targeted to be clamped onto brushes <7mm in diameter. I have yet to encounter a mini painting brush with a normal styled handle that this range didn't cover. Let me know if you run into any problems with collet sizing and I can help out! If you have a really small diameter brush handle and even the smallest collet is still loose, try using some painters tape on the handle.
You can find every collet size as named objects in the following sizes:
- 5mm, 5.5mm, 6mm, 6.5mm, 7mm
These measurements refer to the diameter of the inner portion of the collet (the faces that come in contact with your brush handle) before it's compressed.
I recommend printing a full set of the collets (they are quick!) and just using the one that feels best on your brush. PETG is preferred for the collets, but PLA works too. No brim or supports are needed as long as your plate is clean(ish)!
If you have a choice, I recommend printing everything in PETG for the added flexibility. If you don't have any on hand, PLA does work as well, but the collets will be less durable. Either way, keeping the material of your collet and handle body the same will account for any material shrinkage evenly and keep the clamping mechanism working well.
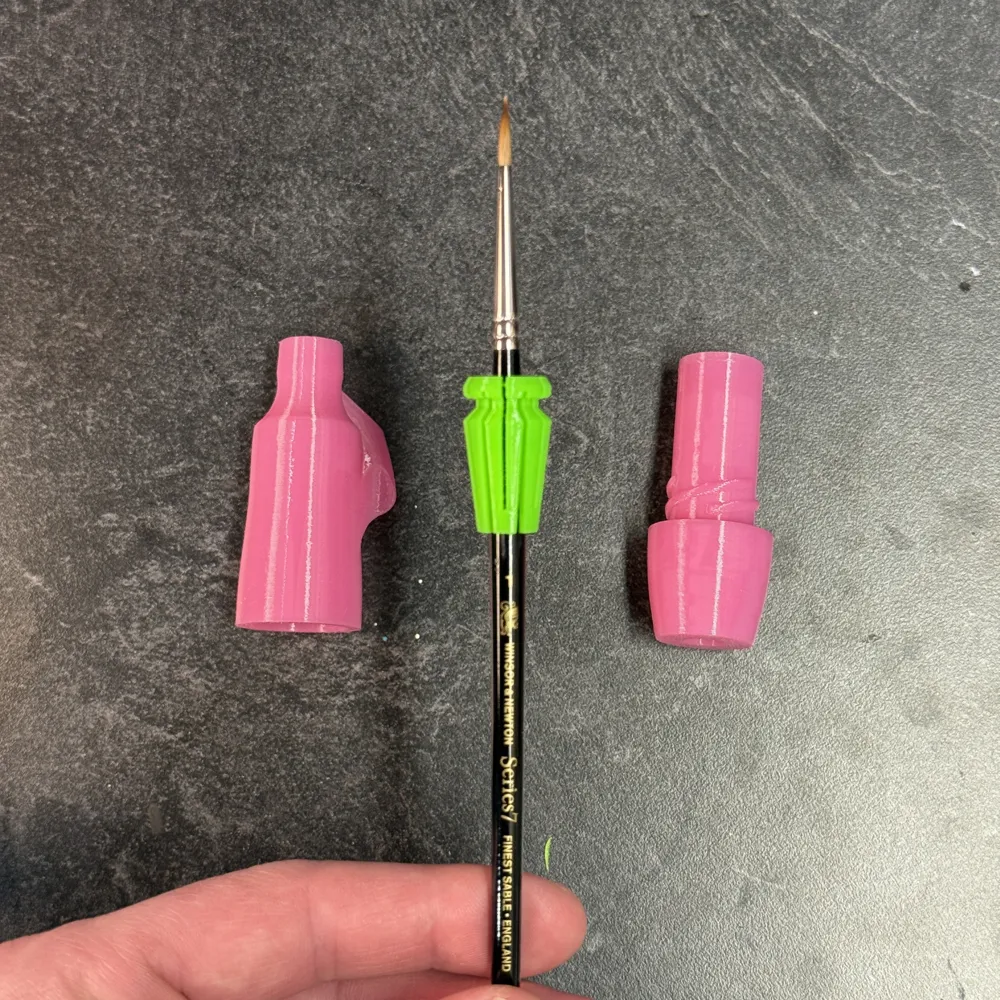
Position the collet as shown below. Ideally the collet should be a little loose and slide around with little or no resistance on your handle. Move it closer to the brush tip if your natural grip is farther down the brush handle.
If in doubt between two collet sizes, start with the larger one!
2) Choose grip Length, assemble the grip body
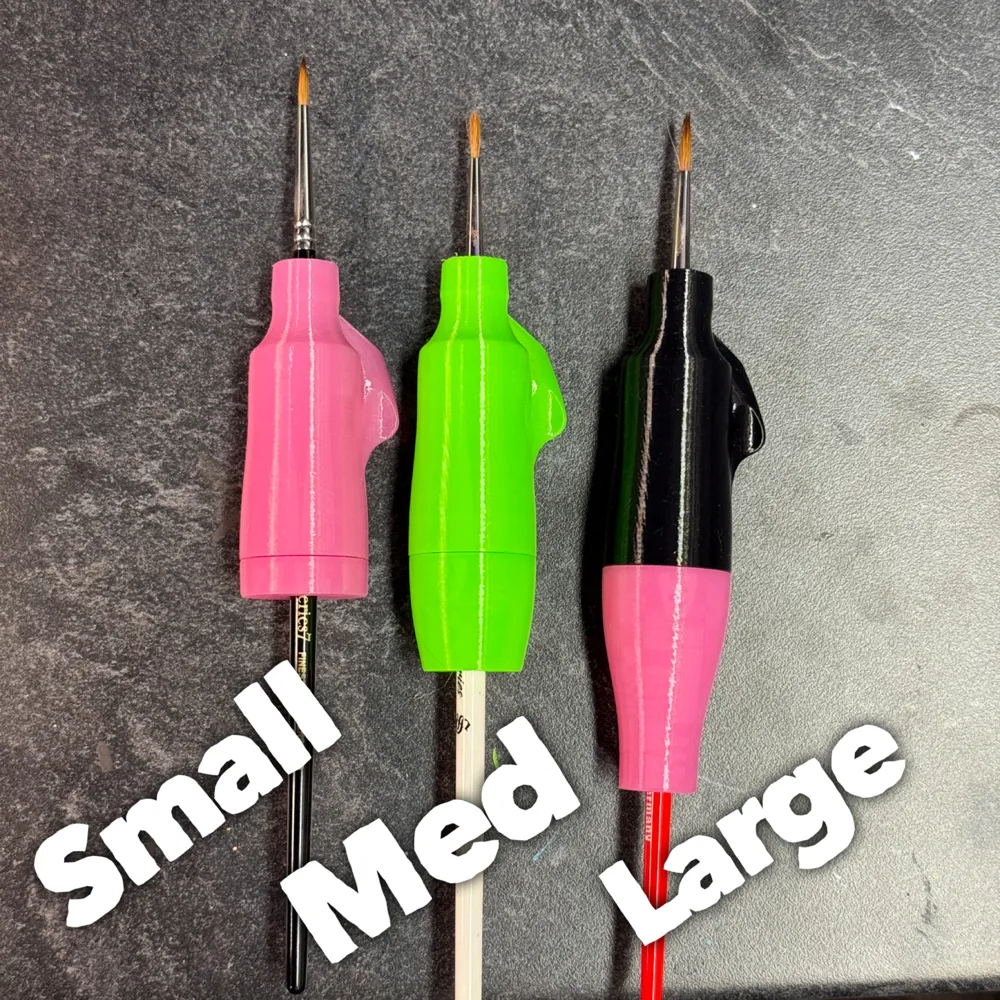
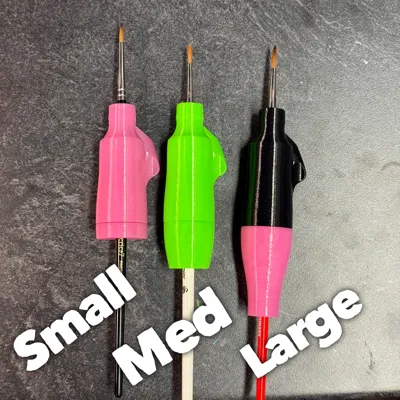
The ‘top piece’ of the grip is universal, so it can thread into any of the 3 different ‘bottom’ pieces. The different bottoms will give you a different overall length depending on your preference, hand size, or painting style. If you want to pick one to start, most users seem to prefer the Medium grip length.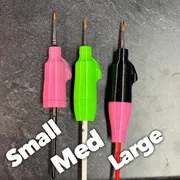
The grip will compress the collet when the two halves are tightened and clamp on securely to your brush handle. To avoid any potential damage to your bristles, slide every piece of the grip onto the brush handle from the bottom!
The halves of the grip should thread together on your brush easily. If you feel like you have to force the grip too much to get it to tightened, you probably need to use a bigger collet. Thread the two halves together off of your brush first to get a feel for the resistance. As long as the threads have partially engaged and the grip is secure, you're good to go! If there’s any doubt, don’t force it! Try a bigger collet!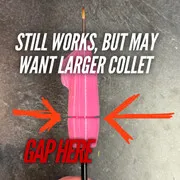
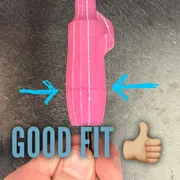
3) Profit?
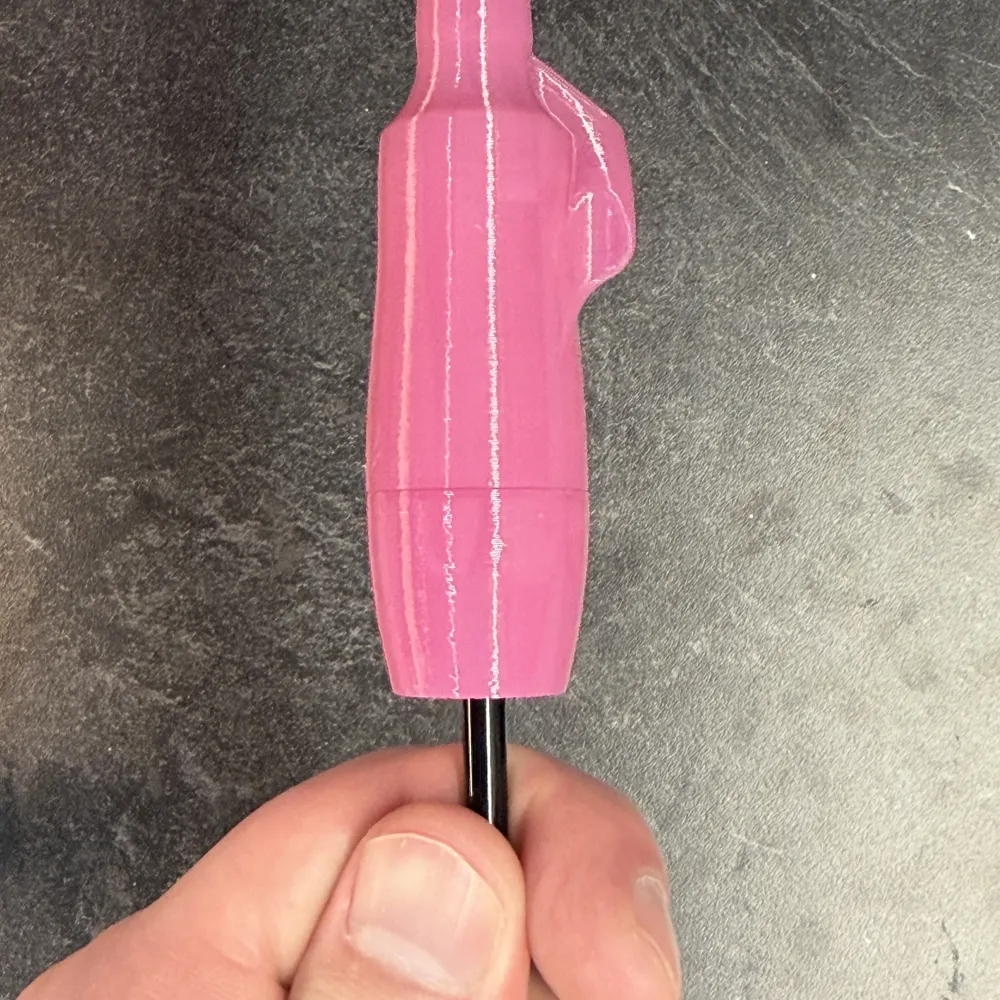
Try to move the grip around to double check the collet was able to do its job and hold on to the handle. You can partially unthread the two halves and wiggle the grip up or down the brush handle to fine tune its position.
Once you feel like the grip is in the right spot, you are good to go! If you need to remove the grip for any reason, just unthread the grip body halves and remove them.
3.5) Double Check Grip Fitment
If your collet isn’t loose enough on your brush in step 1, it can grab on super tight when compressed inside the handle. If you can’t get your grip off, simply remove the ‘top part’ of the grip as shown.
Now tap the bottom of your brush on your desk while holding the ‘bottom part’ of the grip securely with your hand. This slight nudge should shock the collet away from the bottom of the grip body and release your brush!
3.6 Subsection C) Grip is slippery!
If you find the grip is too slippery, Fuzzy Skin is here to help! I have fuzzy skin variants for each front grip section in each printing profile ending in the tag - FUZZY SKIN.
Feel free to tweak the point distance and thickness to your personal preference. I went with Point distance: 0.8mm, Thickness: 0.3mm, Contours Only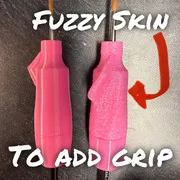
Feedback is welcomed!
Painting with a grip on your brush definitely isn’t for everybody. The added bulk can be hard to get used to. If you try this out, let me know what you think. I am always open to feedback and suggestions!
I am new to 3d modeling- if you run into any issues with my profiles or design please let me know so I can work on a fix!
Thanks!
Boost Me (for free)
Use the boost to get through!
License

You shall not share, sub-license, sell, rent, host, transfer, or distribute in any way the digital or 3D printed versions of this object, nor any other derivative work of this object in its digital or physical format (including - but not limited to - remixes of this object, and hosting on other digital platforms). The objects may not be used without permission in any way whatsoever in which you charge money, or collect fees.


Comment & Rating (25)