Volumetric Flow Calibration – Max Performance Test


Print Profile(5)


Description
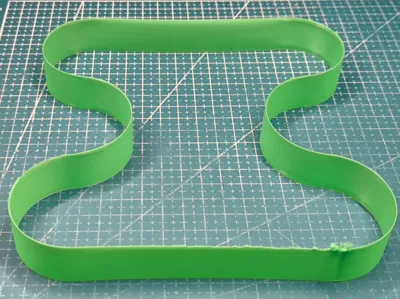
This volumetric flow calibration model helps you find the maximum safe flow rate for your filament and printer, ensuring reliable, high-speed 3D printing without clogs or under-extrusion.
Designed with performance, clarity, and Bambu Lab compatibility in mind, it includes 3 separate models (print profiles) for PLA, PETG, and ABS, each with predefined, optimized settings.
Model features:
- 5 filament-specific profiles (PLA, PETG (normal and slow test), ABS, TPU) with tuned settings
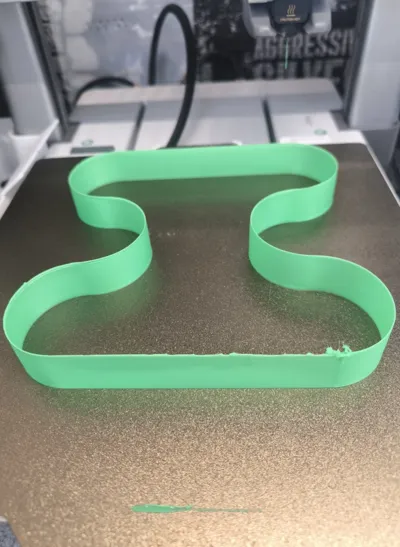
- Single-wall design for fast printing & minimal filament use
- Max tested speed: 495 mm/s (safe for Bambu Lab A/P/X series)
- Small beds printer-friendly (model size 170mmx170mm): Works with Bambu A1 Mini
- Clean object naming: Speeds and flow rates are labeled by height
- Theoretical max flow: up to 45 mm³/s
- No brims or supports required
- Improved performance: No slicer slowdowns (unlike many other tests)
- for TPU, print profile optimized for slow printing (starting from 1mm3)
How to Use:
- Choose the correct print profile (PLA, PETG, ABS, or TPU)
- Slice and print the model
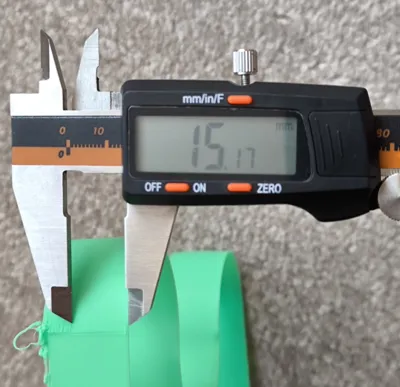
- Monitor print; stop when quality starts degrading (gaps, stuttering)
Measure the height where defects begin using a ruler or caliper

Match that height with the named object in the slicer to find your volumetric flow value (in mm3)

- Reduce the value by 15–20% for safety, and set it in your filament profile as a new volumetric flow value
NB: For the printers that have the option to choose Standard/High flow nozzle settings - please choose the Standard flow
Using Custom Filament Profiles?
You need to adjust 3 filament profile settings (changes in filament profile settings are needed for the test purpose only, do not need to save these changes in the filament profile):
- switch off "slowing printing down for better layer cooling" (Cooling tab)
set 0 sec to max cooling setting (Cooling tab)

set volumetric speed limit on 50mm3/s (Filament tab)

In order to determine max volumetric speed, you will need to use the Preview tab > Flow view in your slicer to identify the exact flow rate at a height where a defect was detected. The flow value will appear as a pop-up window after toggling the horizontal selector (see screenshots below).

Happy printing—and unlock your filament's true potential!
P.S. If you are looking for a solution to reduce 3D printer noise, have a look on my soundproof enclosure design crafted from IKEA furniture. This enclosure reduces printer noise and ensures impressive 36.5 dB(A) at just 1 meter away. Detailed instruction how to build it you may find here.
Boost Me (for free)
Like this model? Give it a boost! Your support helps me stay motivated and keep creating more free designs. Thanks for being awesome!
License
You shall not share, sub-license, sell, rent, host, transfer, or distribute in any way the digital or 3D printed versions of this object, nor any other derivative work of this object in its digital or physical format (including - but not limited to - remixes of this object, and hosting on other digital platforms). The objects may not be used without permission in any way whatsoever in which you charge money, or collect fees.
Comment & Rating (101)