Search models, users, collections, and posts

Raspberry Pi - Wisecoco 7" Screen Display Case
IP Report
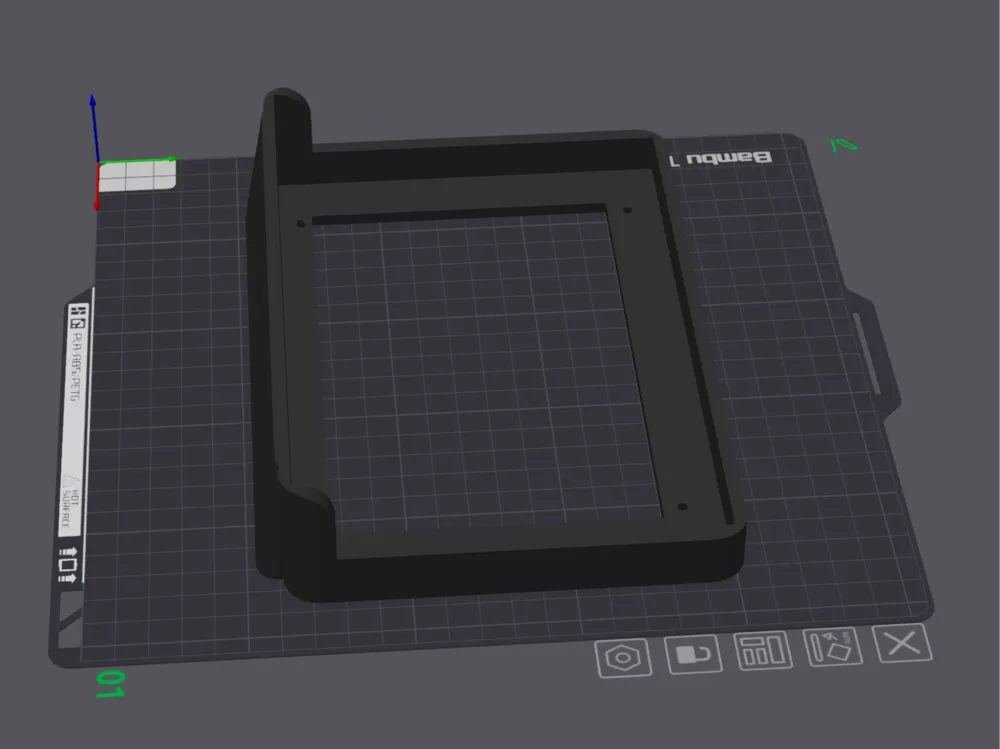
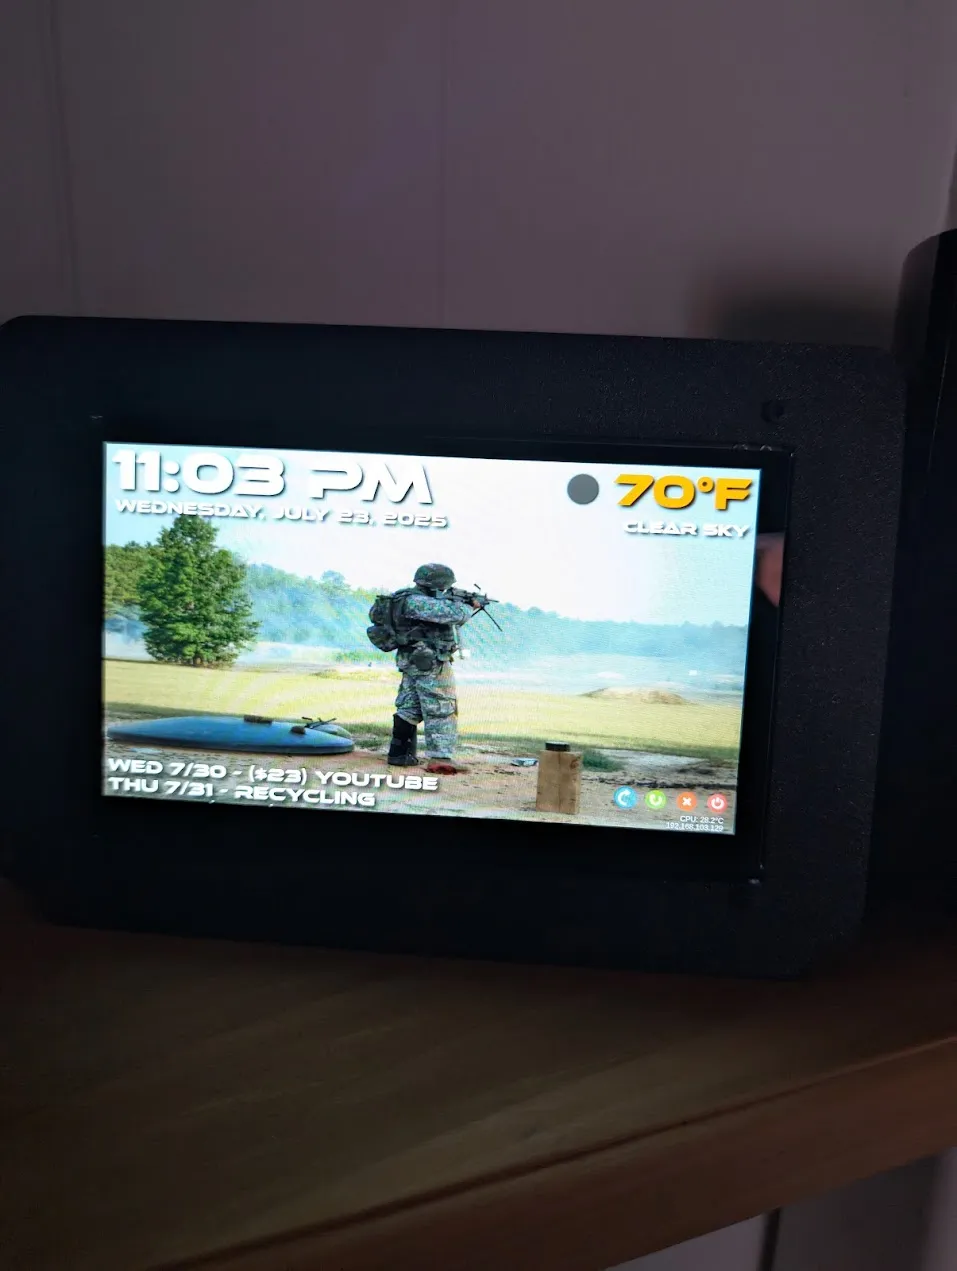
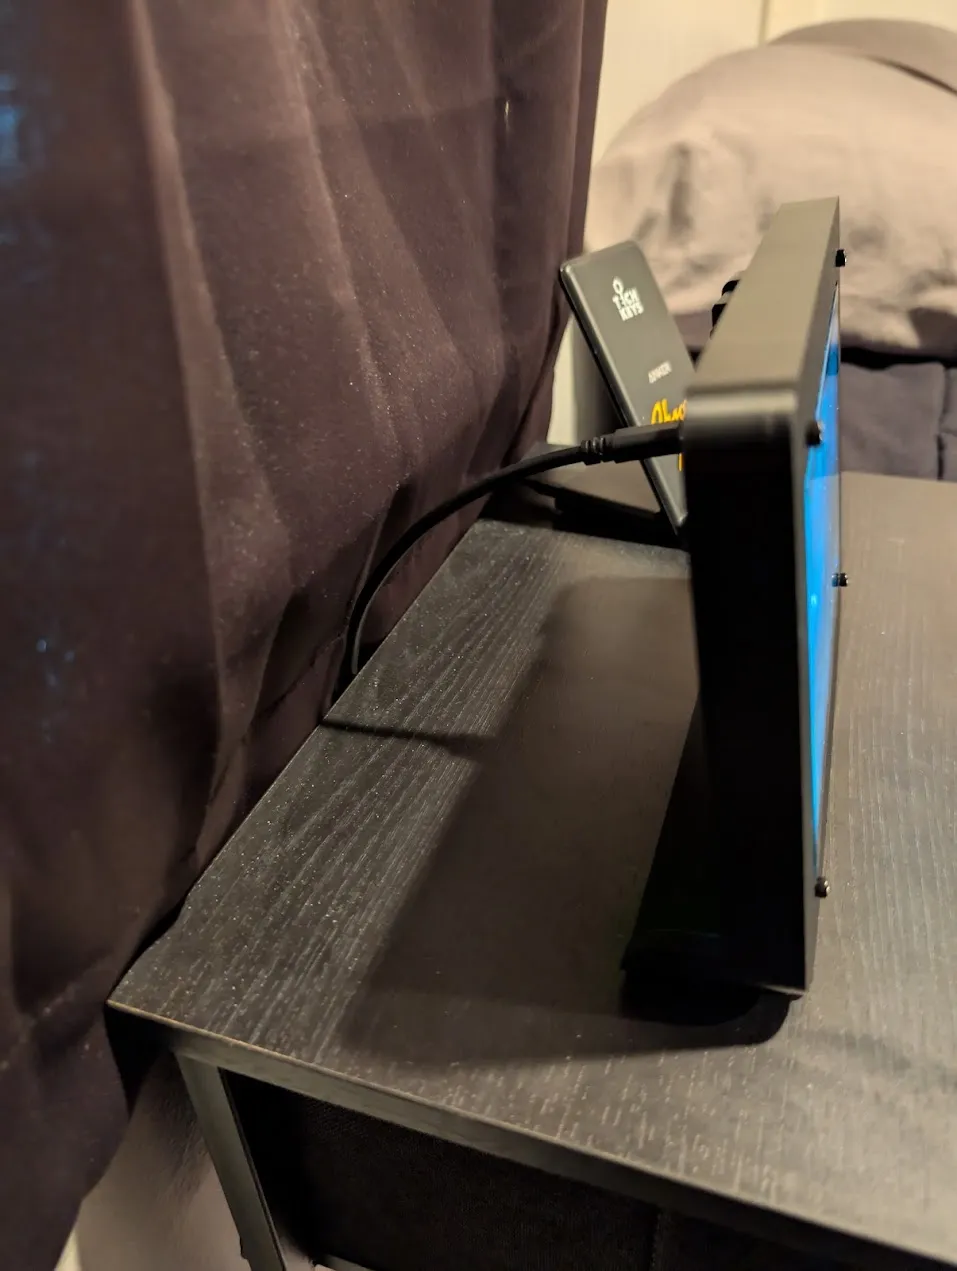
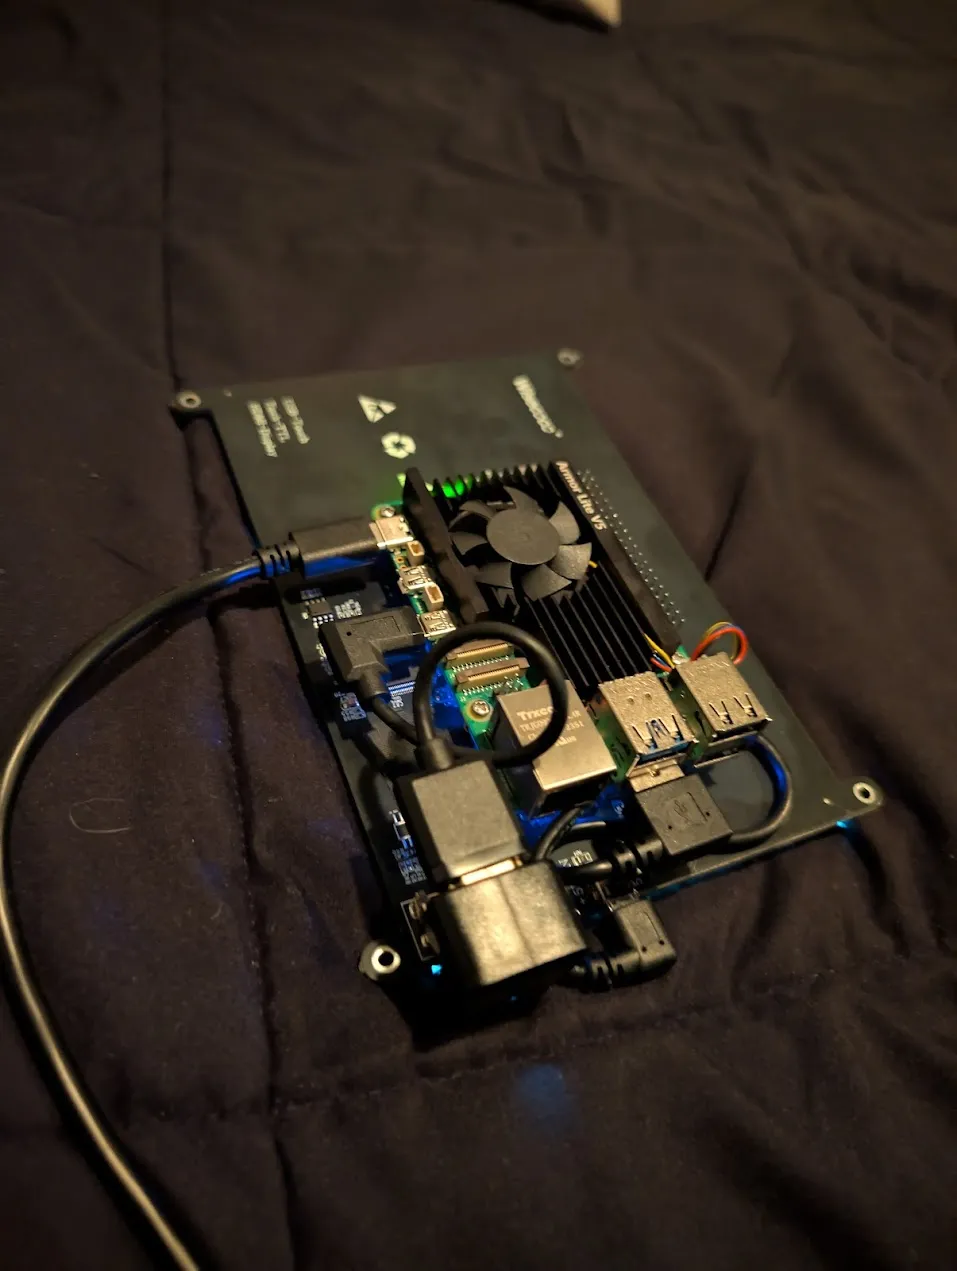
Print Profile(1)

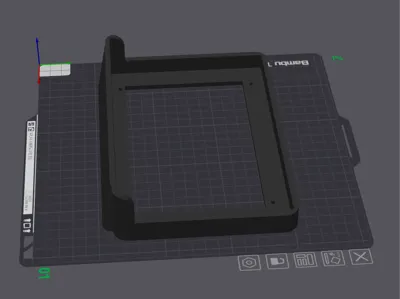
0.2mm layer, 2 walls, 15% infill
Designer
2 h
1 plate
Open in Bambu Studio
Boost
8
30
4
0
51
20
Released
Description
Information:
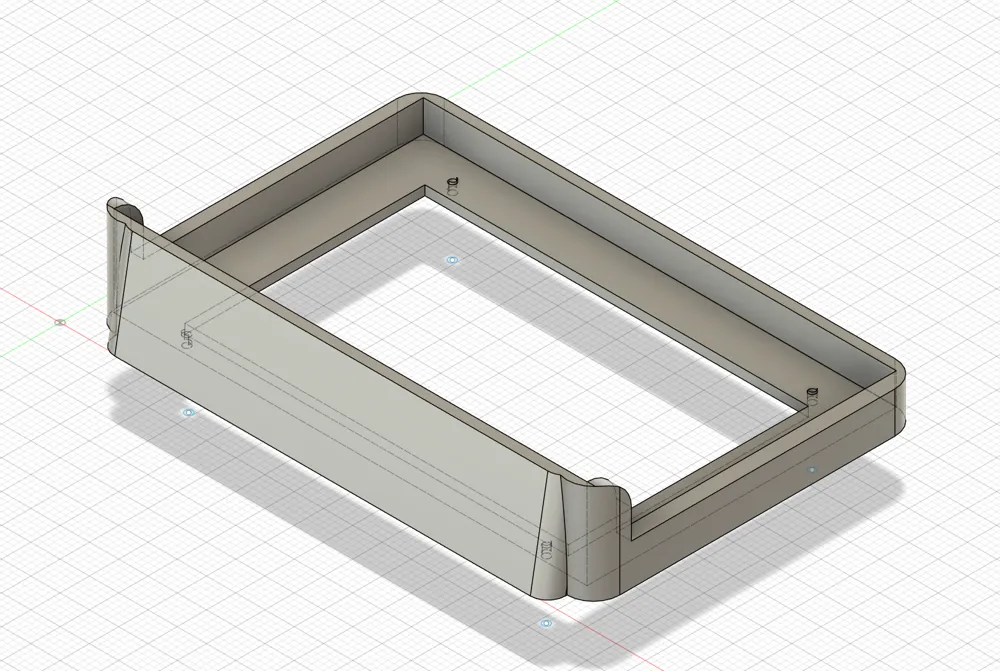
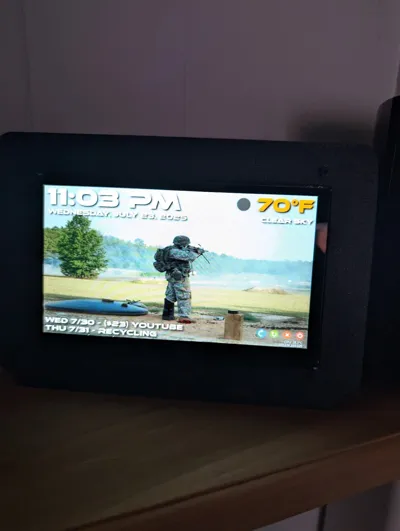
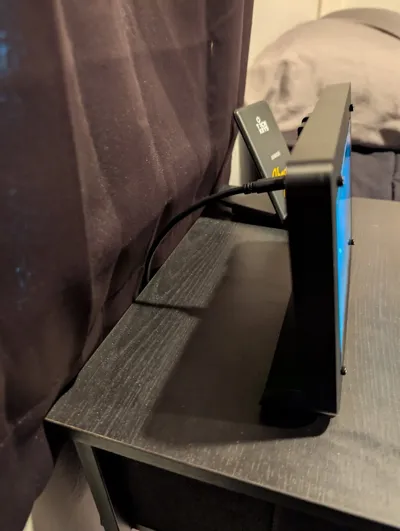
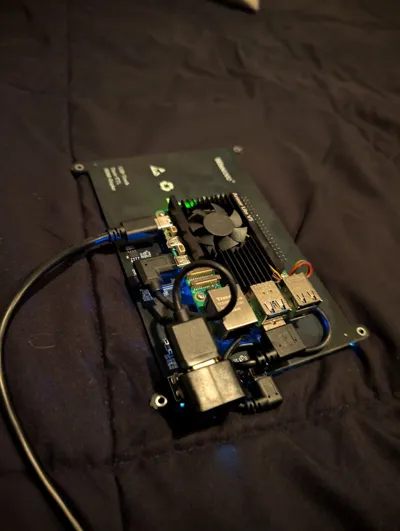
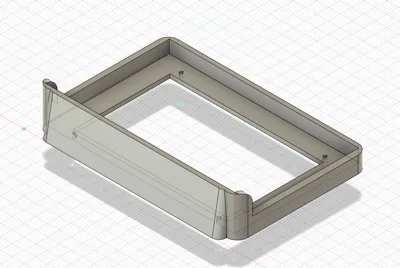
I got tired of Amazon's Alexa Show displaying ads nonstop and not the information I needed. So I created my own version of it, and needed a stand. The stand was designed in Fusion on a 10 degree viewing angle, and open back slim build. I used a Raspberry Pi 5 in the build/photos. I used a scheduled shut down a few minutes before the smart plug to turn it off and on, on a schedule. The dashboard is a local webpage hosted on the device.
Print in Place:
No
Required Hardware:
1x Screen (Wisecoco): https://www.amazon.com/dp/B0BRMWMK6X
1x Raspberry Pi: 3B, 3B+, 4, and 5 (check link for supported Pi models)
4x Screws: M3 * 10
4x Nuts: M3
8x Washers: M3
Assembly:
- Assembling your Screen/Pi setup.
- Push the four screws through the front of the display.
- Place two washers on the inside of the display
- Place the screen on top of the washers. This can be skipped if you don't want the screen recessed.
- Place the nuts on the four ends and tighten to secure the screen.
Boost Me (for free)
Pi never looked this good.
License

This user content is licensed under a
Creative Commons Attribution-Noncommercial-Share Alike


Comment & Rating (4)