
Assembly Building - Portal Frame Steel Structure Factory (1:20 Simulation Engineering Components Home Screw Assembly Model)
Print Profile(1)

Description
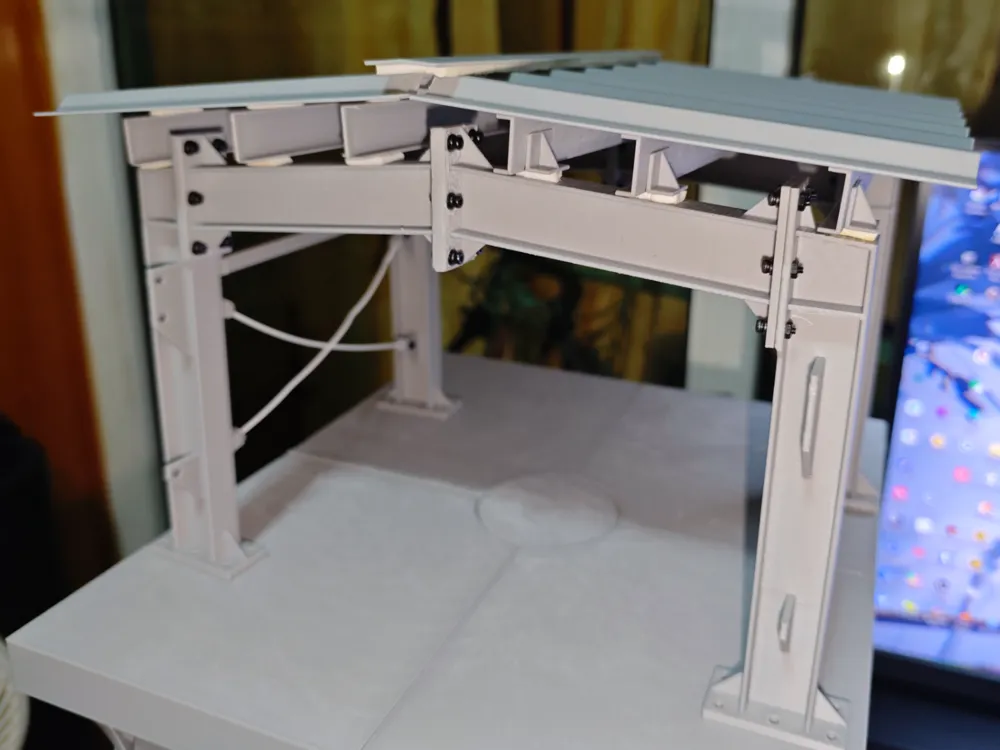
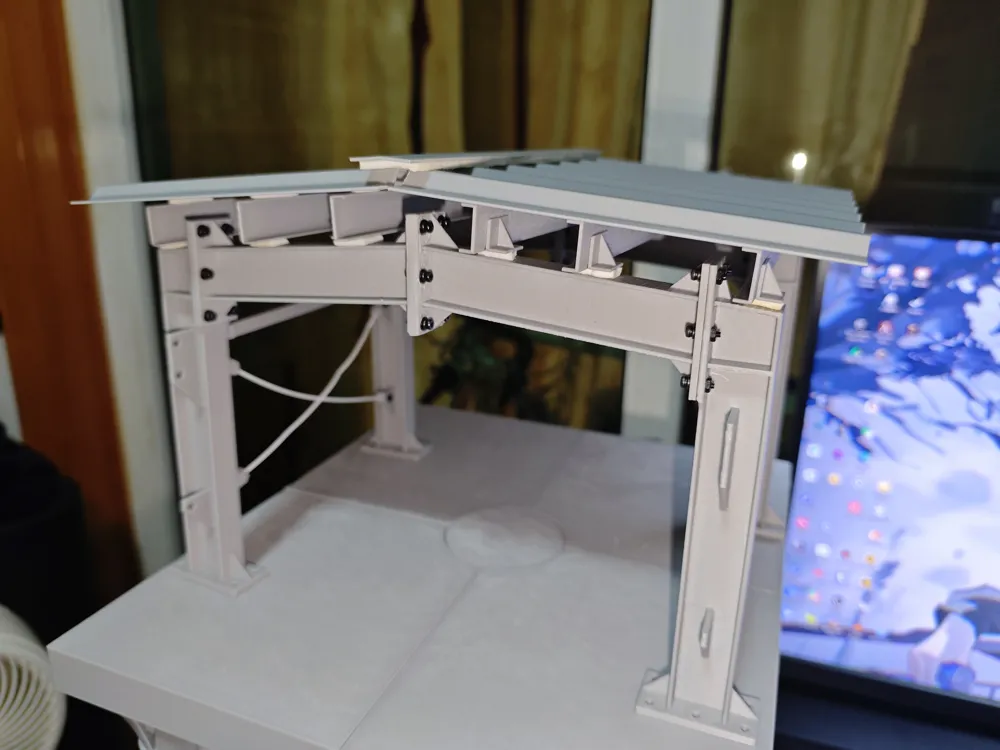
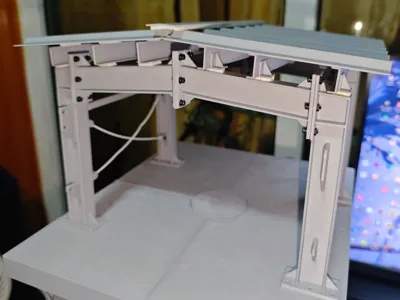
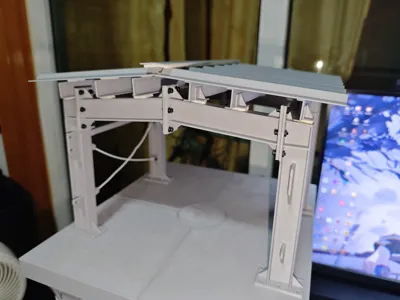
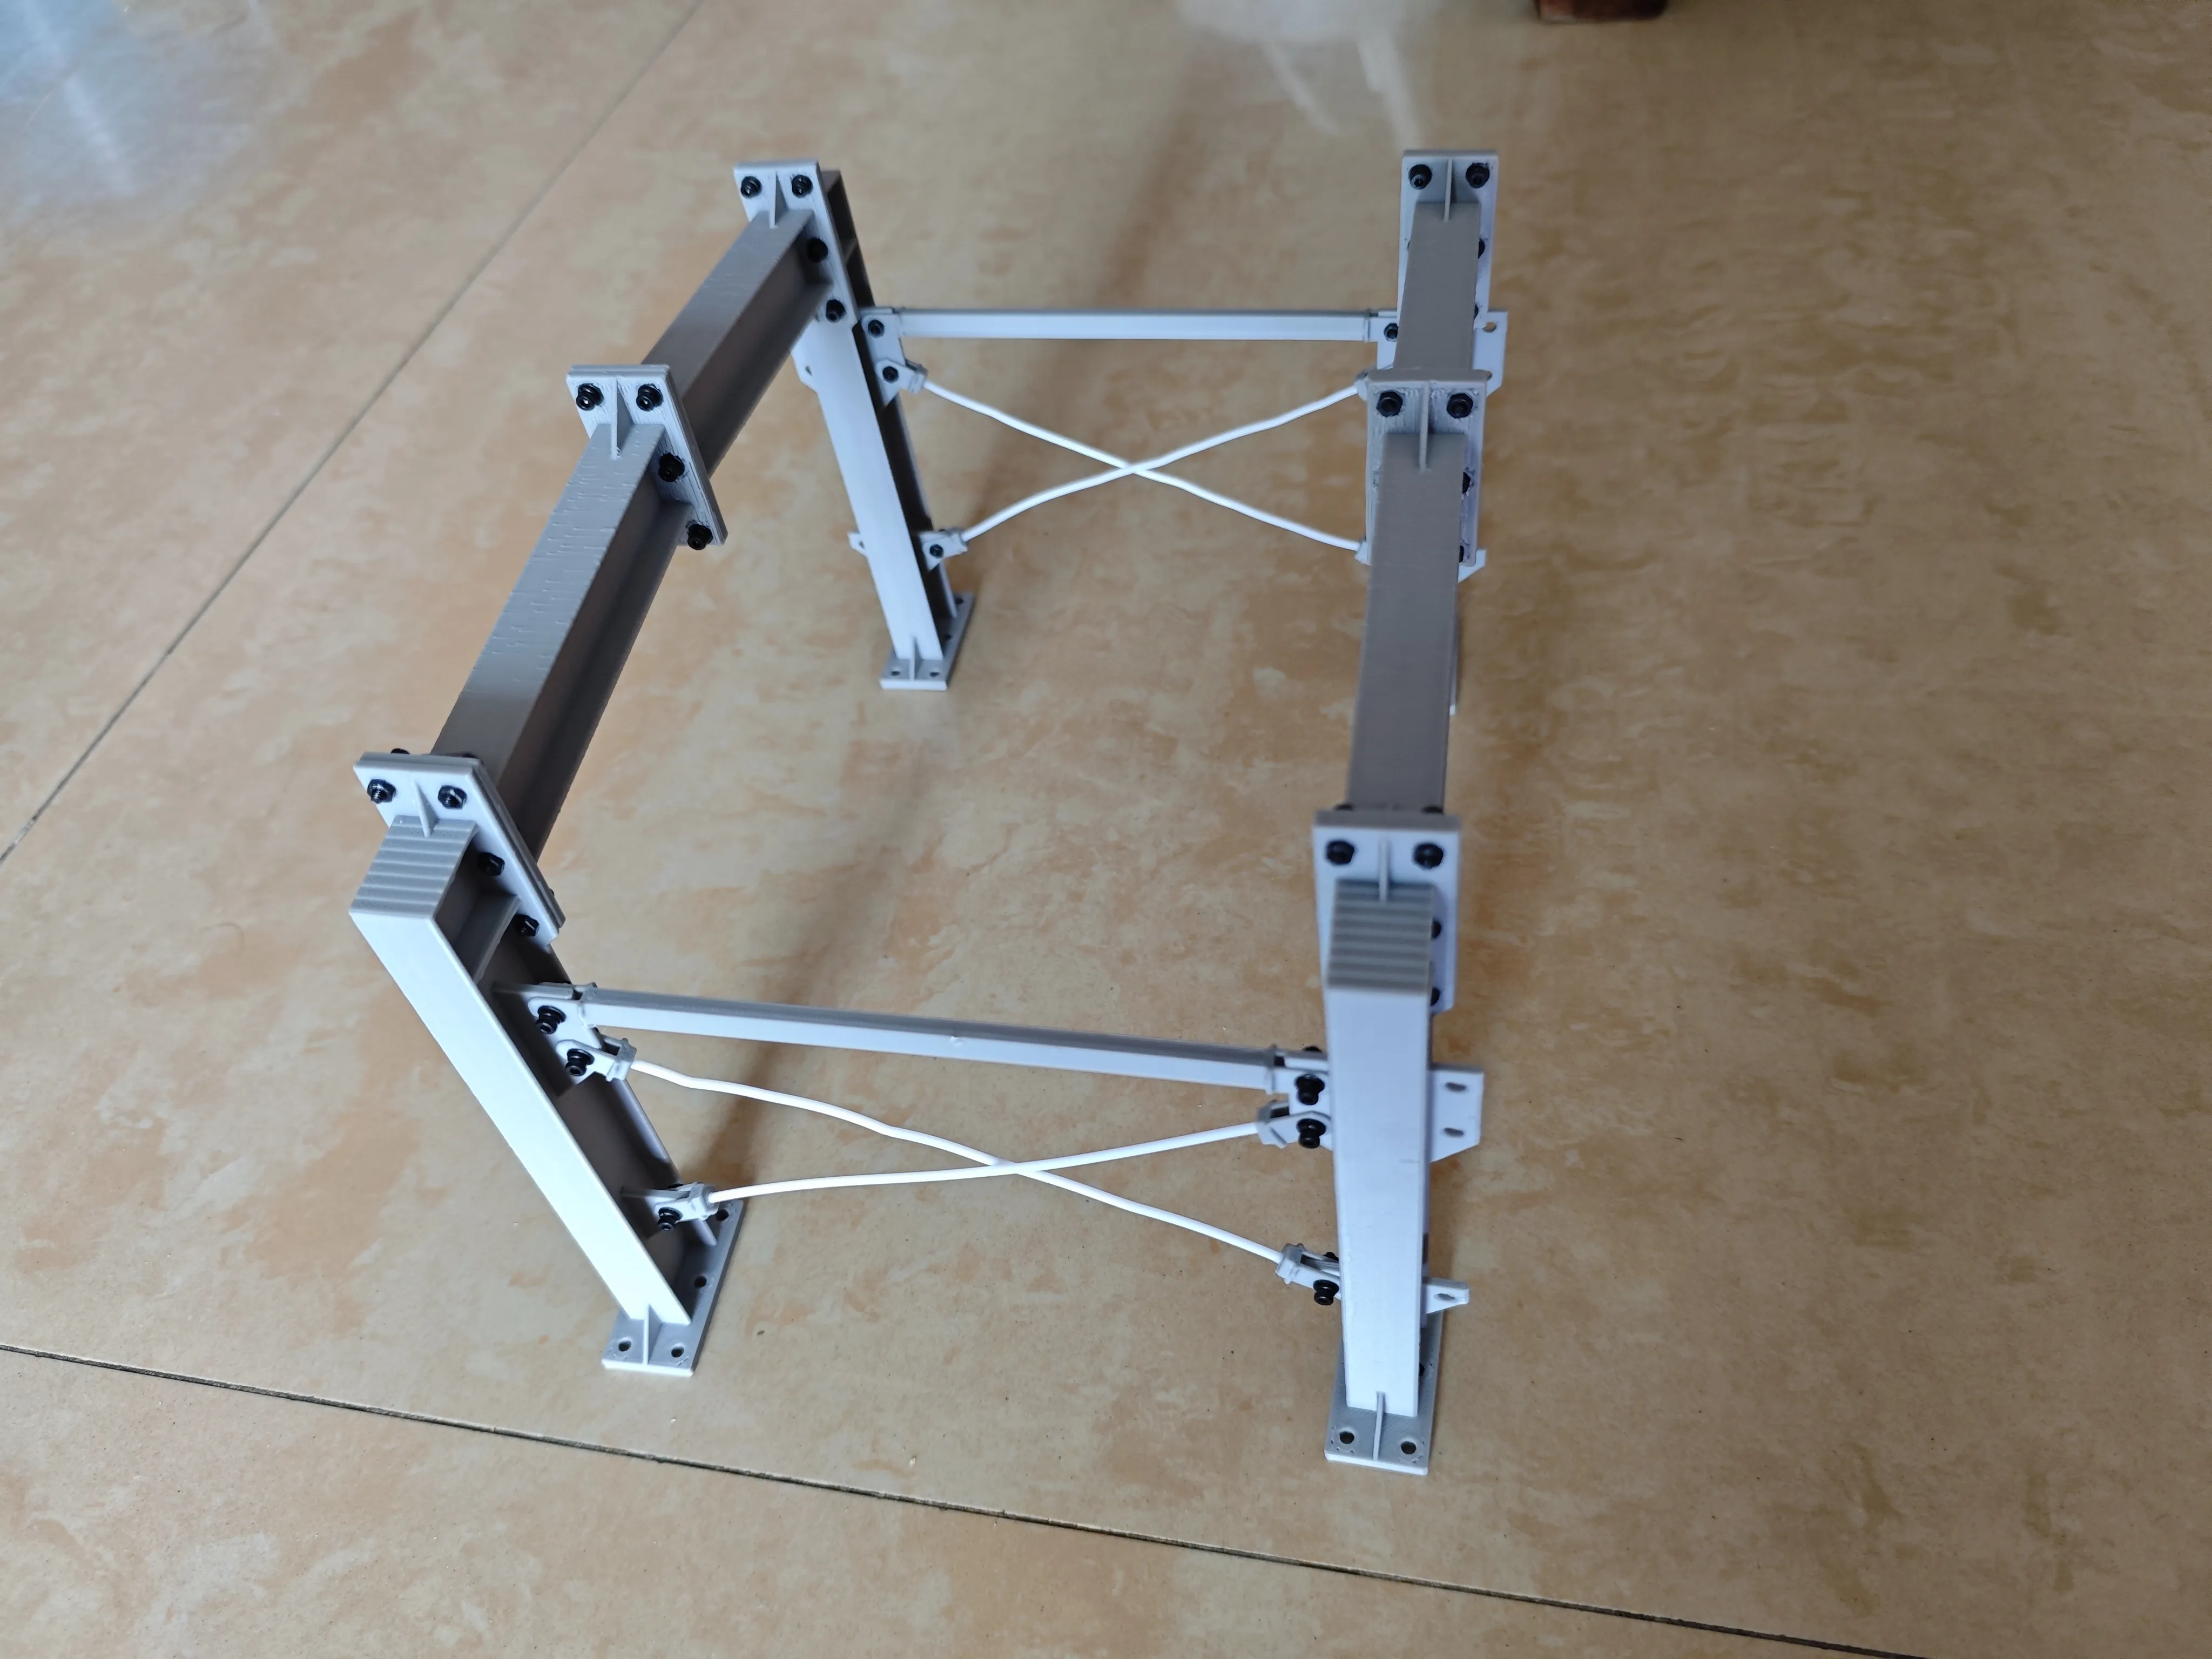
I made a miniature steel structure factory building model, which theoretically can be connected infinitely horizontally, just pay attention to the purlin spacing of 40mm
Let everyone experience the real steel structure factory building assembly process, where you can screw in bolts and install roofing (some connection nodes require compromise due to printing scale)
Note: It's best to have tweezers and long-nose pliers, as some bolts are difficult to install and require holding the nut
The bolts I used are 36 sets of M2x8+spring washer+flat washer+nut If you don't want the single nut to loosen, you can put a drop of 502 super glue on the nut (or buy specialized threadlocker) Actual engineering typically uses double nuts for fastening Friends who want full realism can purchase M2x14 bolts and use them with double nuts
Don't worry about the many overflow points on the surface of the roof beams in the reference images, as these were caused by random seams during testing, and aligned seams in the print profile will not result in the same situation
Friends who only want to screw in bolts can just print the first three plates, subsequent plates will require glue or double-sided tape for adhesion
Industry professionals can assemble according to their own practices
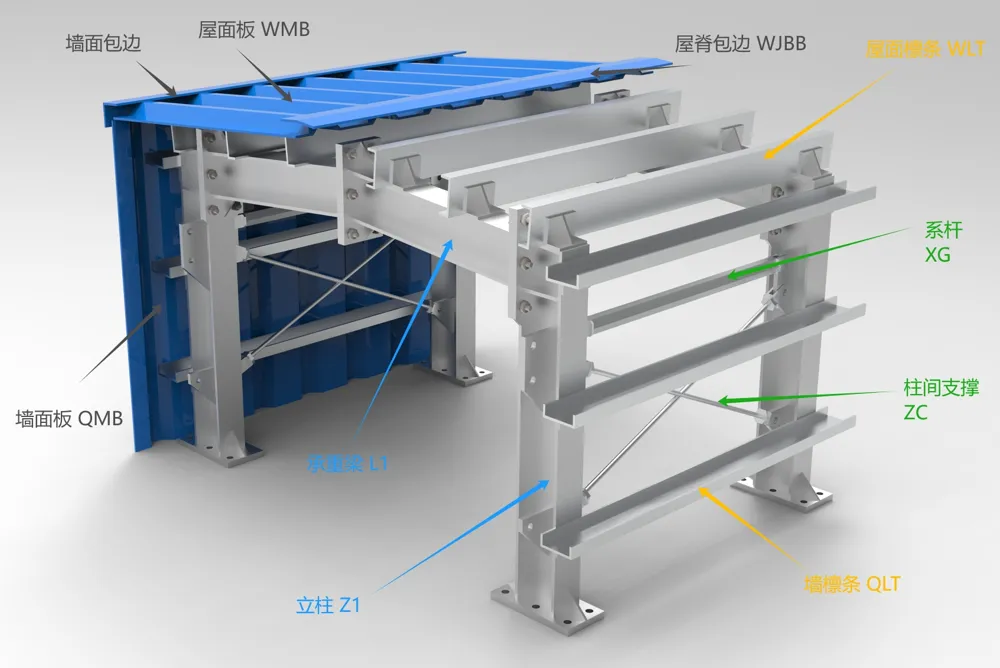
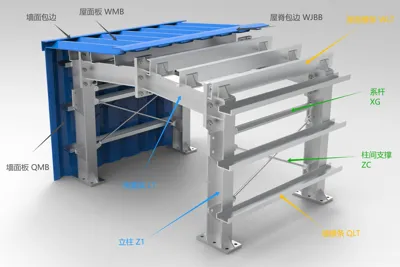
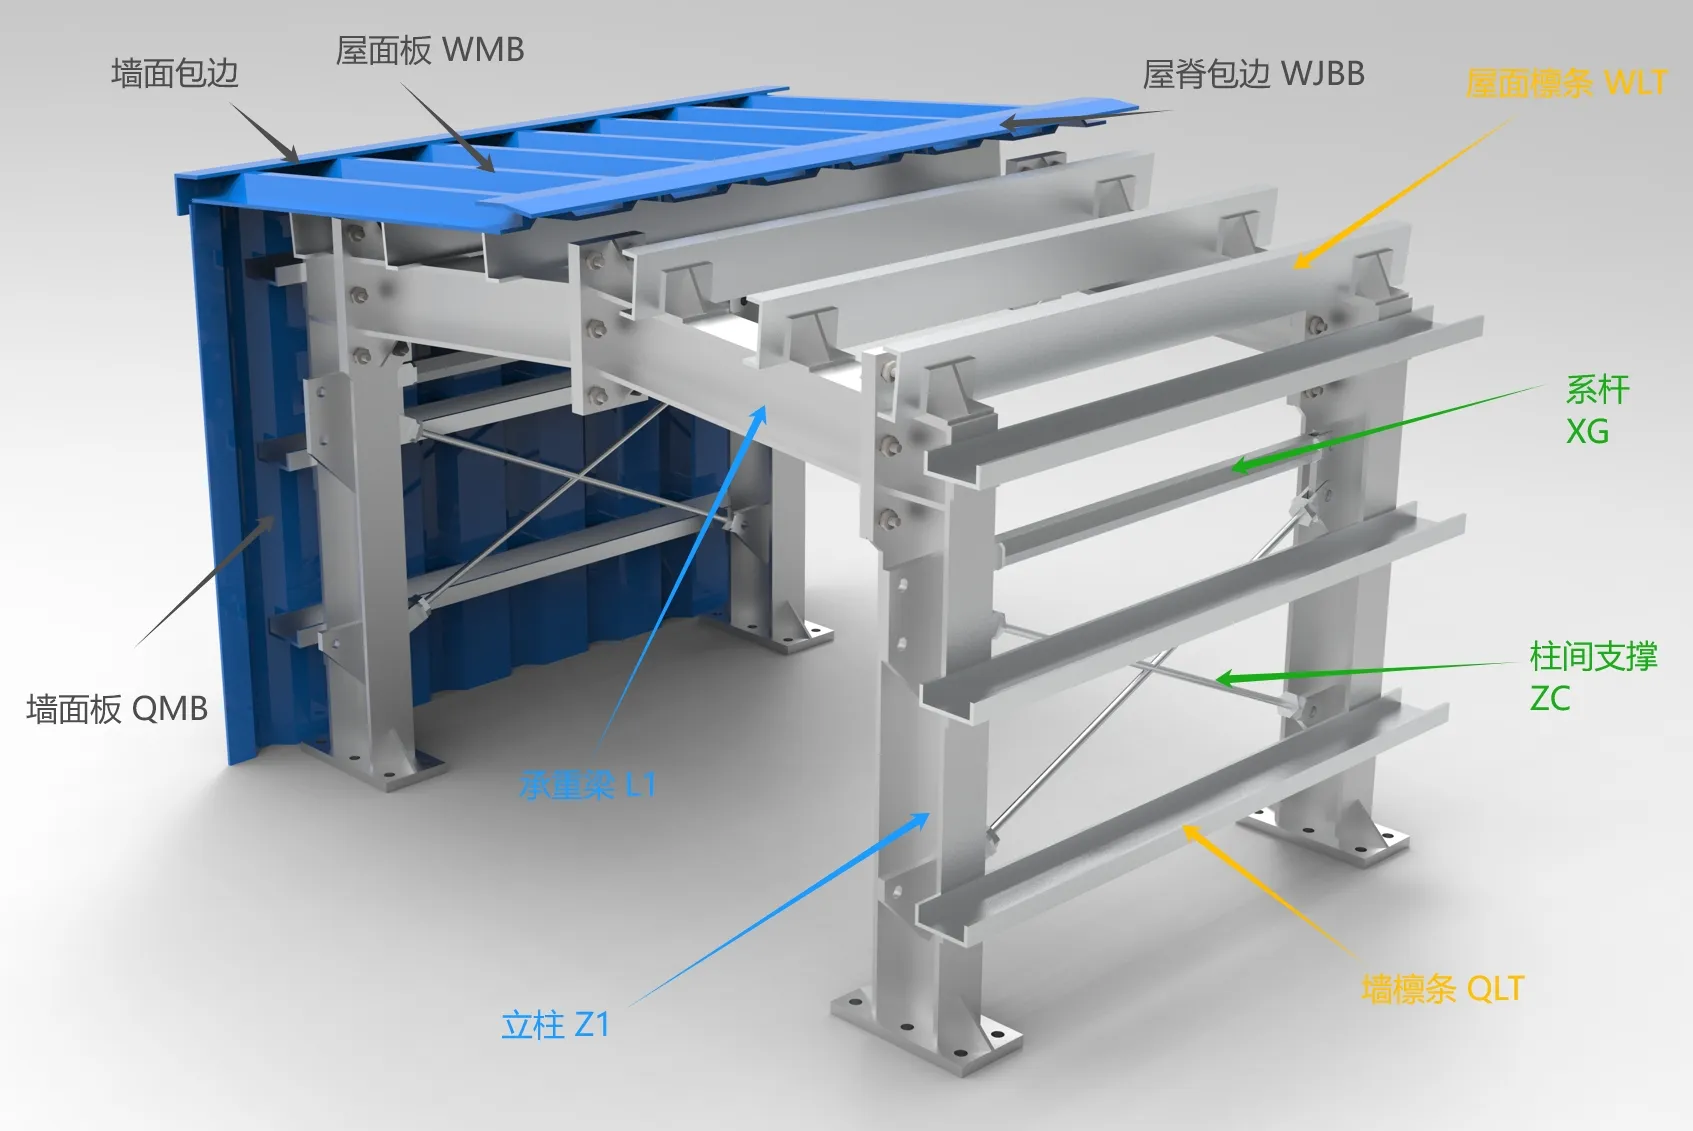
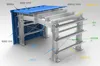
Others can first familiarize themselves with the component names and installation positions using the diagram below
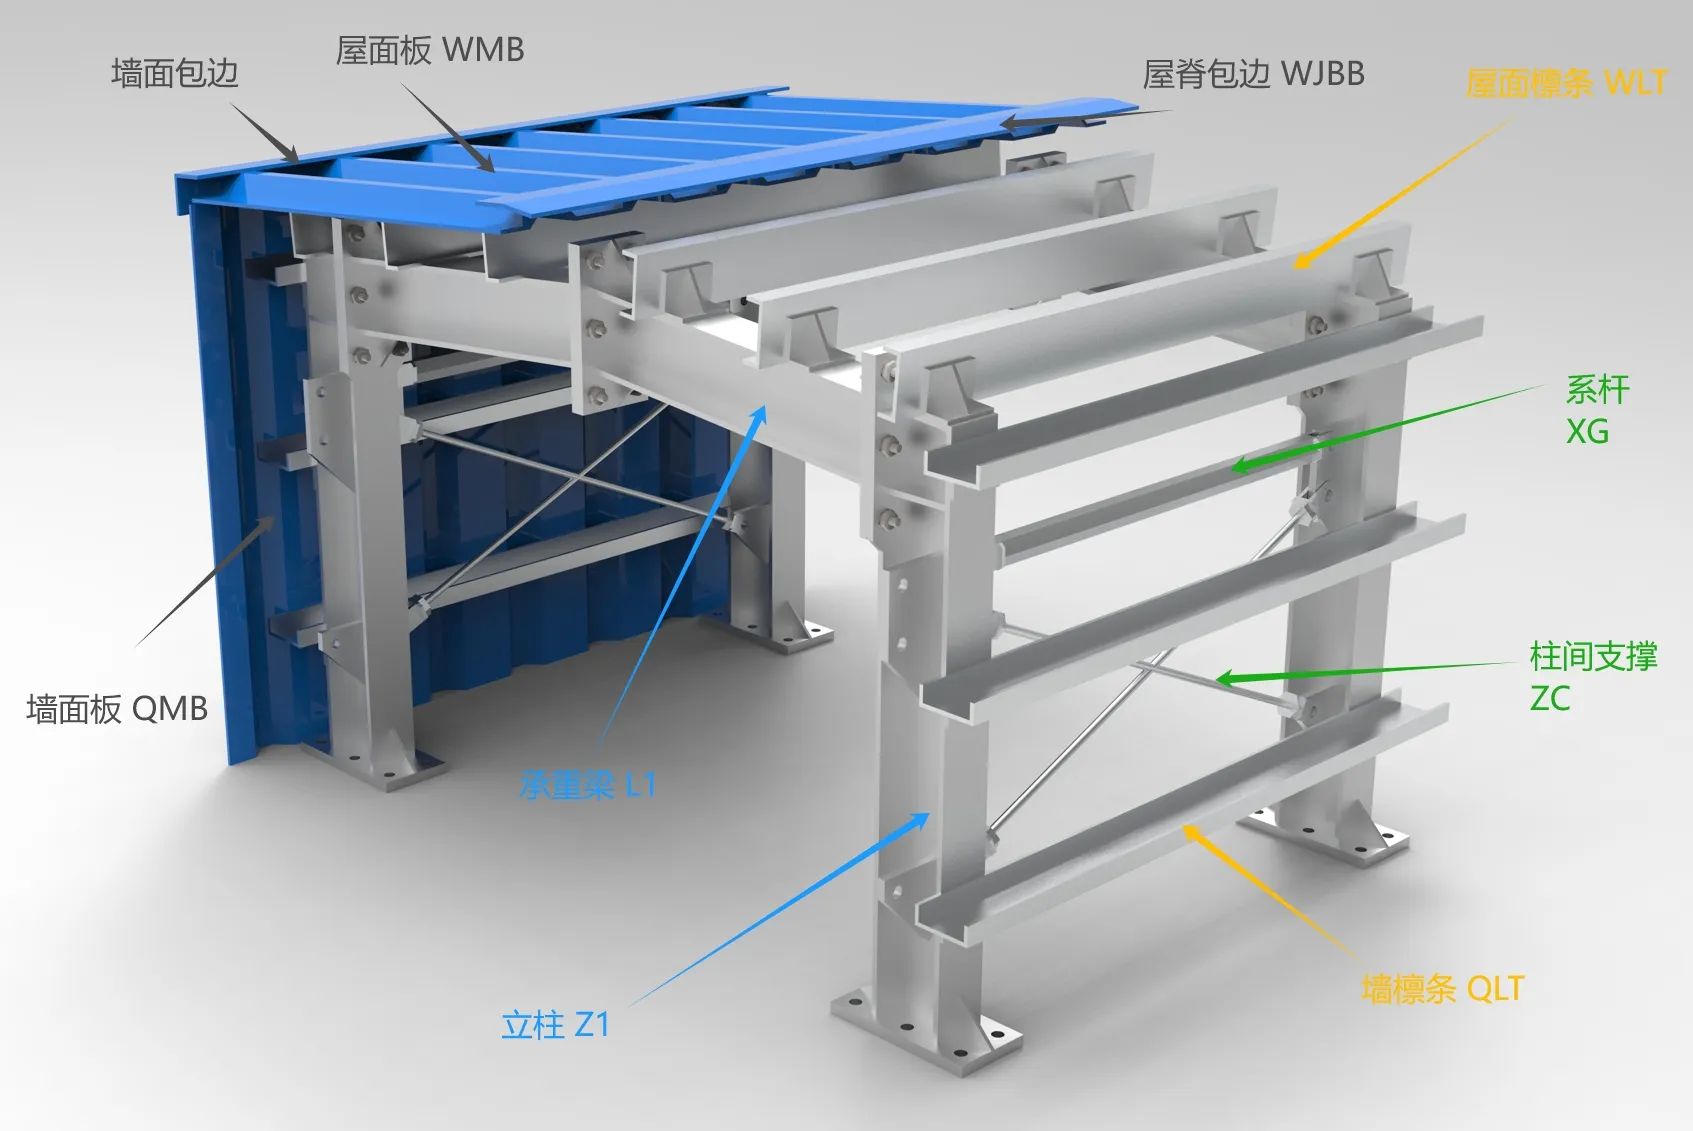
Specific installation steps:
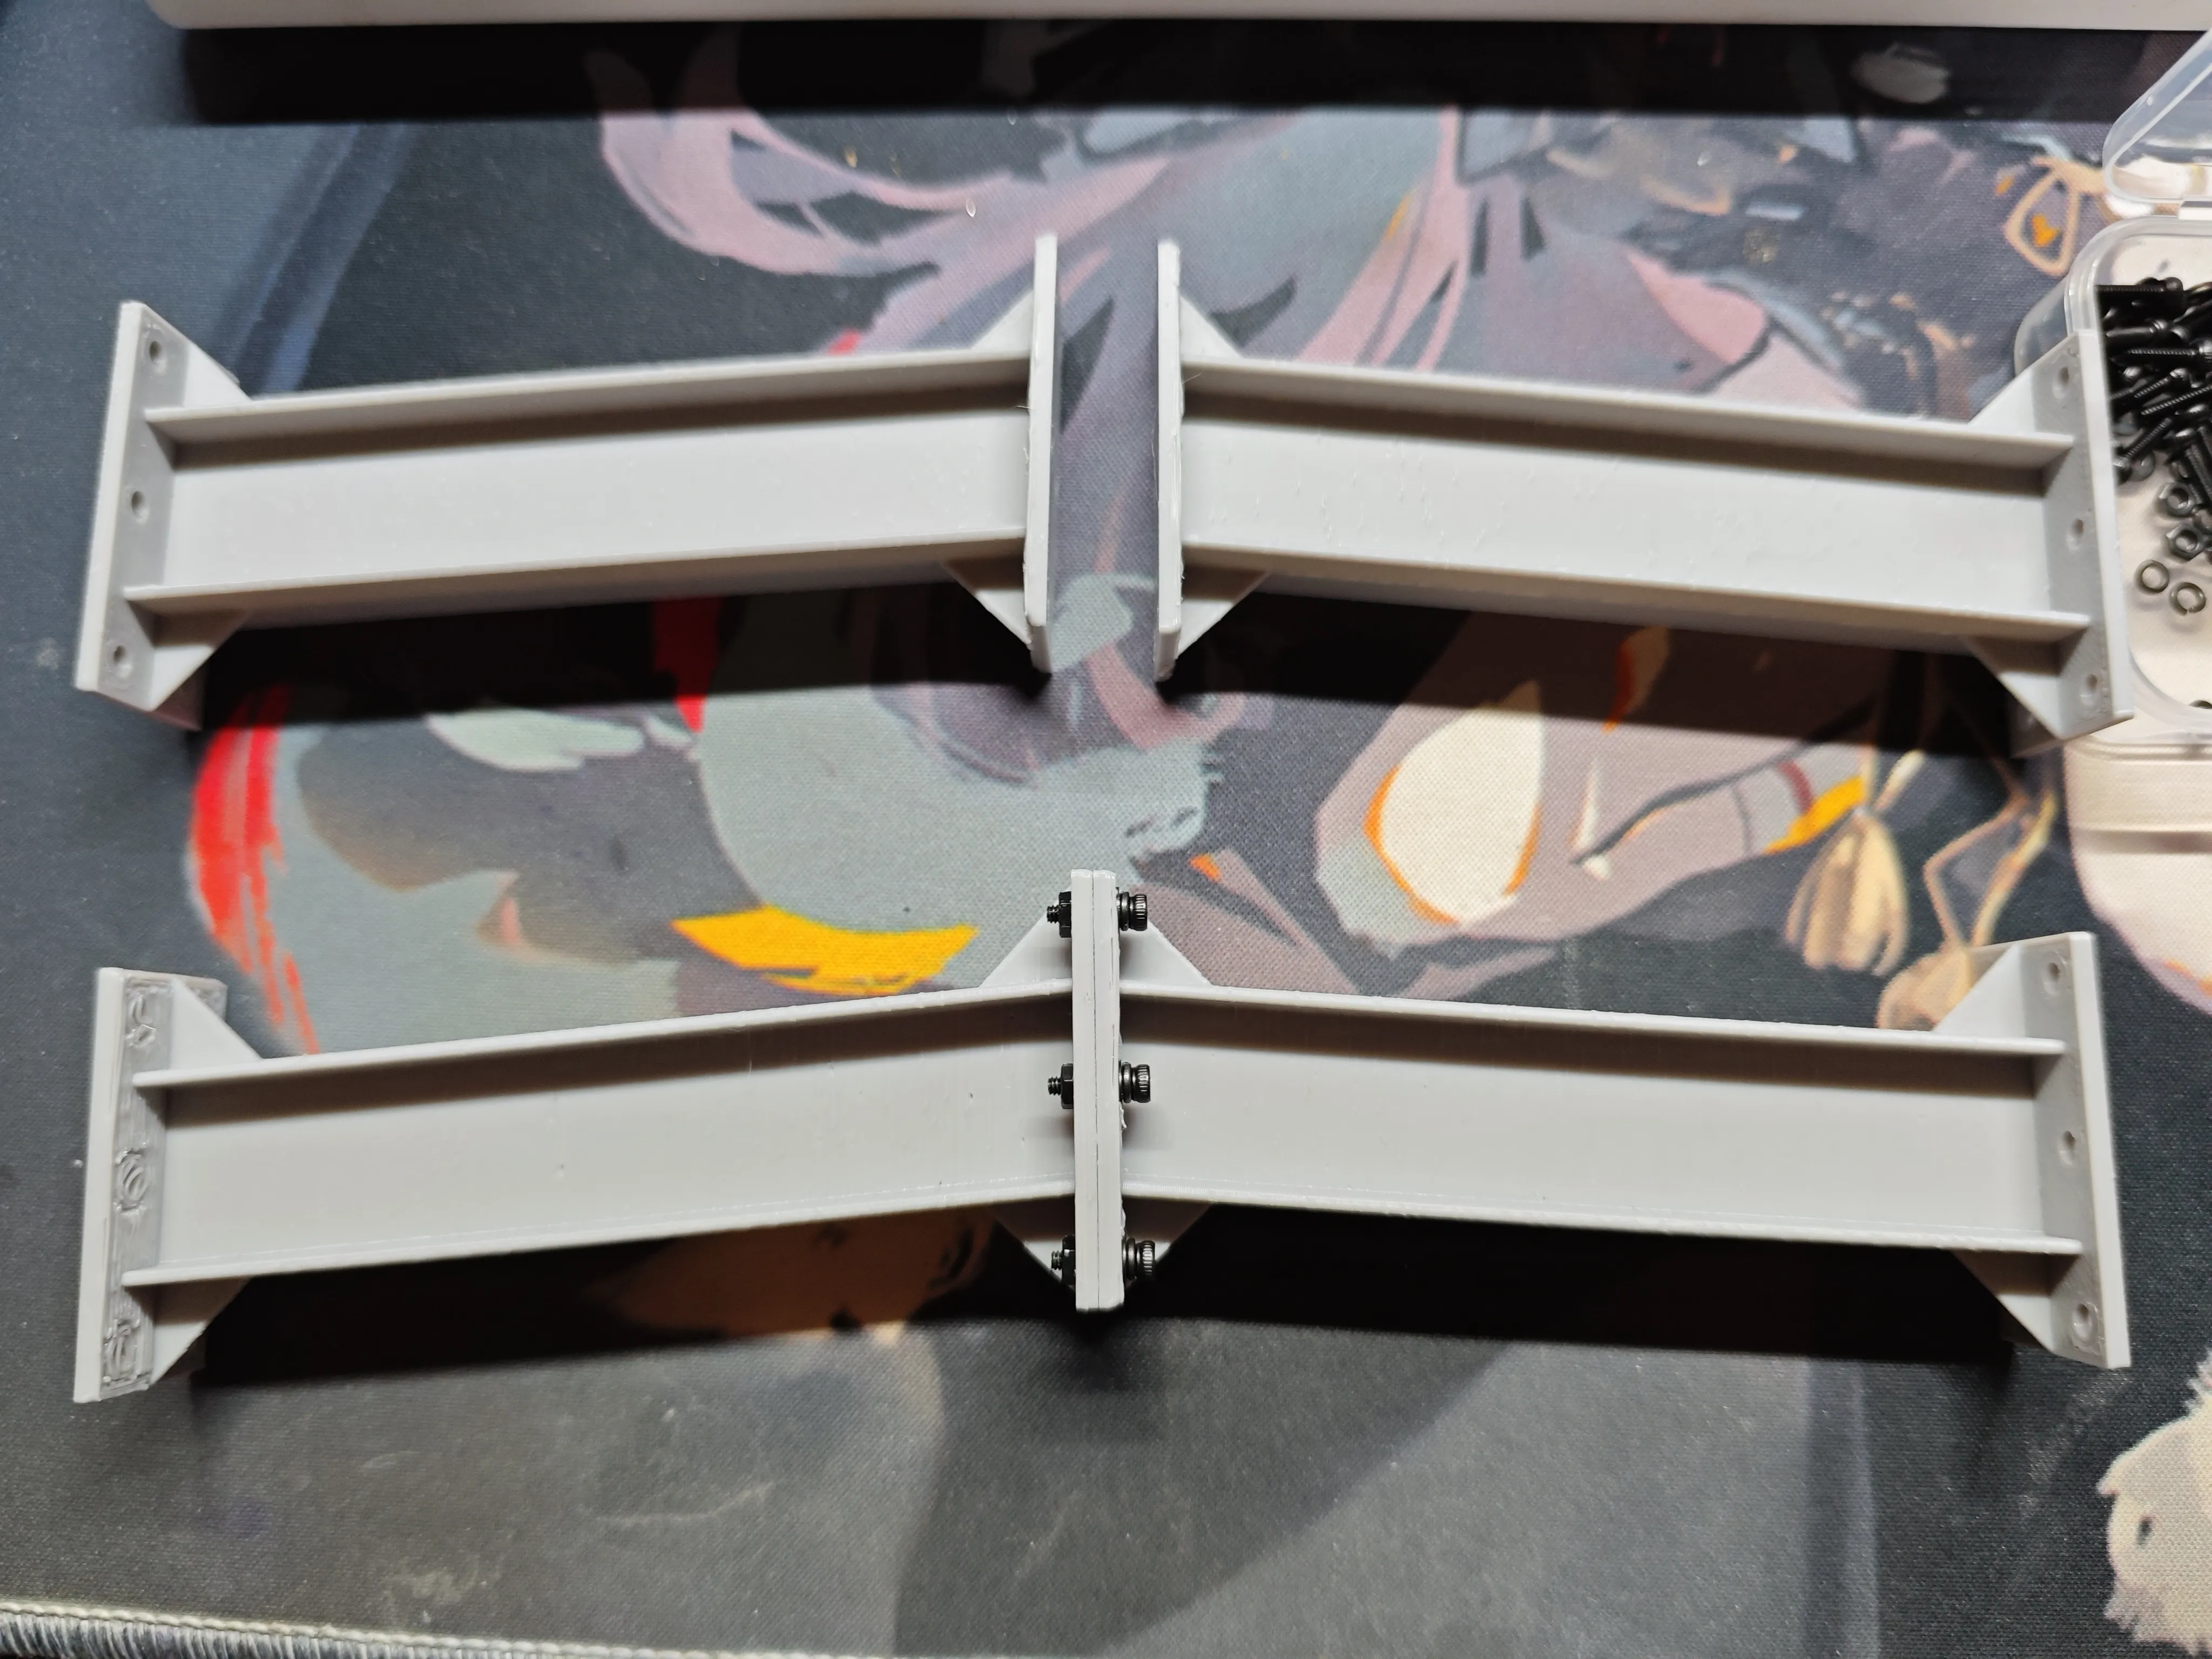
1 Tighten the load-bearing beam bolts, first pre-tighten (not fully tighten) the diagonal and outer corner bolts, then align the load-bearing beam end plates before fully tightening and completing the tightening of the two middle bolts
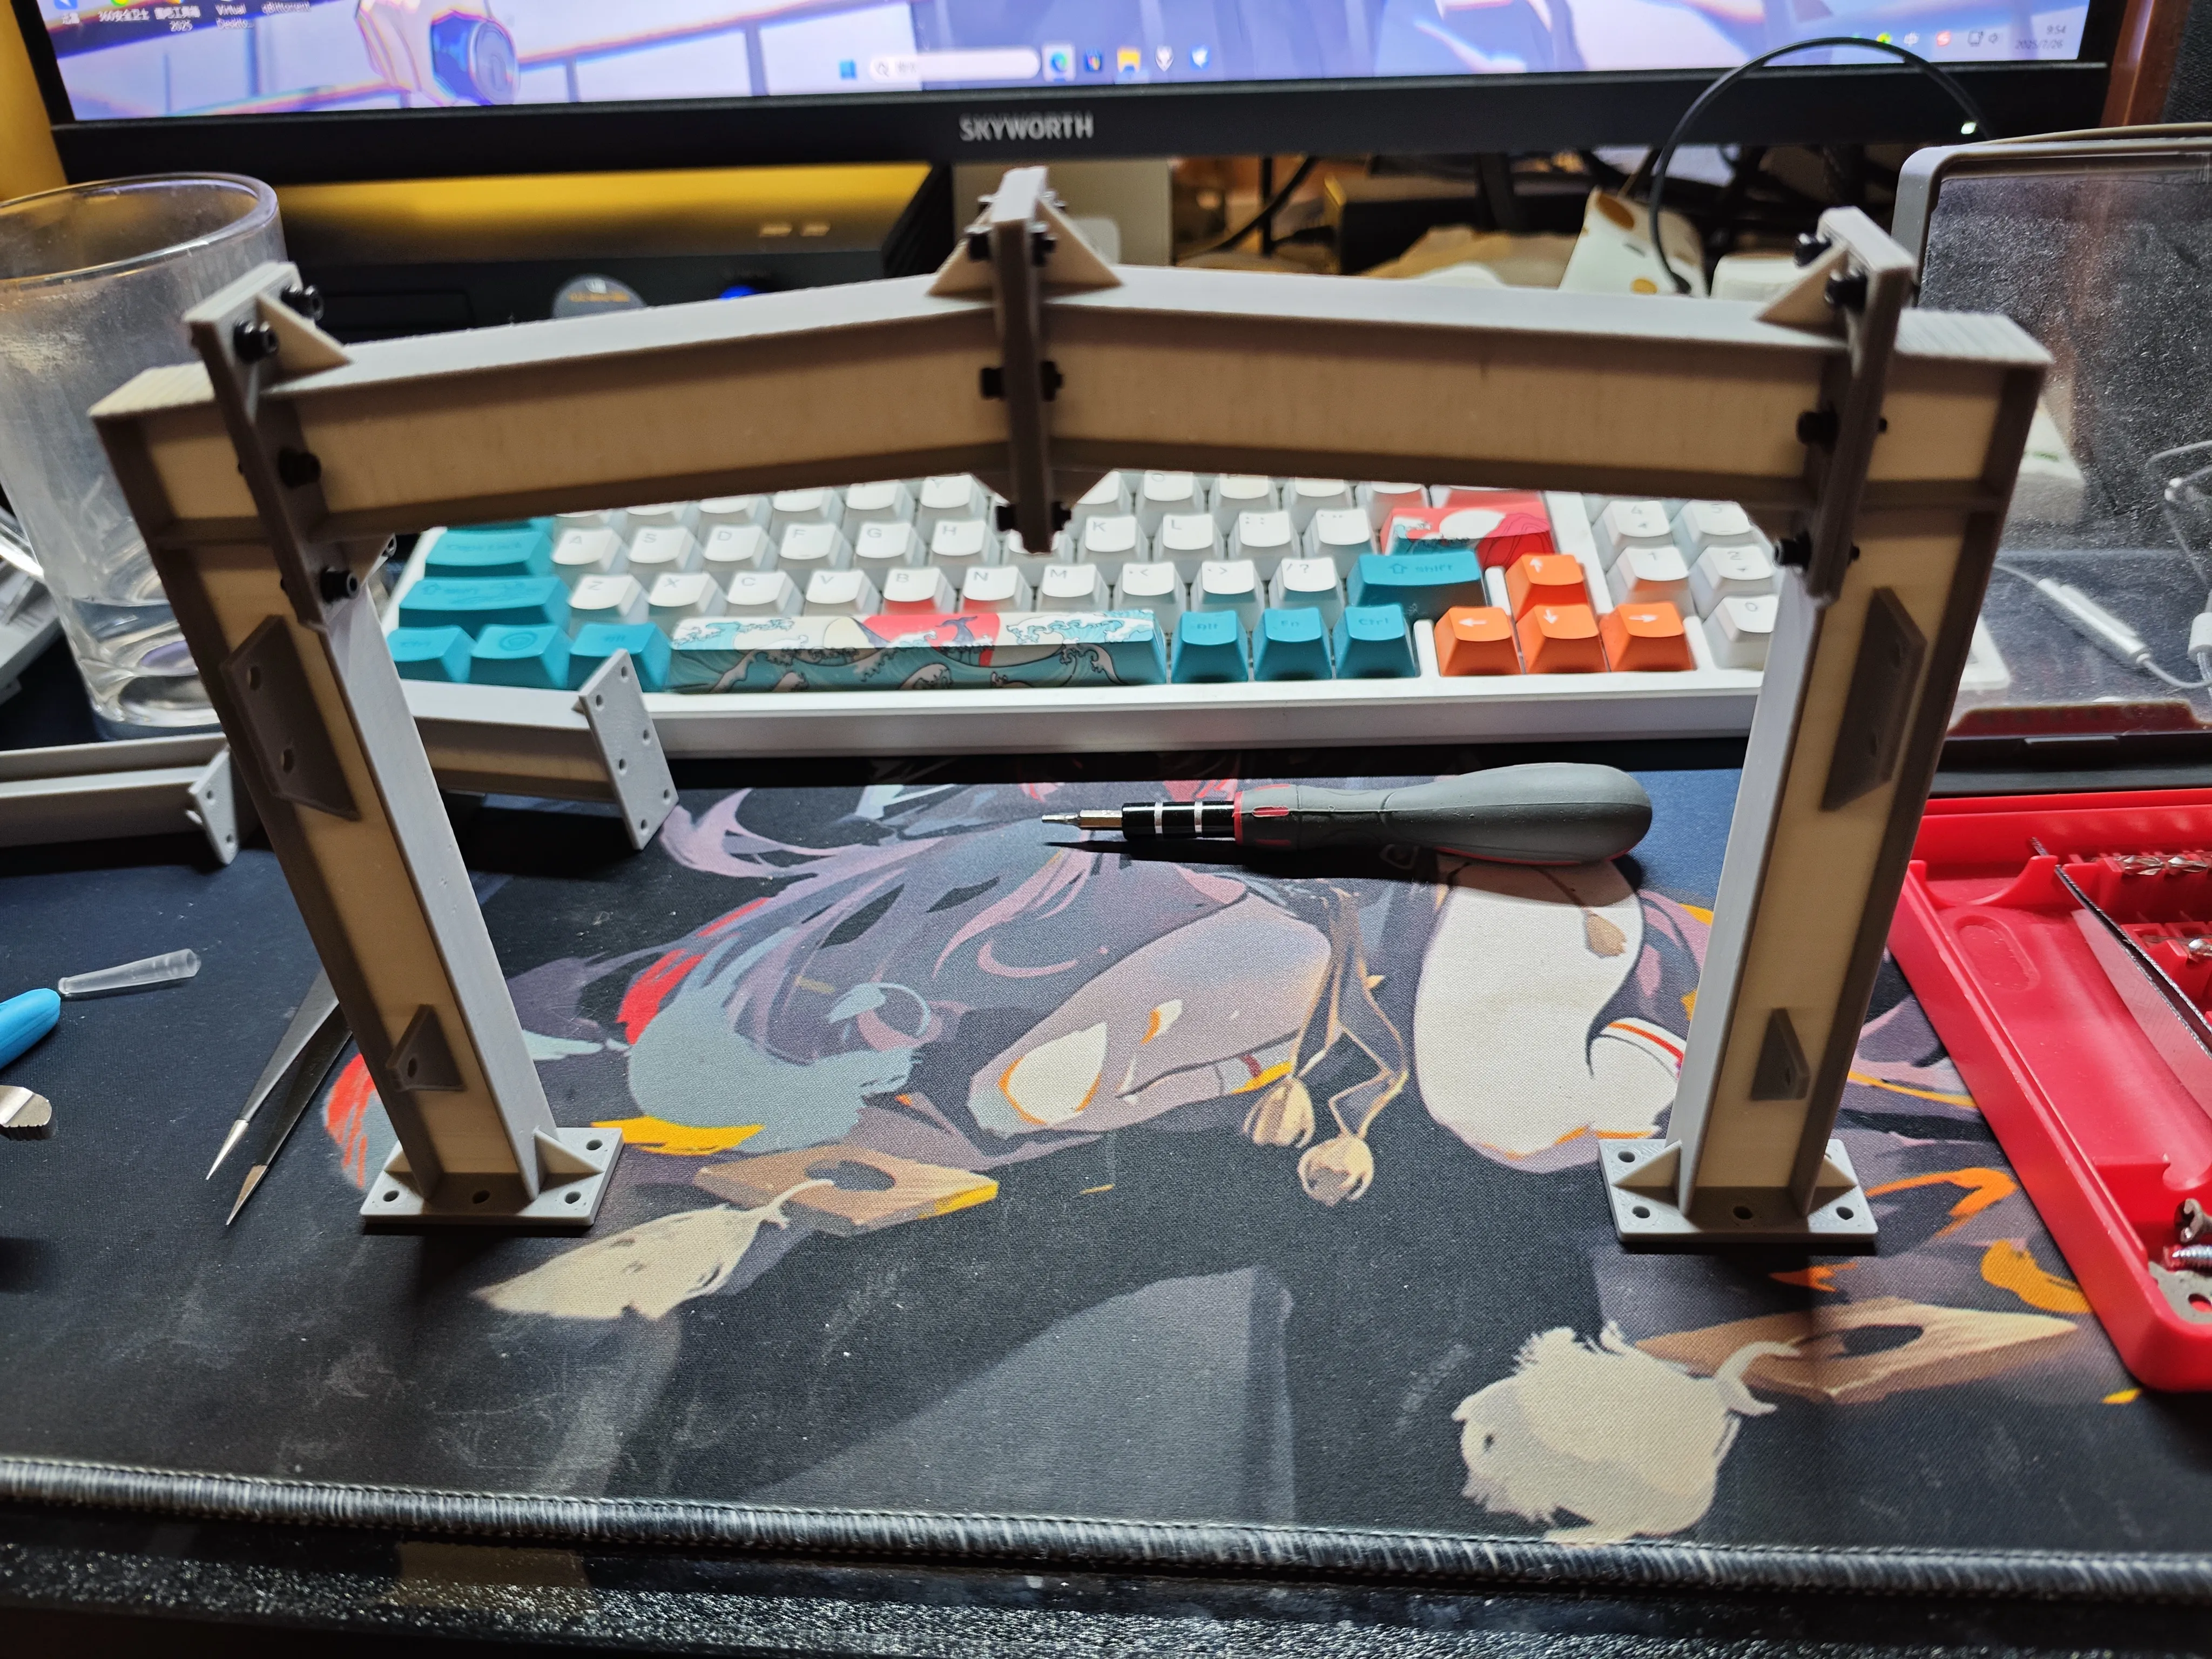
2 Tighten the beam-column connection bolts, the bolt tightening sequence is the same as above
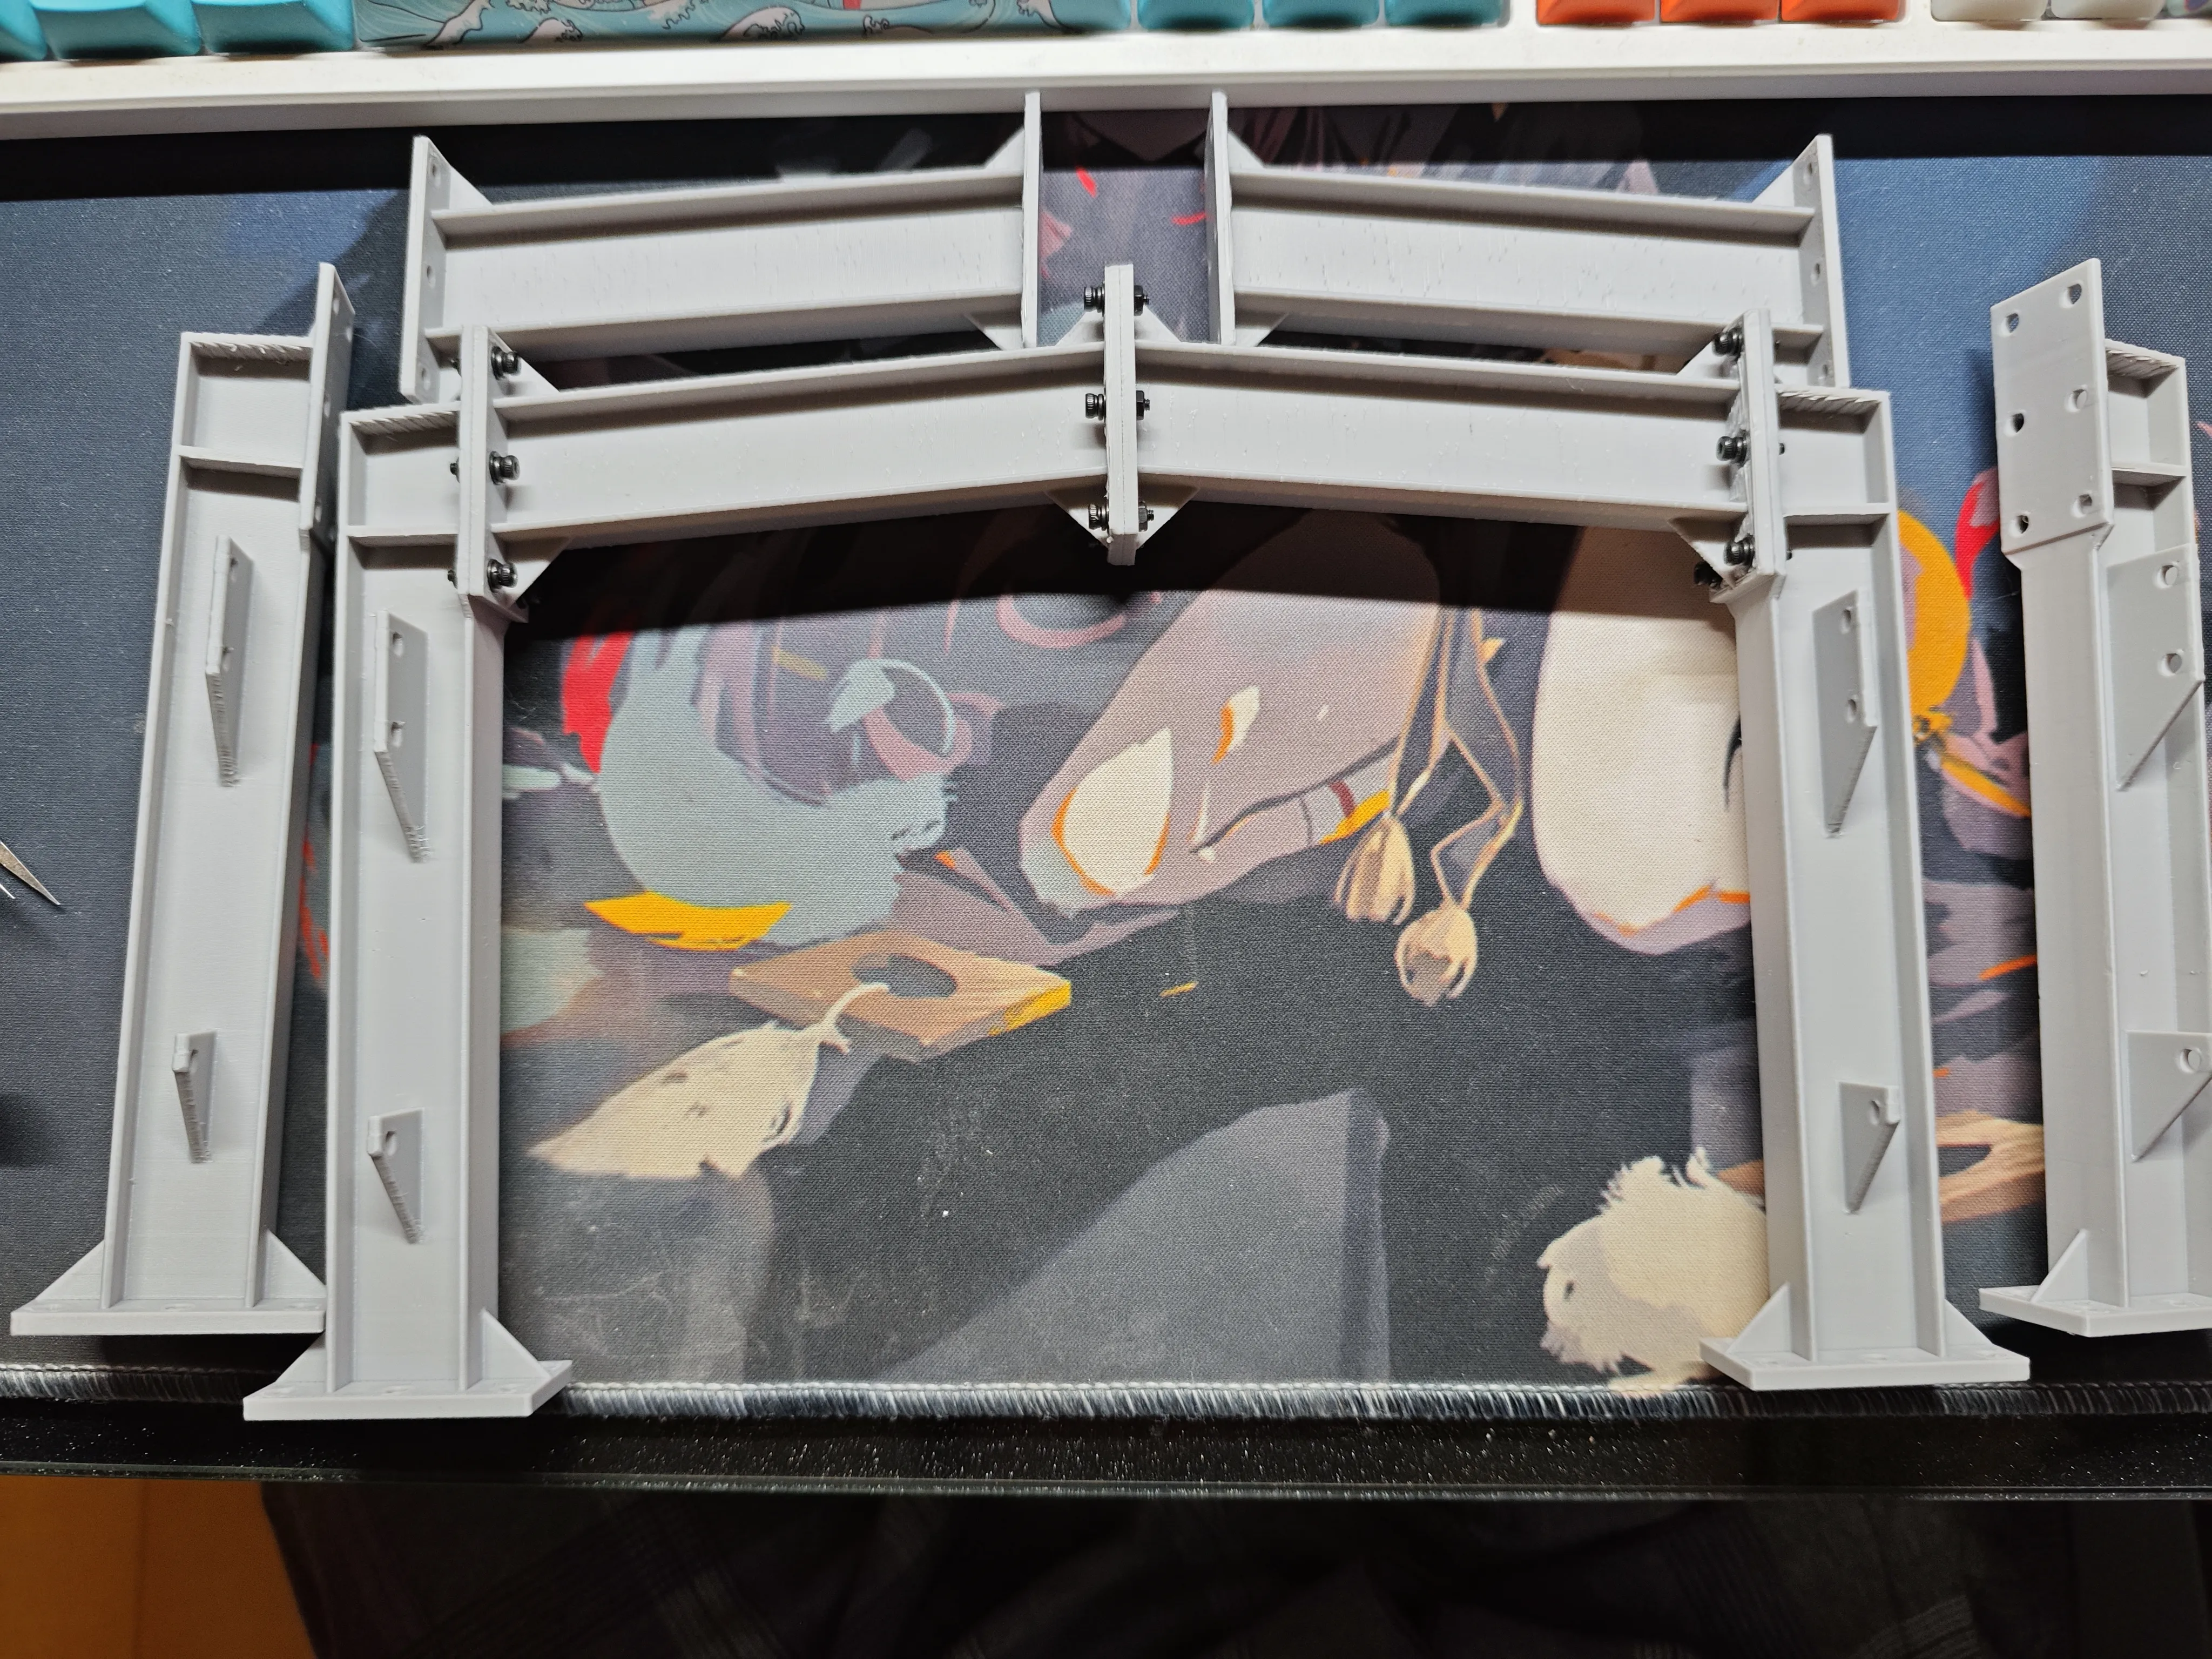
3 After completing two steel frame bents, you can first install the tie rods XG (actual engineering often uses round tubes)
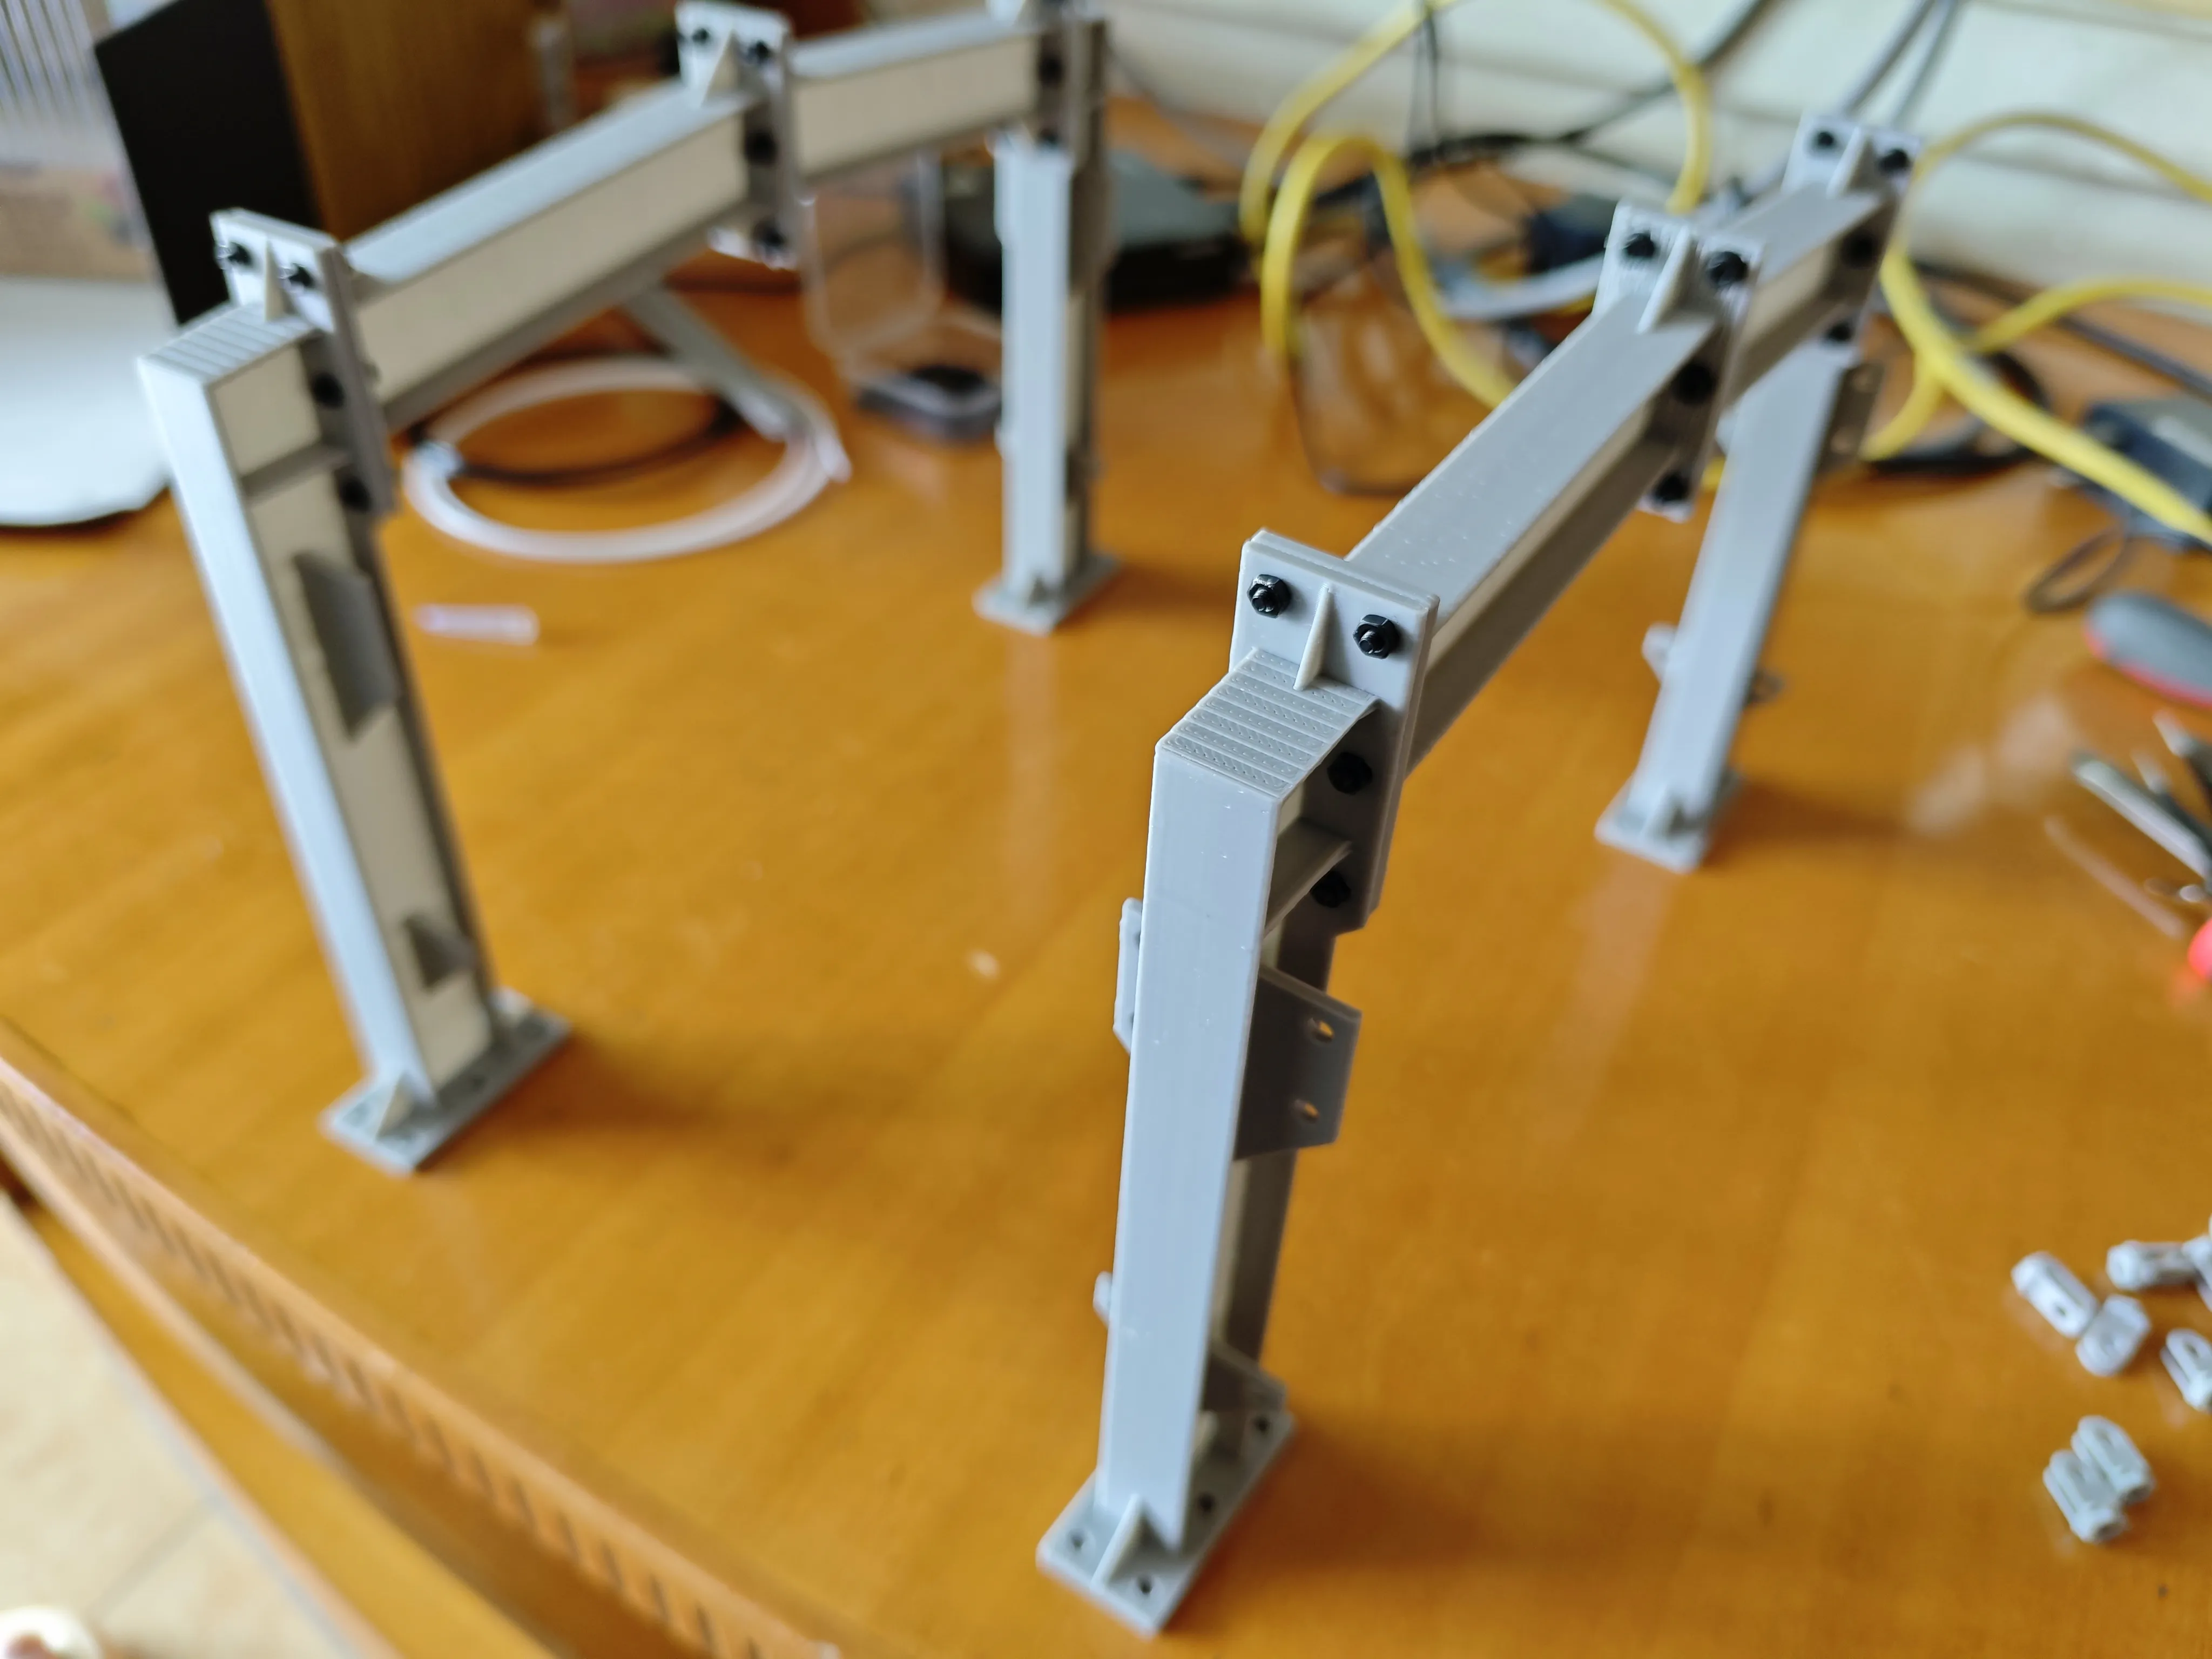
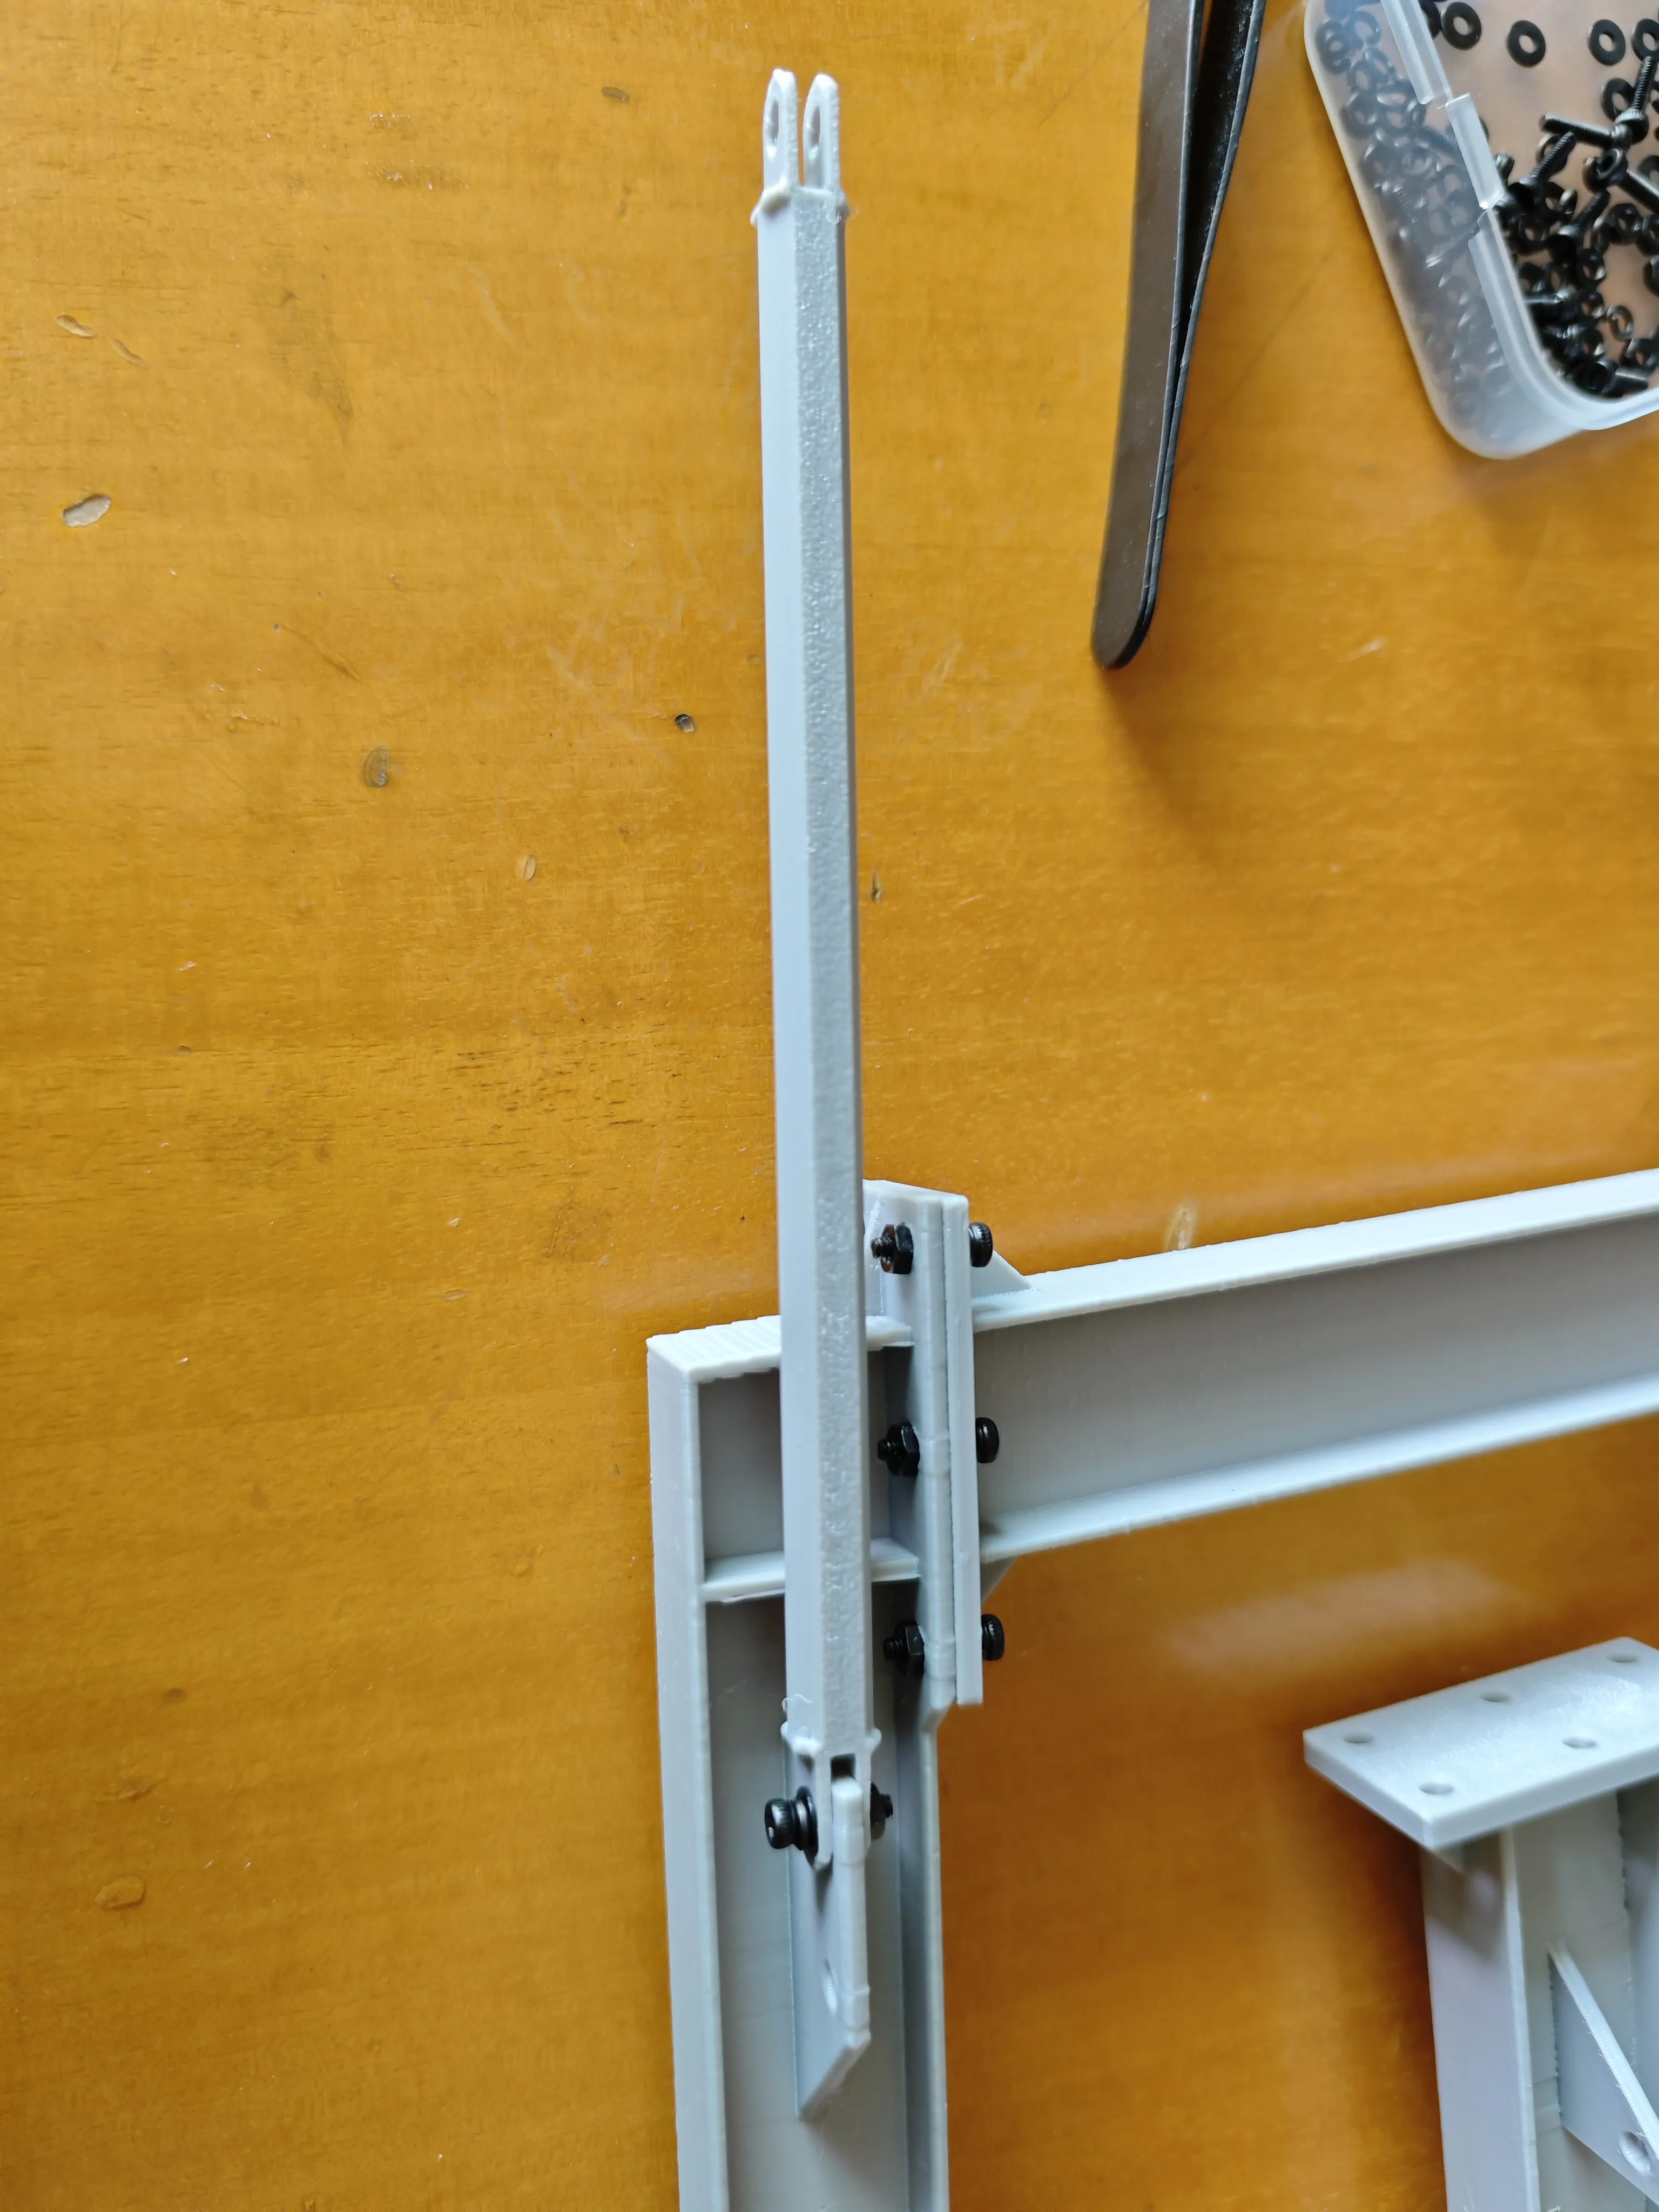
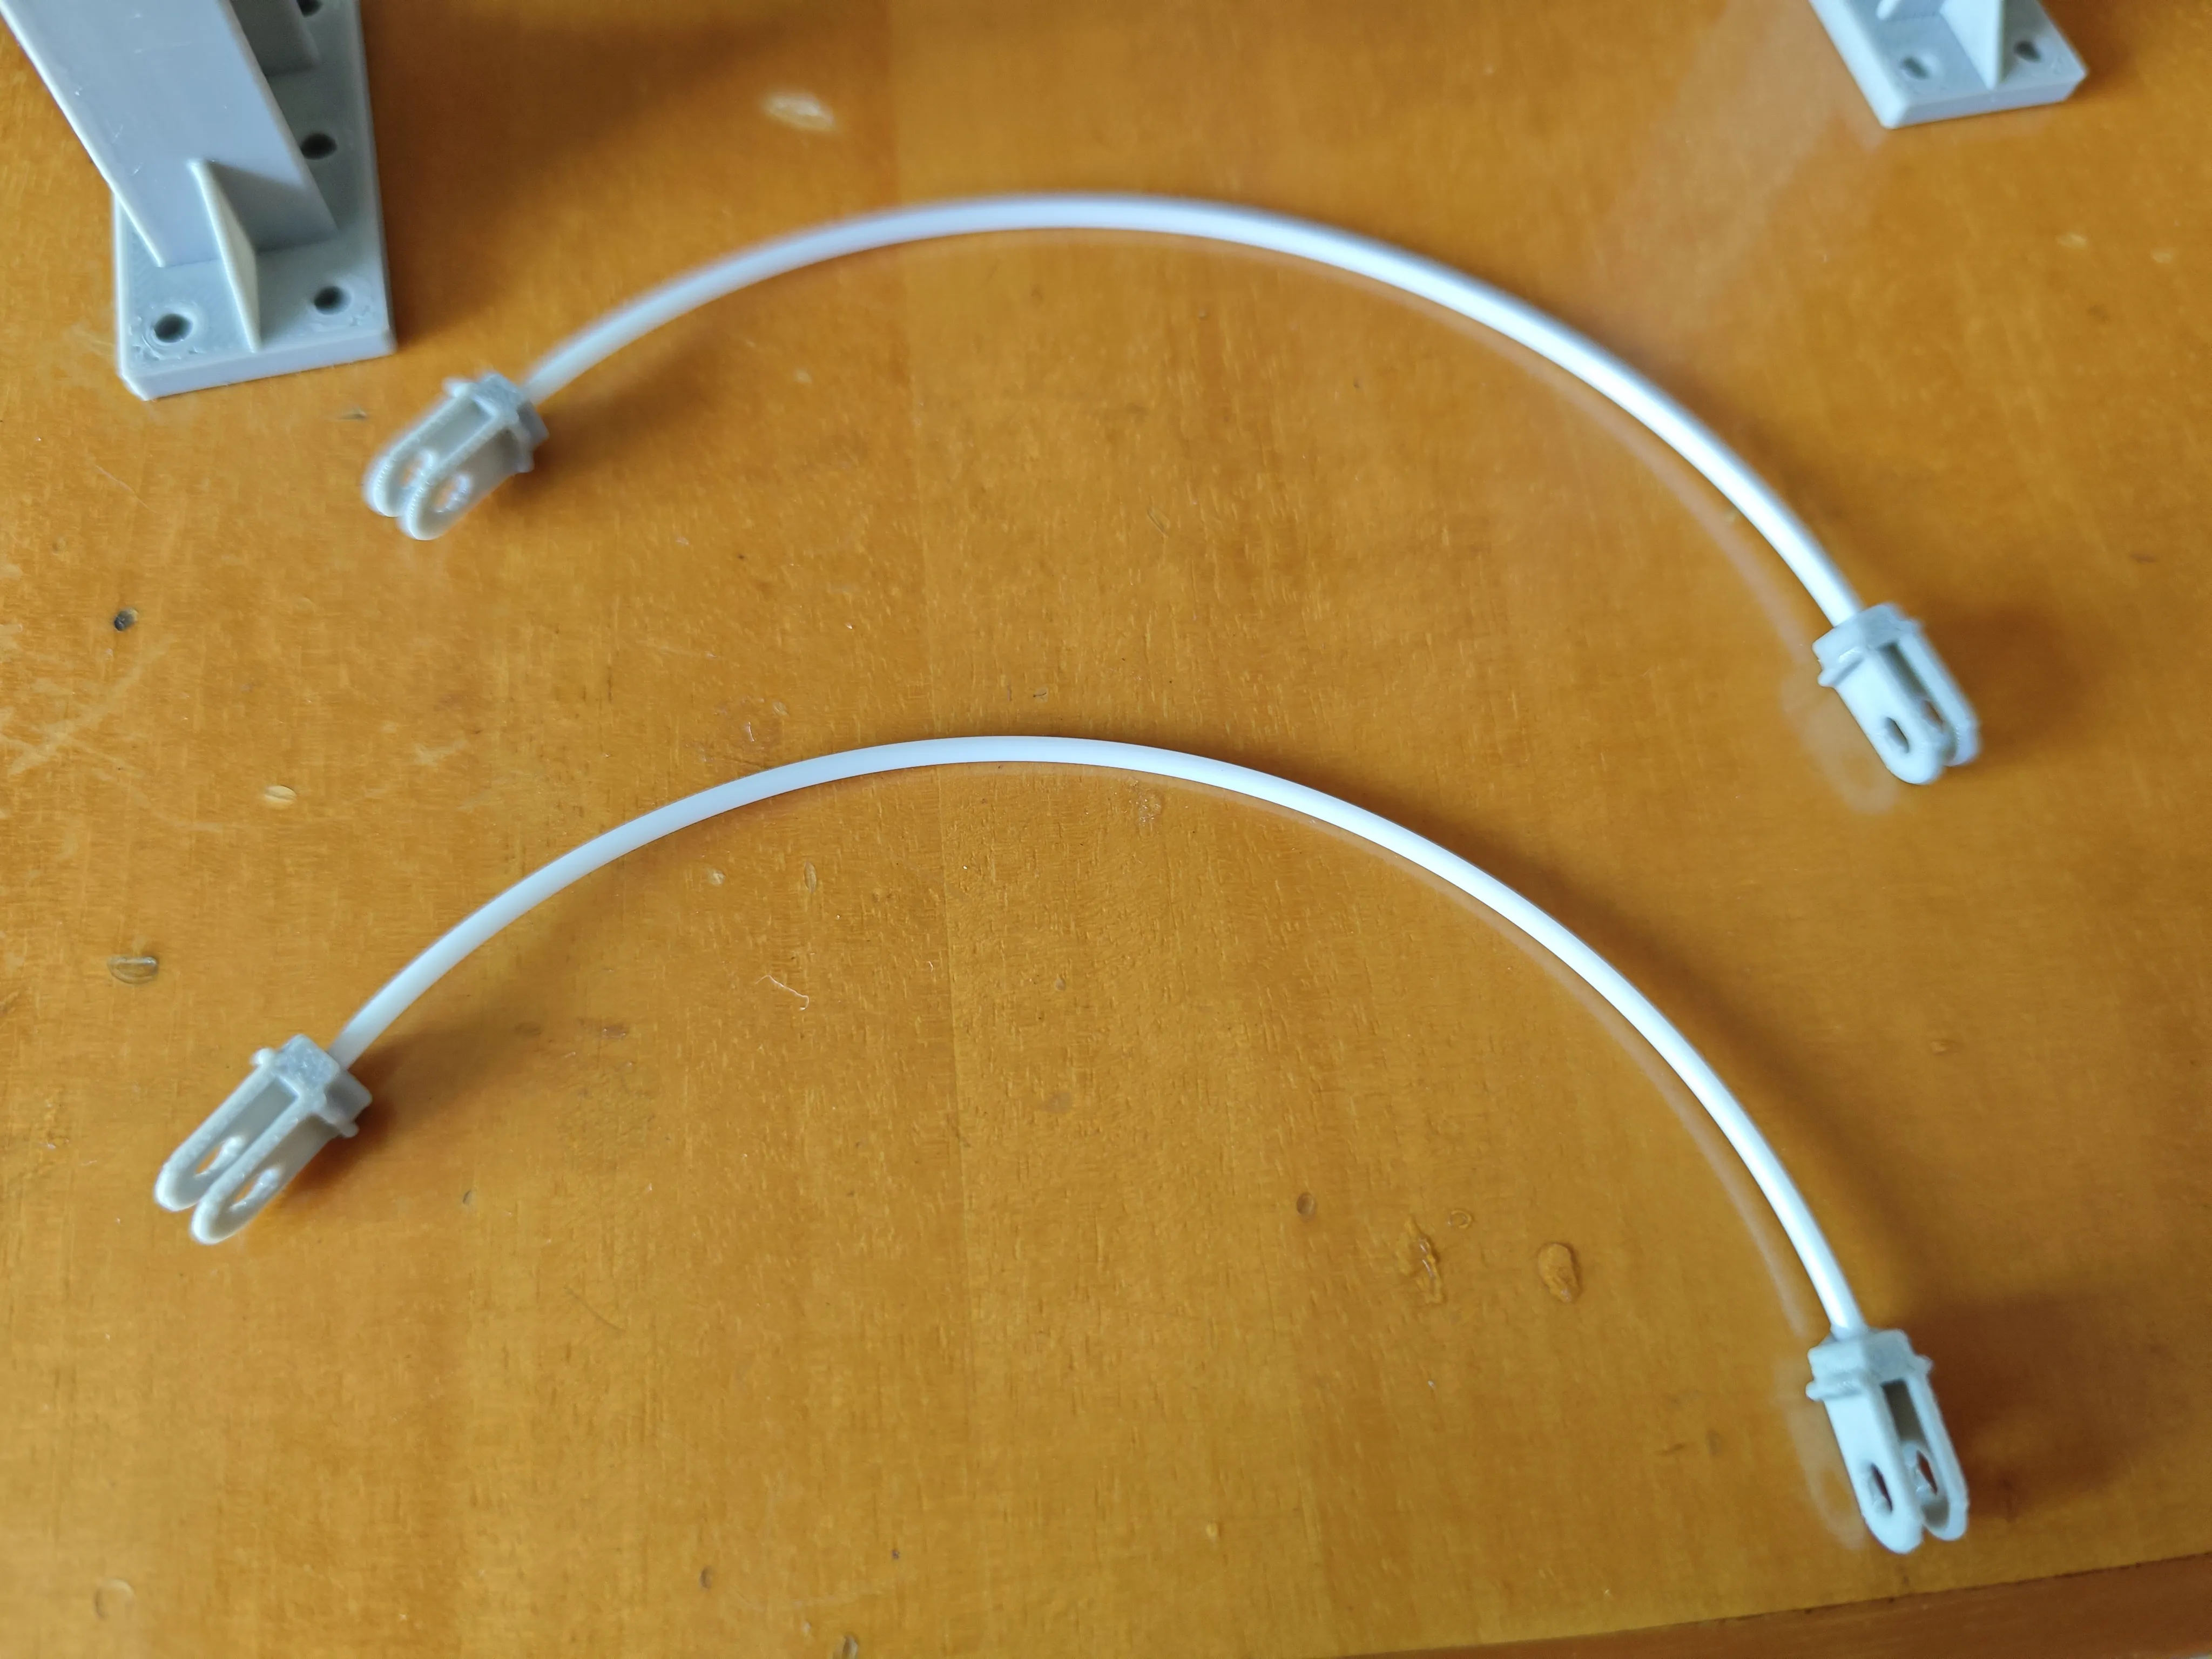
4 Install column bracing (the flexible components of the column bracing require 125-126mm of filament strand to connect the ends of the column bracing)
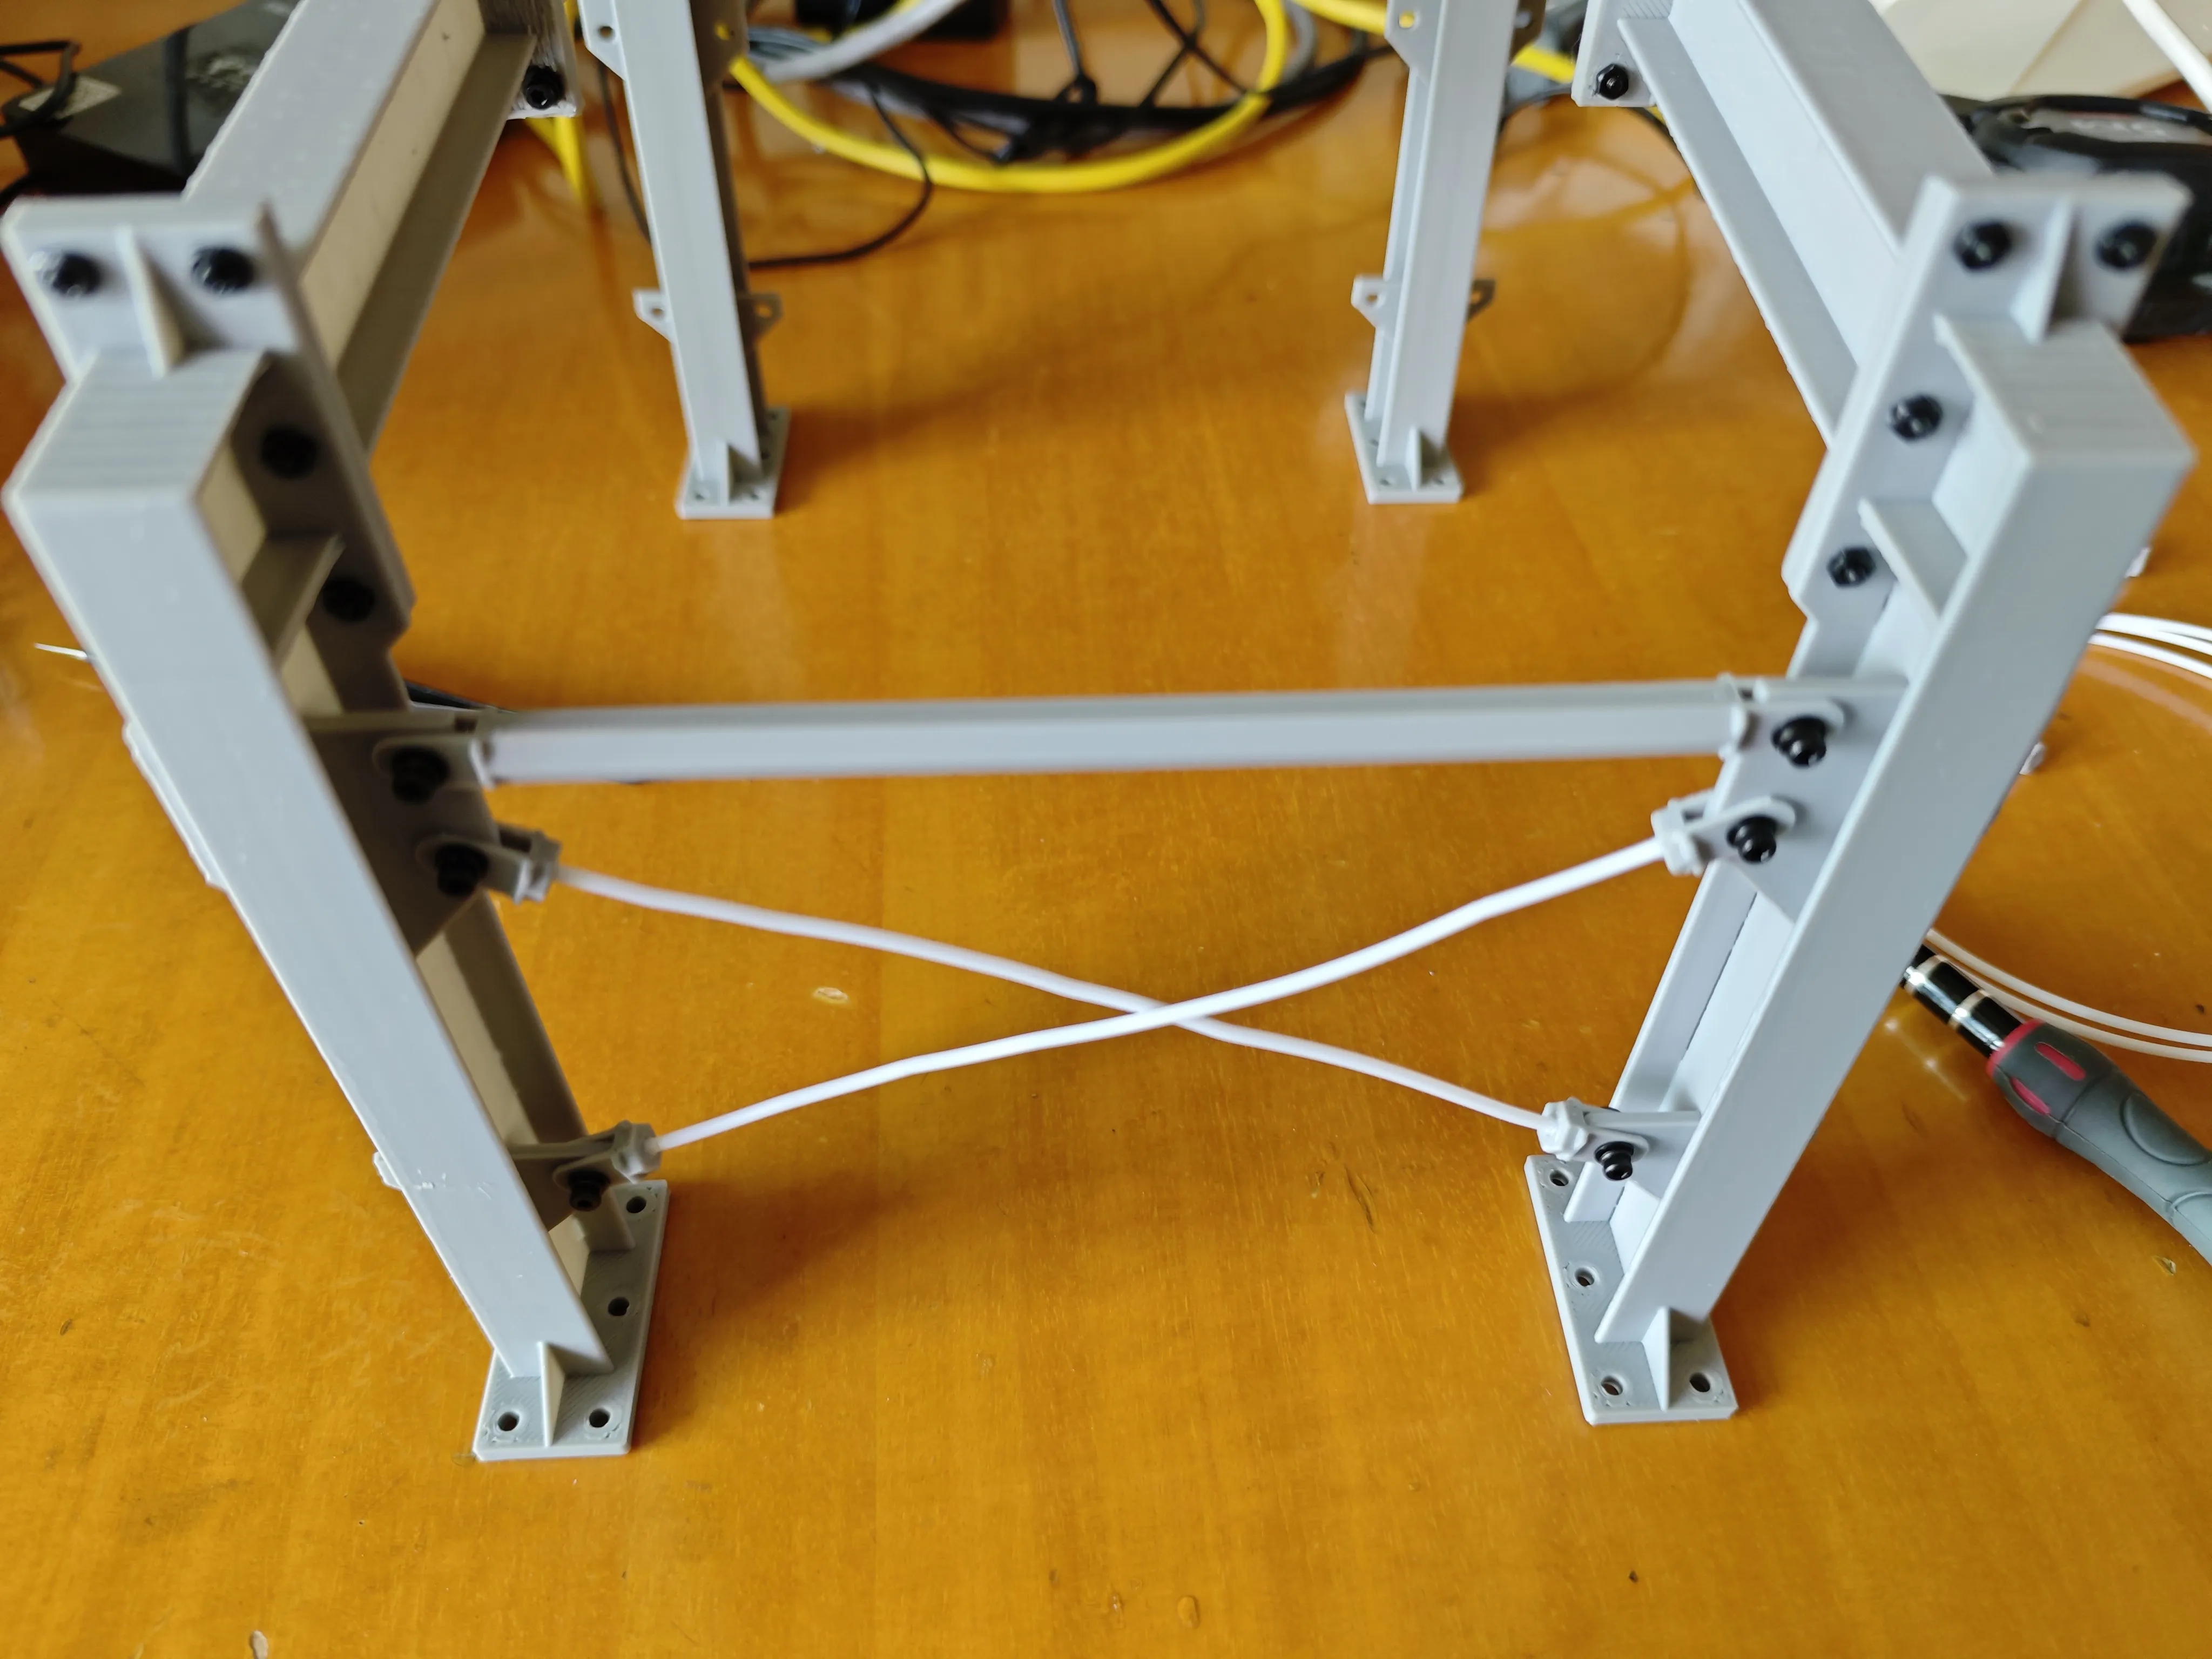
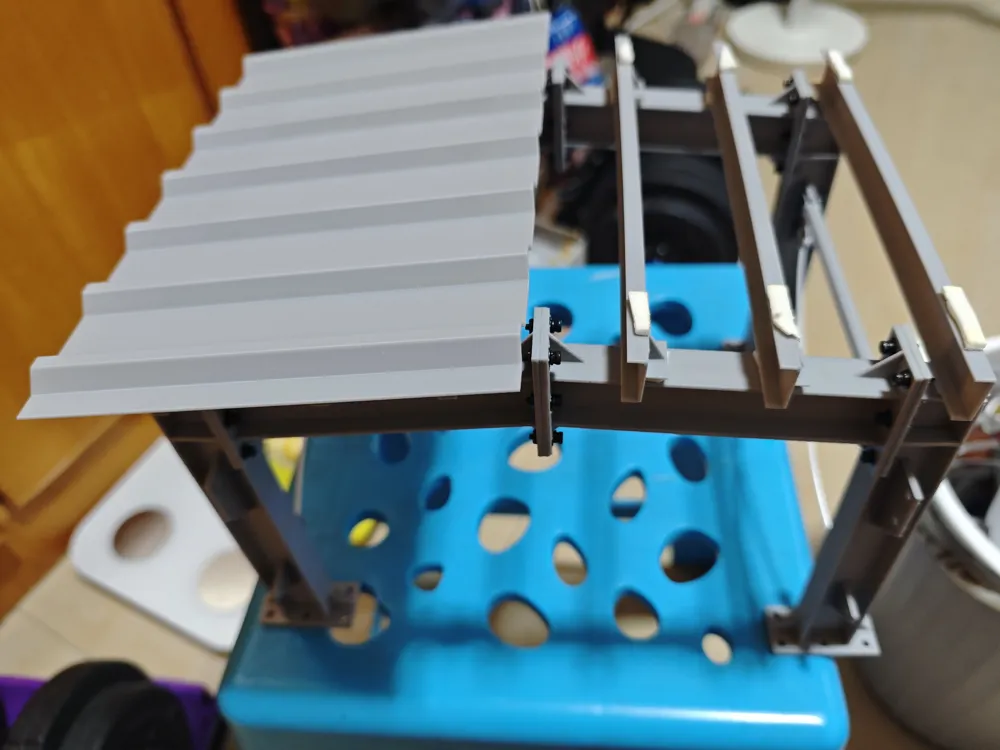
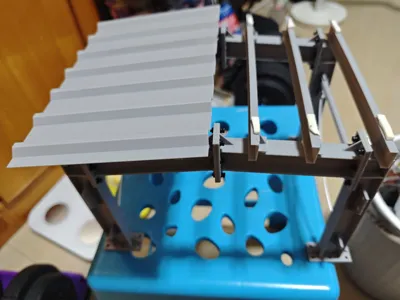
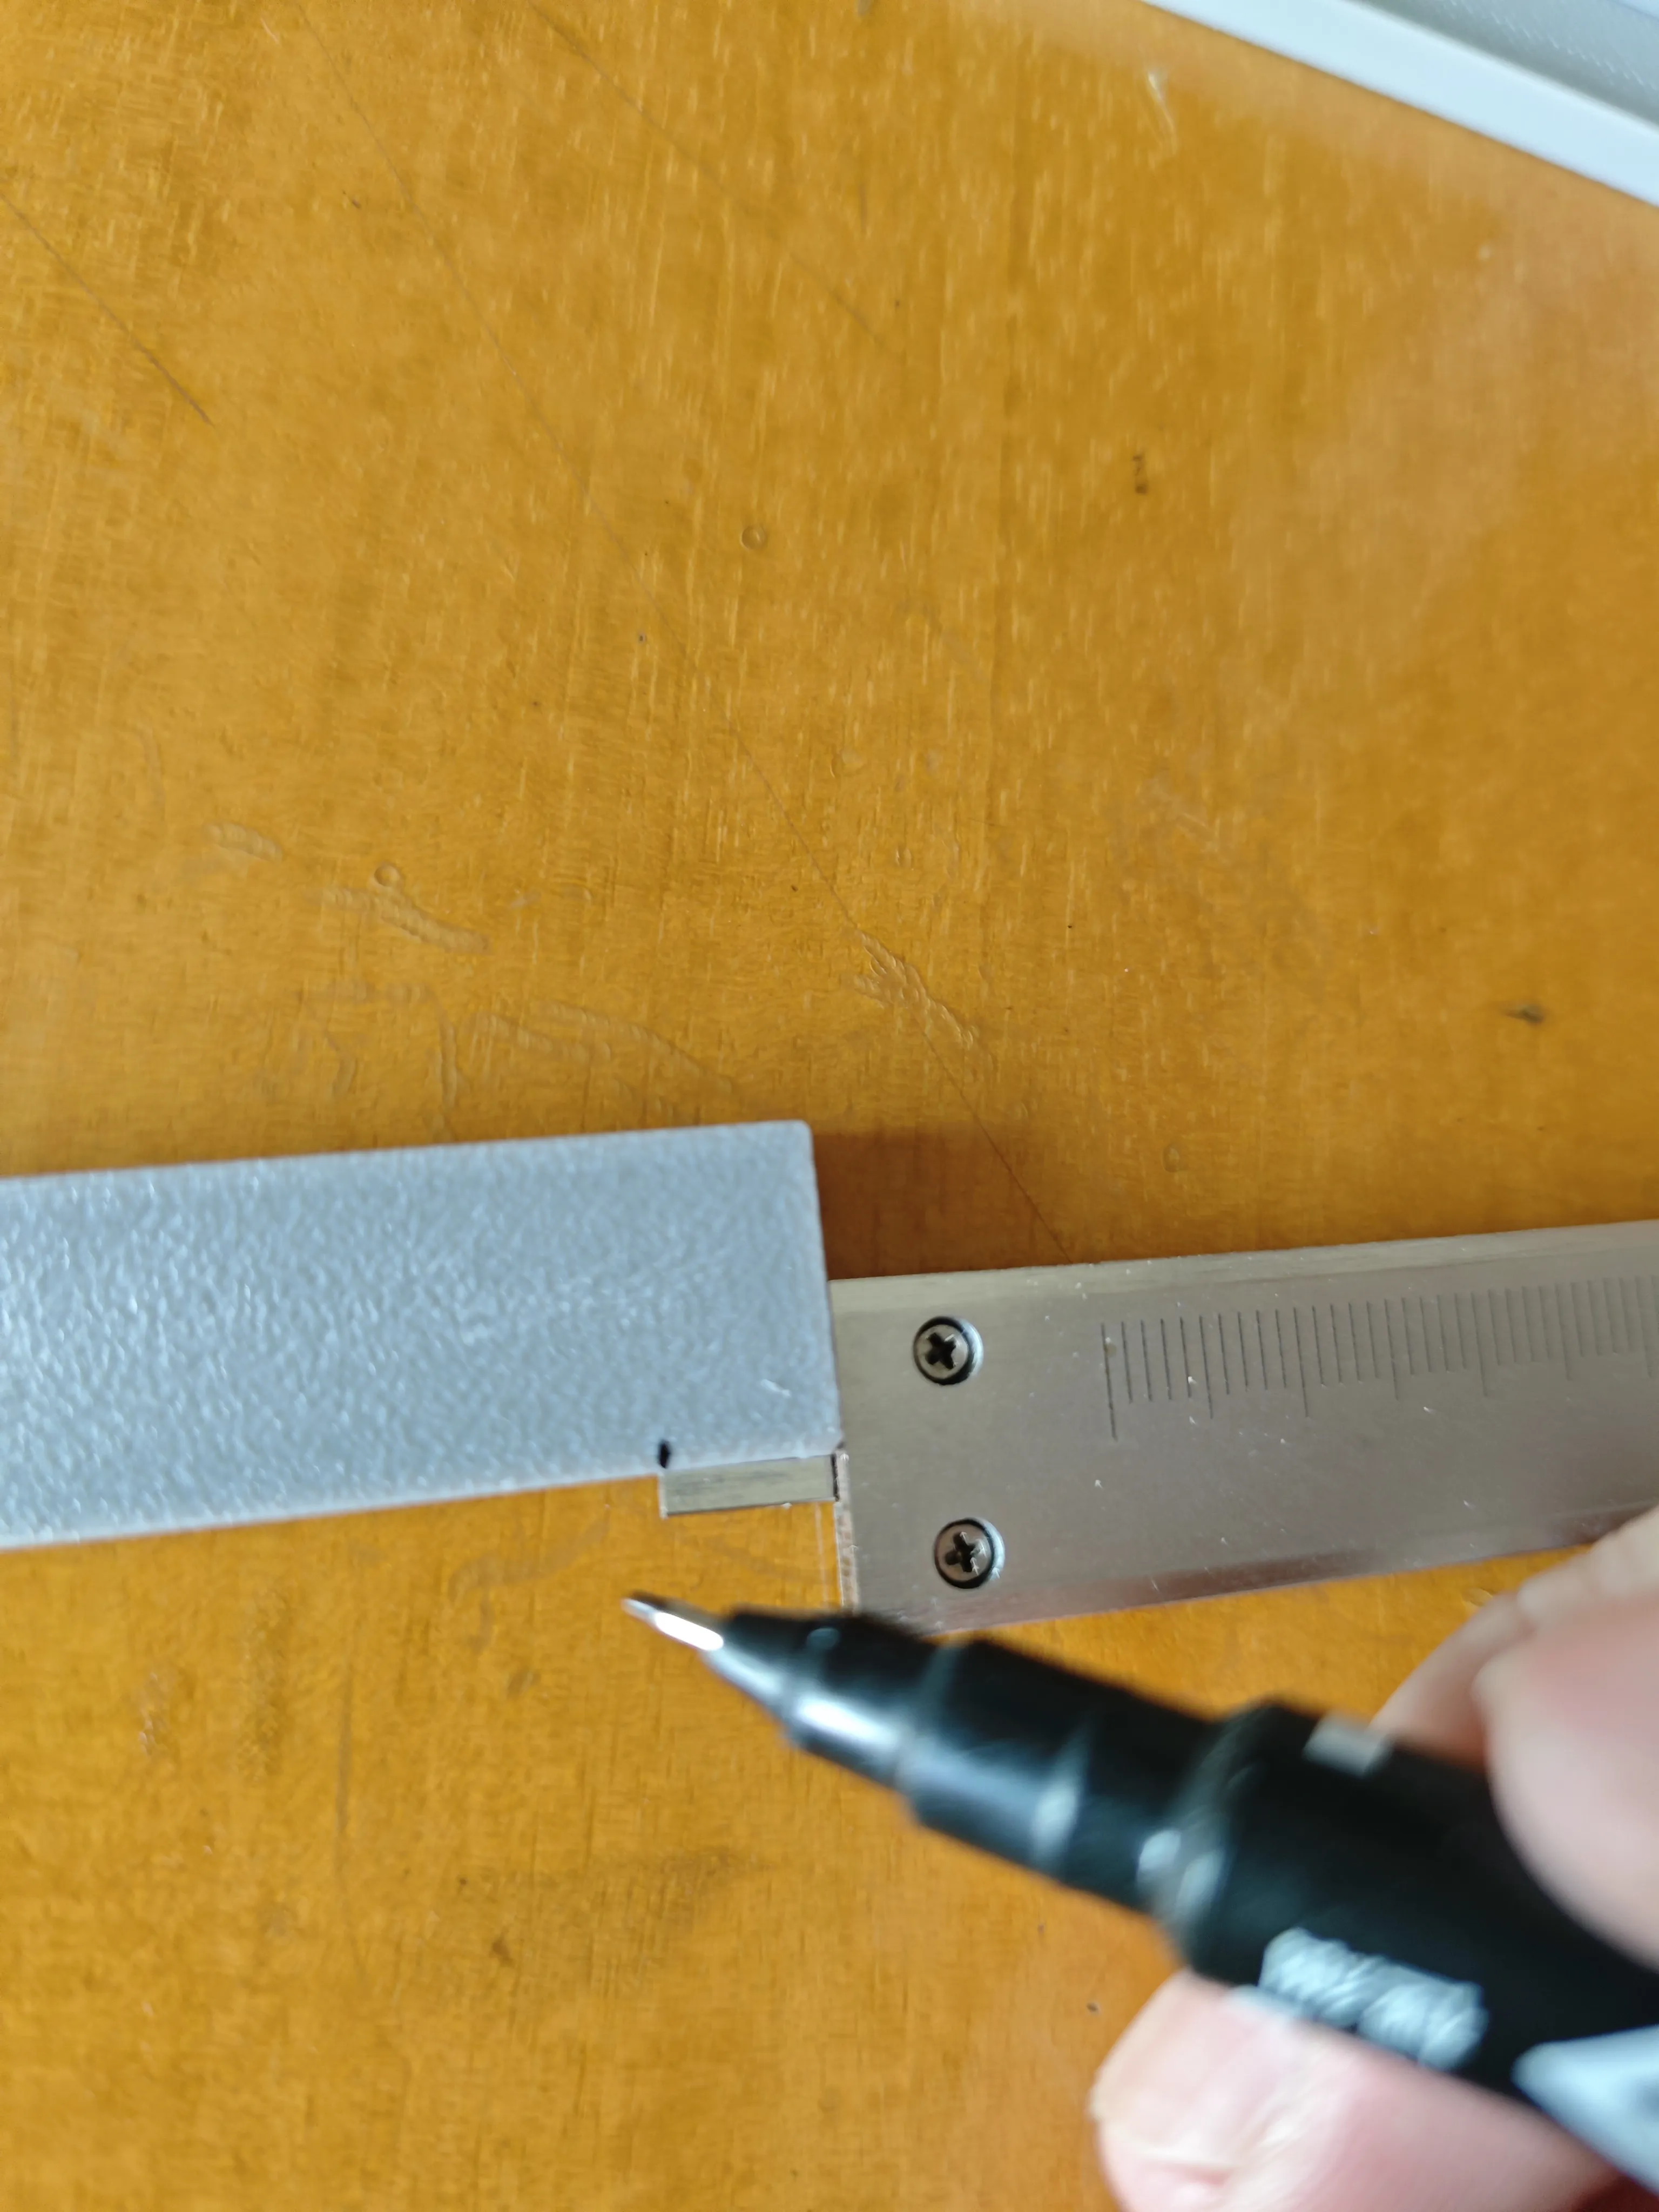
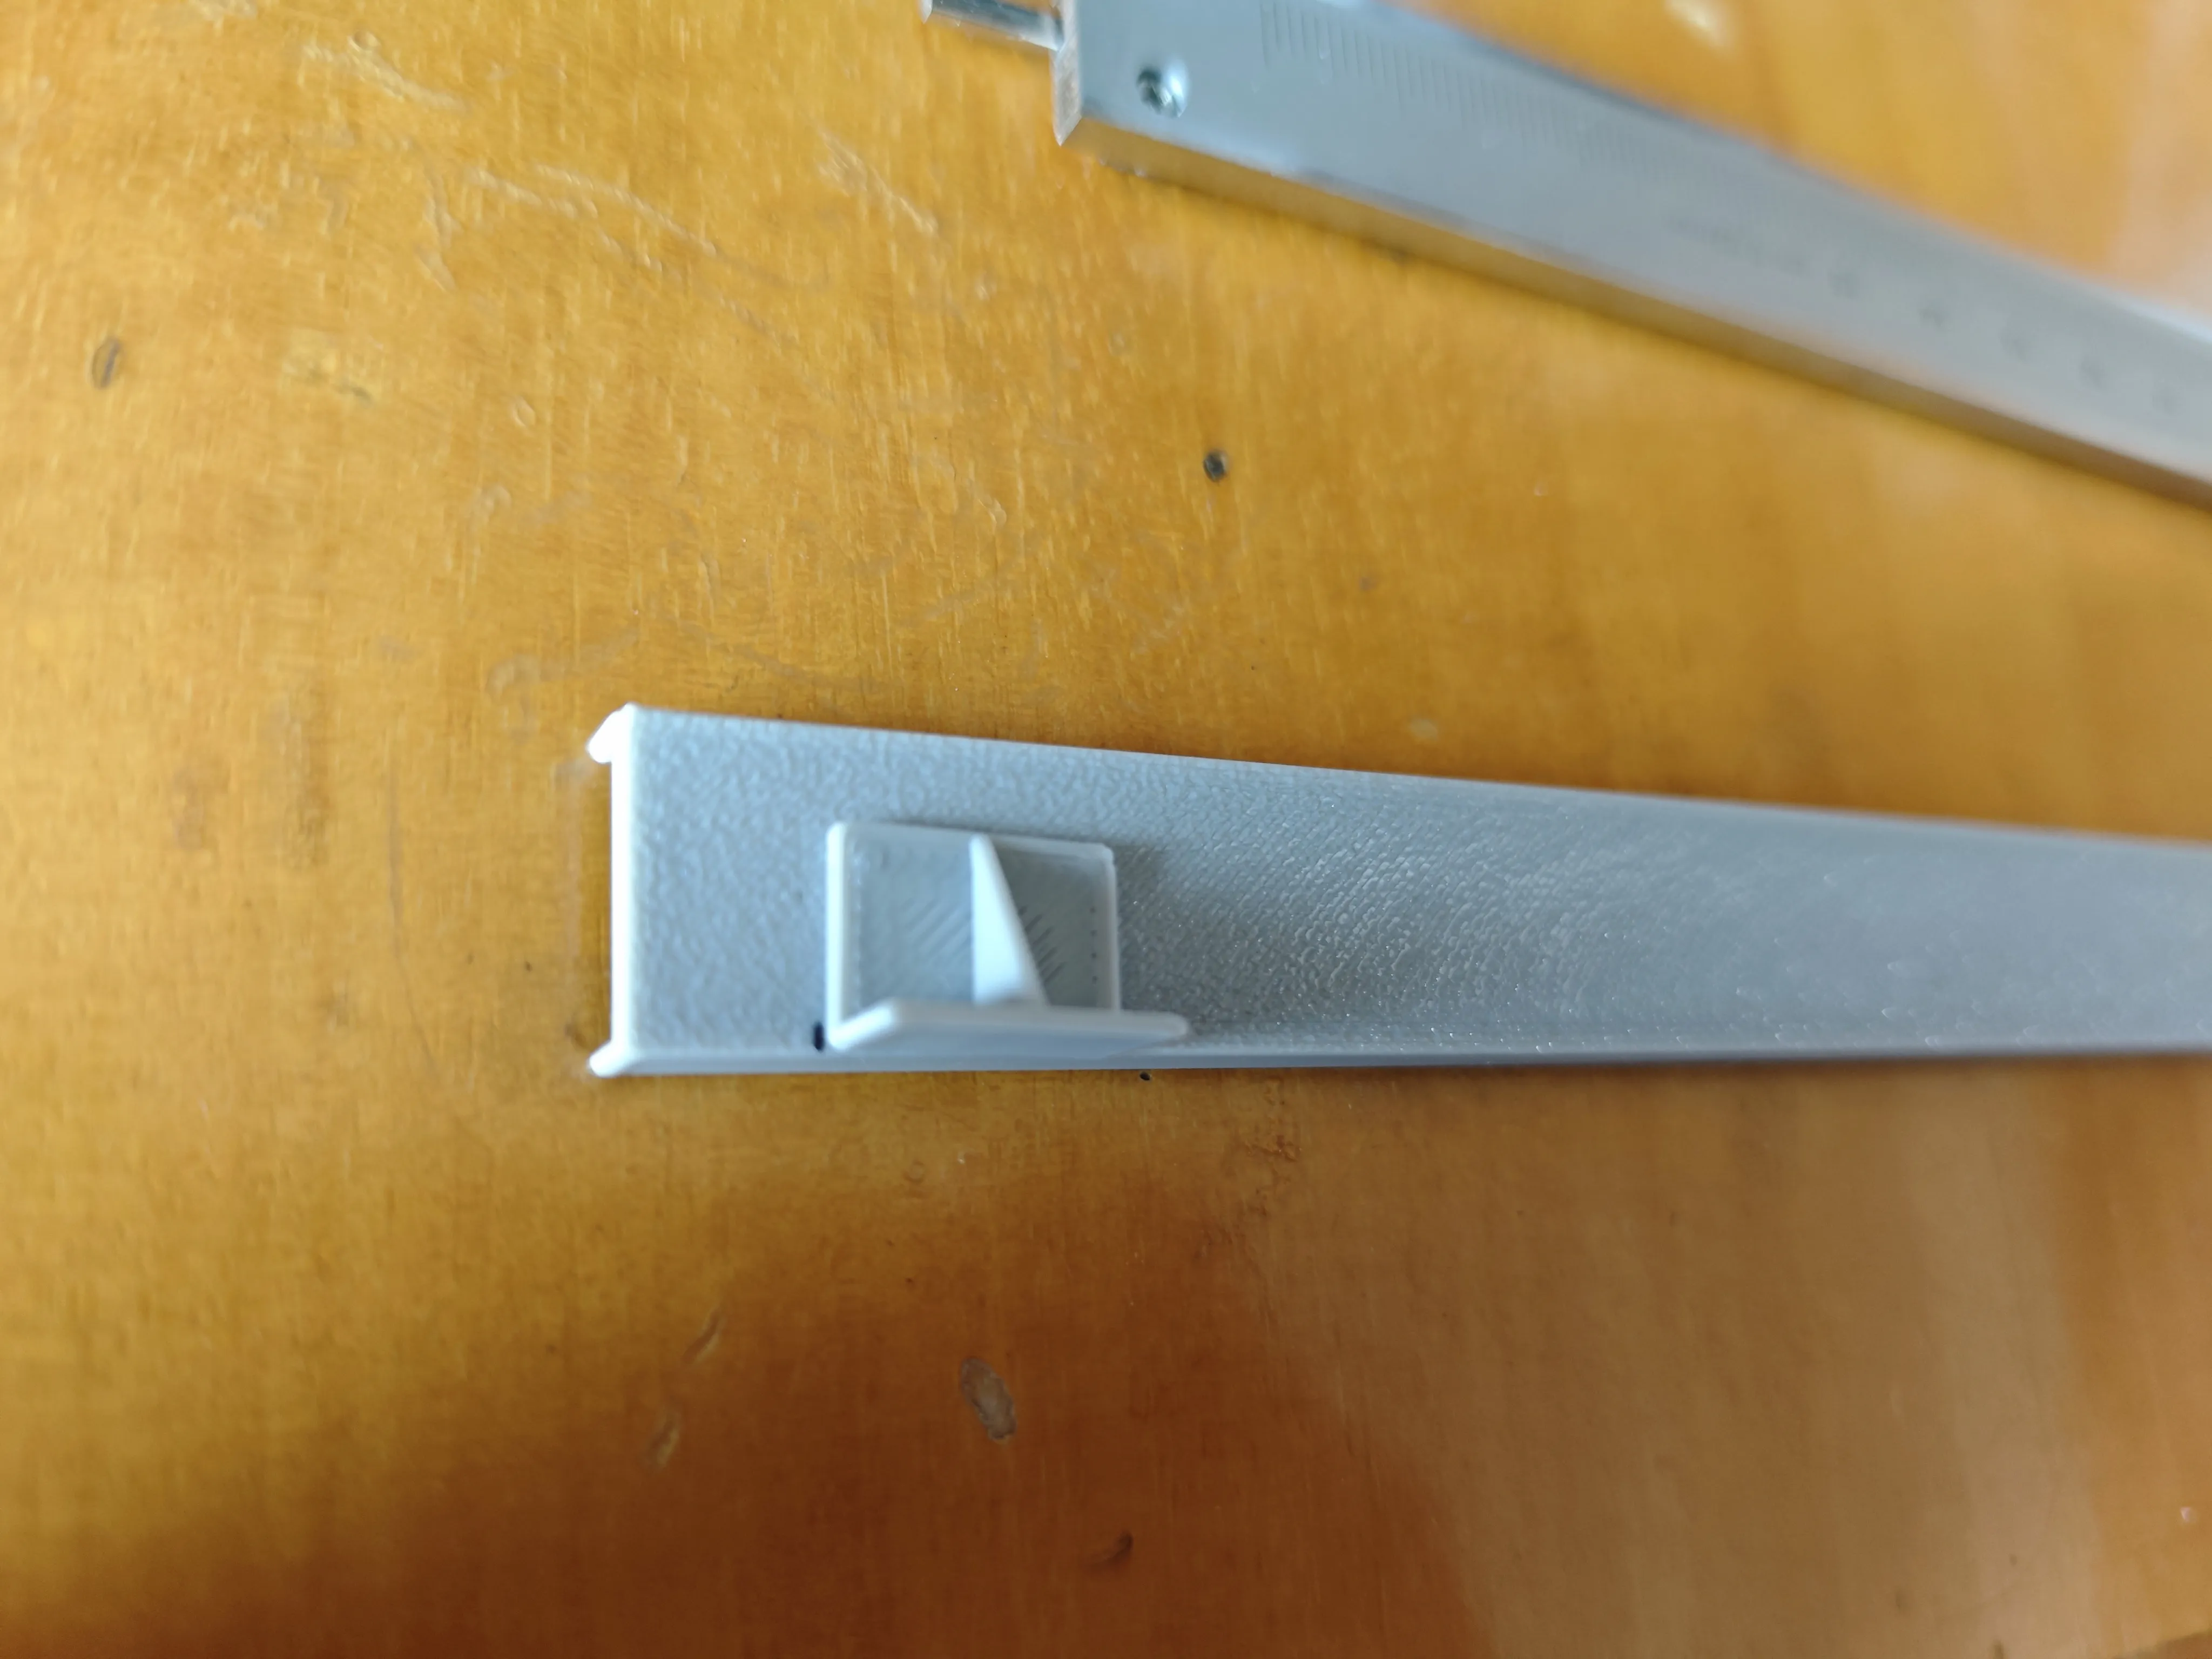
5 Install the roof purlins (first mark out the position of the purlin cleats on the purlins, 8-9mm from the end, then align the bottom before adhering)
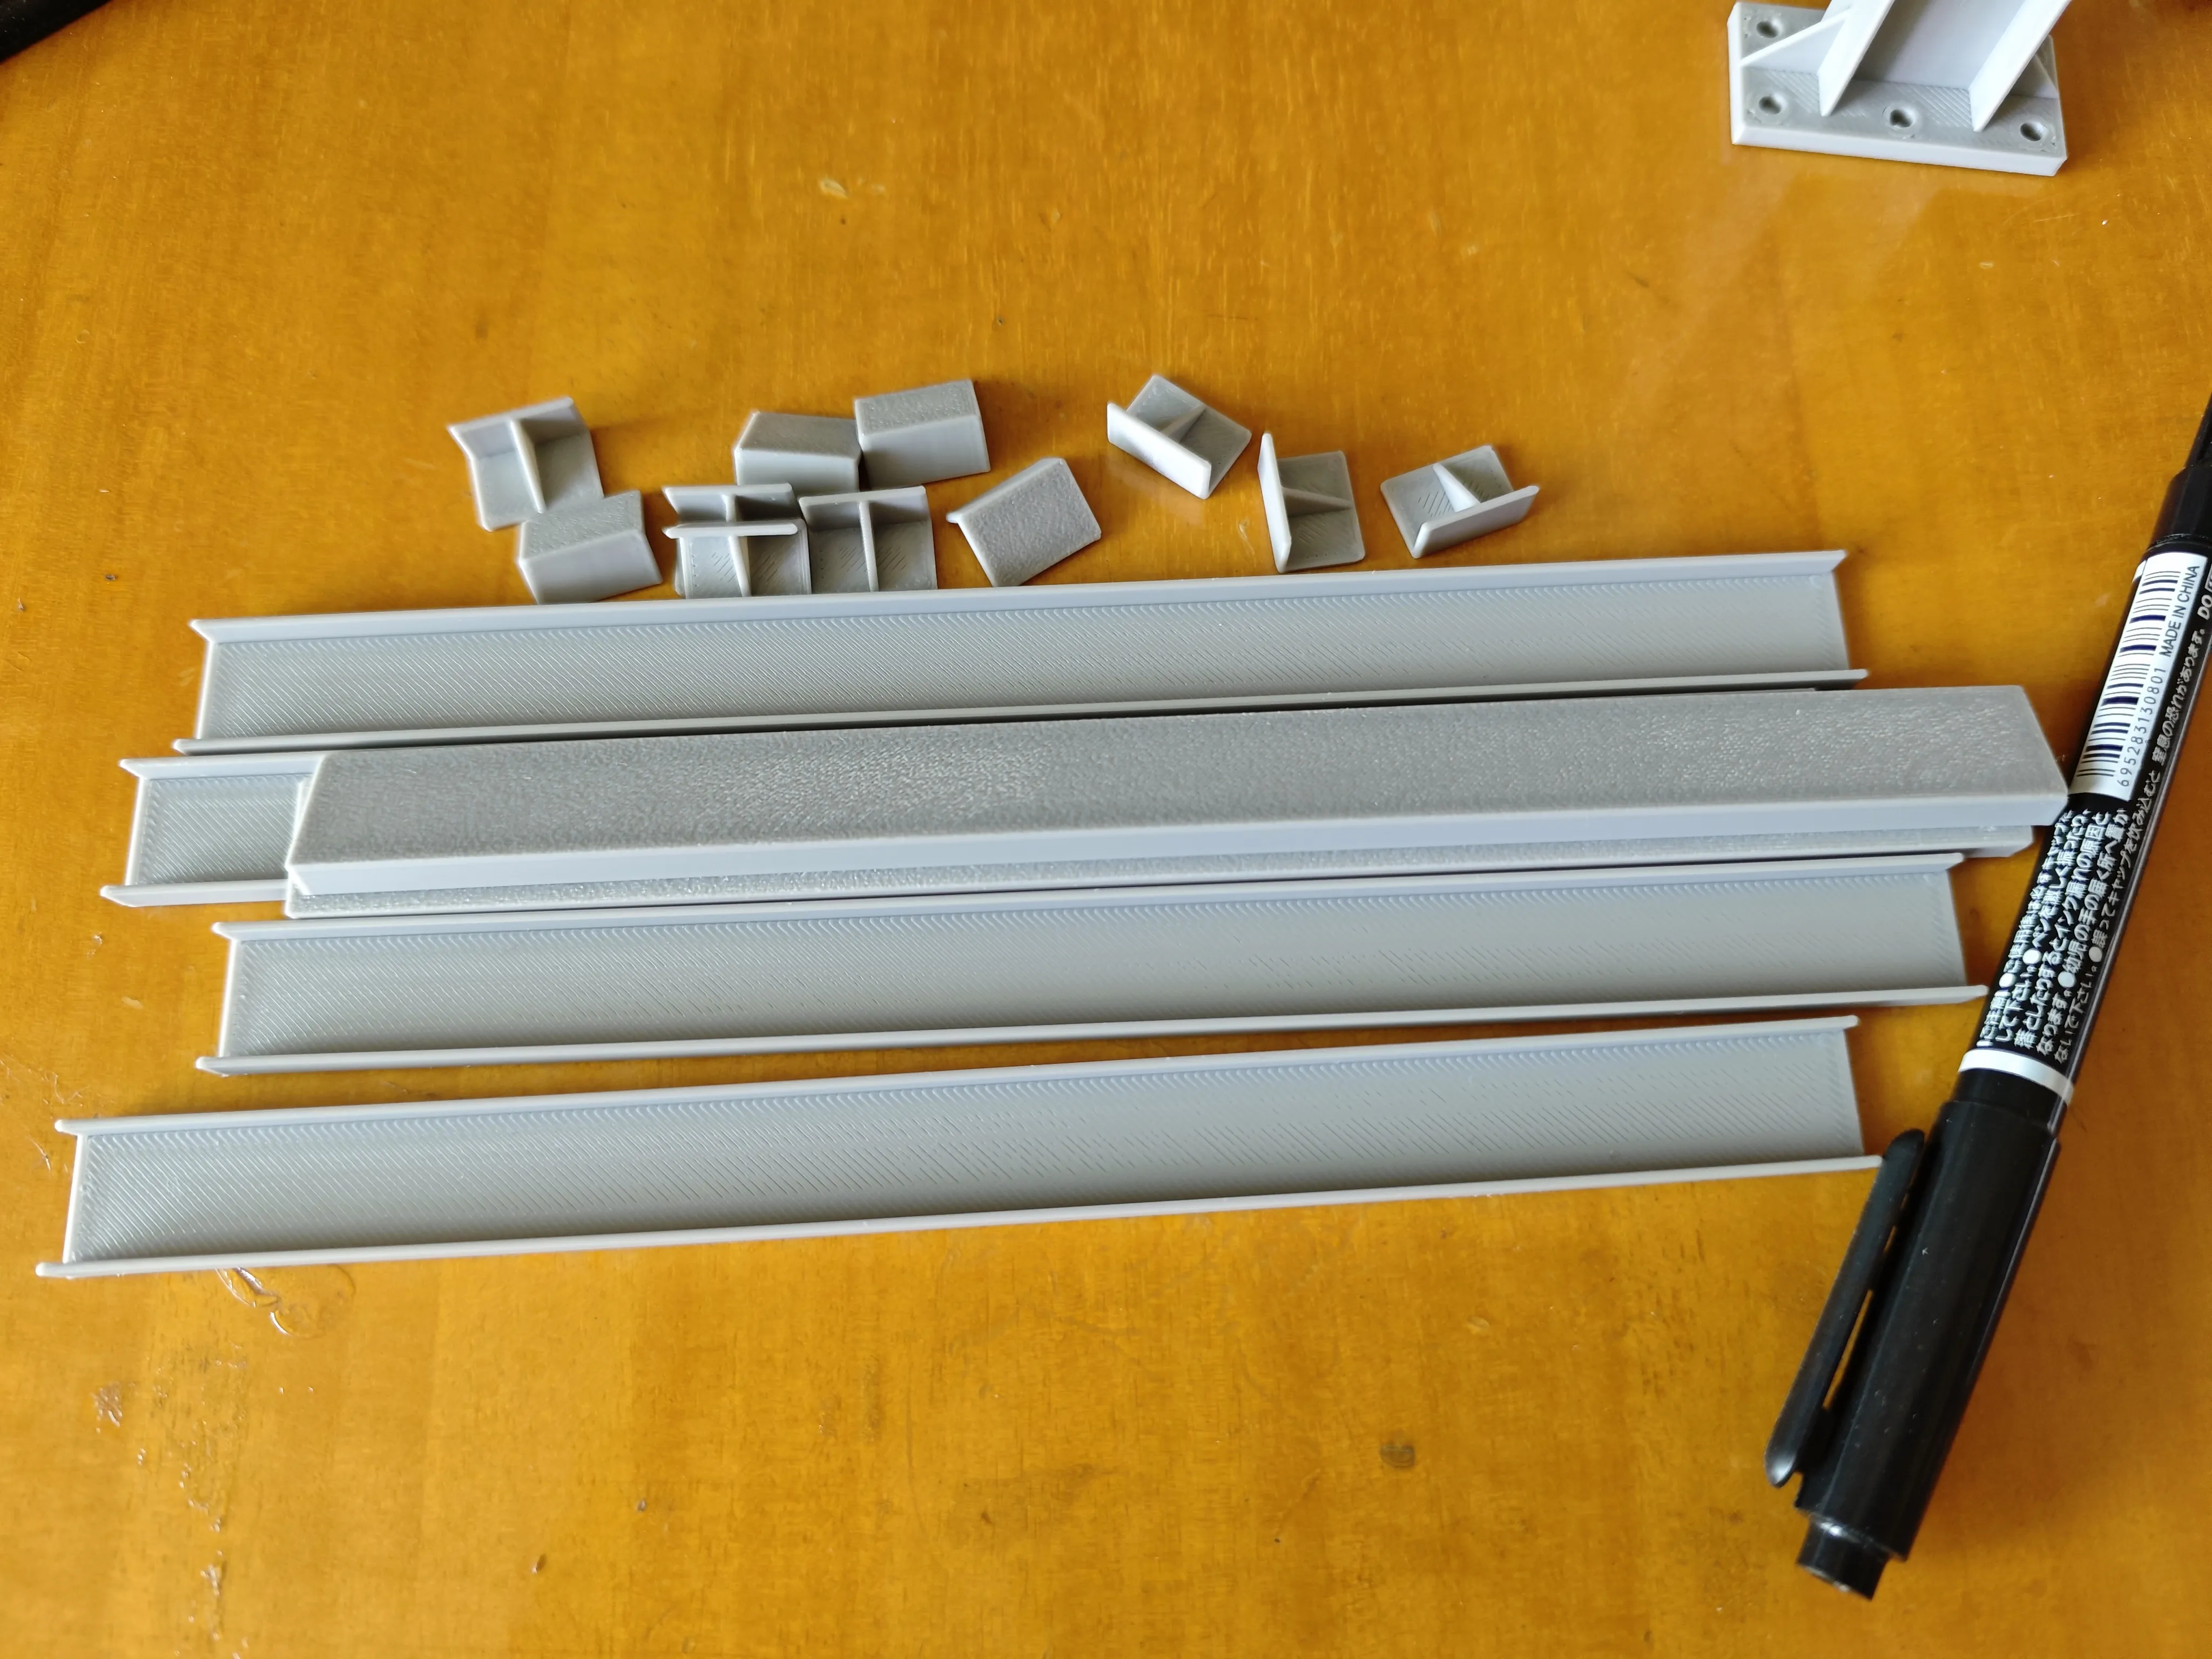
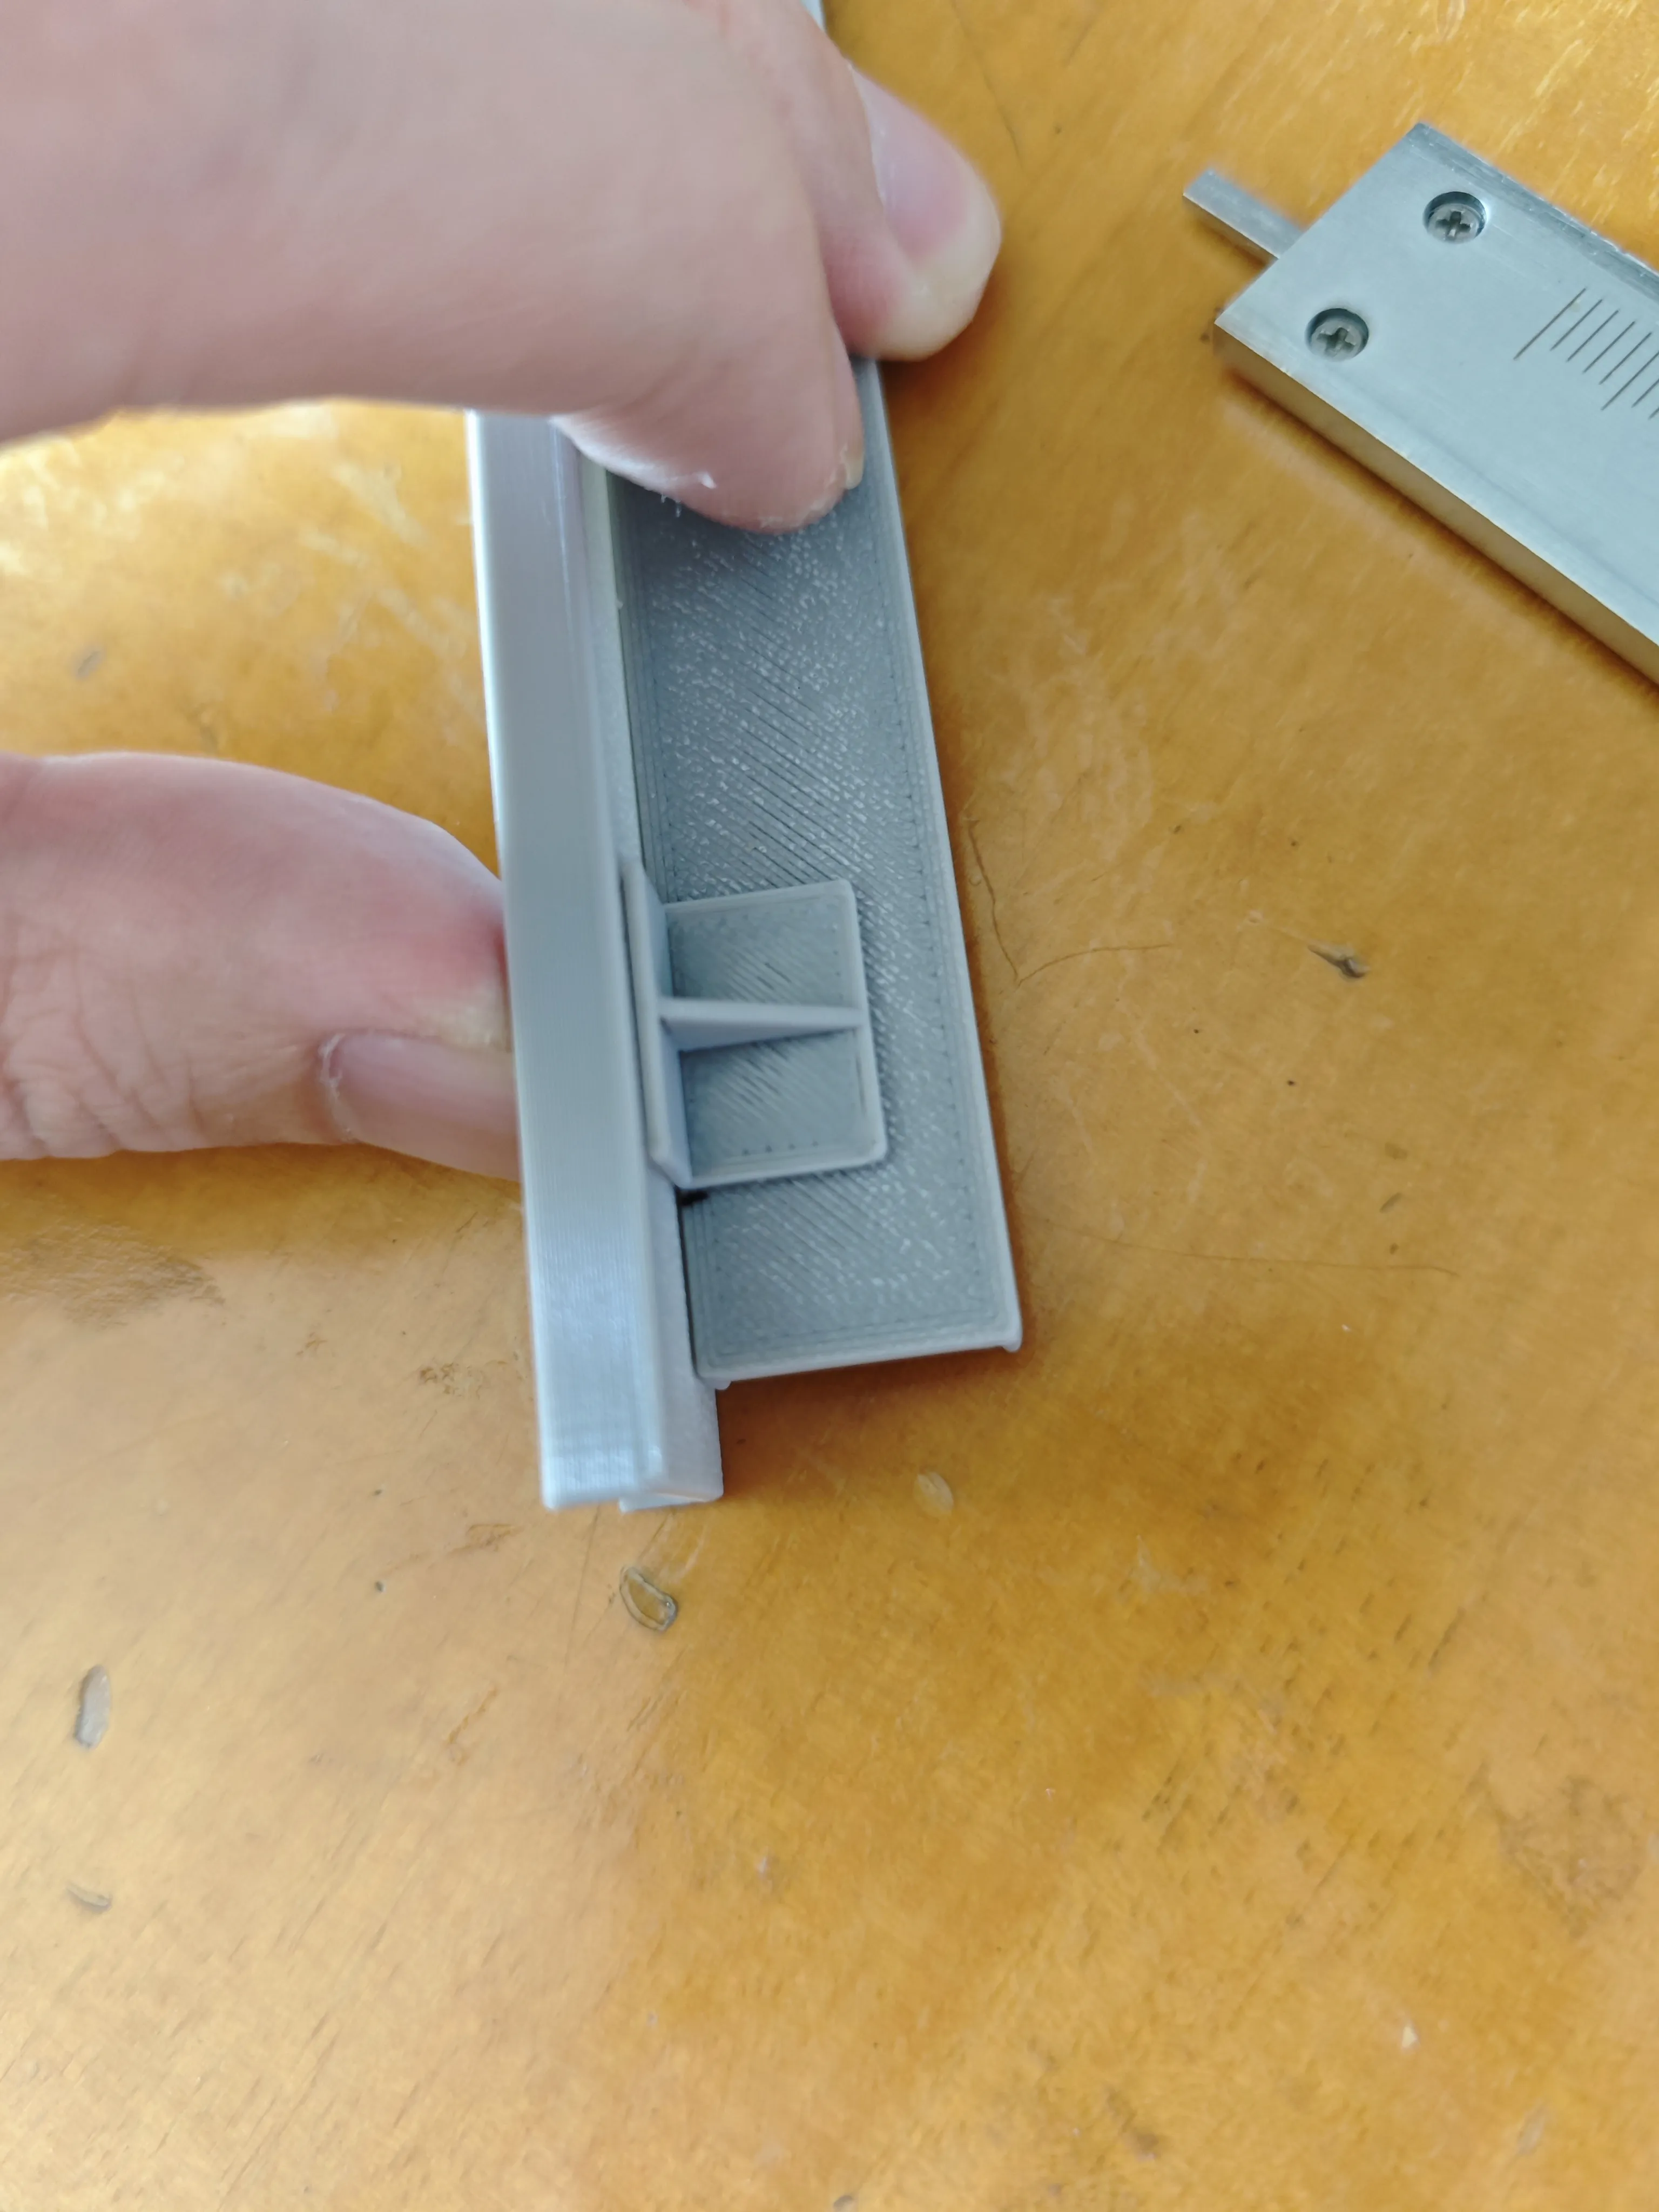
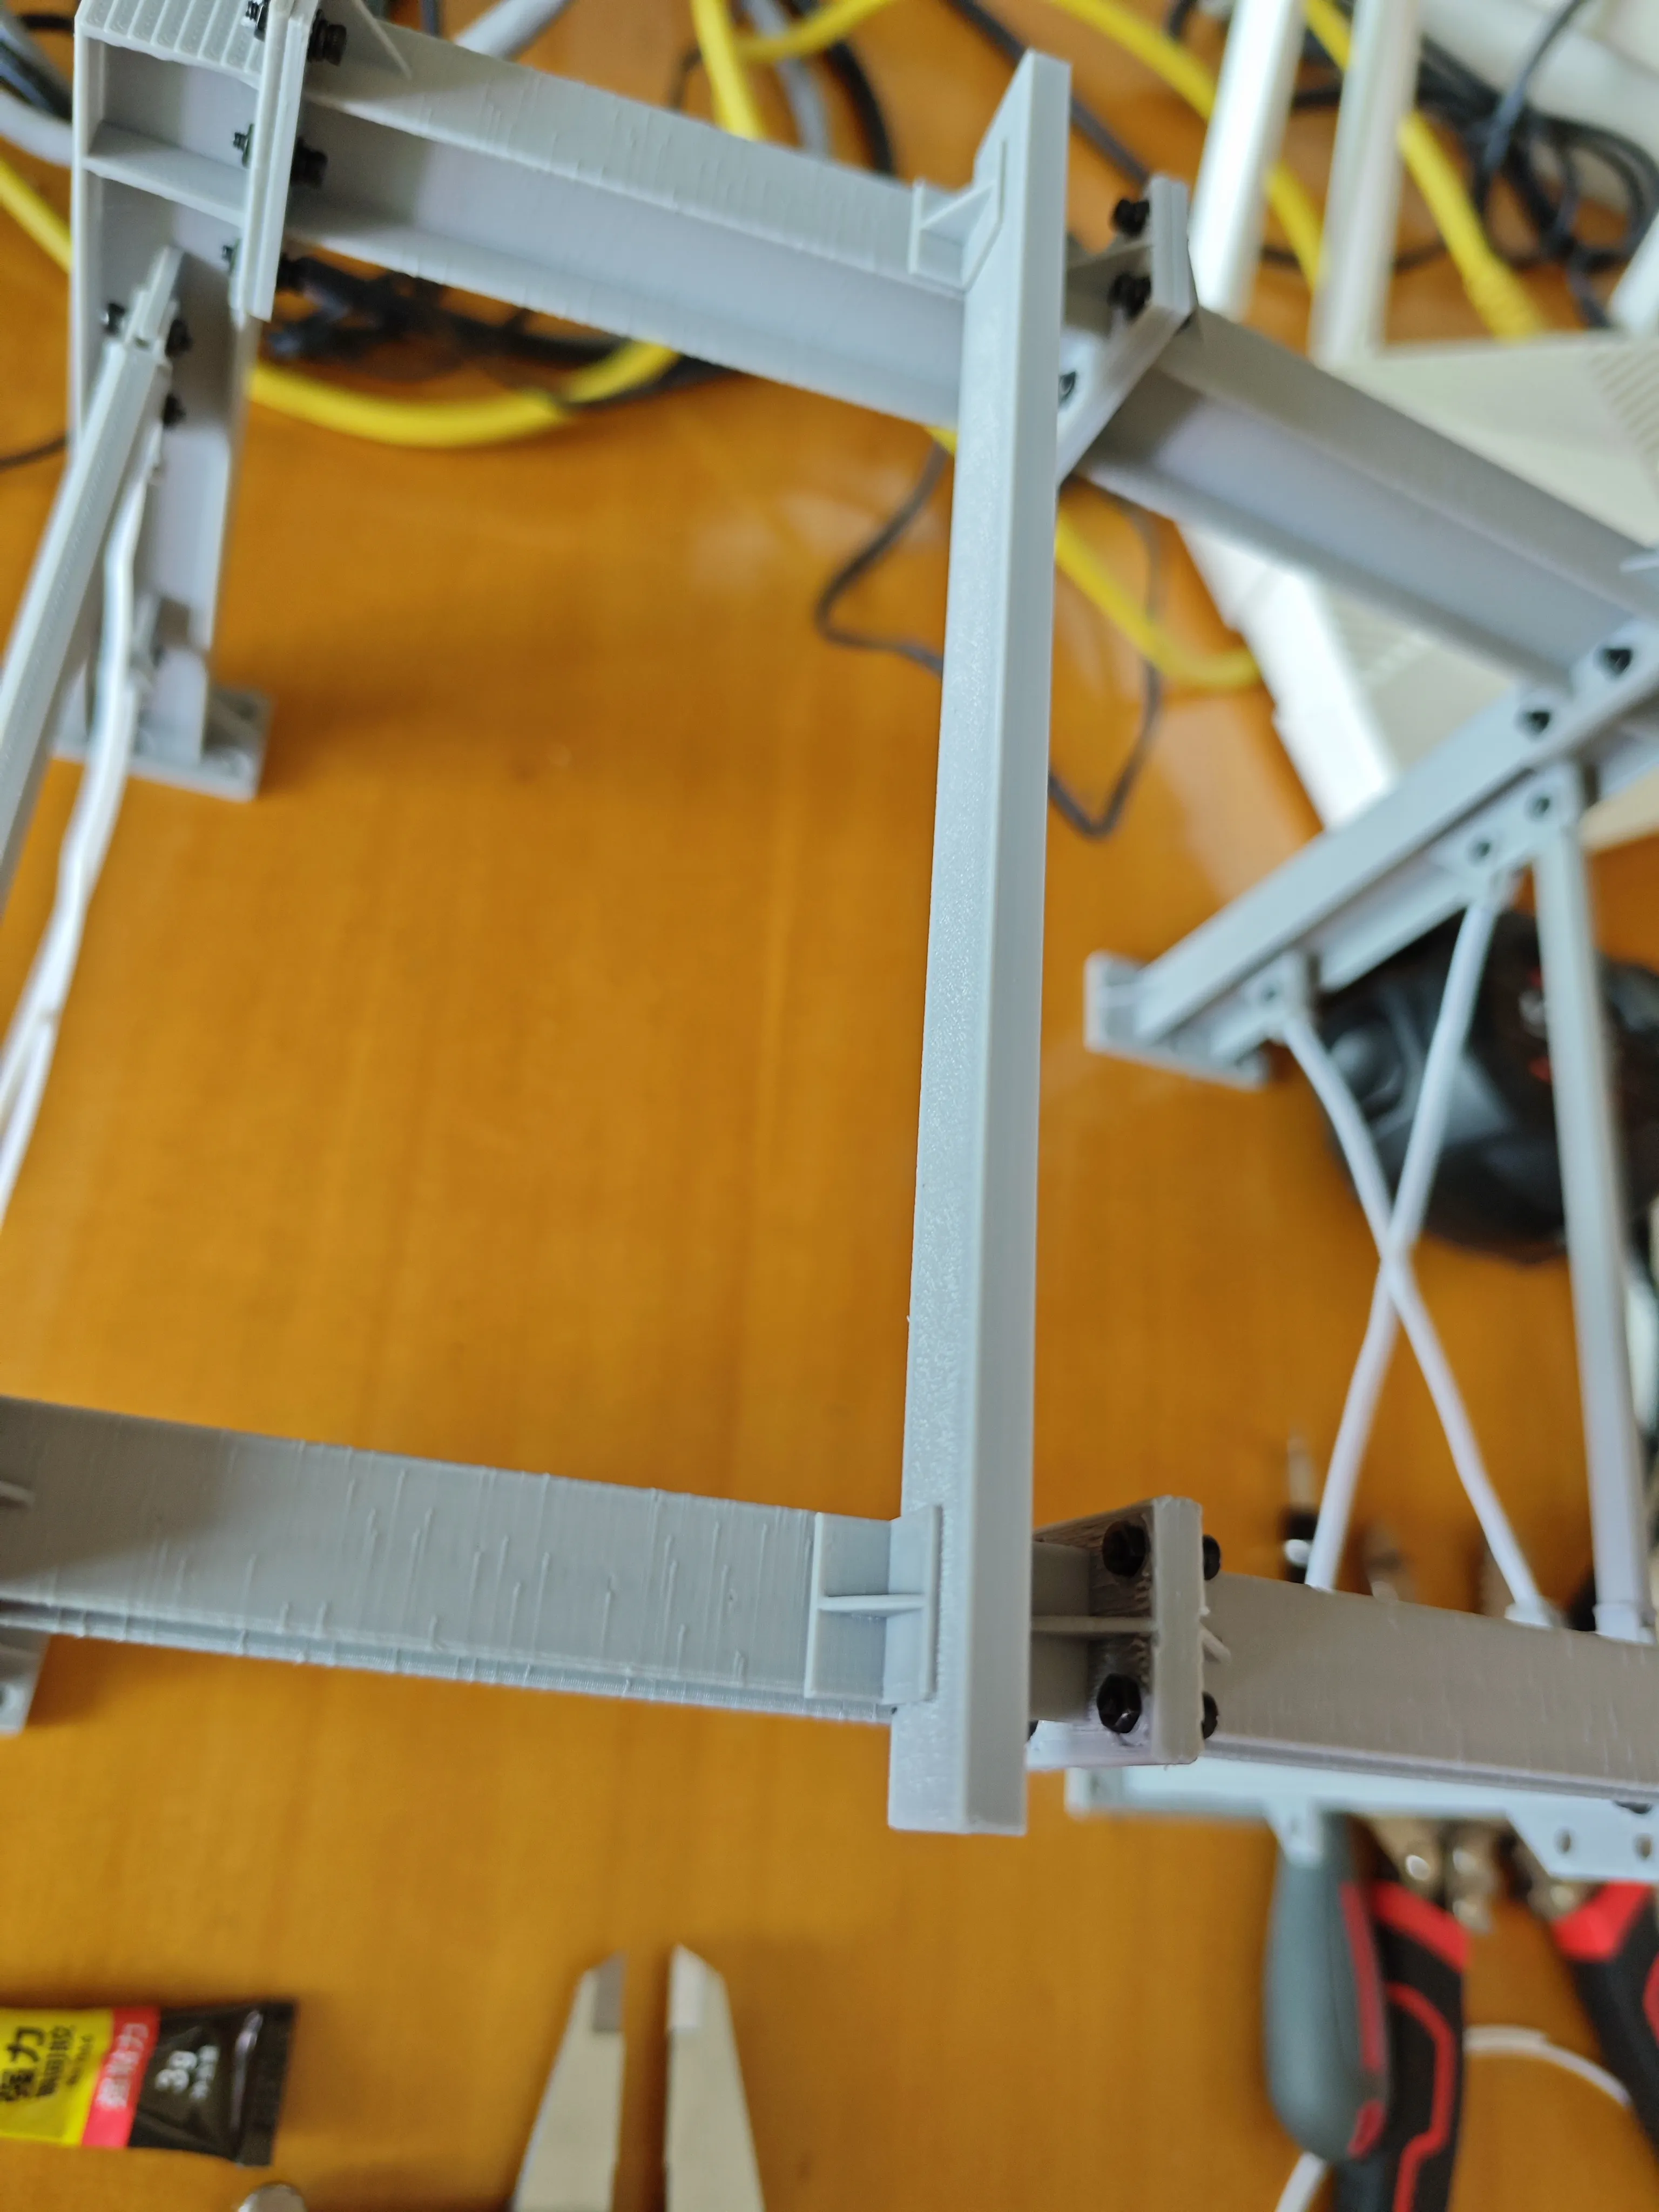
6 Install the roof panels (try to align to the center, leave a small gap in the middle of the ridge, after installing the two roof panels, install the roof flashing, I used double-sided tape for adhesion, you can also use 502 super glue directly)
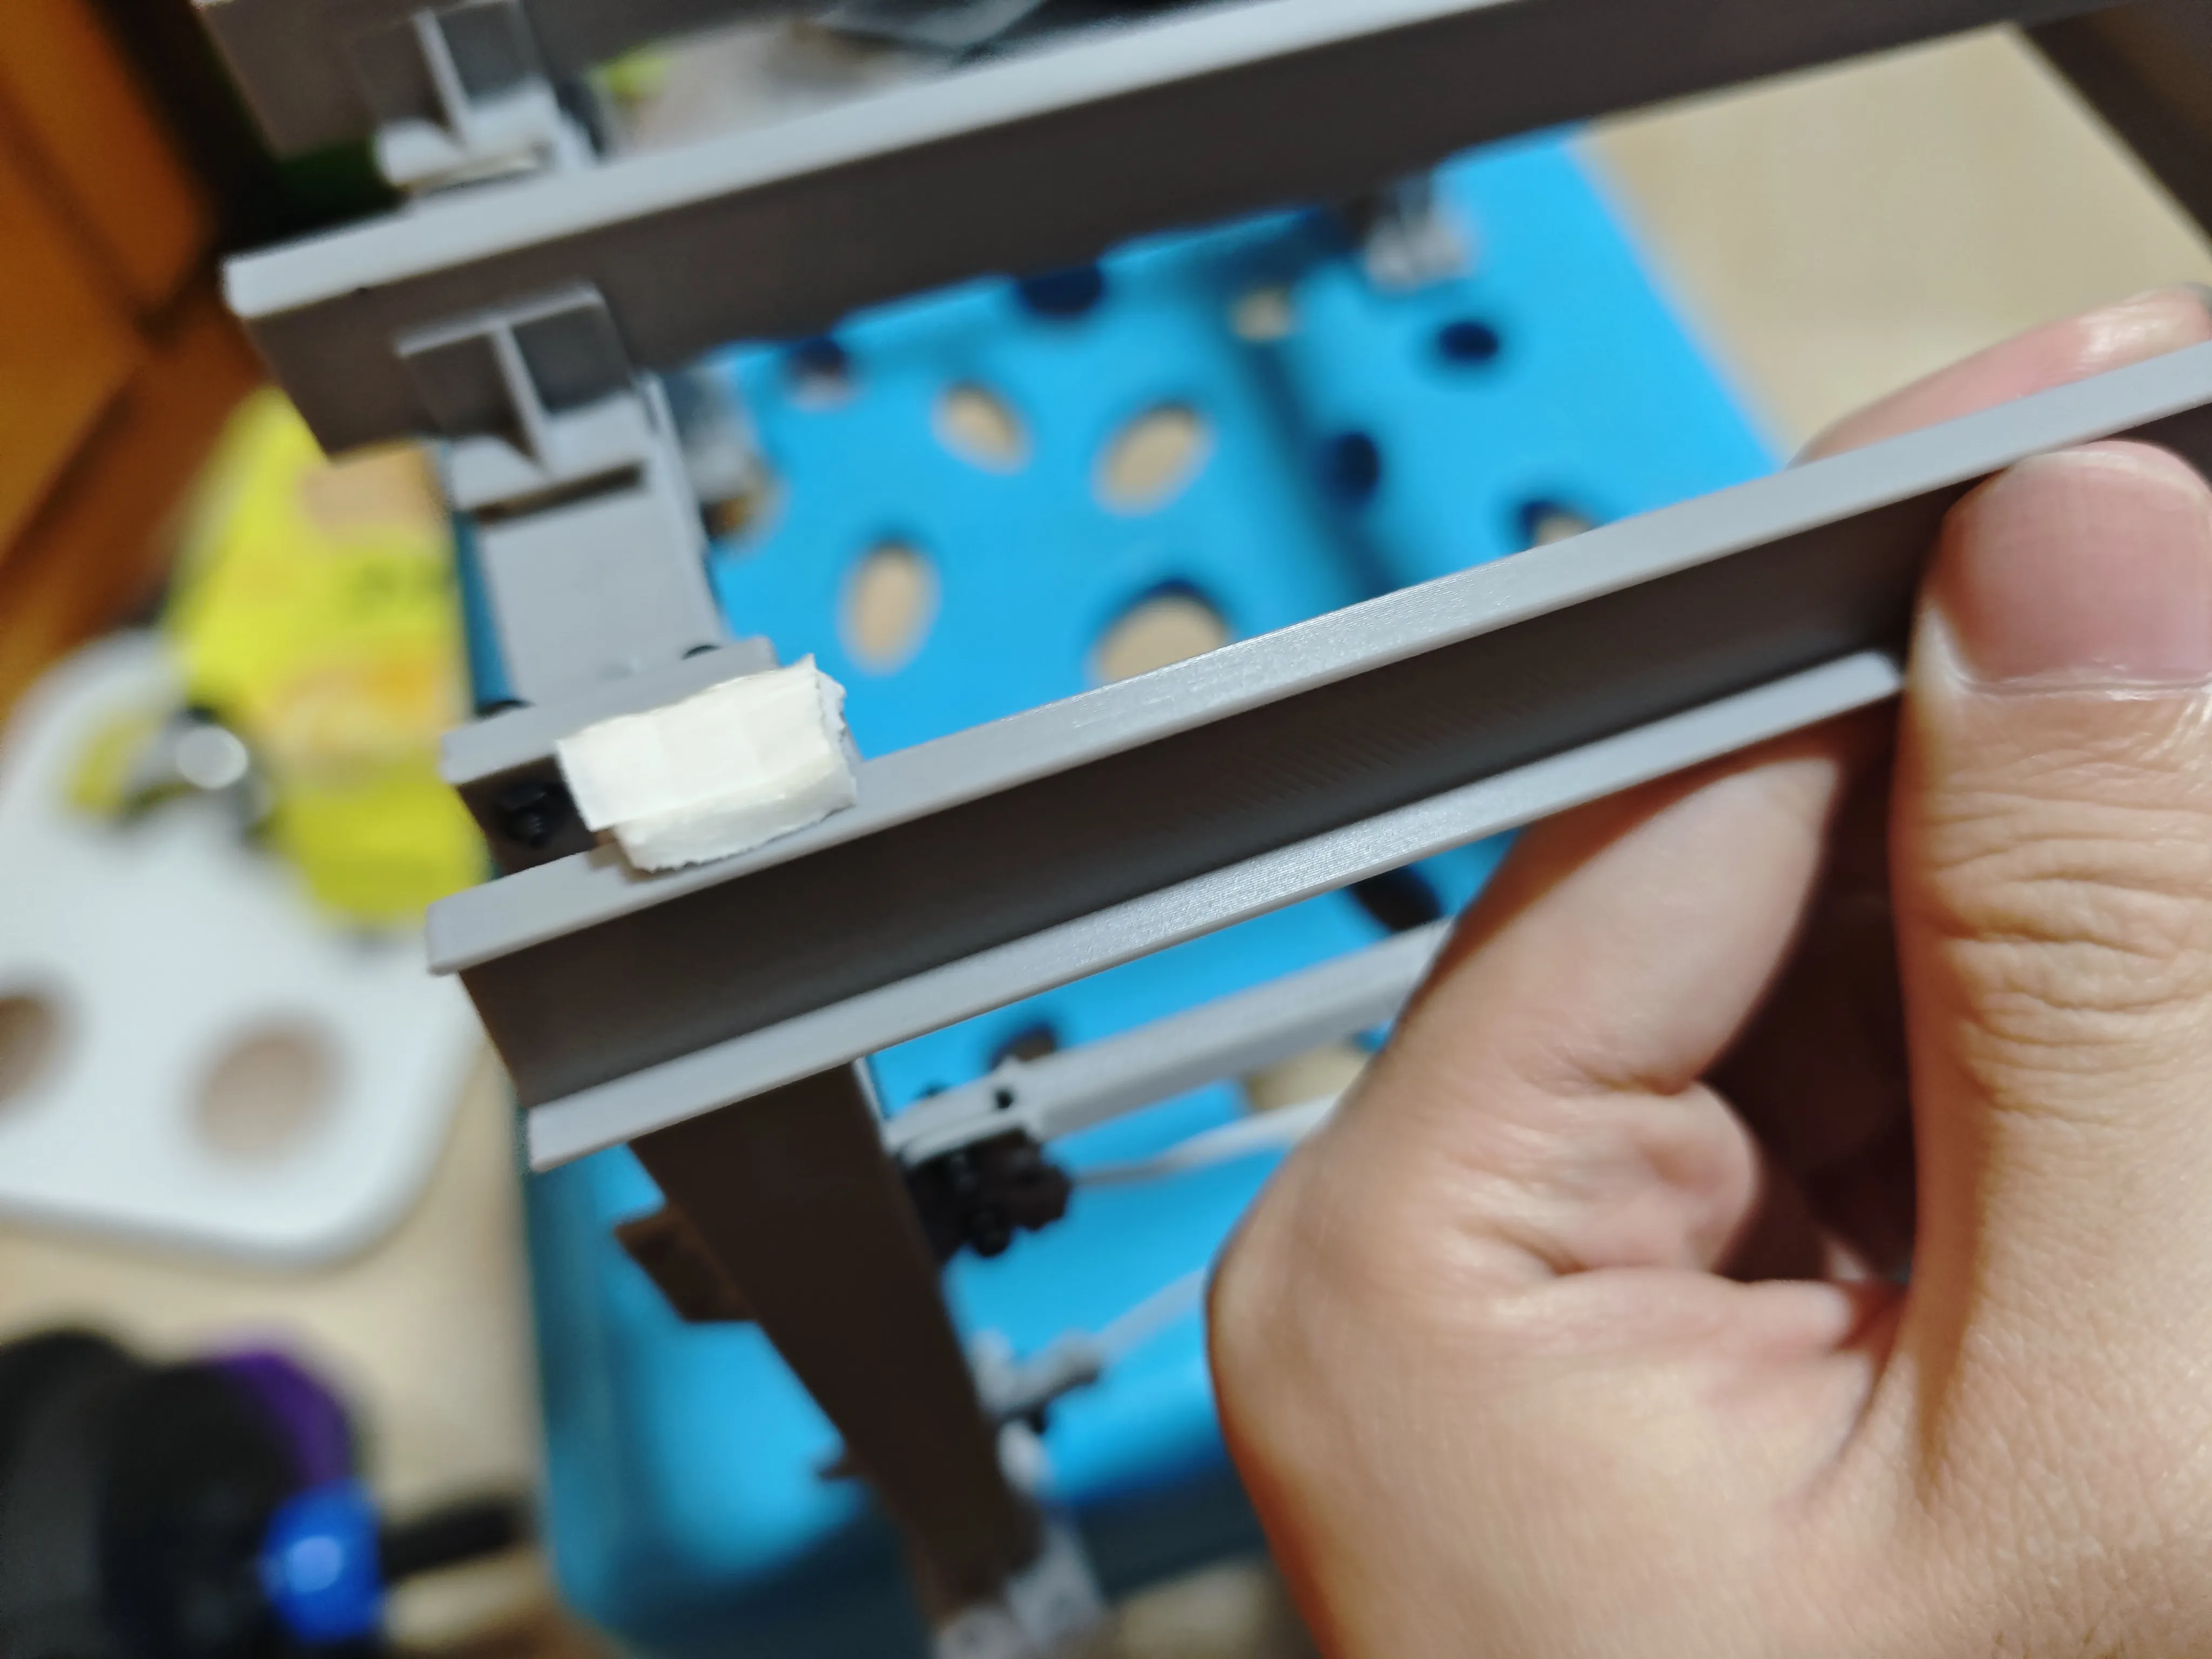
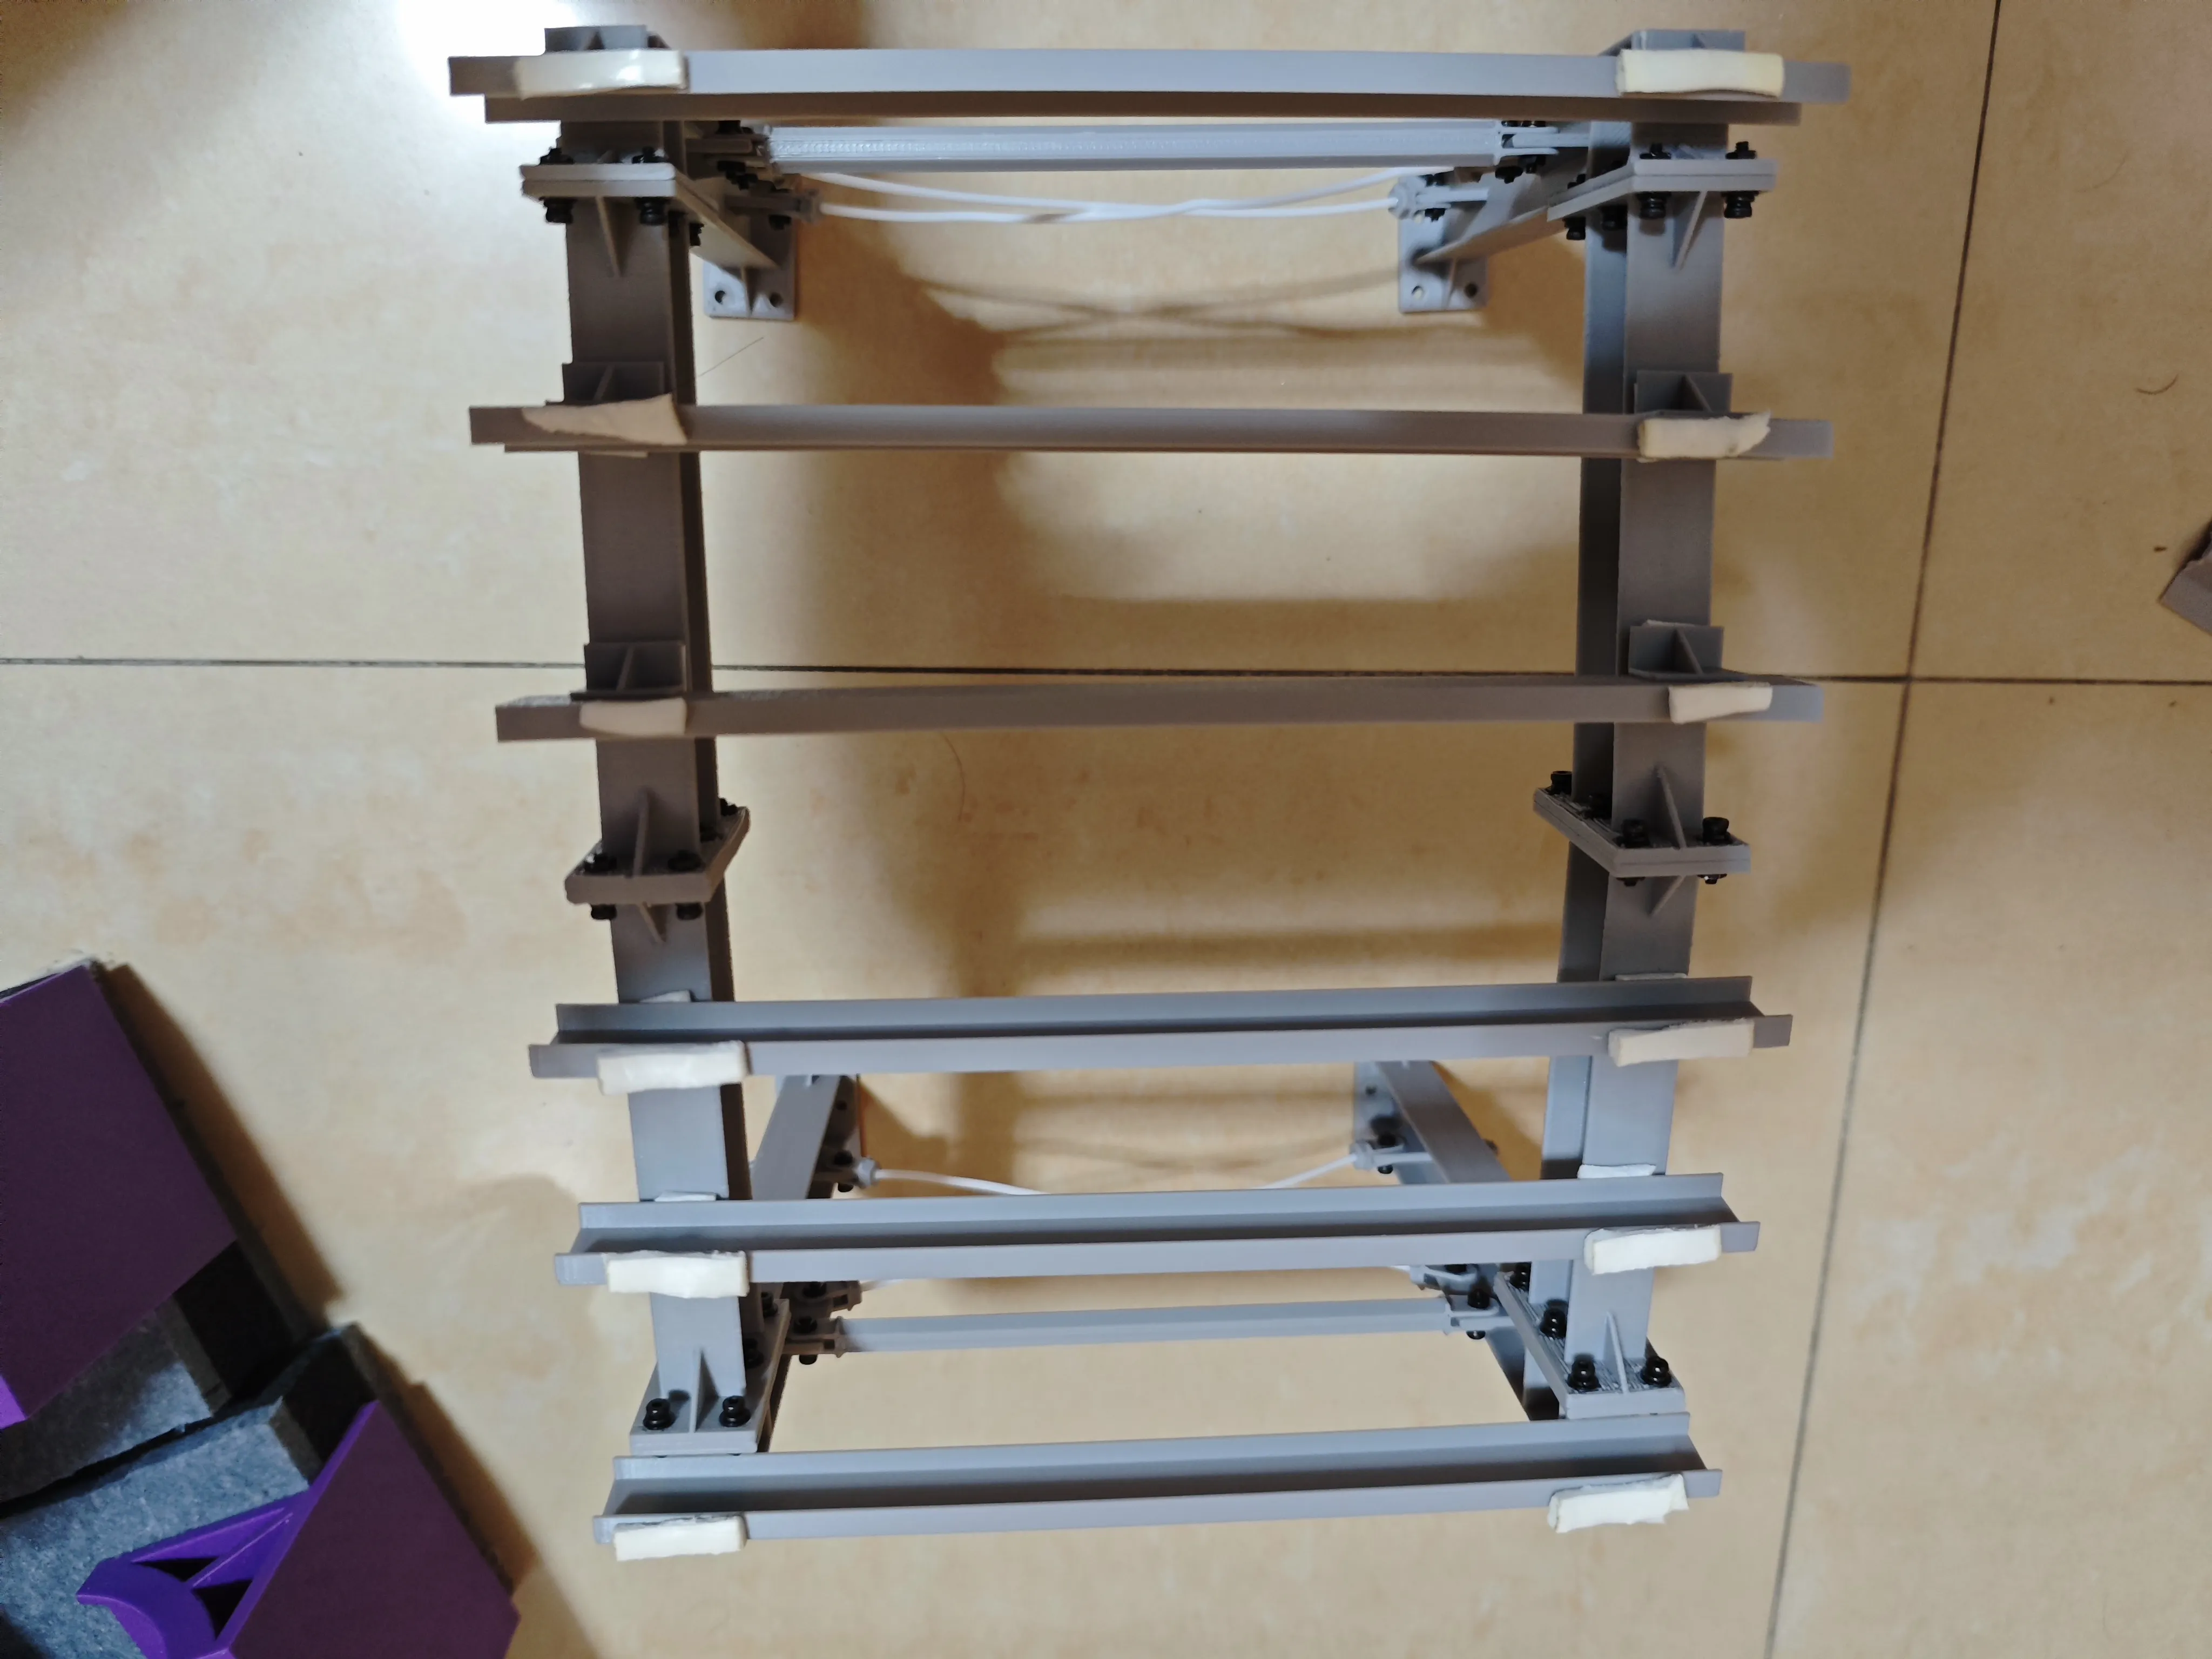
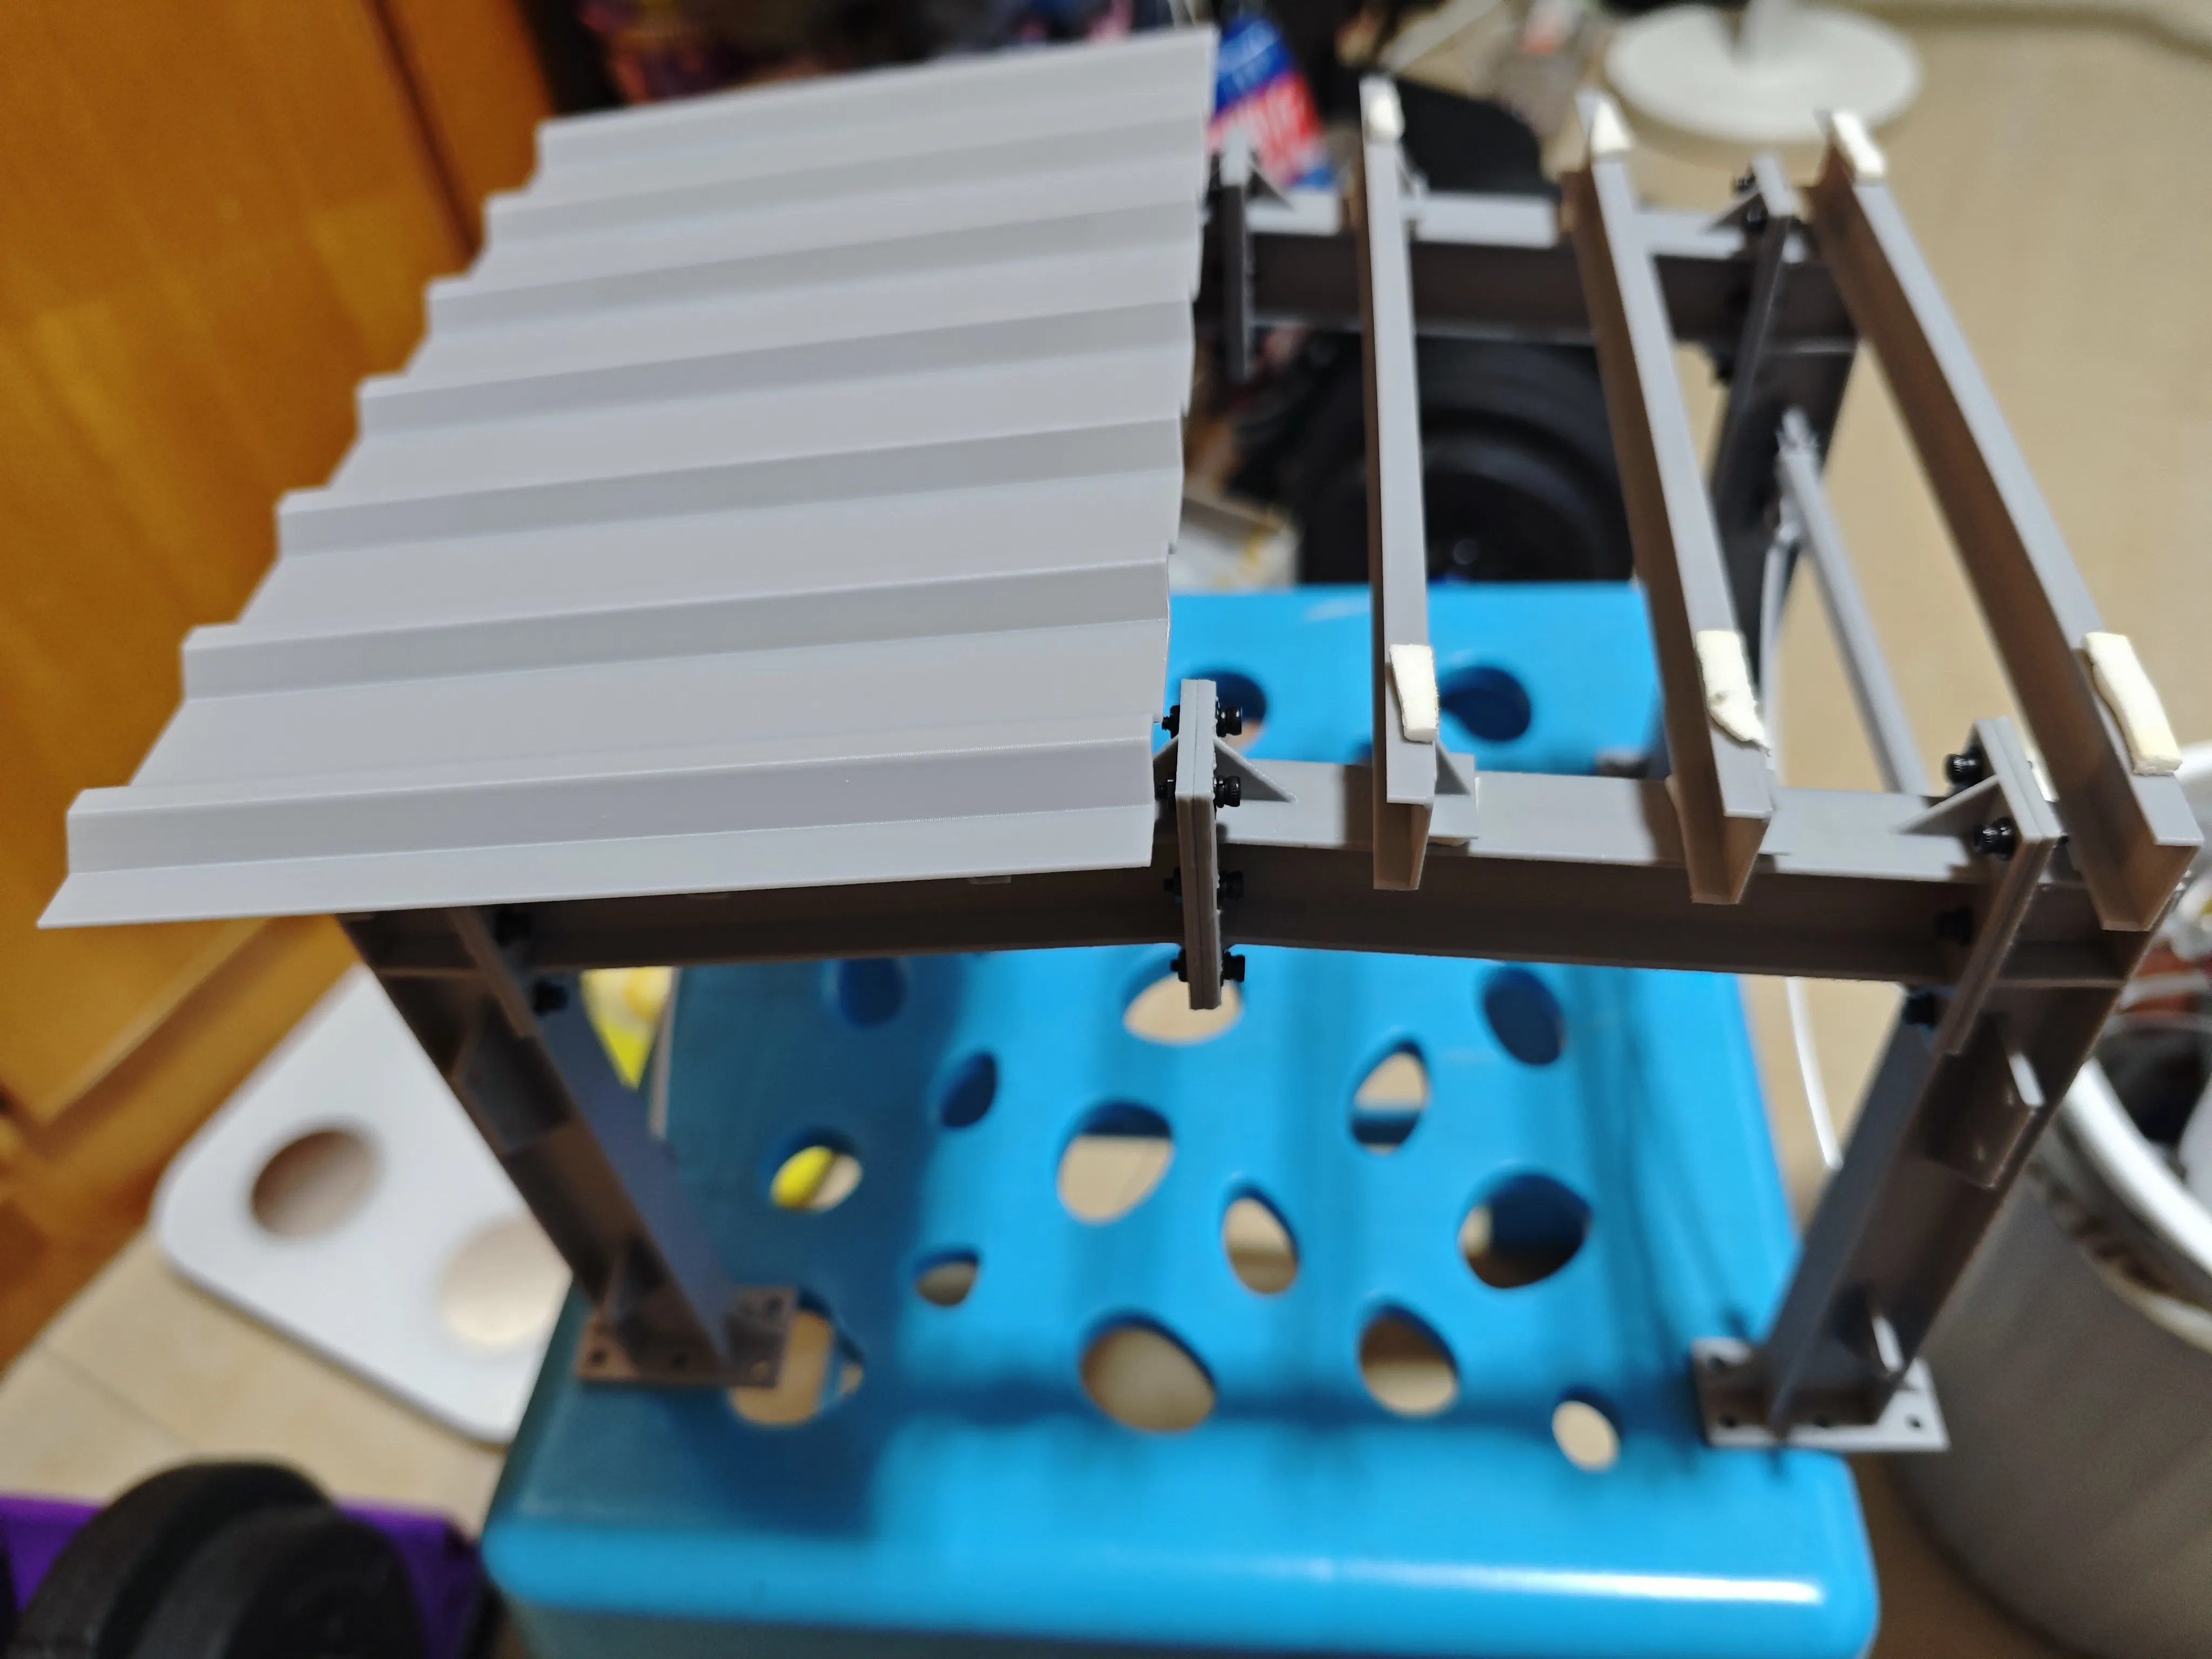
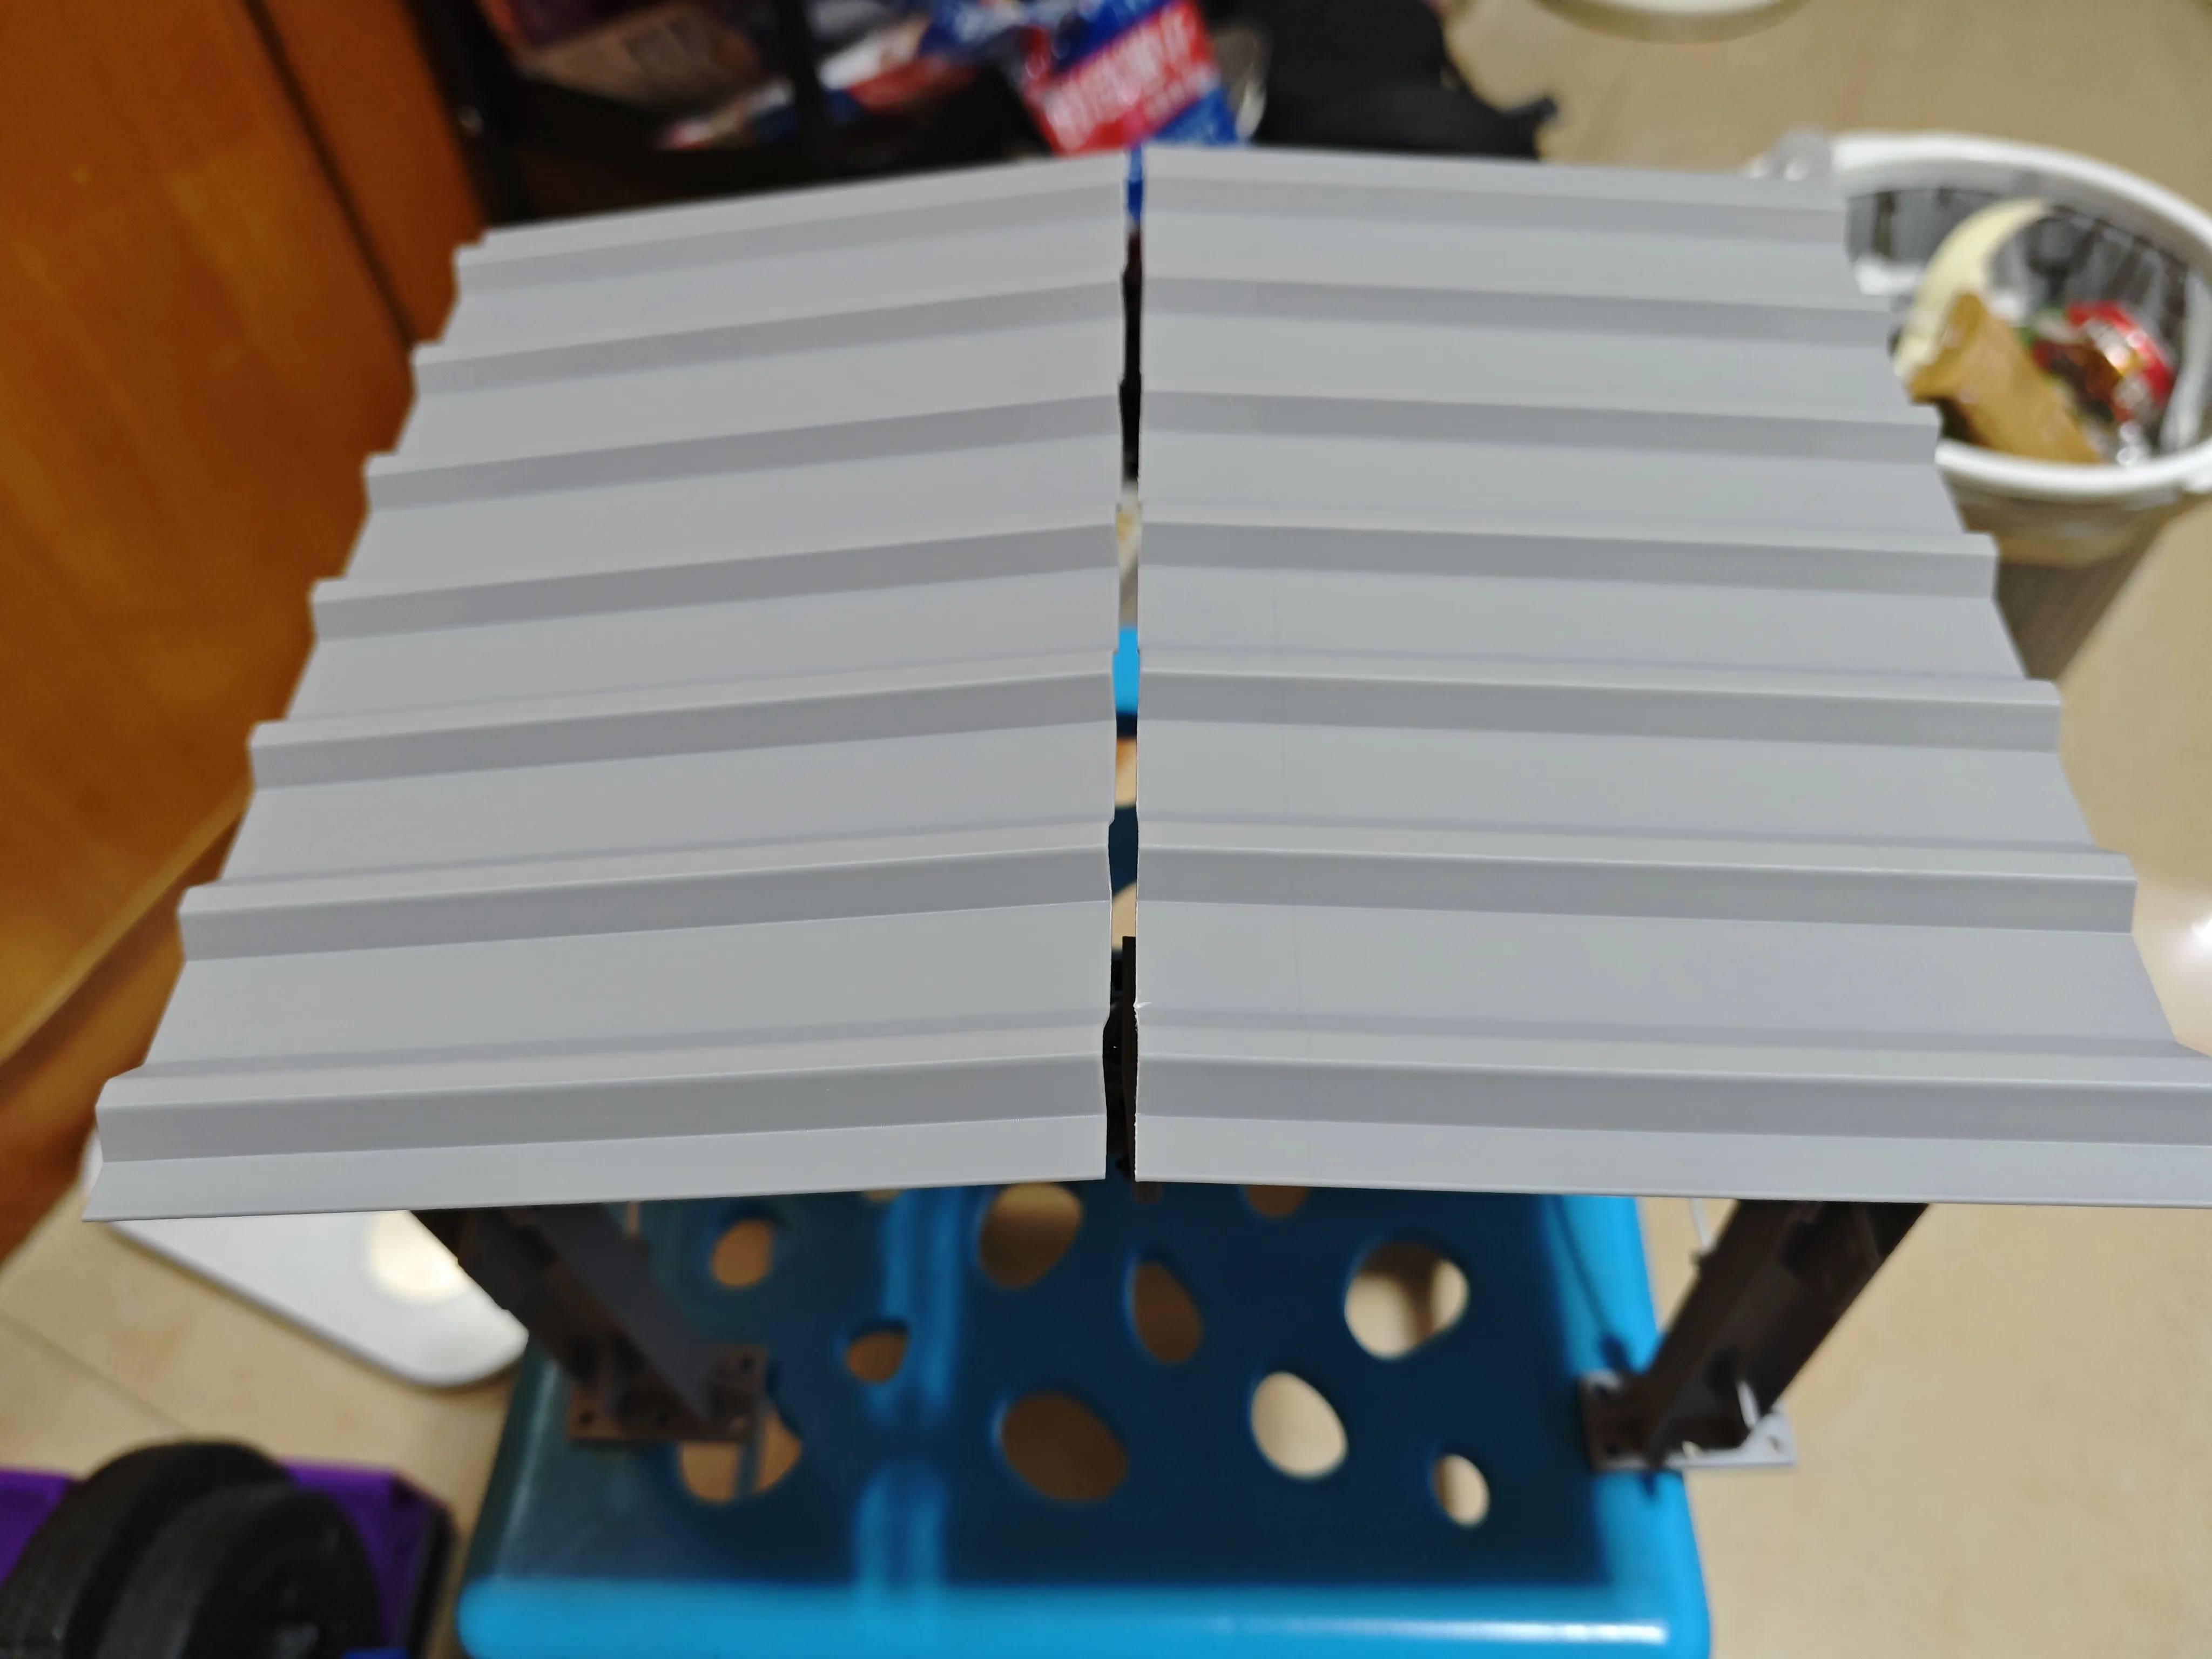
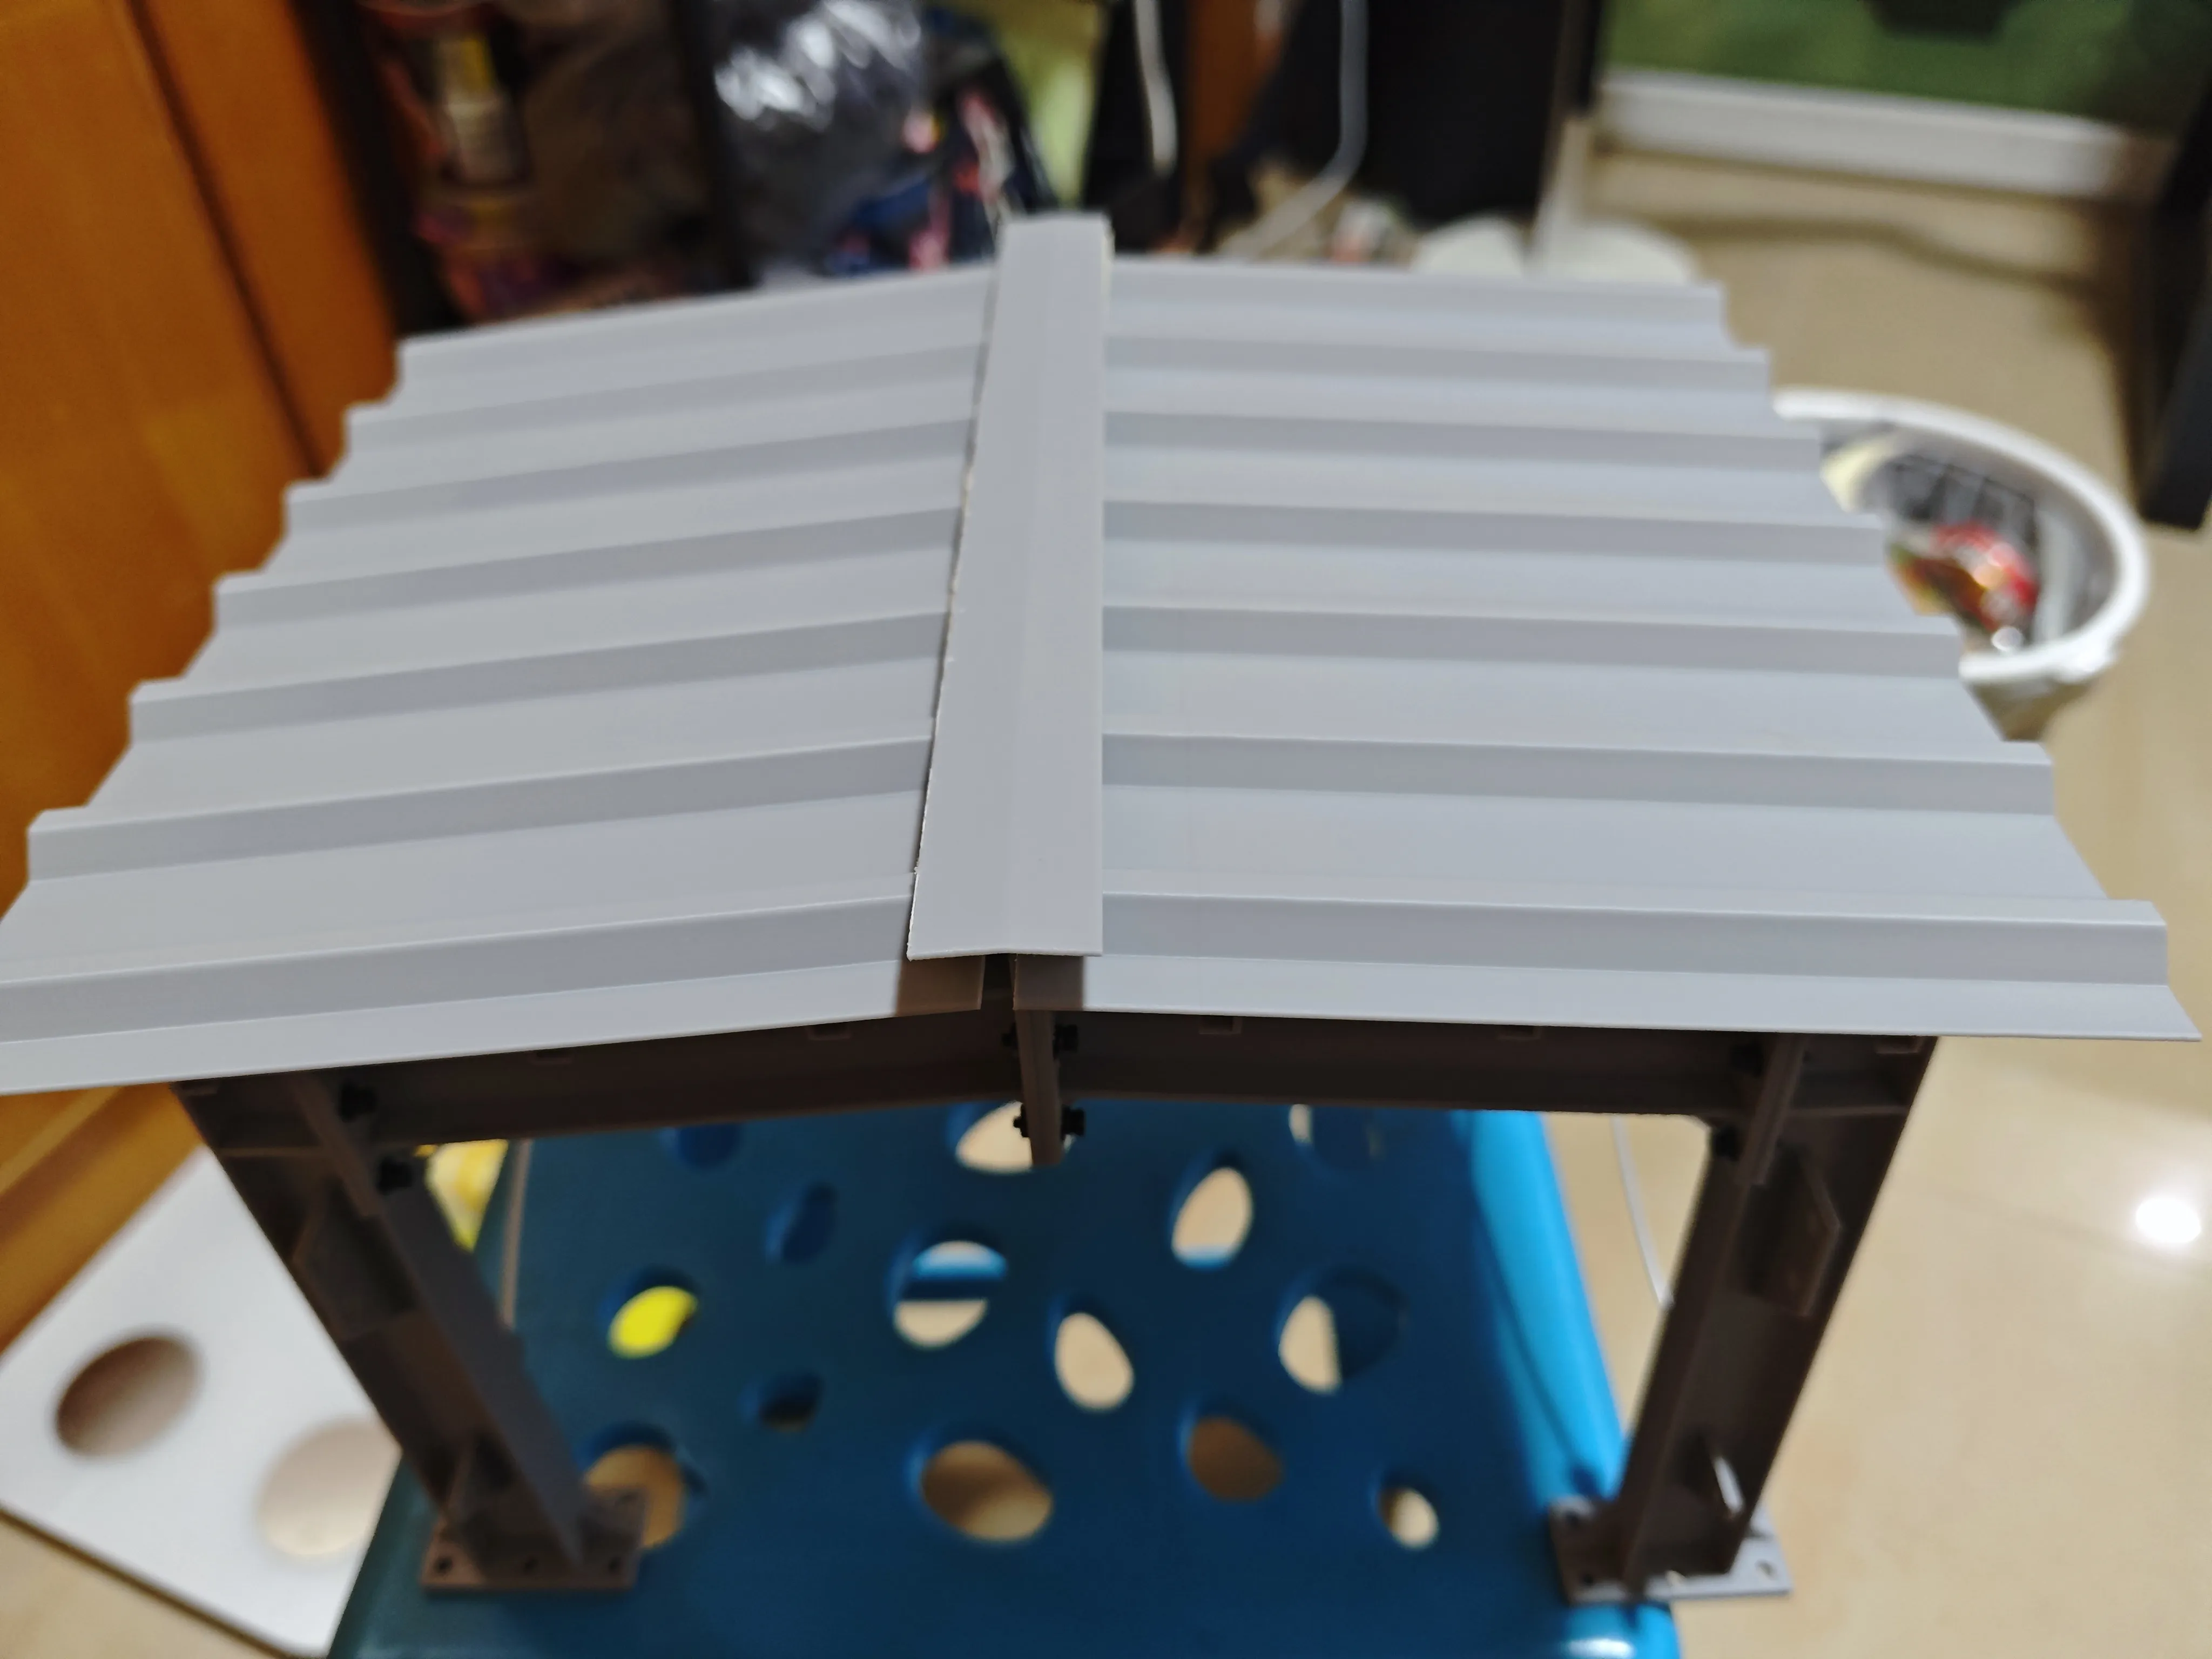
7 Complete the installation of purlins on the side walls, and the wall panels, as well as the flashing at the wall-roof junction (the general steps are similar to the roof, I ran out of material and didn't print them, so please make do with the model for now)
Documentation (1)
License

You shall not share, sub-license, sell, rent, host, transfer, or distribute in any way the digital or 3D printed versions of this object, nor any other derivative work of this object in its digital or physical format (including - but not limited to - remixes of this object, and hosting on other digital platforms). The objects may not be used without permission in any way whatsoever in which you charge money, or collect fees.


Comment & Rating (2)