Timor Perpetual Calendar


Print Profile(6)


Description
🚨UPDATE 03.26🚨
I’ve updated both profiles especially the one with the main body in a single piece. I’ve added more support to avoid failures as a user pointed out. The best way to print this “solo body” well is to use a PETG layer between the two main junctions as padding on my setup. I still recommend printing the main profile with the body split into three parts for a more precise result.
_____
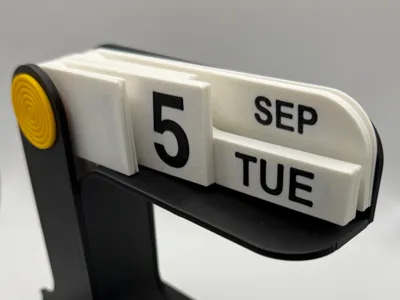
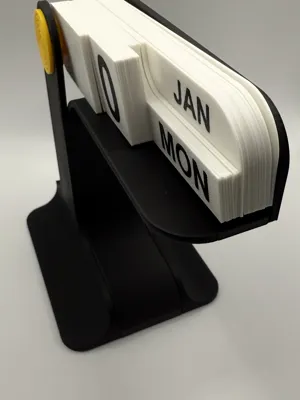
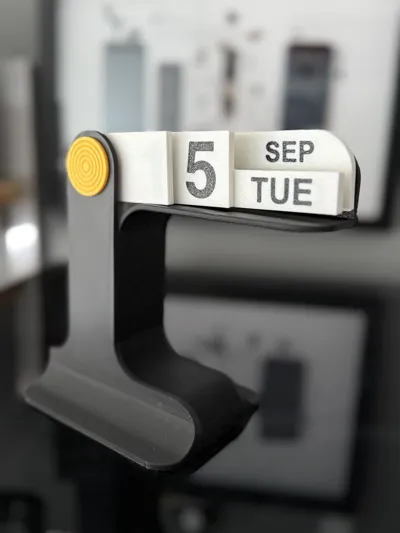
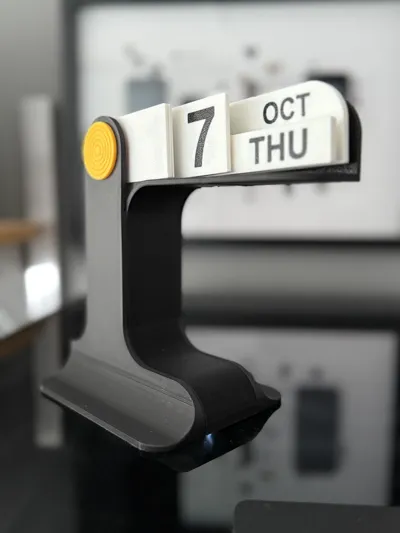
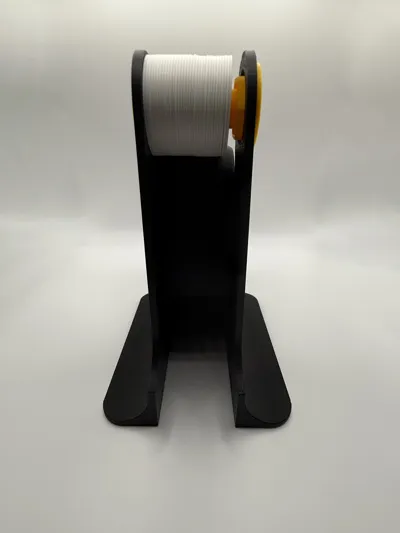
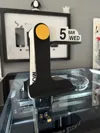
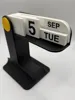
Designed in 1967 by Enzo Mari, the Timor table calendar is a classic desk accessory that has been included in the permanent collections of the Museum of Modern Art and the Cooper Hewitt, Smithsonian Design Museum. The Timor calendar showcases Mari's typical combination of simplicity of form with an element of wit and surprise.
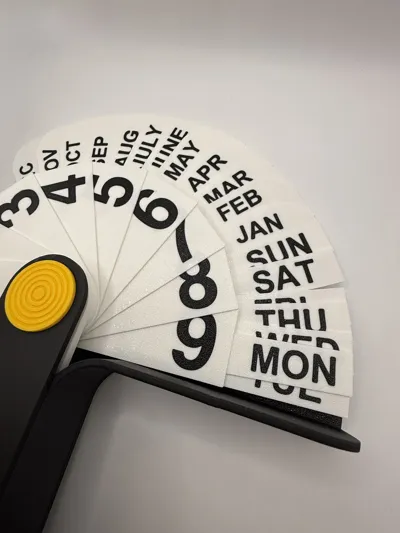
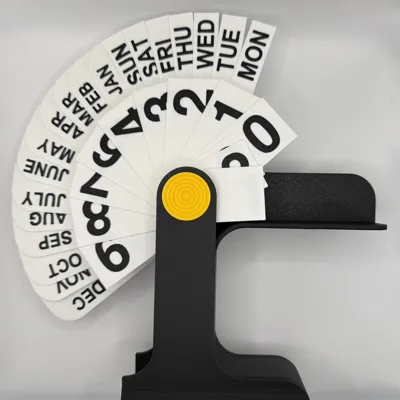
The calendars concept was originally inspired by railway signage. The design was further refined by the functional need to press the base in a single piece, thereby ensuring its stability. A series of cards indicating the month, date and day of the week can be rotated around a pin to represent the correct date.
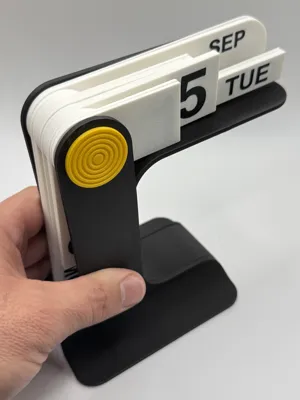
Now you can print your own version thanks to my design! I chose to give this to the community for free because I love the design. I printed the final prototype with my H2D printer without any issues.
I used PLA Basic White and PLA Matte Black for all the cards and PETG Black for the main body. The calendar has a screw that locks it. You can choose between a solution with a thread and one without.
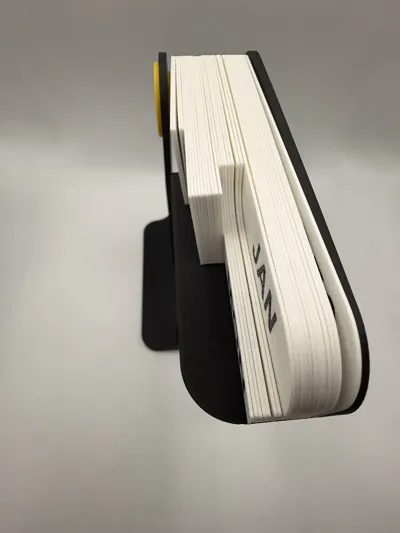
You can print the main body in one piece, or choose to print three separate pieces and glue them together later.
NOTES
- includes bambu studio 3mf files
- all photos uploaded are of the actual printed model, and are copyright protected
- if you enjoy this model please consider to buy me a coffee
- commercial licence membership available through the link below or on my patreon

Design specs


As you can see, I’ve added some details to ensure you have two solutions for connecting the two bodies: one option is to use fillet welds (with the corresponding tube) if you’re fancy.


Also, see how I create the “guide” to slide in the three bodies. You still need glue to put them together, but this helps a lot.


License
You shall not share, sub-license, sell, rent, host, transfer, or distribute in any way the digital or 3D printed versions of this object, nor any other derivative work of this object in its digital or physical format (including - but not limited to - remixes of this object, and hosting on other digital platforms). The objects may not be used without permission in any way whatsoever in which you charge money, or collect fees.
Comment & Rating (41)