


Print Profile(3)


Description
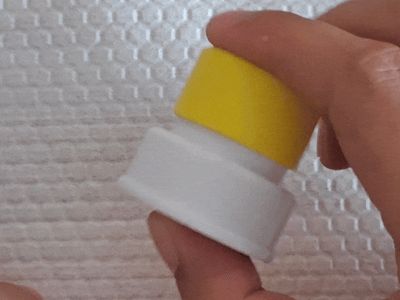
This stamp precisely positions and orients your imprint and features integrated ink storage, offering comprehensive functionality as a 3D-printed seal.
You can also generate your desired custom stamp dimensions via the MakerWorld web interface's customize button.

Preparation
- Dye: Ink or ballpoint pen ink; ink pads are recommended.
- Non-woven fabric: Disposable kitchen paper towels or wipes for dye storage.
- Support removal tools, such as a sprue cutter.
Printing
- The spring already has pre-built supports; exercise caution during removal; PETG printing is preferable; I haven't tested PLA.
- PLA printing may yield a smoother stamp surface; sand lightly if needed.
- For customization, adjust print settings according to the provided configuration, primarily wall and support settings, for optimal results.
Assembly
Main Body Assembly

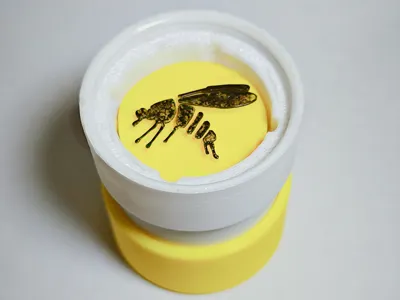
Dye Storage
Cut the non-woven fabric to size, insert into the lid, secure with the printed ring, and add dye.

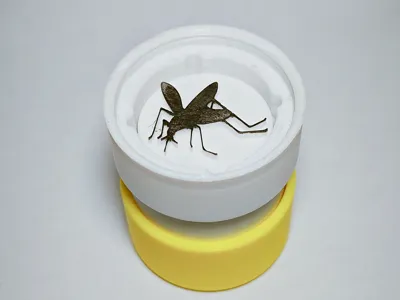
Customizing the Stamp Face
I initially intended to create a tool for customizing the stamp face but discovered readily available, well-developed projects; simple assembly using Bambu Studio suffices. I will consider developing a unique solution if inspiration strikes. Here's how to proceed.
SVG Method
1. Right-click the stamp model and import the SVG.

2. Adjust the pattern's height and dimensions.

3. Select the pattern and adjust its position (x0, y0 centers the pattern on the stamp).

Model (STL, STEP) Method
In the provided configuration, the stamp face measures 23.2; adjust accordingly when creating your model; customizing stamp size follows the same principle.
When using other projects, extract only the raised stamp portion; a concise cutting tutorial is provided at the end of this document.
1. Right-click the stamp and select import model.

2. Adjust the imported model's size and position.


Stamp Face Extraction
MakerWorld offers numerous sophisticated stamp generators; use Bambu Studio's slicing function to extract the stamp face and import it via model import.
1. Create a new project and import the generated stamp into Bambu Studio.
2. Select the model, use the slicing function, adjust the slicing height to separate the face, and click slice.

3. You will obtain two models; right-click to export the stamp face as an STL and import it onto the stamp.
License
You shall not share, sub-license, sell, rent, host, transfer, or distribute in any way the digital or 3D printed versions of this object, nor any other derivative work of this object in its digital or physical format (including - but not limited to - remixes of this object, and hosting on other digital platforms). The objects may not be used without permission in any way whatsoever in which you charge money, or collect fees.
Comment & Rating (4)