
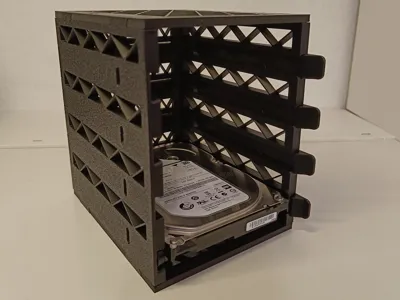
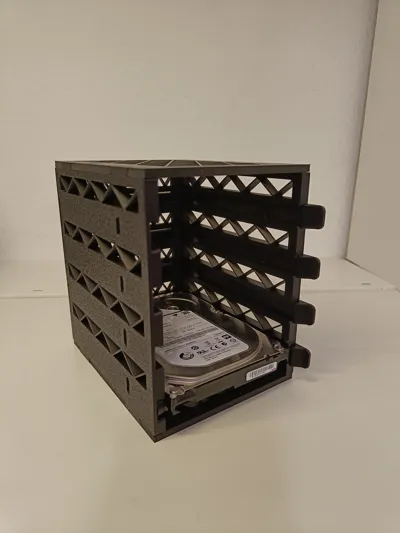
4 Bay HDD-Cage 3.5" with Backplane, JBOD enclosure
Print Profile(1)

Bill of Materials


- SATA Male To Female Power Data Converter 22Pin 7+15 x 4: https://www.aliexpress.com/item/1005007461202952.html?spm=a2g0o.order_list.order_list_main.17.76bd1802ghbLXv
- 3.5-inch HDD Shock Absorption Screws x 16: https://de.aliexpress.com/item/1005007980744204.html?spm=a2g0o.order_list.order_list_main.29.76bd1802ghbLXv
Description
Update 2025-10-22: Added the .step files for both versions. You can edit them to add custom mounting points etc. Please only use these for personal adjustments and don't share or sell them.
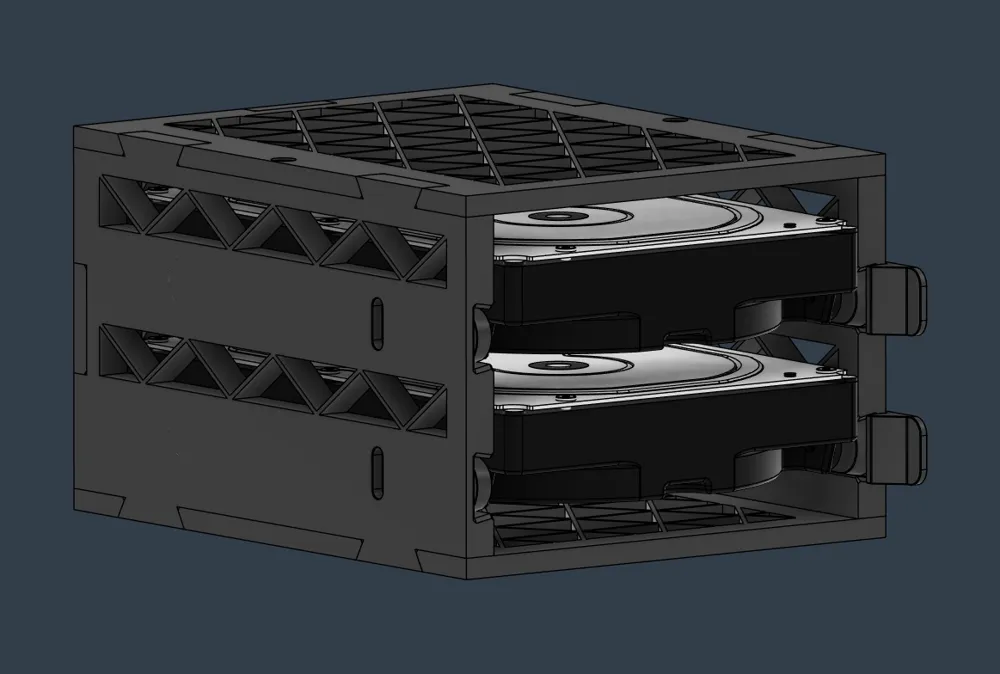
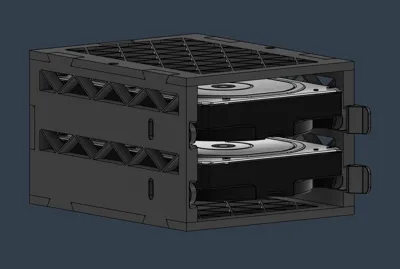
Update 2025-10-19: Added a 2 Bay Version. Print the plates for the version you want. Only the sides and back change. Every other part is identical between versions.
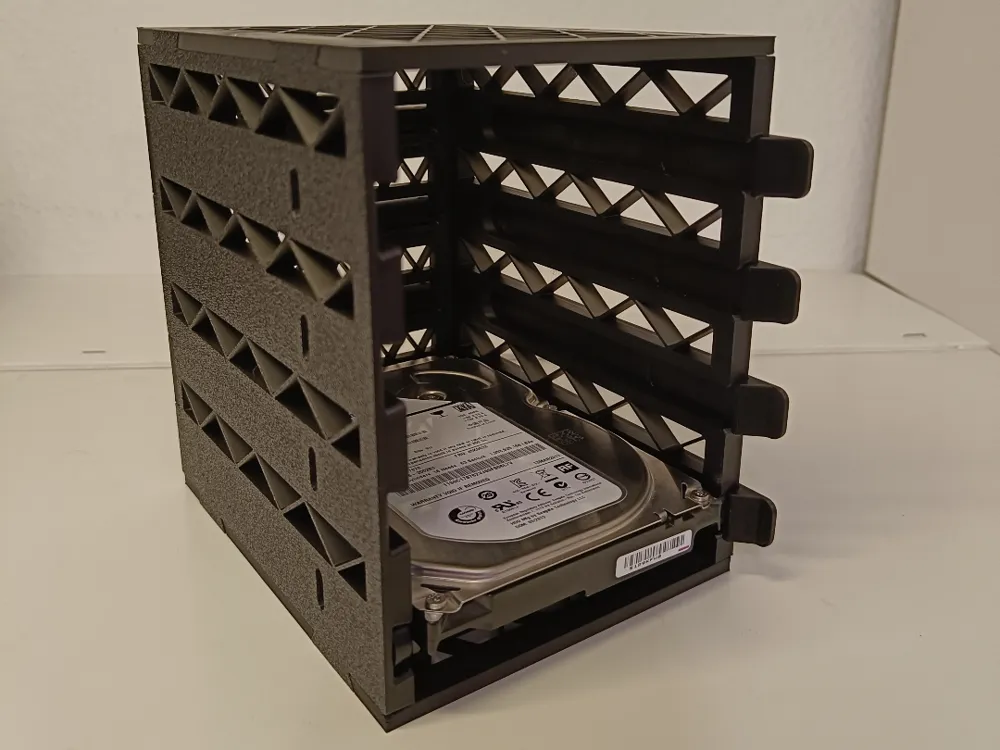
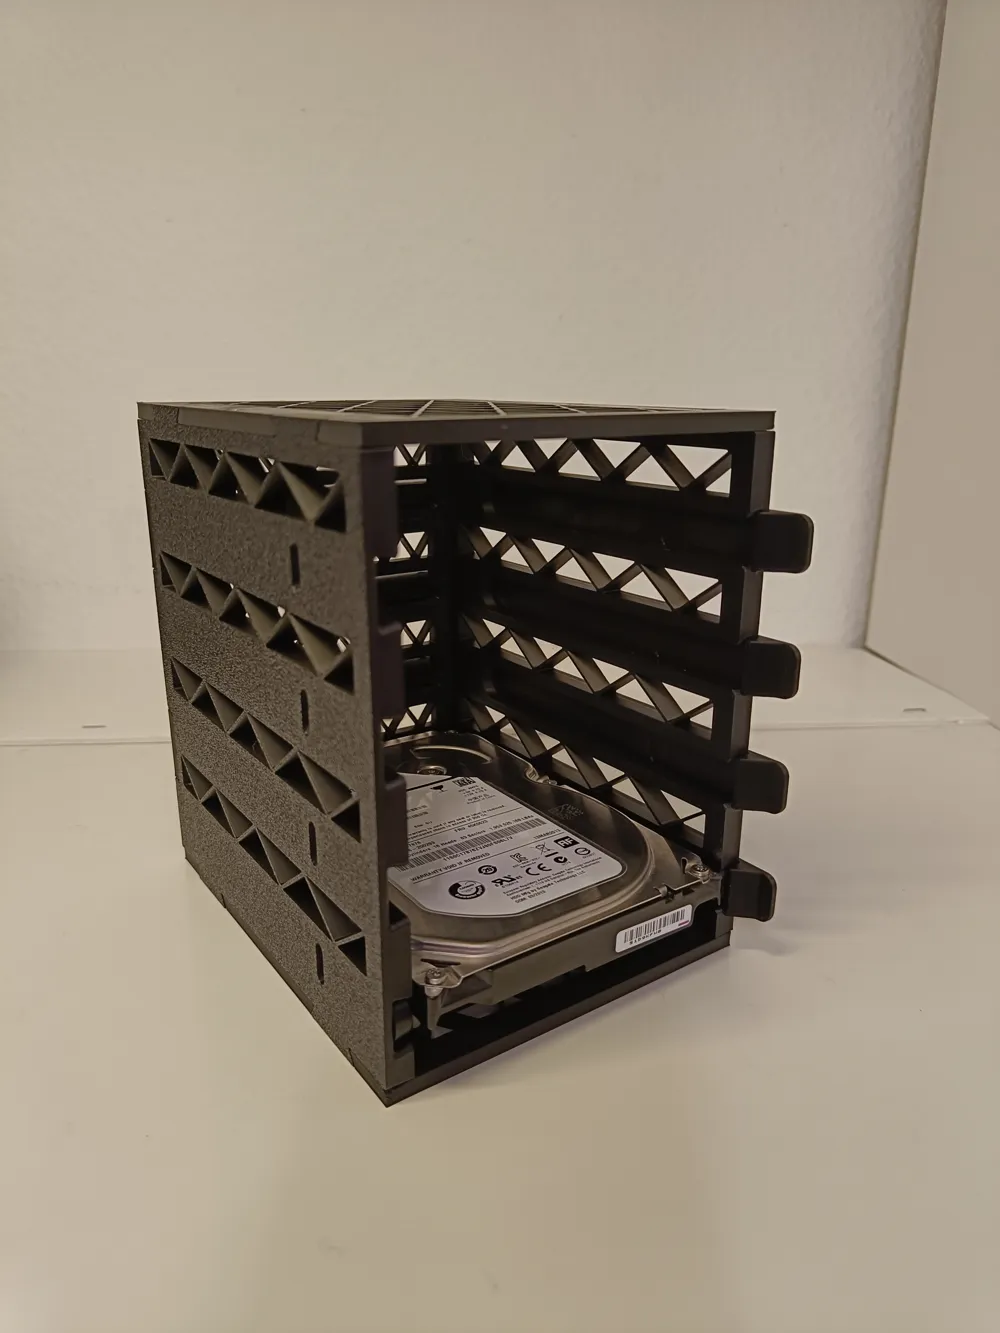
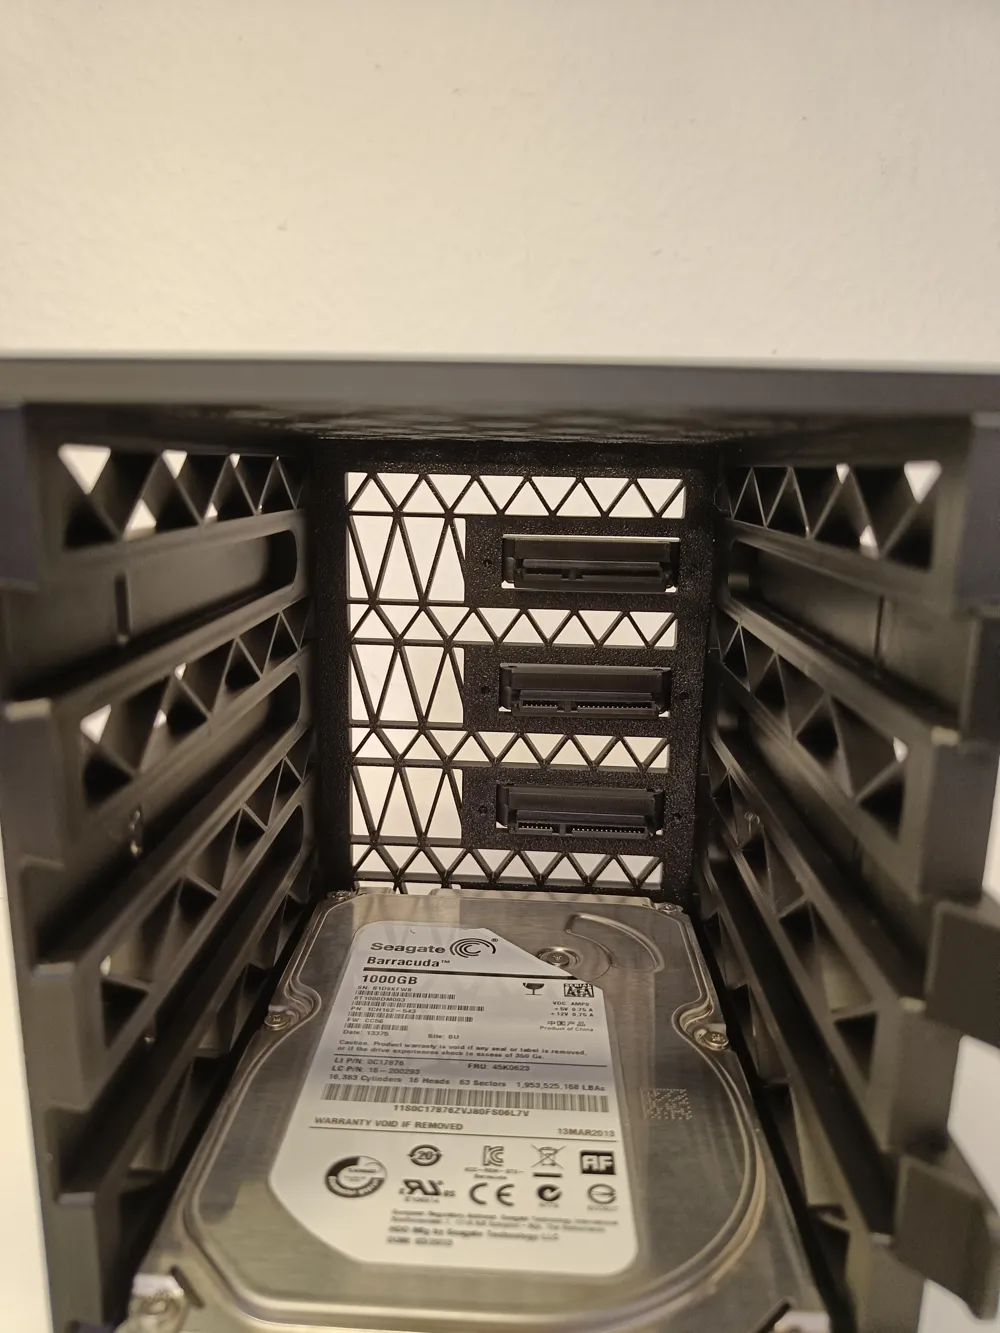
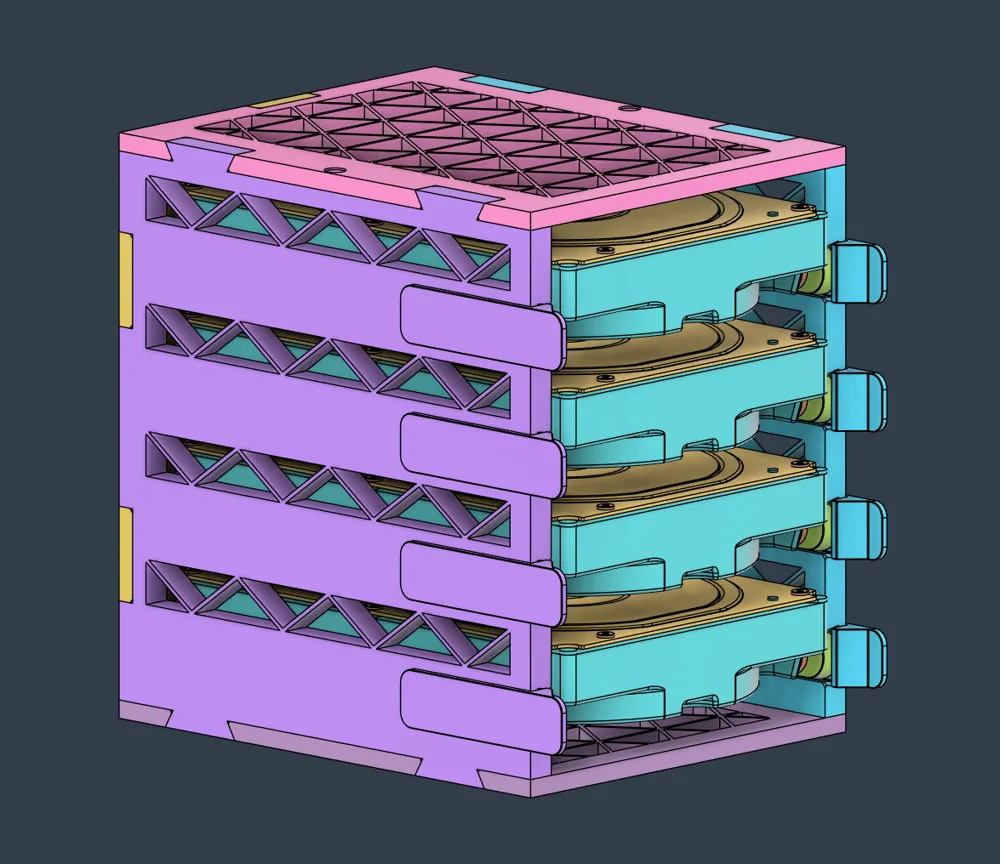
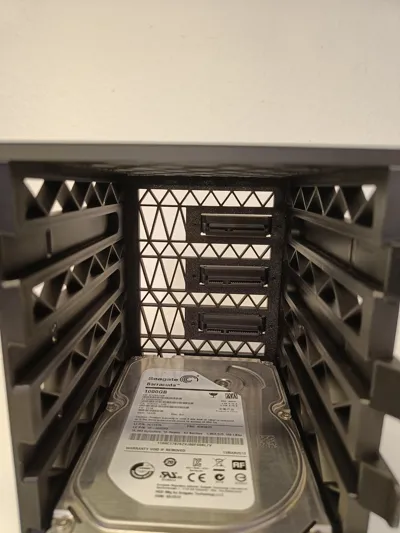
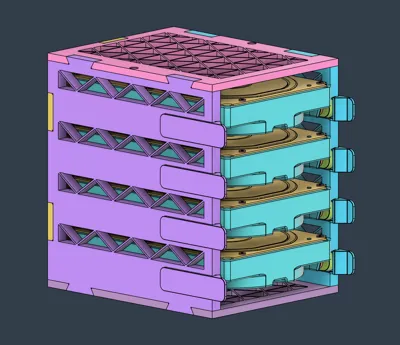
HDD cage for up to four 3.5" drives. Max drive thickness ~34mm. Recommended ≤ 30mm.
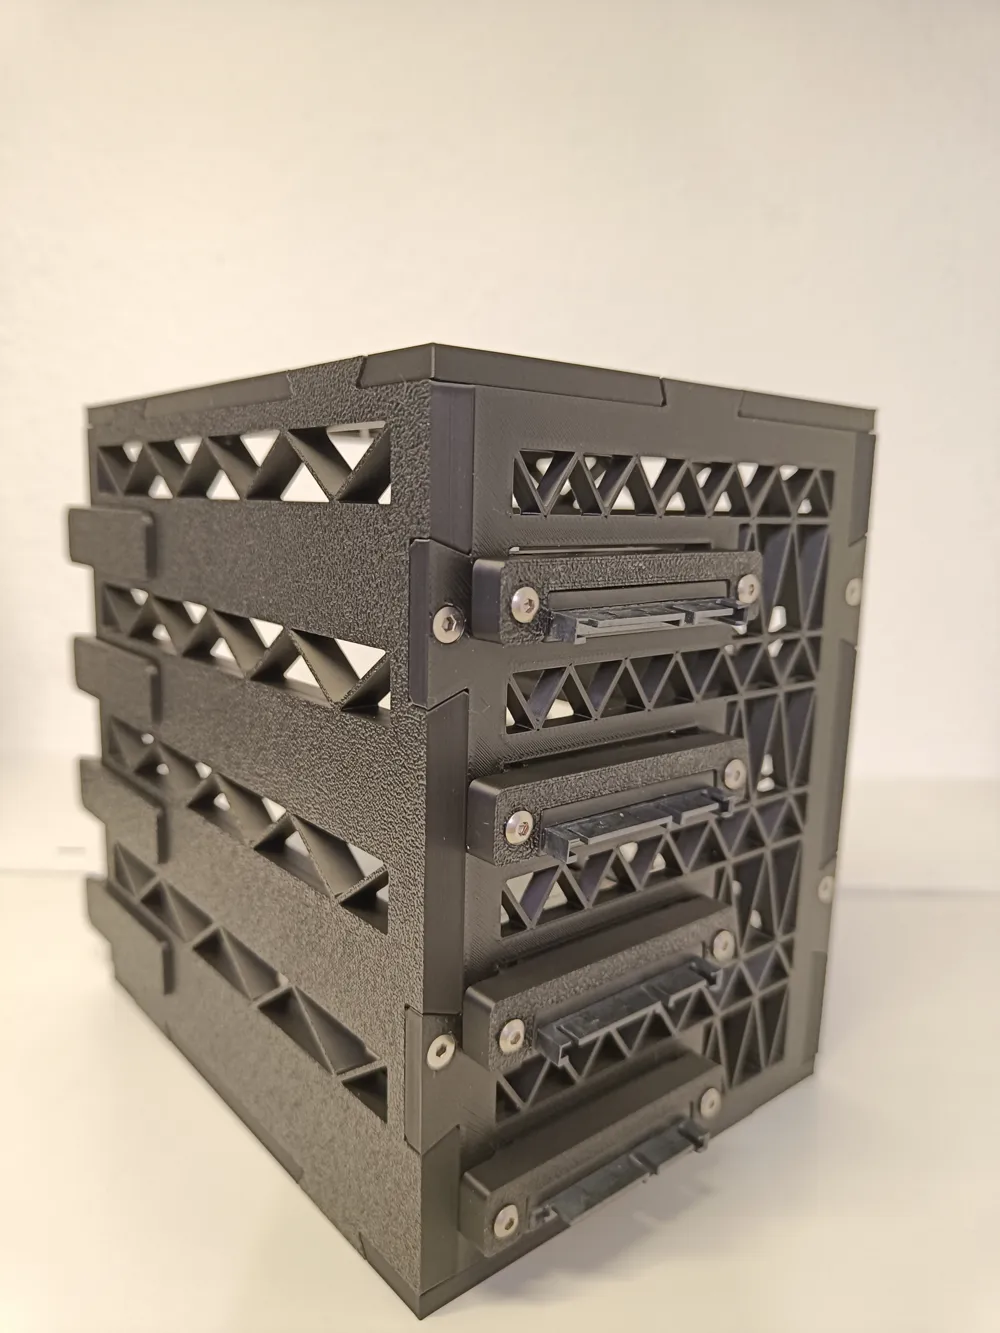
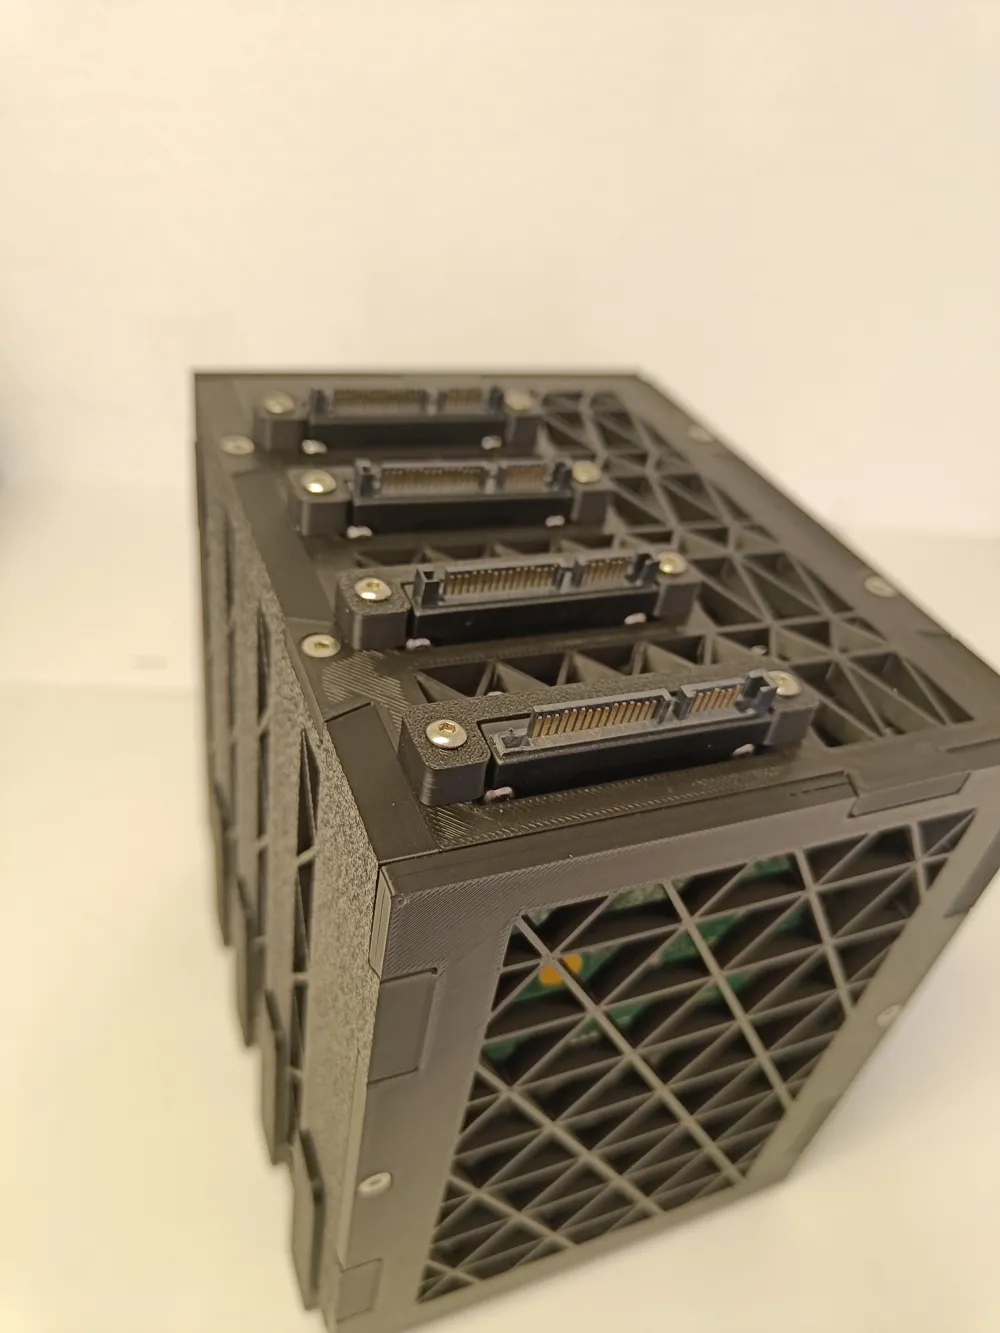
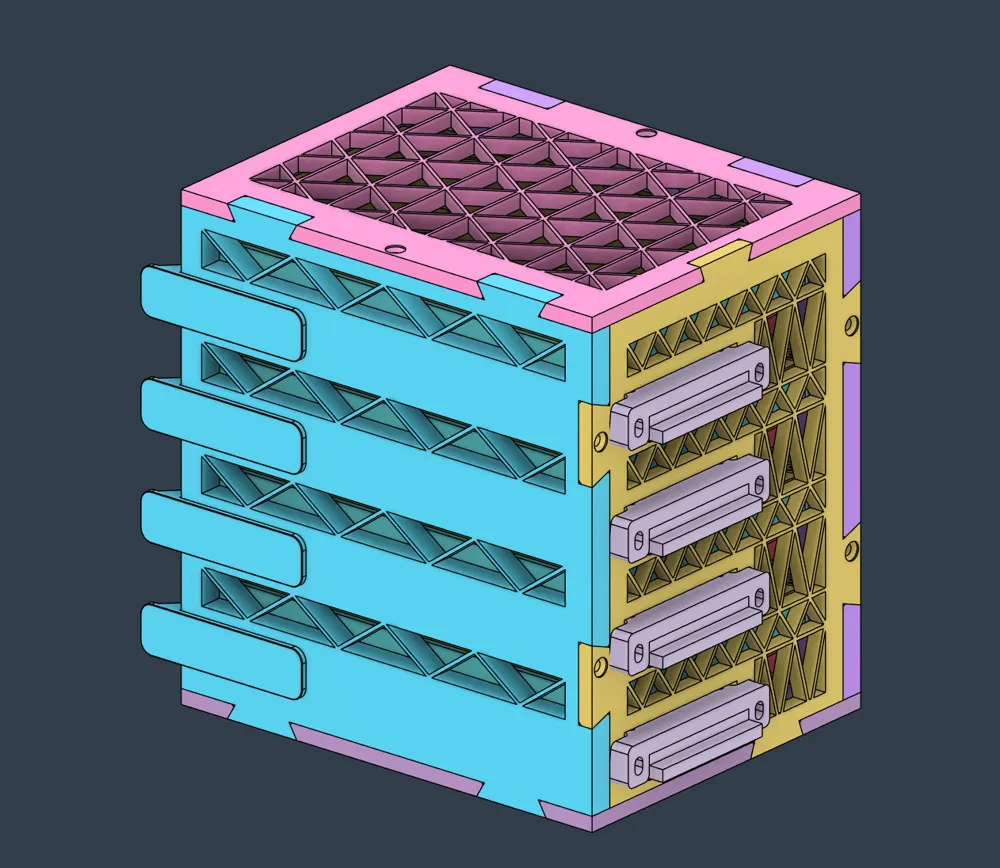
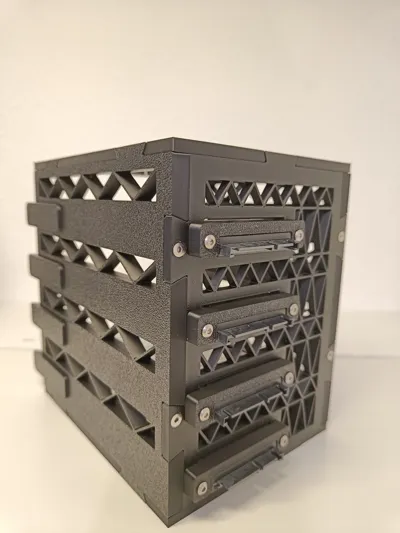
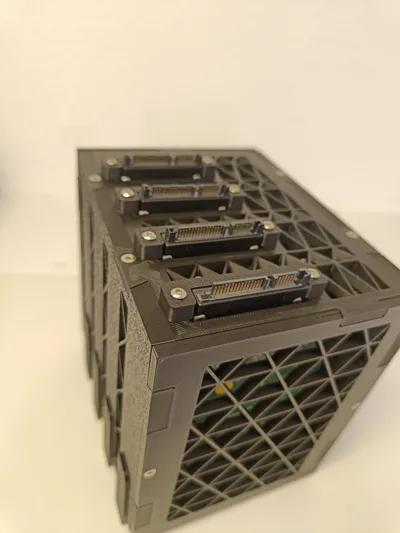
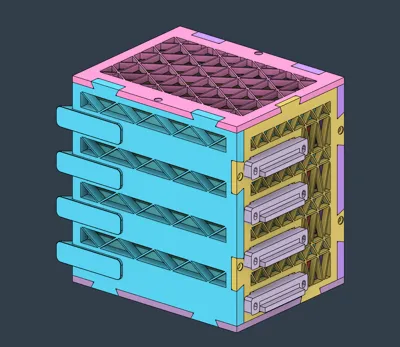
Optional backplane to easily add or remove drives.
Open design for great airflow.
Rubber grommets for vibration absorbtion.
You need:
8 pcs M3x10 coutersunk machine srew for the box
16 pcs 3.5" HDD screws with rubber grommet
16 pcs M3x10 button head machine srew for the backplane connectors
4 pcs SATA Male To Female Power Data Converter
Printed in PLA, because I'm using it in good airflow. If you want to use it inside a potentially hot PC case, I recommend you switch to a more temperature resistant filament.
Very tight tolerances! Consider making a test print to see, if the sides slide together nicely.
Assembly:
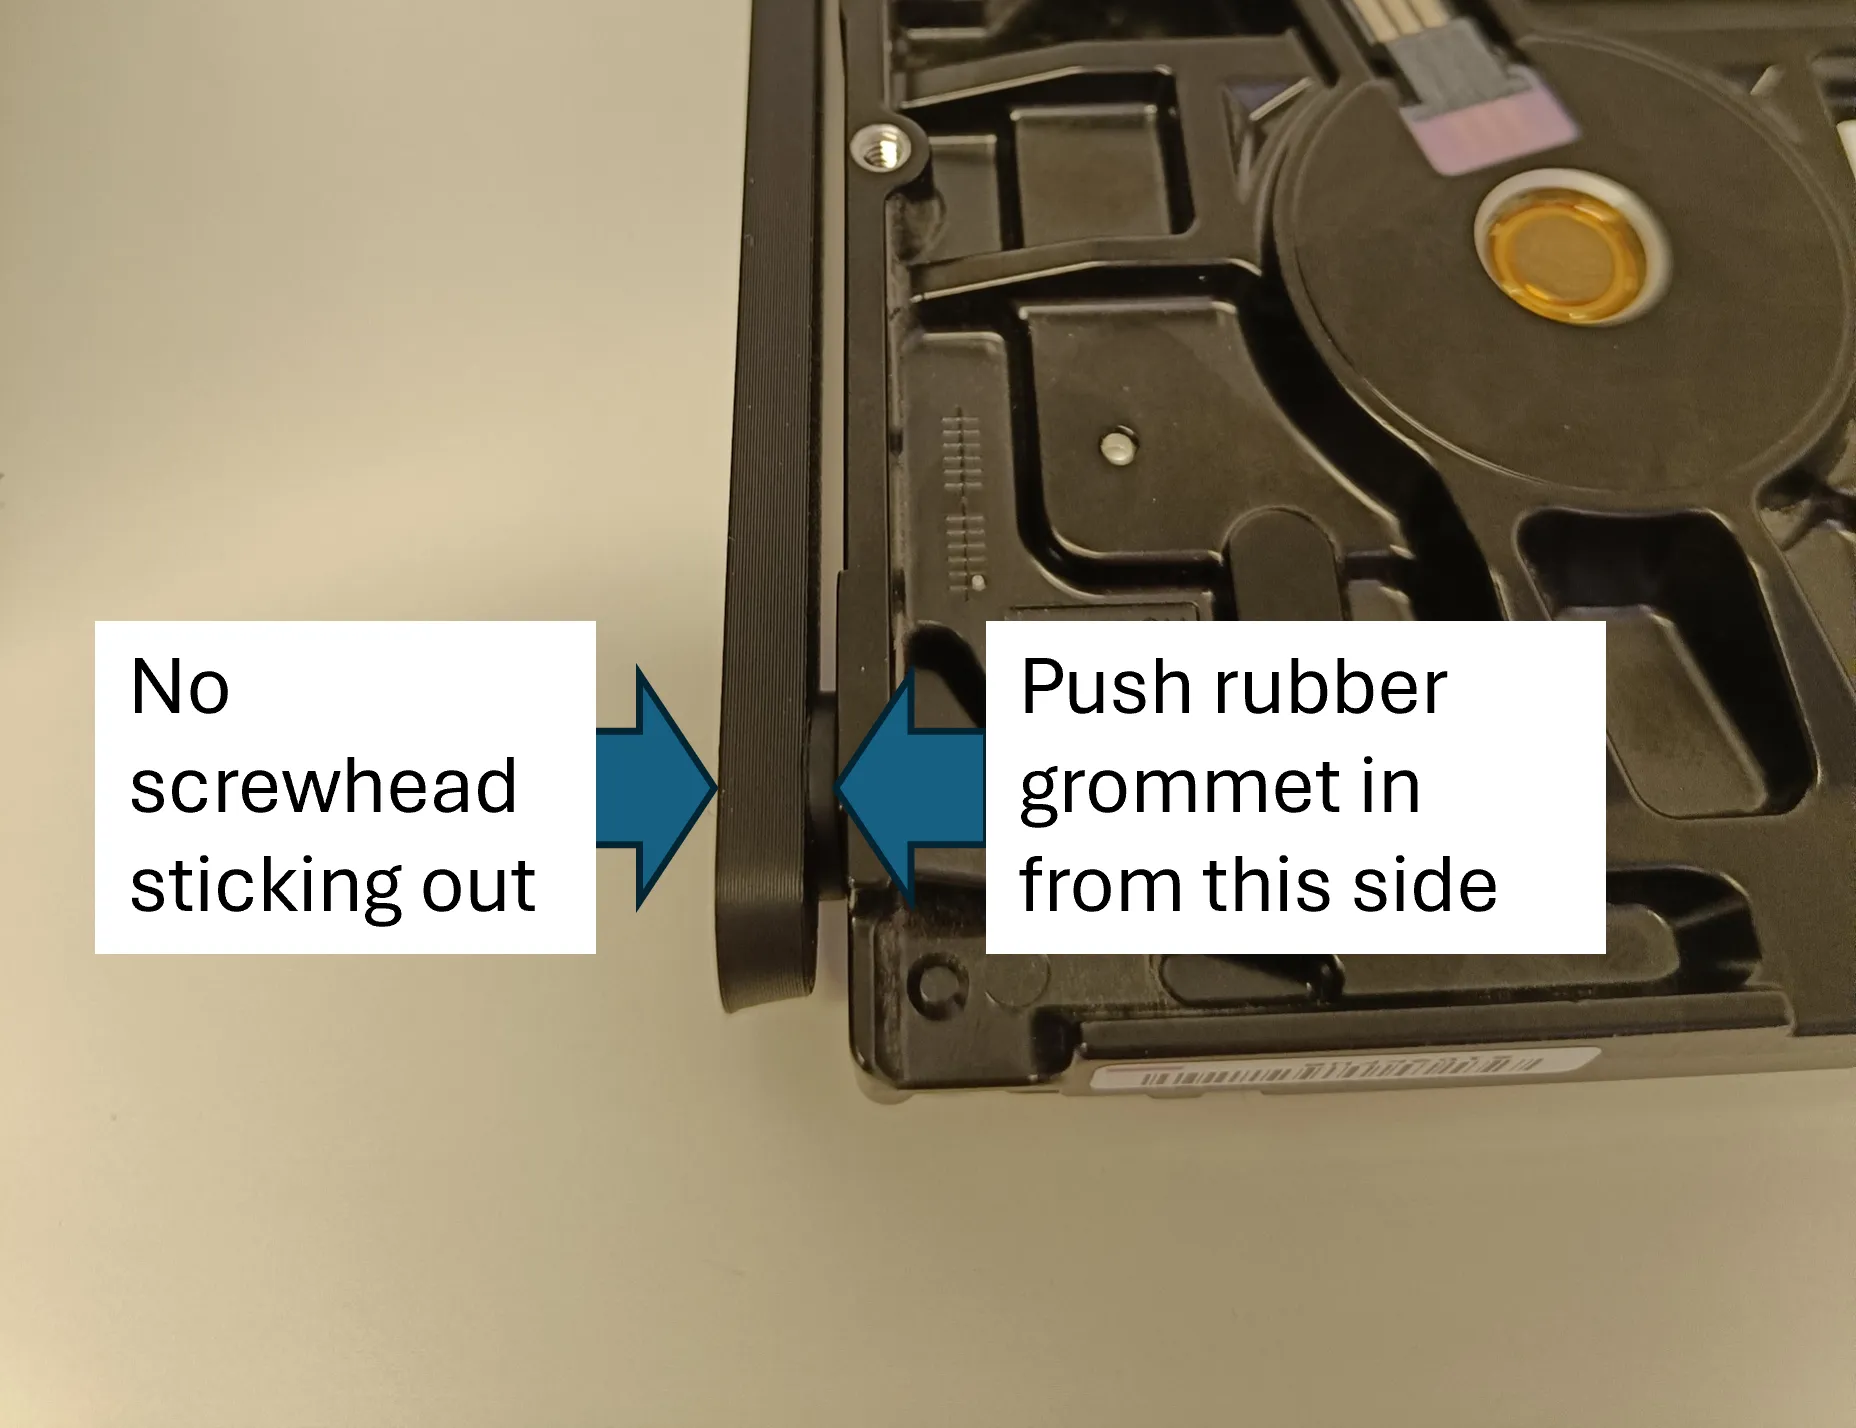
Push the rubber dampers into the slides. Then add the screws from the other side and screw to the HDD.
Make sure the screw head is flush or below the slide.
The box only fits together one way. The backside comes last. Screw the 8 countersunk M3x10 screws directly into the printed holes.
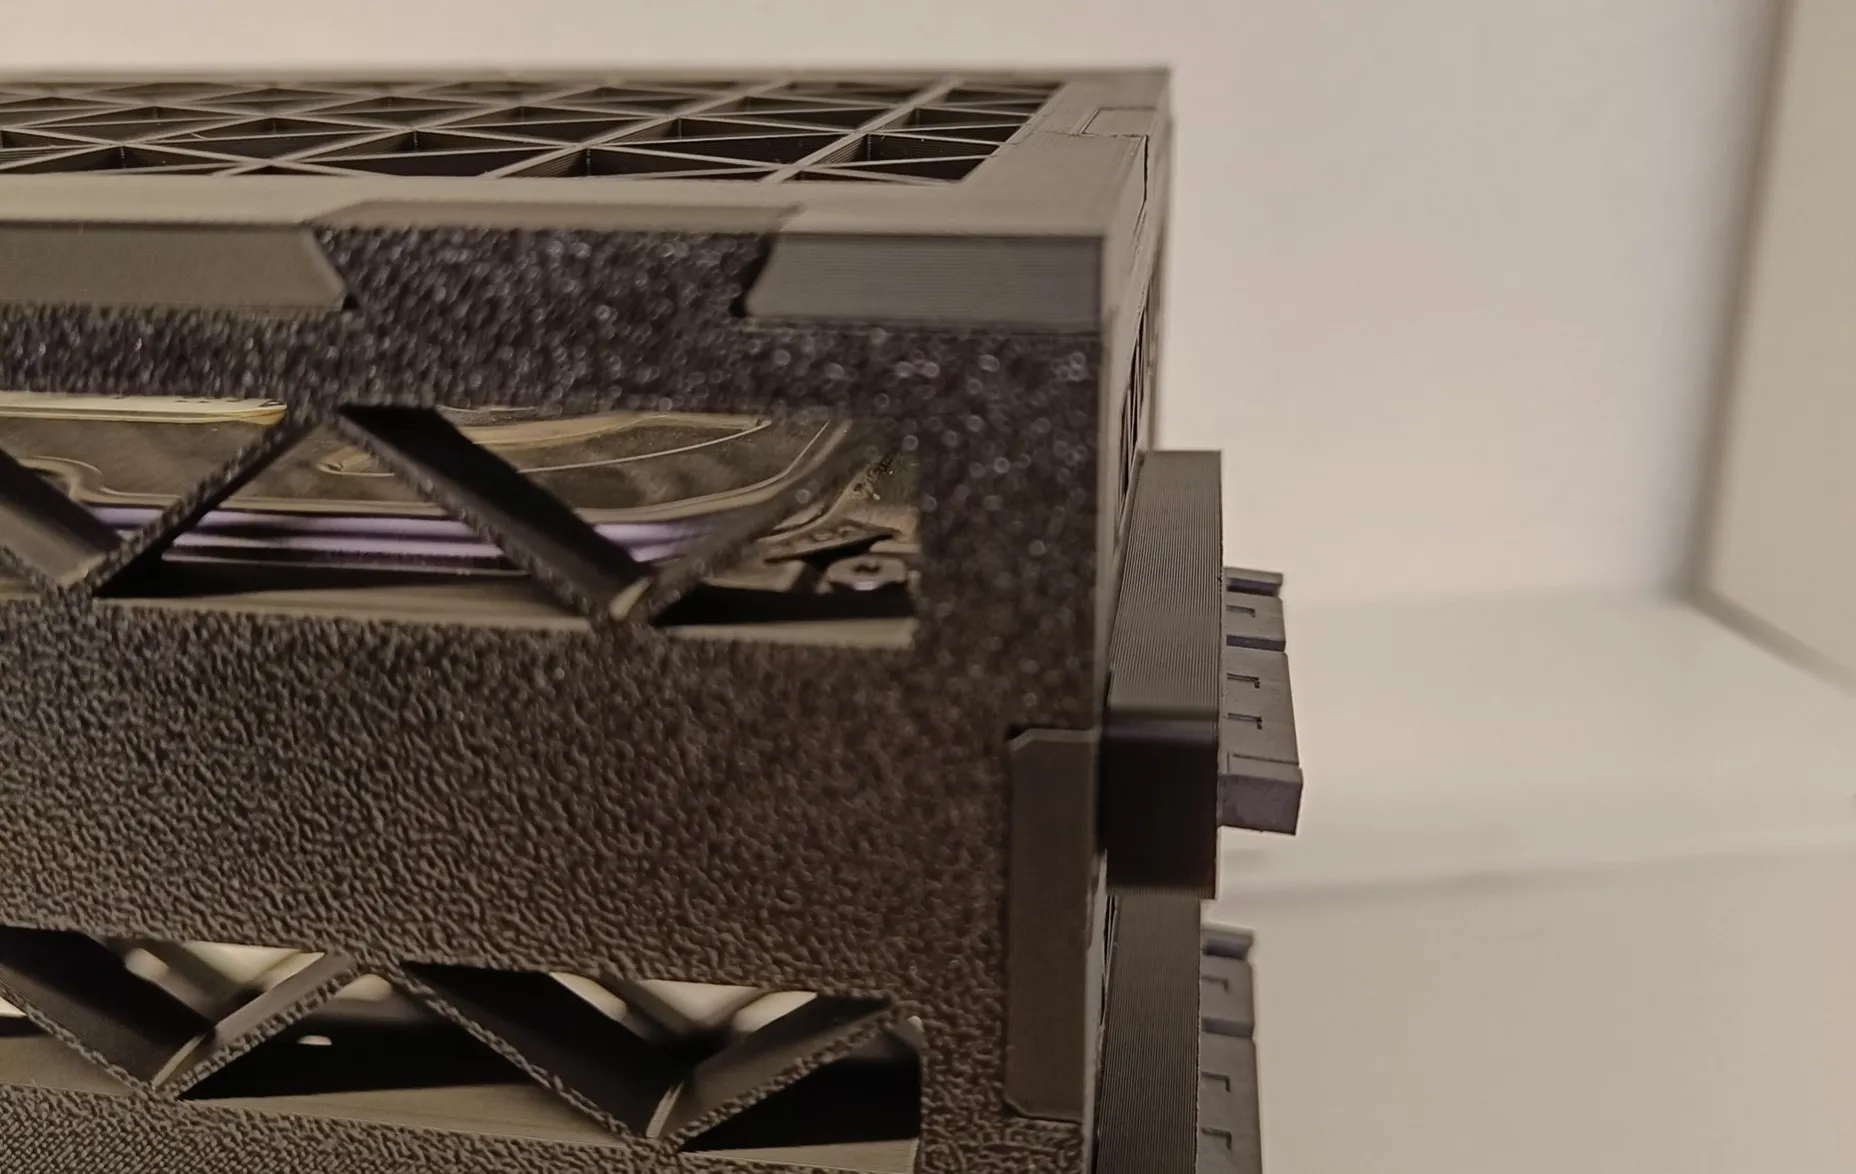
Push the slide clips into the slot from the outside until there's no gap left. If they don't hold well enough you can add a little superglue, but for me it was not necessary.
I only used clips on side. Otherwise you need 3 hands to remove the drive.
If you want to use the backplane, first srew the connector to the connector mount like shown.
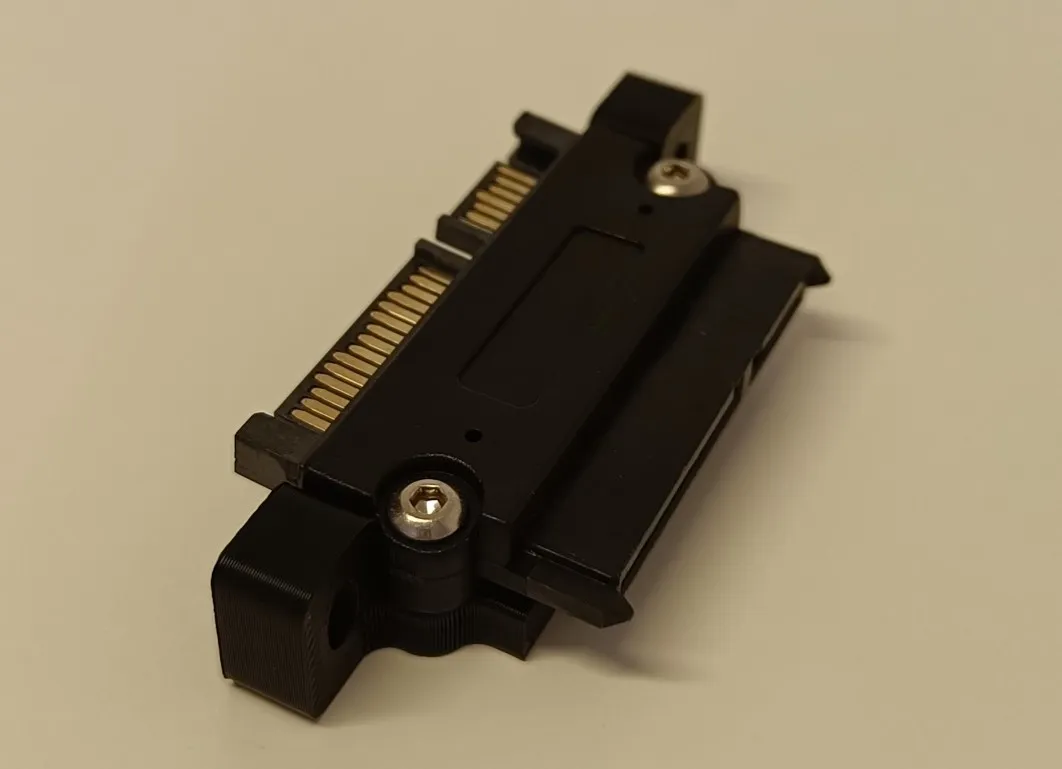
Insert a harddrive into the slot and then push the connector assembly through the backside into the drive's connector.
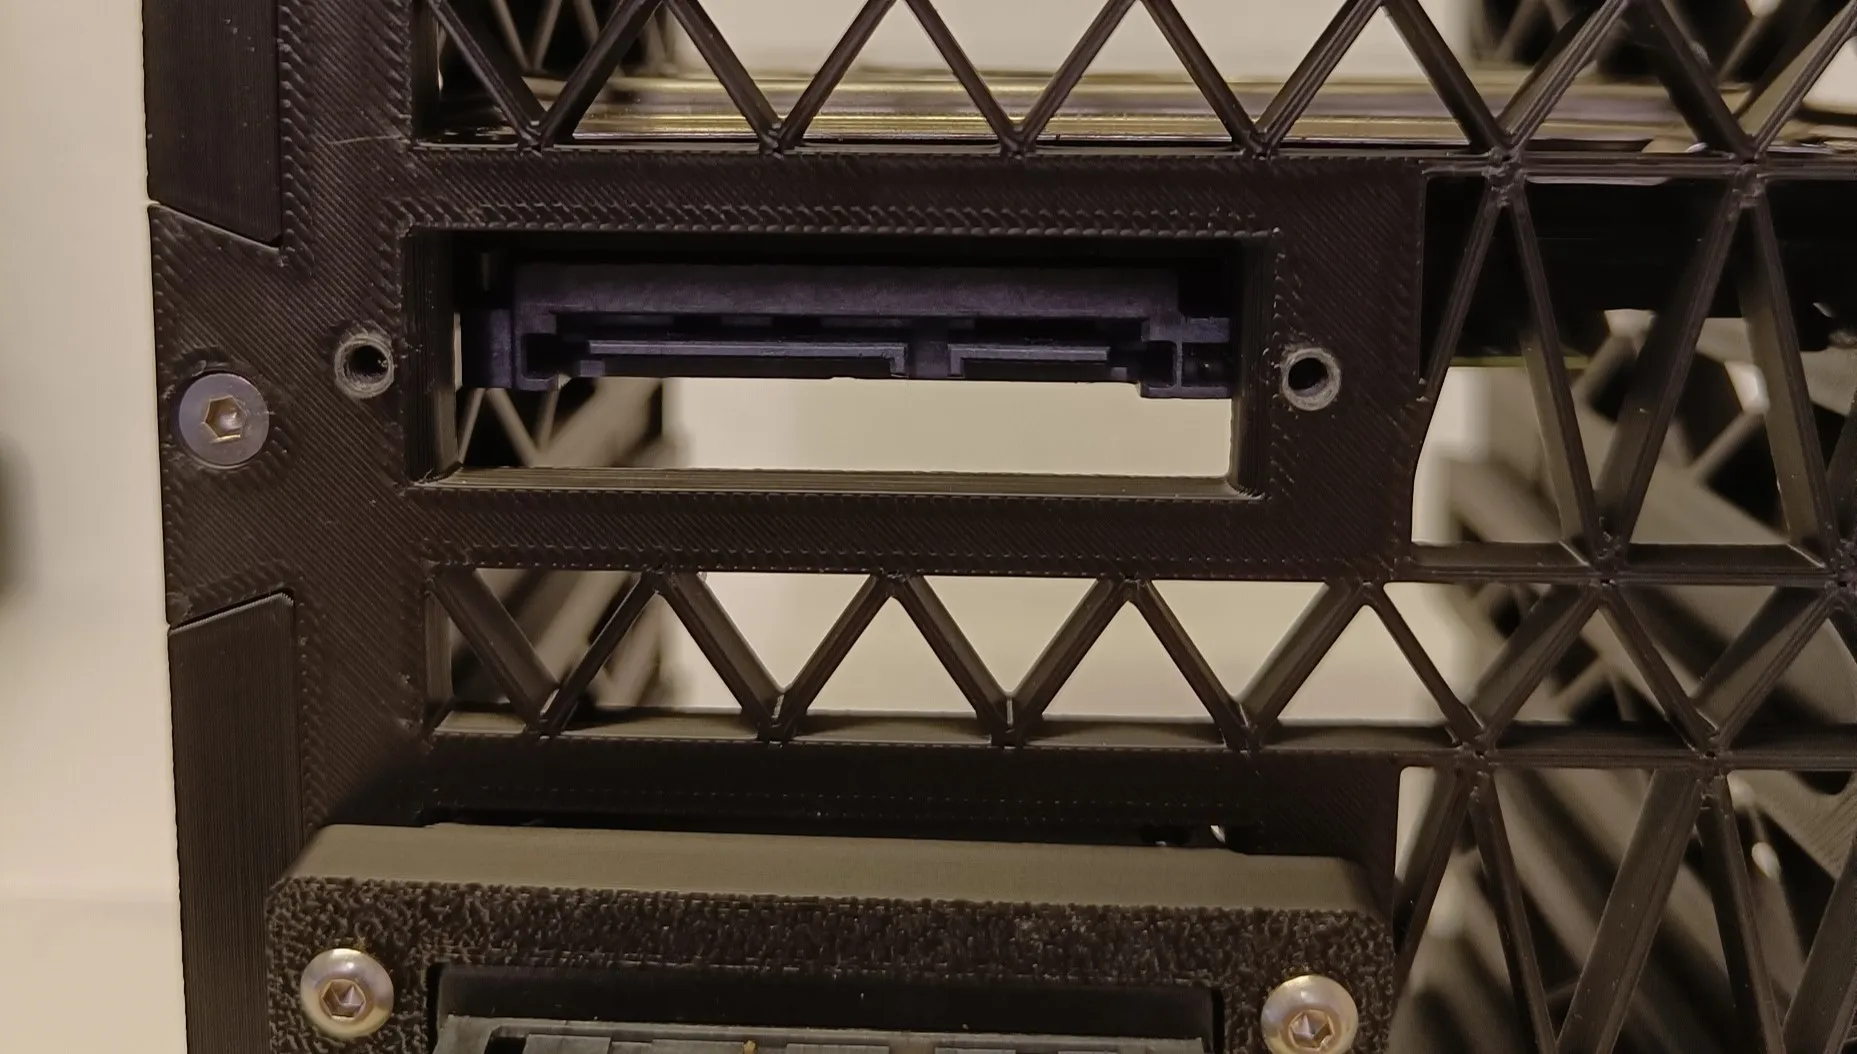
Only when it is seated properly, then you can screw the connector mount to the backside.
This is to make sure both connectors are properly aligned.
License

You shall not share, sub-license, sell, rent, host, transfer, or distribute in any way the digital or 3D printed versions of this object, nor any other derivative work of this object in its digital or physical format (including - but not limited to - remixes of this object, and hosting on other digital platforms). The objects may not be used without permission in any way whatsoever in which you charge money, or collect fees.


Comment & Rating (26)