Fly Screen Flap


Print Profile(1)

Description
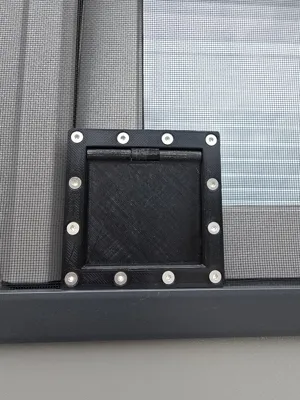
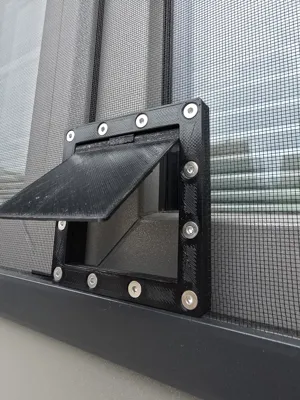
This flap is designed to allow a water hose or cable to pass through the window without disassembling the fly screen
External dimensions: 100mm x 100mm
Internal dimensions: 76mm x 68mm
Material and print recommendation:
PETG or ASA
at least 3 walls and 50% infill (for more stability)
Required additional material (for assembly):
13x countersunk screws M4x10mm
13x hex nuts M4
1x threaded rod M4x70mm or round steel Ø4x70mm
____________________________________________________________________________________________________________________________________________________________
Update:
26.01.2026 The 90° countersinks for the M4 countersunk screws have been adjusted in depth so that the planned M4x10mm countersunk screws can be used
____________________________________________________________________________________________________________________________________________________________
Assembly:
- ATTENTION: The cutout in the fly screen is only made in step 4!!!
- Insert the nut on the side with the recess for 1 nut (marked in red in the attached image). This will be needed later for mounting the flap
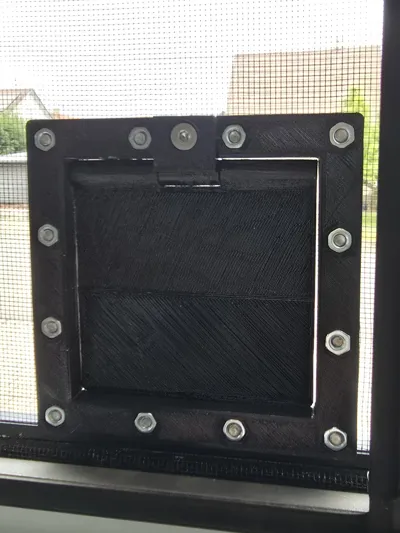
- Attach the two frames to the fly screen. The fly screen should be taut. Ensure that the nut from step 1 points upwards. The recesses for the 12 hex nuts (on the 1st frame) and the 12 countersinks (on the 2nd frame) must face outwards
- Ensure that all 12 screws are tightened. Only now should the fly screen be cut within the frame (utility knife)
- Connect or assemble the flap and holder with the “threaded rod M4x70mm or round steel Ø4x70”
- Connect the holder and flap with the M4x10 countersunk screw (can be loosened again with just one screw for rework if needed)
Note:
The fly screen will be damaged during assembly by cutting out the recess. The flap should not be disassembled after installation
Comment & Rating (7)