
Presence Sensor v2 Solderless Case + Wall Mount
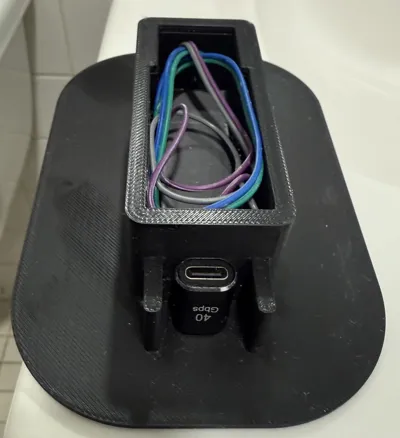
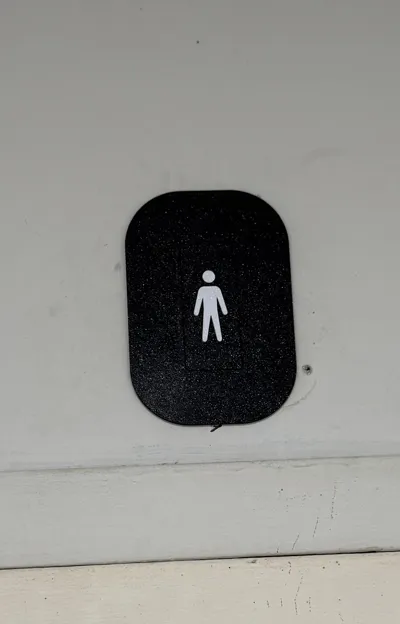
Print Profile(1)

Bill of Materials
- NodeMCU-32S x 1: https://www.amazon.com/dp/B0DSZBH9N9?ref=fed_asin_title
- Dupont Wires x 4: https://www.amazon.com/dp/B01EV70C78?ref=fed_asin_title
- PoE Texas in-Wall AC to USB-C Power Adapter x 1: https://www.amazon.com/dp/B0CP5MVK9D?ref=fed_asin_title
- 90 Degree USB C Adapter x 1: https://www.amazon.com/dp/B0BDZCMYZG?ref=fed_asin_title&th=1
- HLK 2410C x 1: https://www.amazon.com/dp/B0CH8CRDS6?ref=fed_asin_title&th=1
Description
*DO NOT PRINT THE ENTIRE PLATE TOGETHER*
Cover/Faceplates Need To Be Printed With No Supports, Everything Else Print With Supports On Build Plate Only!
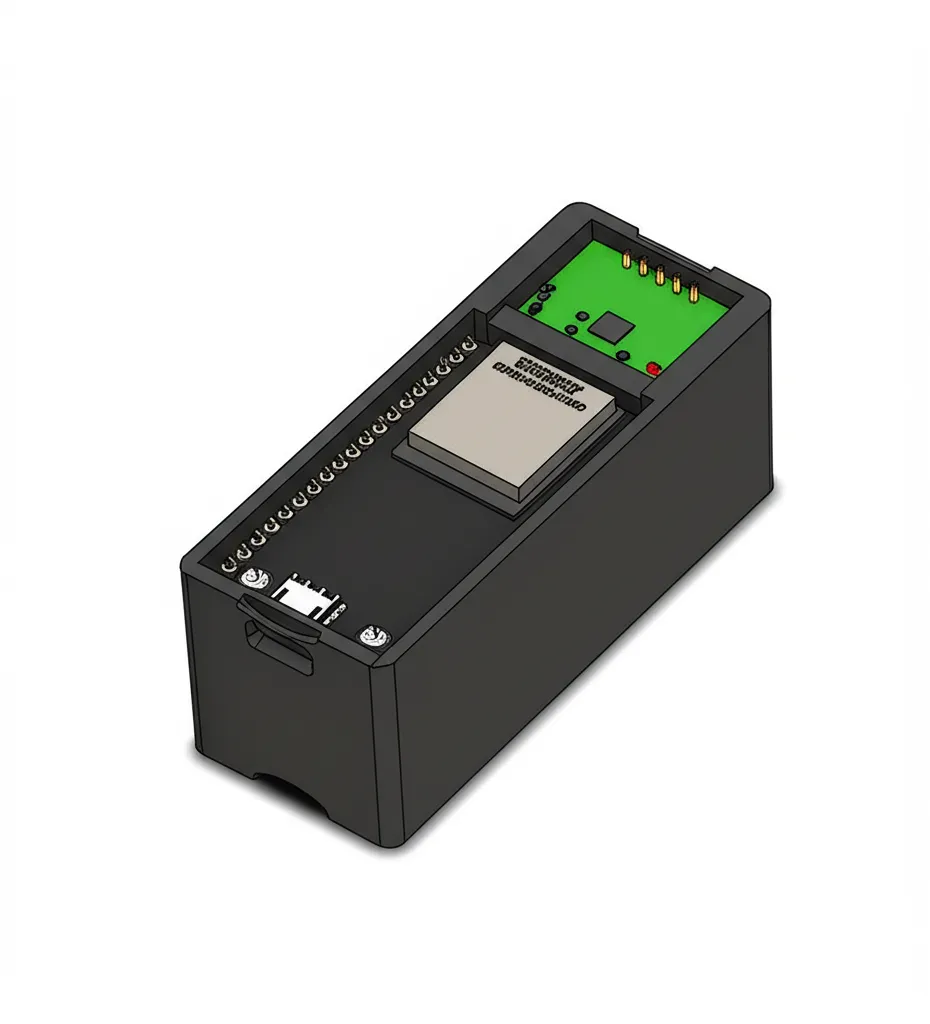
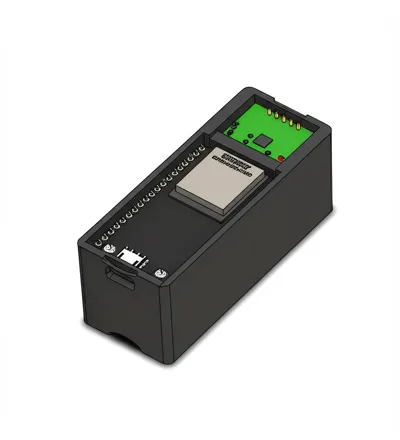
The ESPHome Presence Sensor is a compact, Wi-Fi-enabled device designed to detect human presence with high accuracy. Built on an ESP32 platform, it integrates seamlessly with ESPHome, making it easy to configure and automate through Home Assistant or other smart home systems. Its mmWave radar technology provides reliable motion detection, even through certain non-metallic materials, and offers fine sensitivity adjustments to differentiate between minor movements and full room occupancy. The sensor is ideal for applications such as automated lighting, energy-saving HVAC control, and security monitoring. Its small form factor, customizable firmware, and robust wireless connectivity make it a versatile choice for DIY enthusiasts and smart building projects.
Instructions
Firstly, decide your mounting option, there are three to choose from;
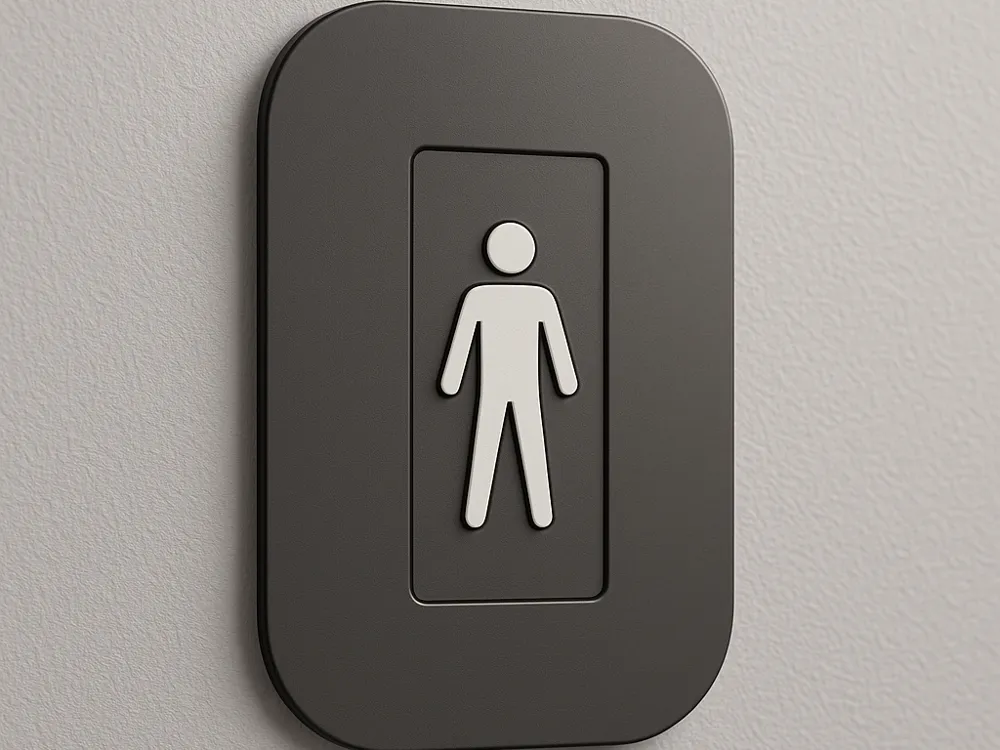
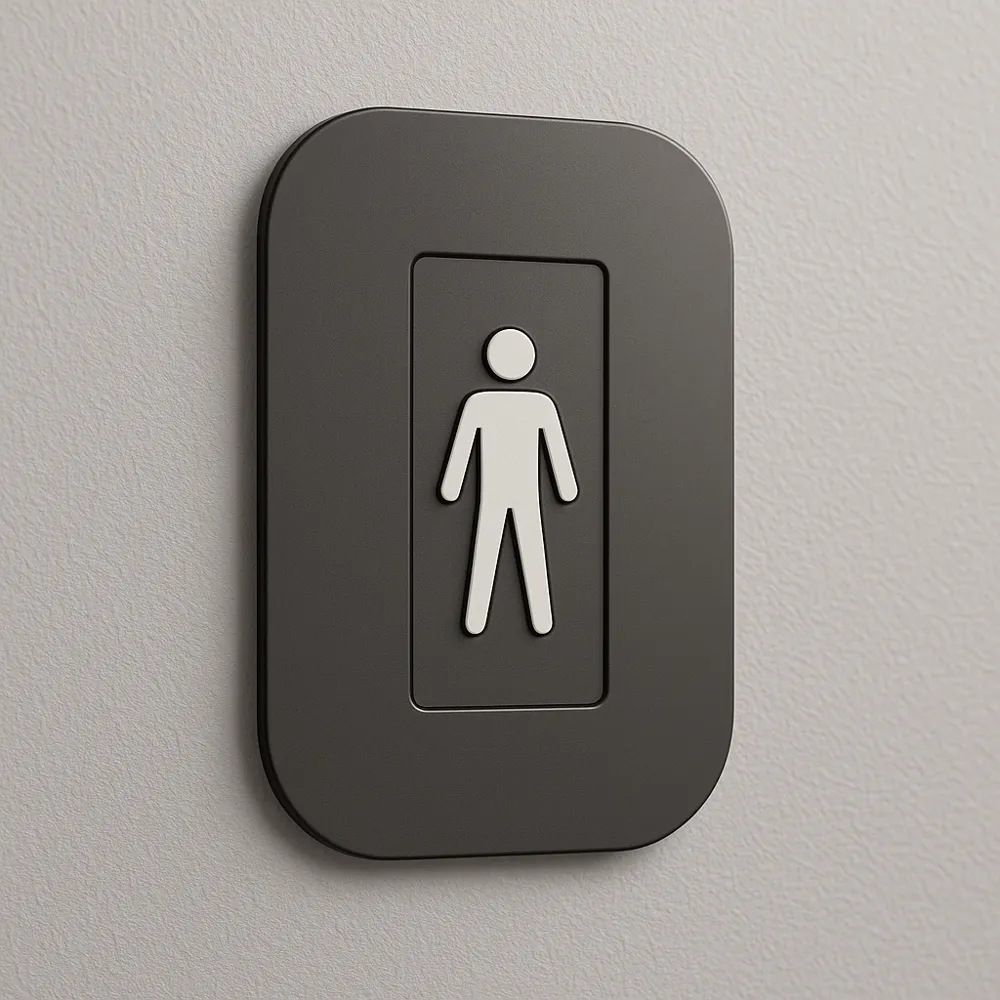
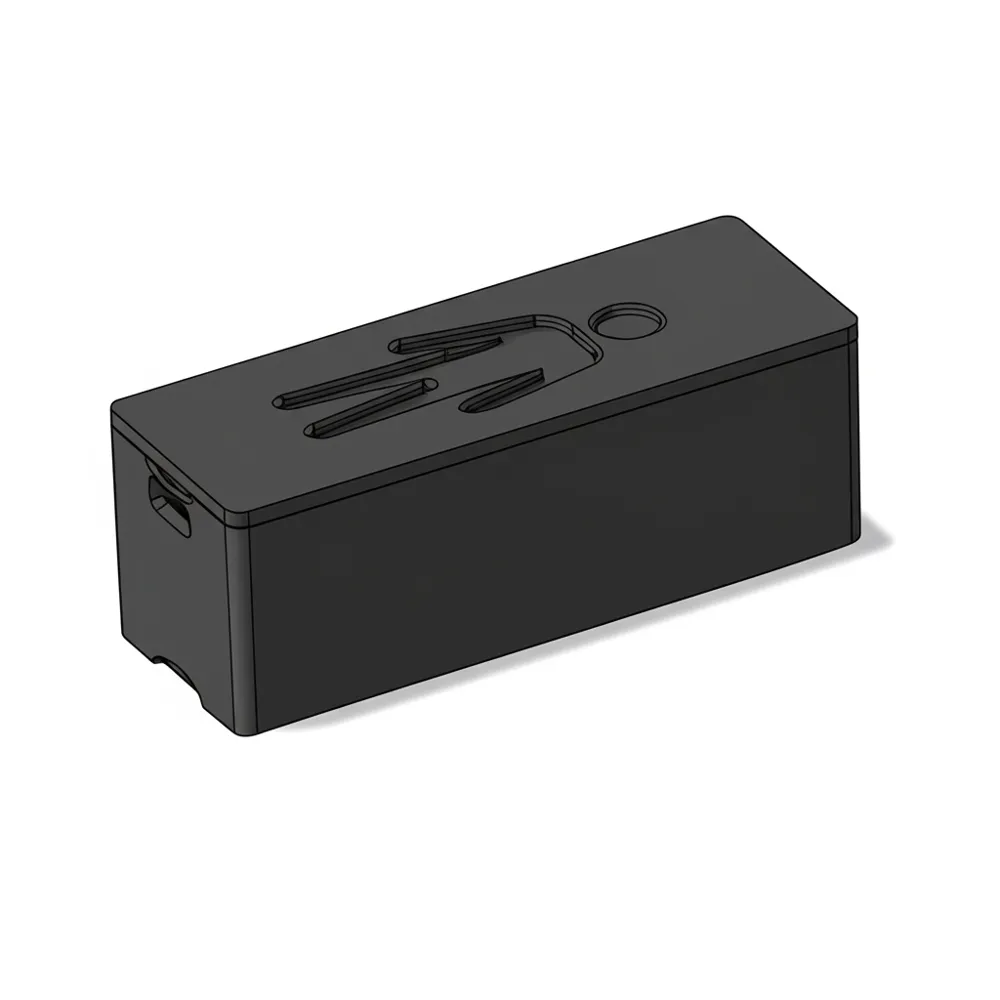
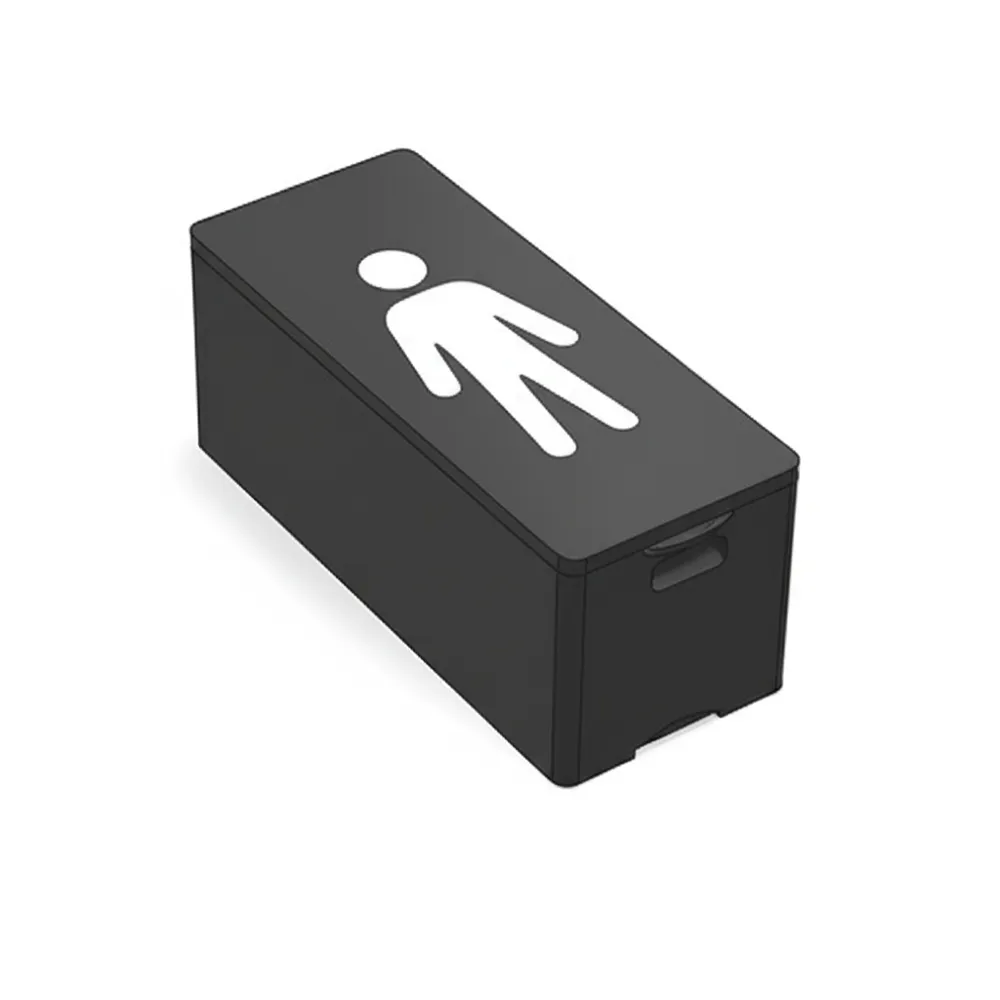
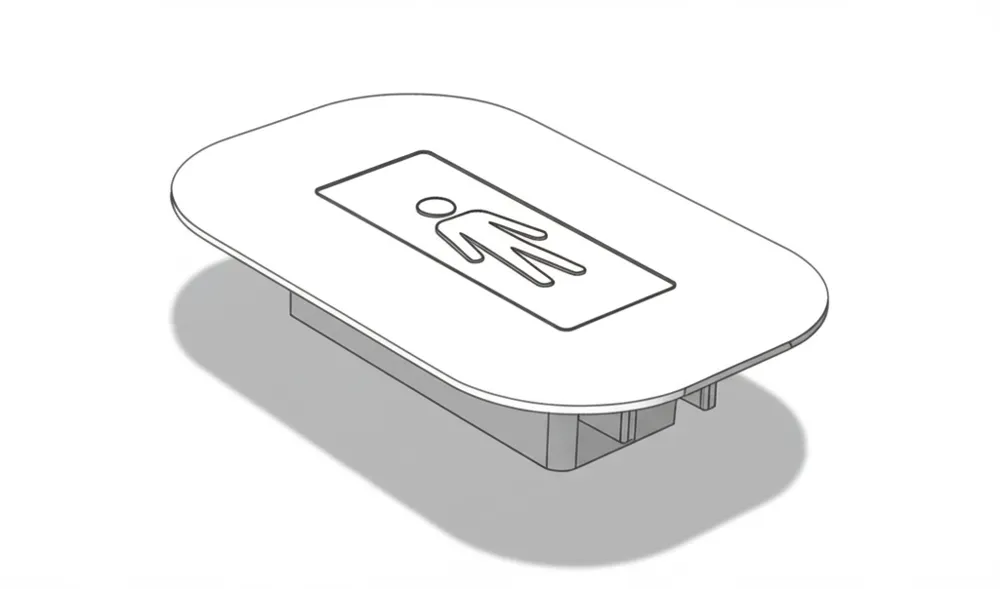
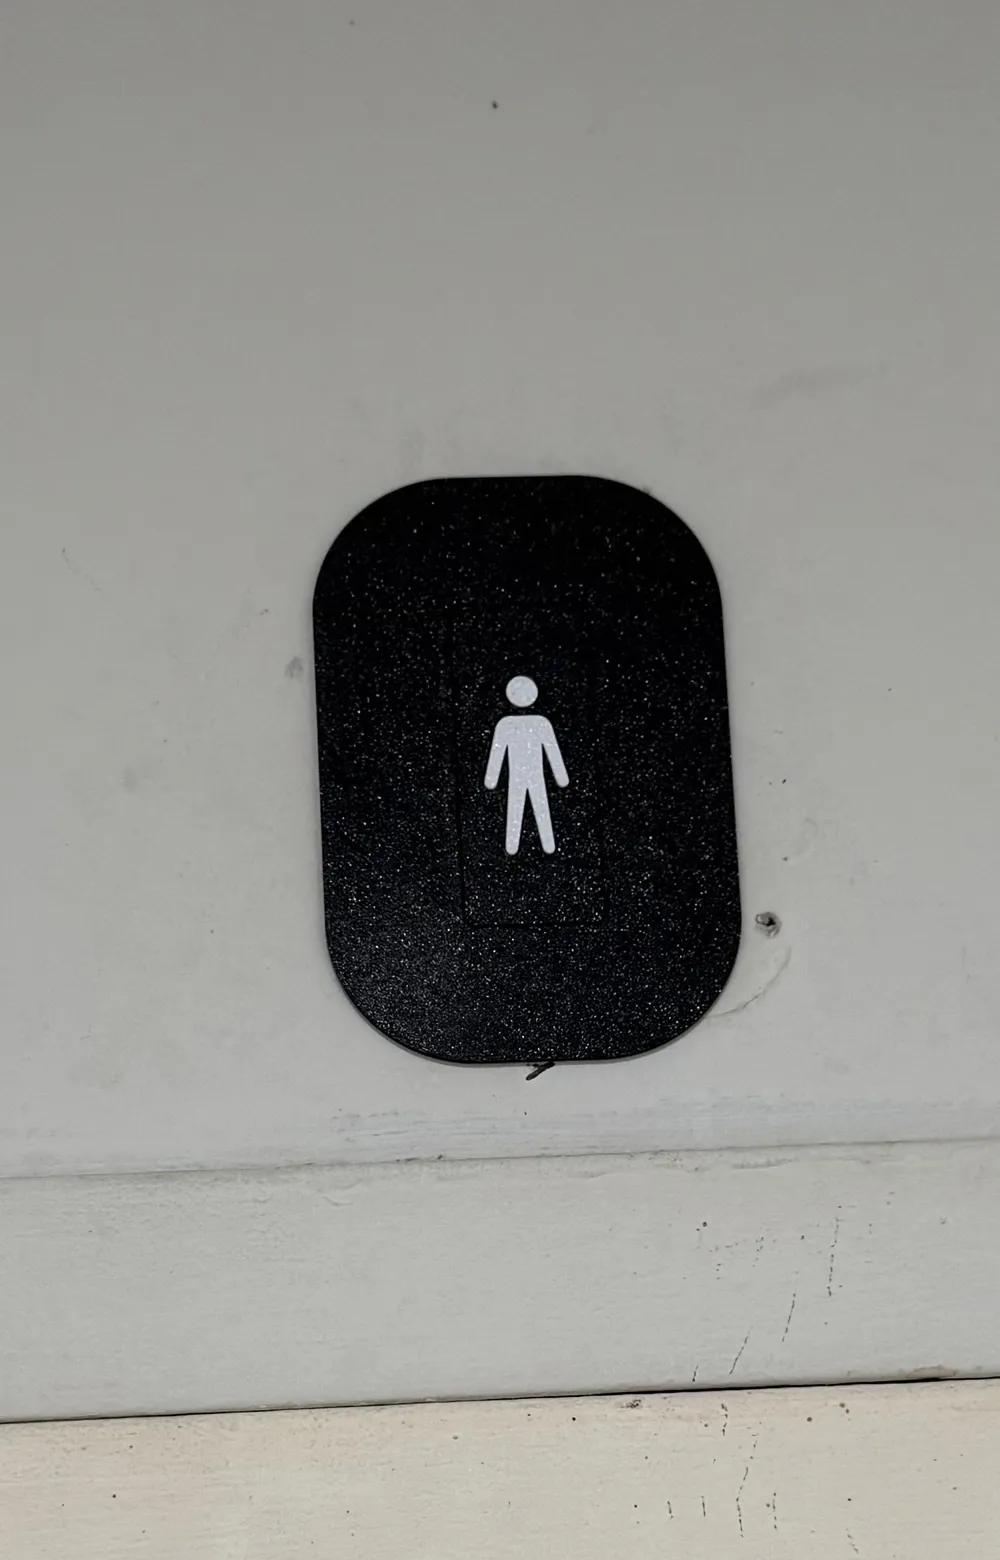
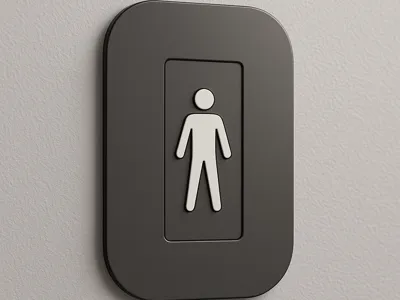
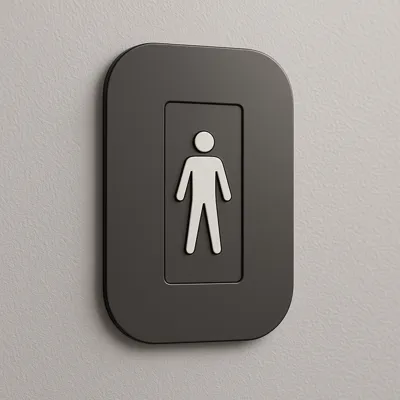
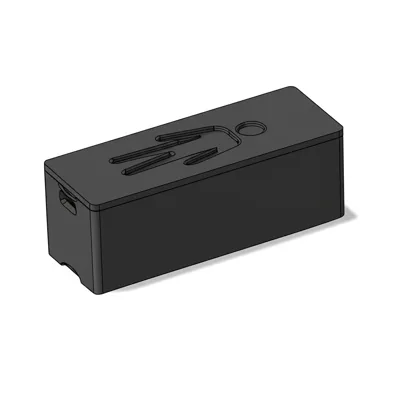
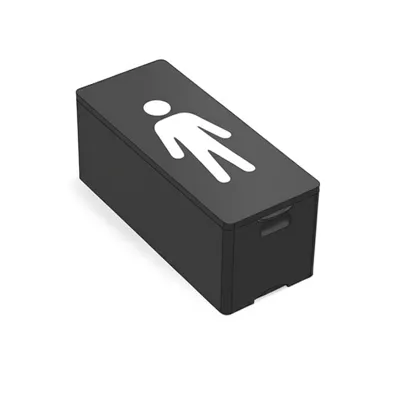
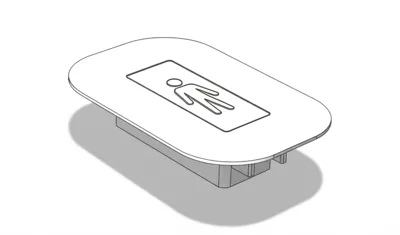
Surface mounted: Print the component mount, front cover, rear cover, and human (optional).
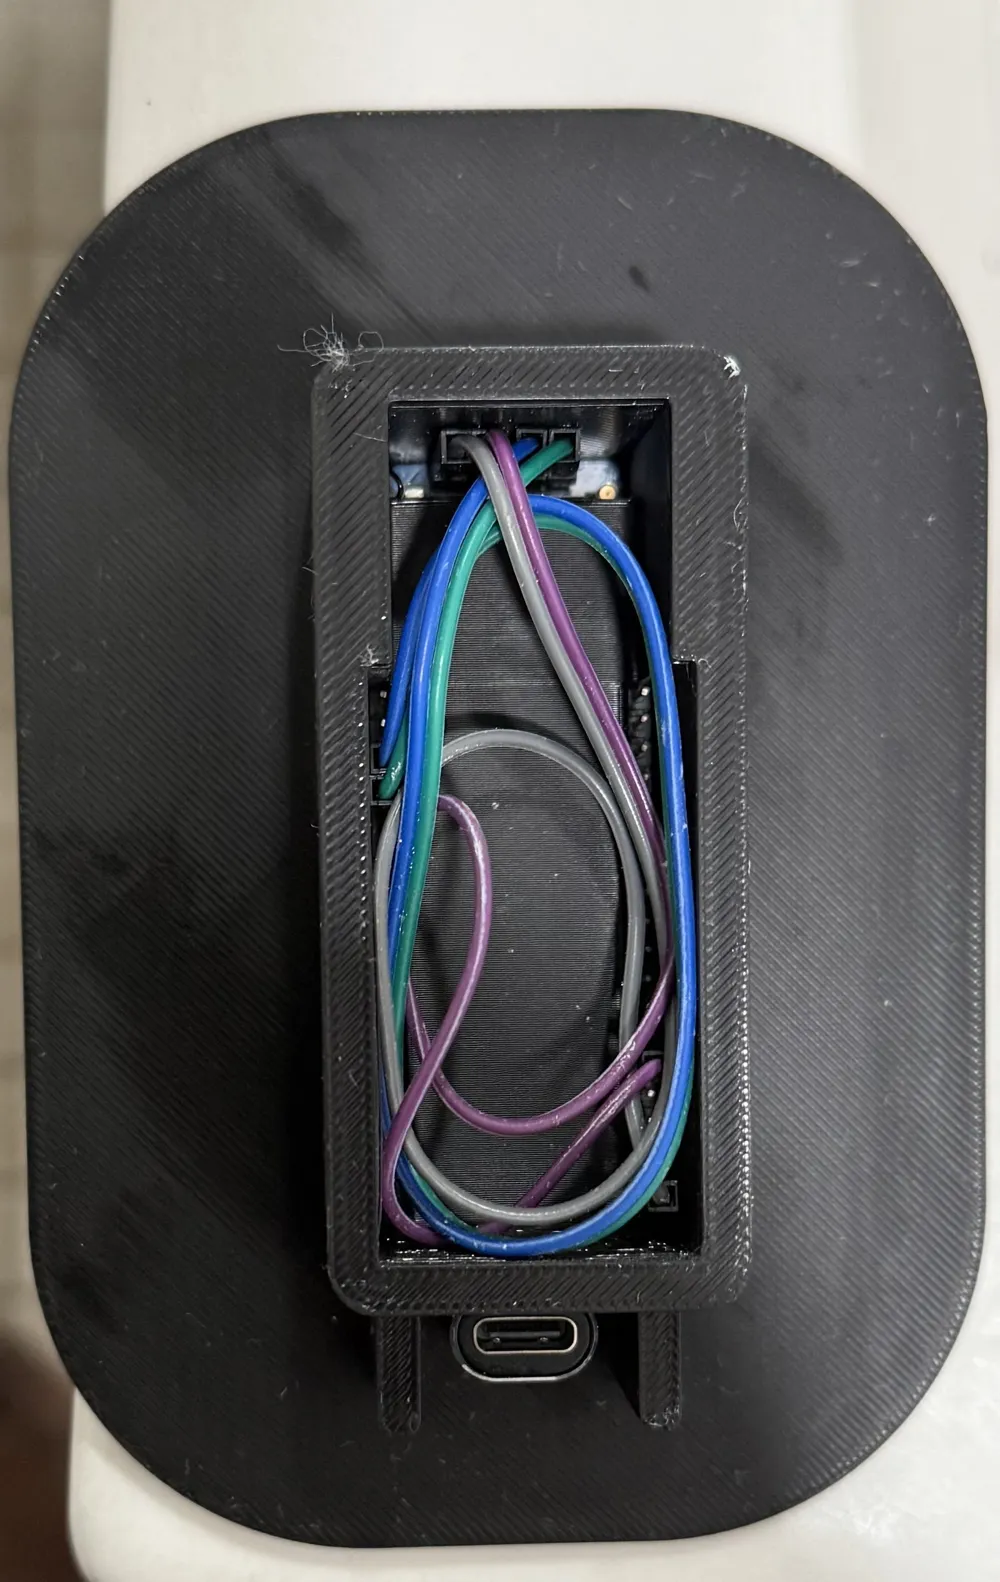
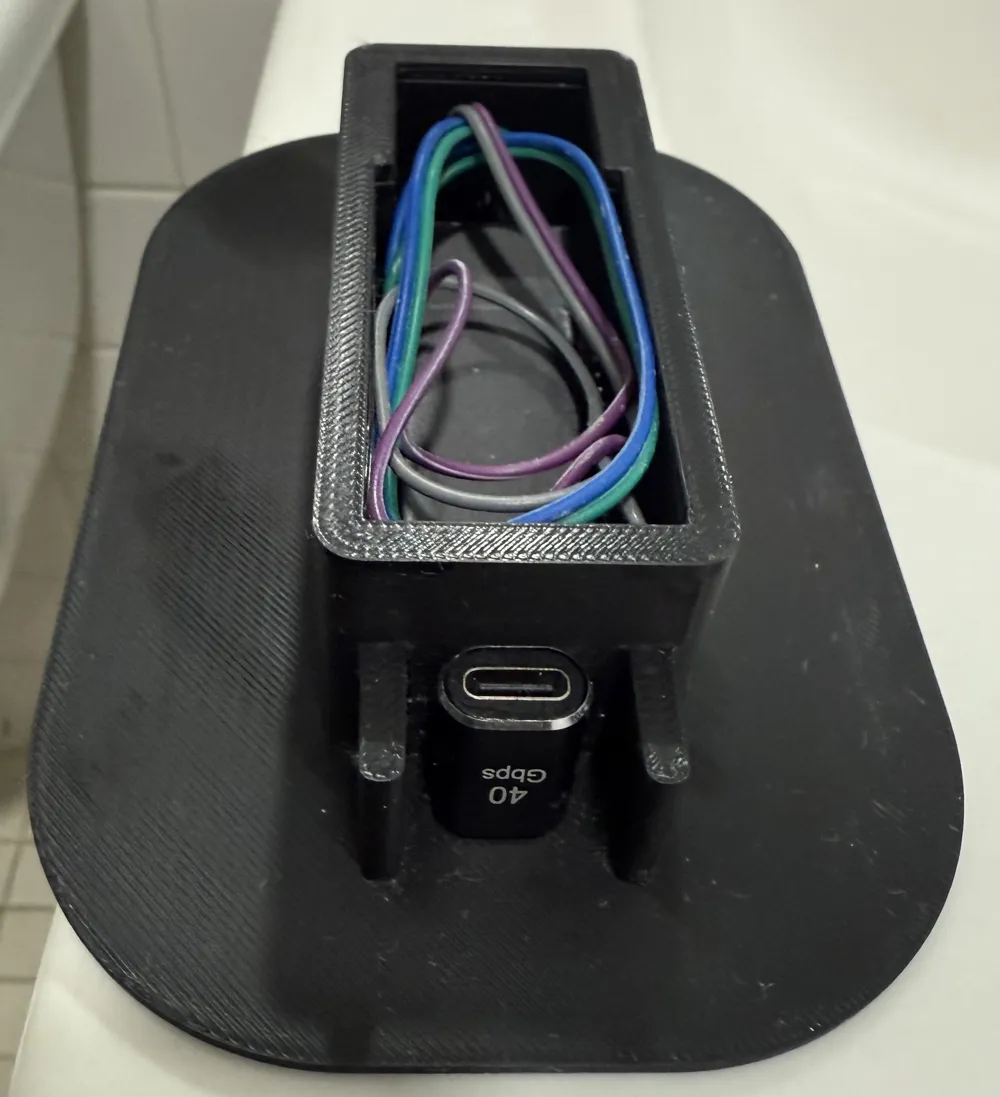
Recessed mount usb powered: Print component mount, front cover, human (optional), and junction box b. If choosing this method you must purchased all the parts in the bill of materials to safety covert ac current in your wall/ceiling into a 5v dc usb c power source for the esp board. This option is highly recommended, and i find you will soon adopt this for your own esp projects.
- Recessed mount rear powered: Print component mount, front cover, human (optional), and junction box a. If choosing this method you must come up with your own method of powering an esp32 board from ac mains in your wall/ceiling.
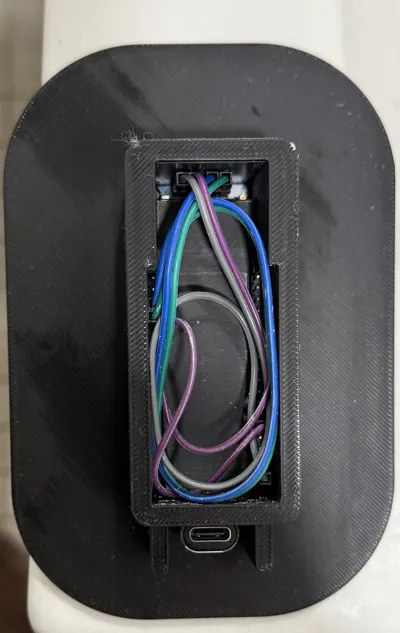
Secondly, please be sure to program your board prior to mounting it to the wall or connecting your sensors to the board. As once its mounted its difficult to unmount, and once the sensor is connected to the board esphome can not perform a fresh install. Only once you have done a fresh install to the esp 32 you will wire up the sensor and proceed to mounting it to the wall.
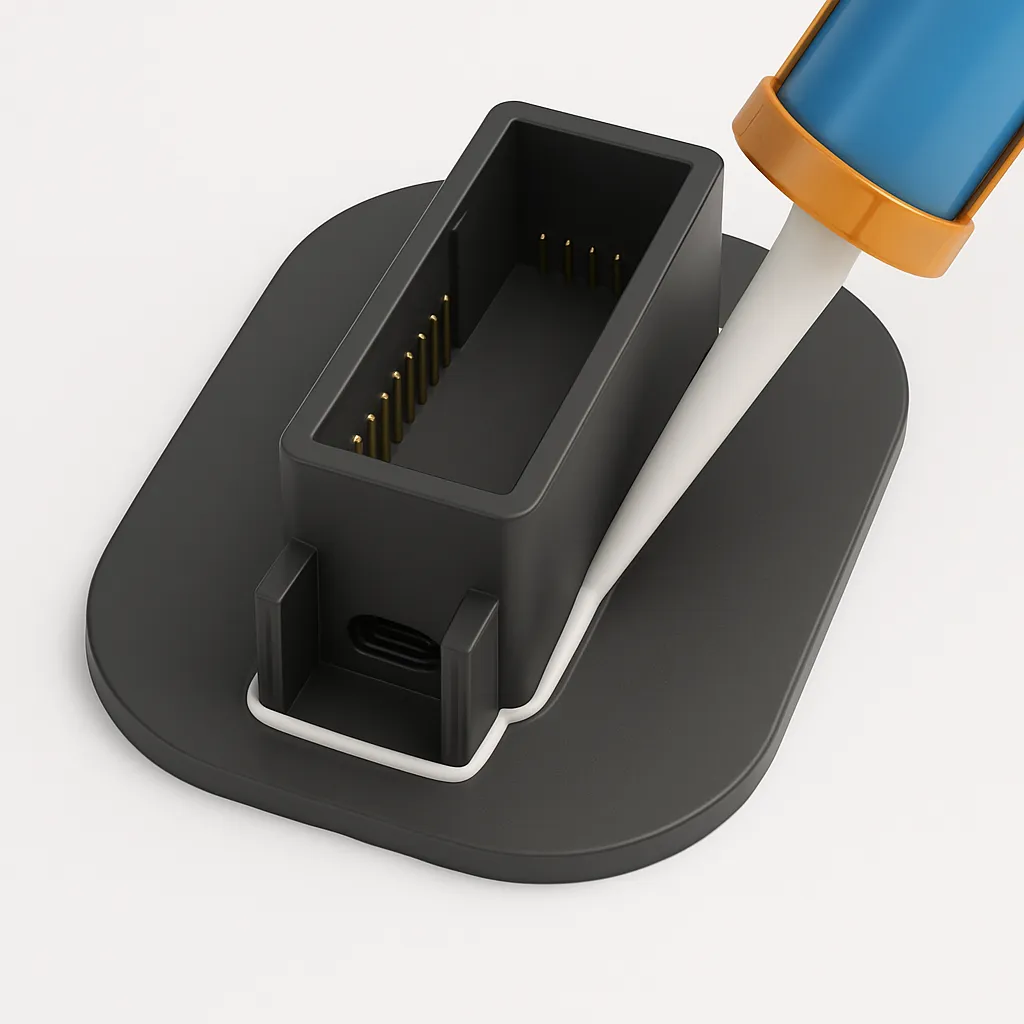
Lastly, for those choosing option B, please insert the 90 degree angle usb c adapter before mounting to the wall, it will seem as if the adapter does not fit at first but tilt it and view from an angle it will take a tad bit of force to push it down and once it it wont become undone easily (as designed). Good to mention this is a screwless design so you have to option to secure it to the wall for either of the recessed options (B or C) you can cut a precise hole and it will stay firm, or the way i designed it was to be silicone onto the wall, now when it comes to using silicone to prevent a mess on your wall you'll want to not apply silicone near the ends of the junction box but just a tight bead all around the center of the junction box, and the pressure of pushing it into the wall will even out that bead from the center to the ends of the wall plate. DO NOT USE ALLOT OF SILICONE, AND USE CLEAR SILICONE.
License

You shall not share, sub-license, sell, rent, host, transfer, or distribute in any way the digital or 3D printed versions of this object, nor any other derivative work of this object in its digital or physical format (including - but not limited to - remixes of this object, and hosting on other digital platforms). The objects may not be used without permission in any way whatsoever in which you charge money, or collect fees.


Comment & Rating (2)