
iPhone 16 /Pro/Max TPU + PLA Phone Case
Print Profile(8)


Bill of Materials




Description
______________________________________________
Boost Me (for free)
If this model helped you, please support my work by giving me a boost. Thank you!
Hello everyone!
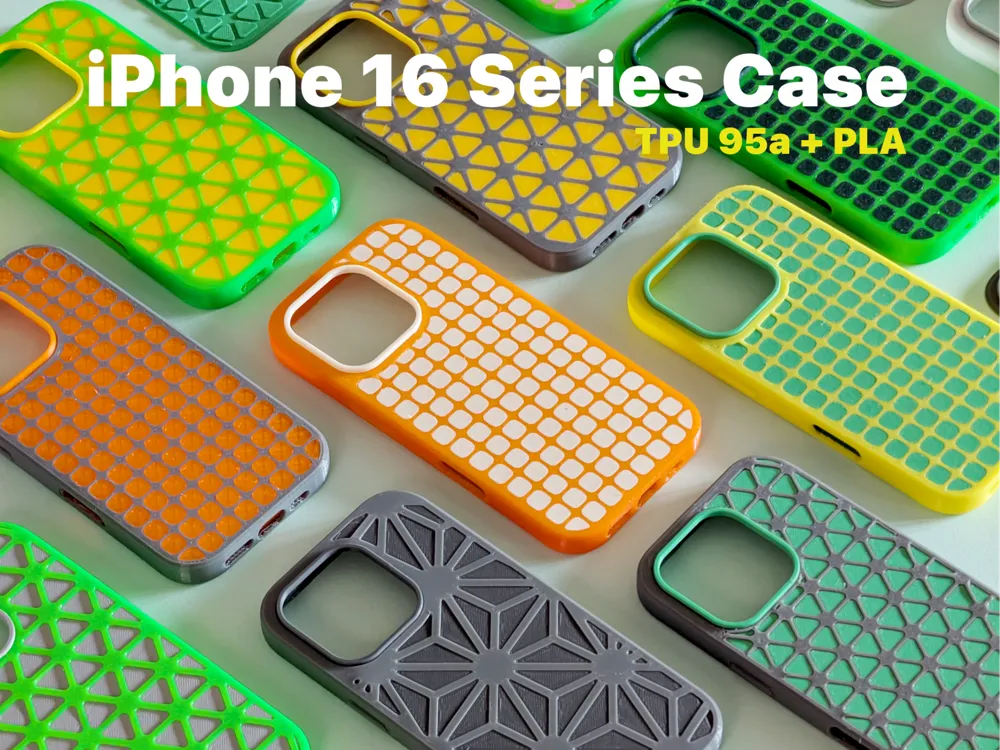
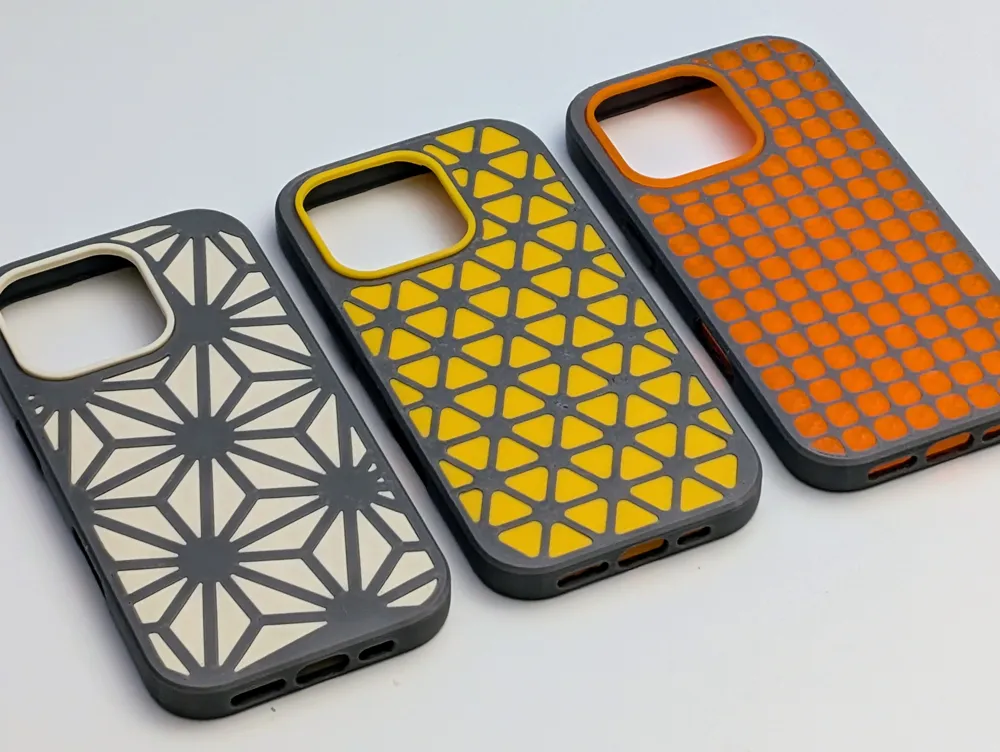
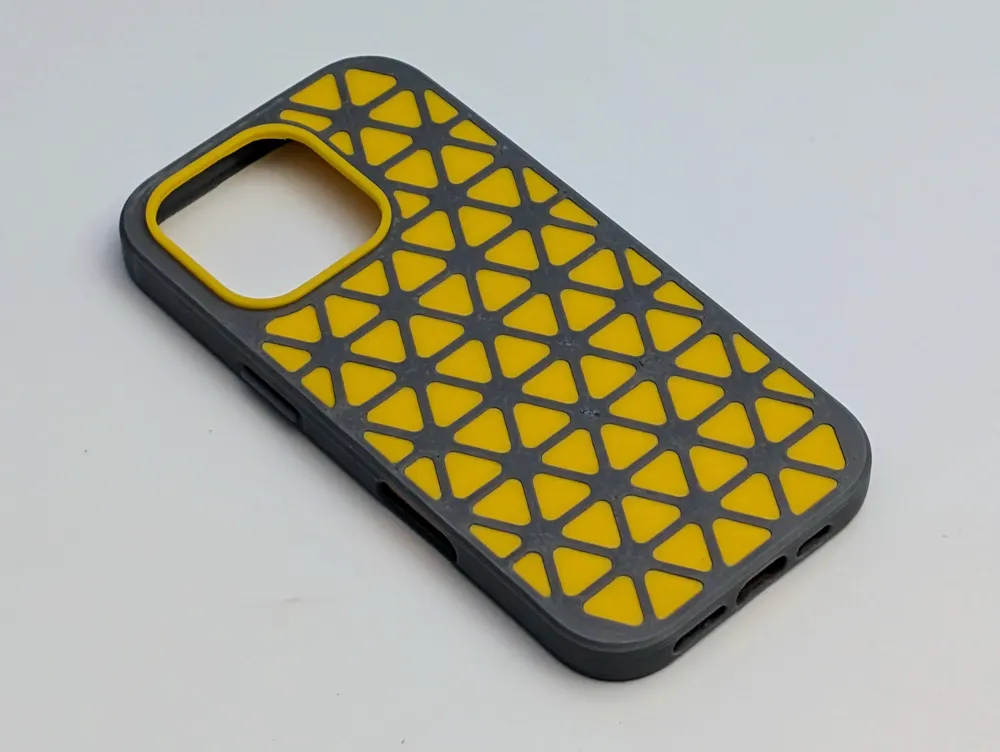
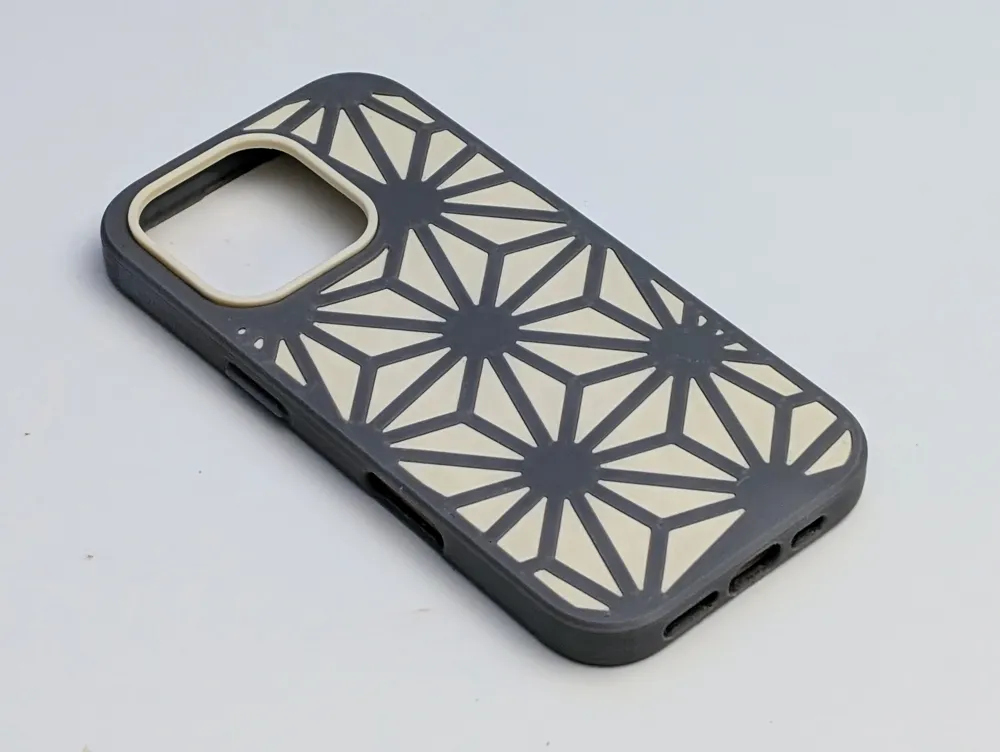
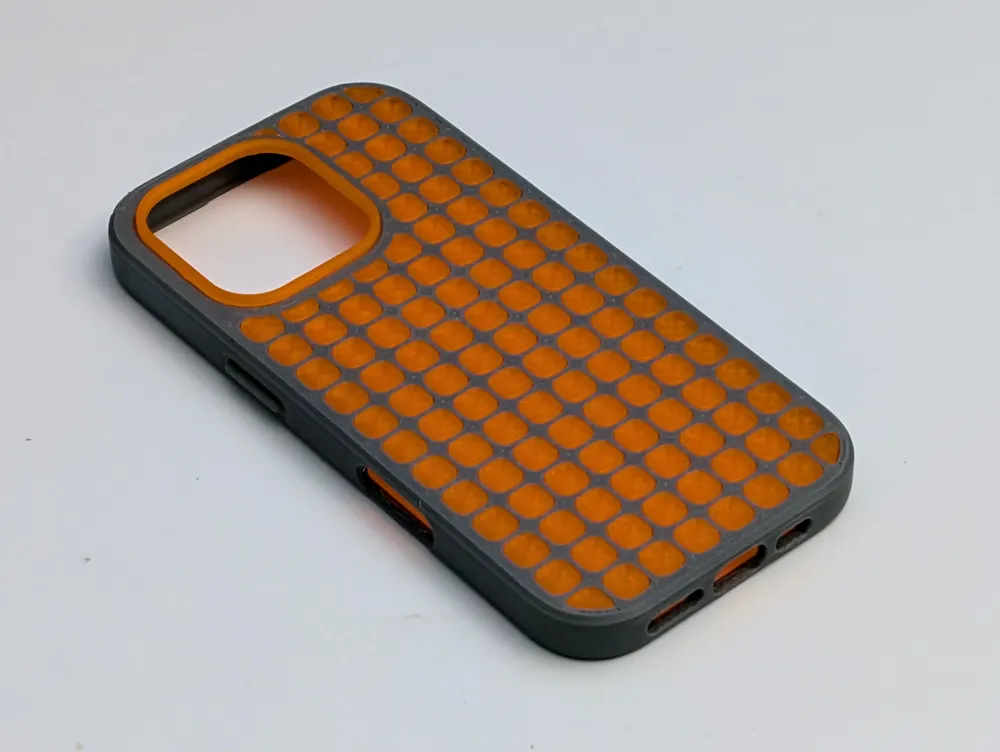
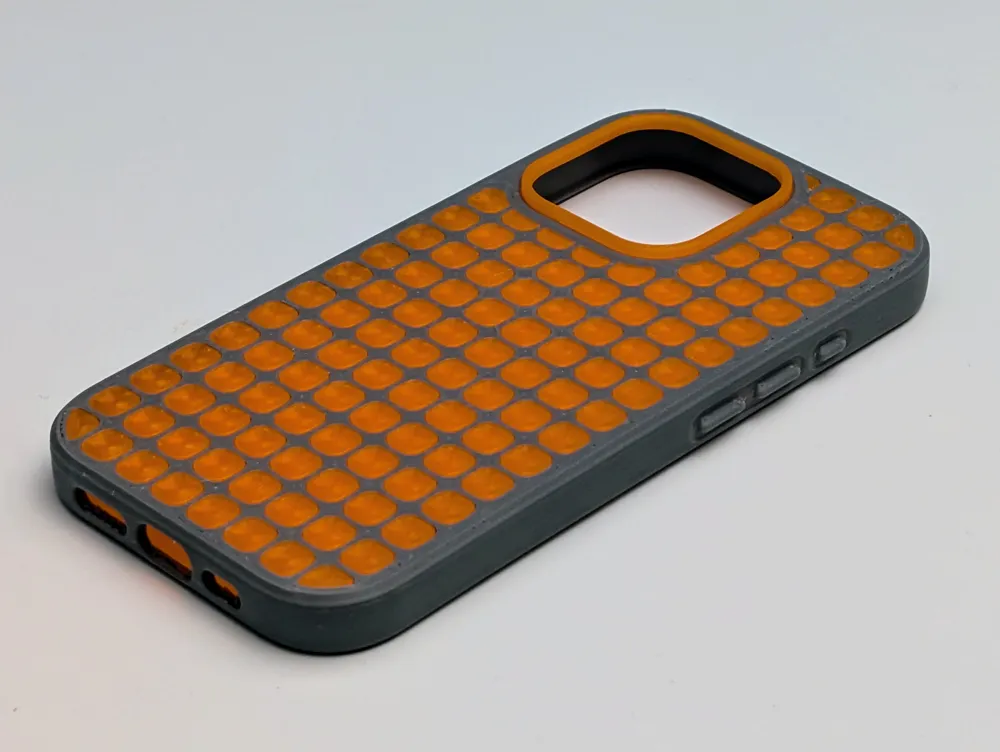
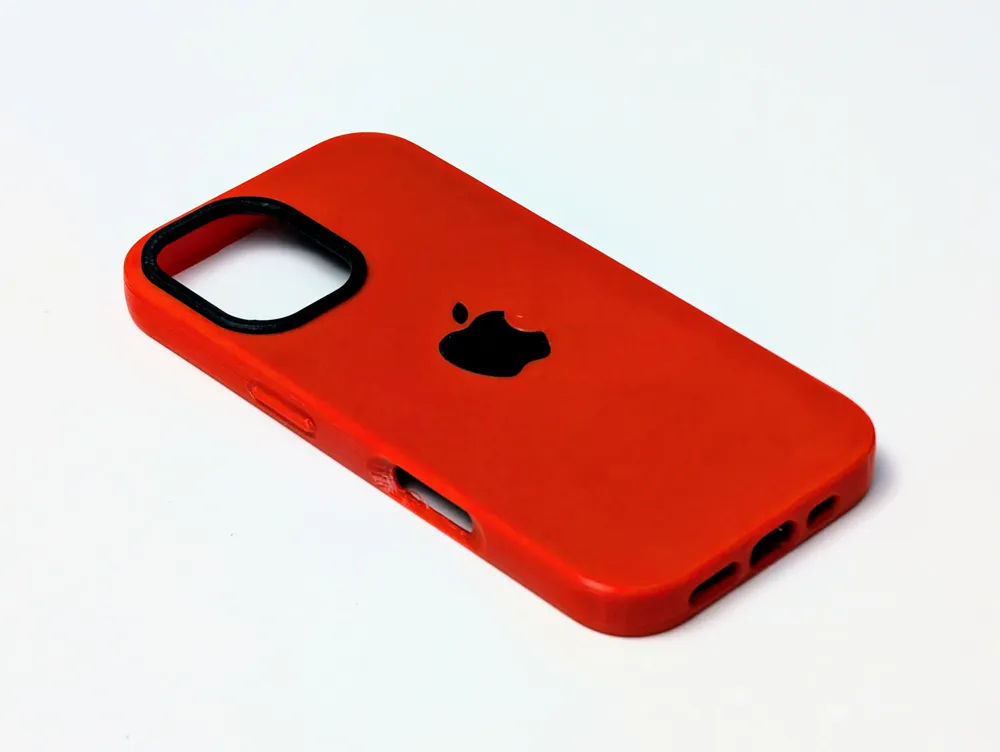
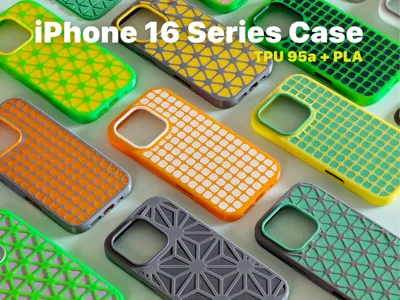
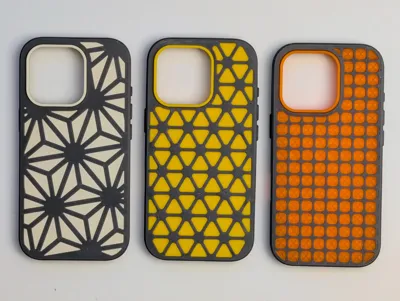
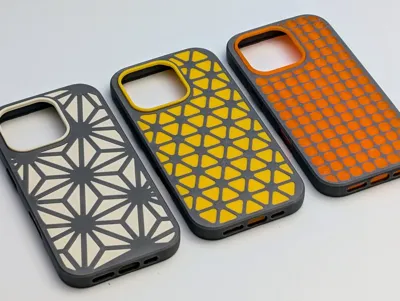
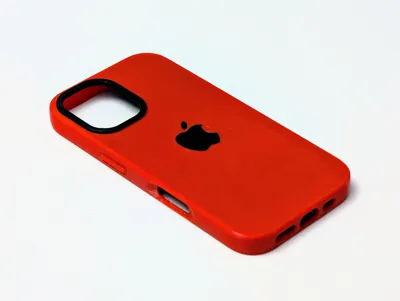
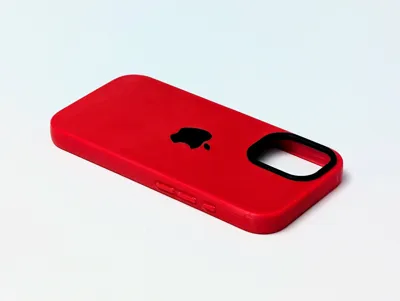
I have updated the lineup! These hybrid phone cases have now been designed to fit the iPhone 16, 16 Pro, and 16 Pro Max
The Perfect Hybrid: TPU meets PLA
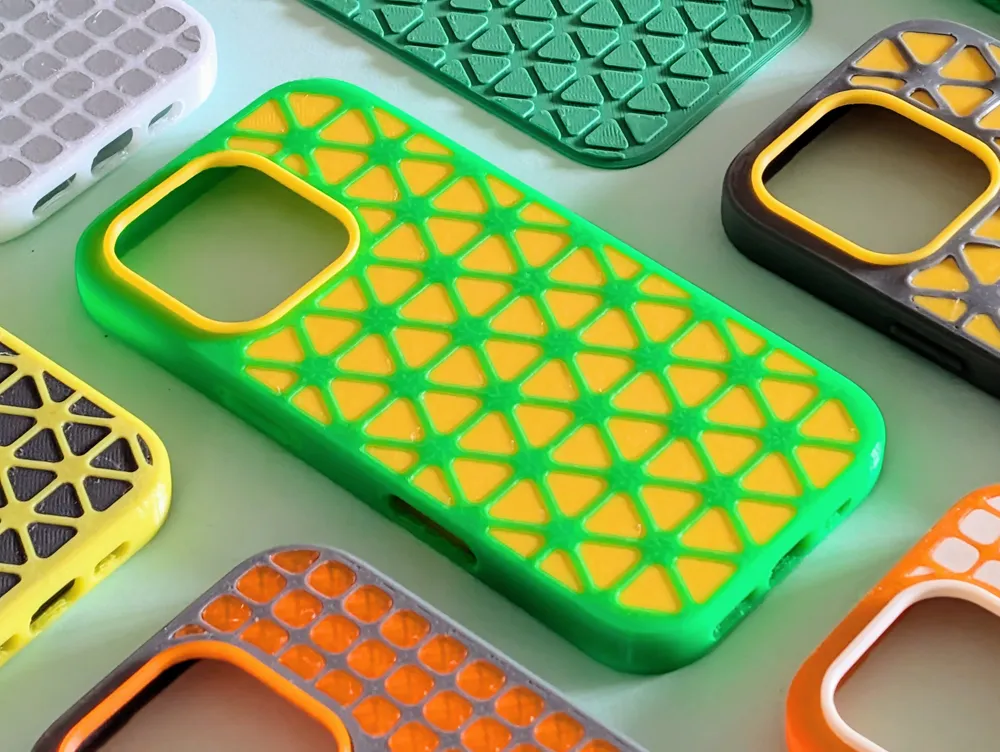
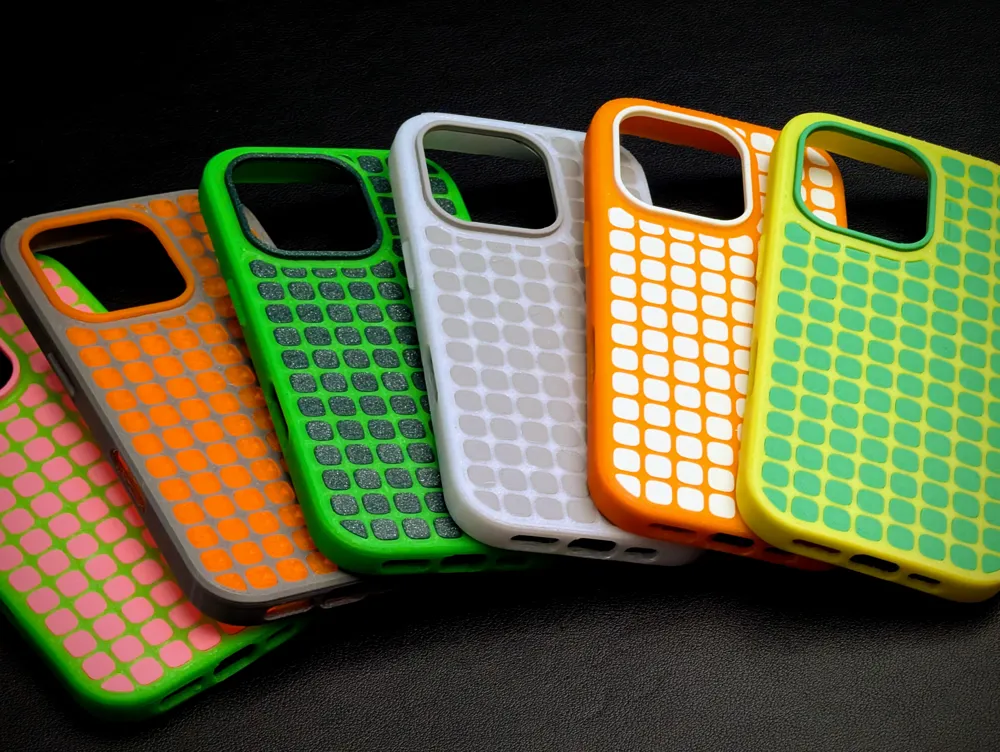
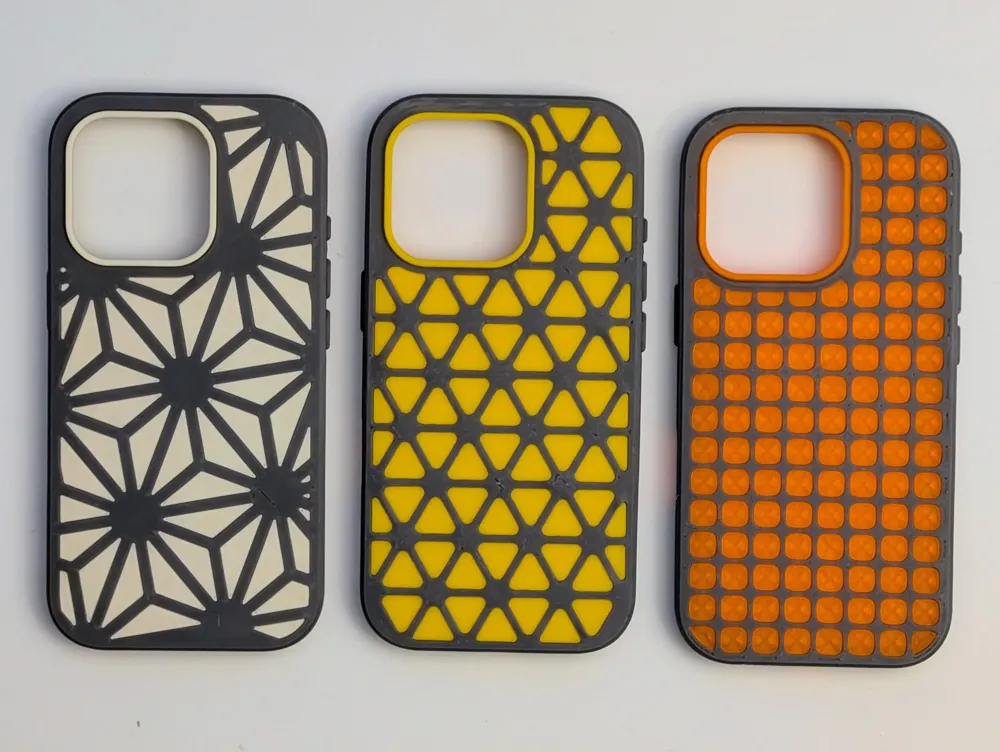
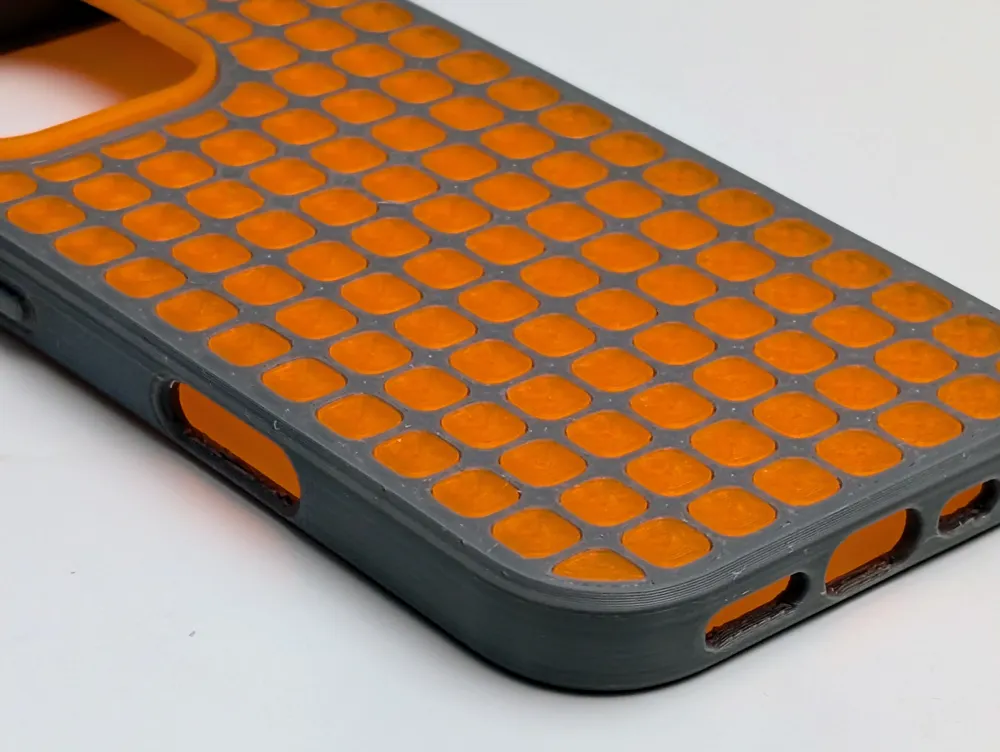
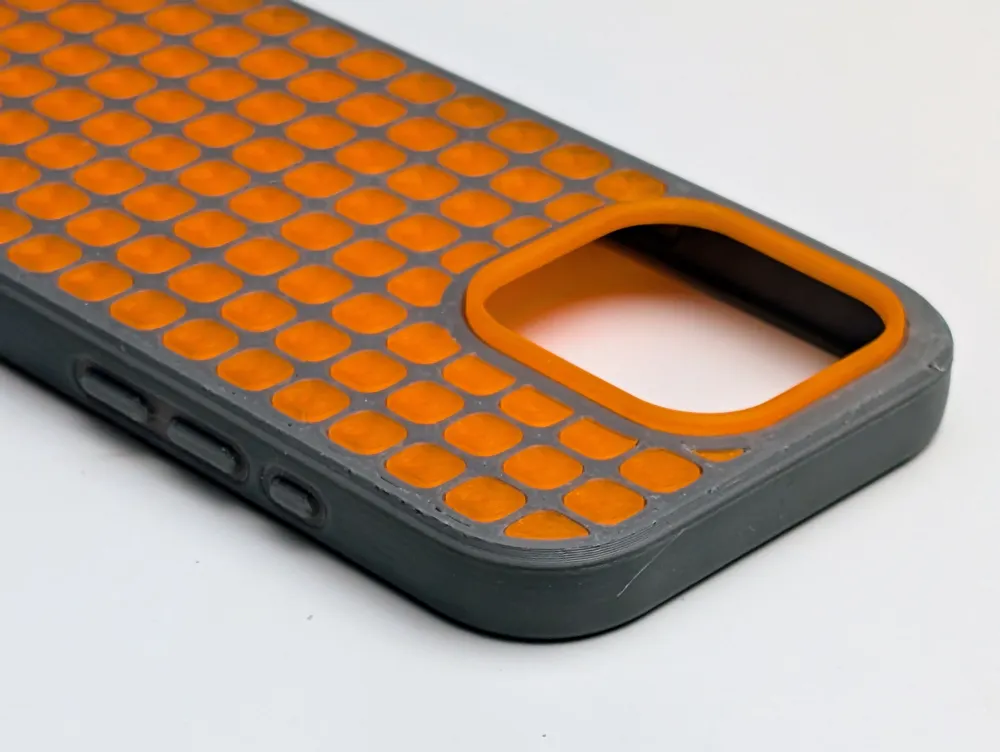
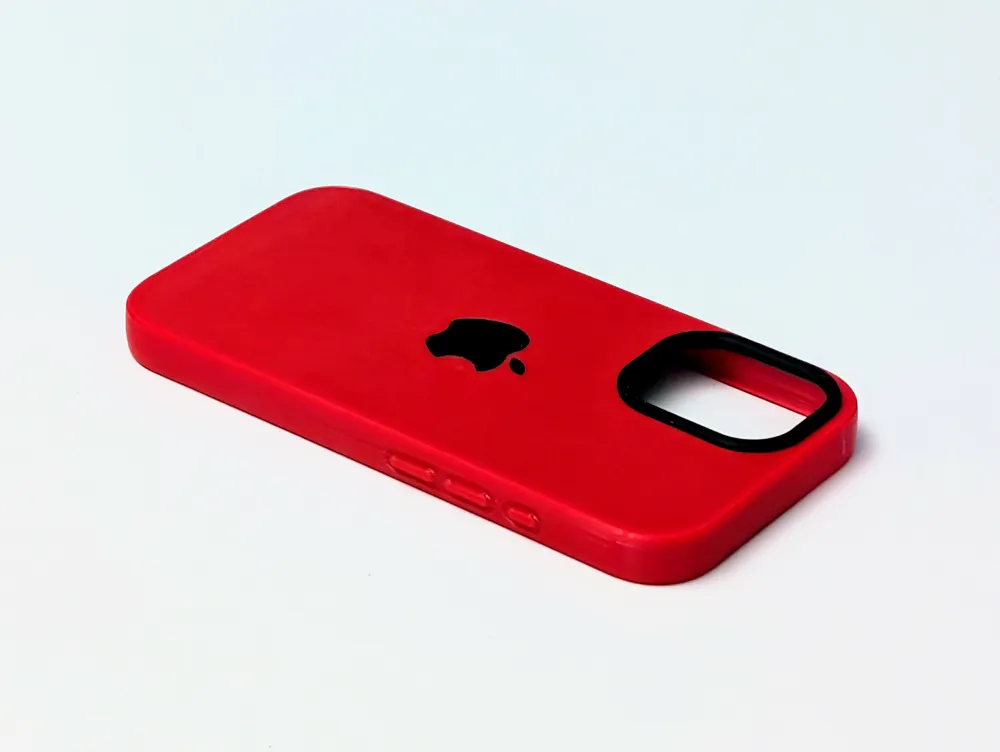
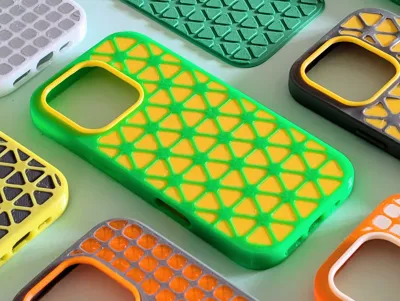
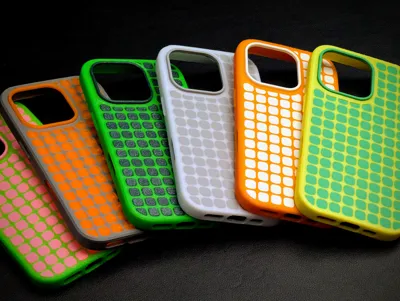
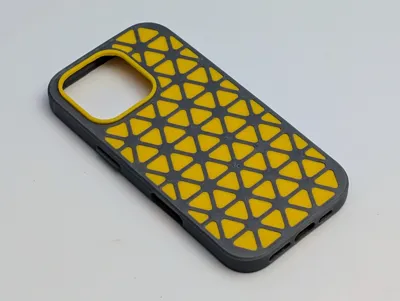
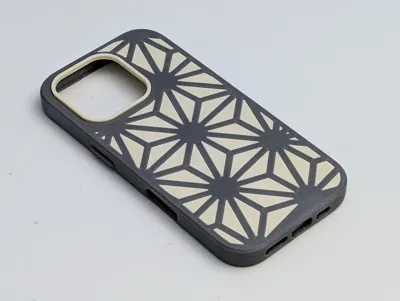
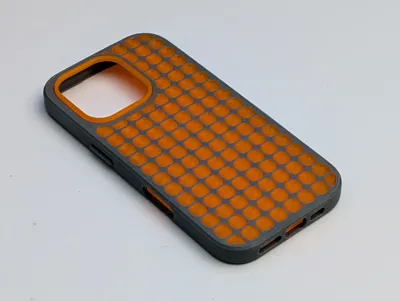
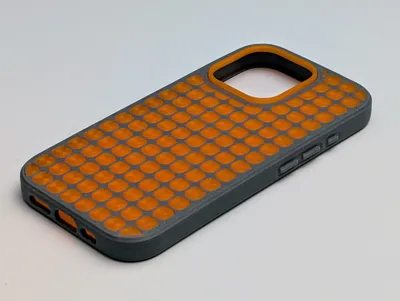
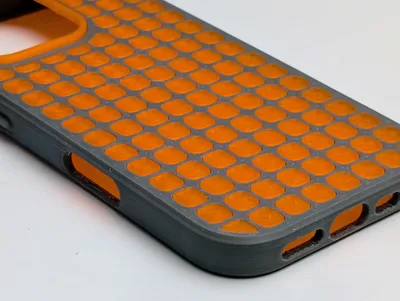
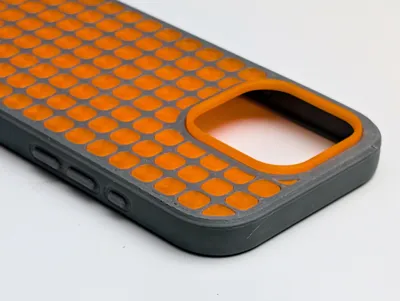
These cases are printed primarily out of TPU 95A with a separate drop-in back panel printed in PLA to give it maximum impact strength. The interlaced TPU acts as a bumper to absorb and distribute any impacts. Together, it creates a really pleasing combination of look, texture, and feel in the hand.
(Note: Some of the examples in the images are early prototypes and might look a bit rough. Your final prints will look much better!)
Assembly Instructions
Assembly is quite straightforward, though you will need to use a little effort to get the rigid back panel into place.
- Fit the Frame: Flex the TPU frame around the PLA back panel.
- Lock it in: Once loosely in place, press down all around the back of the case to embed the TPU into the PLA back panel. There is a very slight taper to the design to help lock them together securely.
- Pro Tip: I have found that rubbing something round and smooth against the back helps press everything in nicely!
(Don't want to fiddle around too much? There is an extra Flat Back Panel included in the print profile for an easier fit).
Printing Profile & Tips
- First Layer Settings: I've set the first layer to print at a slow 20 mm/s. If you manually increase your print temperature by 10 degrees for the TPU first layer, you should get a beautifully smooth finish.
- Build Plate: These have all been tested and perfected on the Smooth Plate.
- Part Removal: Gently remove the TPU bumper from the build plate. I don't use any release agent, and they peel away nicely, wait to cool or the warm TPU might deform!
- The PLA Panel: You can safely set your speeds back to your default PLA settings for the rigid back panel part; otherwise, it will take a few minutes longer than necessary.
I’d love to see what colour combinations you choose for your setups!
You May also Like
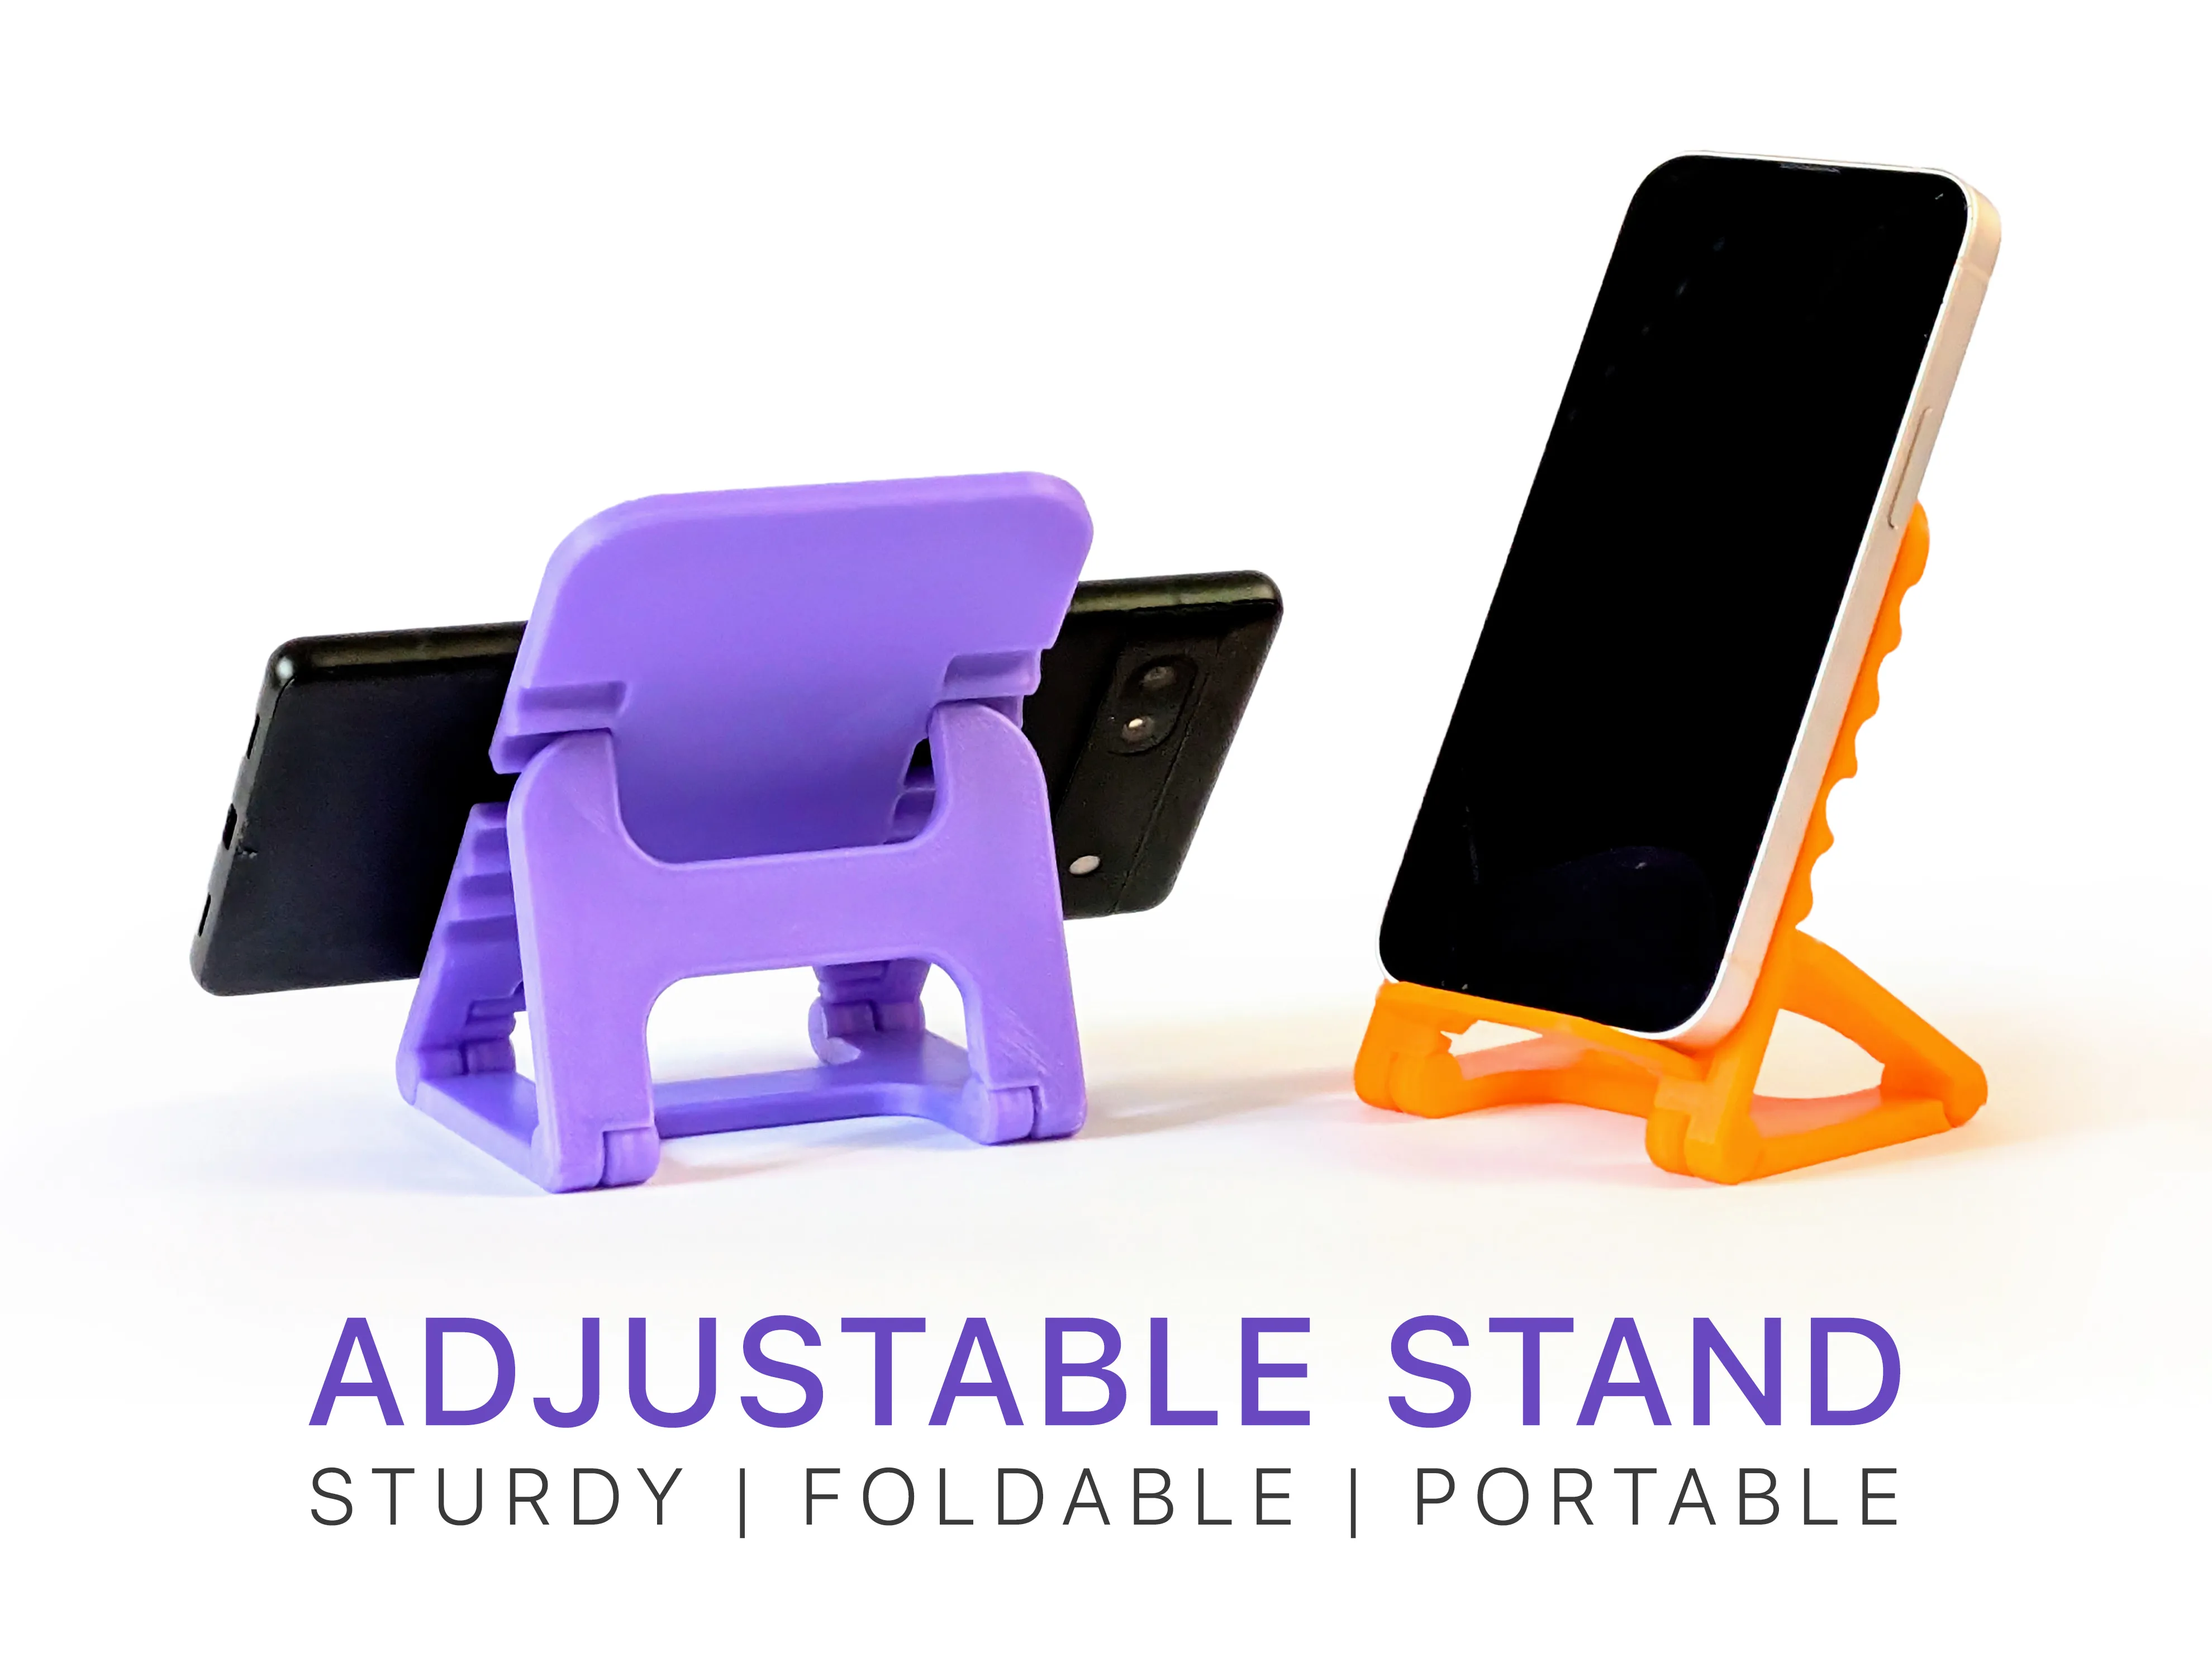
I'm continuously creating new products so please follow @moss3d to be notified when new models are uploaded
License

You shall not share, sub-license, sell, rent, host, transfer, or distribute in any way the digital or 3D printed versions of this object, nor any other derivative work of this object in its digital or physical format (including - but not limited to - remixes of this object, and hosting on other digital platforms). The objects may not be used without permission in any way whatsoever in which you charge money, or collect fees.


Comment & Rating (269)