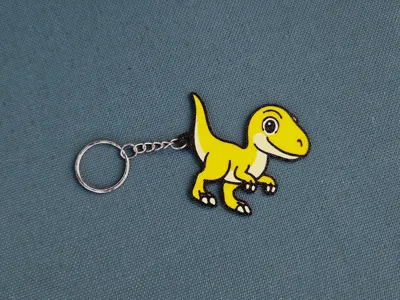
Guide: Add a Keychain Hole Attachment to Any Model


Print Profile(2)

Bill of Materials

Description
How to add keychain hole attachment to any of your models
Step 1: Open the Project in Bambu Studio
Click on “Open in Bambu Studio” or download the model file and open it in your slicer of choice.

Step 2: Import Your Model
Import the model you want to add the keychain hole to.

Step 3: Position the Keychain Attachment
Select the keychain attachment and use the move, scale, and rotate tools to place it exactly where you want it on your model. Make sure the two parts overlap so they will be printed as one.

Step 4: Merge the Two Objects
Combine the models into a single printable object: hold the Ctrl key and click to select both your model and the keychain attachment. Once both are selected, right-click on them and choose "Merge" from the menu.

Step 5: Organize Parts to Preserve Colors
To prevent the keychain attachment from changing your model's colors, click and drag the keychain hole part to the top of the list within the group. This ensures the color of your main model takes priority.
When KeychainHole is at the end of the part list:

After moving the KeychainHole part to the top of the list:

Step 6: Slice & Print!
And that's it! You are now ready to slice and print.
Comment & Rating (17)