Search models, users, collections, and posts

VfB Stuttgart Logo Lightbox

IP Report

Print Profile(1)

All
A1
H2S
P2S
H2C
H2D Pro
H2D
X2D
A2L

0.2mm layer, 2 walls, 15% infill
Designer
8.4 h
4 plates
5.0(4)

Open in Bambu Studio
Boost
10
37
15
4
51
19
Released 

Description

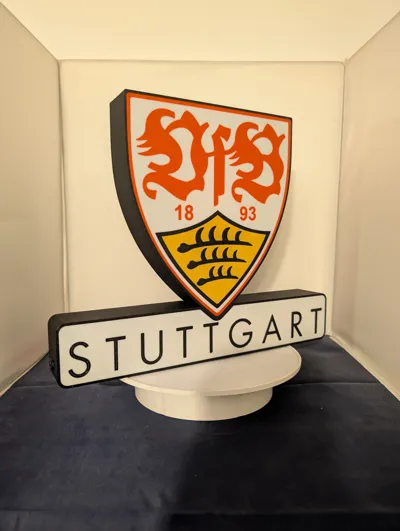
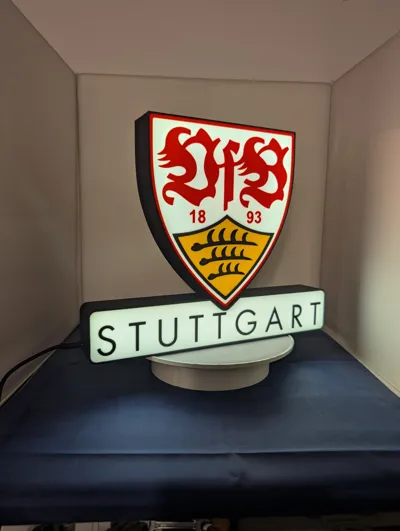
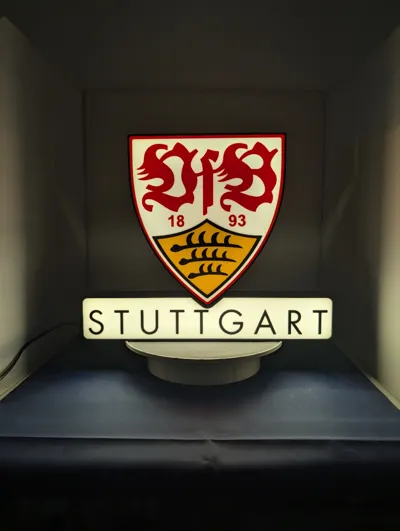
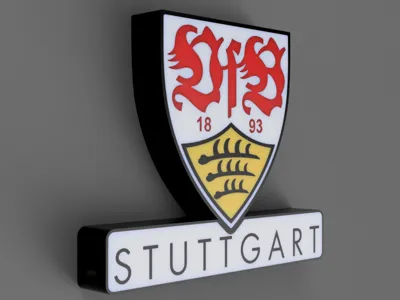
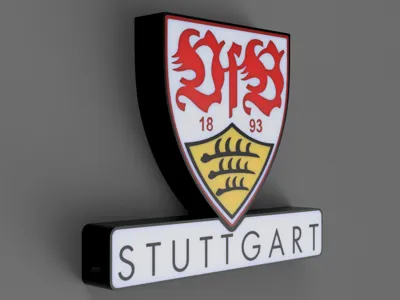
This is a VfB Stuttgart Logo Lightbox .


The profile works OK with my settings but you must check and dial in your Printer accordingly.

there is a hole on the back side to hang the Lightbox and a hole on the side for a USB-C adaptor …
If you don't want to use the USB adaptor i have also included a small cap with a 4mm hole just to fit your cable in and another cap without a hole if you want to use a battery pack in it.

Enjoy !

Pogopin connectors (2P): https://s.click.aliexpress.com/e/_DFjXUg3 
USB-C Adaptor :https://s.click.aliexpress.com/e/_DBngla9
LEDs : https://s.click.aliexpress.com/e/_c4tQpZrz

Filament : https://s.click.aliexpress.com/e/_oEZjZ0d

Comment & Rating (15)

(0/1000)

Boosted
Print Profile
0.2mm layer, 2 walls, 15% infill
What can I say 🙈🙈 Absolutely brilliant! Just needs light in it... but it looks so beautifully ingenious anyway! Thanks for creating and sharing P.S.: If there is a need for the VfB RECARO chair, let me know 😋
(Edited)
Show original
profile
2
Reply
I would be interested in the VFB Recaro chair
(Edited)
Show original
1
Reply
Boosted
Replying to @thebozz :
Who wouldn't? 🤣 It turned out great 🤣....I'll text you later
Show original
0
Reply
Boosted
Replying to @thebozz :
Reply to me in the chat, otherwise I can't send you anything
Show original
0
Reply
@KFDesigns Should the top and base parts be glued together, or what do you recommend? Great work!!!
(Edited)
The designer has replied
0
Reply
if you don't want to use pogo pins then yes glue them together.
0
Reply
Replying to @KFDesigns :
I got it know where to use the pogo pin :) but what is used on the right joint? is it left empty? Does the pogo magnet hold the whole base?
(Edited)
1
Reply
Replying to @user_1824318780 :
yes. in the left side goes the Pogo pin and in the right side the USB-C plug and like this you can use the upper part as individual to hang on the wall. if you don't want to hang on the wall just place them together and use the other USB-C plug on the base to light both of them
0
Reply
Boosted
Looks really great and I'd love to print it, but I'm not so sure about the lighting. Or rather, I don't understand it. If I order the pogopin connector, do I have to solder the LED strip and USB-C adapter to one part of the connector? Or if I buy the USB connector with the plug, as "color: 2p black-PH2.0", is it then a kind of clamp or is the plug really just a plug? I don't know anything about this area, hence the question. I would really appreciate a little explanation. Also, could I have the file for the fridge magnet?
Show original
0
Reply
Print Profile
0.2mm layer, 2 walls, 15% infill
0
Reply
Print Profile
0.2mm layer, 2 walls, 15% infill
0
Reply
Print Profile
0.2mm layer, 2 walls, 15% infill
0
Reply
No more

License

This user content is licensed under a Standard Digital File License.

You shall not share, sub-license, sell, rent, host, transfer, or distribute in any way the digital or 3D printed versions of this object, nor any other derivative work of this object in its digital or physical format (including - but not limited to - remixes of this object, and hosting on other digital platforms). The objects may not be used without permission in any way whatsoever in which you charge money, or collect fees.