49-inch Large Monitor Riser


Print Profile(1)

Description
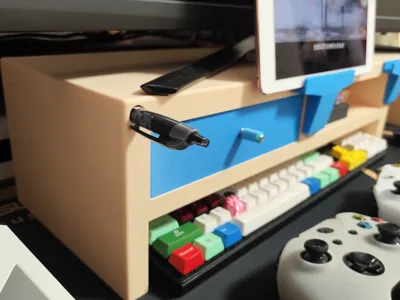
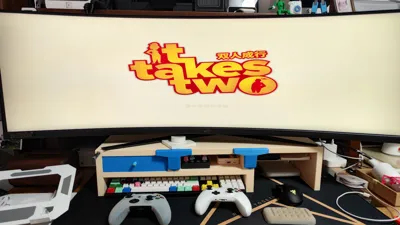
To provide a comfortable viewing position for my heavy ROG 49-inch monitor and maintain a clean, uncluttered desk, I designed this monitor riser.
A1 mini size restrictions currently prevent support!
■This riser comprises three main sections, provisionally termed left, center, and right structures. Assembled dimensions:Total length 720mm, height 146mm, depth 200mm.
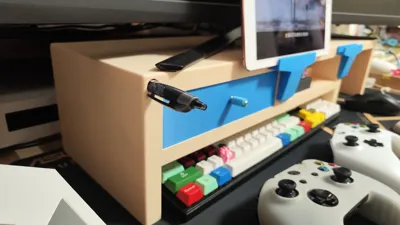
■The top left corner of the left structure features a circular aperture suitable for inserting a standard ballpoint pen.
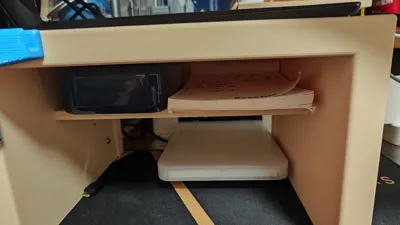
■The left and center sections incorporate a small drawer, or two (you can choose to print one or two drawers; they are identical in size), with an internal drawer height of 32mm.
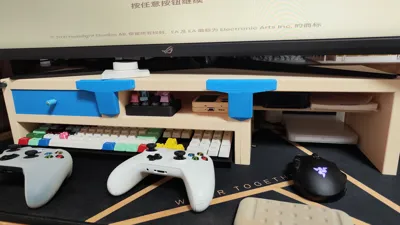
■The supported maximum keyboard dimensions are 450mm long * 60mm high, accommodating most mechanical or wireless keyboards (the base incorporates cable routing holes for wired keyboards with non-detachable cables).
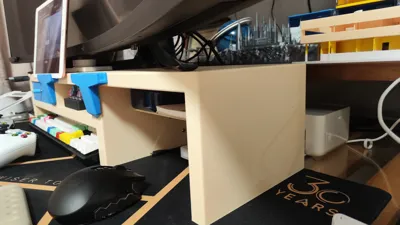
■The right section serves as a mouse rest; it is optional depending on your monitor and desk dimensions. It includes a storage layer for items like notepads, featuring an anti-slip design.
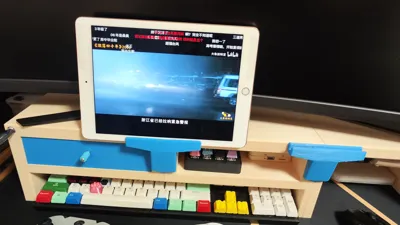
■The left, center, and right structures are assembled via two connecting plugs, each with end caps. These caps have tablet rests for tablets or folded phones (without cases), and do not obstruct drawer movement. In the print settings, only the end caps require supports; if the connecting joints are acceptable exposed, the end caps can be omitted.
■Three long rectangular apertures run through the main structures; these accommodate a Totake KA004 USB light strip, inserted from the top right corner.
■For enhanced structural integrity, the left and right sections have optional 3mm screw-secured supports at the base; however, testing suggests these are not strictly necessary.
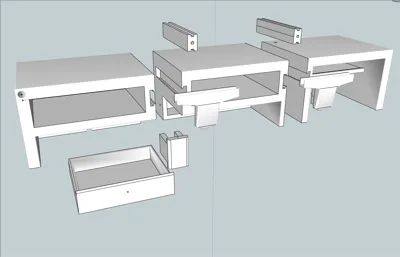
■Assembly is straightforward using the provided diagrams; the end caps may require a rubber mallet for insertion.
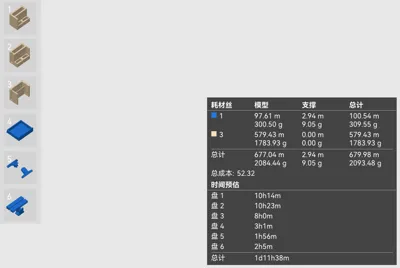
■PETG is the recommended material for optimal strength. With the provided print settings, the entire assembly requires approximately 2kg of material and takes about a day and a half.
Happy printing!
Comment & Rating (3)