


Print Profile(1)

Description
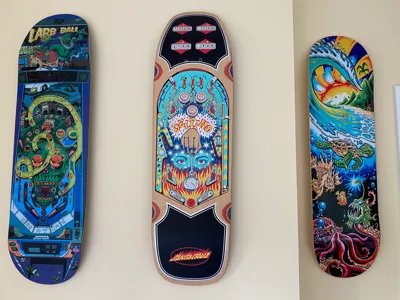
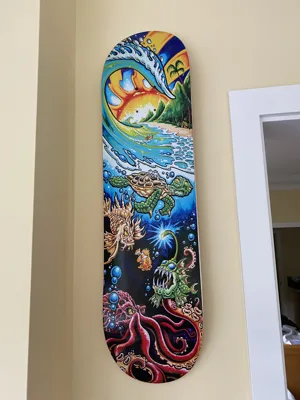
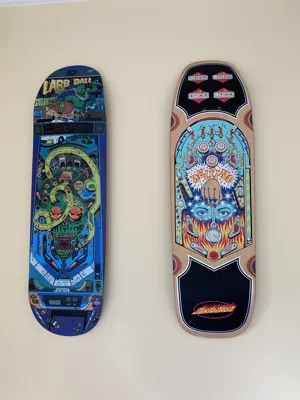
This is a simple print (of 4 parts) which unlike other skateboard deck mounts allows you to easily remove a deck off the wall mount and show a mate the art on the top deck or just check out the board or swap your board collection around very easily. It will suit most standard skateboard decks, but if not (March 2026) file upgrade now includes 2 extra mounts that aid in displaying the deck with larger kicks further away from the wall
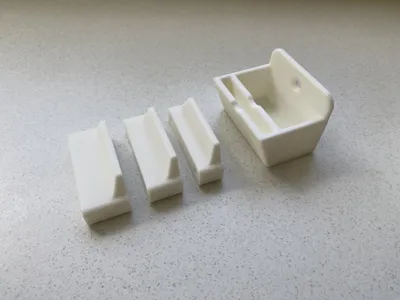
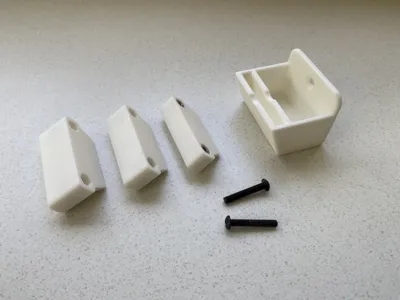
You will just need 2 parts to print - main block and shortest deck mount to fit to 1 x skateboard deck. If your kicks are larger you may need to print the medium or the largest deck mount block (shown in the photos) to set your deck further from the wall.
You will need a few bits of hardware:
6 off x 4mm nuts (non-nyloc)
2 off x 4mm x 25mm long button head bolts
2 off x 4mm washers
1 off x wall screw (to suit your wall - plaster, brick, timber, concrete)
Note: I realise some countries won't have easy access to the 4mm nuts, washers and bolts - these will be available off eBay or Amazon and you could get 10 or more as then you can make a number of mounts for your skateboard collection.
Assemble as follows:
Step 1
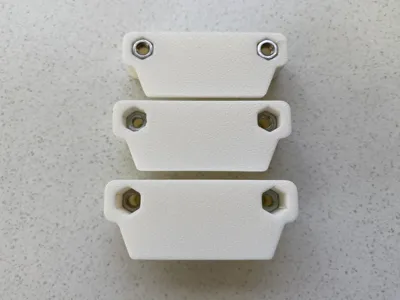
- There will be a mini support in the nut hole - simply use a stanely blade to pick and release from the hole. Then take the 2 x 4mm nuts and locate partly into the nut recess, then insert a 4mm bolt in from the other side and wind it up to pull the nut into the recess fully and then remove the bolts. No heat threads required or tapping threads in holes. The 2 larger blocks will just have the nuts recessed in further but perform the same step as above.
Step 2
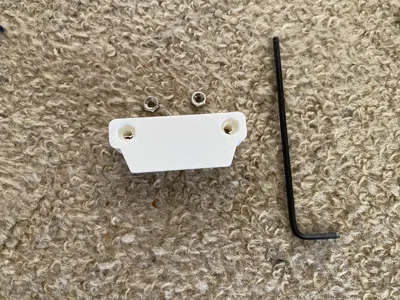
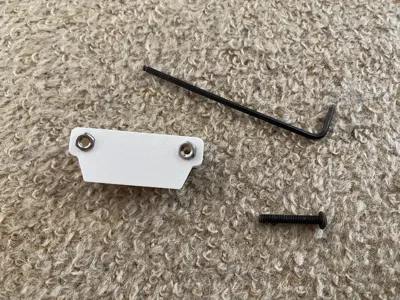
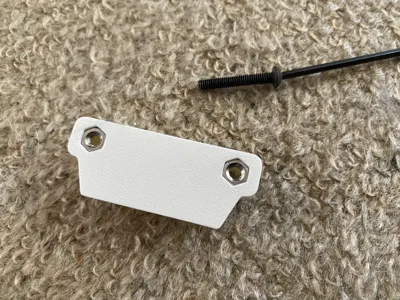
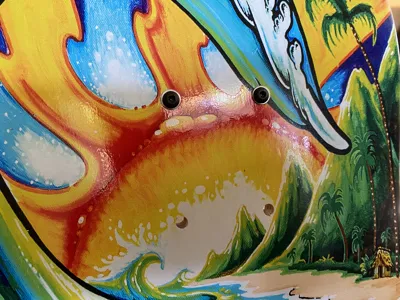
- Locate 2 x 4mm bolts, 2 x washers (not required but aid in protecting the deck a little more), and the smaller printed bracket. Install a washer under the bolt head to protect the art on your deck from the art side to the top side, and install into the highest set of holes and screw the bolts into the smaller 3d printed bracket with the lip facing down.
Step 3
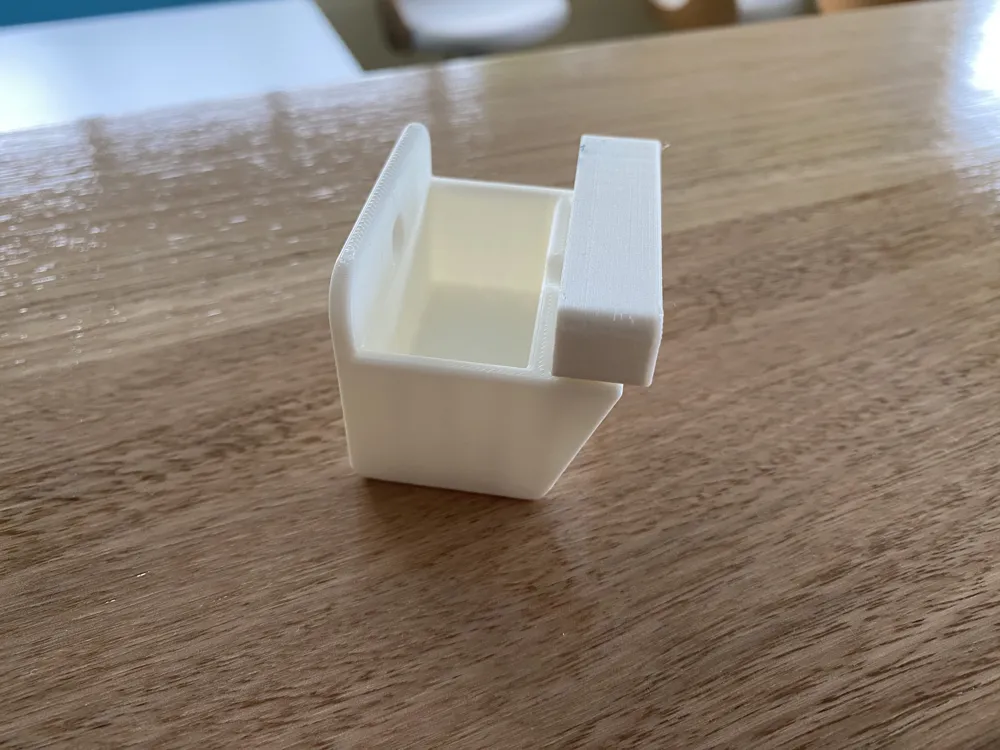
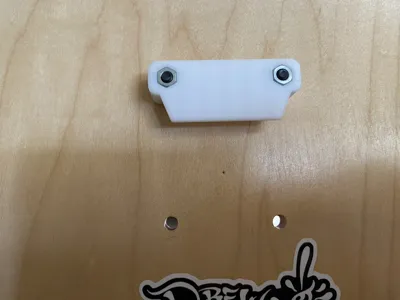
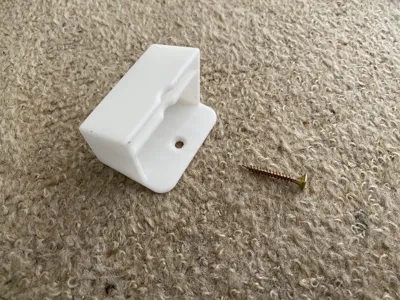
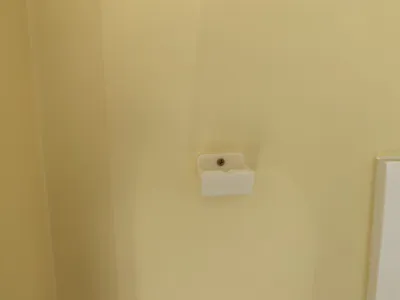
- Next secure your larger 3d printed bracket to the wall with one appropriate screw for your wall. Ensure your bracket is straight so the deck will hang straight. You will notice a groove for the smaller bracket lip to sit and the remainder little recess is just a void (but as my son does in his room for his deck is stashes some coins in there).
Step 4
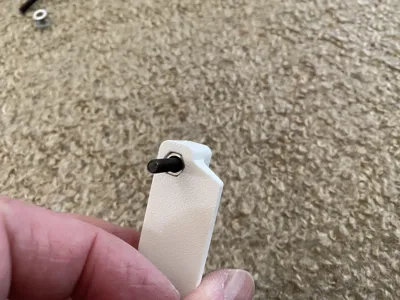
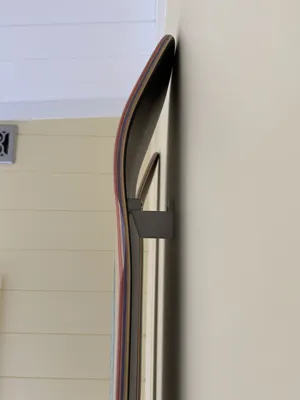
- Simply look at the side of your skateboard deck and wall mount and locate the lip into the recess of the wall mount and pull lightly down so the board sits nicely in and now your deck is wall mounted. The beauty with this design is you can swap your boards around or remove one easily to check the top side art.
Enjoy
I do ask if you download something that was helpful for you - please give the model a LIKE or a BOOST - as that gives me motivation to design, create and share more.
And if you want to hear about more designs being released click the FOLLOW button.
License
You shall not share, sub-license, sell, rent, host, transfer, or distribute in any way the digital or 3D printed versions of this object, nor any other derivative work of this object in its digital or physical format (including - but not limited to - remixes of this object, and hosting on other digital platforms). The objects may not be used without permission in any way whatsoever in which you charge money, or collect fees.
Comment & Rating (28)