
Jedi Order Crest Kyber Crystal Lightsaber Stand
Print Profile(1)

Description
Thanks for checking out my model! Interested in supporting my work or selling prints?
Support Crew – Show some love and help keep the projects flowing
Galactic Maker Foundry – Sell physical prints of my original designs
Foundry License+ – Sell prints and use my photos for listings
🎉 Supporter-only Discord coming soon – get early access, tips, and sneak peeks!
Membership
Join here to support or get a license
Boost Me (for free)
💥 Like what you see? Give it a Boost!
If you enjoyed this model or it helped complete your Jedi display, hit that Boost button to help more makers discover it. Your support helps fuel future props, displays, and nerdy creations from a galaxy not-so-far away.
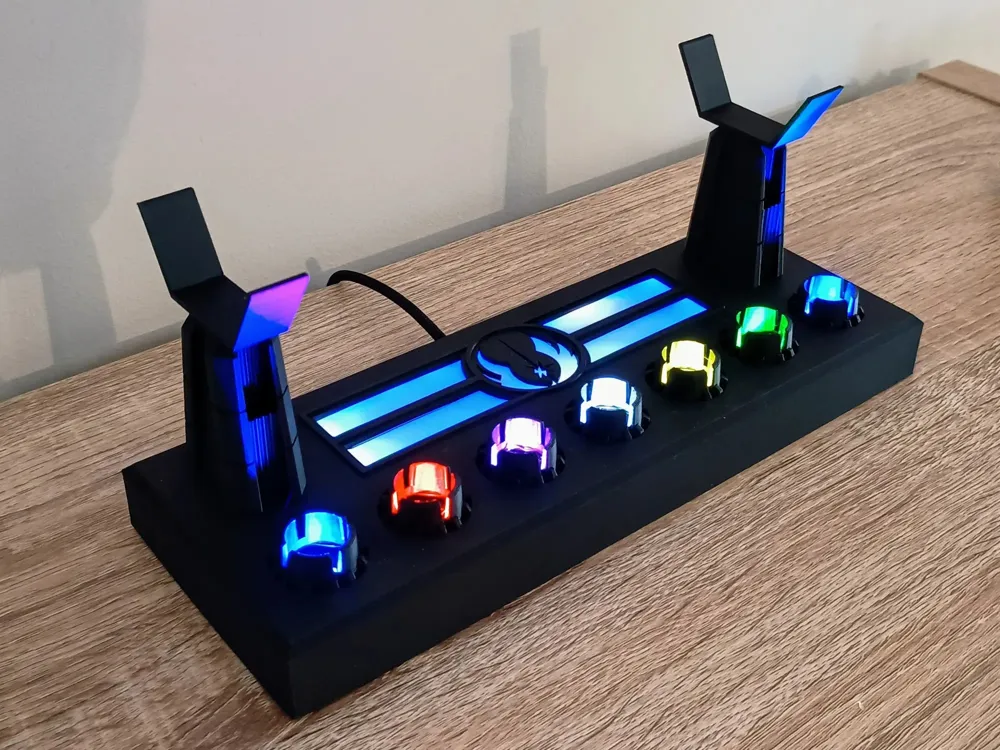
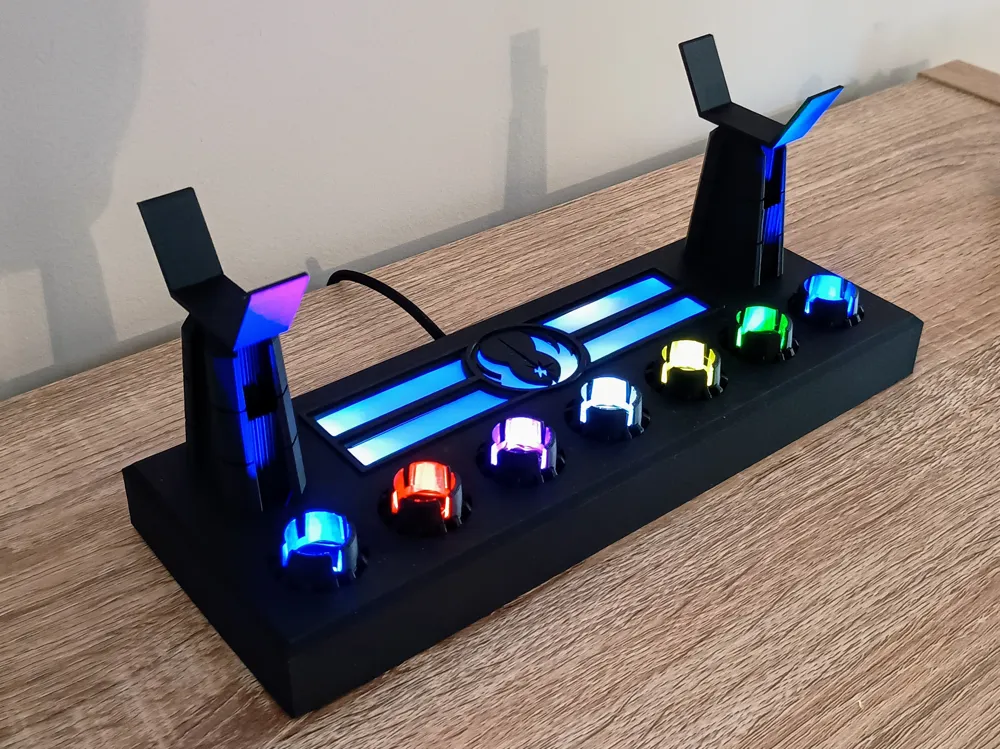
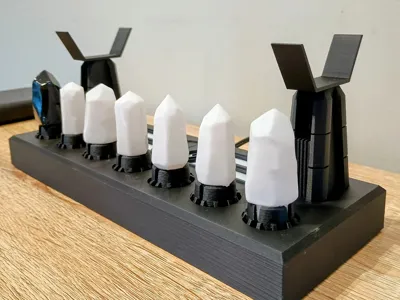
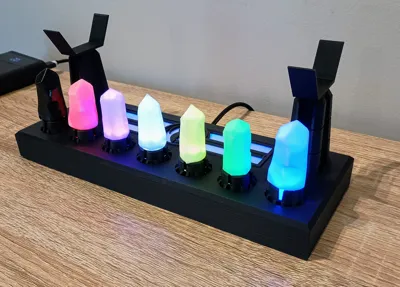
🌌 Kyber Crystal Lightsaber Stand – Jedi Temple Edition
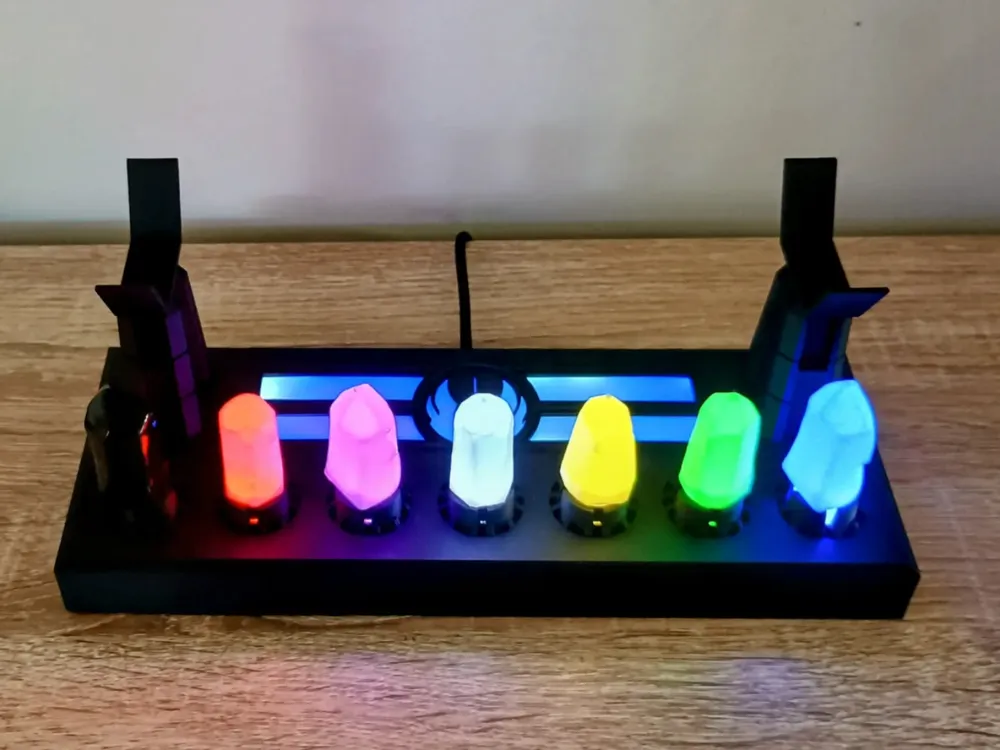
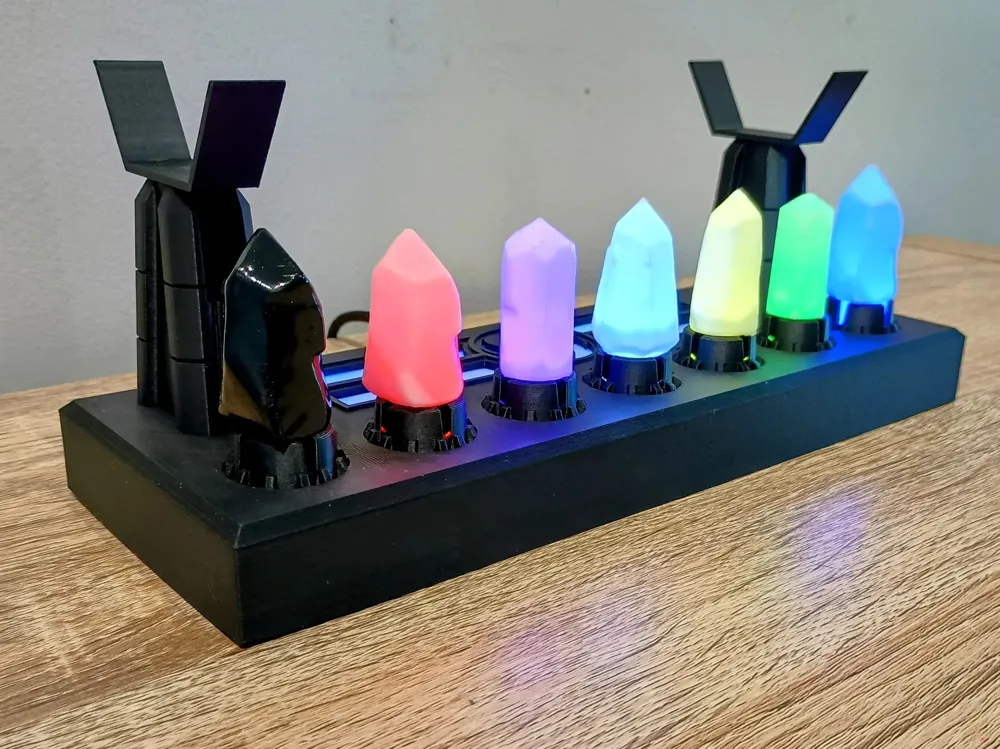
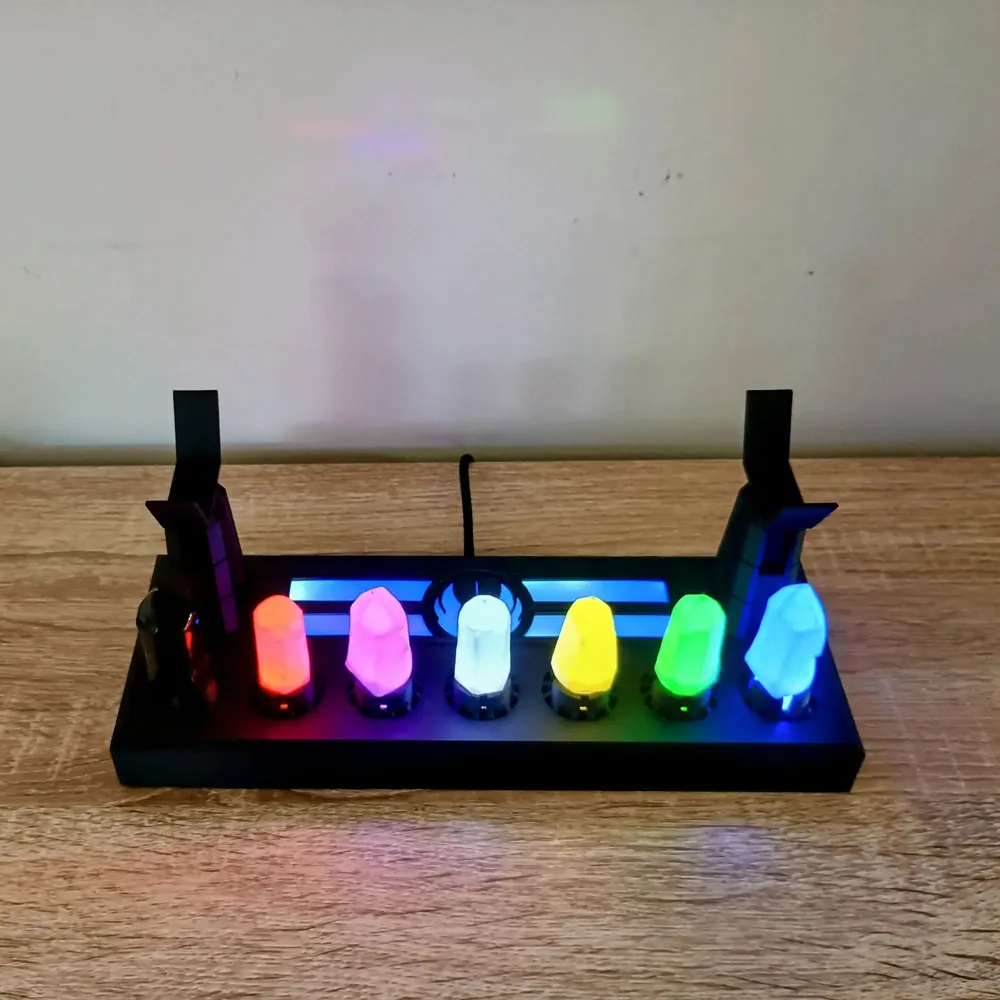
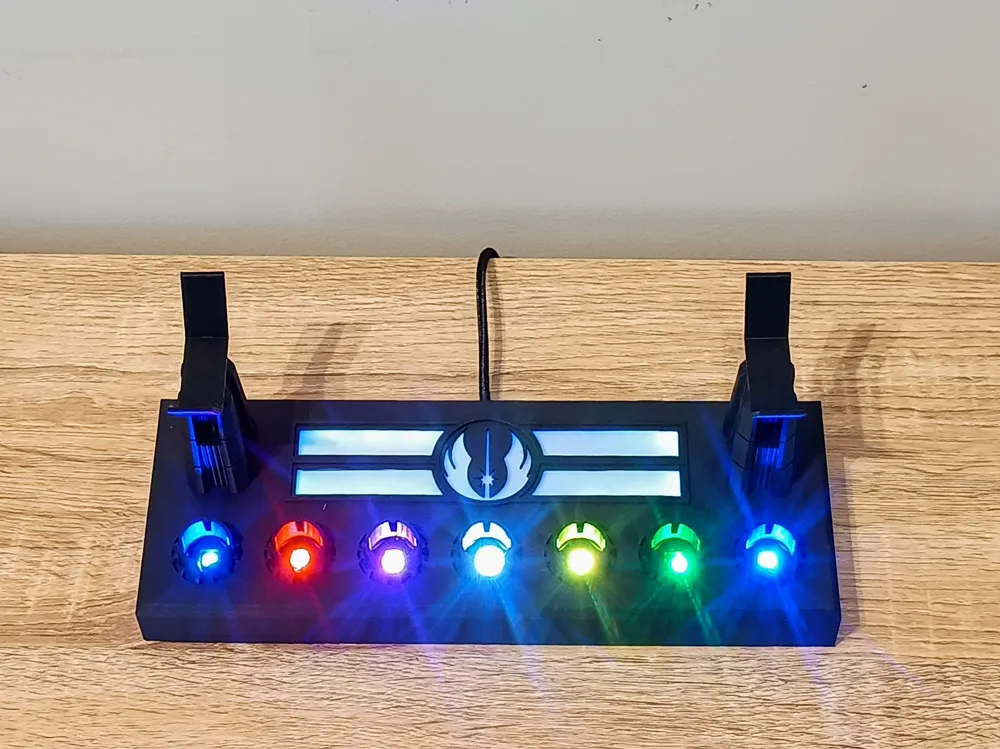
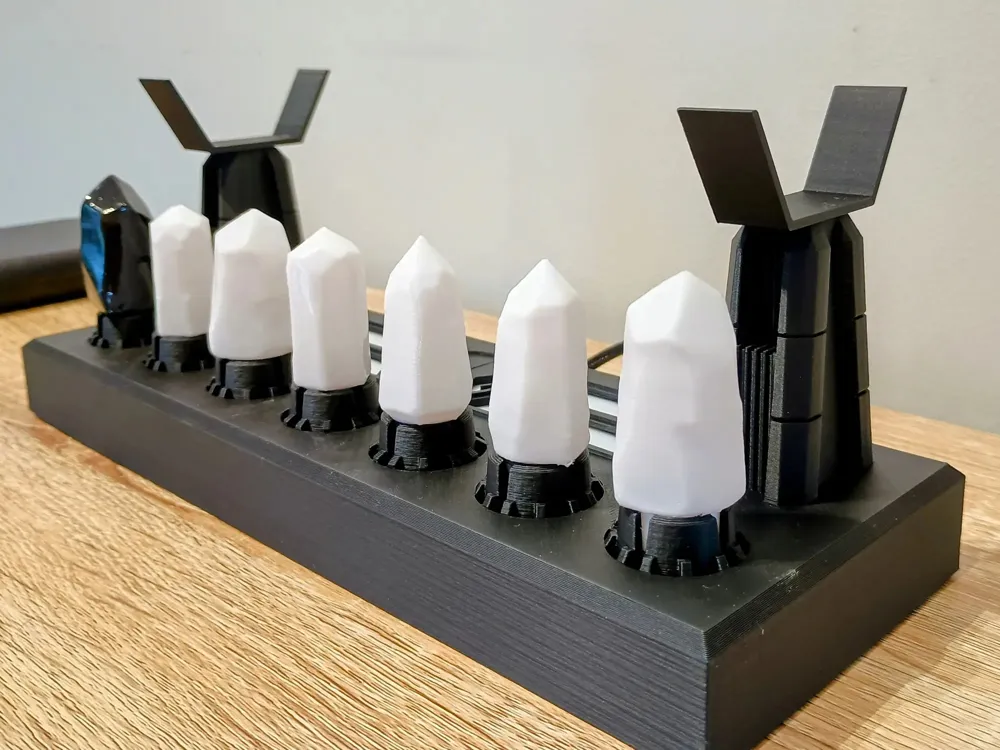
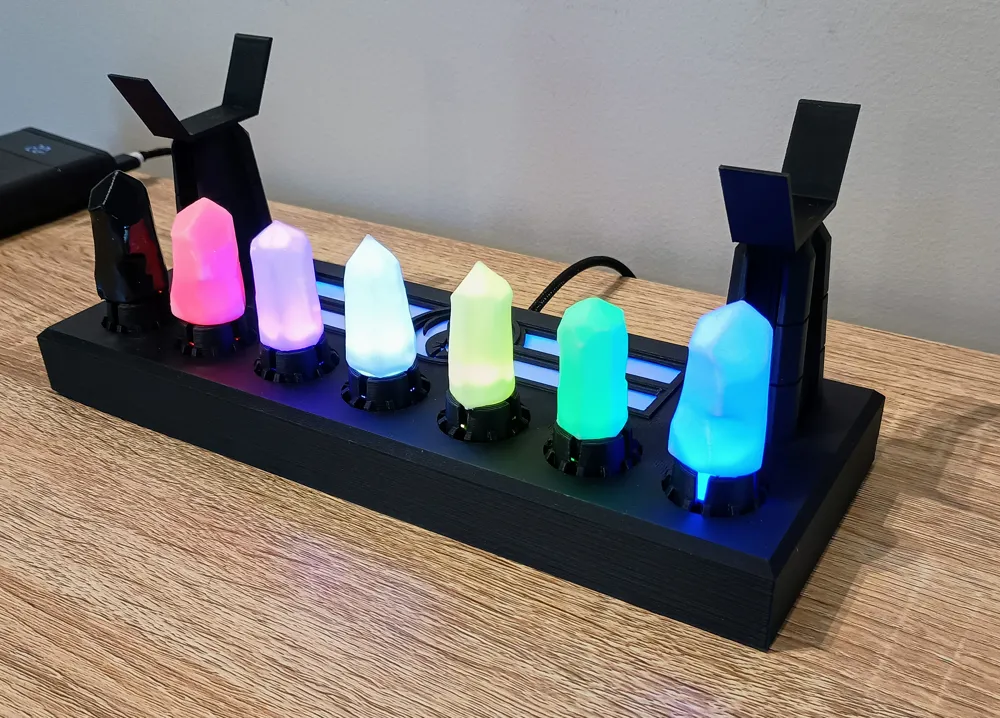
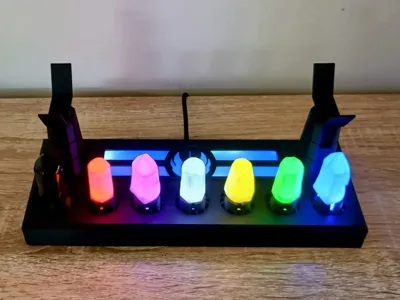
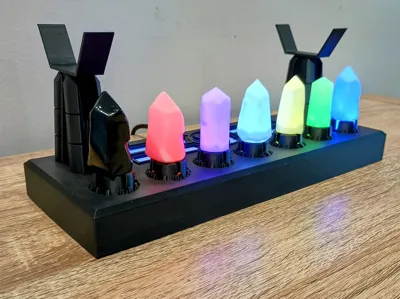
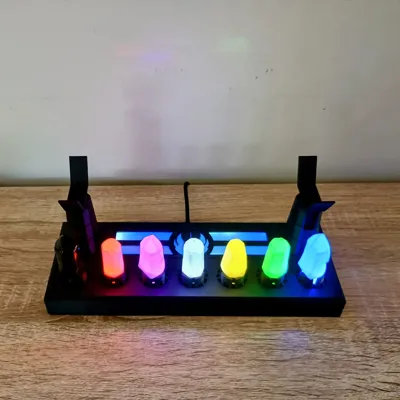
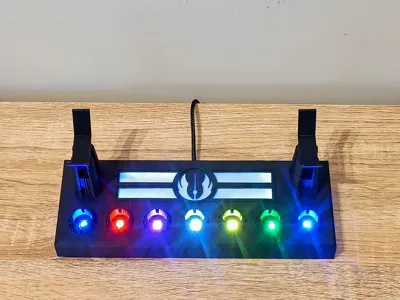
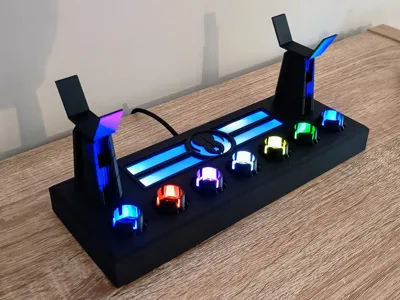
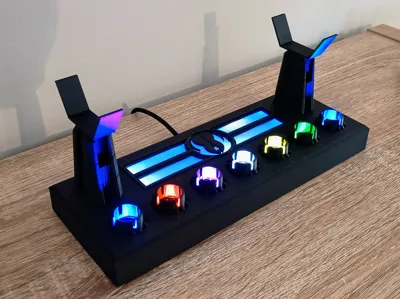
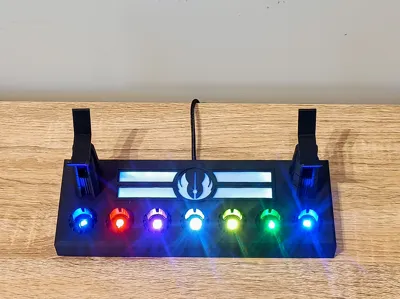
Showcase your Kyber Crystals like a true Jedi with this illuminated display stand. Designed to hold up to 7 crystals—either my printed versions or the official Savi’s Workshop ones—this stand combines clean lines, hidden wiring, and full RGB control via WLED for an elegant (but powerful) glow.
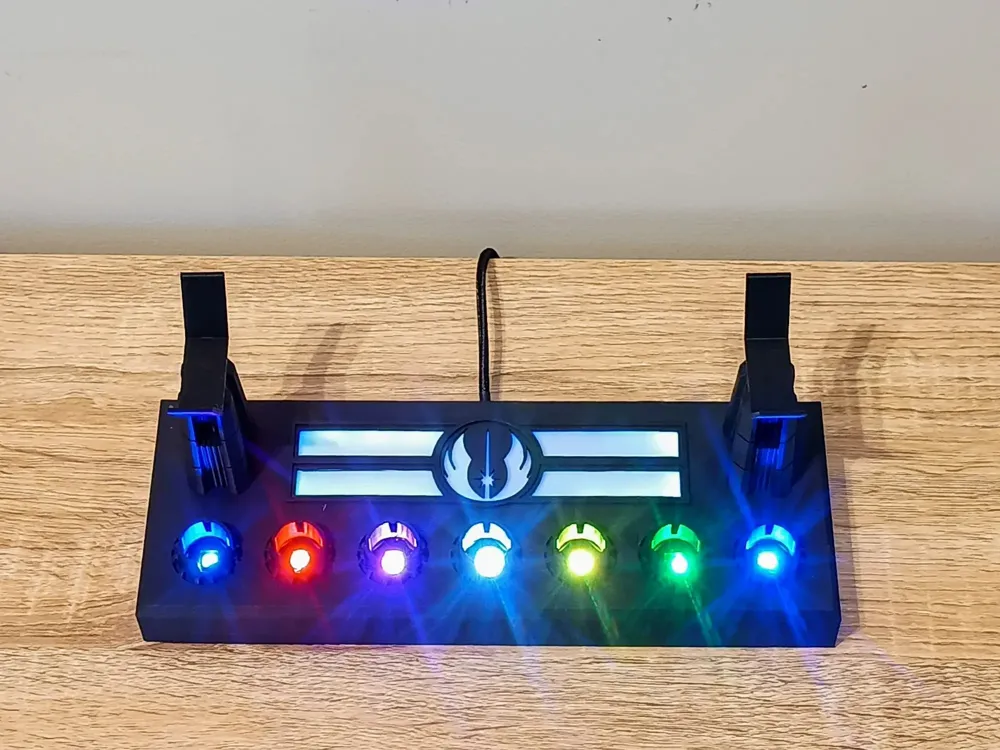
The rear diffuser adds ambient light behind the Jedi Order crest, while each crystal slot is individually lit using cut sections from a WS2812B strip. Powered by a D1 Mini running WLED, you can control the lighting from your phone, browser, or desktop in real time.
🧩 Features:
- Holds 7 Kyber Crystals (custom or Savi’s Workshop compatible)
- Rear diffuser with Jedi Order symbol and ambient glow
- Fully controllable with WLED (smartphone, browser, desktop)
- Powered by a D1 Mini (ESP8266) via USB
- Clean internal wiring with point-to-point soldering
- Two base versions: one-piece (requires supports) and split (easier to print)
⚙️ Electronics Needed:
- 1x D1 Mini (ESP8266)
- 1x WS2812B 60LEDs/M strip (cut into 7 single LEDs + 25 for the diffuser)
- 18 short jumper wires (25–30mm) for LED daisy-chaining, plus a few longer ones for connecting to the D1 Mini and diffuser LEDs
- 1x USB cable for power
- 4x M3 x 8mm bolts for base cover (hex button heads recommended)
⚡ Power is wired directly to the LEDs by twisting the USB wires together with the LED power wires, then soldering to the 5V and GND pads on the D1 Mini. This avoids using the onboard voltage regulator and ensures stable power.
🛠️ Assembly Overview:
1. Flash WLED to the D1 Mini
Go to install.wled.me and flash version 0.14.0 for best stability.
This gives you full control over the lights from any browser or phone.
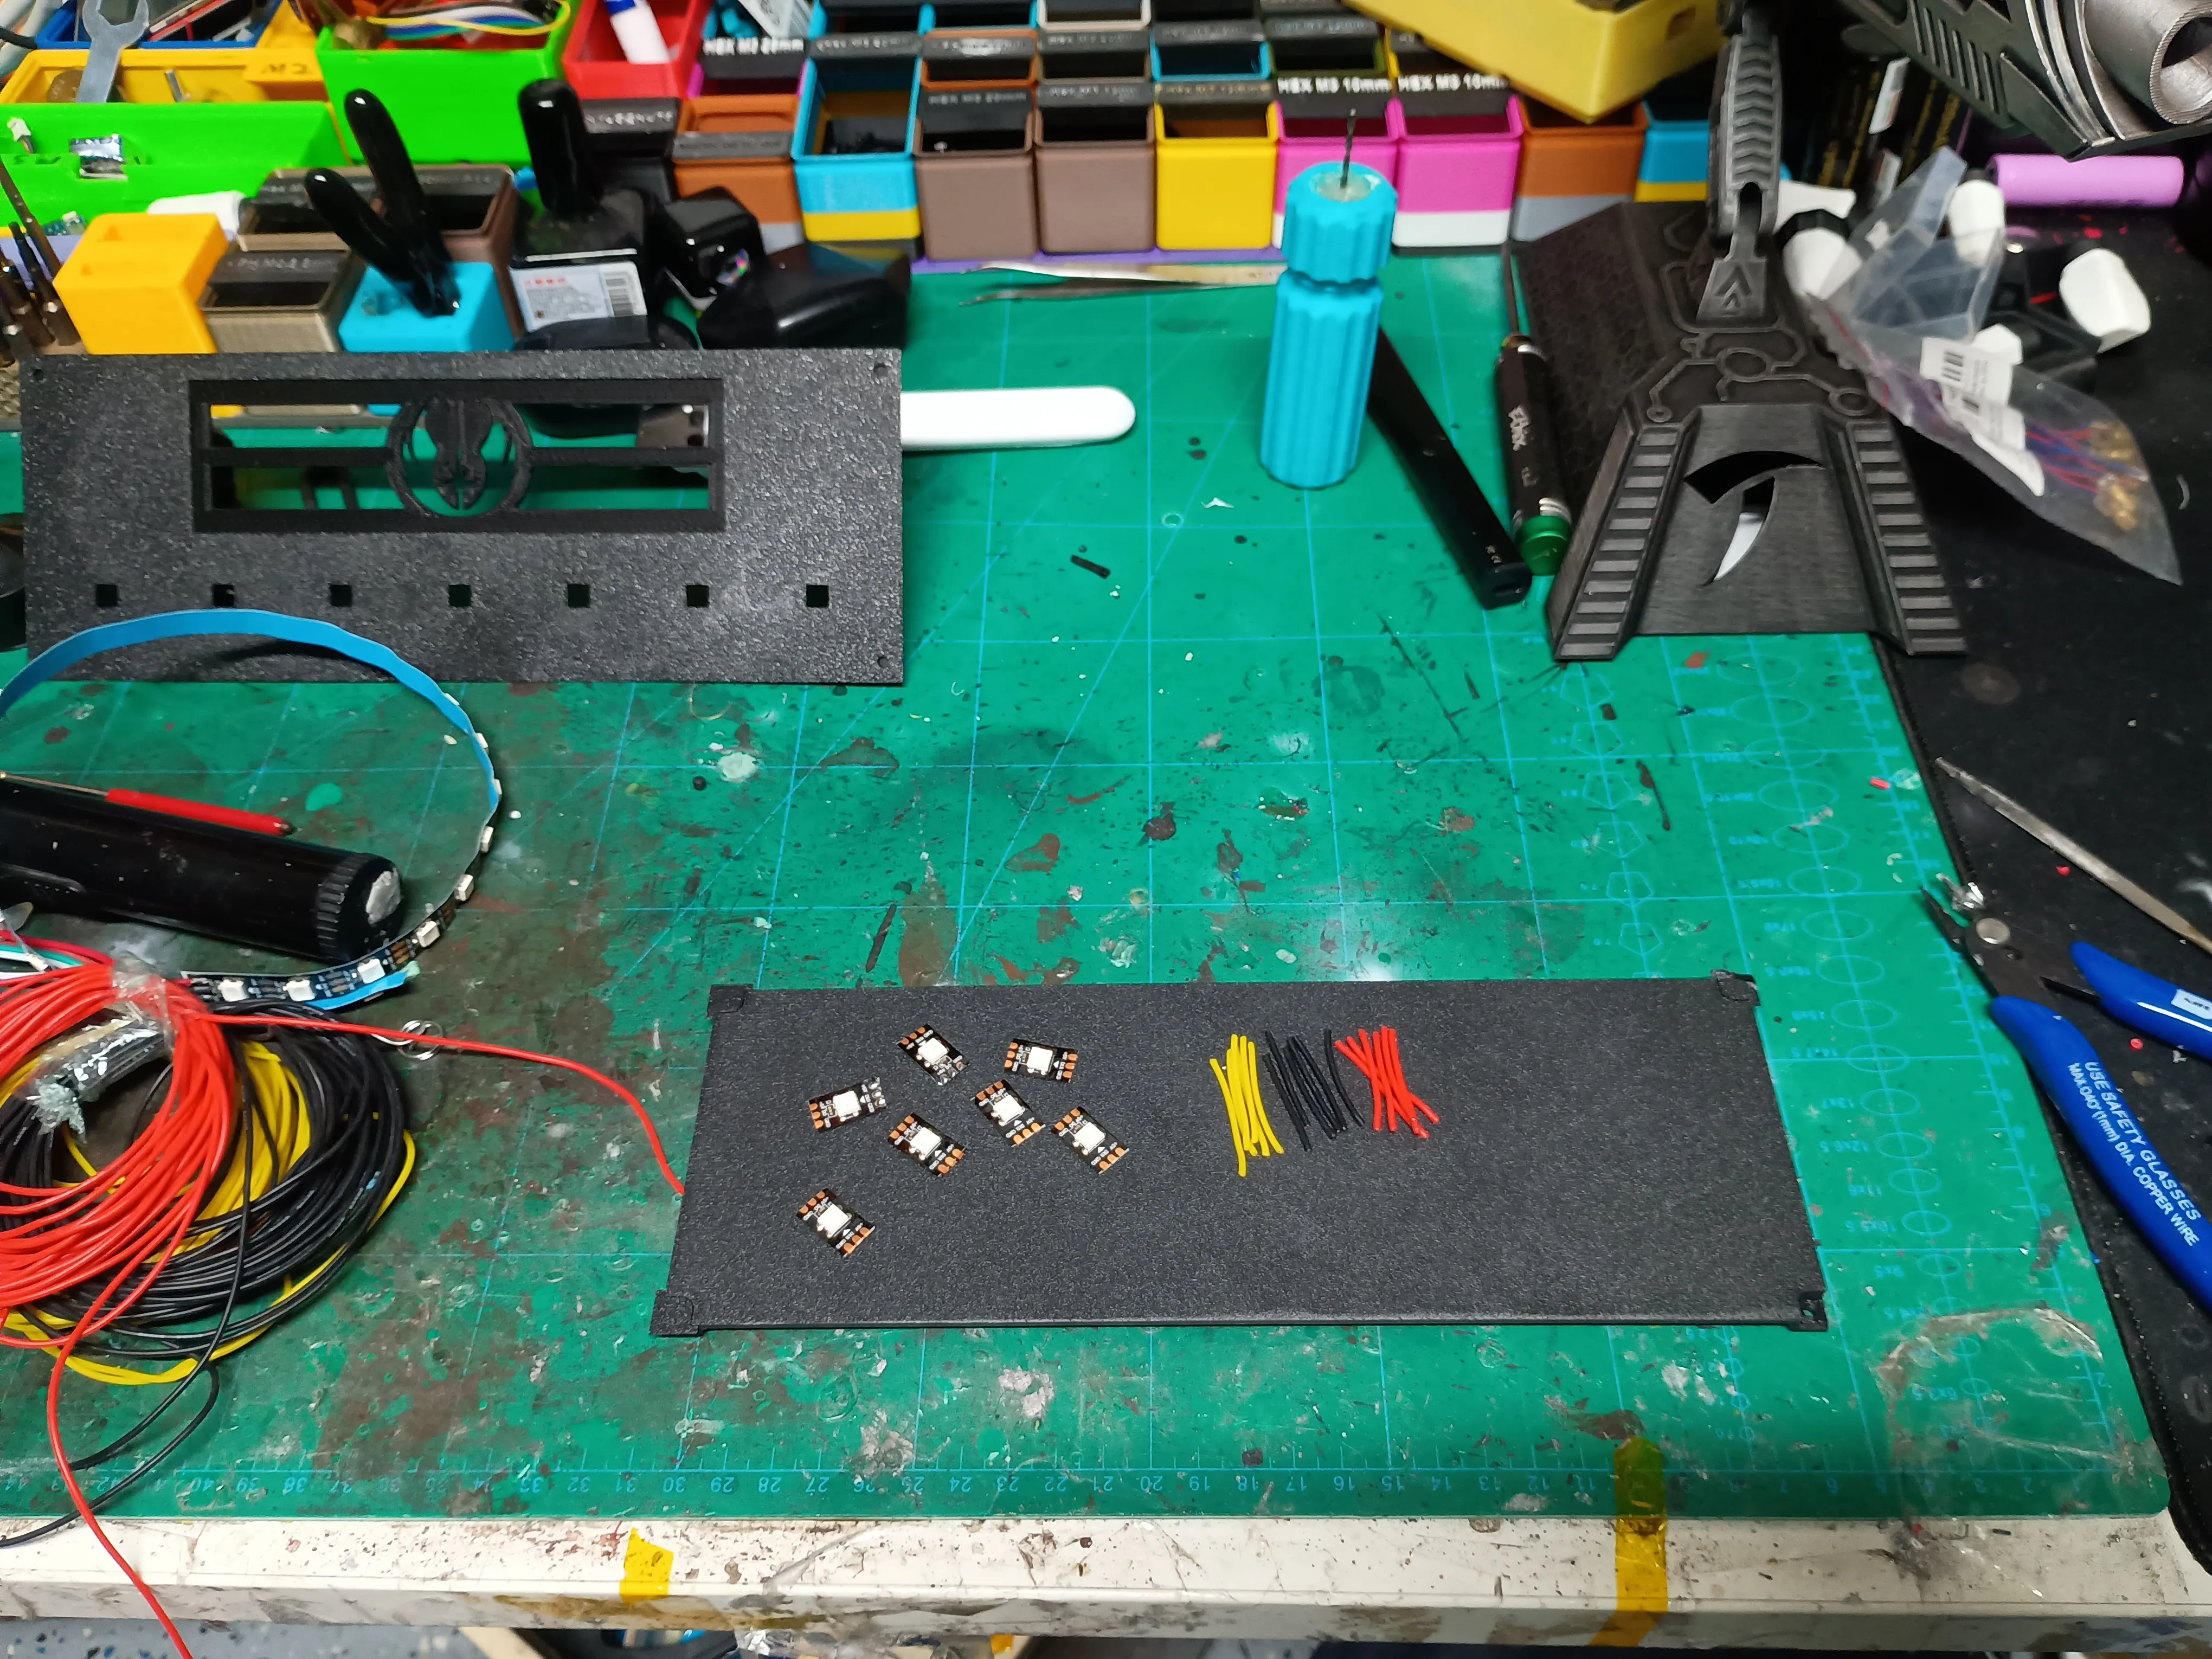
2. Prepare the LEDs
- Cut 7 individual LEDs from the strip (one per Kyber slot).
- Cut a second strip of 25 LEDs for the rear diffuser.
- Tin all pads and cut short jumper wires (~25–30mm).
- You'll need 6 red (5V), 6 black (GND), and 6 yellow (DATA) jumper wires for chaining the crystal LEDs.
- Tip: I overestimate wire lengths, then trim them to fit before soldering—makes layout and cleanup much easier.
3. Wire the Crystal LEDs
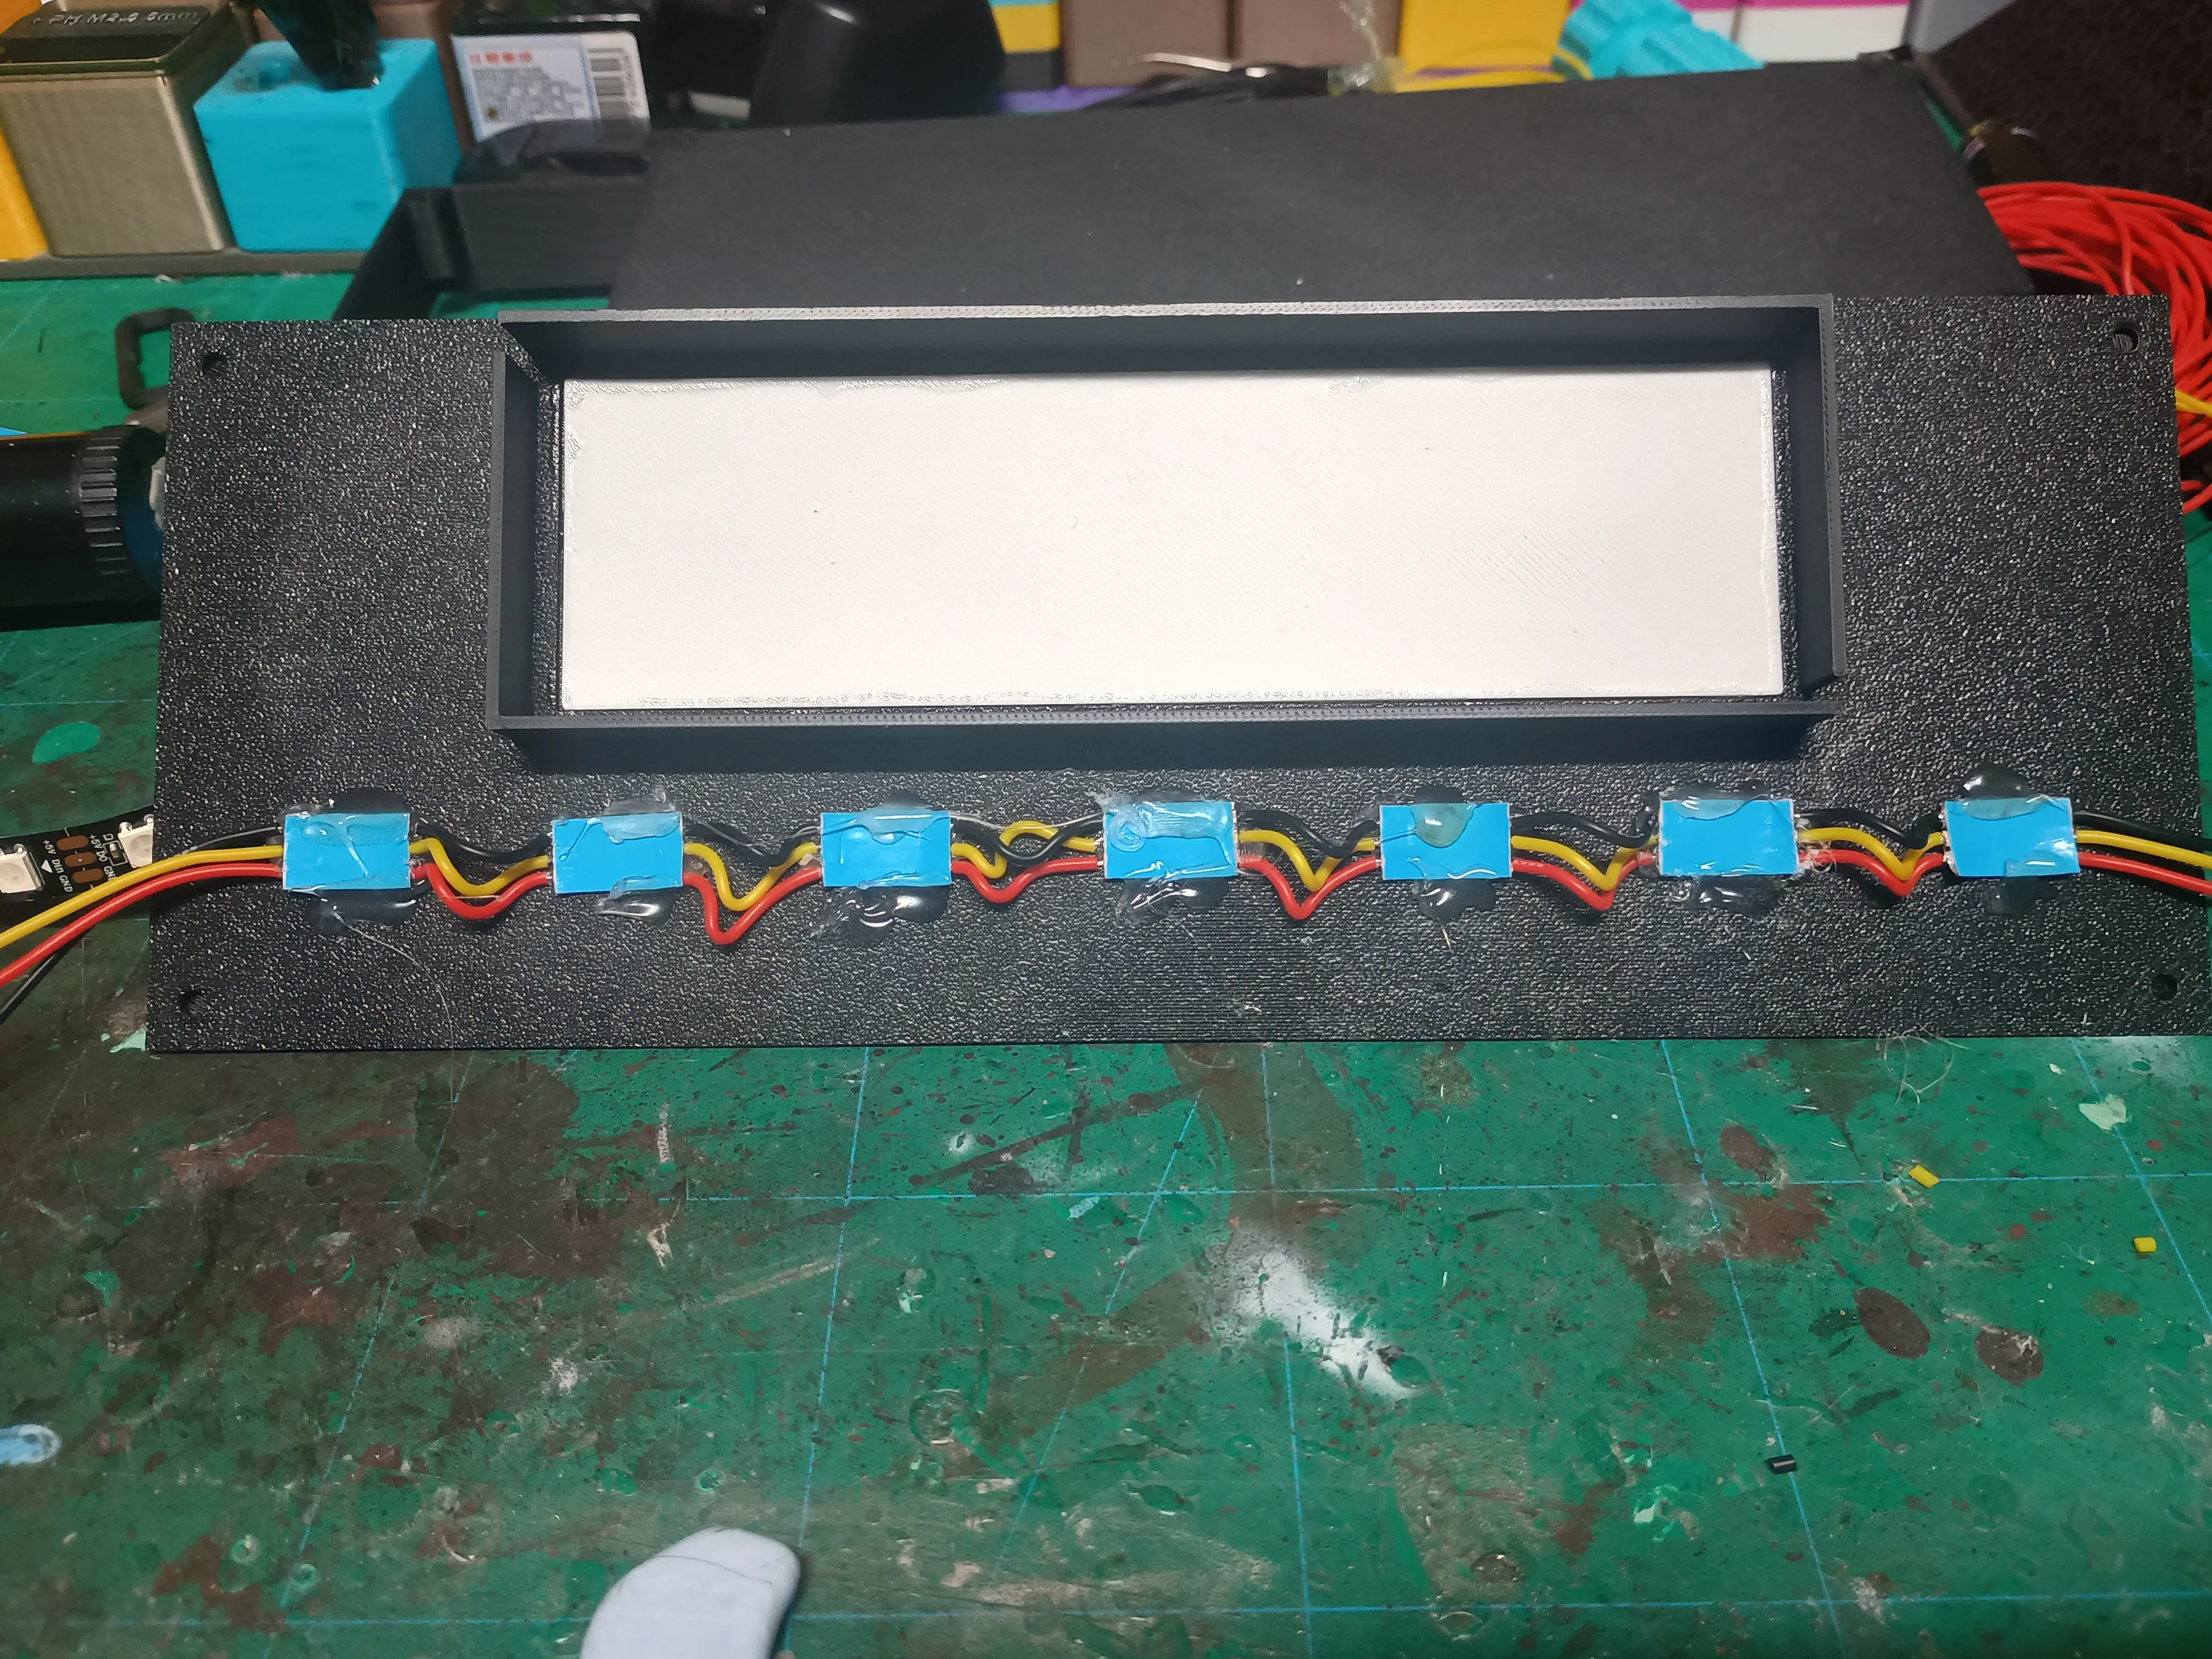
- Chain the 7 LEDs together using your jumper wires.
- Be sure to connect each DO (Data Out) to the next LED’s DI (Data In)—if the direction is wrong, the LEDs won’t light.
- Add an extra set of wires to the first LED for connection to the D1 Mini, and to the last LED to continue on to the diffuser strip.
- Even after making dozens, I still sometimes mess up the direction—so double-check orientation!
4. Assemble the Stand Base & Diffuser
- If using the split version, glue the base parts together first.
- Glue the diffuser LED holder (the rear strip groove) around the diffuser opening.
- Then glue the diffuser plate itself in from the inside—add a few drops of CA underneath the Jedi crest, along the edges and symbol.
- If using the one-piece version, simply glue the diffuser in place using the same technique.
- Don’t overdo the glue—excess can seep onto the diffuser and cause imperfections.
5. Install the LEDs into the Crystal Slots
- Insert each LED into its Kyber slot.
- I tack mine in with a few small dabs of hot glue to hold them in place for now.
- After testing the setup later, I go back and add more glue to secure them fully.
- CA glue can also be used, but avoid getting any on the LED lens or top surface.
6. Install the Diffuser Strip
- Use the wires from the last Kyber LED to connect to the 25-LED strip.
- Wrap the strip around the rear diffuser groove and secure with hot glue or tape.
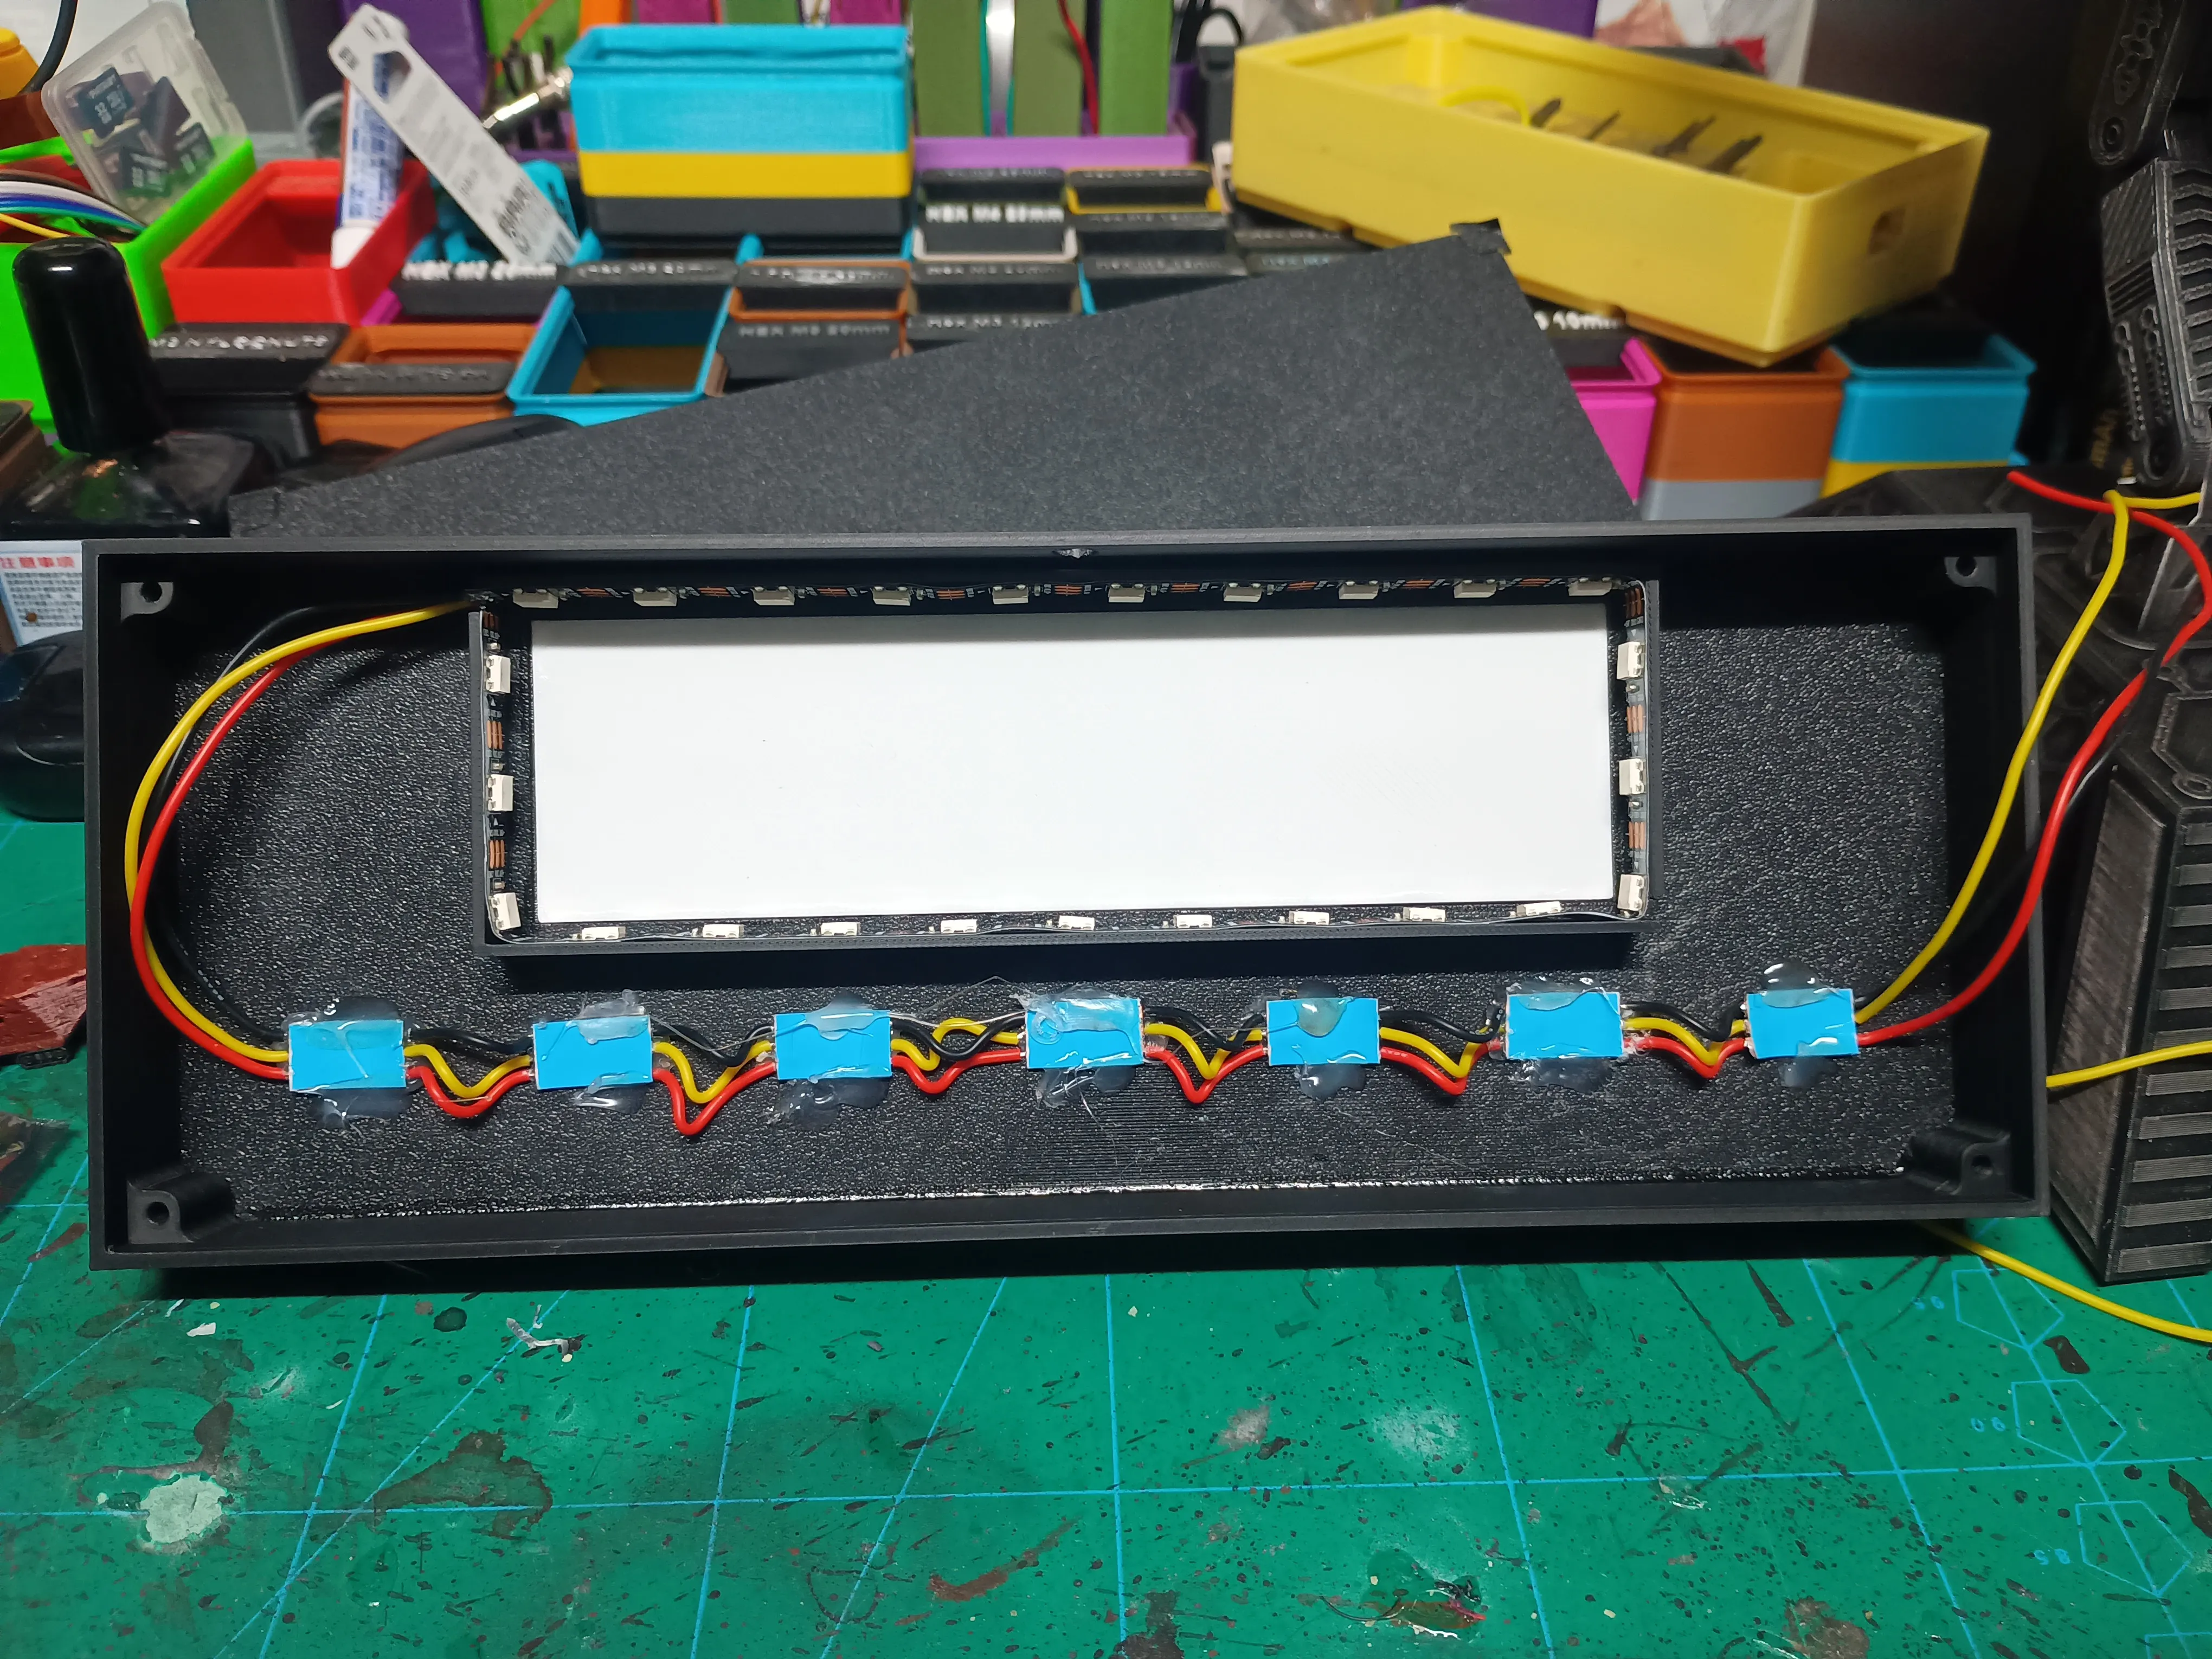
7. Connect the D1 Mini
- Thread the USB cable through the hole in the back of the base.
- Twist the USB red wire with the LED +5V wire, and solder to the 5V pad on the D1 Mini.
- Do the same for the black GND wires.
- Solder the LED data wire to D4 (GPIO2) on the D1 Mini.
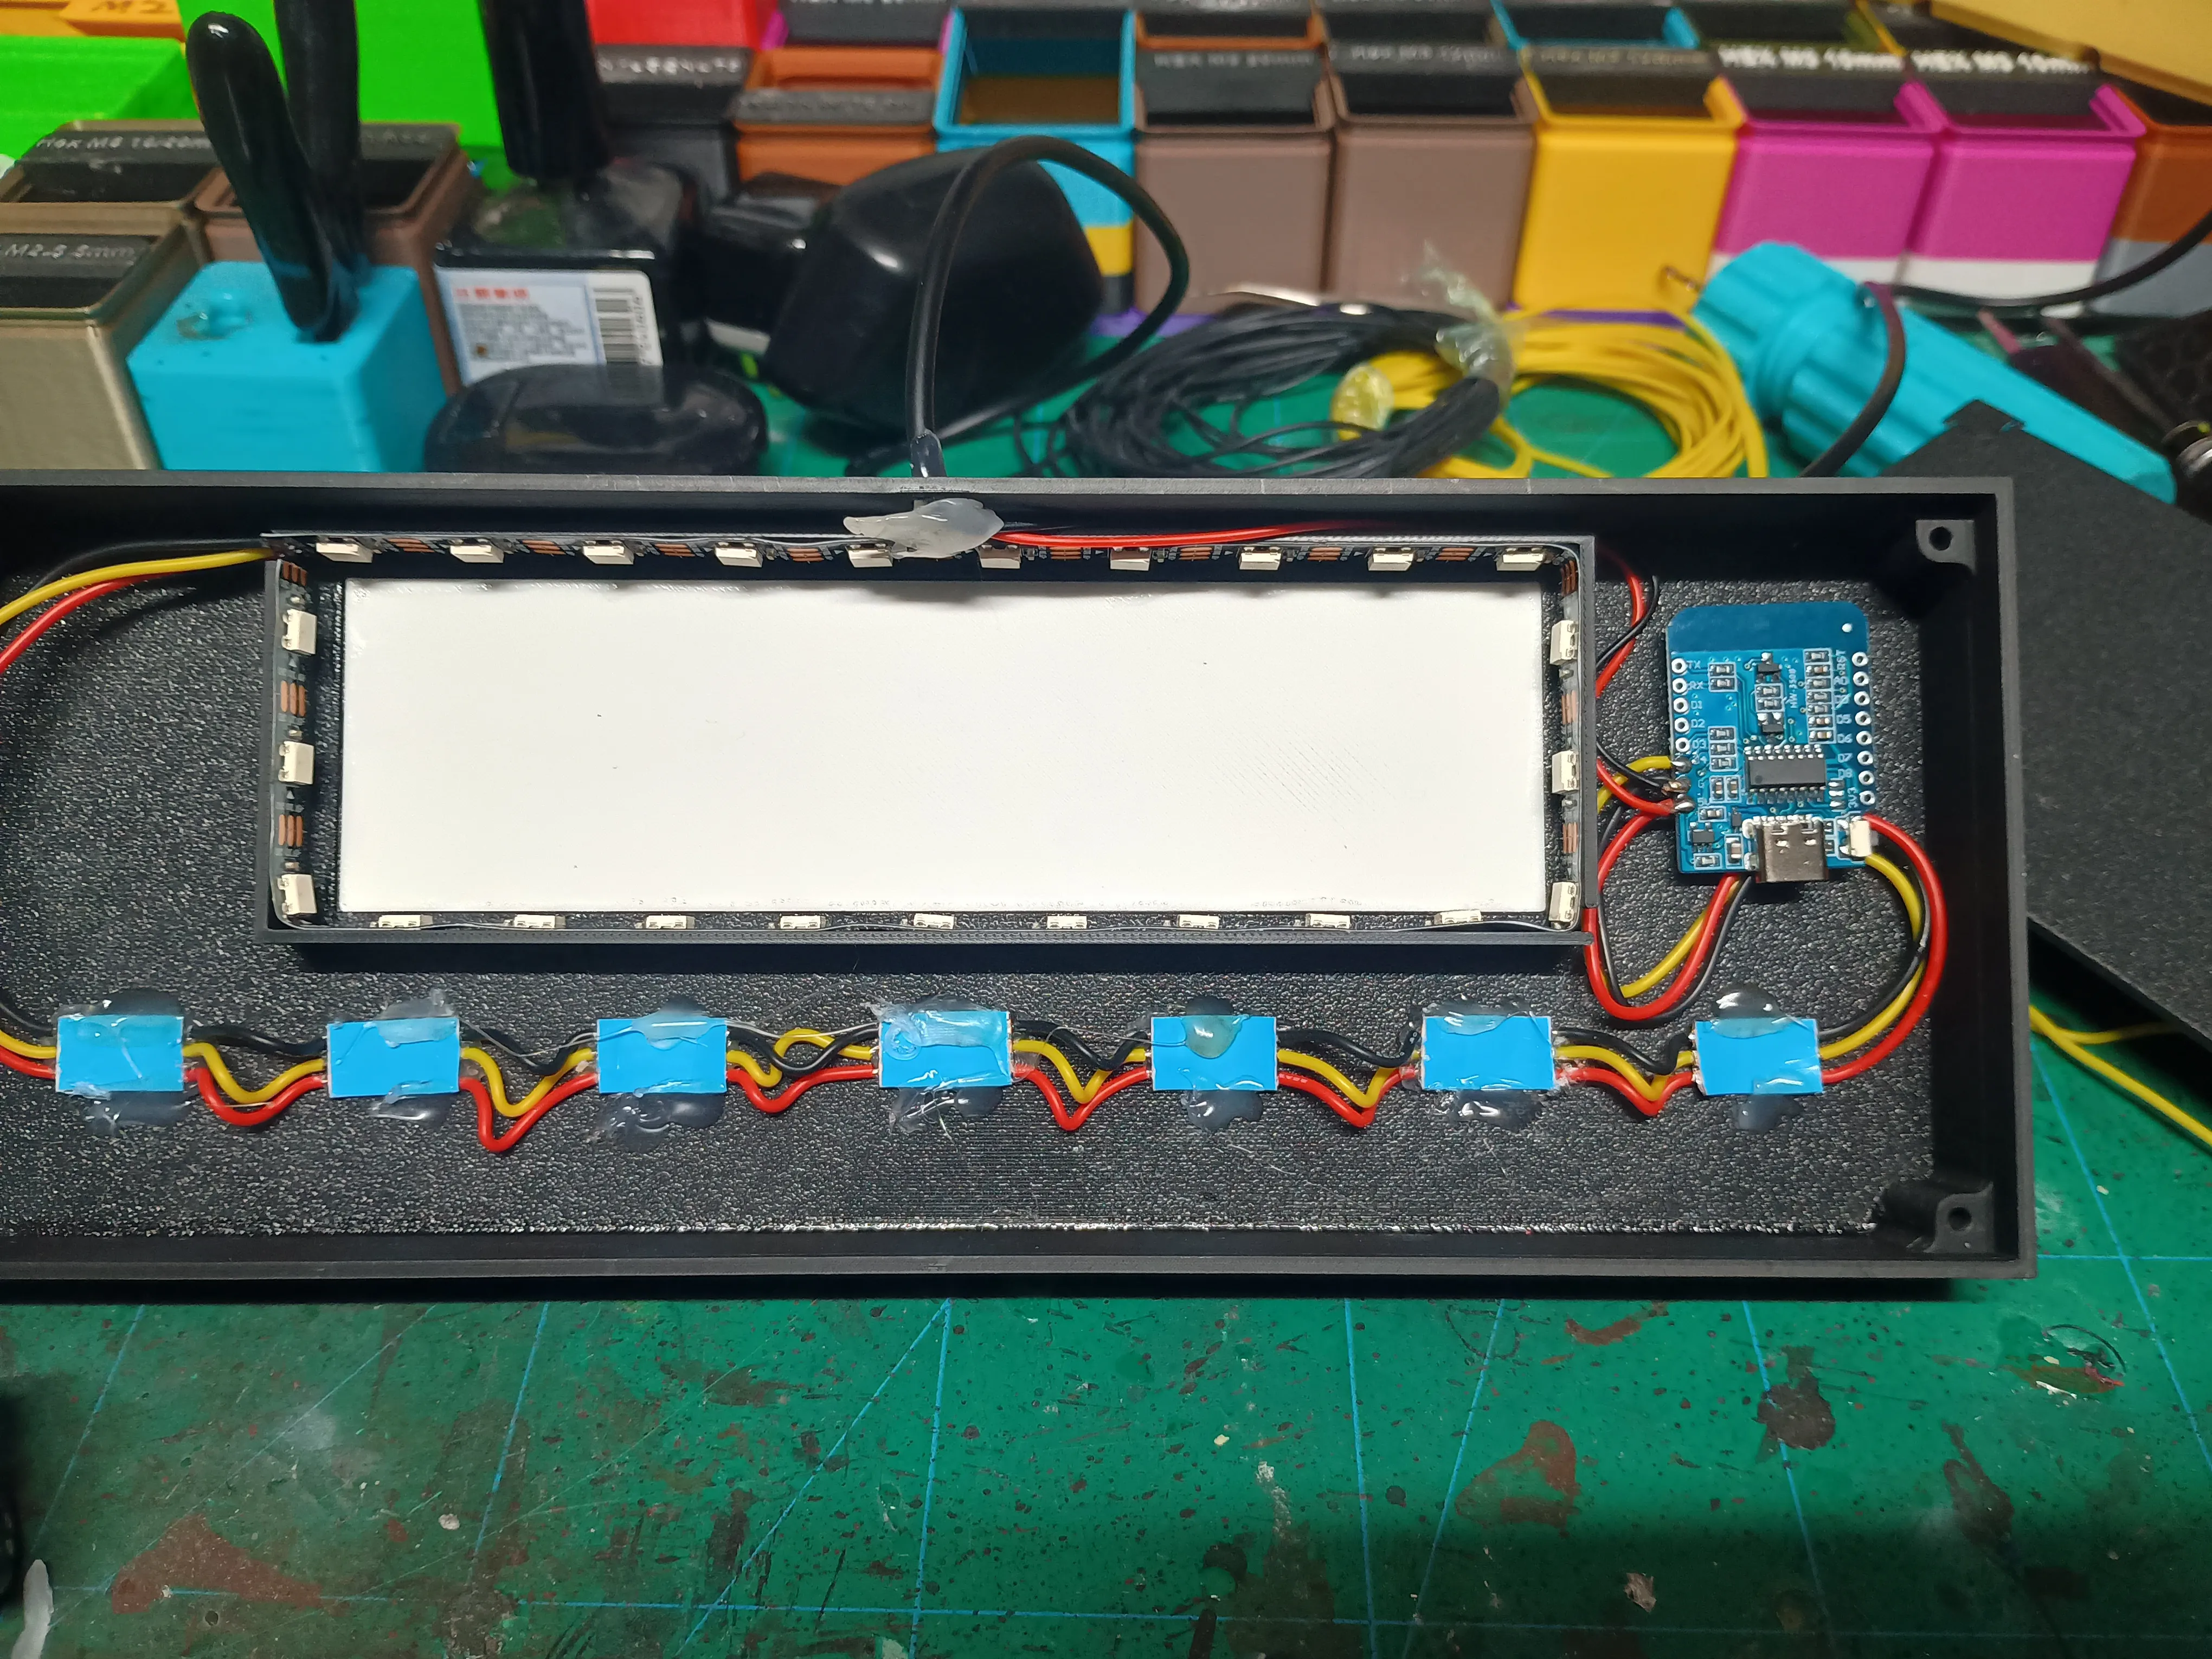
- Mount the D1 Mini using VHB tape directly on the metal Wi-Fi chip. I extend the tape slightly to cover the onboard status LED and prevent any light bleed.
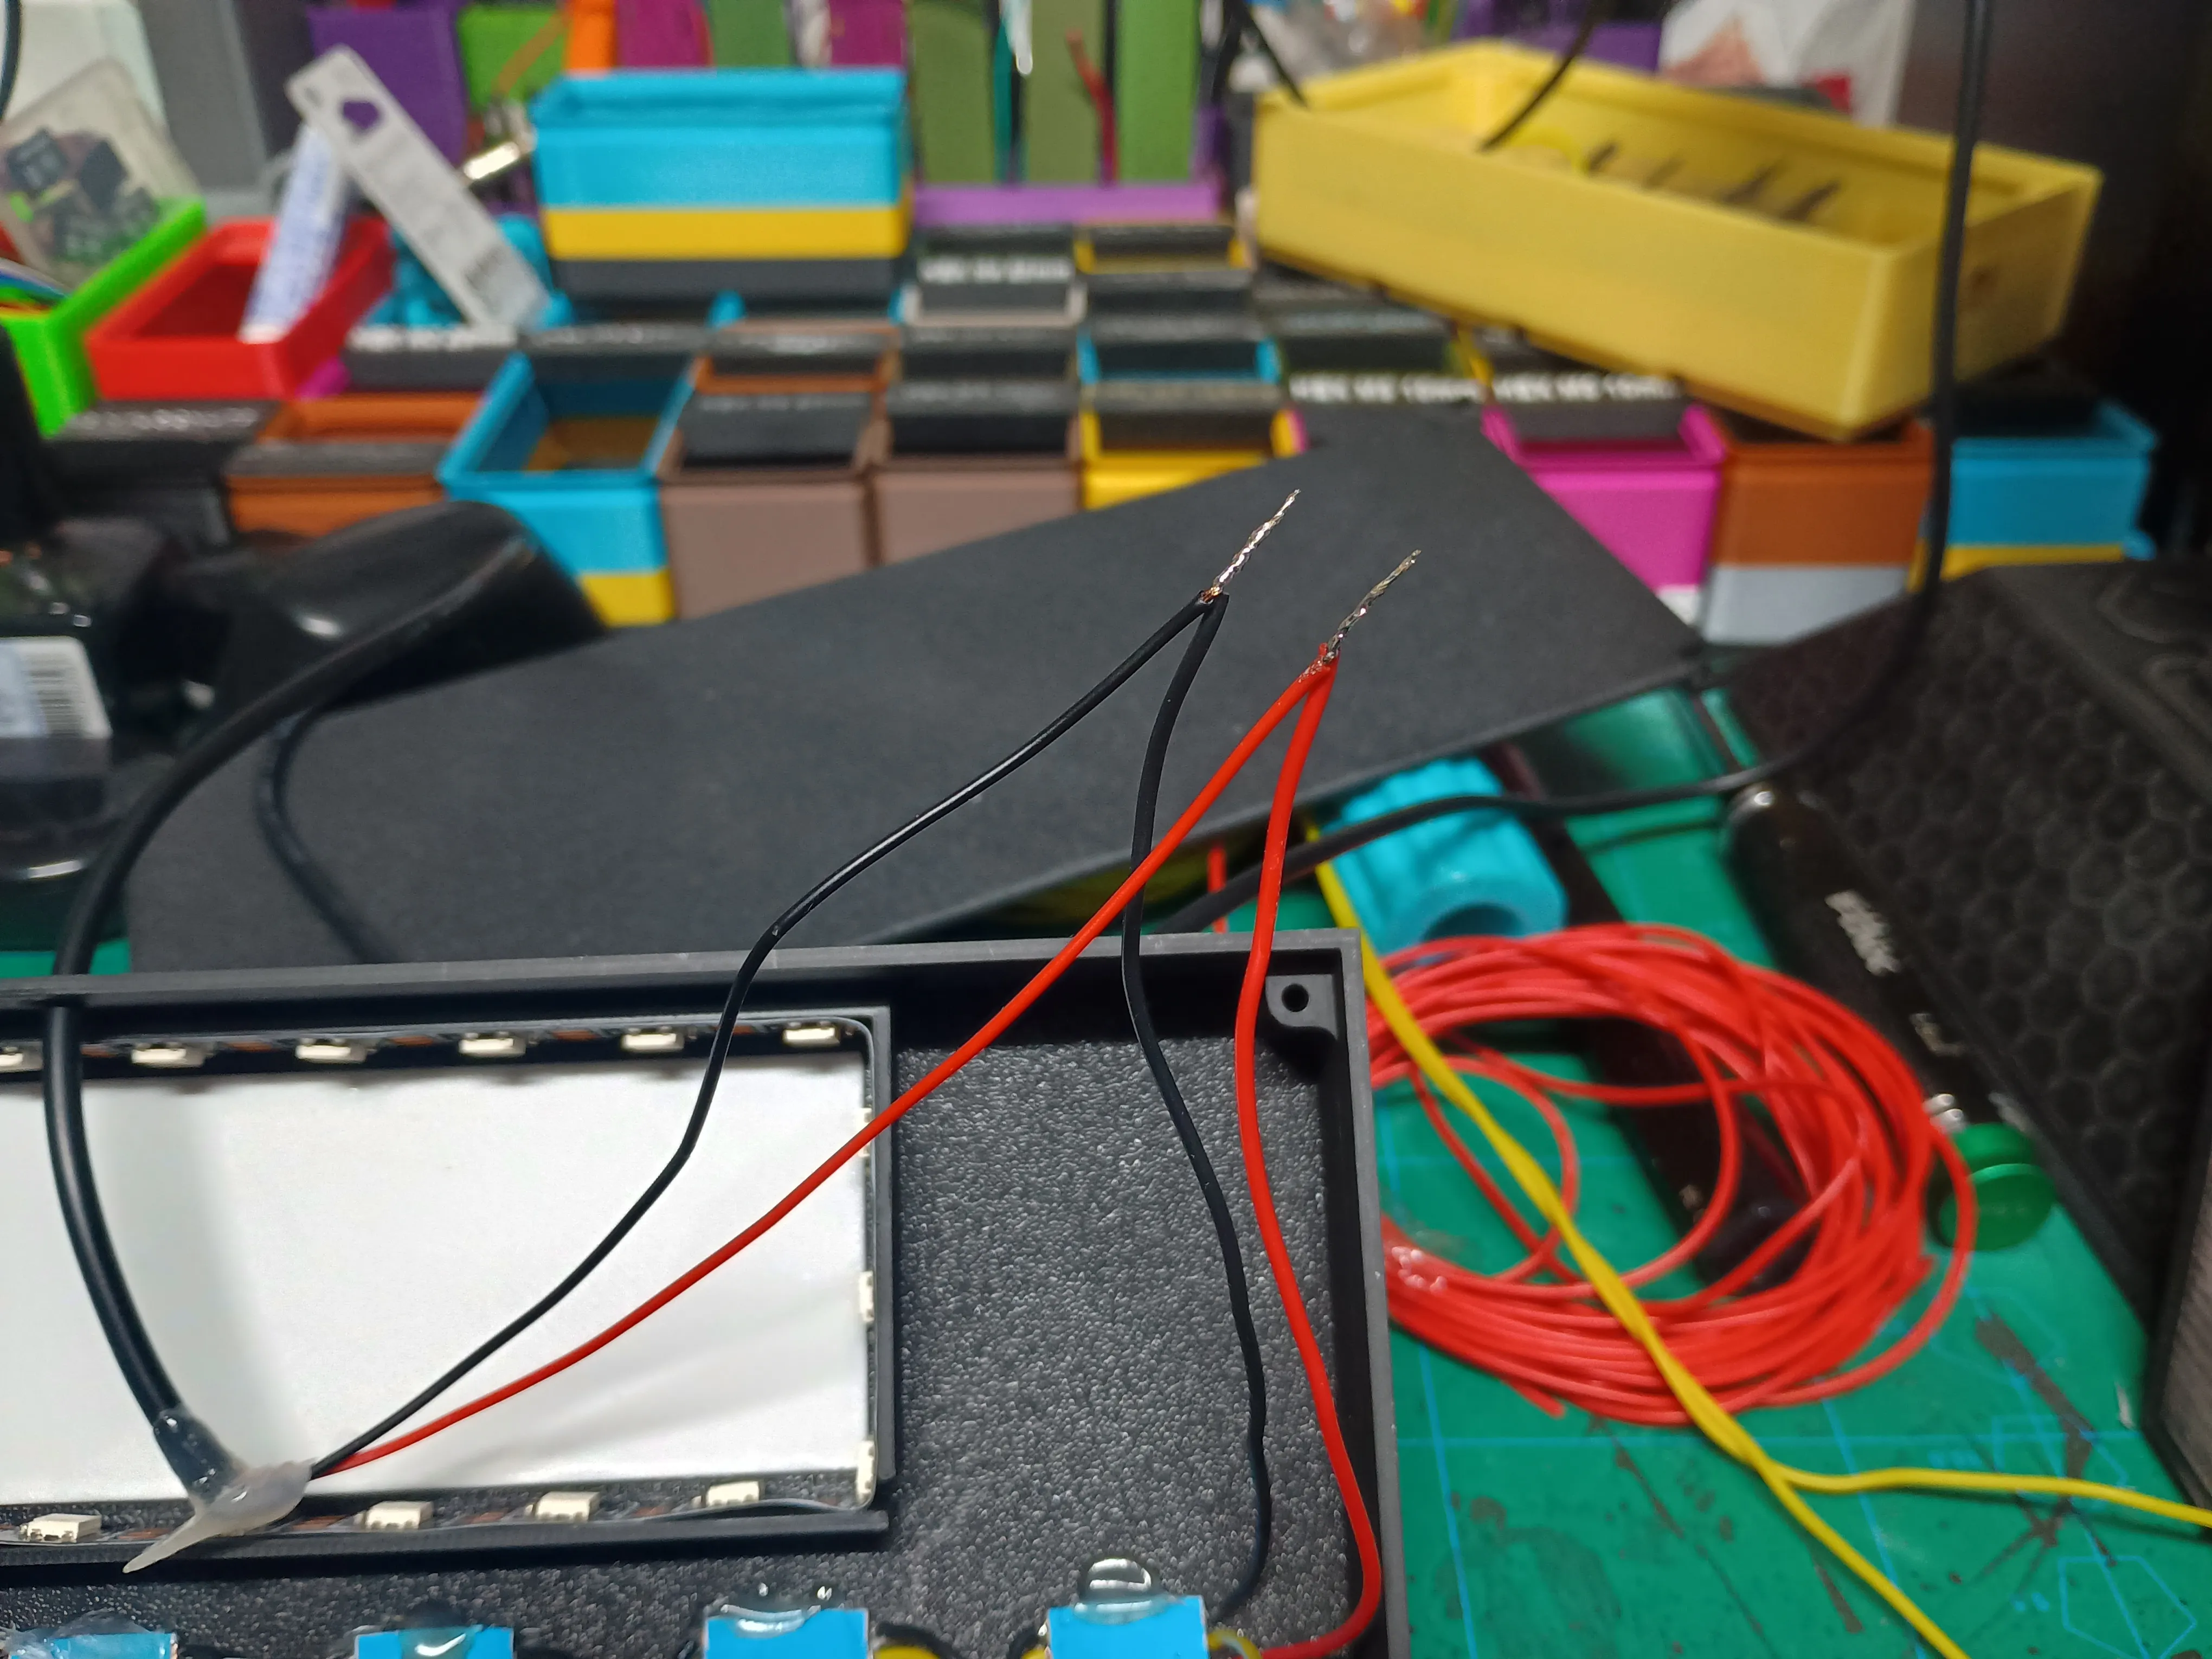
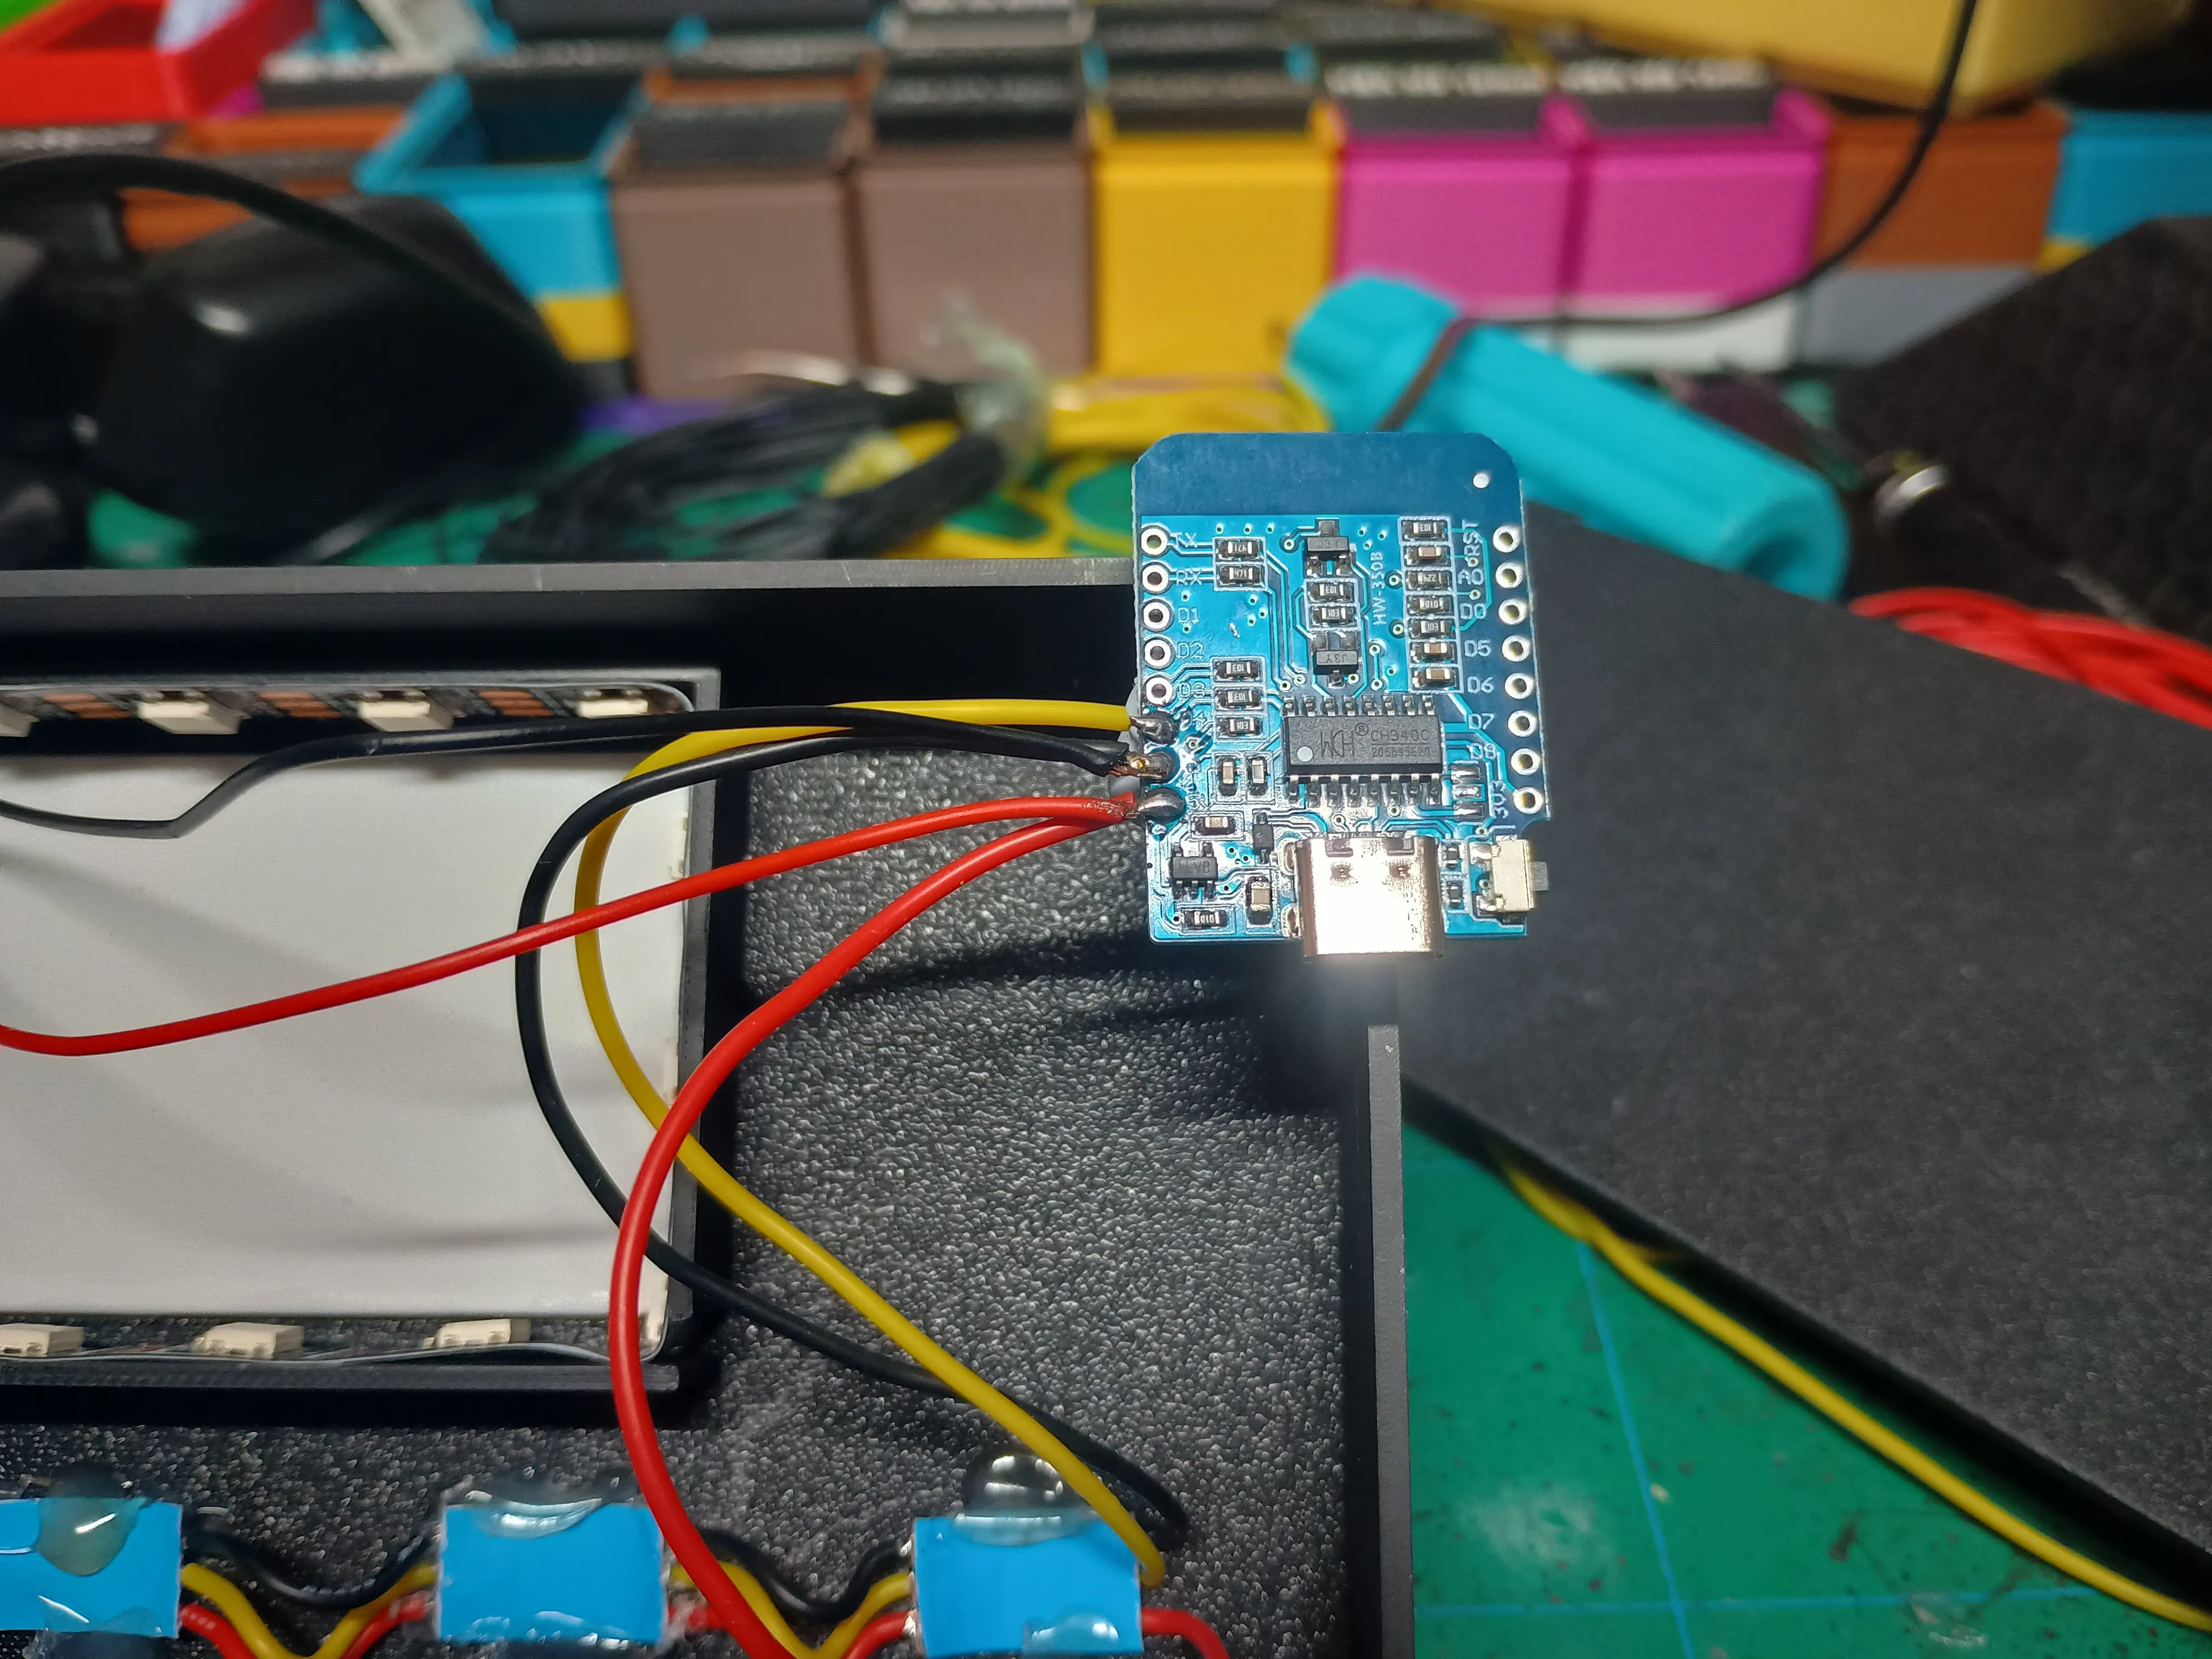
8. Power Up & Configure WLED
- Plug in the USB cable and open WLED in your browser or phone.
- Set the LED count to 32 total (7 for the Kybers, 25 for the diffuser).
- You can configure your own effects—or use my custom WLED preset for an authentic Jedi Temple vibe:
🔗 github.com/ASTDrones/KyberStand - My preset sets up 8 WLED segments:
- Segments 1–7: Each Kyber LED has its own effect/color:
- Red/white crackle (for black Kyber)
- Solid red
- Purple
- White
- Yellow
- Green
- Blue
- Segment 8: Controls the 25-LED rear diffuser strip, which you can set to any ambient animation or static glow you like.
- This gives each crystal its own identity and matches perfectly with printed or Savi’s Workshop Kybers.
9. Final Touches & Assembly
- Once everything is working and tested, go back and fully glue down the Kyber LEDs to ensure they stay secure.
- Tidy up the wiring with hot glue or tape.
- Place the bottom cover on and secure it using 4x M3 x 8mm bolts.
- Choose your preferred lightsaber support width (two options included).
They slot into the top of the legs. They're snug, but you can add a drop of glue if needed.
Optional: Kyber Crystal Finish Tip
If you're printing your own crystals, I coat mine with a thin layer of clear UV resin for a glassy, smooth finish.
I use 6 white crystals and 1 black—the preset’s red flicker effect makes the black Kyber look cracked, unstable, and awesome.
Item | Quantity | Links |
|---|---|---|
| D1 Mini (ESP8266) | 1 | https://www.aliexpress.com/item/1005006235653025.html |
| WS2812B LED strip | 60 per Meter | https://www.aliexpress.com/item/1005006766819624.html |
| USB cable | 1 | https://www.aliexpress.com/item/1005008045179029.html |
| Wire 26 AWG Red, Black, Yellow | as needed | https://www.aliexpress.com/item/4001283806251.html |
| M3x8mm Bolt | 4 | https://www.aliexpress.com/item/32810852732.html |
| VHB Tape | as needed | https://www.aliexpress.com/item/1005008305877251.html |
| Soldering Iron | 1 | https://www.aliexpress.com/item/1005007099216072.html |
| Solder | as needed | https://www.aliexpress.com/item/1005008695639704.html |
| Hot glue | as needed | https://www.aliexpress.com/item/1005008055271799.html? |
| CA glue | as needed | https://www.aliexpress.com/item/1005003643576389.html? |
| UV Resin Kit | as needed | https://www.aliexpress.com/item/1005009210446554.html |
License

You shall not share, sub-license, sell, rent, host, transfer, or distribute in any way the digital or 3D printed versions of this object, nor any other derivative work of this object in its digital or physical format (including - but not limited to - remixes of this object, and hosting on other digital platforms). The objects may not be used without permission in any way whatsoever in which you charge money, or collect fees.


Comment & Rating (16)