
Airbus A320 Central Windshield Pillar
Print Profile(1)

Description
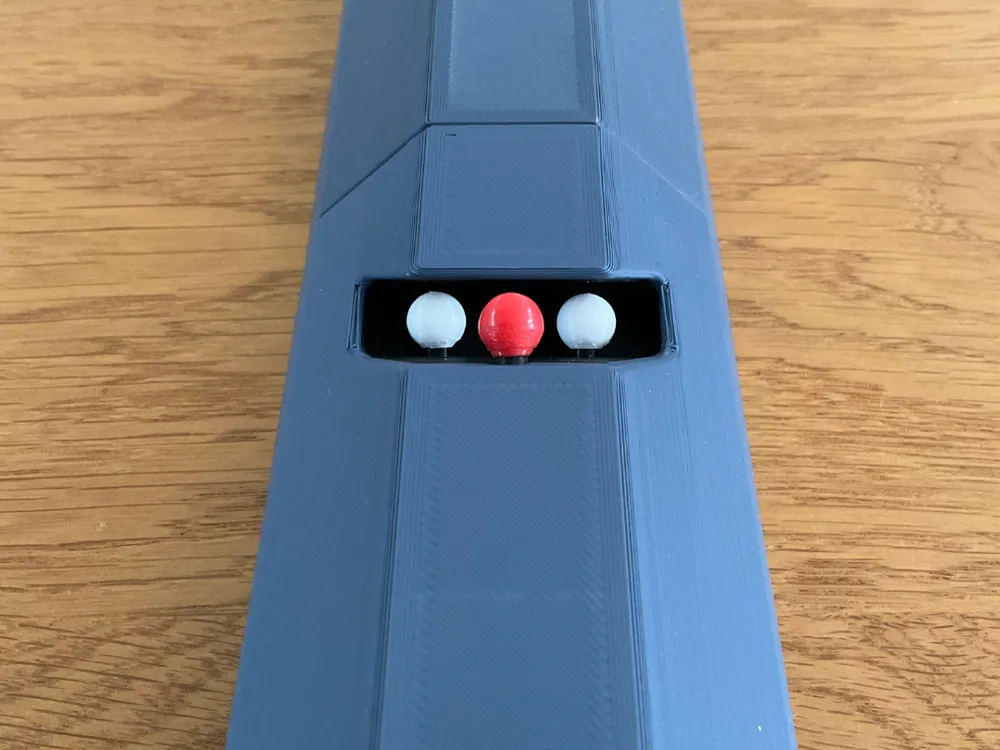
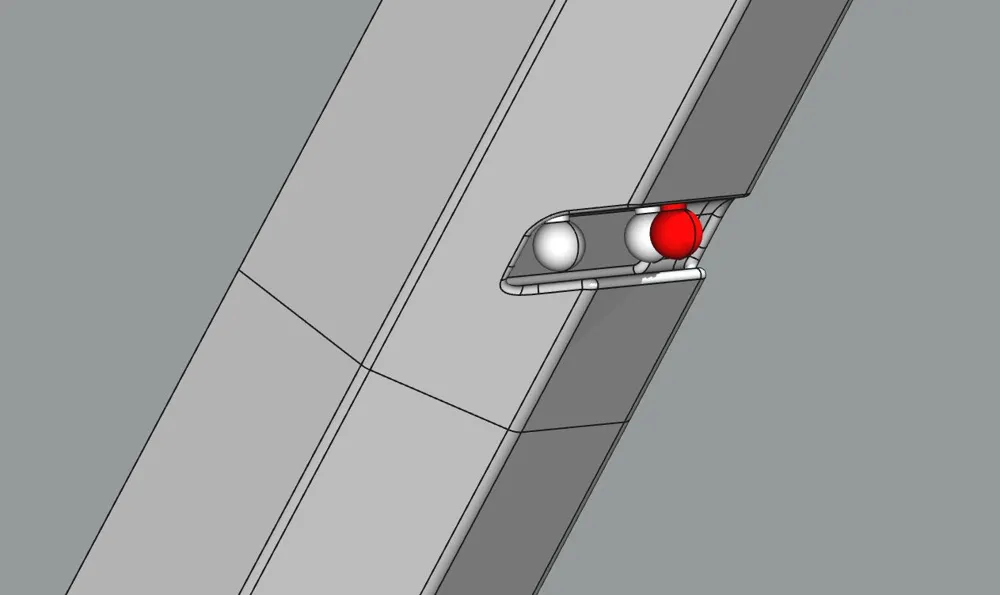
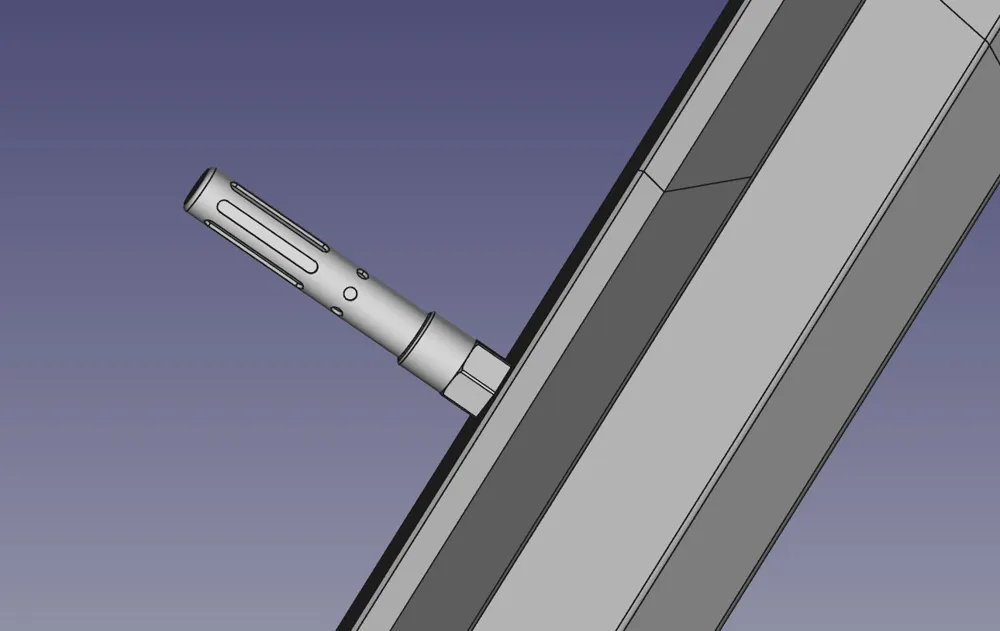
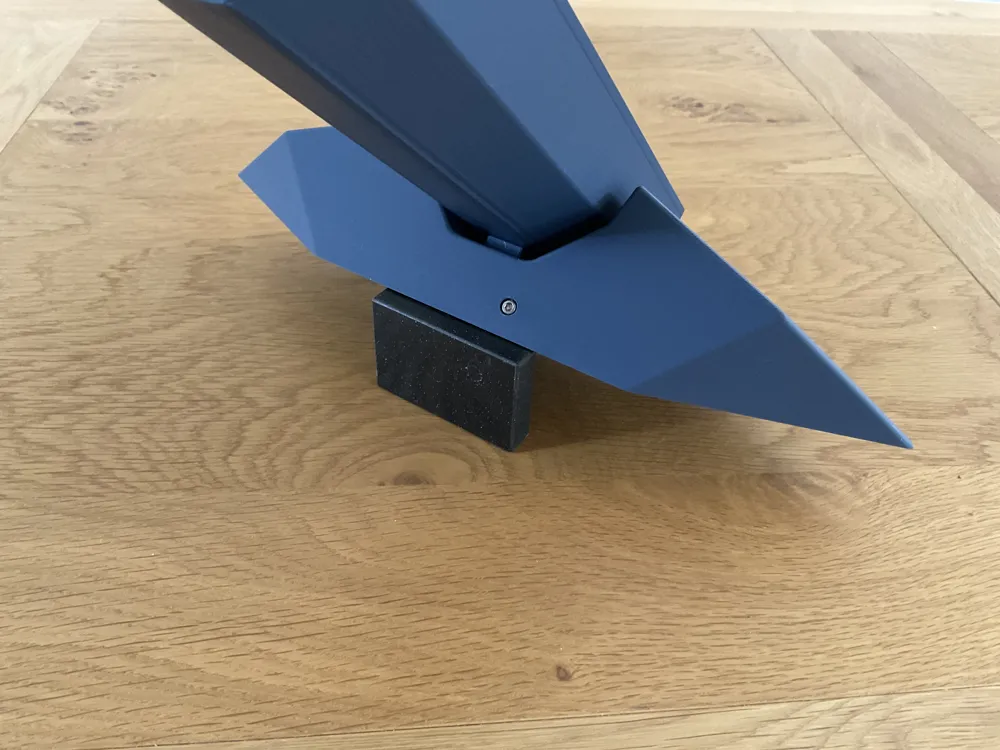
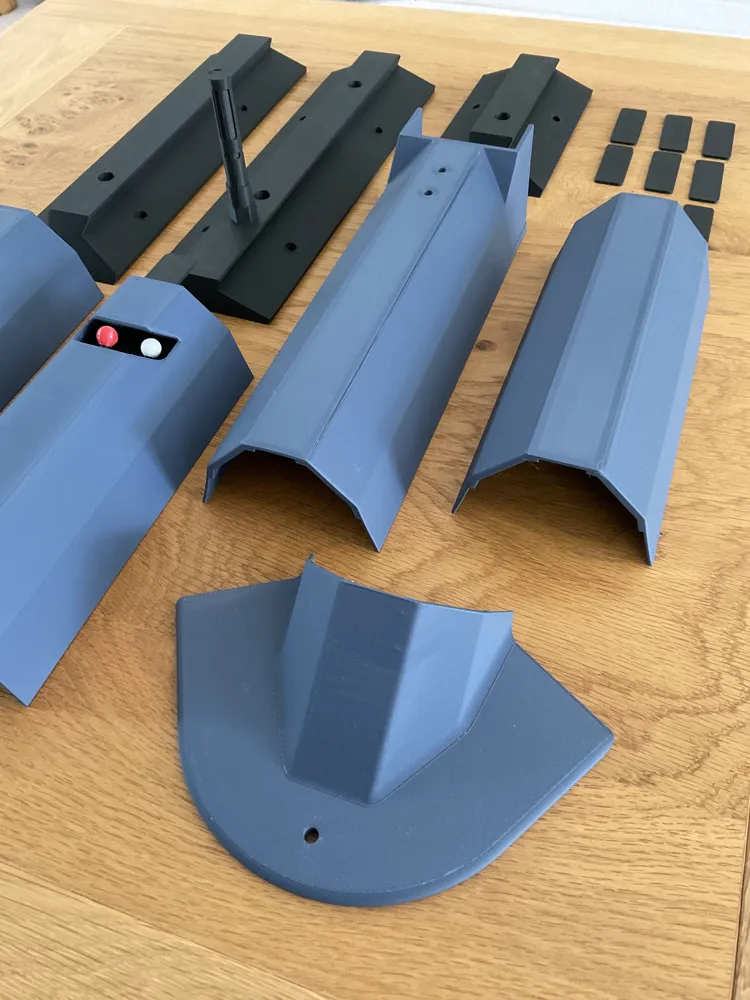
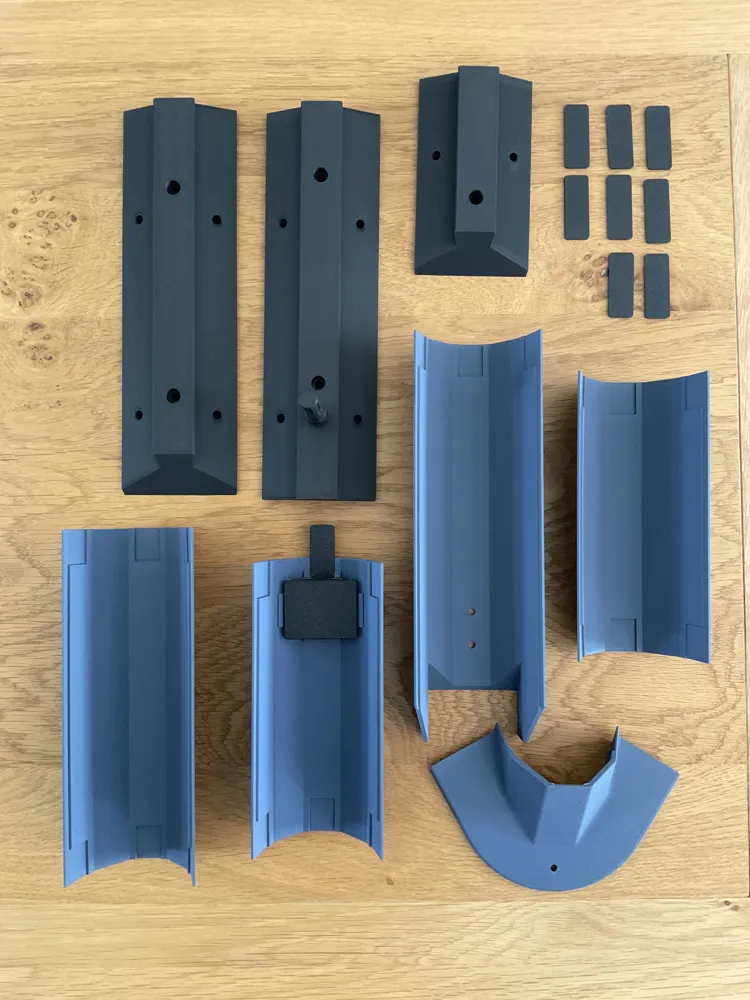
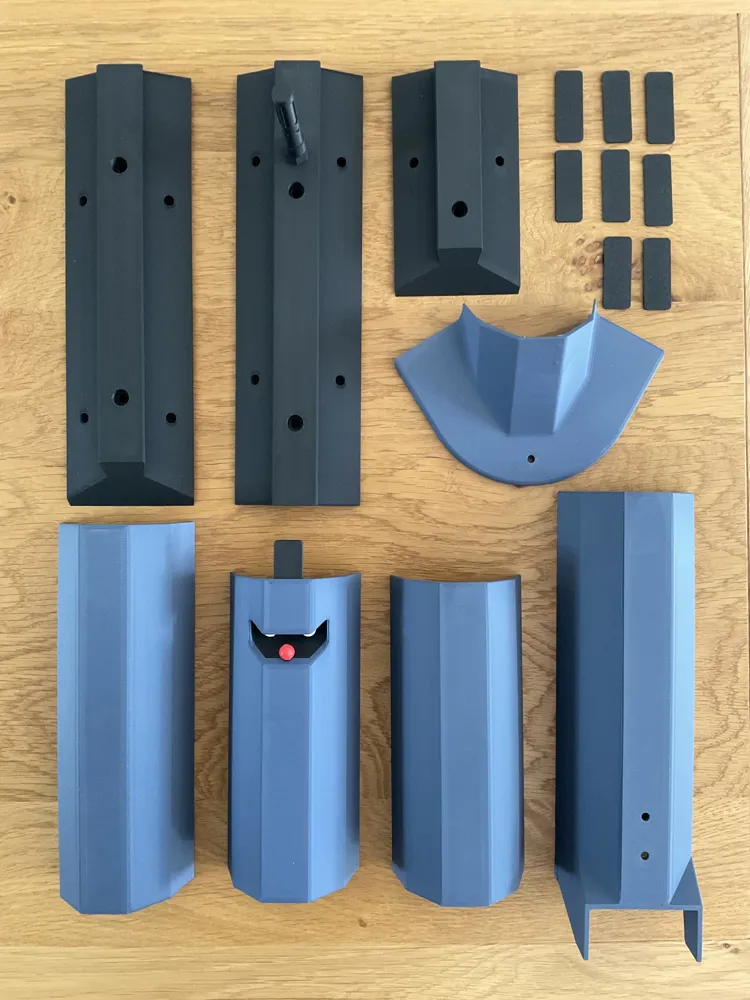
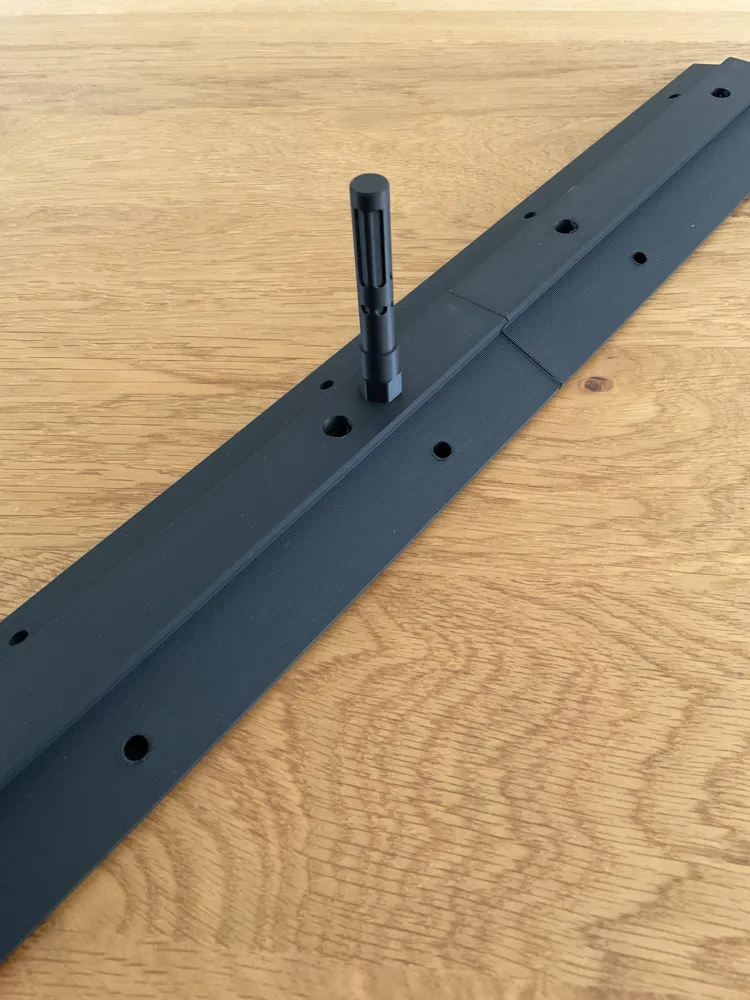
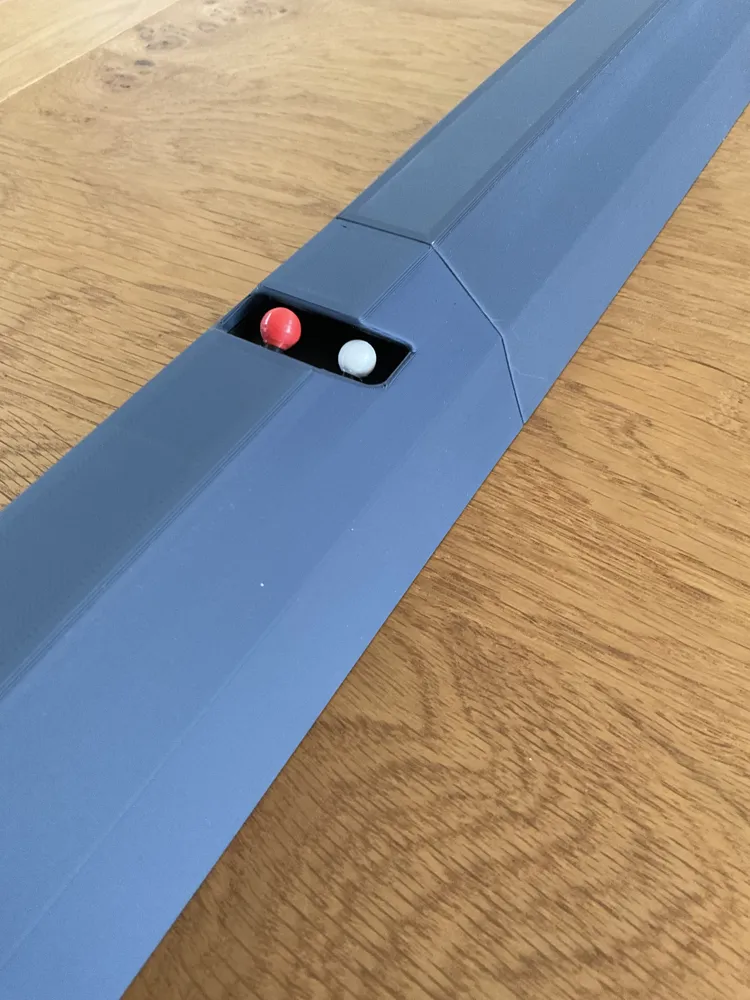
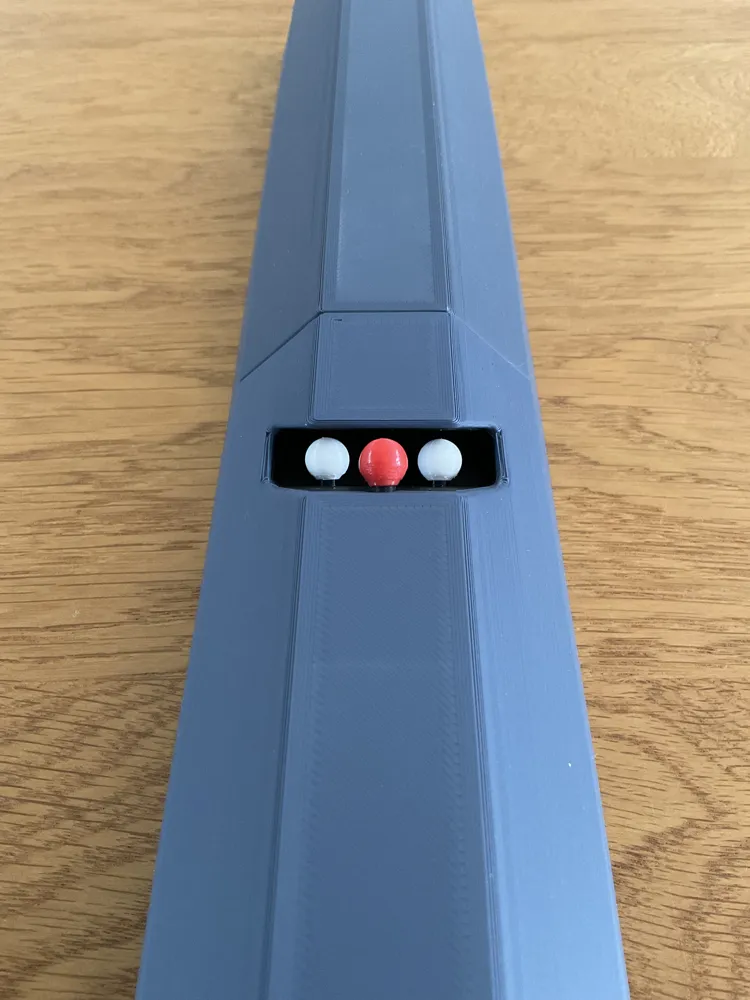
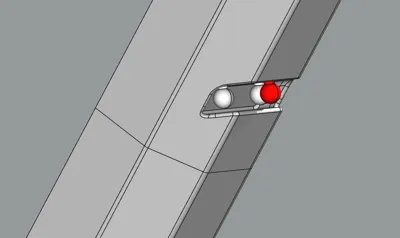
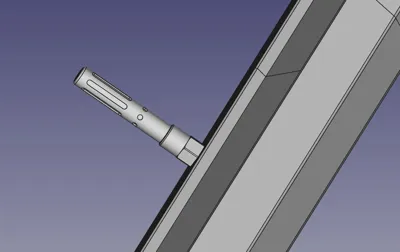
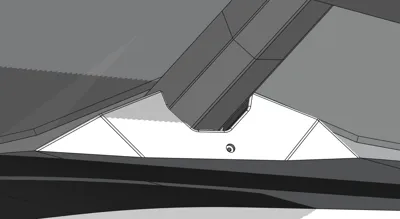
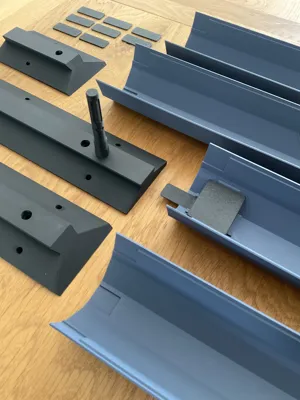
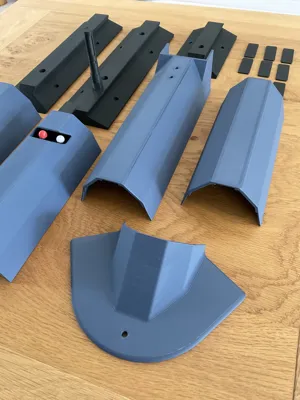
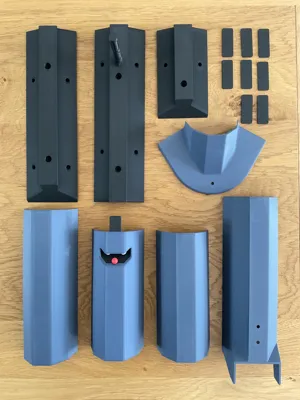
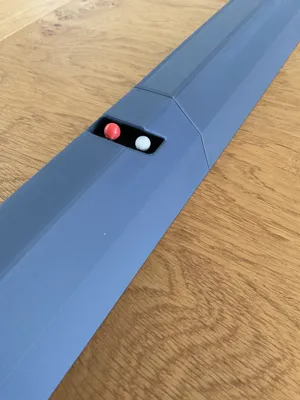
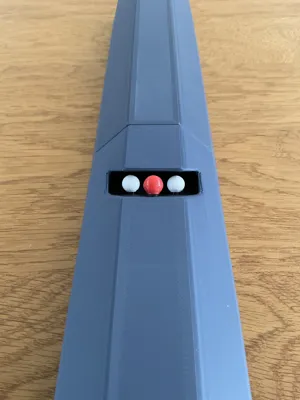
A recreation of the central windshield pillar on an Airbus A320. Design includes the 3 coloured balls for the EPI (Eye Position Indicator) and a representation of the external ice probe.
Not the most essential part of a home cockpit, but it adds to the feeling and immersion compared to a plain wooden or metal pillar, without much cost.
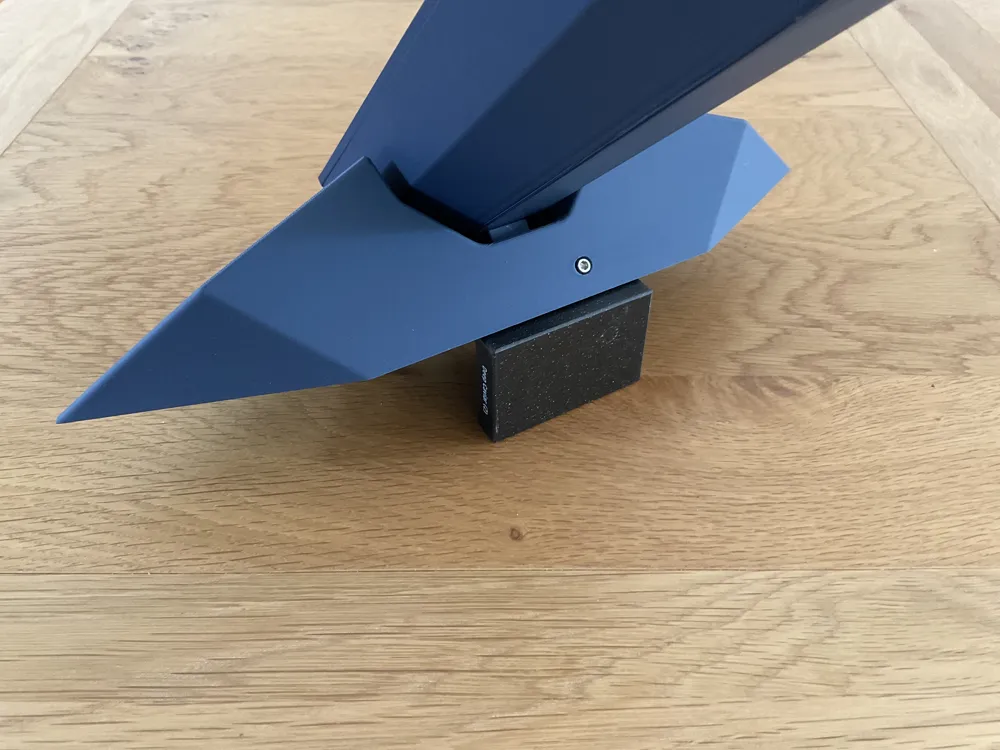
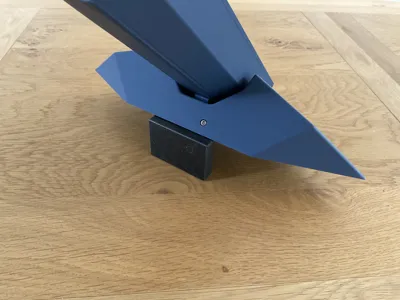
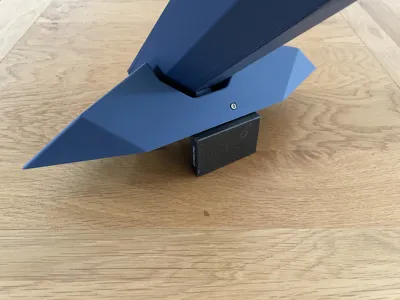
It's designed with a set-back angle of 47 degrees, which, taking reference from many photographs, is pretty close to the real aircraft.
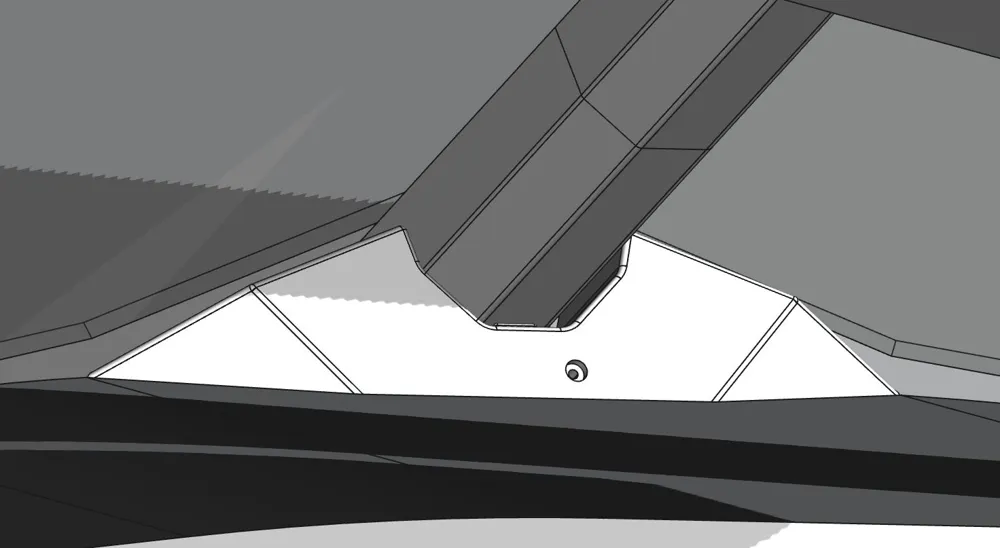
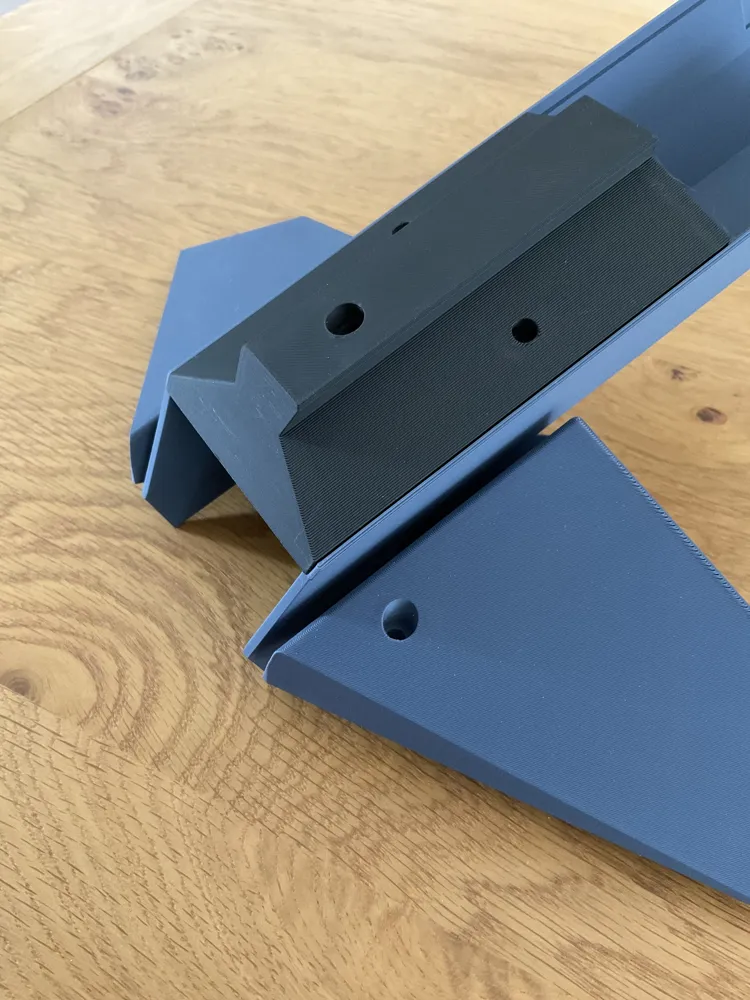
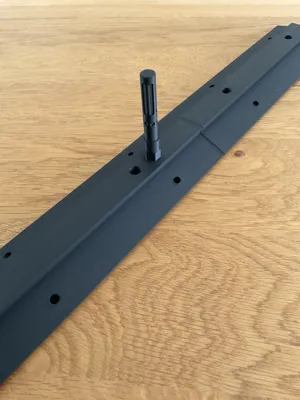
The pillar has space inside for an internal metal or wooden support pillar and also for wiring up to the Overhead Panel. It is also designed to fit onto my Windshield Base model:
https://makerworld.com/en/models/1611879-a320-airbus-central-windshield-base#profileId-1700442
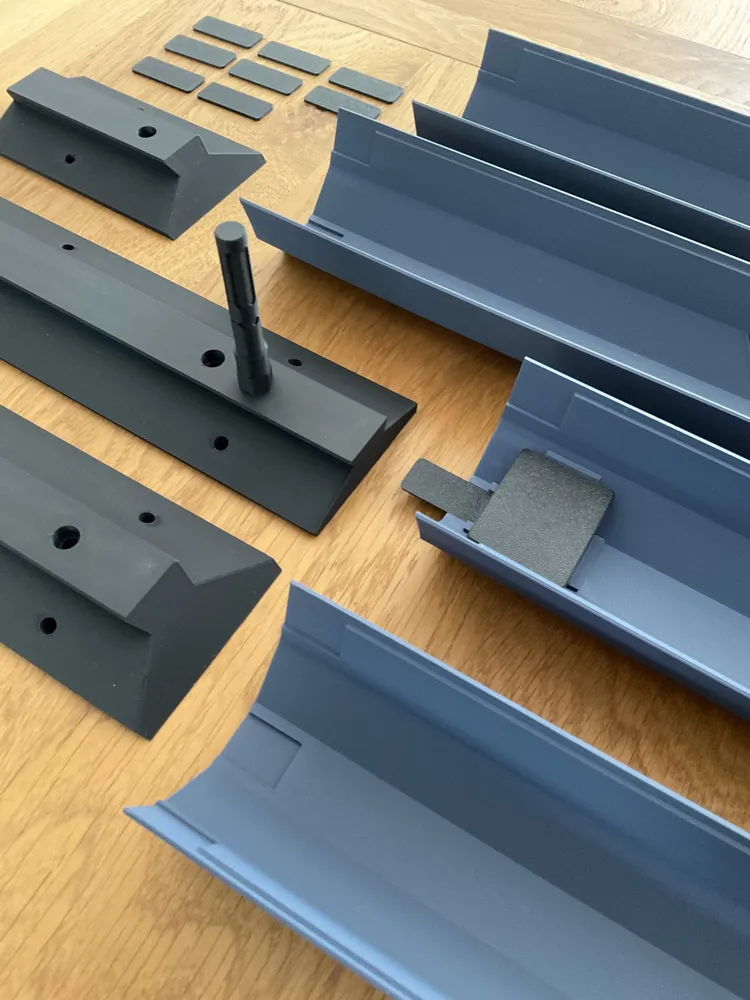
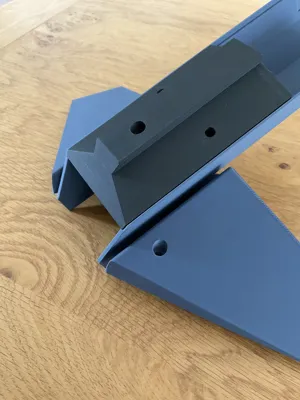
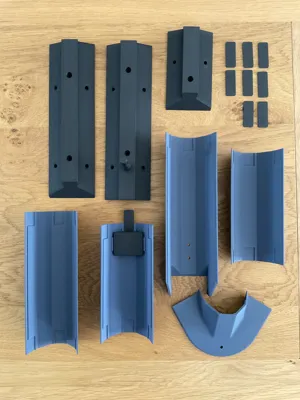
The model is made with an outer shell, printed in matte blue and an outer lid, printed in black which provides an angled mounting surface for winshields if required.
The outer shell is in sections that are glued together using the small joining tabs (to maximise internal space and provide a smooth surface for running wiring and a support pillar). Some of the pictures include the alternative Upper Moulding without the EPI which you can use in place of the EPI Upper Moulding to get maximise space inside. With the EPI, the pillar has space for a 2020 Aluminium Extrusion. Without, a 3030 Aluminium Extrusion will fit. The 3mf file is the version with the EPI. The optional replacement Upper Moulding without EPI is included in the STEP files.
Printing:
- The print profile for the EPI balls includes finer layers for the ball and a pause to allow colour change from black to red or white (I don't have an AMS).
- The profile has 5 walls for strength and slower overhang speeds to ensure a perfectly smooth appearance. Otherwise the profile is standard for Matte PLA, 0.2mm layer height, 25% infill. It printed easily and perfectly on my P1S, though I had the glass lid off and door open to help cooling, as is recommended for PLA, especially with overhangs.
Assembly:
- Using CA glue:
- Glue the EPI balls into the recesses in the Holder and then glue this assembly onto the back of the Upper Moulding shell. Locating tabs are provided for alignment.
- Using the black Tabs, glue the blue Lower, Middle, Upper and Ceiling mouldings together. Very little glue is needed for a strong assembly. Keep CA glue away from the edges and outer surface, as it creates white stains.
- If attaching to my Pillar base, screw base and Lower Pillar Moulding together with M4 Hex screws
- If needed for attaching acrylic windshields, install M4*6mm heat inserts in holes on angled faces of black Lid sections
- If using an Aluminium extrusion as a support pillar inside, attach the black Lower, Middle and Upper Lid sections to the Aluminium Extrusion with five M5 x 18mm screws and T nuts. 20mm will also work.
- Glue the edges of the black lid sections inside the edge recess on the blue mouldings to make the finished assembly
When assembled it is very rigid, but not strong enough to support a heavy OH panel, hence the space for a support pillar up the middle.
Any questions, just ask.
License

You shall not share, sub-license, sell, rent, host, transfer, or distribute in any way the digital or 3D printed versions of this object, nor any other derivative work of this object in its digital or physical format (including - but not limited to - remixes of this object, and hosting on other digital platforms). The objects may not be used without permission in any way whatsoever in which you charge money, or collect fees.


Comment & Rating (45)