

Print Profile(2)
Bill of Materials


Description
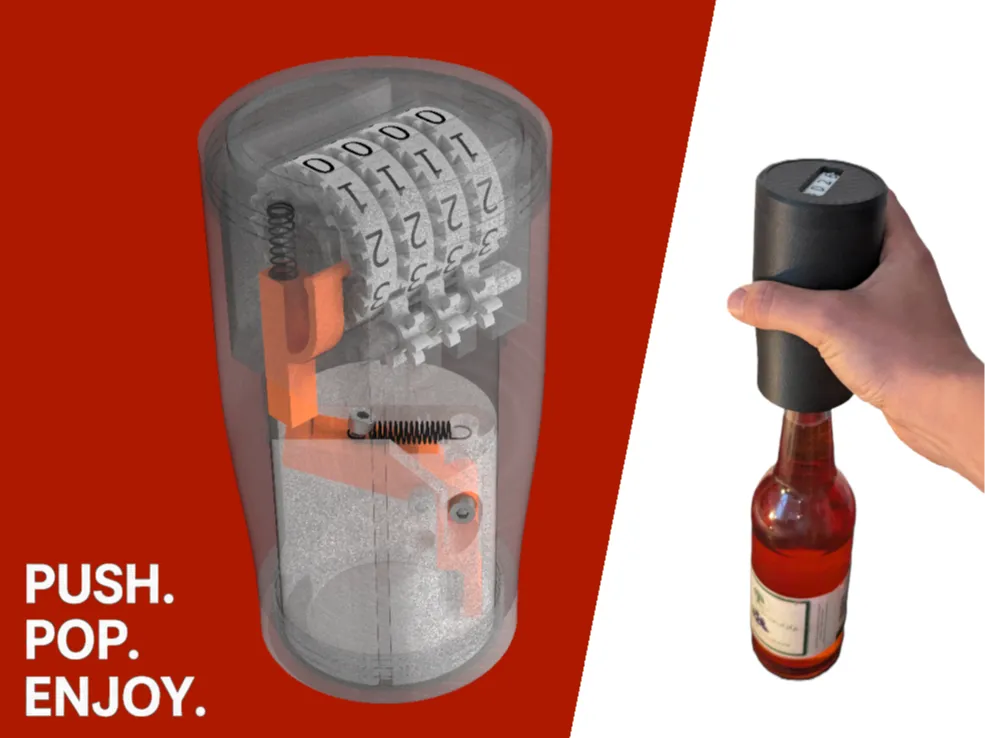
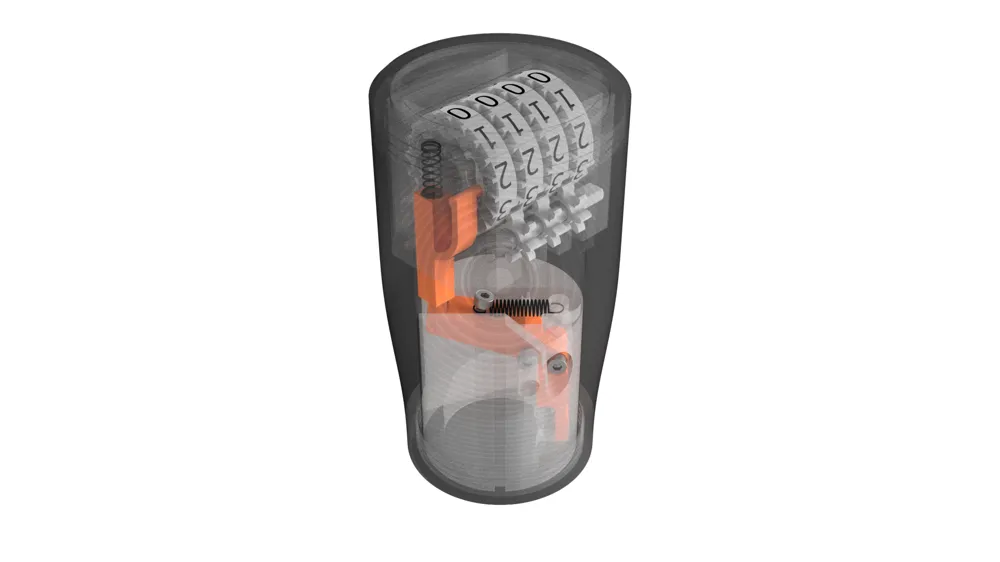
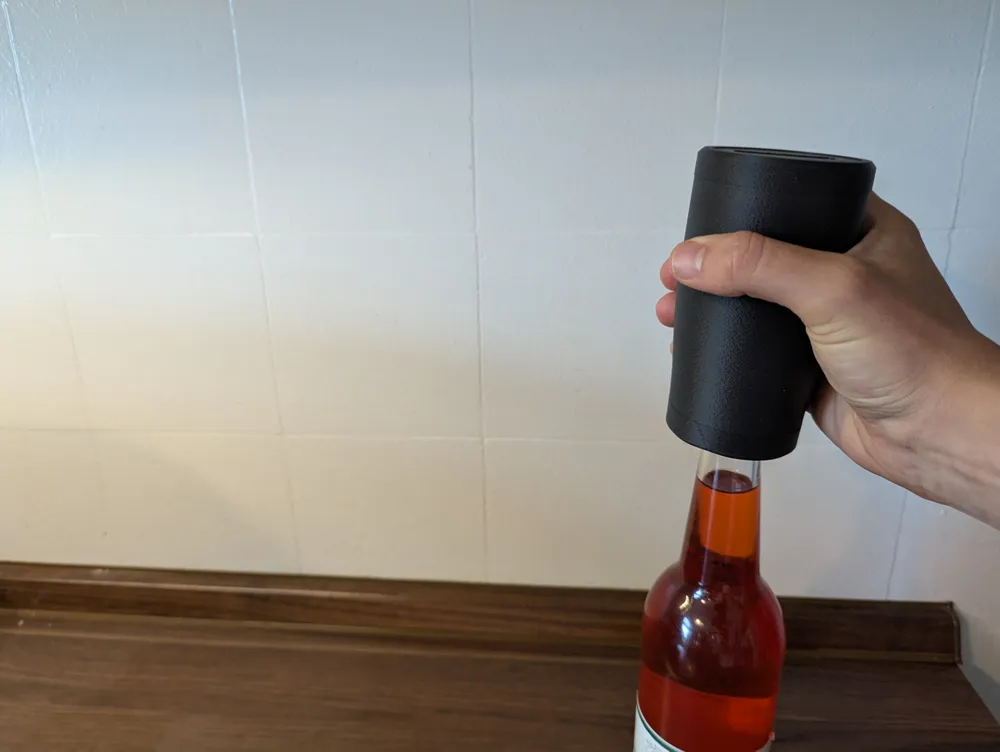
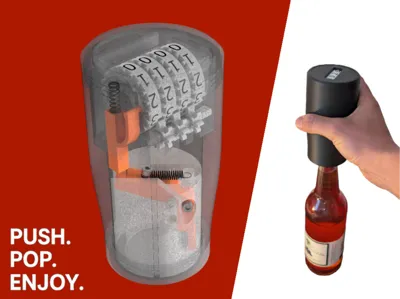
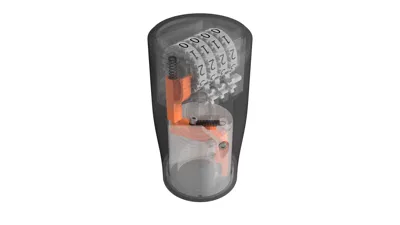
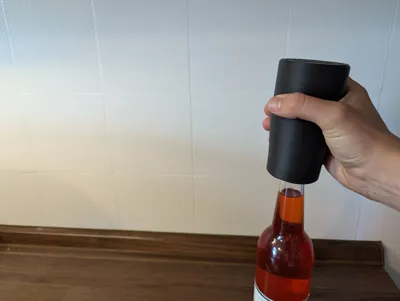
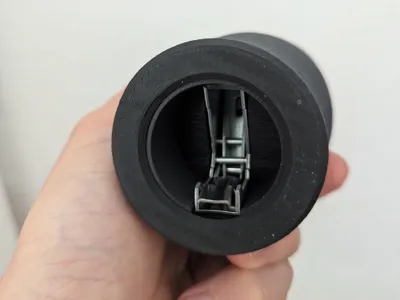
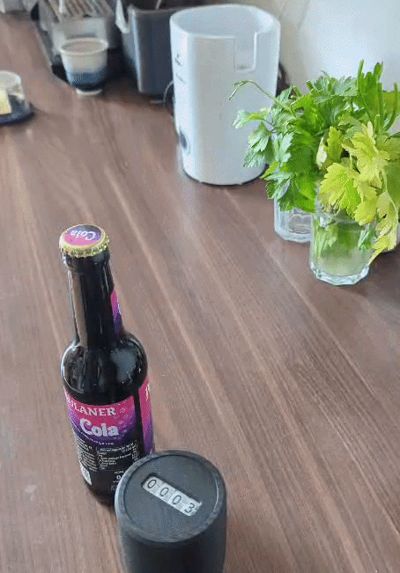
This bottle opener features an integrated mechanical counter that automatically increments each time you open a bottle.
No electronics, no batteries — just clever mechanics that make every bottle count.
It’s the perfect party gadget: fun, functional, and a great conversation starter. Whether you're keeping track of how many drinks you've opened, competing with friends, or just enjoying the satisfying click of the counter, this opener adds an extra level of interaction to any gathering.
Boost Me (for free)
I've put a lot of time and effort into developing this project, and like many creators, I face the risk that someone might take the idea and commercialize it without permission. If you enjoy this model and want to support the spirit of free and creative 3D printing, I’d truly appreciate a boost.
Following parts are needed for the counting Mechanism:
1x compression spring
1x M3x16
Depending on the Version you want to make you need the following parts:
Printed Version:
And for the opener itself:
1x M3x8 (For the rubber bands)
1x M3x12 (Connect the two lever parts
2x M3x16 (for the Lifting mechanism to strengthen the opener)
1x M3x20 (to keep the two lever parts fixed in the outer part)
1-2x rubber band
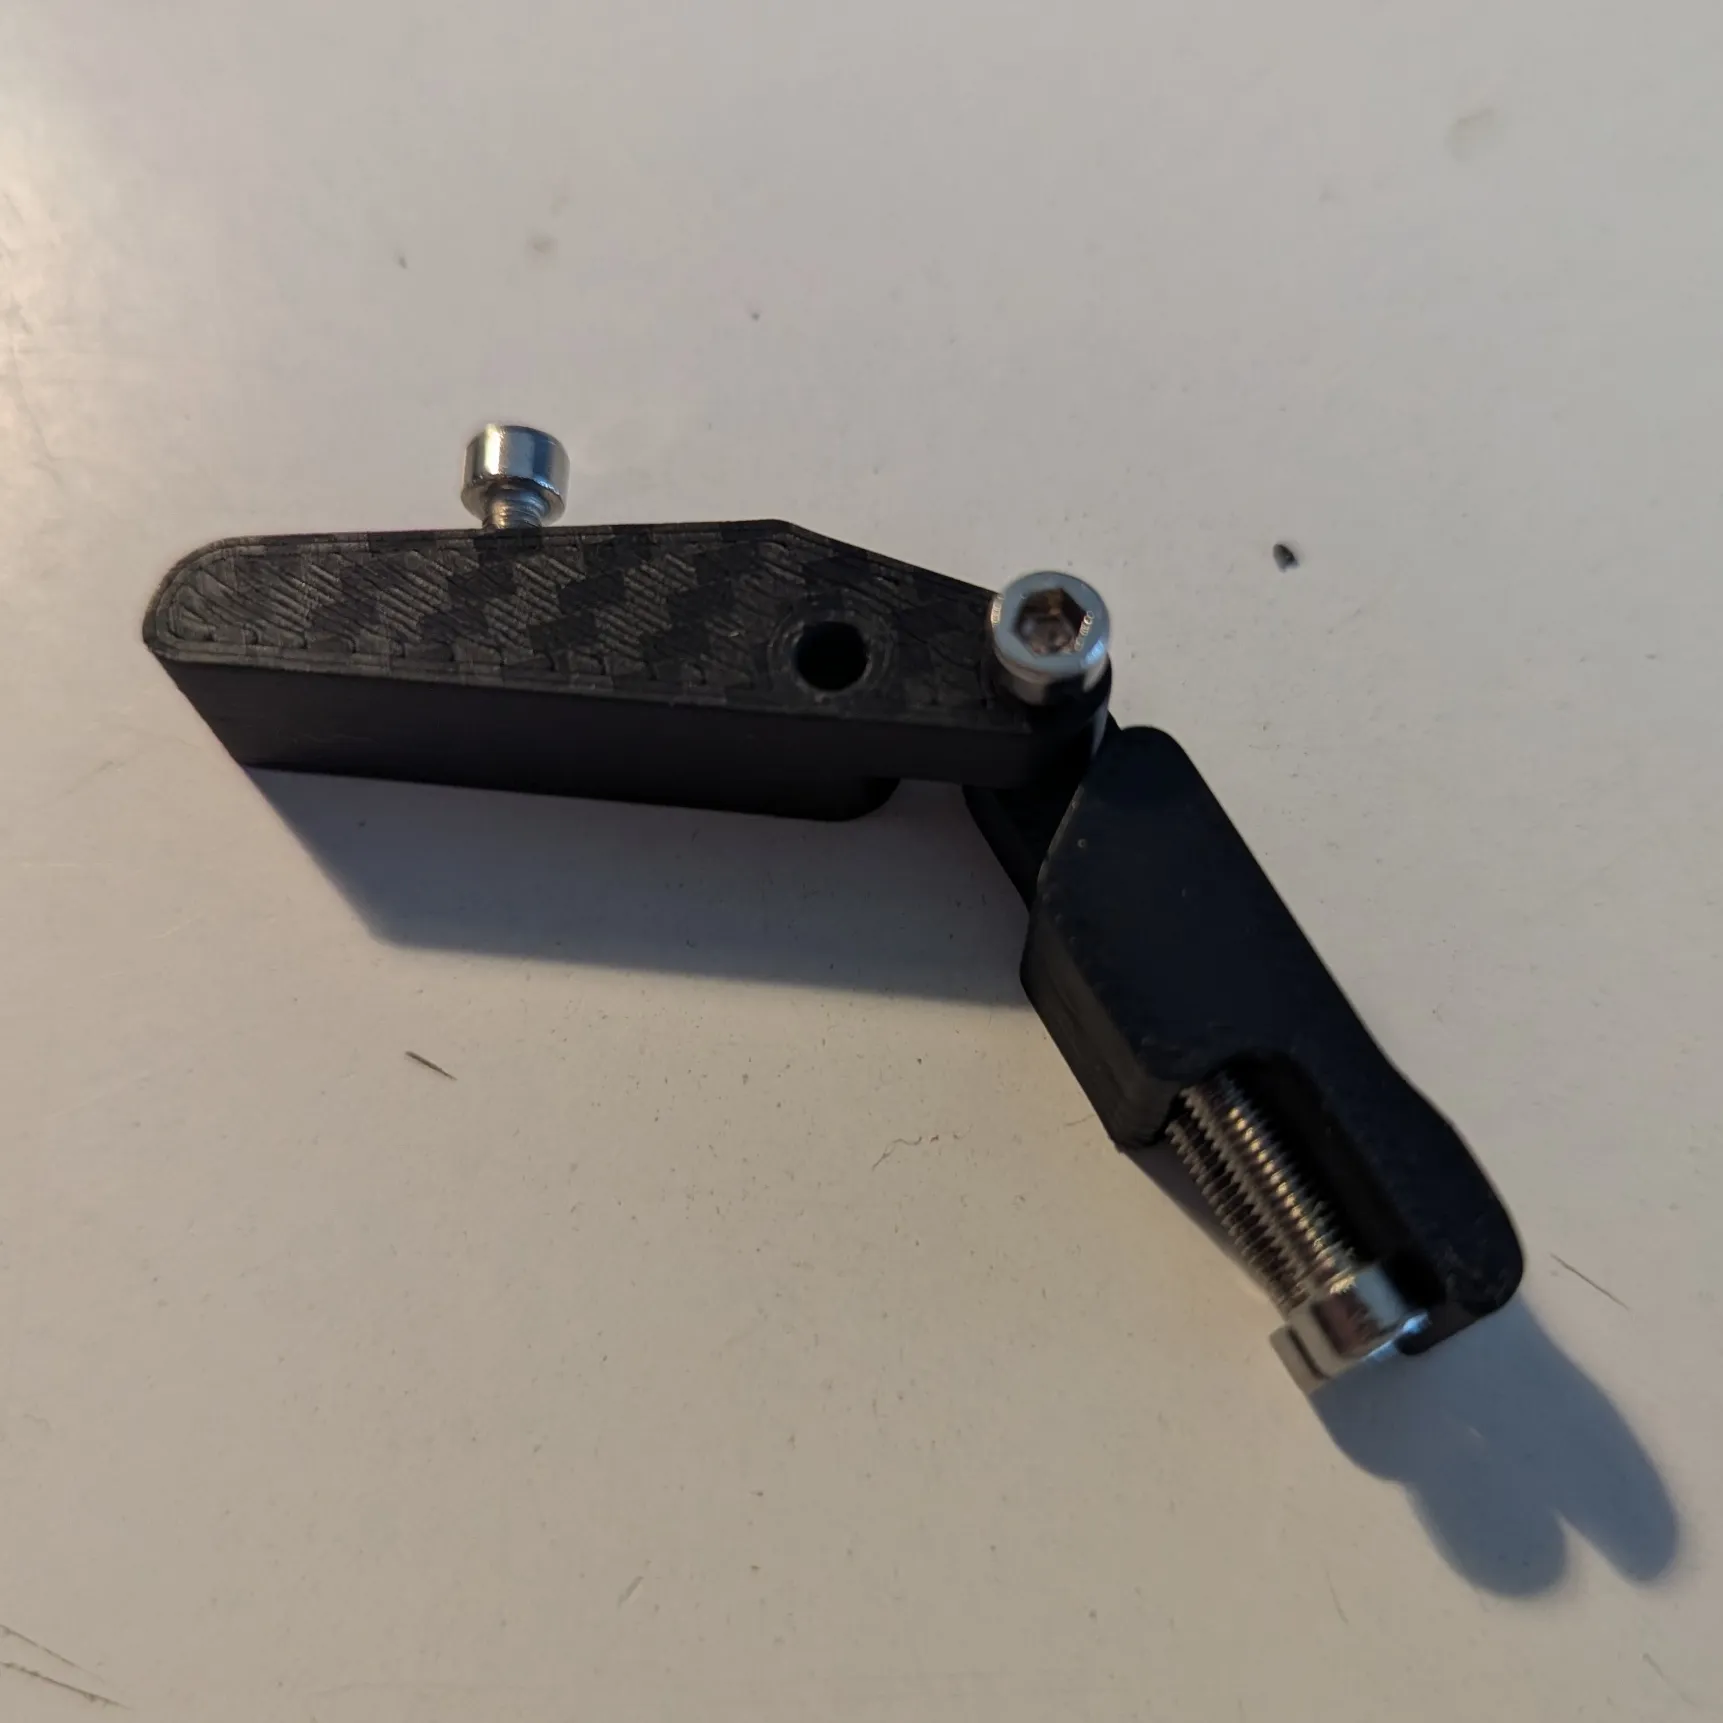
Screw the 8mm screw into the top part. Connect both parts with the 12mm screw. The two 16mm screws arescrewed into the lift mechanism until they cant go deeper.
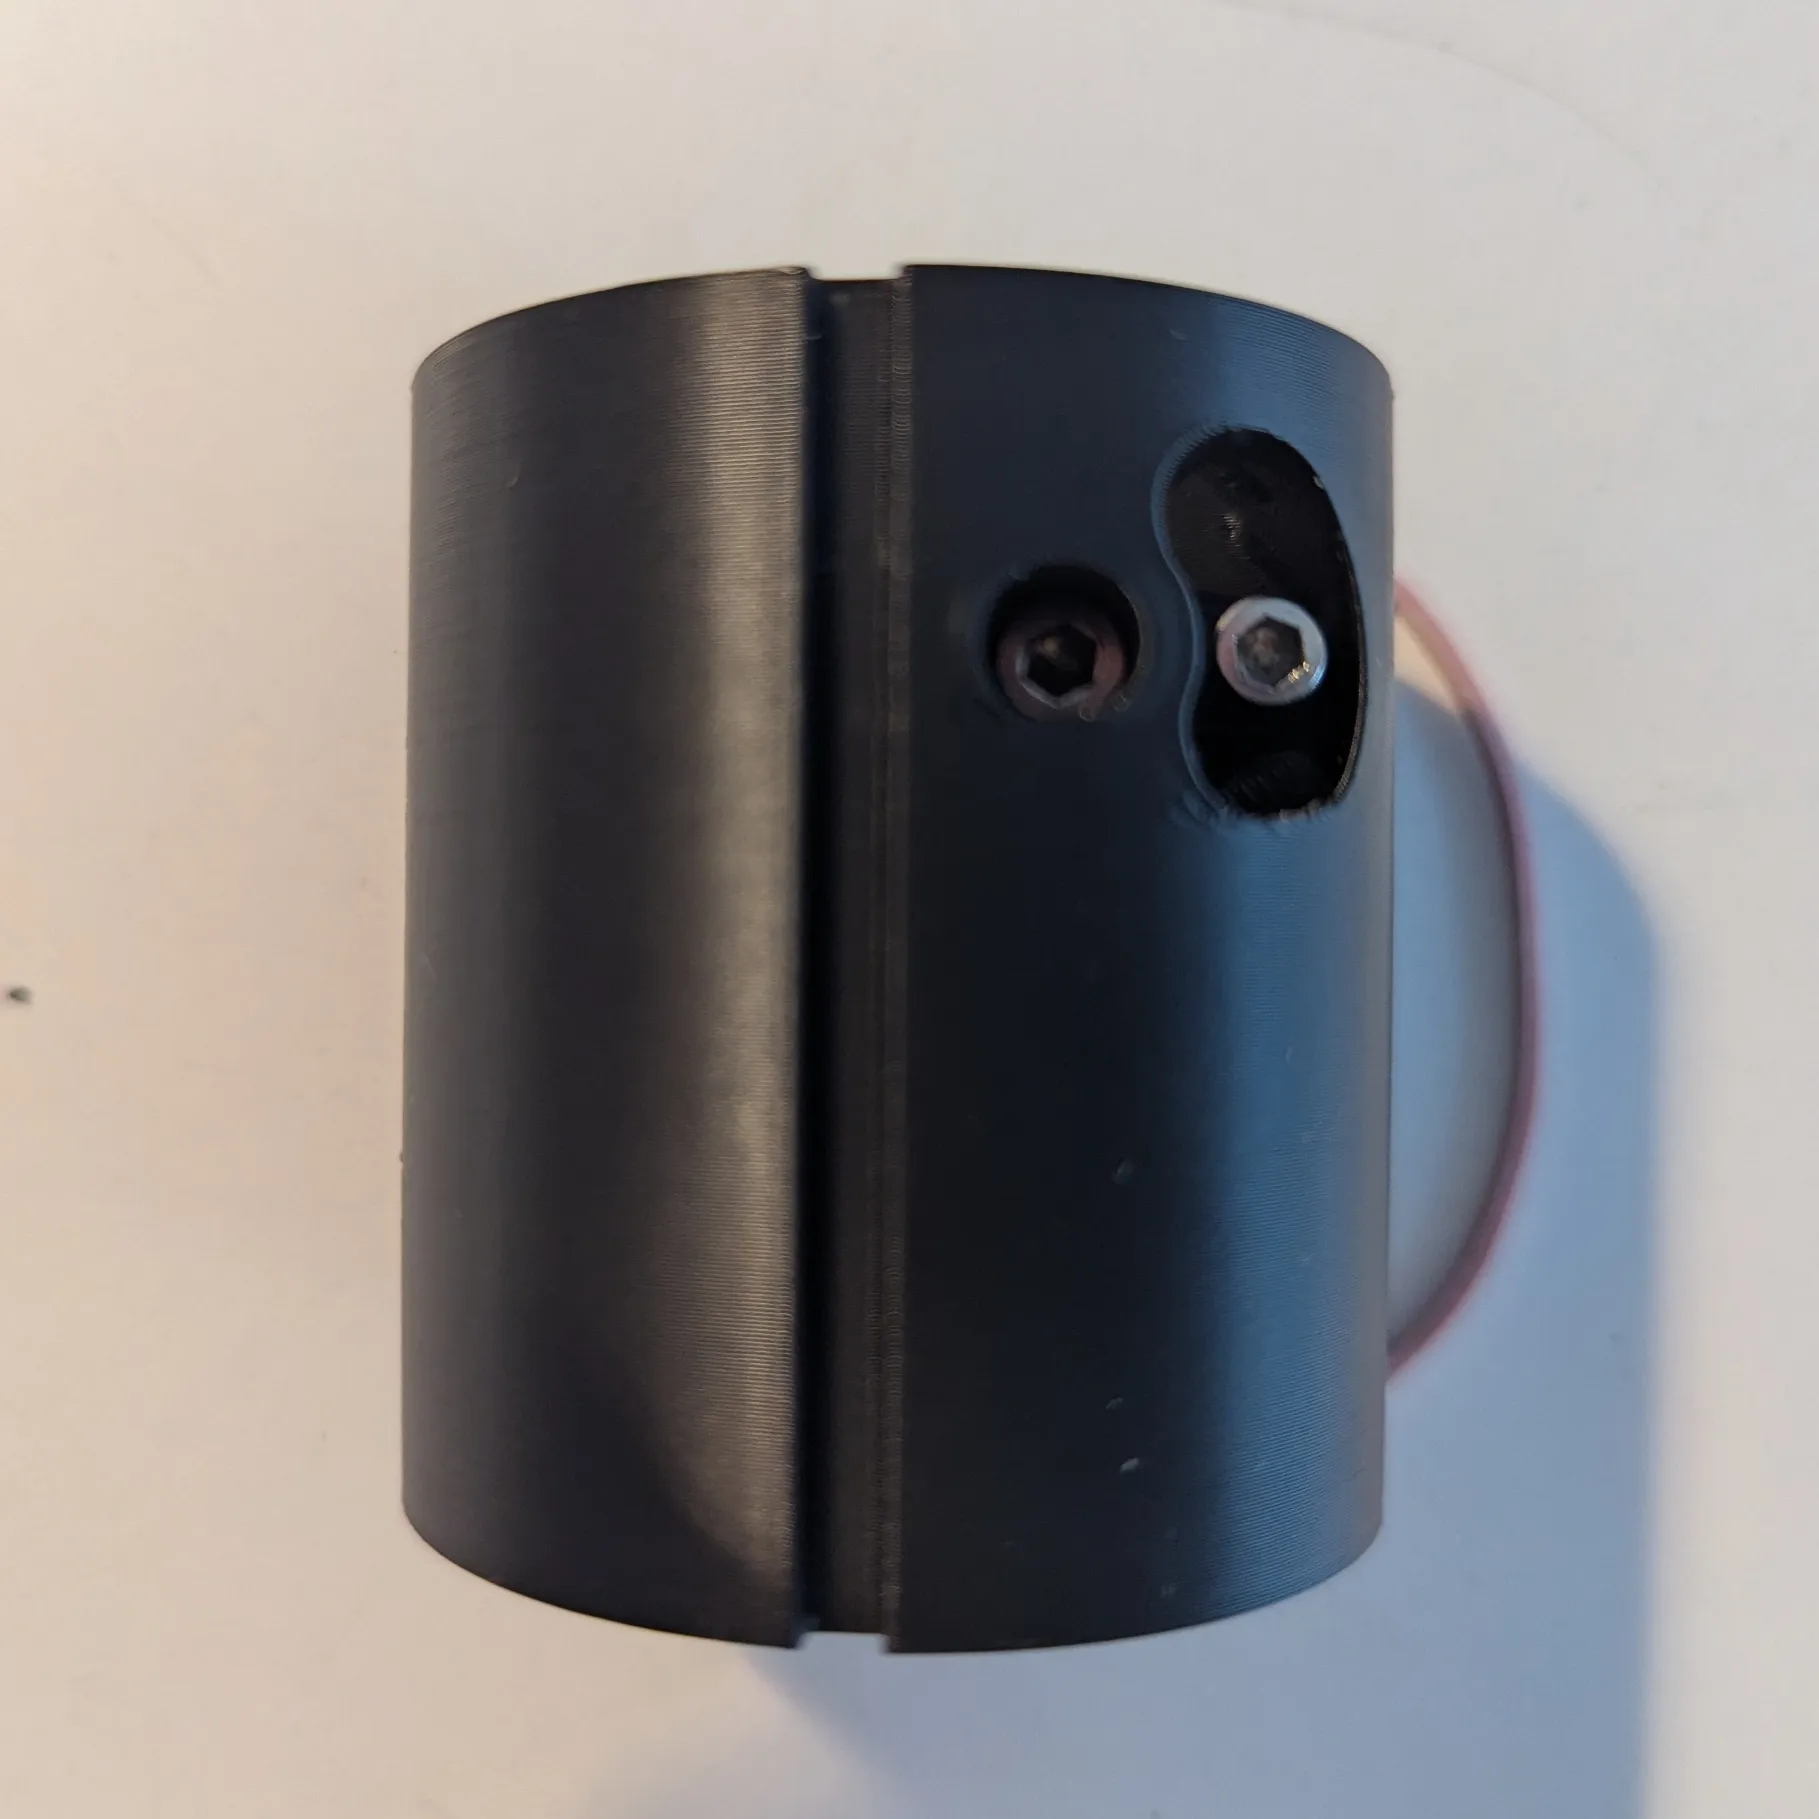
Insert the Lever into the housing and fix it with the 20mmscrew.
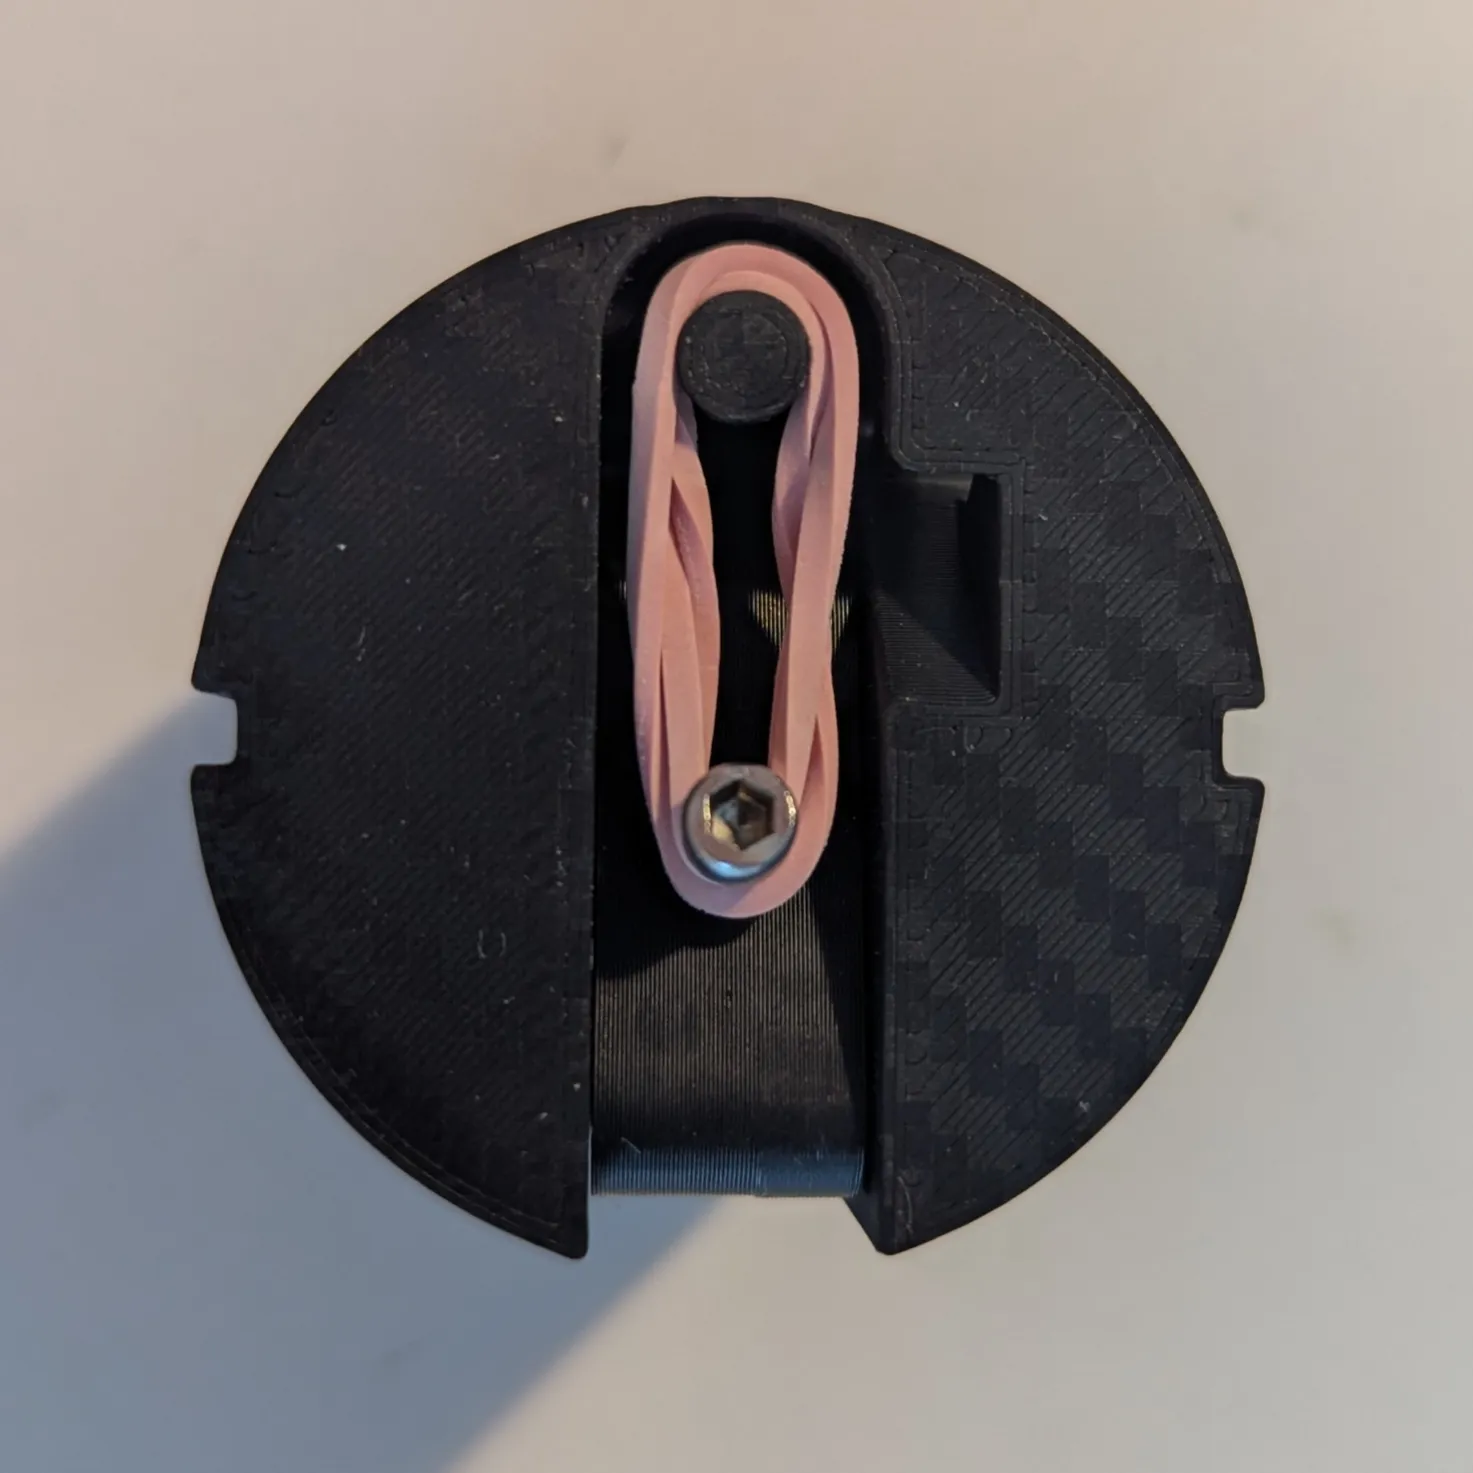
Wrap the rubber bands around the screw from the lever and the attachment point of the housing.
Conversion Kit:
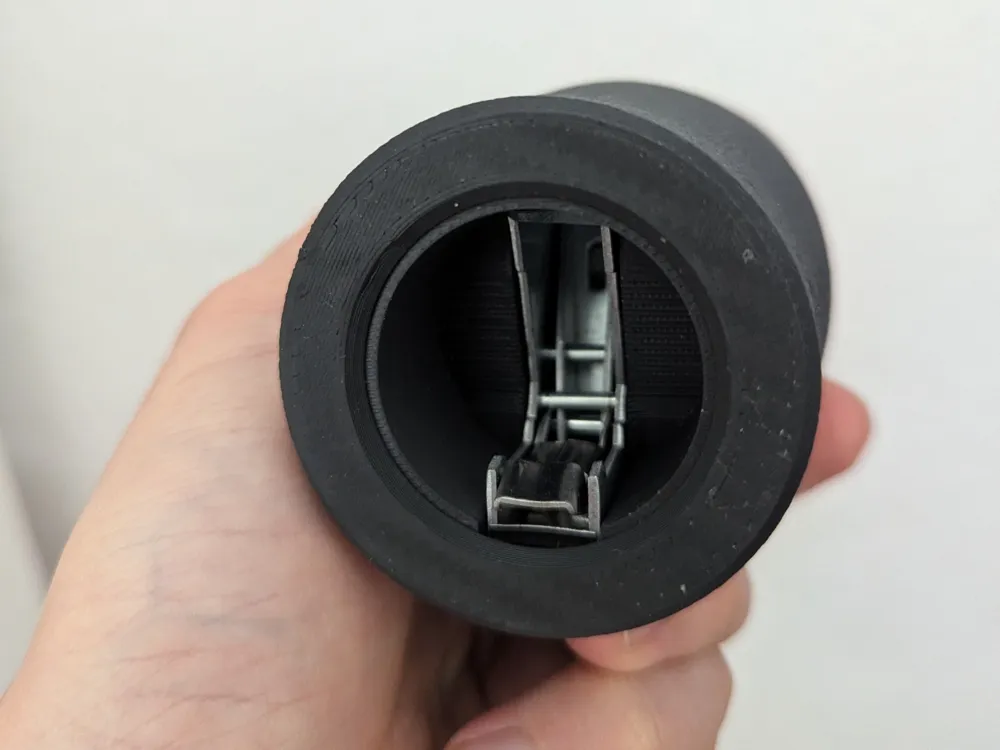
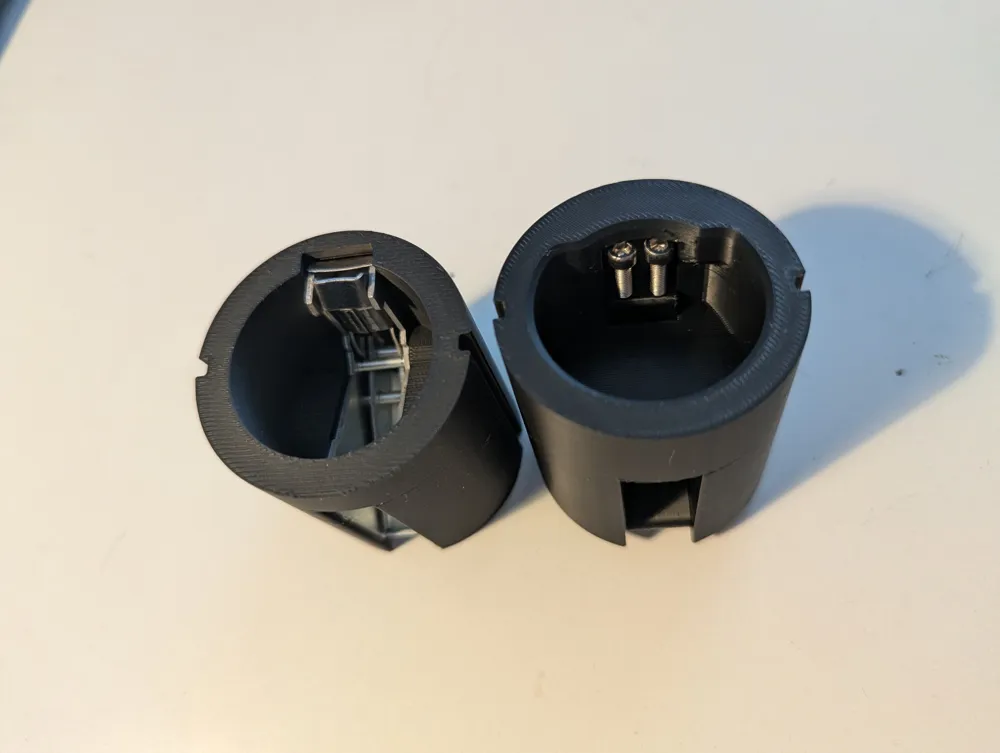
Due to the fact that 3D printed parts are not that reliable I tried to convert a existing push opener into a 3D printed version. To use the metal mechanism is much more reliable than the 3D printed version.
I tried to find a supplier that could provide this individual parts to make building this version easier, but unfortunately they only sell complete bottle openers. If someone is interested to make a real product of this please contact me.
Westmark Push Opener
You need to buy a push opener from westmark:
Westmark Automatic Bottle Opener (Push Pull)
1. Remove the Aluminum Rim
Use some pliers to carefully bend open the aluminum rim around the opener. Its pretty easy.
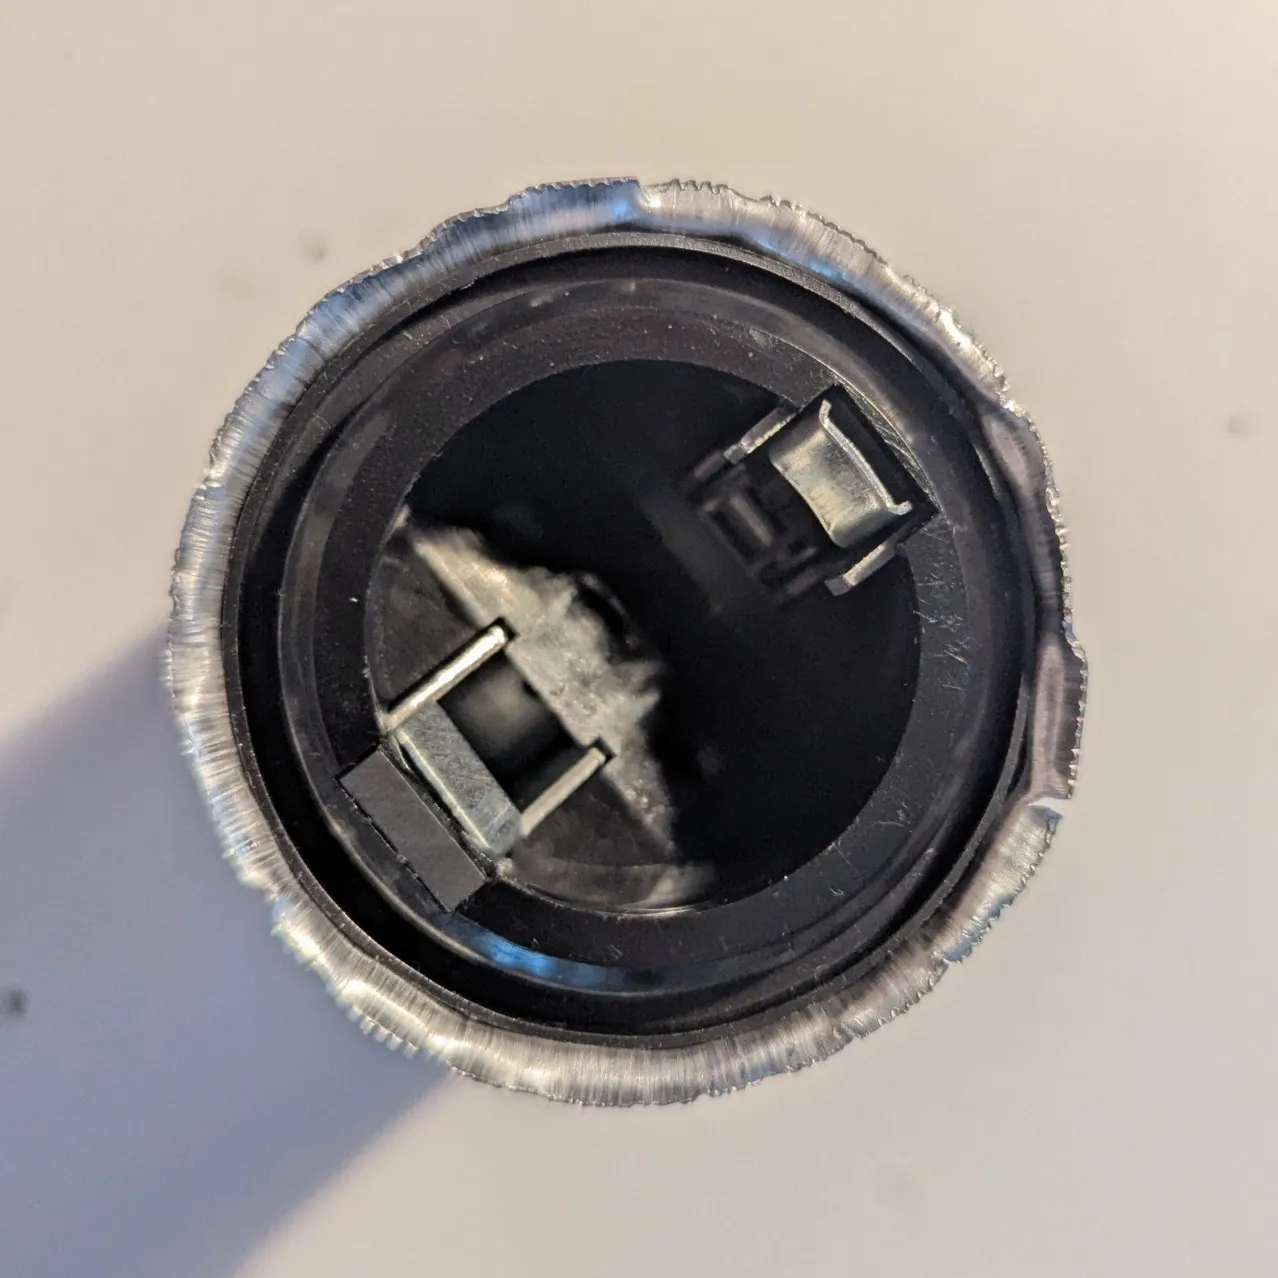
2. Remove the Mechanism Assembly
Unscrew the mechanism assembly and pull it out of the housing.
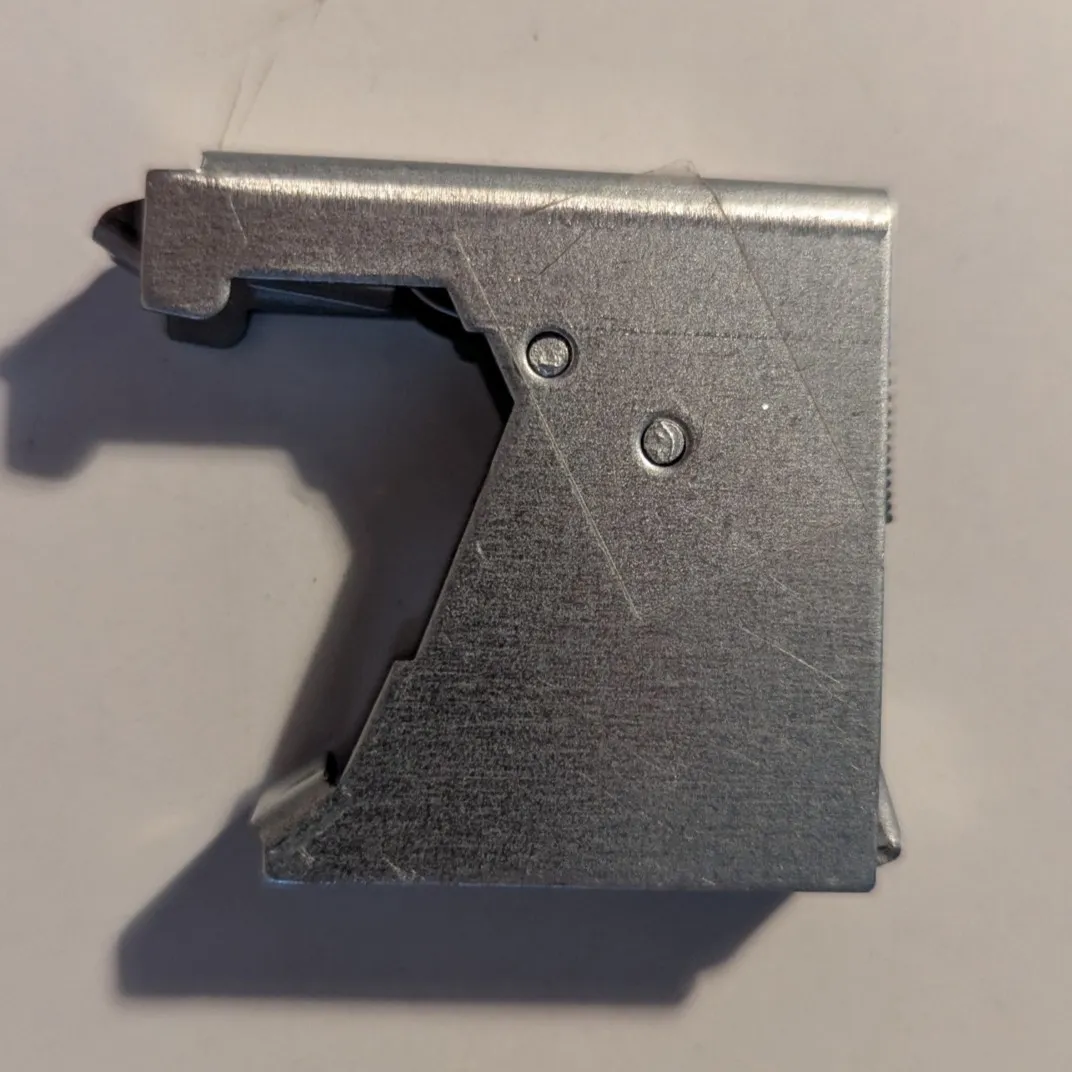
3. Extract the Opening Mechanism
Remove the opening mechanism from the assembly.
Tip: Use a small piece of tape to secure the axles and prevent them from falling out during handling.
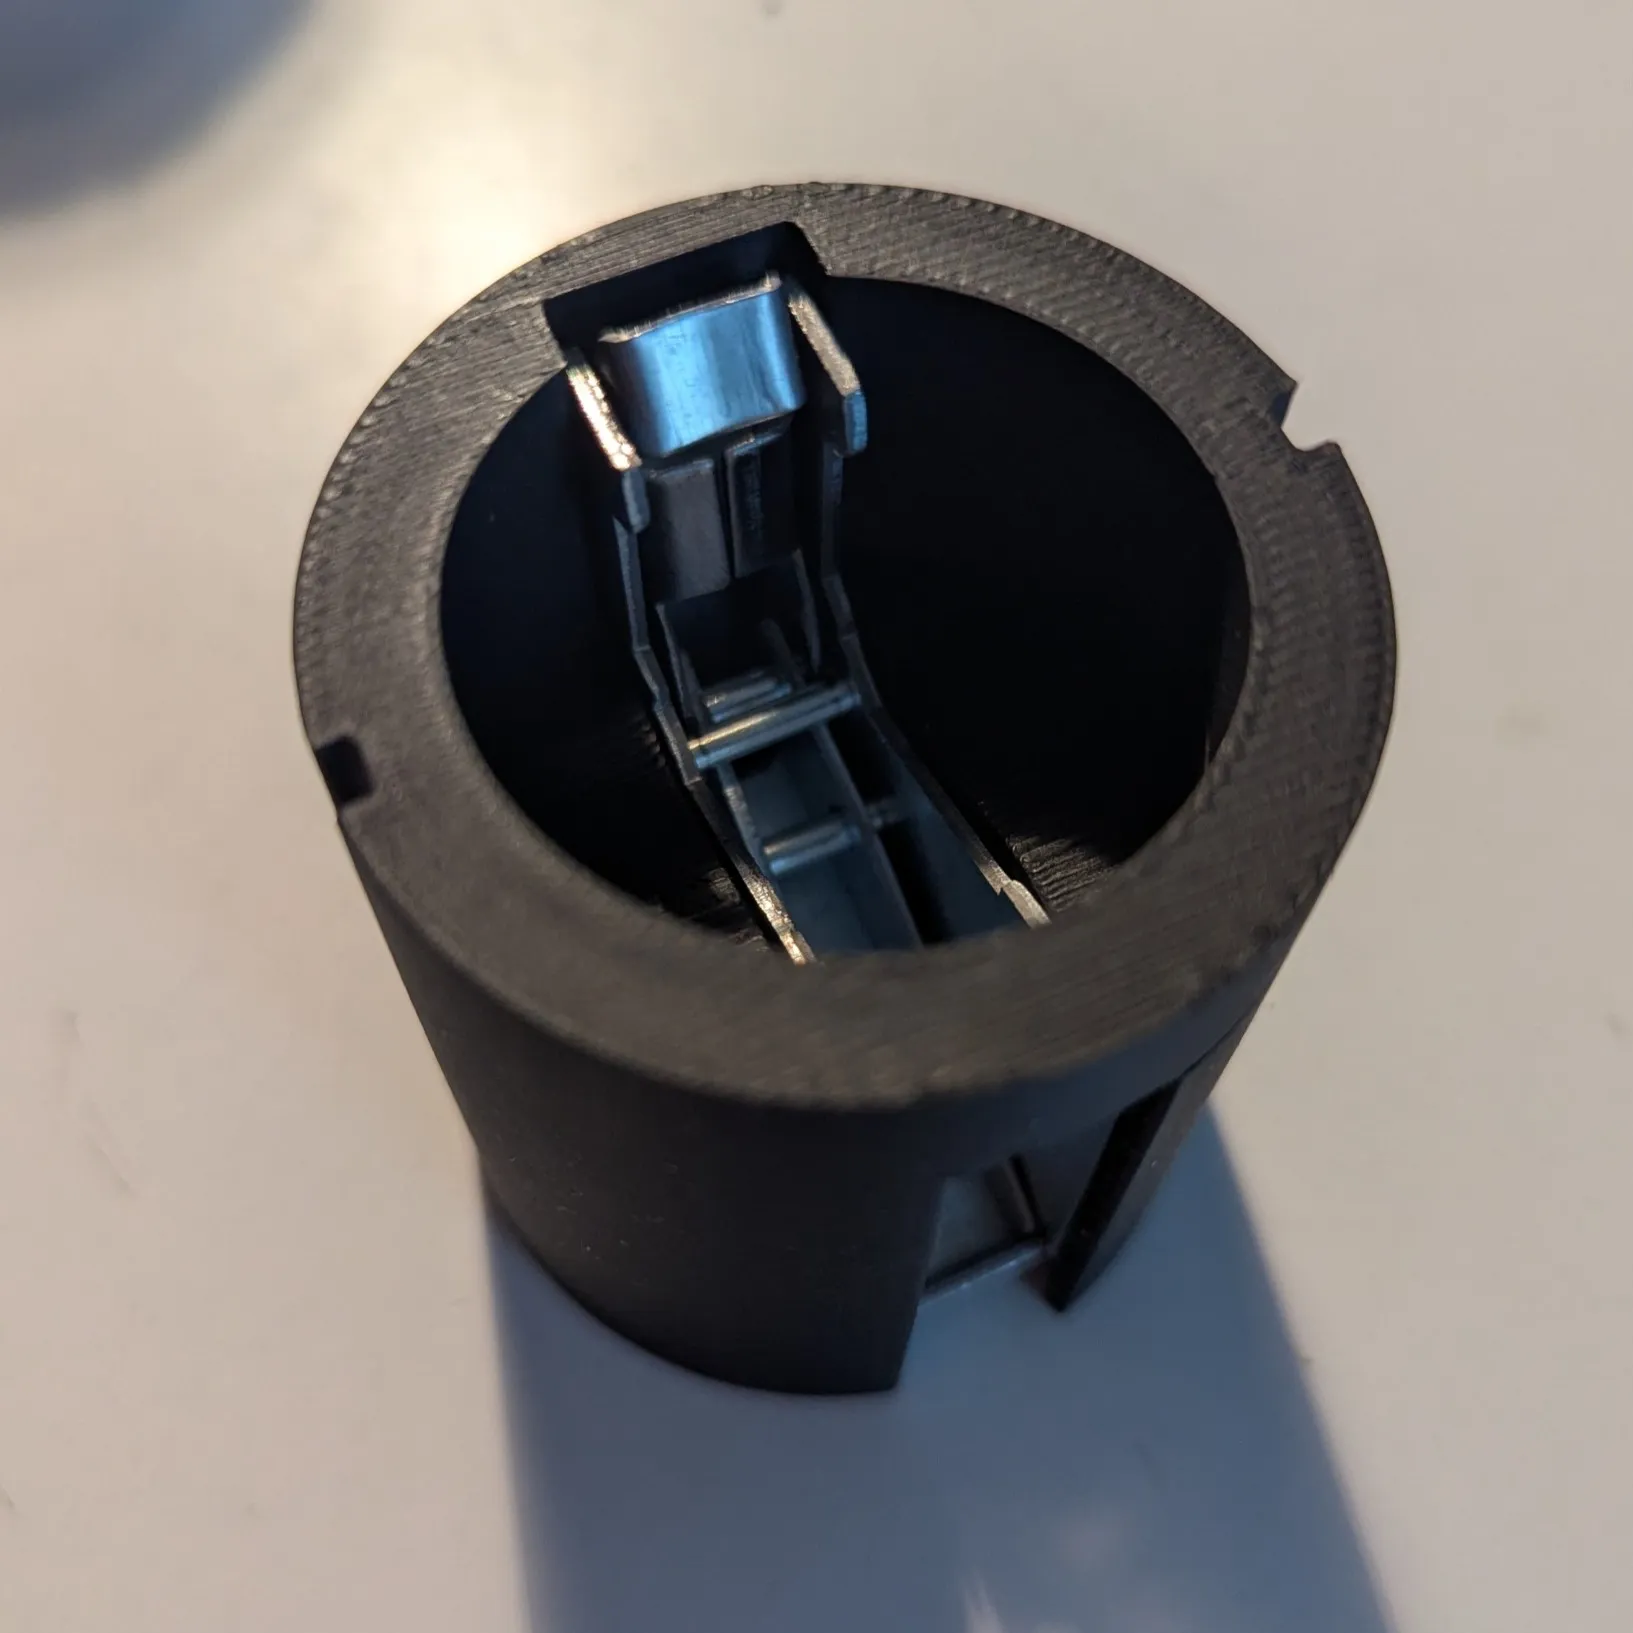
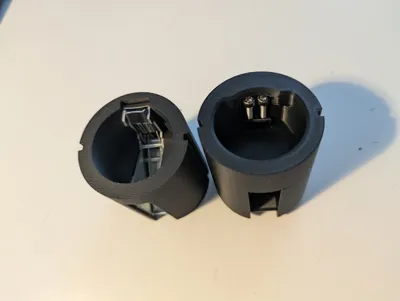
4. Install the Mechanism
Insert the opening mechanism into the printed part.
Documentation (1)
License

You shall not share, sub-license, sell, rent, host, transfer, or distribute in any way the digital or 3D printed versions of this object, nor any other derivative work of this object in its digital or physical format (including - but not limited to - remixes of this object, and hosting on other digital platforms). The objects may not be used without permission in any way whatsoever in which you charge money, or collect fees.


Comment & Rating (60)