
Ergonomic Paint Handle V2
Print Profile(5)


Description
UPDATE 08/08/25:
After some feedback about difficulties assembling the head, i have added a print profile for the top piece which has some extra cut-outs and greater tolerances to make it a bit easier to assemble. I have added a build video for the larger handle as well and explained some of the techniques that make it easier to build.
https://makerworld.com/en/models/1632190-ergonomic-paint-handle-v2#profileId-1779597
UPDATE 28/07/25:
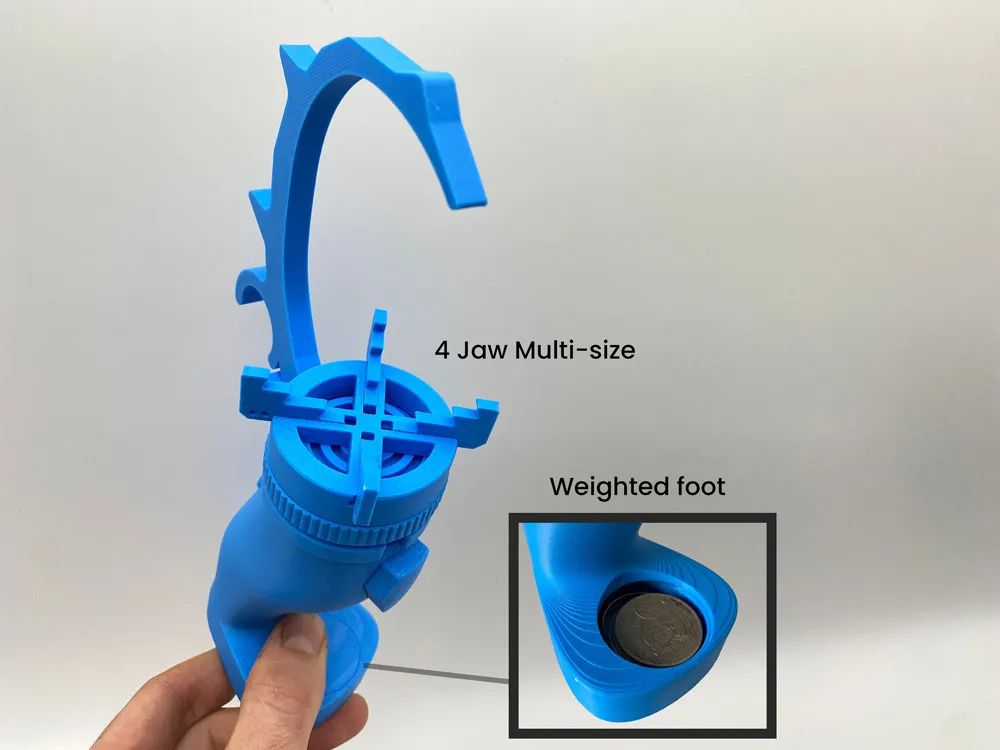
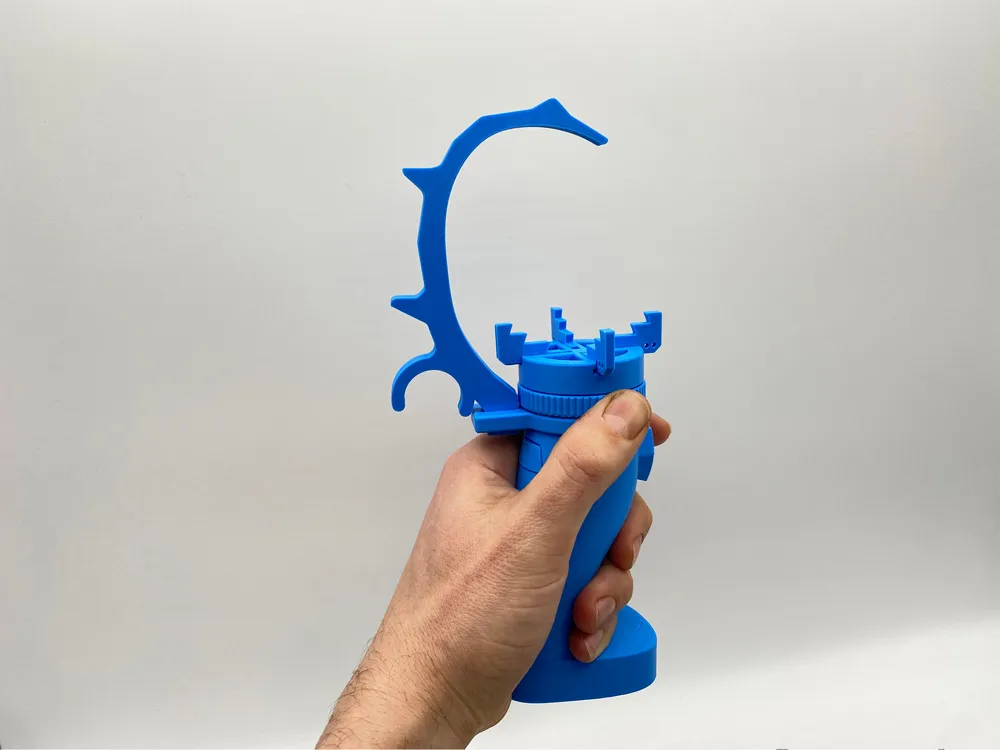
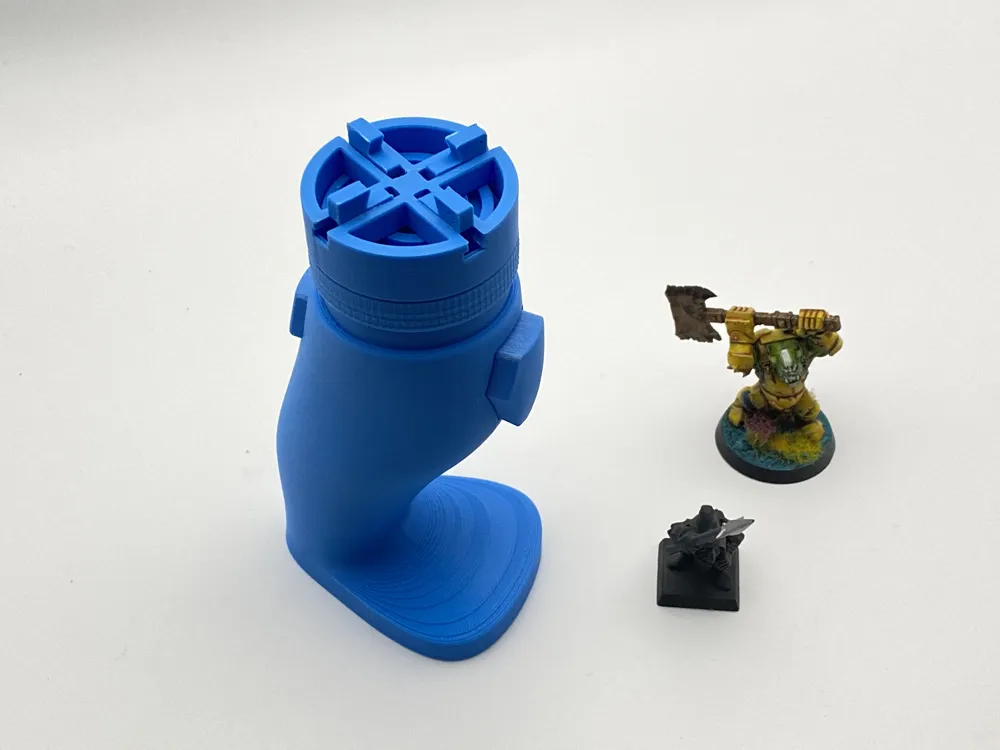
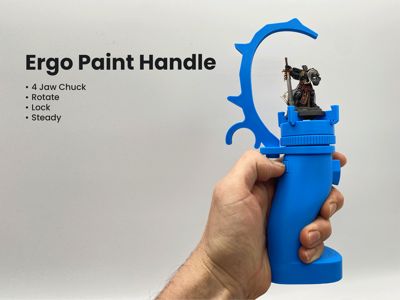
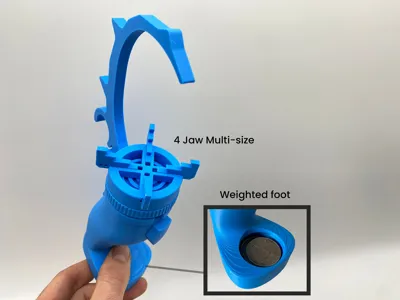
I have uploaded a new version after some feedback came in for more features. You can now add weights to the base if you so choose (using coins and tac) and there is a steady arm attachment for painting undergarments too.

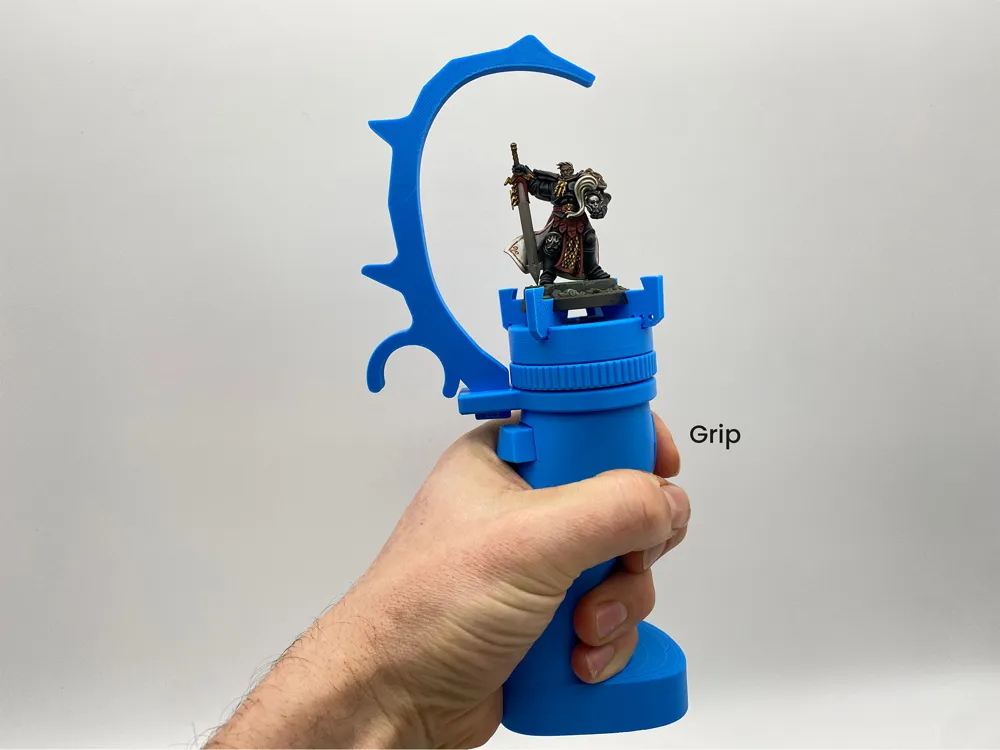
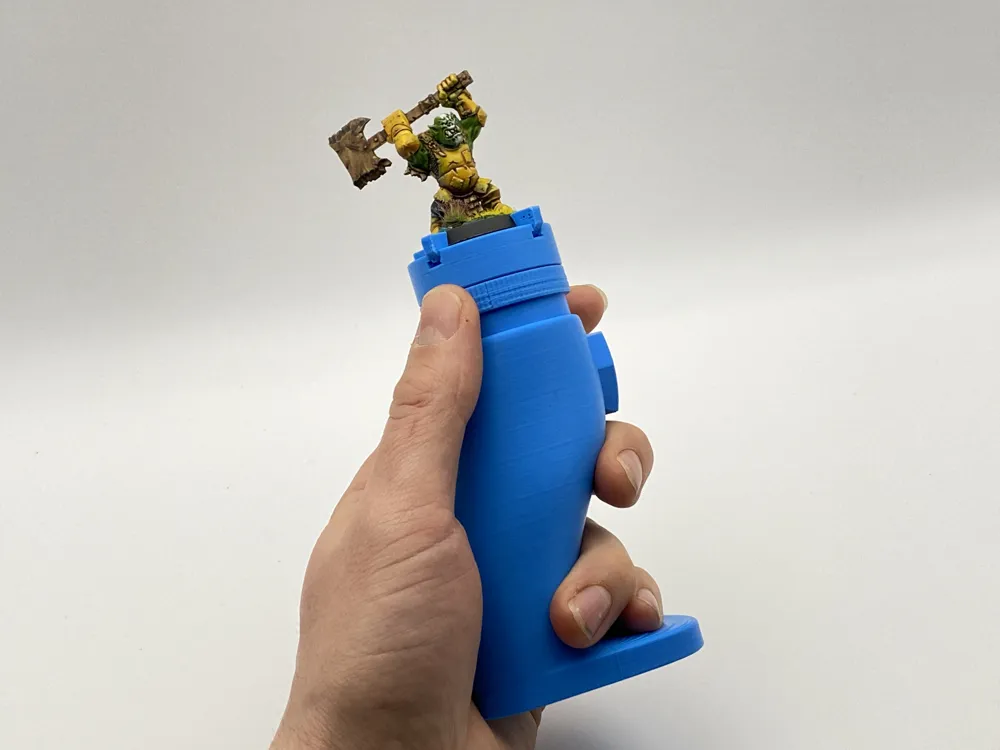
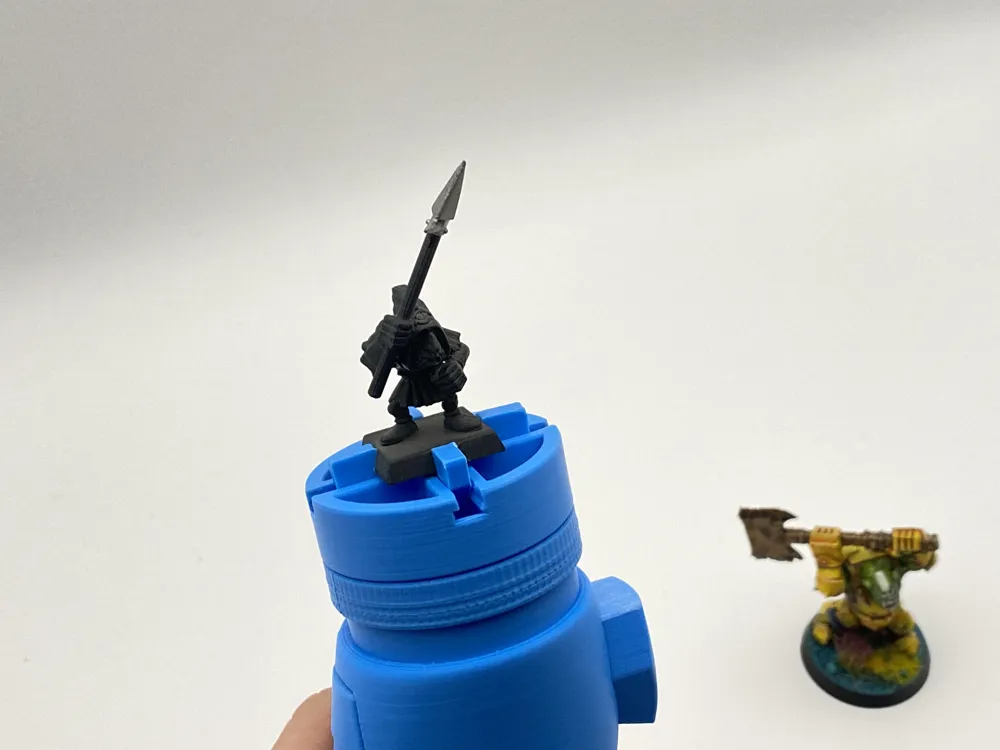
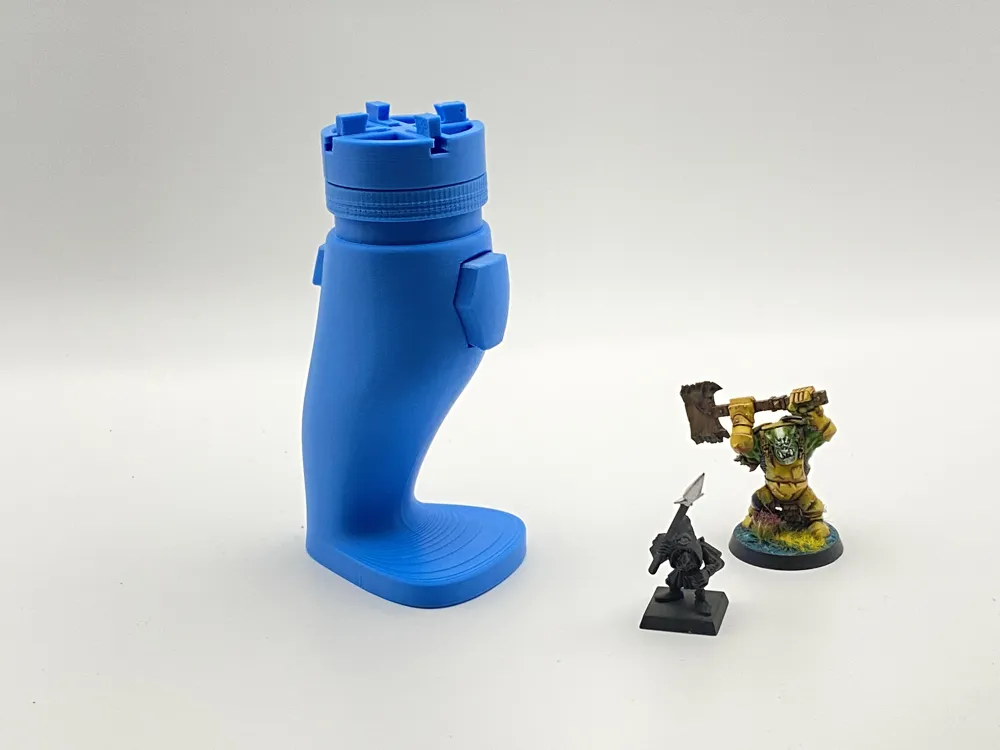
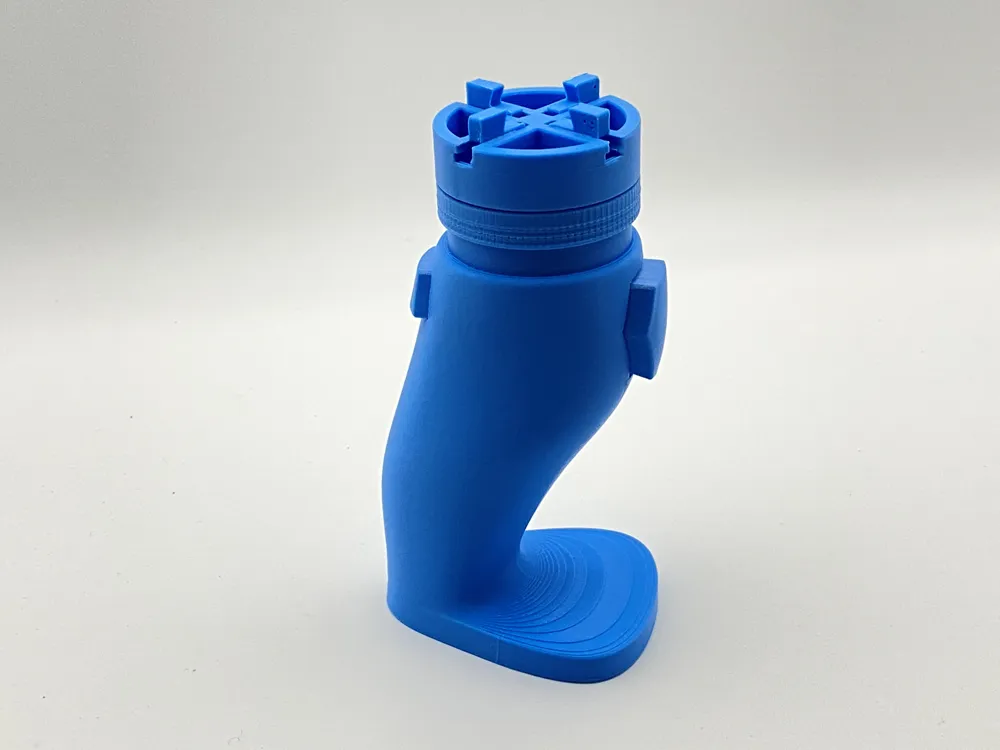

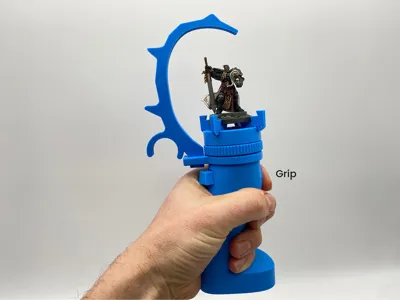
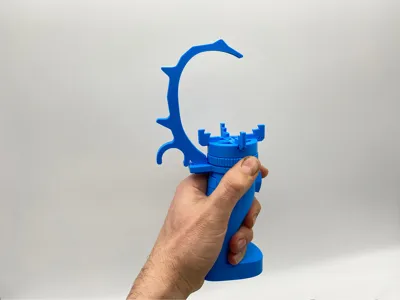
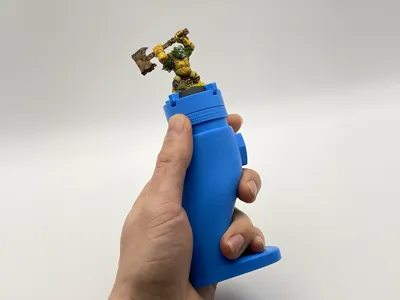
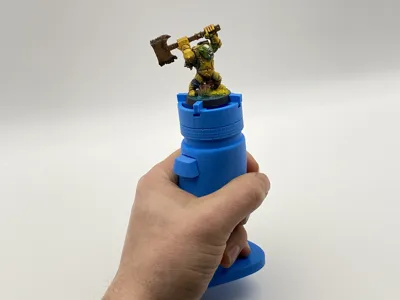
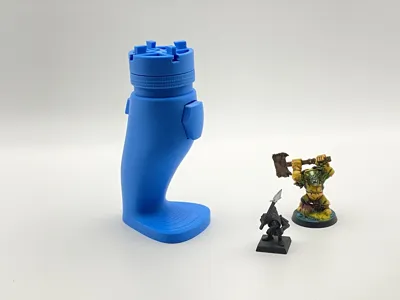
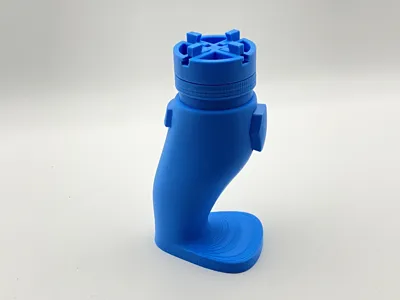
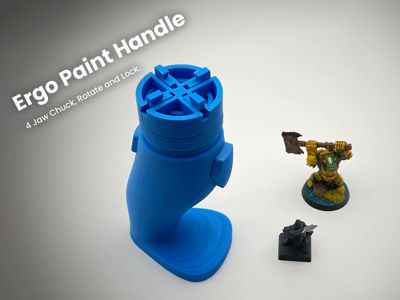
When painting for hours my hand would get cramped and so i modelled this based off some of the most comfortable drills I have handled (milwaukee, dewalt etc.) The first version had been appreciated in the community but needed a few updates before it could be called the ultimate painting handle and I took on the feedback and applied it to this new version.
Boost Me (for free)
Boost for more cool stuff
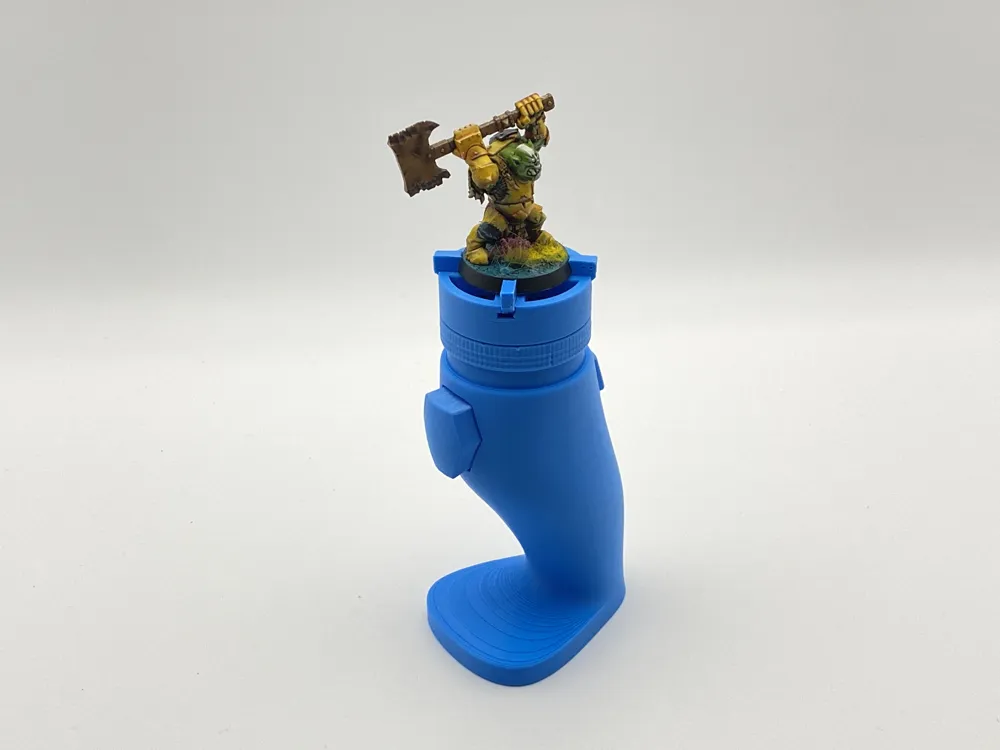
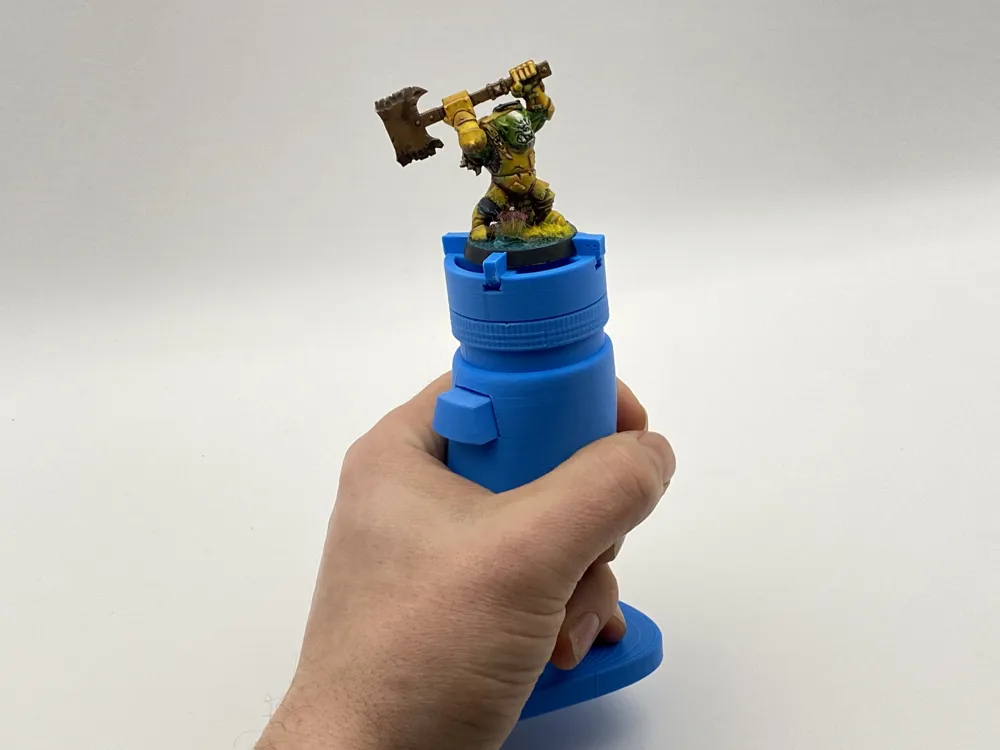
Features:
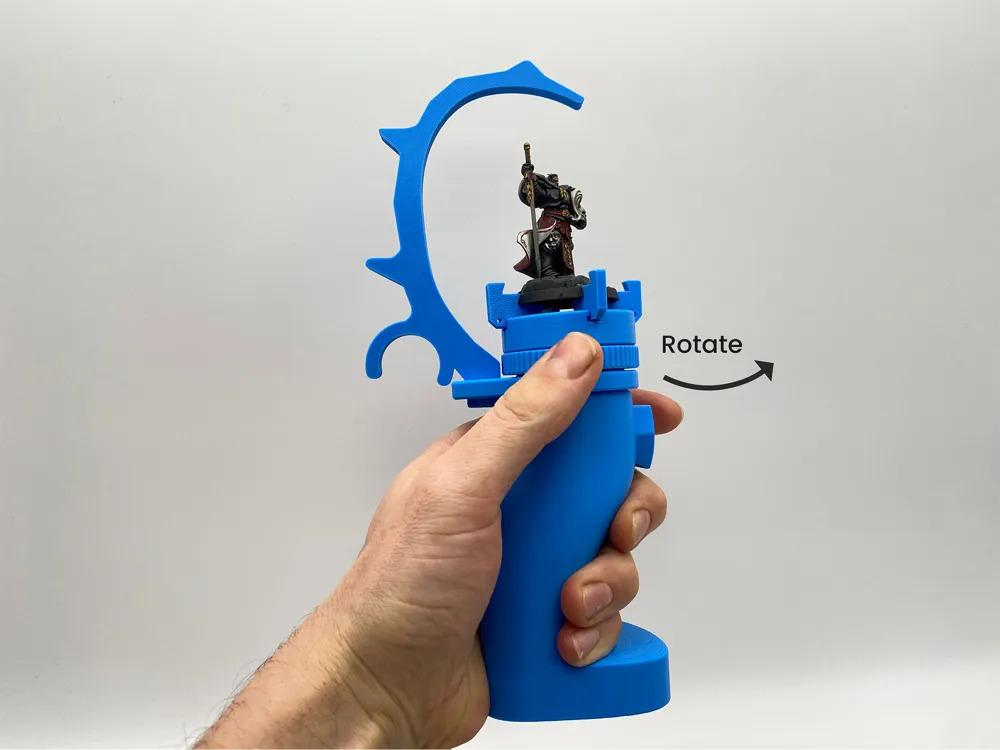
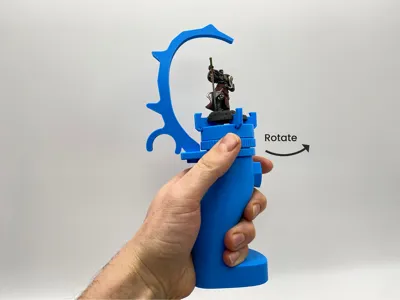
- Rotate the model with your thumb
- Pull the trigger to hold it in place
- Turn it 5 degrees to lock it
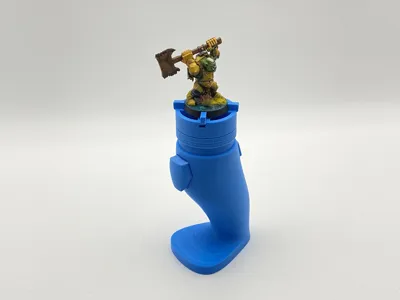
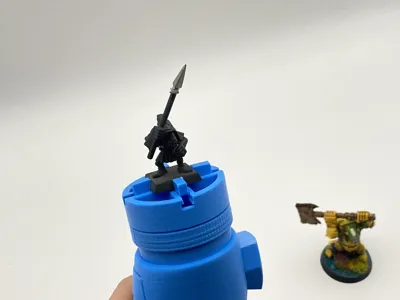
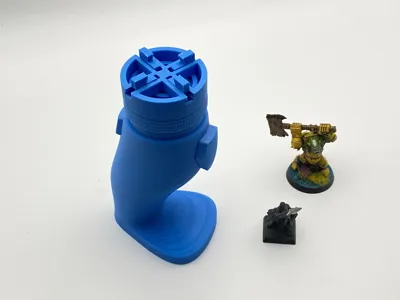
- Use the chuck to secure your models
- No screws or hardware
- No supports
- A1 Mini Compatible
Assembly - read below and watch the vid:
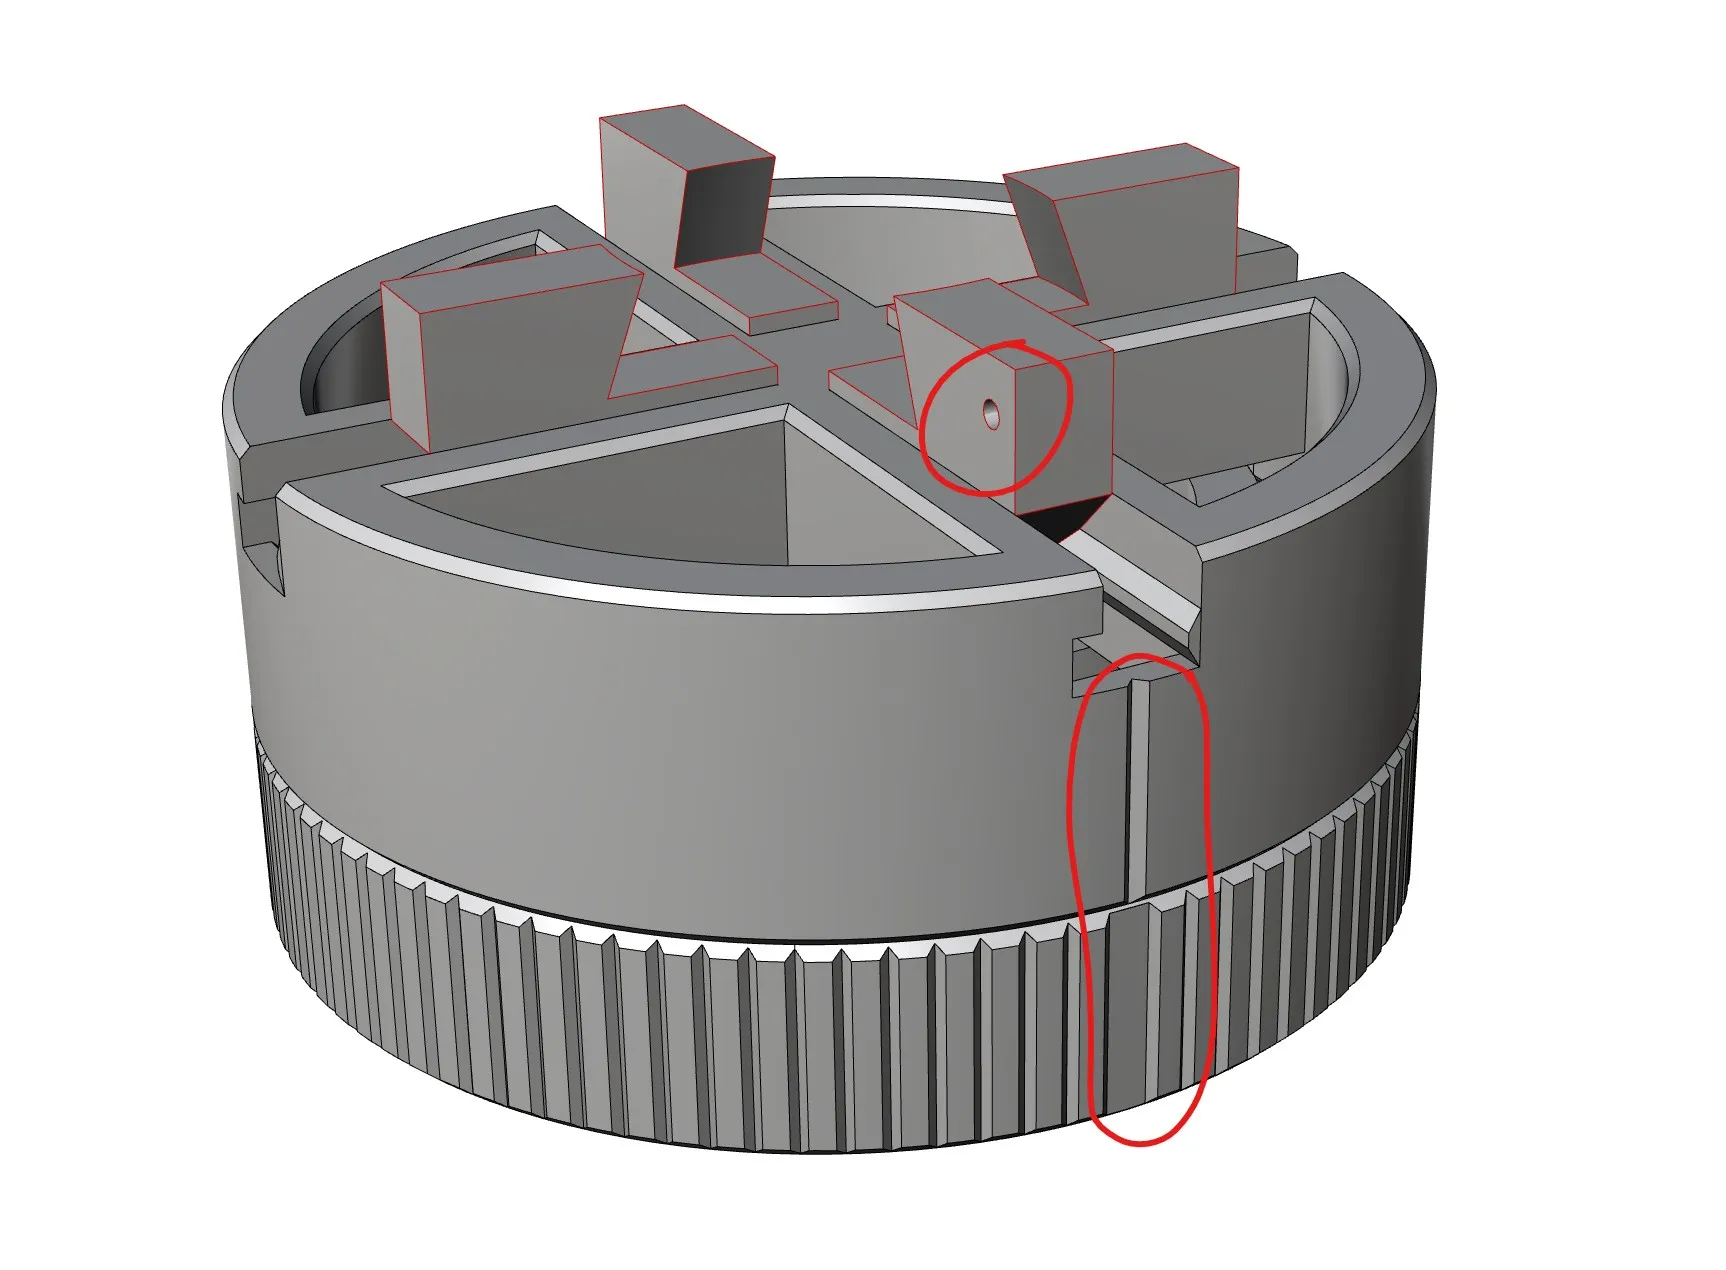
Start by inserting the teeth in the cap. The teeth have dots to mark their number. 0 = no dots, 1 = 1 dot etc.
Line up Number 1 with the indent on the cap. They should each click in with a little pressure.
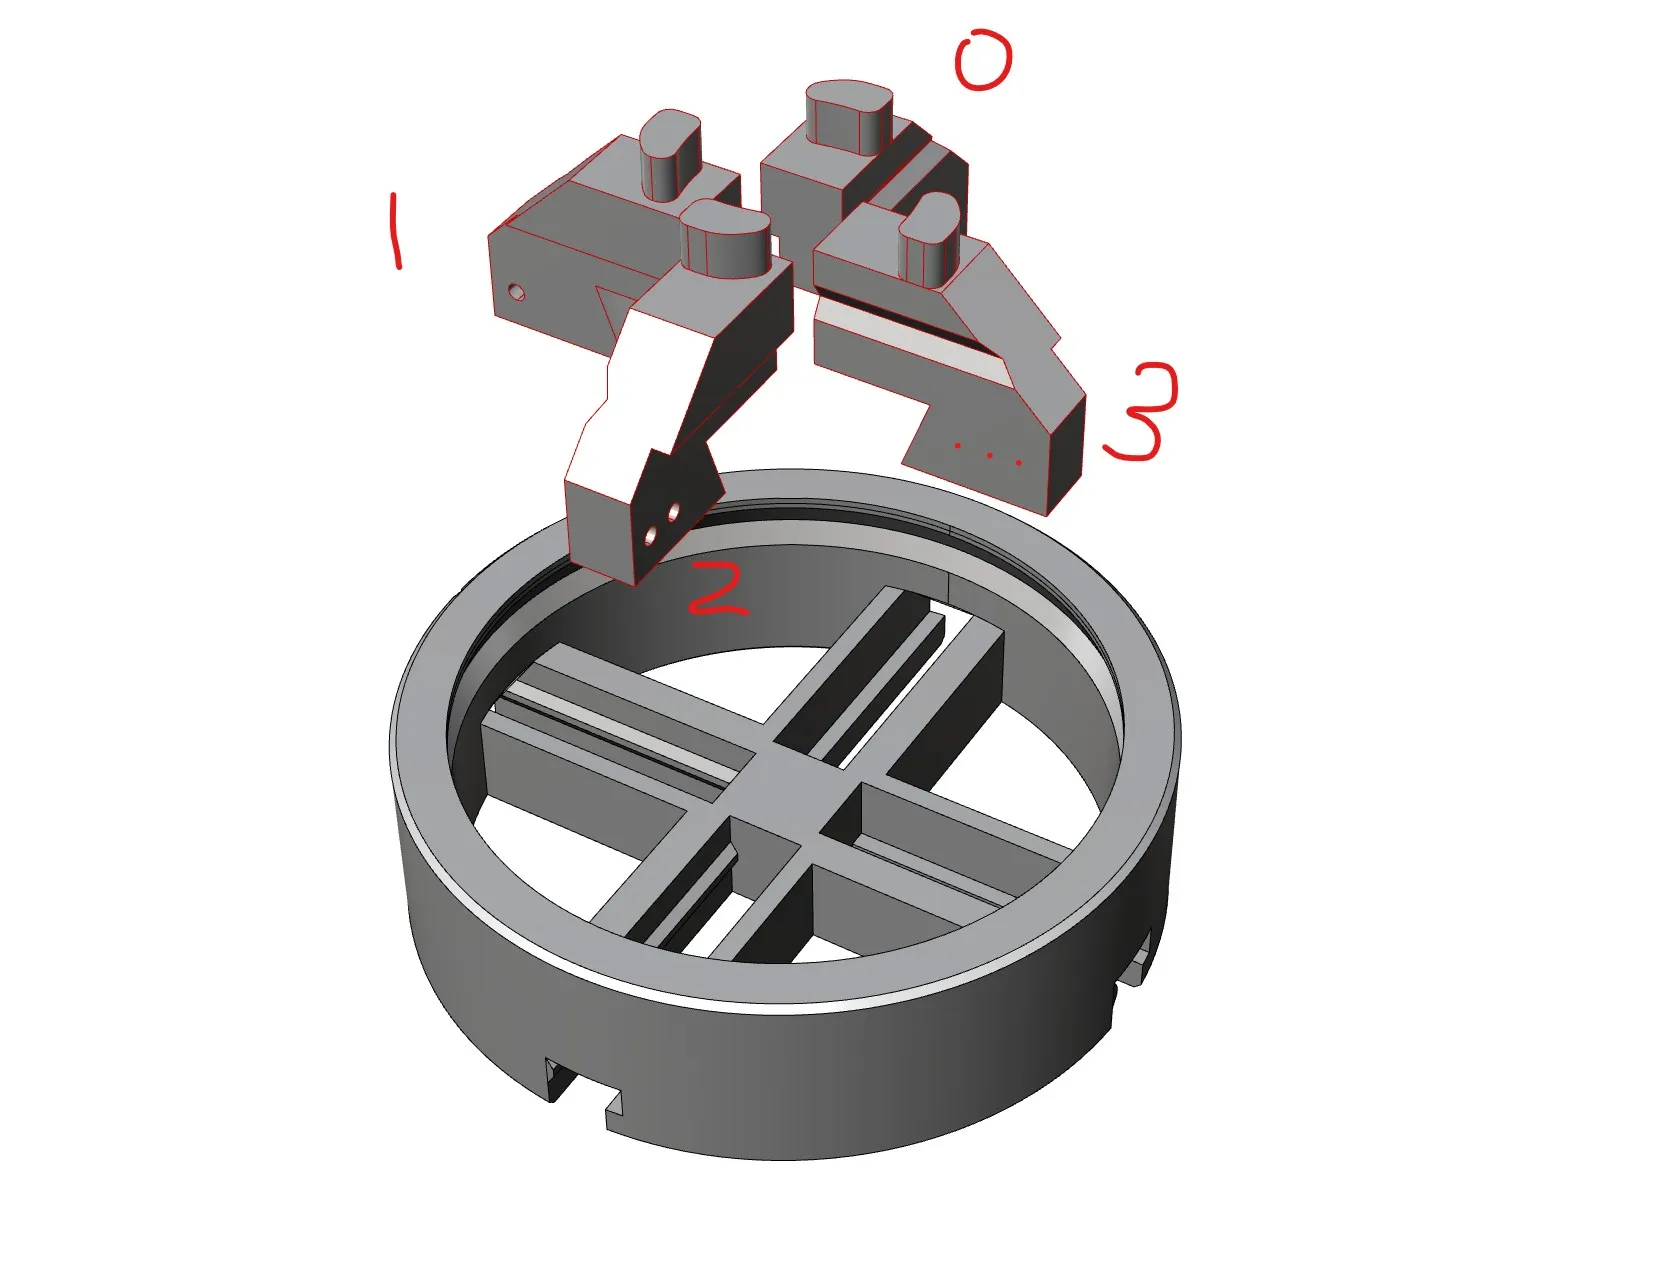
Note the spiral of the teeth
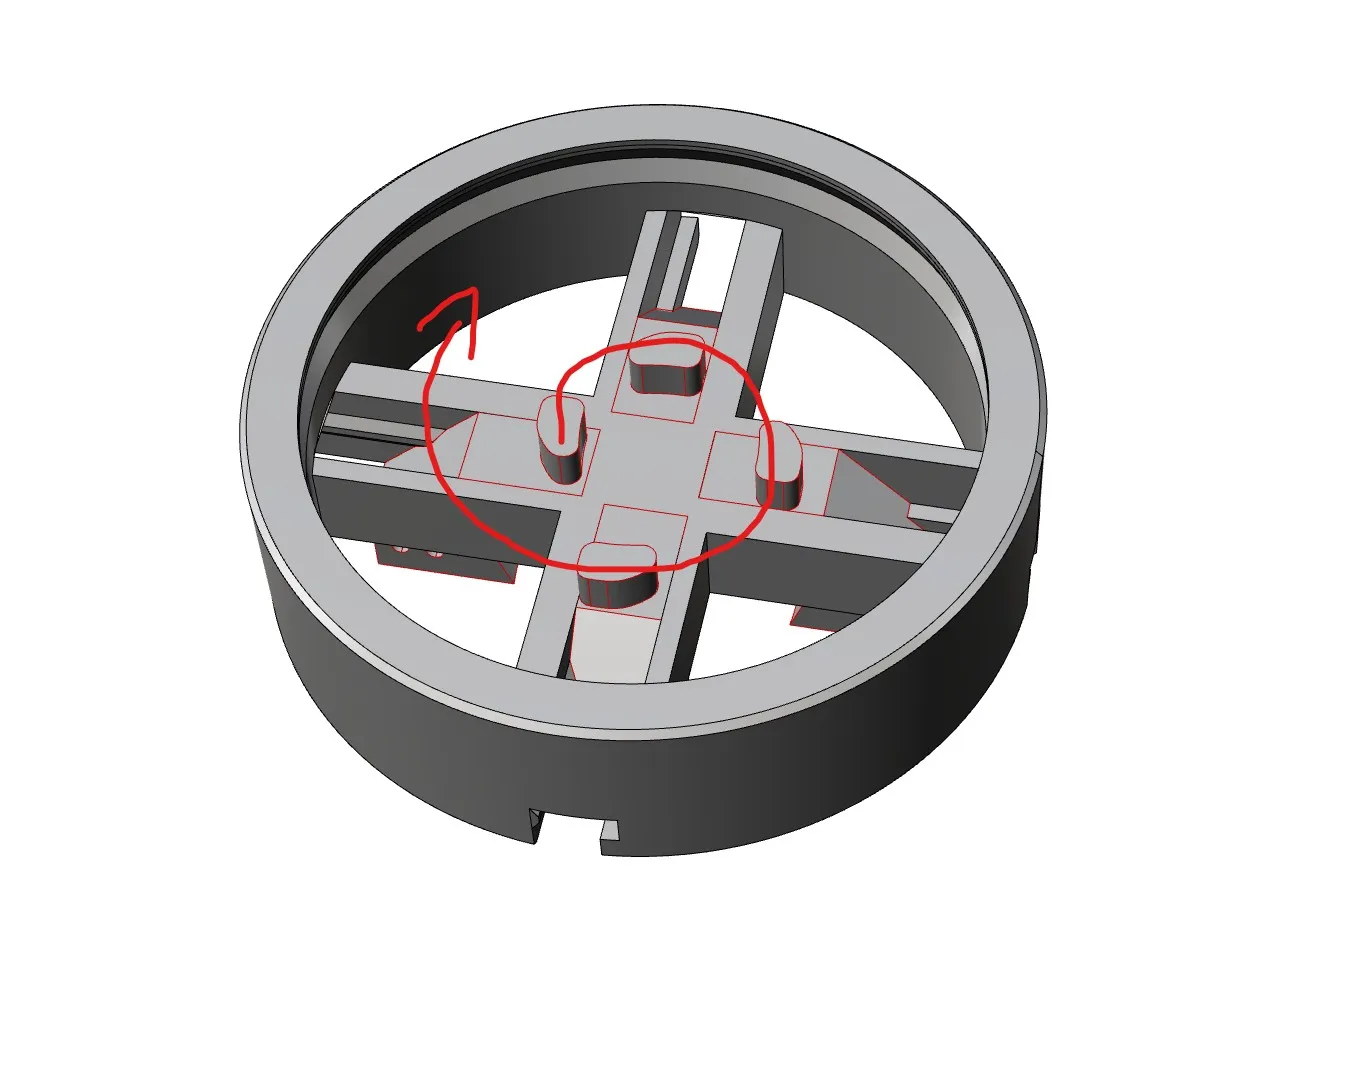
Then click the top assembly into the adjustment spiral ring, aligning the flat section and the notch as shown (the 1 dot should be here):
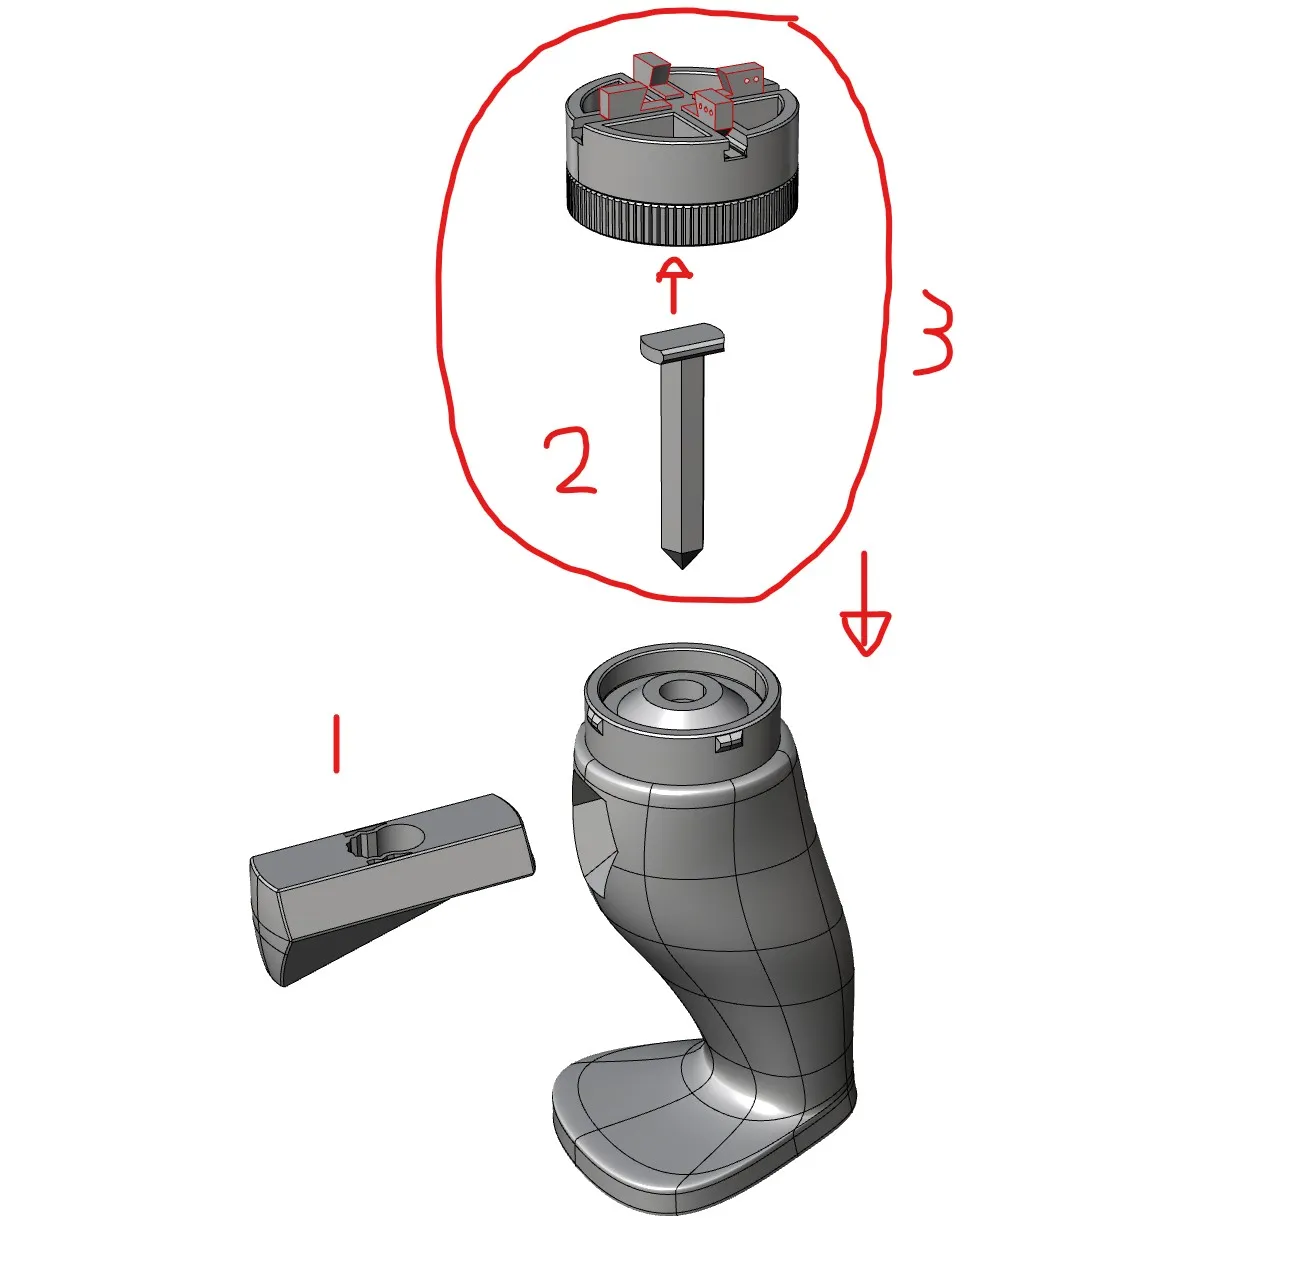
Then slide in the trigger, attach the pin to the chuck assembly and slot it into the handle. Apply pressure to click it into the handle.
You're done! give it a few turns to loosen it up a bit and enjoy your new comfy painting handle :)
License

You shall not share, sub-license, sell, rent, host, transfer, or distribute in any way the digital or 3D printed versions of this object, nor any other derivative work of this object in its digital or physical format (including - but not limited to - remixes of this object, and hosting on other digital platforms). The objects may not be used without permission in any way whatsoever in which you charge money, or collect fees.


Comment & Rating (1321)