Search models, users, collections, and posts


Print Profile(1)

0.2mm layer, 2 walls, 15% infill
Designer
6.5 h
8 plates
Open in Bambu Studio
Boost
33
68
21
8
107
64
Released
Description
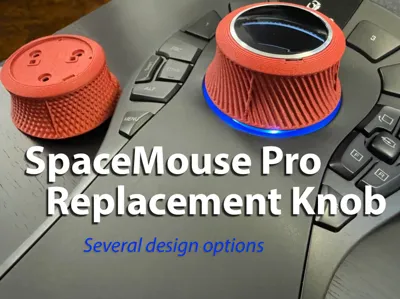
If the rubber on your SpaceMouse knob gets gross and sticky, you can remove it, and make your own replacement!
Boost Me (for free)
If you enjoy the model, I'd appreciate a boost!
I've included several options:
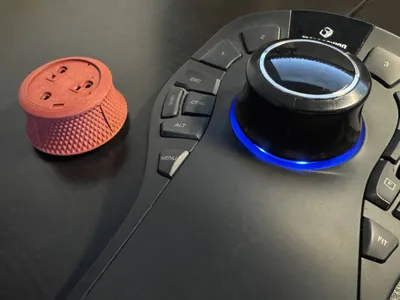
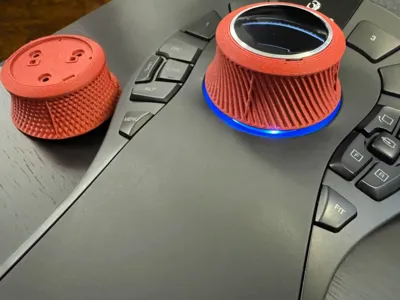
- Knurled Diamonds: Pictured (but not installed). Diamond knurling pattern.
- Knurled Diagonal: Also pictured and installed. I prefer this to the diamonds as it's a little smoother feeling.
- Smooth - 4 Ribs: This is what the normal knob looks like.
- Smooth - 12 Ribs: Same as 4 ribs… but with more ribs.
- Smooth - 16 Ribs: Same as !2 ribs… but with more ribs.
- Smooth - 20 Ribs: Same as 16 ribs… but with more ribs.
- Smooth - 24 Ribs: Same as 20 ribs… but with more ribs.
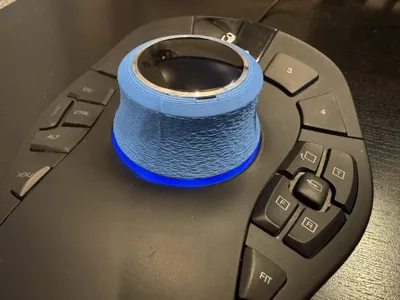
- Fuzzy Skin - 4 Ribs: Pictured in blue. Added fuzzy skin to the 4 Rib model.
To install:
- Remove the top cover/cap. There is a divot in the same location as the printed knob (approx 5:00 on a clock face). Carefully shove a thin pry bar (very small screwdriver, etc) in at this location and pry up. Make sure not to pry up the thin metal ring around the cap, as this will come off separately. Ask me how I know.
- Remove the 3 screws with a #1 philips head.
- Remove the factory knob and replace with the 3D Printed knob.
- Reinstall screws and press on the original cap.
I have at least one report in the comments that this does work with the SpaceMouse Compact as well.
License
This user content is licensed under a
Creative Commons Attribution-Noncommercial-Share Alike
Comment & Rating (21)