
D&D Simple class/npc/enemy Tokens+Initiative
Print Profile(1)

Description
Boost Me (for free)
Like my models? Please consider Boosting me. Thanks!
Boost Me (for free)
If you like these, please consider giving me a Boost! Thanks
Description
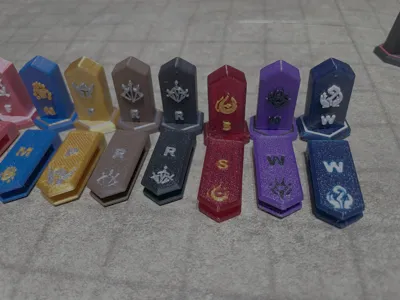
A combined print of my V2 Tokens plus my Initiative markers.
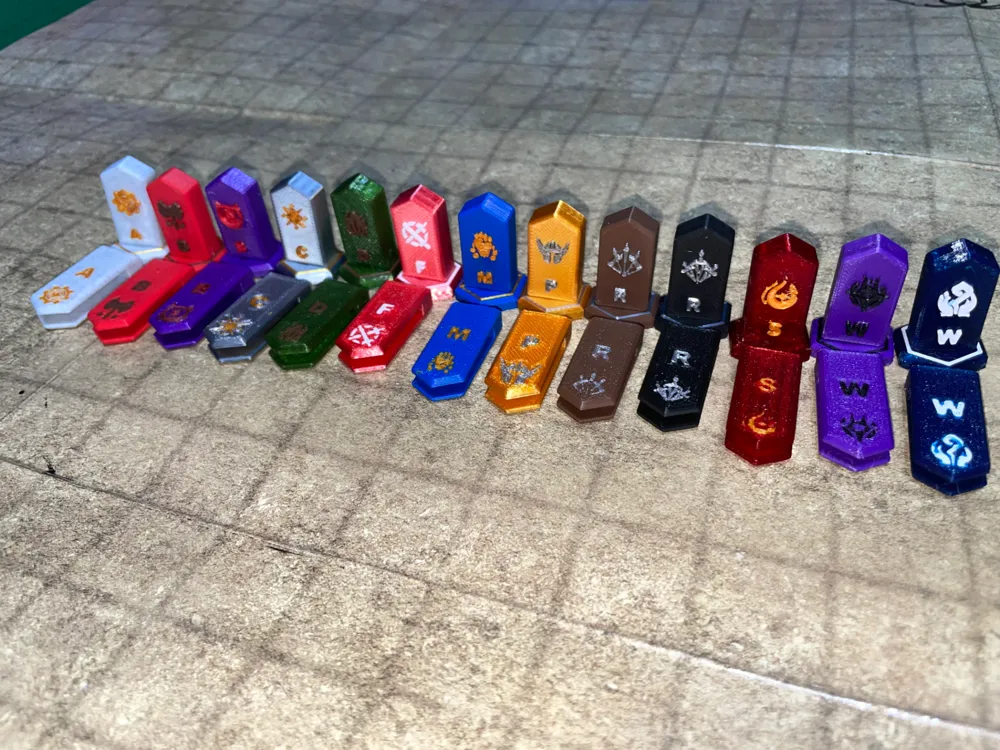
The tokens are a simple modular design for base classes of D&D 5e - specifically designed to avoid character race, gender, appearance etc.
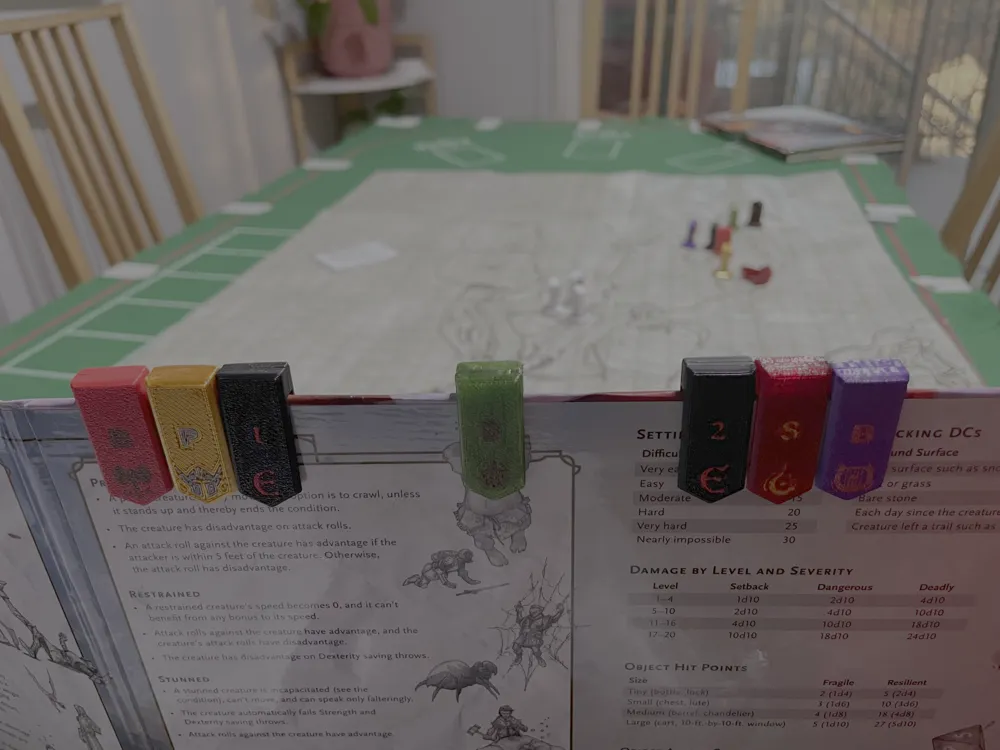
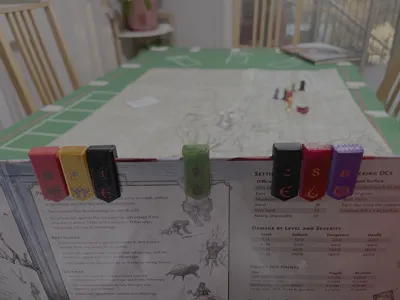
The initiative markers match the tokens, are doublesided, and fit on a WOTC DM screen with enough gap to slide back and forth so you can indicate who's currently got initiative.
I wanted something that was able to be printed with minimal colour change waste. See instructions for some details on how to print.
Note, this profile is for Tokens Version2. Version 1 had fewer character classes, no NPCs and only one type of enemy token, and no Initiative markers.
What is included
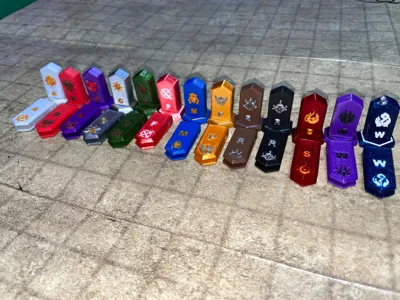
Token and Initiative Markers for
- Player Character classes:
- Artificer
- Barbarian
- Bard
- Cleric
- Druid
- Fighter
- Monk
- Paladin
- Ranger
- Rogue
- Sorcerer
- Warlock
- Wizard
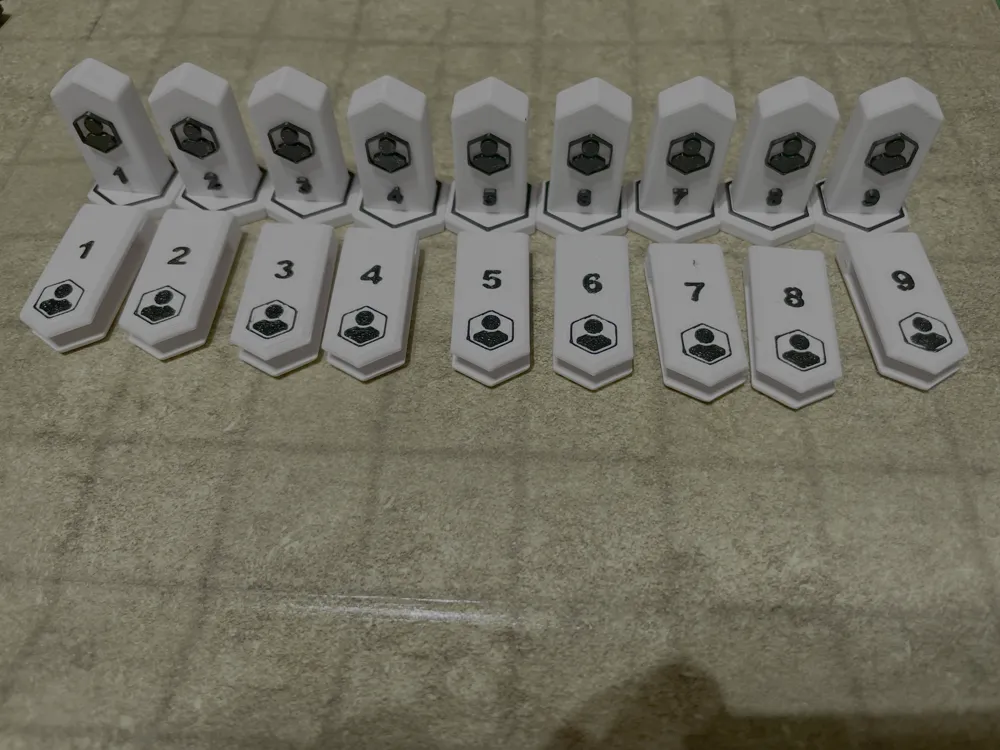
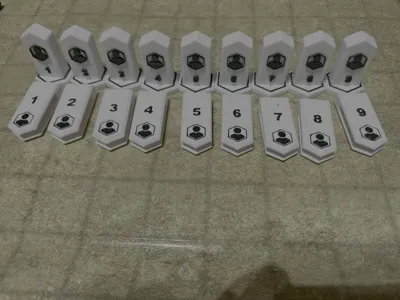
- NPCs 1-9
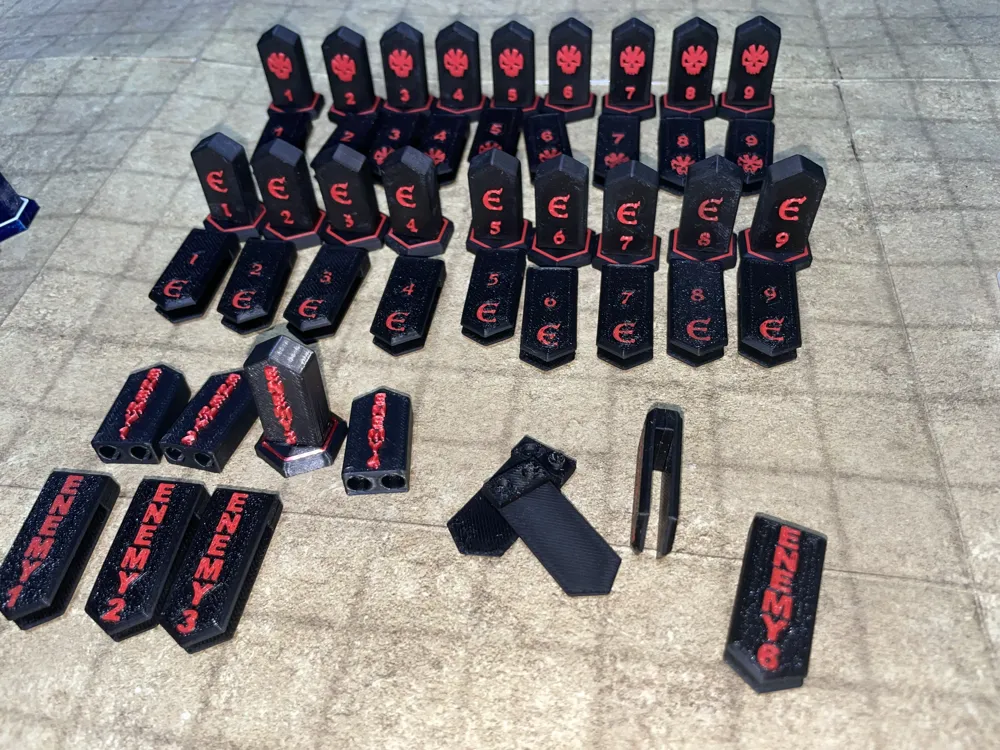
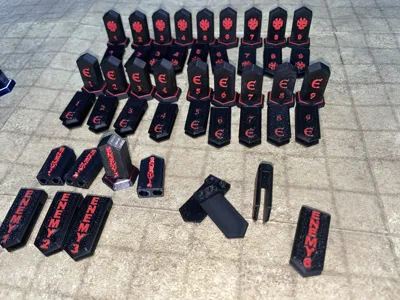
- Enemies, with the word “ENEMY” and numbers 1-9.
- Enemies, with a skull and numbers 1-9
- Enemies, with an E and numbers 1-9
- plus an option for a base with a shorter set of pegs suitable for minifig (no contrast ring option), and a blank inititative marker suitable for painting.
Each token comes with two base options: one single-colour, and one with a contrast colour ring.
(note, in photos, I've only printed 1-6 of the ENEMY initiative markers - these were my original design but I prefer the other two. But they're still equally as usable, and having 3 options means you can have different groups of enemies, or mark one style as the leaders/bbeg, etc)
Instructions:
General
- Print profile includes some ‘thin walls’ and some ‘arachne’ - these were what resulted in the best icons for me.
- I found with some of my filaments that the pegs/holes needed slight adjustment. I used the x/y hole and contour adjustment for these. If yours fit too loose or too tight, try adjusting to suit.
- I've based the colours in the print profile on what i have available, and how I think the colours best match the classes- naturally, feel free to change it up.. I've split the plates so there is only one class per plate, for ease of use plus reduced purge waste. (each plate has only 6 colour changes)
- I've made all my enemies the same colour combos, but separated the plates for ease of identification. You could combine them if you want to print more than one type in the same colour
- Superglue recommended to glue pieces together
- They print just fine with a 0.4 nozzle (all photos shown are with 0.4), but a 0.2 would make better work of the fine detail in the text and icons.
Tokens
- The tokens are printed in 2 parts: a base, and the token itself, to reduce purge waste. No supports required
- There is the option of a regular base with no colour contrast, or one with a ring. I suggest marking the one you don't want as non-printing, or deleting it.
- Tokens are designed to be printed in 2 colours per token, but you could do them in just one and then paint the surface of the icon and letter.
Tokens are designed for a printer with an AMS, but you could pause the print to swap the colours for the token - you'd need to use the stand without the colour rings.
If you're wanting this option I'd suggest printing the Tokens separately from the Initiative markers, since the initiative markers have colour change in the first few layers.
- Assembly: I find they're best with a dab of superglue around the pegs of the base, but you could leave them without if they're a snug fit. If you print with silk then they're more likely to come apart, or sheer at the pegs, so additional glue where the token meets the base is advised.
- You could also re-colour them so they all have the same base and token, but the ring and letter/icon are different colours - its totally up to you - but I find having each class with a different colour is helpful when they're facing away from me.
Initiative Markers
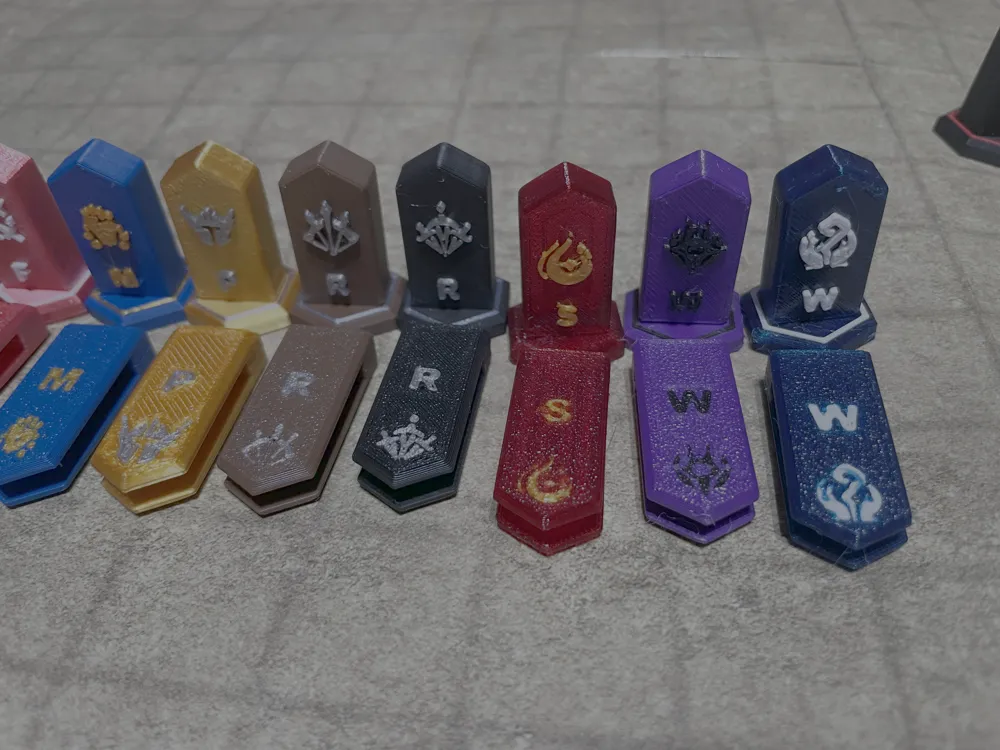
- Markers are face-down on the build plate - rotate it upside down to see the designs/colours
- You'll want to make sure your first layer prints nicely or you might end up with some strange effects around the icons (see the Paladin).
- Initiative markers are printed in 2 identical parts (see NPC picture), so they don't require supports and only have 2 layers with different colours.
- You will want to glue them together. Once together, they fit nicely around the DM screen and can slide them back and forth to indicate where initiative is up to.
- These are designed to be printed in 2 colours per unit, with minimal purge waste. They're not really suitable for non-AMS - though I suppose you could remove the icon/letter and have that as a non-printing gap. It's only 2 layer lines high with these print settings so should not require support, but I've not tested that.
Icons are based on the excellent designs of Jime Mosqueda on Dribble (https://dribbble.com/shots/11469931-DnD-Class-Icons)
License



Comment & Rating (36)