
Low-voltage cabinet heat dissipation solution, supporting temperature-controlled speed regulation
Print Profile(2)


Description
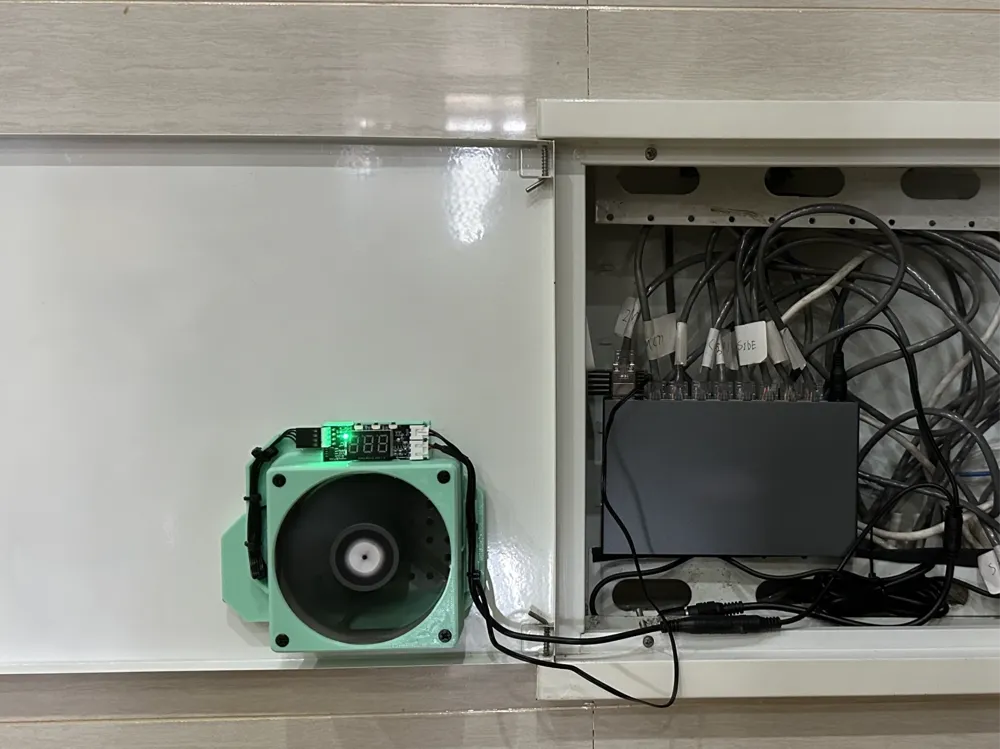
Network Rack Cooling Solution
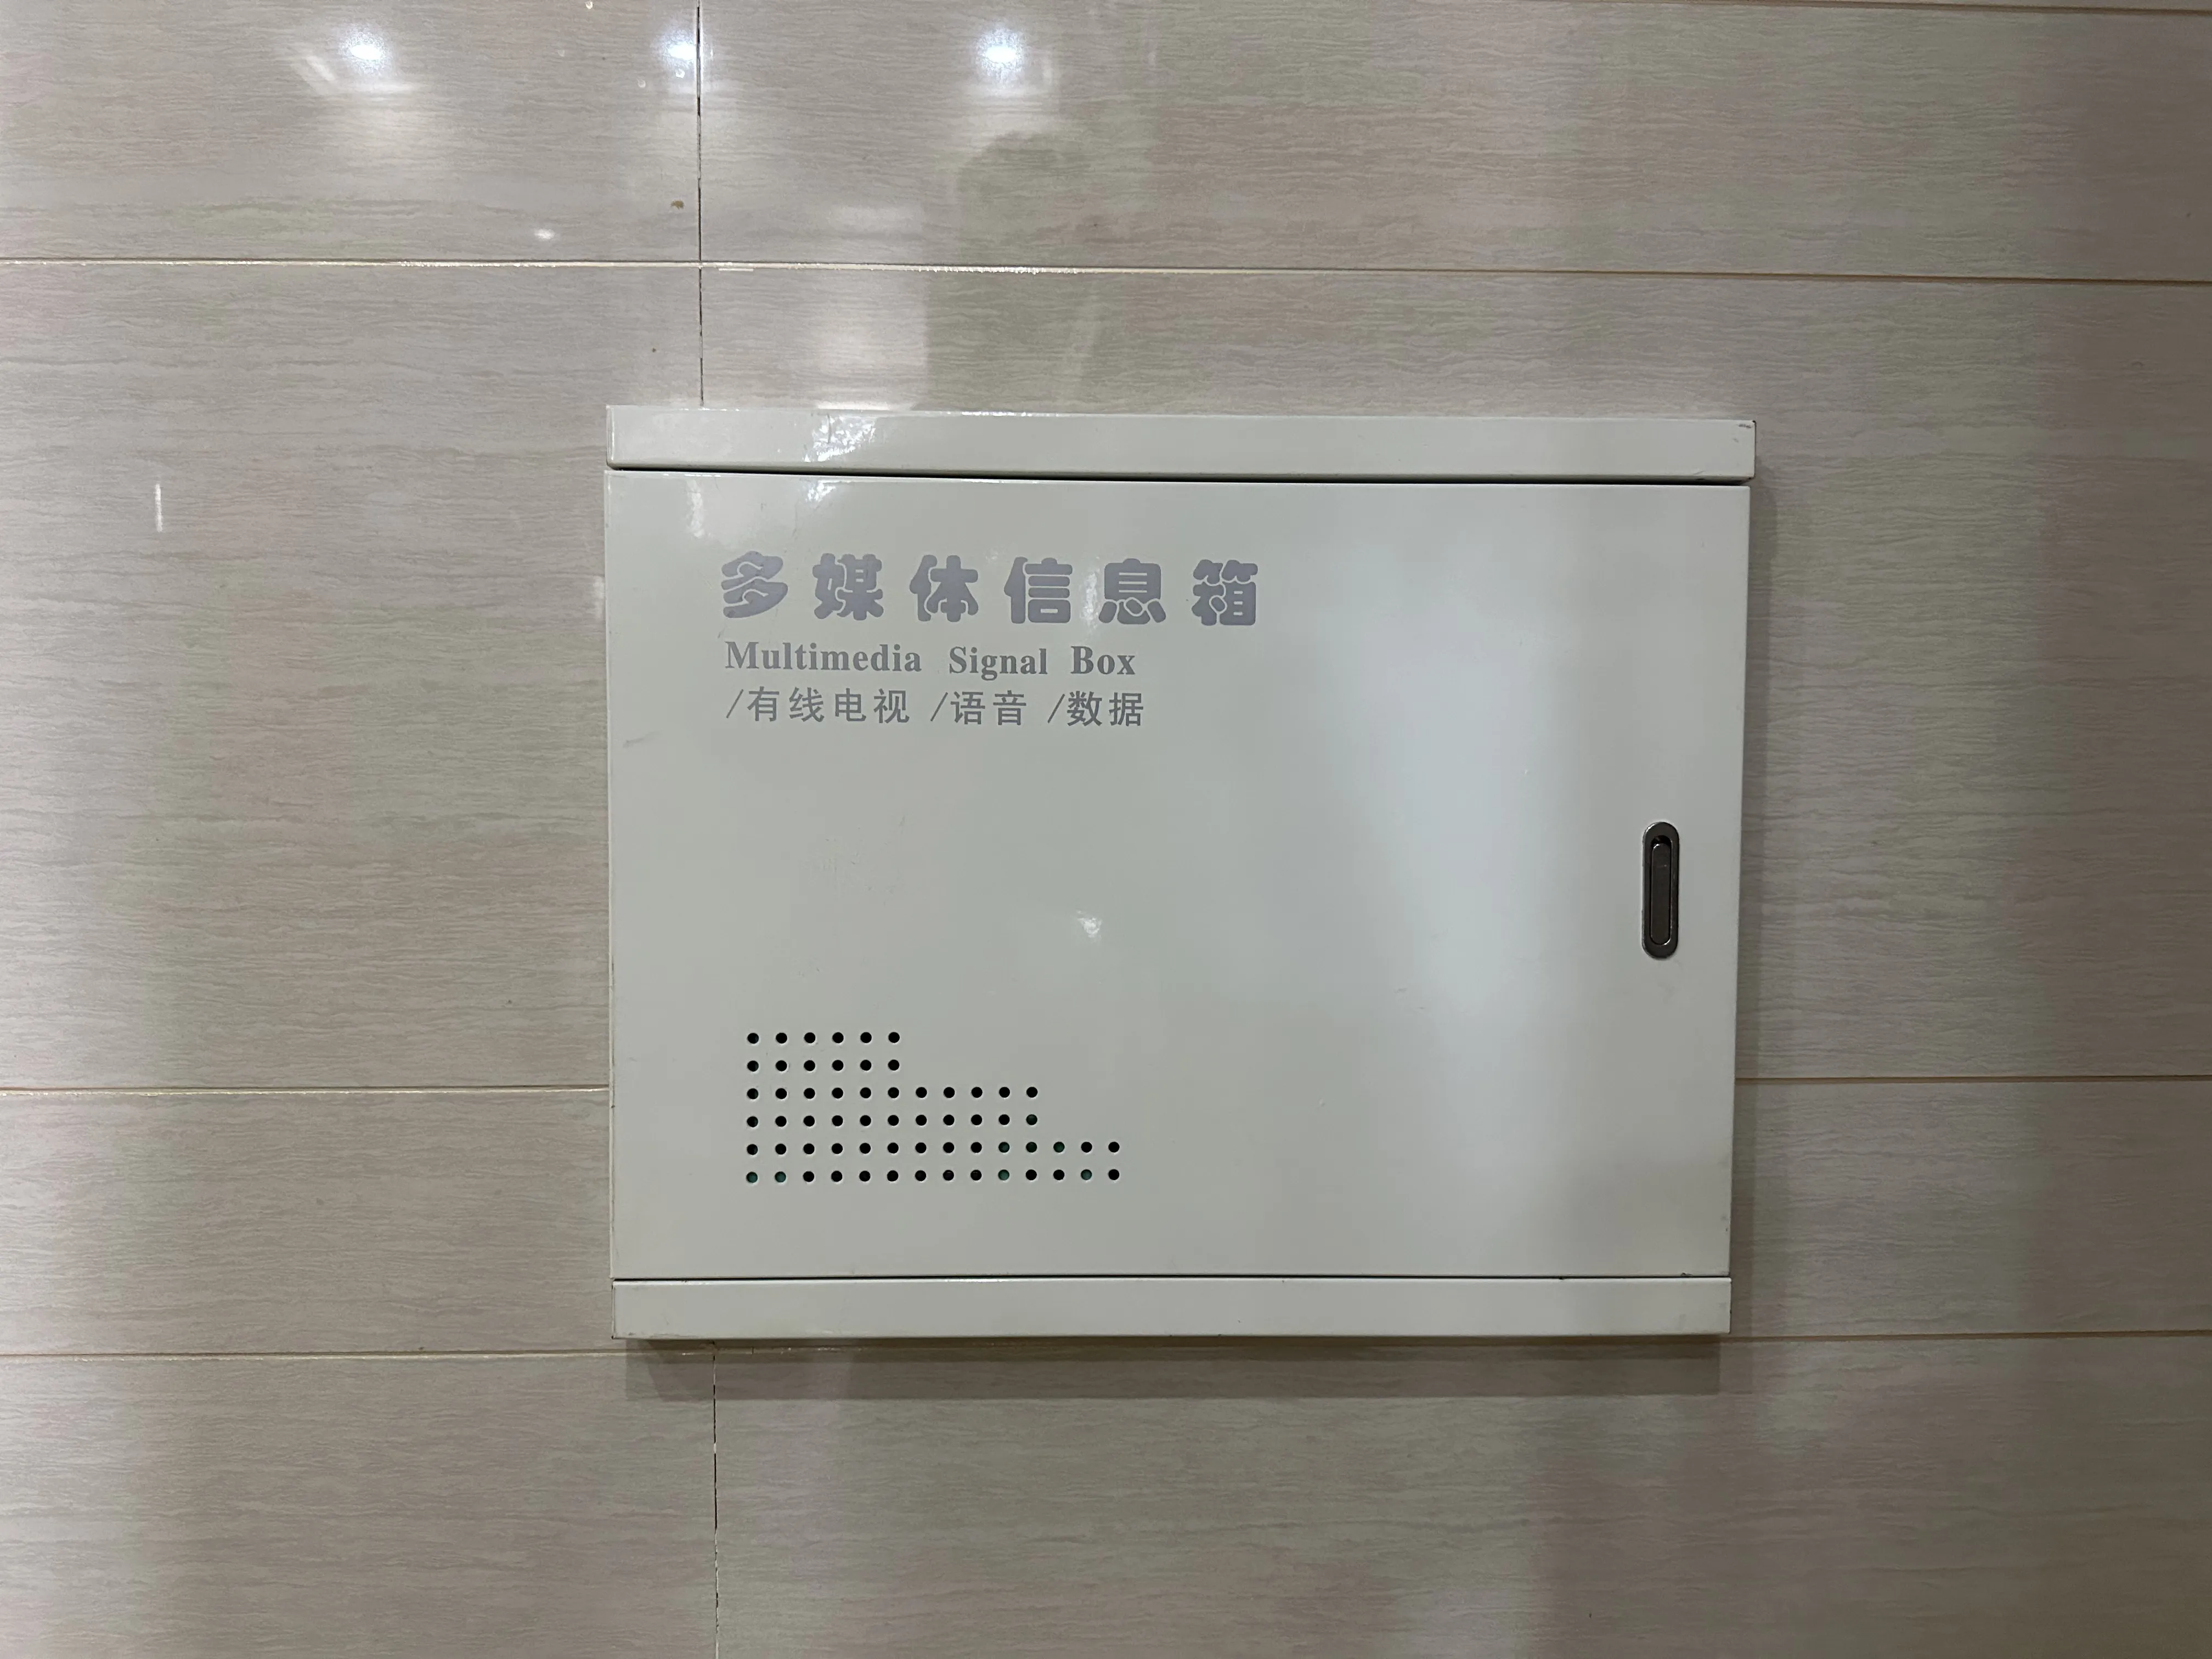
This common network rack is nearly airtight, hindering adequate heat dissipation for routers and switches within. Summer heat accumulation leads to internal temperatures nearing 50℃, compromising equipment stability.
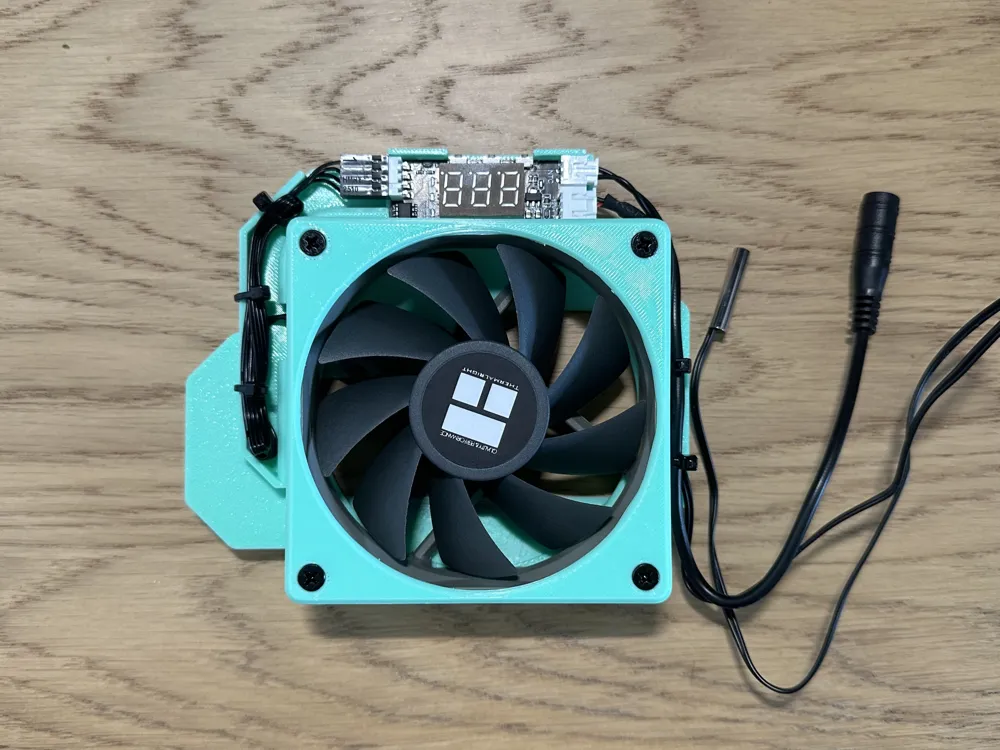
This design employs a 9225 fan to exhaust hot air through existing small ventilation holes in the rack door.
My switch, utilizing a 10G module, generates significant heat. Testing demonstrated a 12℃ temperature reduction in the module. Under identical ambient conditions, the temperature dropped from 47℃ to 35℃, measured using a Xiaomi Mijia thermometer 2 adjacent to the module.
Design Highlights
Exceptional cost-effectiveness
Simple installation using magnetic strips for easy attachment and removal from the network rack door.
The fan is temperature-controlled for speed regulation via a control board, ensuring an optimal balance between noise reduction and cooling performance.
Offers compatibility with both 9225 and 9215 fan specifications.
Materials Required
Limin TL-C9 Fan
Approximately 15RMB
Other 9225 fans are also suitable
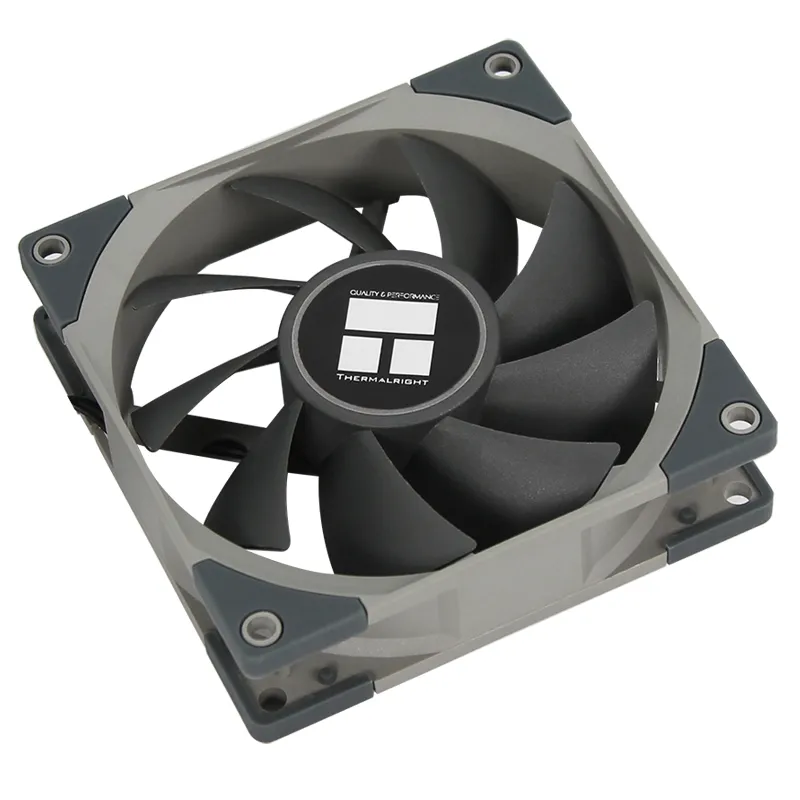
12V Four-Wire 3A PWM Fan Speed Controller with Temperature Sensor Module
Approximately 13RMB
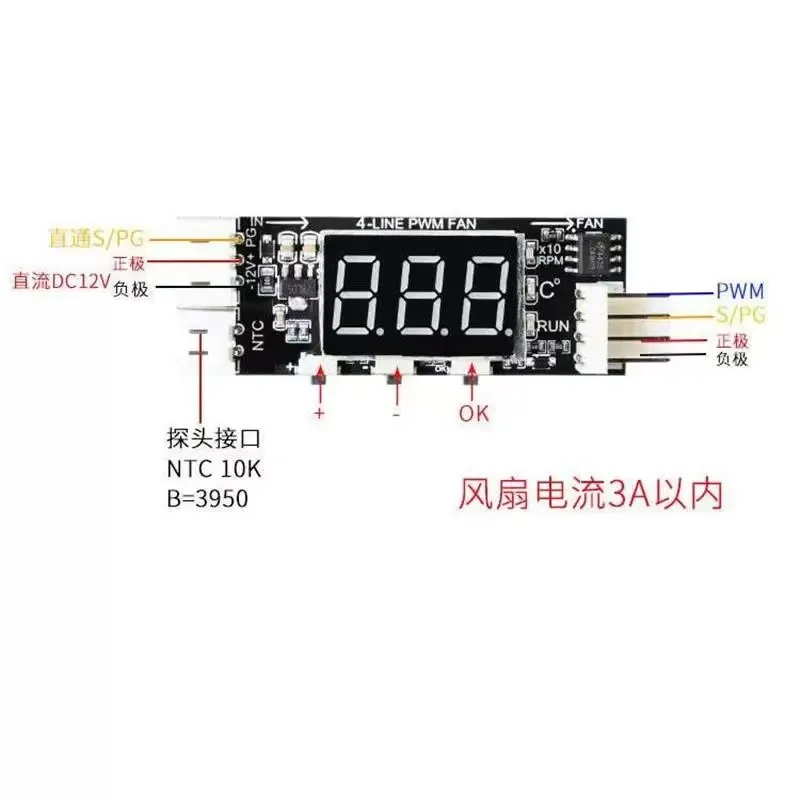
Purchase with a thermistor probe. This controller facilitates fan start/stop, customizable speed, and display disable, making it ideal for this project.
DC Female to xh2.54 2P Cable
Approximately 4-5RMB
The controller uses a 3-pin power interface, but 3-pin DC cables are difficult to source. A 2-pin cable can be easily modified; simply remove the terminals with a small knife and attach them to the controller's provided terminals.
12V1A Power Adapter
Approximately 10RMB
Standard router/switch power supply; ensure 12V1A or greater output.
2mm Nylon Cable Ties
Approximately 1-2RMB
If the rack door is metallic:
Strong Magnetic 3M Adhesive Backing
10mm wide, 1mm thick
Approximately 1-2RMB
If the rack door is plastic:
3MVHB Double-Sided Tape
10mm wide, 1.1mm thick
Assembly Process
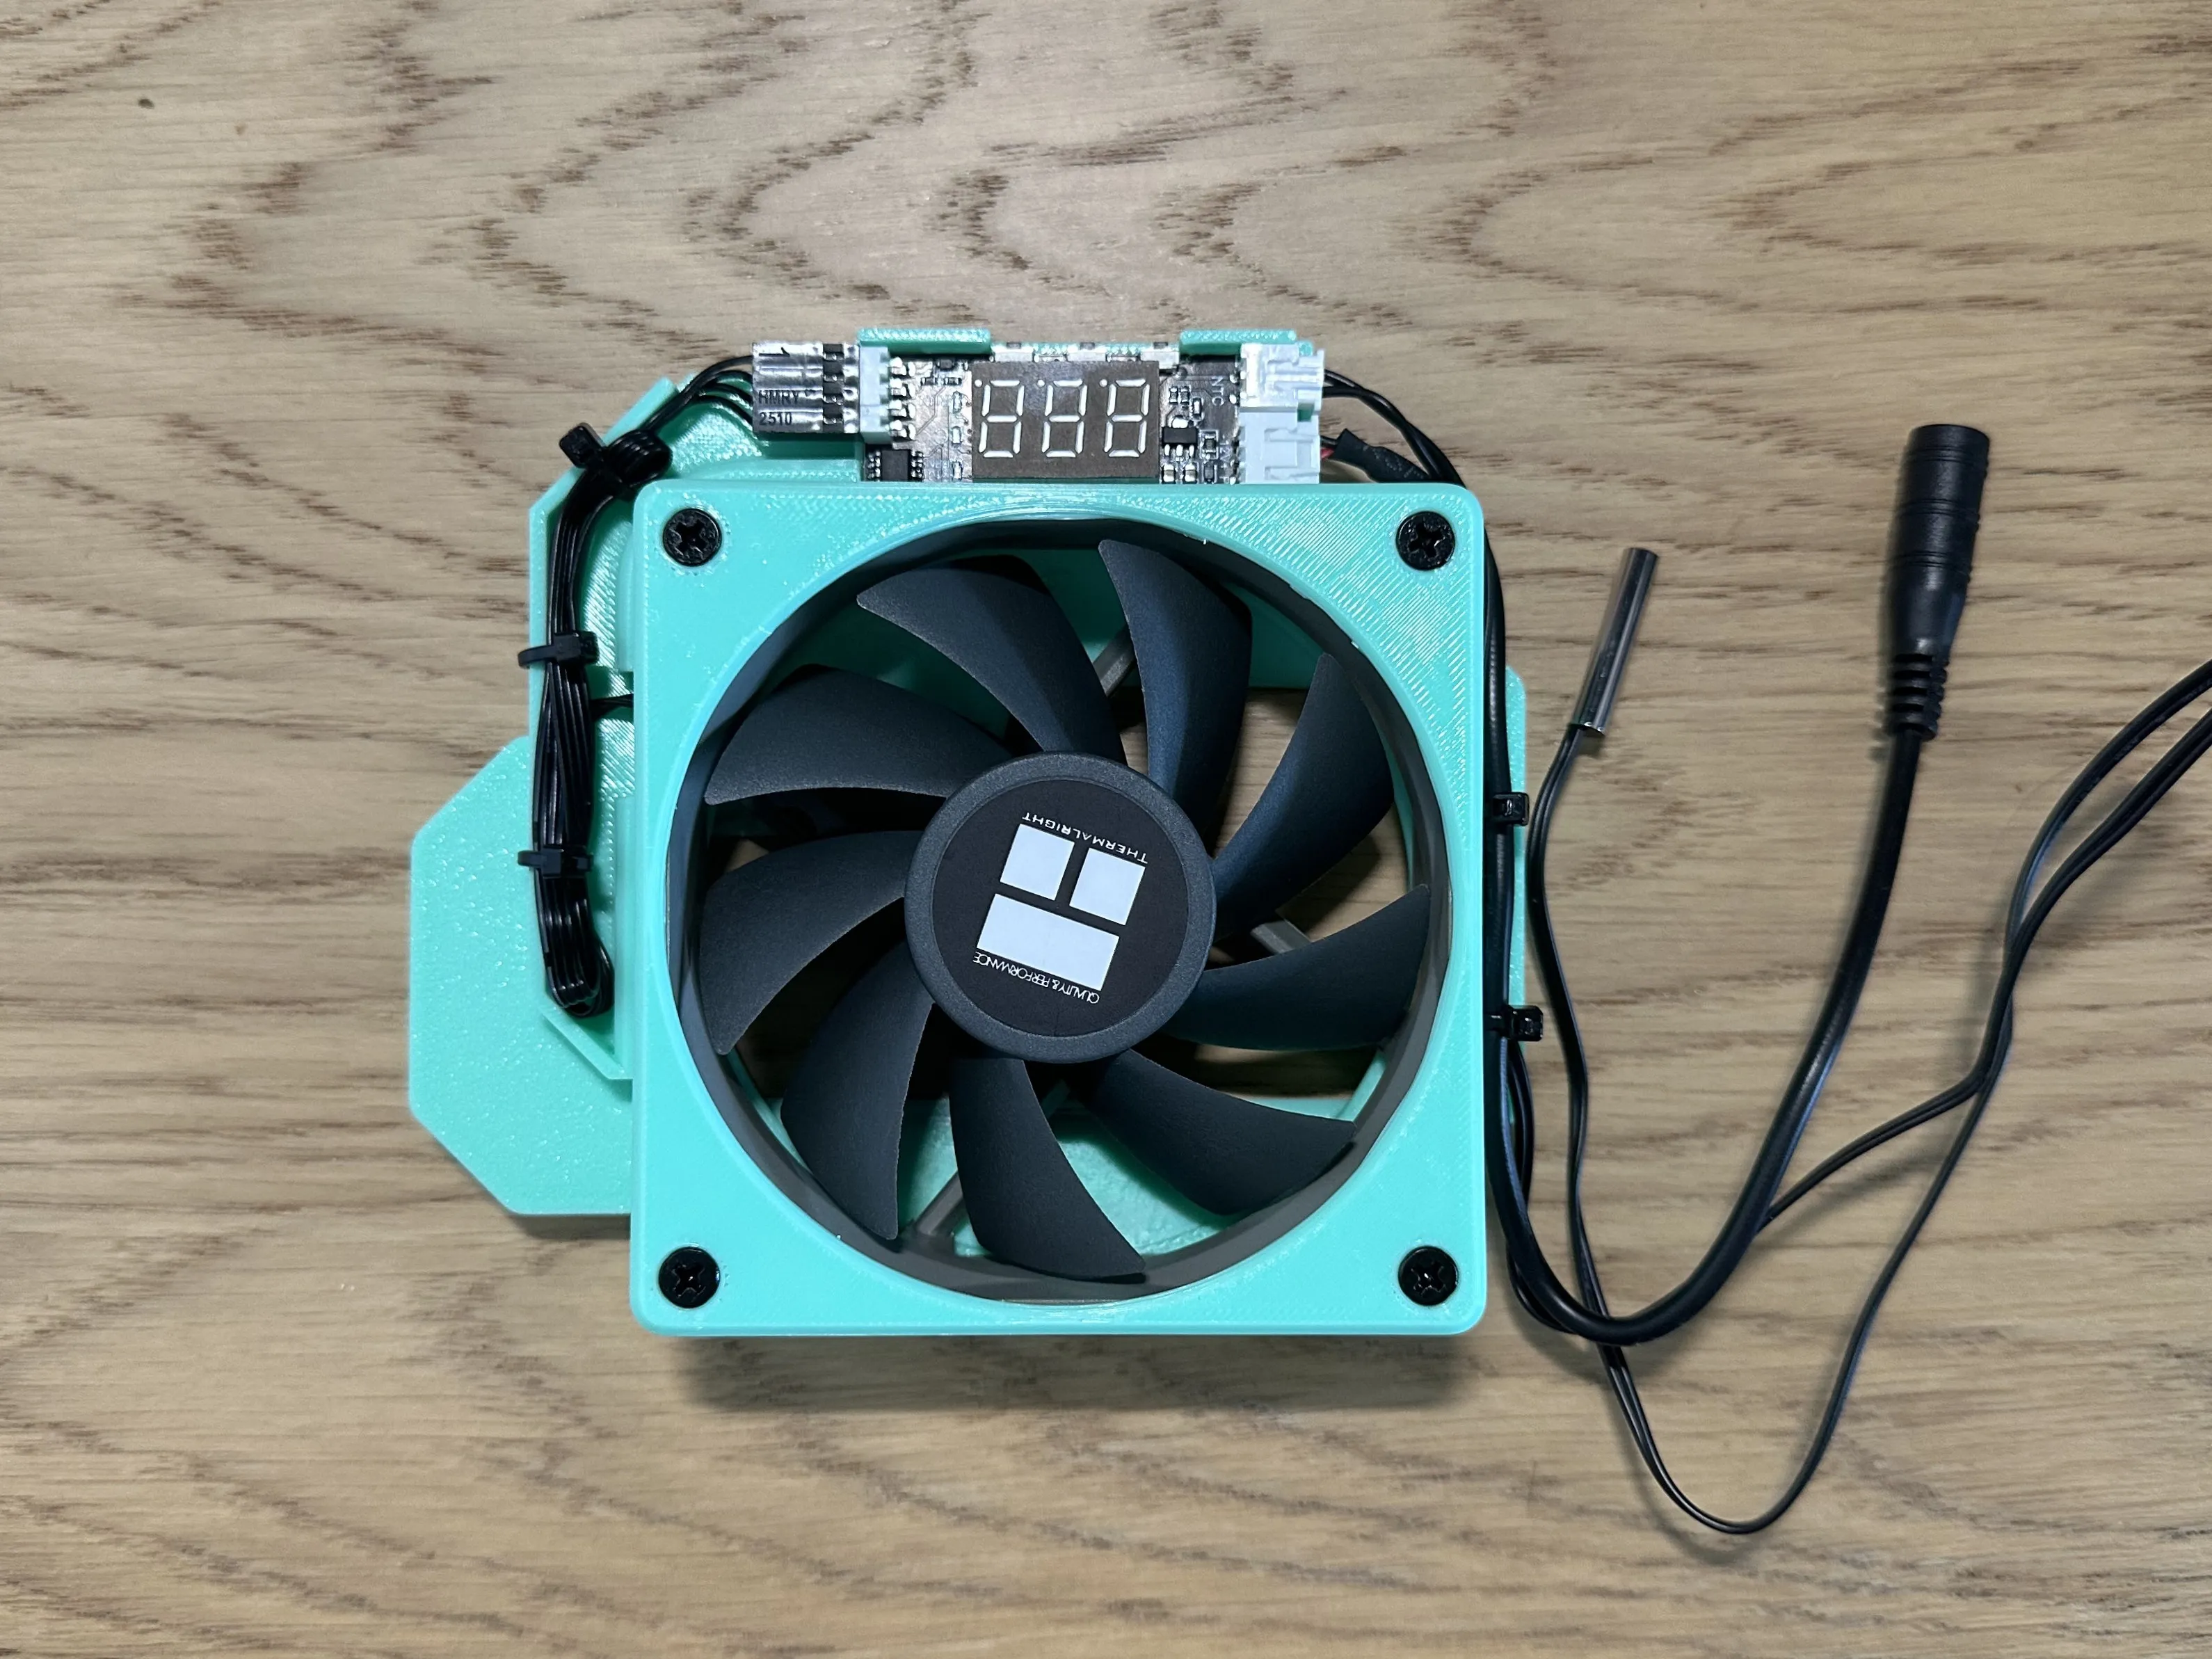
Assembly is straightforward. Ensure correct fan cable orientation, routing the cables through the designated opening, inserting the fan, and securing it with the included screws.
Secure the controller in the frame as shown in the diagram.
Connect the fan cable to the controller's fan interface, the thermistor cable to the thermistor interface, and the power cable to the power interface. Use nylon cable ties for fastening, as illustrated.
Attach magnetic strips to the frame's rear recesses to complete assembly.
Printing Recommendations
Given the rack's potential 50℃ operating temperature, avoid using PLA, PETG, or other heat-sensitive filaments.
It is recommended to use ABS, ASA, or PC for their high-temperature resistance.
- Support structures are necessary; select tree-like (automatic) supports.
Usage Instructions
Affix the controller's thermistor probe to the component generating the most heat. For instance, with my 10G module, the probe is placed adjacent to it.
Prioritize the 9225 fan. Ensure at least 3CM clearance between the rack door's interior and the equipment to accommodate the fan. If space is limited, consider the 9215 fan variant, requiring only 2CM of clearance.
If the rack has only one power outlet, determine the original equipment's voltage—typically 12V. For 12V equipment, a 12V power supply with 1A greater output current than the original is suggested (e.g., for a 12V1A device, use a 12V2A or 12V2.5A supply). Acquire a DC female to dual male connector cable to power both the equipment and the fan/controller.
Direct fan placement against the ventilation holes can generate significant turbulence, resulting in increased noise and reduced airflow—this is normal. Even with this, the cooling effect remains exceptional. A sound level meter registered approximately 57dB at the vent, becoming indiscernible beyond 1.5 meters.
- Effective cooling relies on air convection. This design draws cool air through gaps around the rack door frame and utilizes the fan to force hot air expulsion through the existing ventilation holes. Testing confirms this airflow direction yields superior cooling efficiency.
Update Log
2025.7.21
Initial Release
2025.7.22
Added 9215 fan variant, refined parts list, added design highlights, updated assembly process, and updated usage instructions
License



Comment & Rating (0)