
AMS-SDS 2 Pro – Spool Jump & Slip Fix
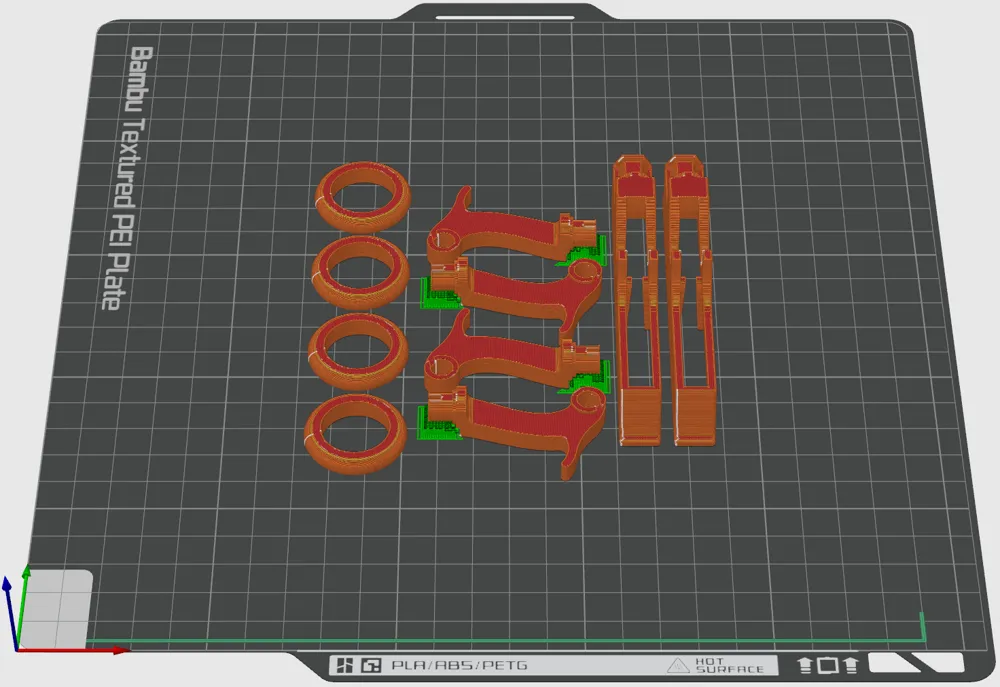
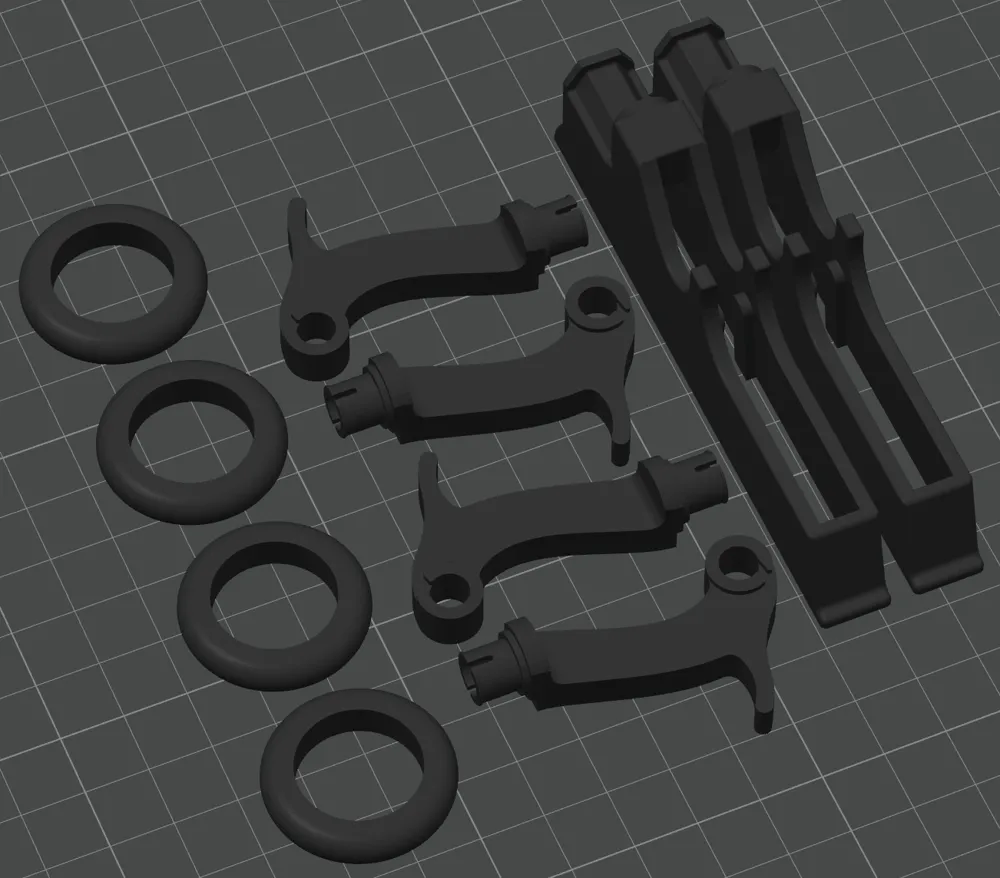
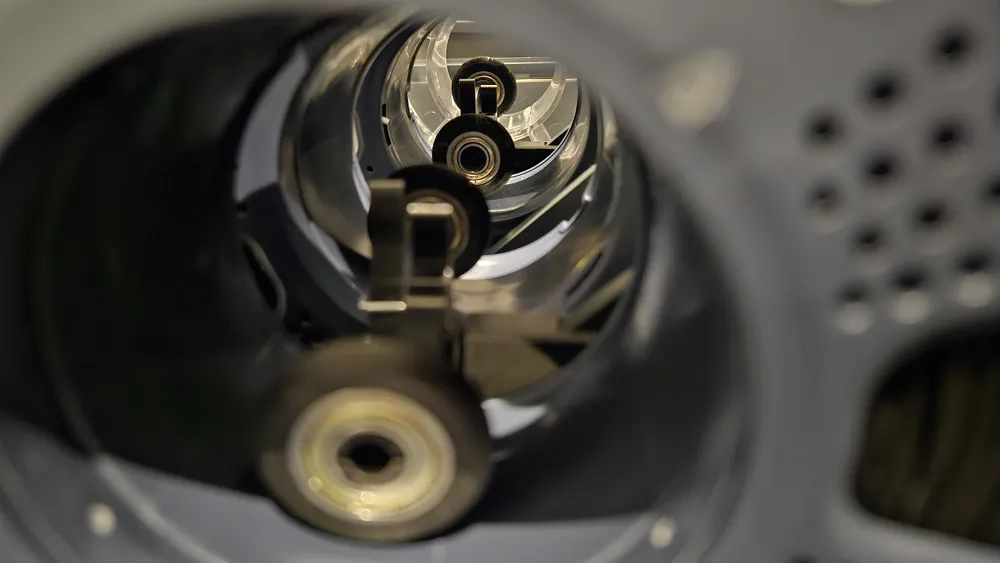
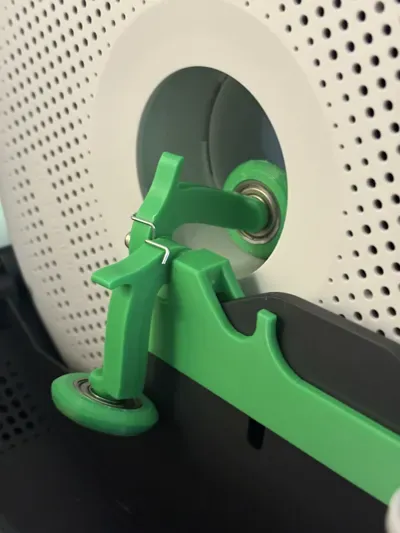
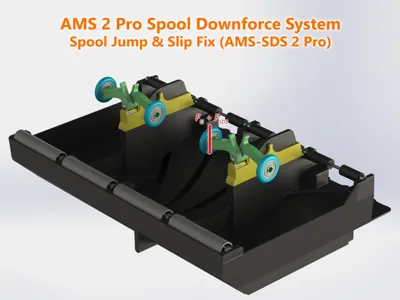
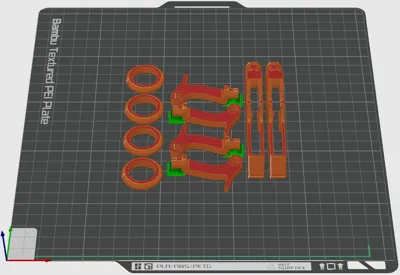
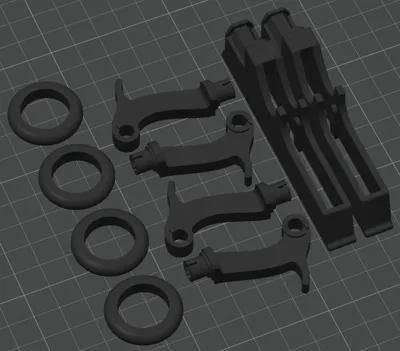
Print Profile(1)

Description
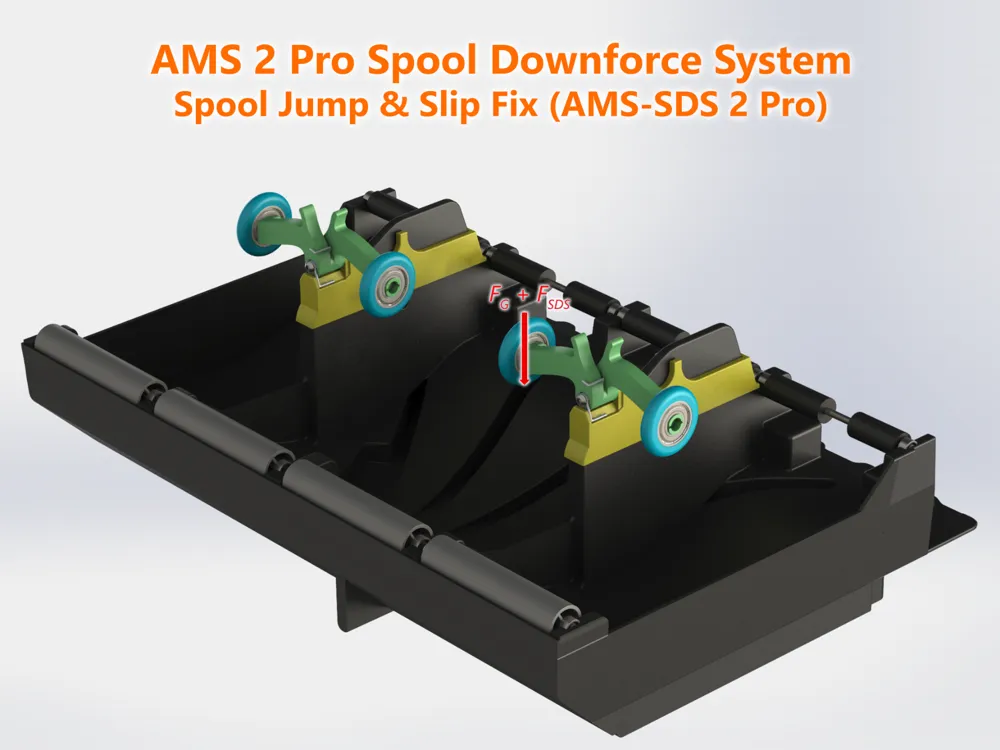
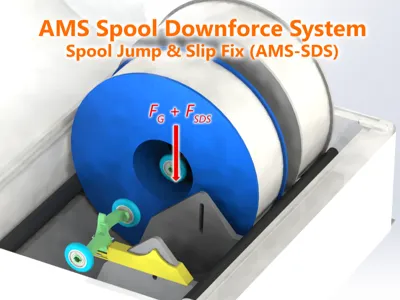
AMS 2 Pro Spool Downforce System – Spool Jump & Slip Fix (AMS-SDS 2 Pro)
Description:
The AMS 2 Pro Spool Downforce System (AMS-SDS 2 Pro) was developed to solve common problems when winding and unwinding nearly empty spools in the Bambu Lab AMS 2 Pro – especially spool jumps, slip during rewinding, and instability with lightweight spools.
This is a further development of the AMS-SDS
Thanks to @user_2367971502 for testing the fit of the holder!!!
Design Goals:
- No lifting of almost empty spools during unwinding
- Rewinding should work reliably even with lightweight spools
- Compatibility with all AMS-compatible spools
- No contamination of the AMS (e.g. by silica beads)
- Minimal interference when inserting/removing spools
- No damage to the AMS (e.g. by drilling) / reversible
- Simple design & assembly
- Use of common, readily available components
After about a week of development, design, and several discarded drafts and prints, I finally arrived at this solution, which I am sharing with you here.
If your spools scrape at the bottom, check this out: Bambu Lab AMS Driven Support Shaft Sleeves
Thank you for every like, every rating, and of course for every boost! And feel free to share and spread the word!
Boost Me (for free)
Do you like my work? Feel free to support me!
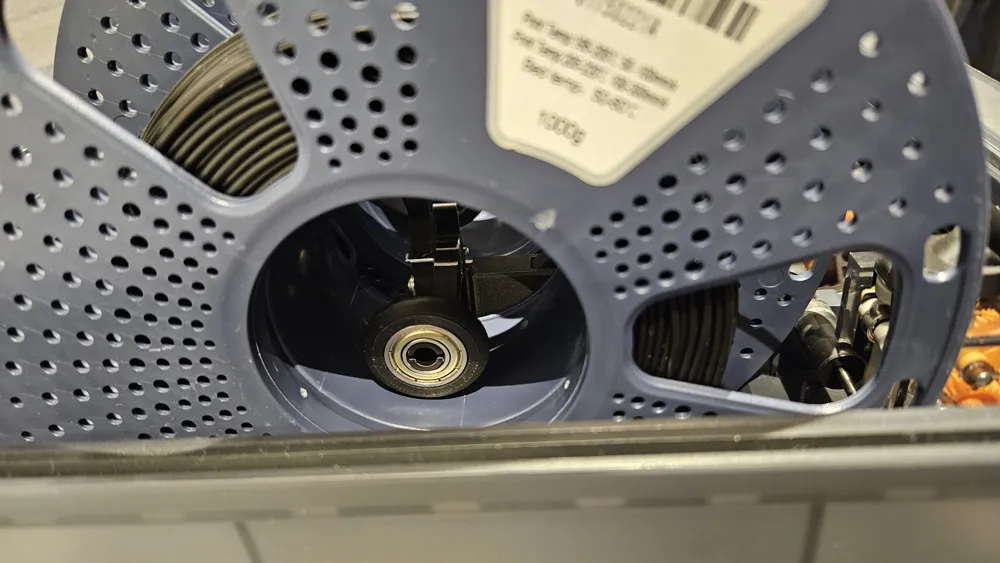
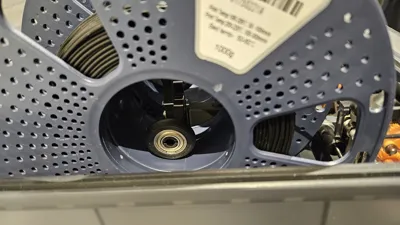
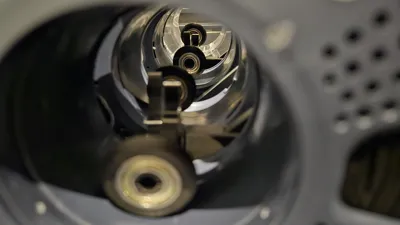
Function Demonstration:
Required Materials:
- 2 pieces – M3x4x5mm threaded inserts (for heat-setting)
- 2 pieces – M3x25mm hex head cap screws
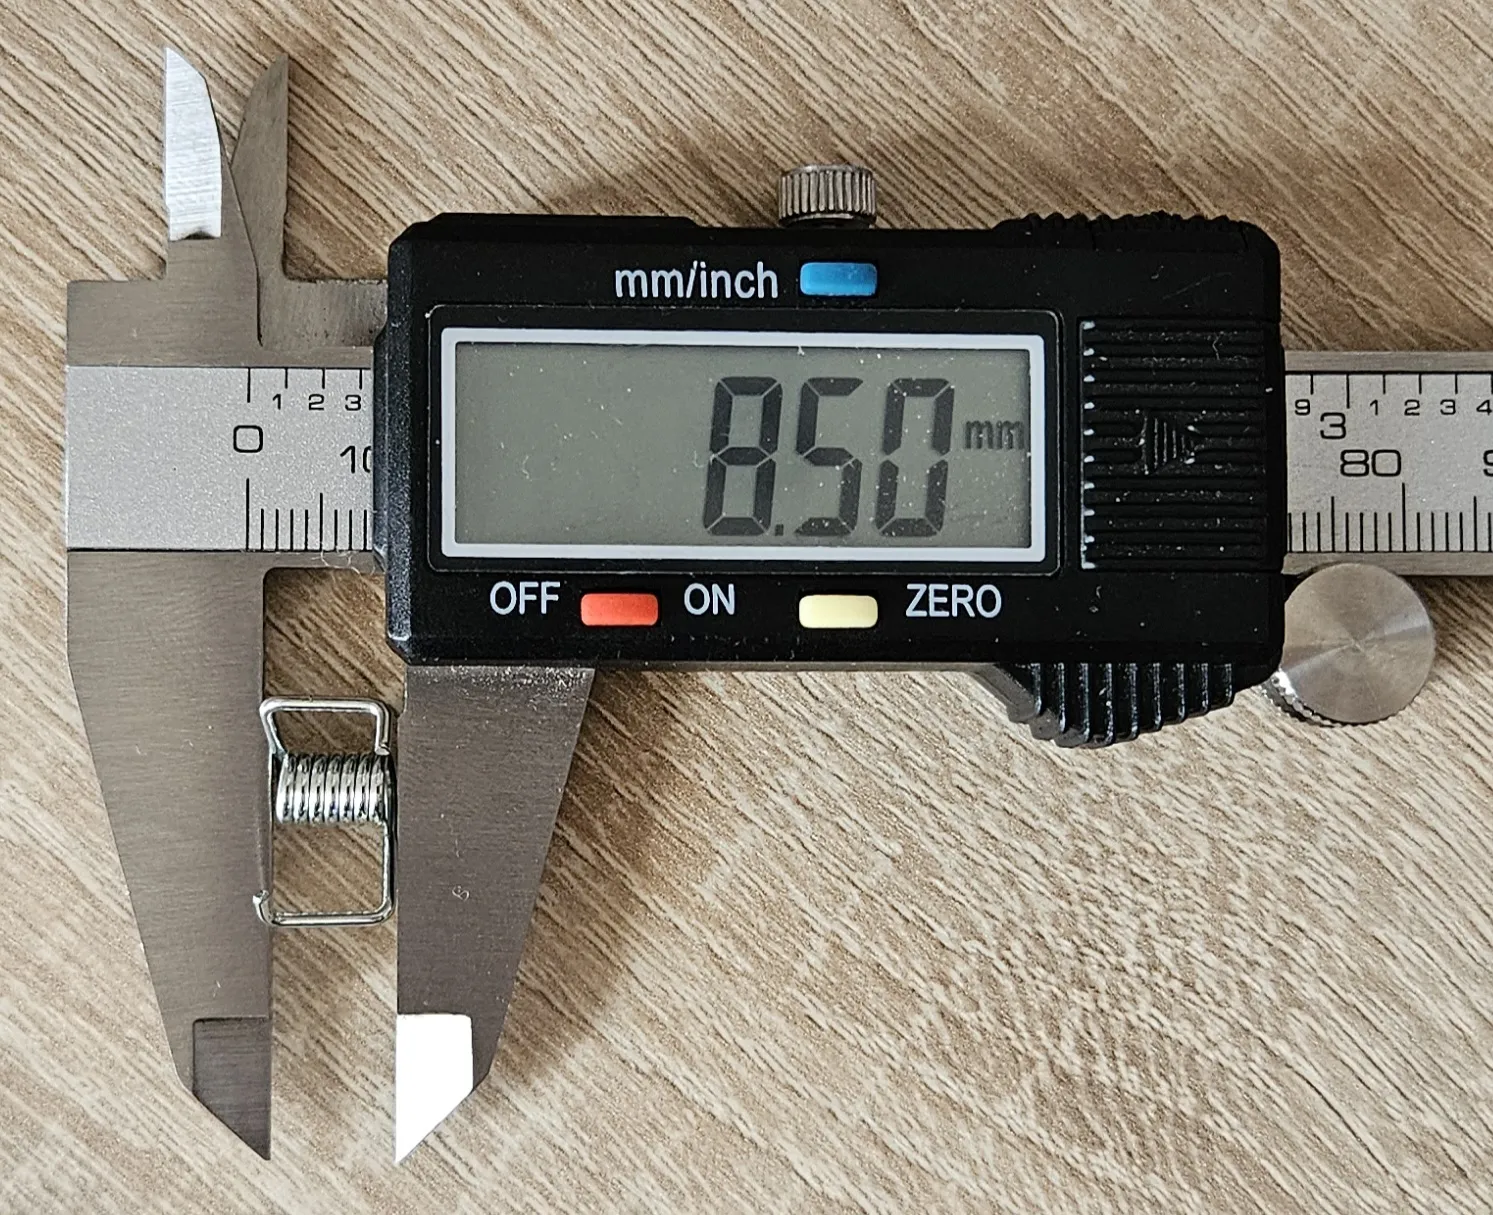
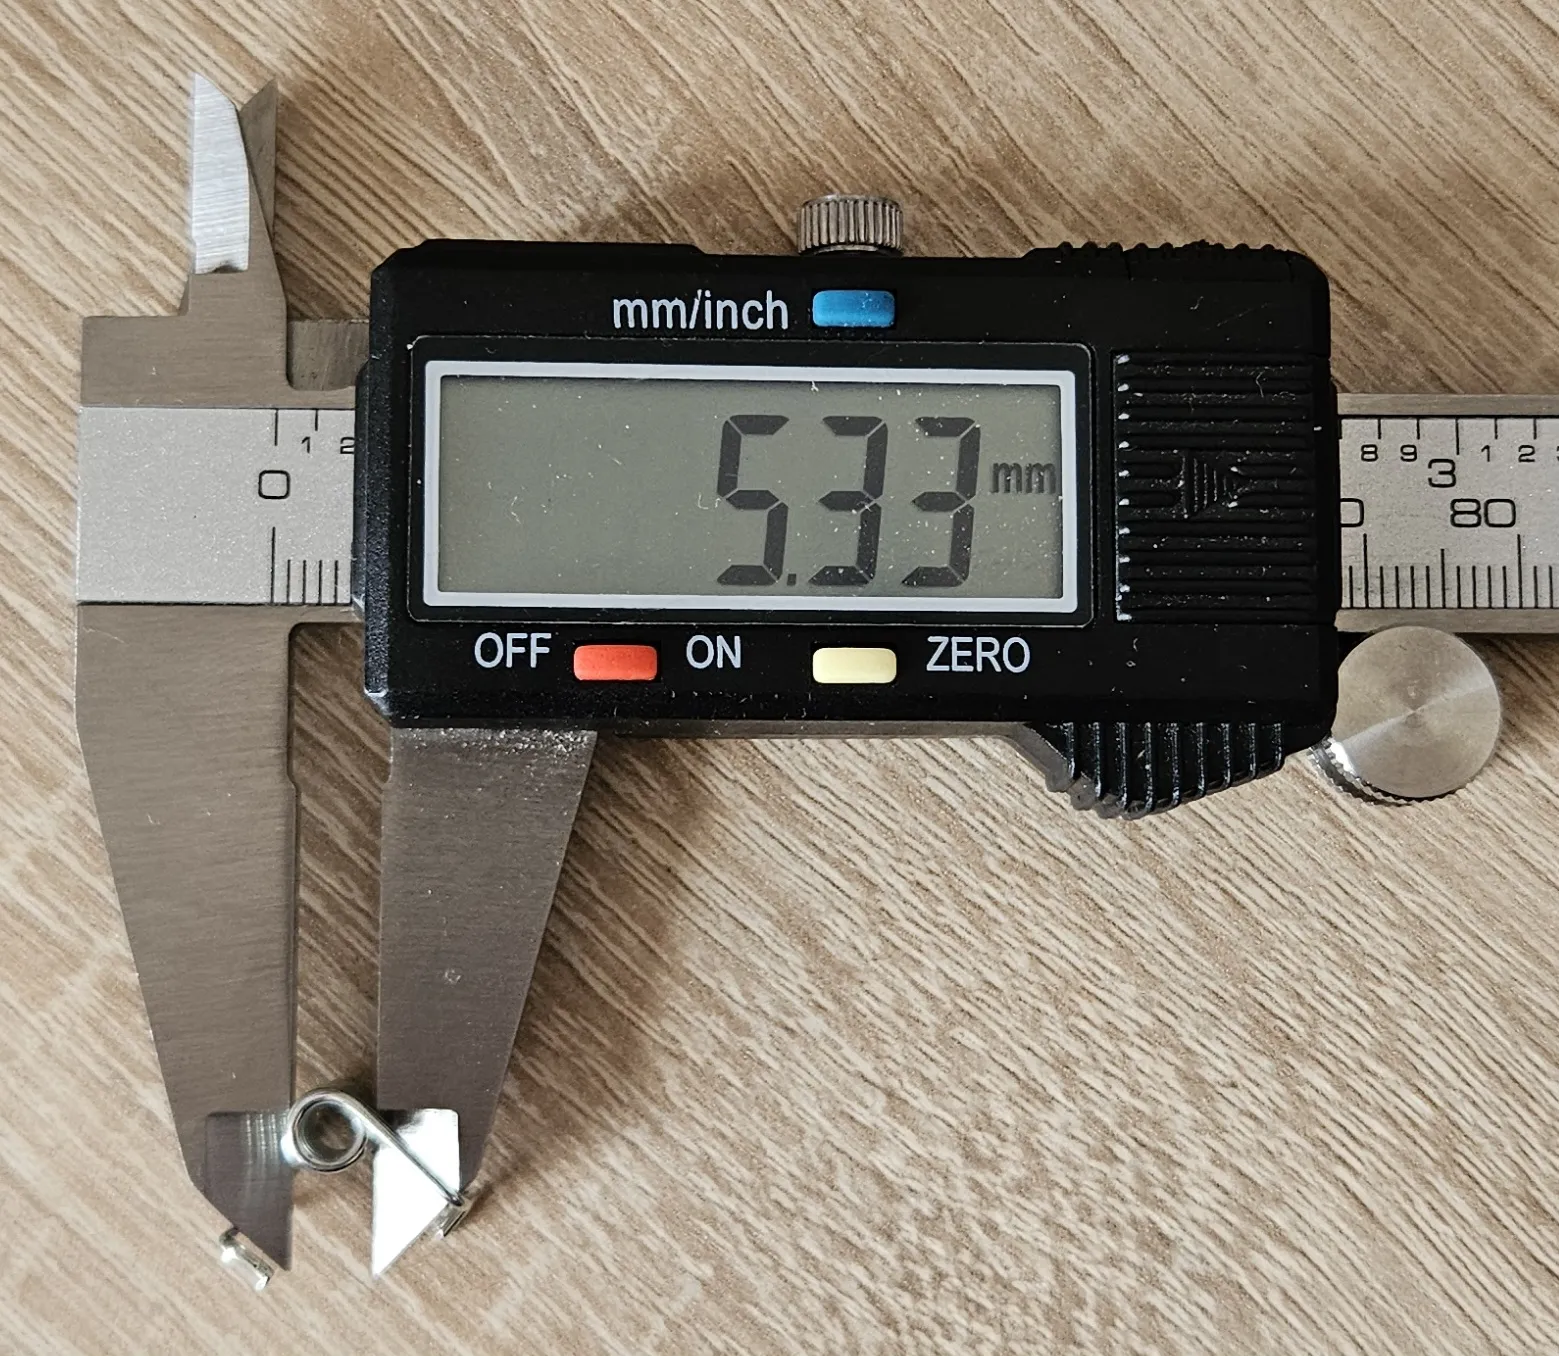
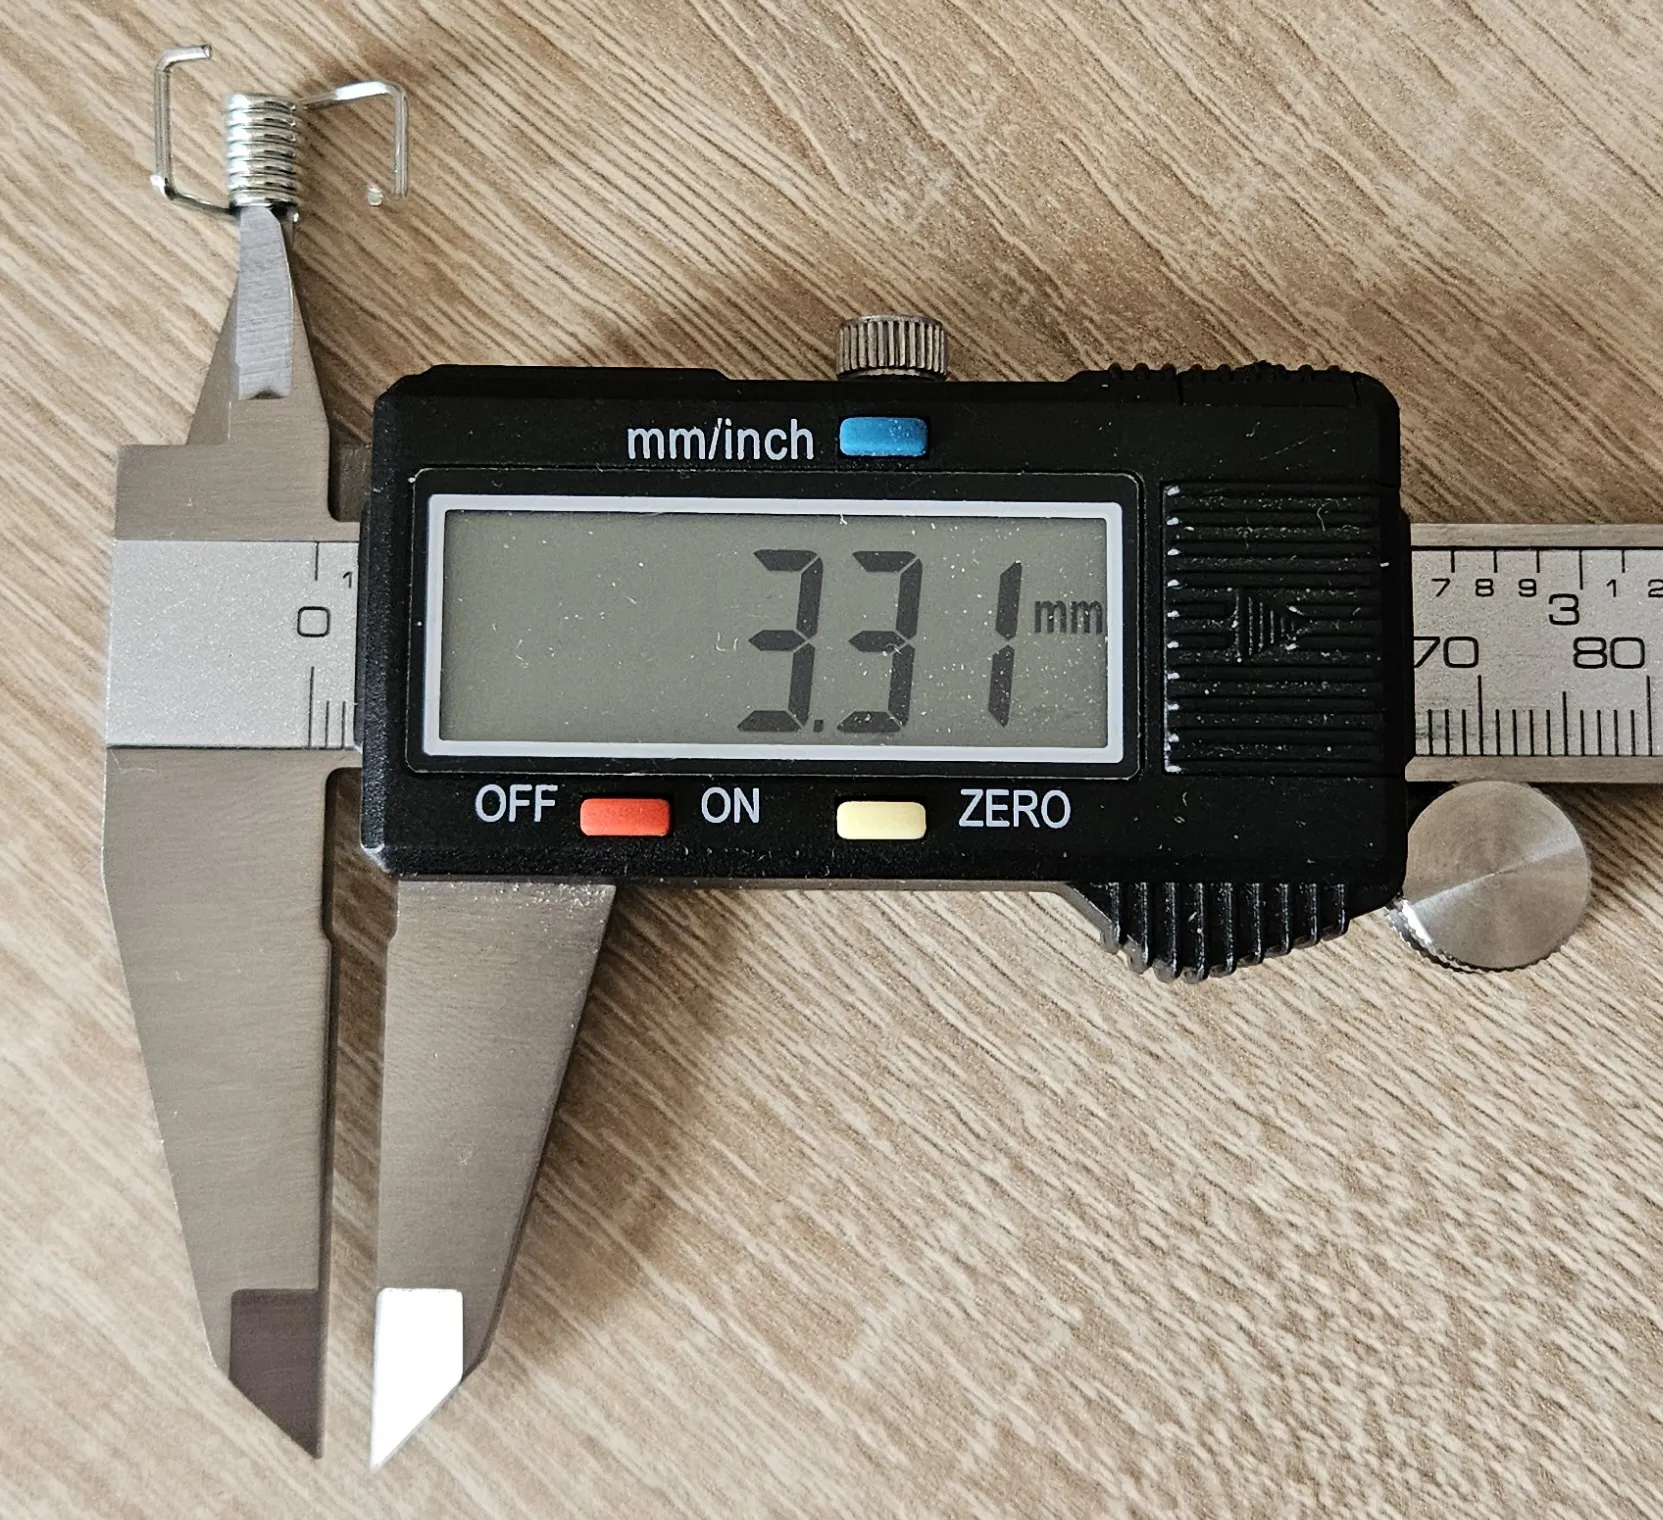
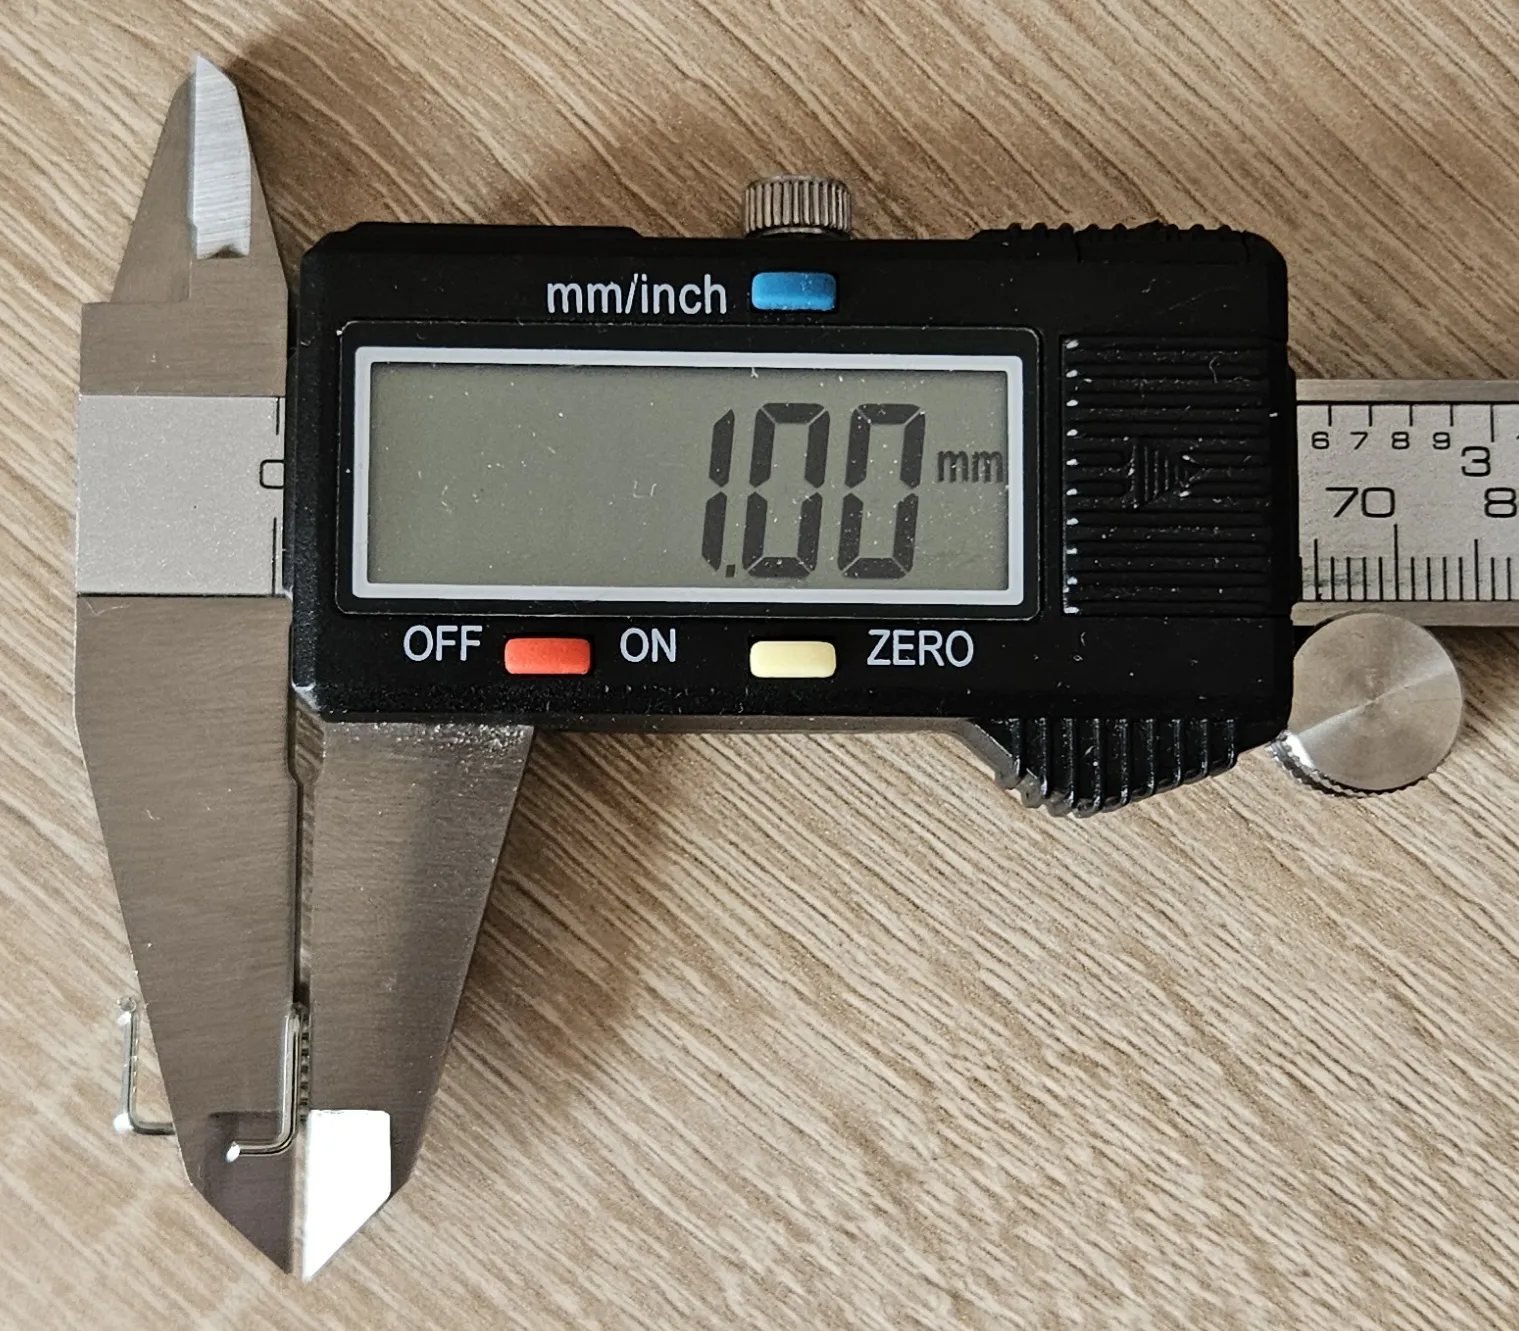
- 4 pieces – GT2 timing belt tensioner torsion springs (for 6 mm belts) *Detailed dimensions see next images
- 4 pieces – 698-ZZ ball bearings (8×19×6 mm)
Dimensions of the Torsion Springs:
Print Material Note:
I printed all parts with extrudr GreenTec Pro in black. It is very stiff, robust, and at the same time easy to process.
Alternatively, ASA or ABS will probably also work (scaling to at least 101% recommended!). Even PLA might be sufficient – I look forward to your feedback here.
I also use the following model in my AMS (for new revision of the AMS, after August 2023) with 18mm PTFE tubes, printed with PETG: https://makerworld.com/de/models/40194-ams-feeder-funnel-saver-protector-filament-guide?from=search#profileId-73455
Thanks for that @eds_3d_shop
Assembly:
The following instructions were copied from the AMS-SDS. However, nothing has changed except the shape of the levers and the holder.
- Remove the supports from the holders and levers. Smooth the supported surface of the lever's wheel hub a little with a knife.
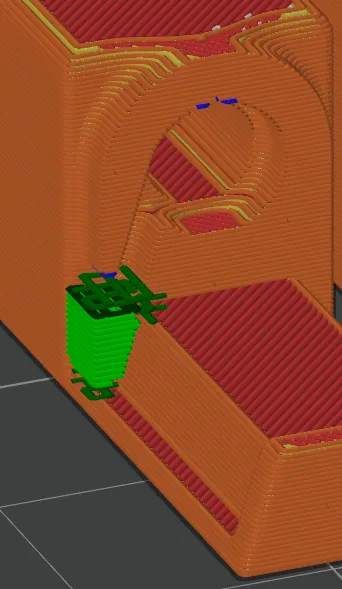
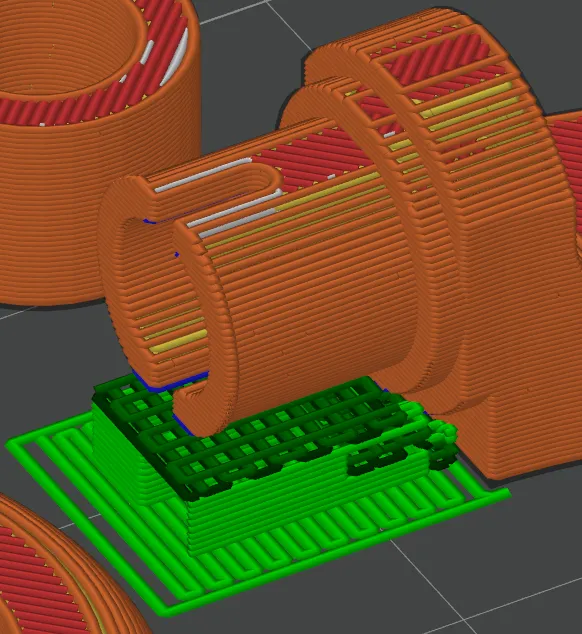
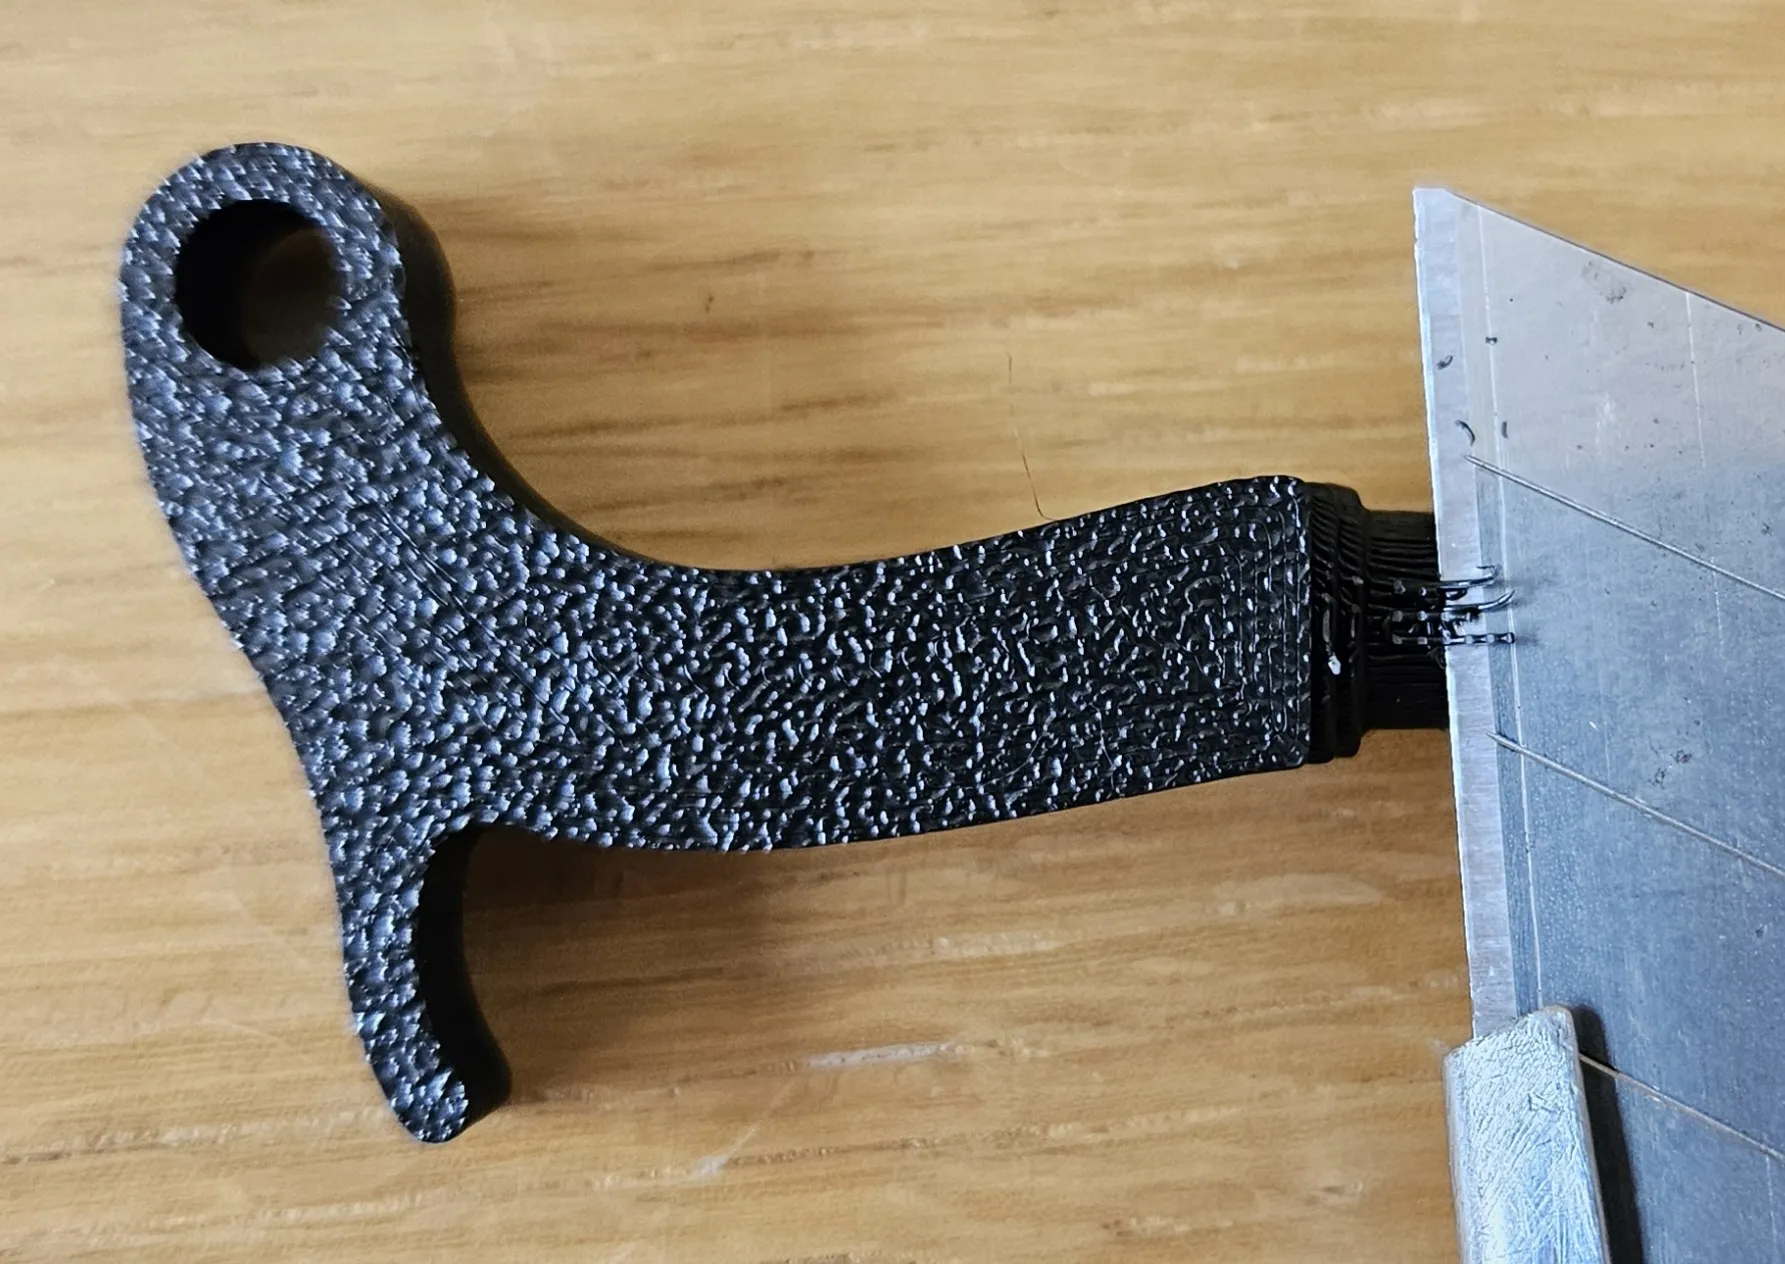
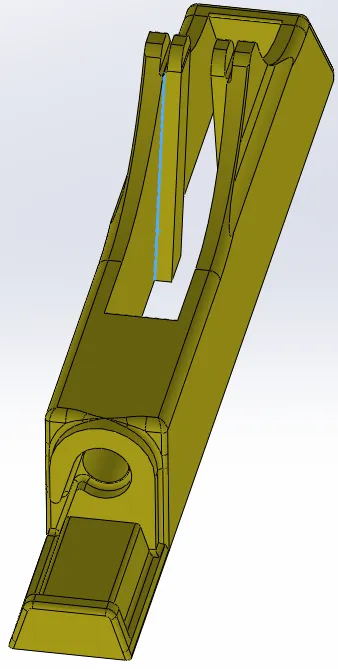
- Check the inner edges of the holder's beams (blue line in the image) to ensure they are clean and sharp. If necessary, the edges can be scraped clean with a sharp slotted screwdriver.
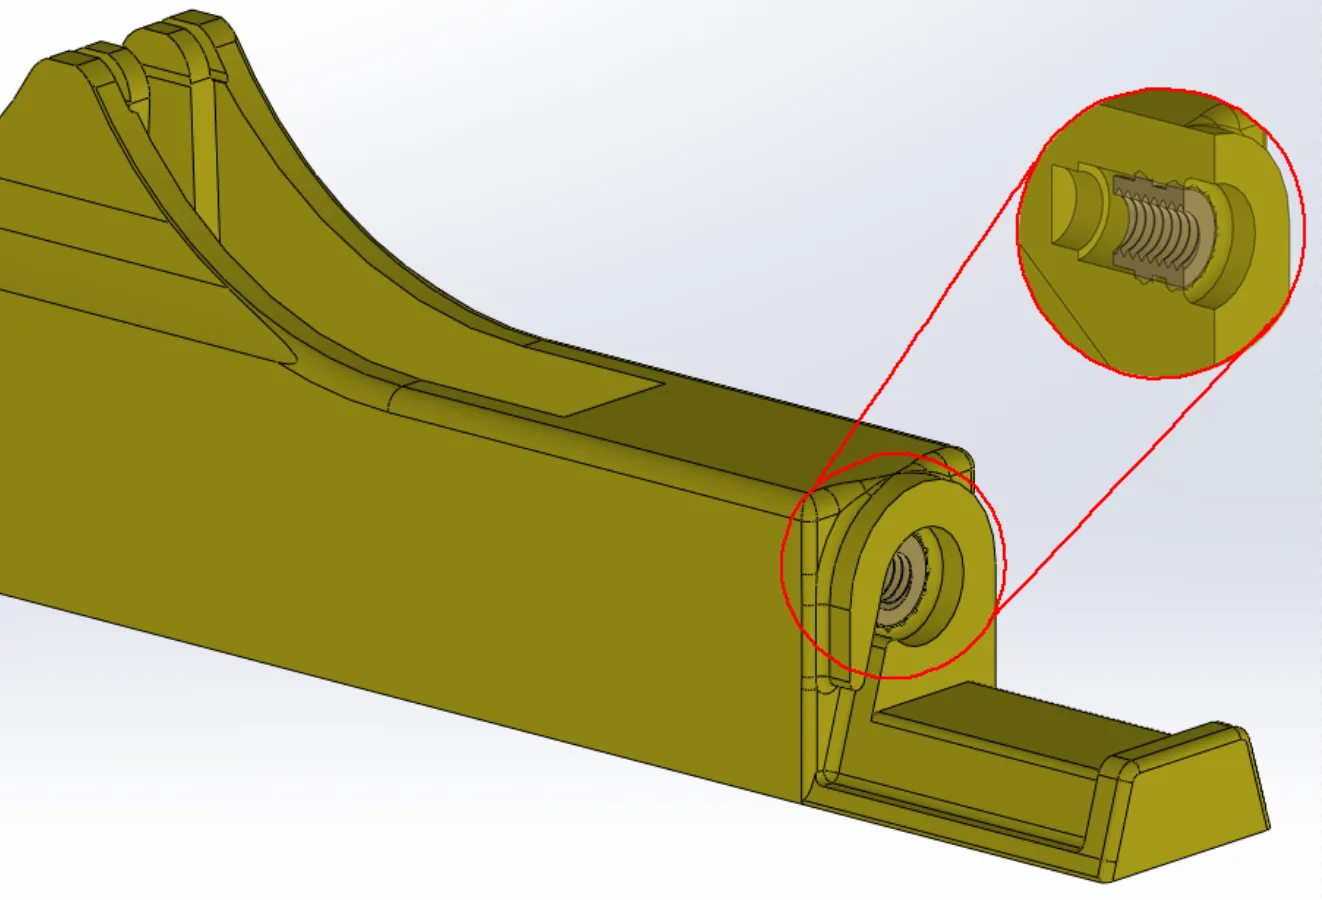
- Heat-set the M3 threaded insert flush (see image) into the hole of the holder and then check that the edge around the threaded insert is clean so that the torsion spring fits well inside. The edge may need to be cleaned with a small slotted screwdriver (see also point 6).
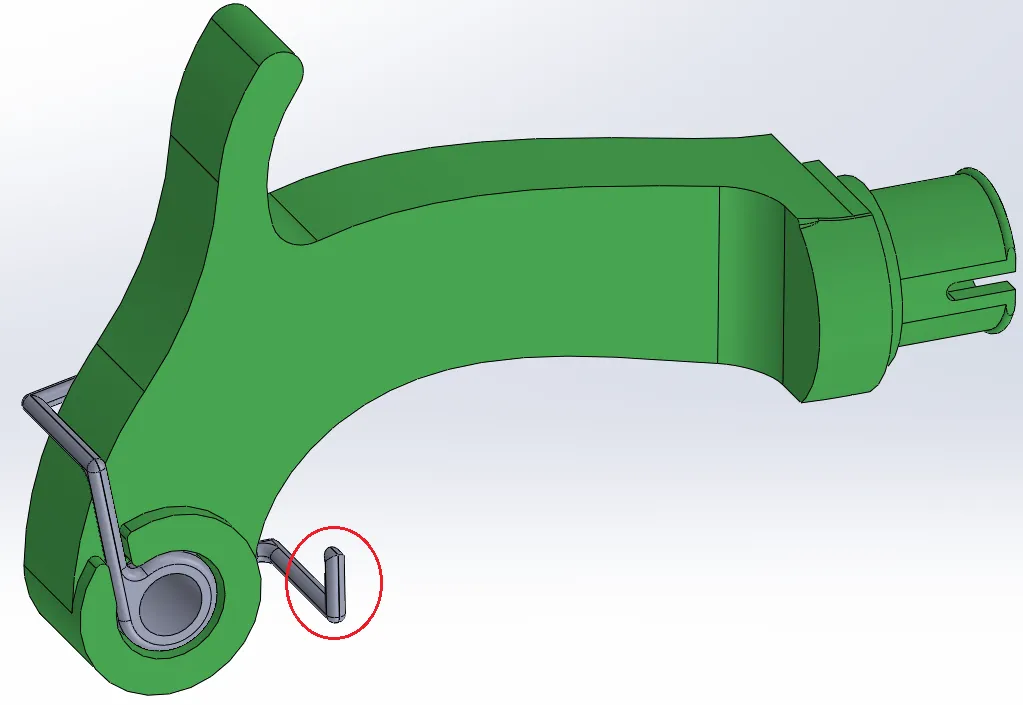
- Insert the four torsion springs into the four levers as shown in the image. This is a bit difficult, but it works. You may use pliers for assistance. Use pliers to straighten the red-circled end of the torsion spring in the image.

- Mount the rollers onto the ball bearings and place the finished wheels onto the levers.
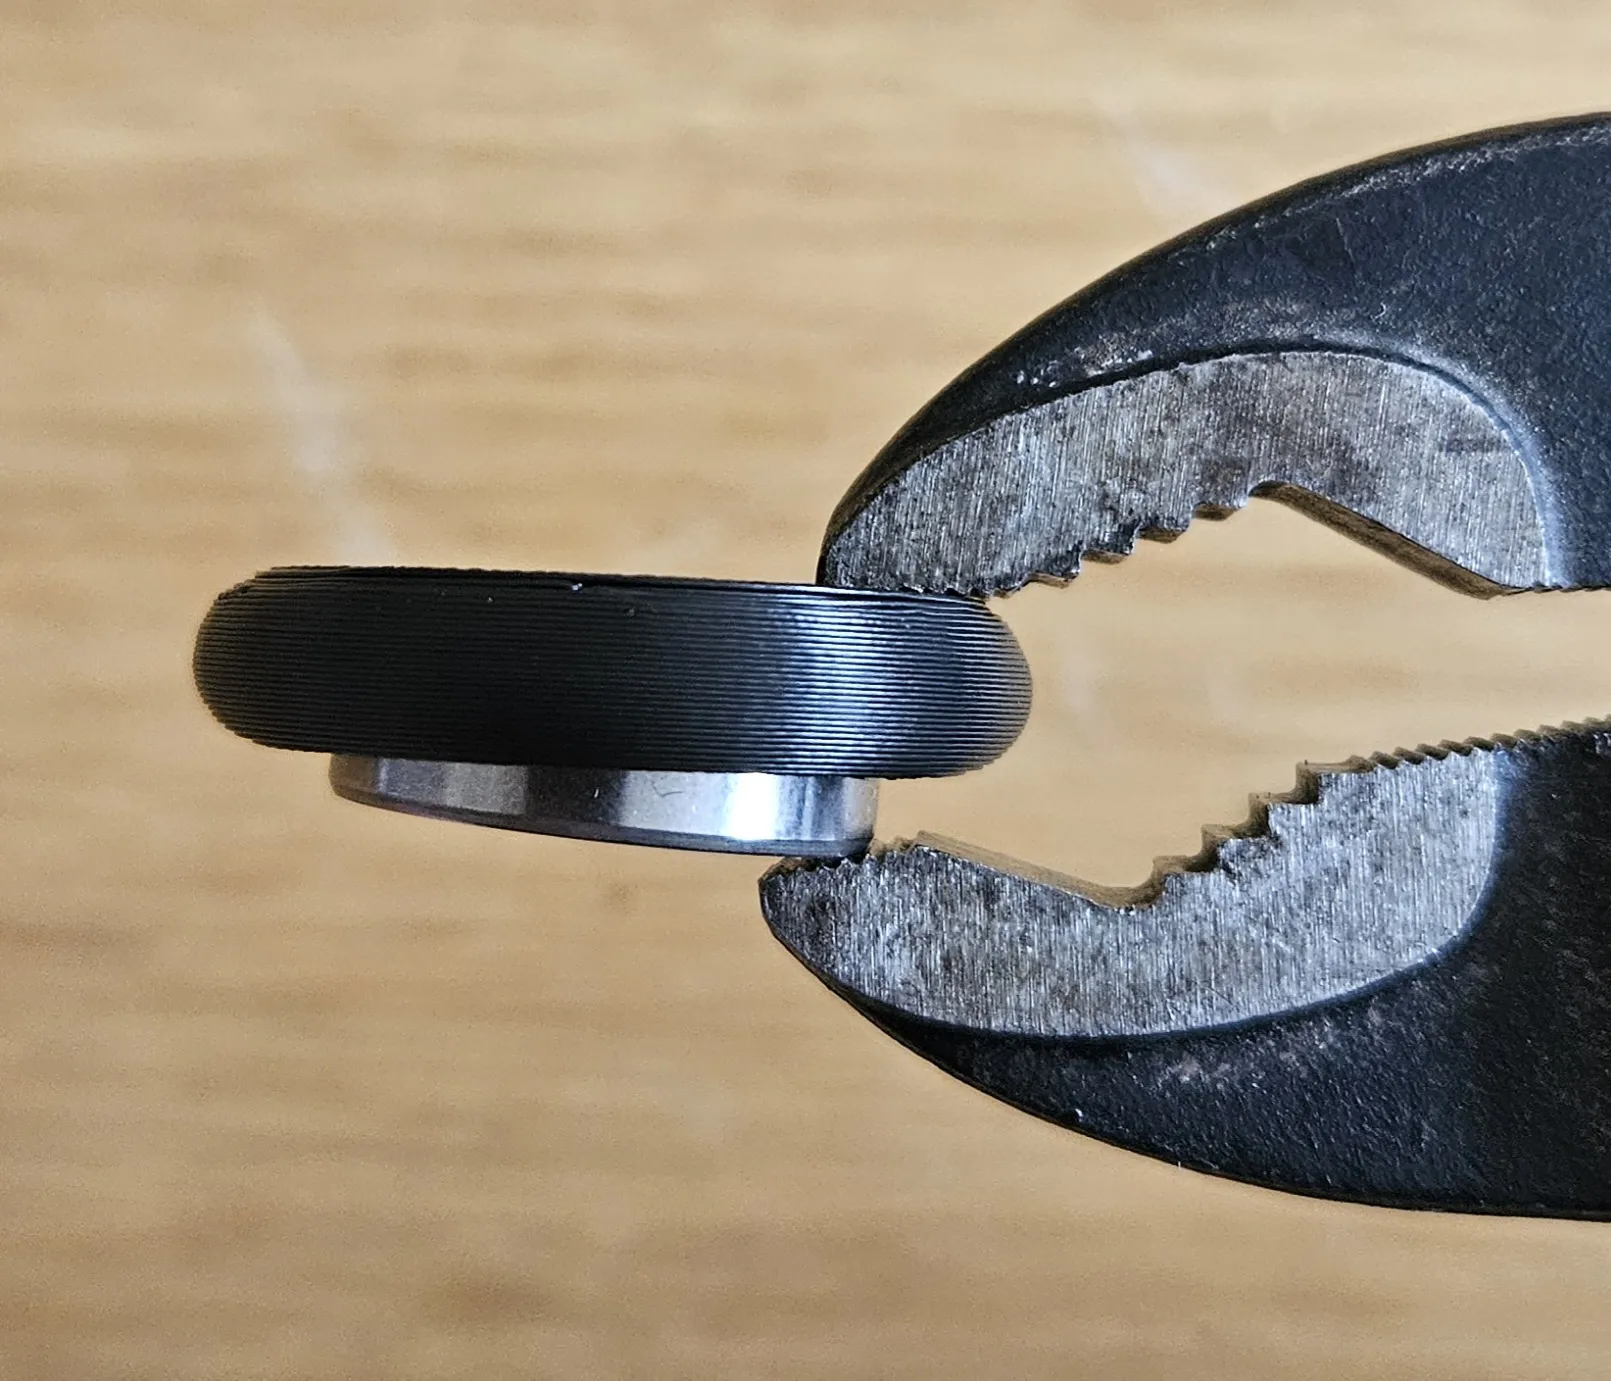

- First, place a lever onto the holder and ensure that the torsion spring sits well in the groove of the holder. If necessary, scrape out the groove a little with a small slotted screwdriver.
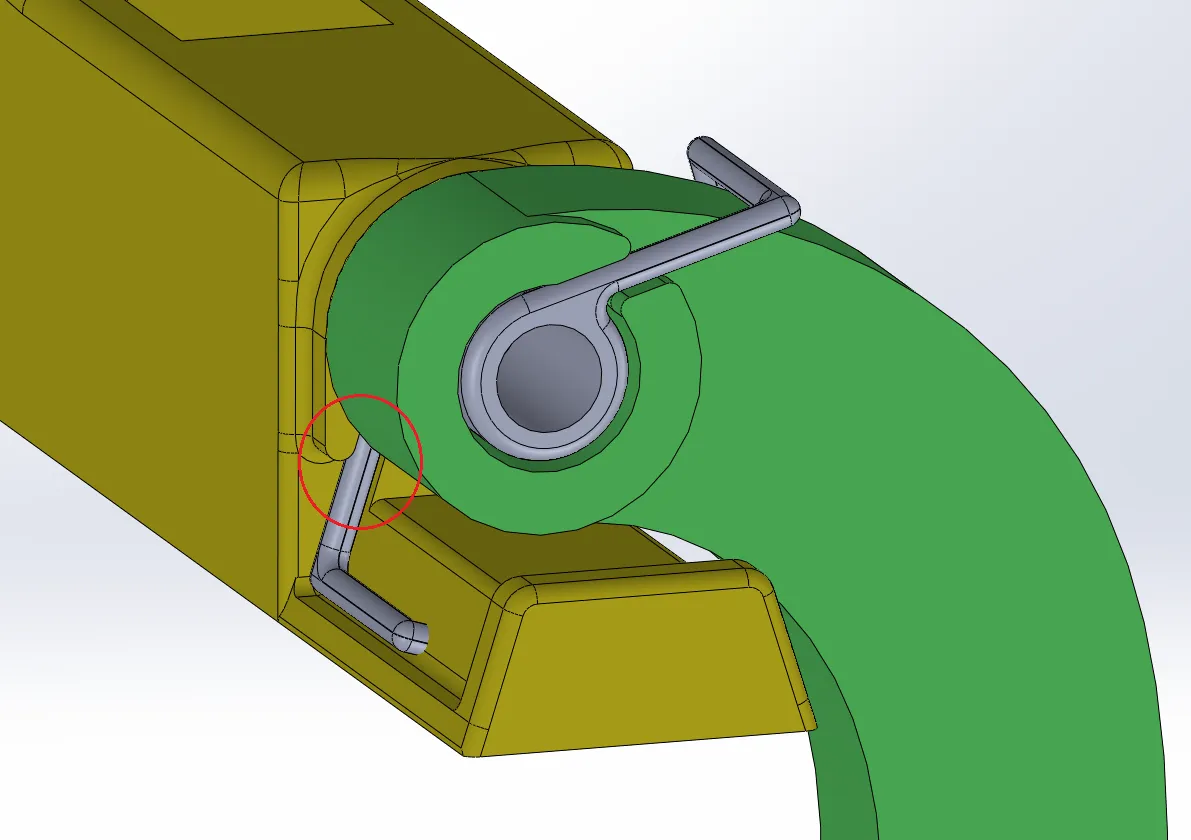
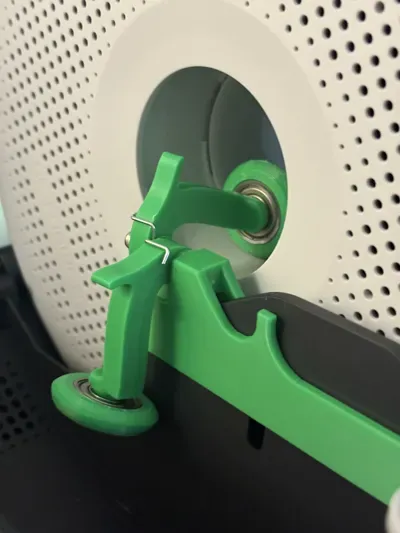
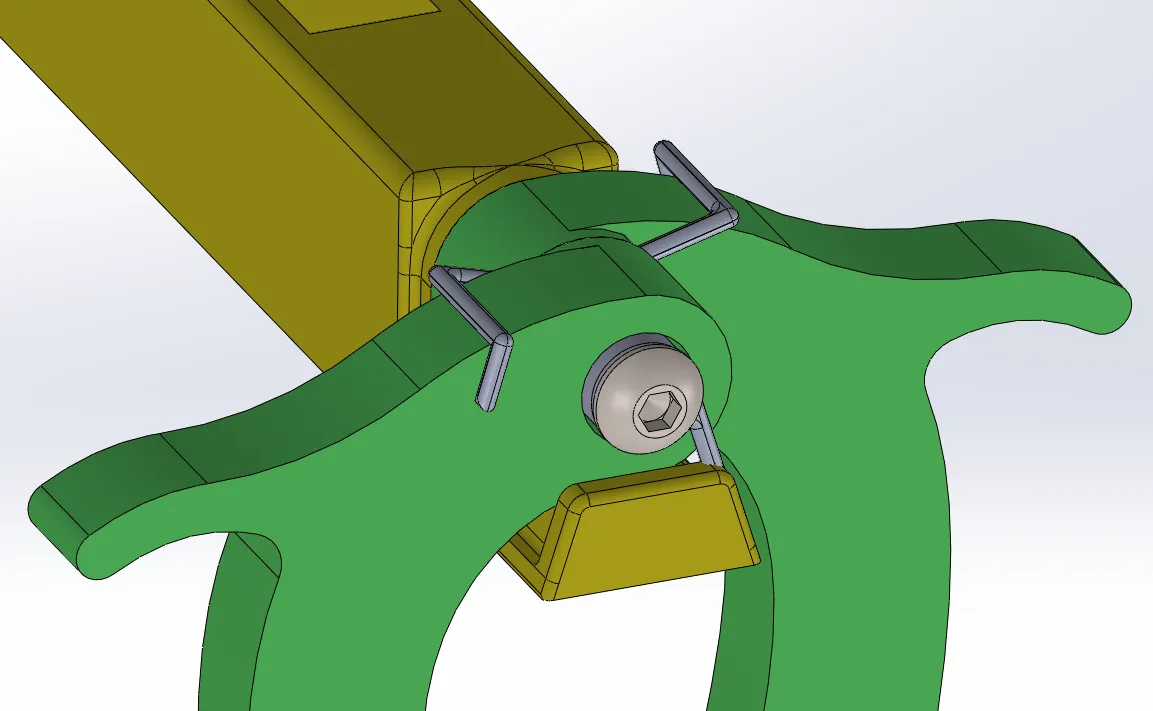
- Now place the second lever in the opposite direction onto the first lever and secure them with the M3 screw. You can tighten the screw quite firmly. The hole for the screw is dimensioned so that the levers are not squeezed, meaning they can still move freely even with the screw tightened.
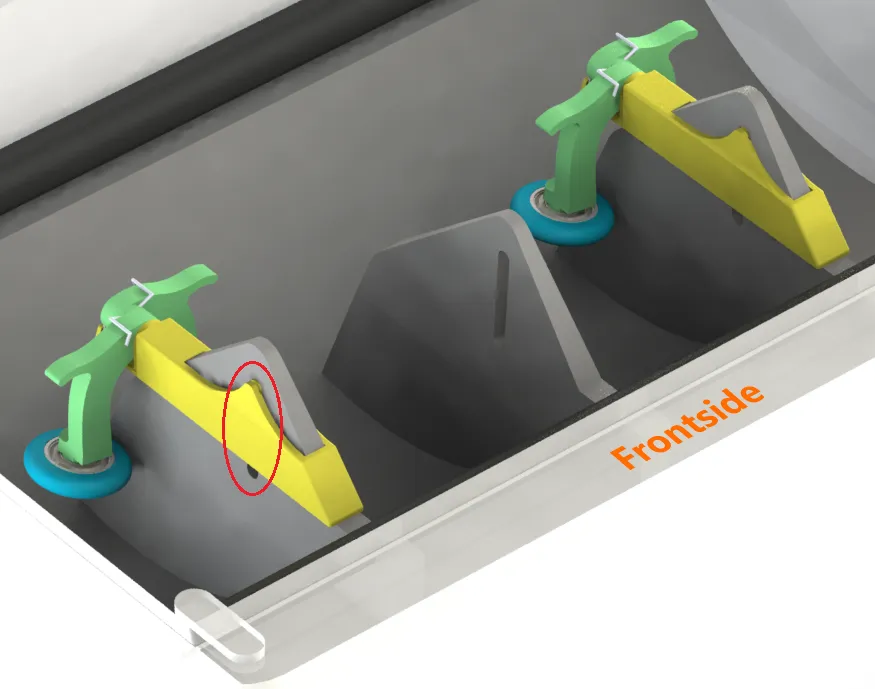
- Repeat the process for the second holder and insert the assembly onto the outer partition walls in your AMS. Ensure that the holder's beams fully engage in the AMS slots (red circle in the image). It fits quite snugly, but for that reason, it is very stable after correct assembly.
- Now insert your spools. Lift the respective roller just enough to insert the spool.
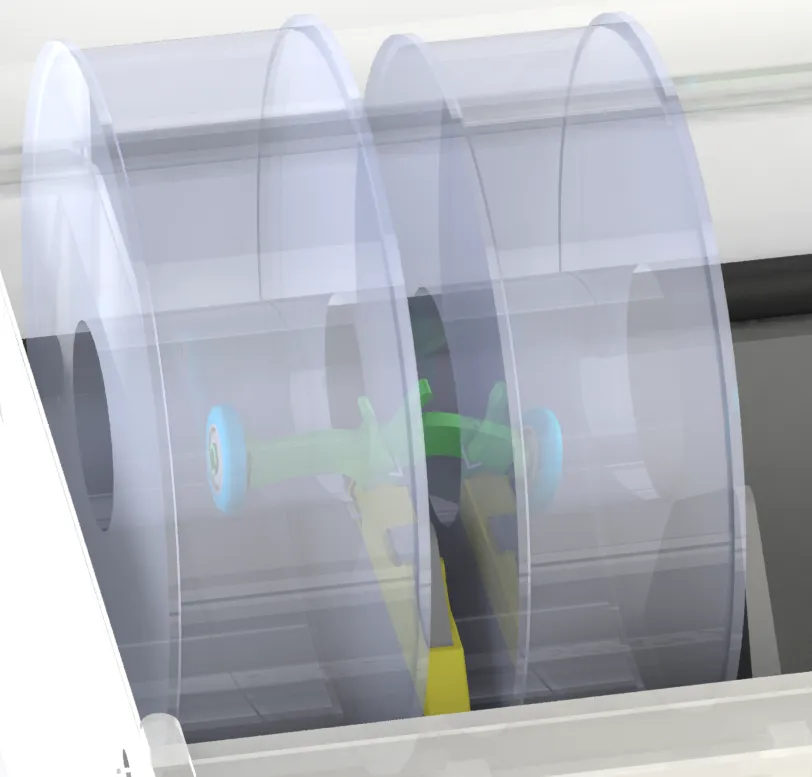
Done!
Notes:
- ⚠️ I cannot test this version for AMS 2 Pro myself! The fit was first checked and confirmed by @user_2367971502. Thanks again for that! Many other users report that it fits well.
- ⚠️ Not compatible with AMS 1, as the RFID housing is shaped differently there. See AMS-SDS
- ⚠️ I cannot check if the functionality of the RFID system is affected by this, as I do not own any spools with RFID chips. However, some users report that there are no problems with it.
- The higher a lever stands, the more pressure it exerts on the spool. On average, there is approximately 410g (4 Newtons) on a spool. Enough for safe operation.
- To ensure a good fit of the parts, I recommend calibrating "Pressure Advance" and "Flow Rate" for the filaments used!
Simulated Spools:
- SUNLU (new spool revision)
- eSUN cardboard spool
- extrudr
- Bambu Lab
Feel free to write your experiences and wishes for this model in the comments!
Thanks!
This remix is based on
License



Comment & Rating (84)